After nine years searching for the perfect N64 joystick replacement, I've finally found a controller mod worth doing
This N64 controller mod eliminates stick drift for good.
Stick drift is an ailment that has haunted controllers for decades, but N64 gamepads tend to develop a demonic level of driftiness. I've been fixing the retro console's mechanical joystick for decades at this point, and while I'm constantly finding new ways to restore Ninty's components, I've decided to see if hall-effect technology can exorcise the accessory's wonky controls for good.
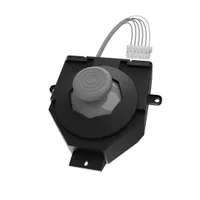
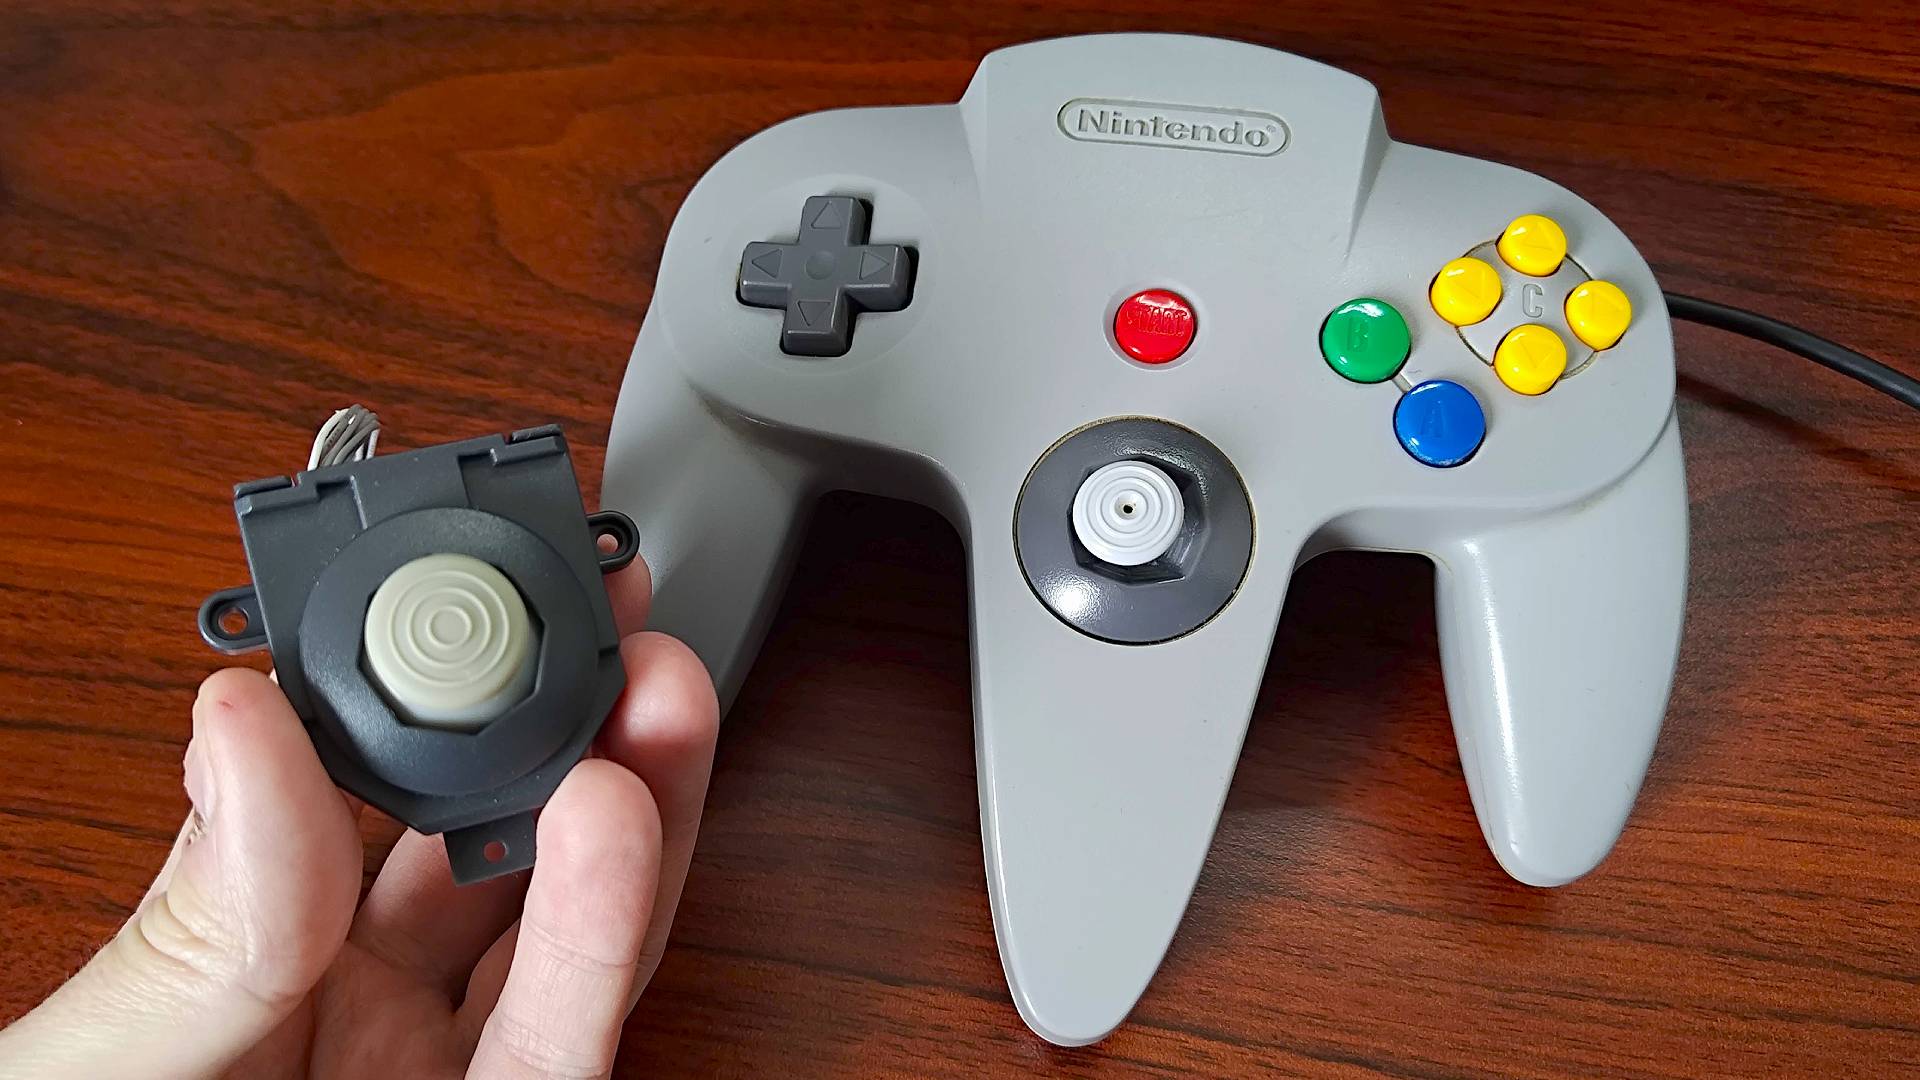
Believe it or not, there are multiple N64 hall-effect thumbsticks out there, but I just wrapped up modding my gamepad with Hyperkin's 'Gamecube style' option. The mod effectively swaps out the original mechanical controls for a hall-sensor module, all while using the same housing and footprint as the original part.
Hyperkin Hall Effect Joystick for N64 | $14.99 at Amazon
Designed to slot straight into an original N64 controller with no soldering, this hall effect module adds a Gamecube-style thumbstick to the gamepad. Some disassembly is naturally required, but this is one of the easiest and cheapest mods you can make to the accessory.
UK: £15 at Amazon
This is by far one of the quickest fixes for N64 controllers with a worn joystick, and you won't have to touch a soldering iron. However, I have experimented with similar mods in the past and found that there are drawbacks to replacing the original stick. Thankfully, I can confirm that the stick's benchmarks are similar to the OG pad and the new 8Bitdo N64 controller, but some enthusiasts might still prefer to keep things original.
N64 controller teardown
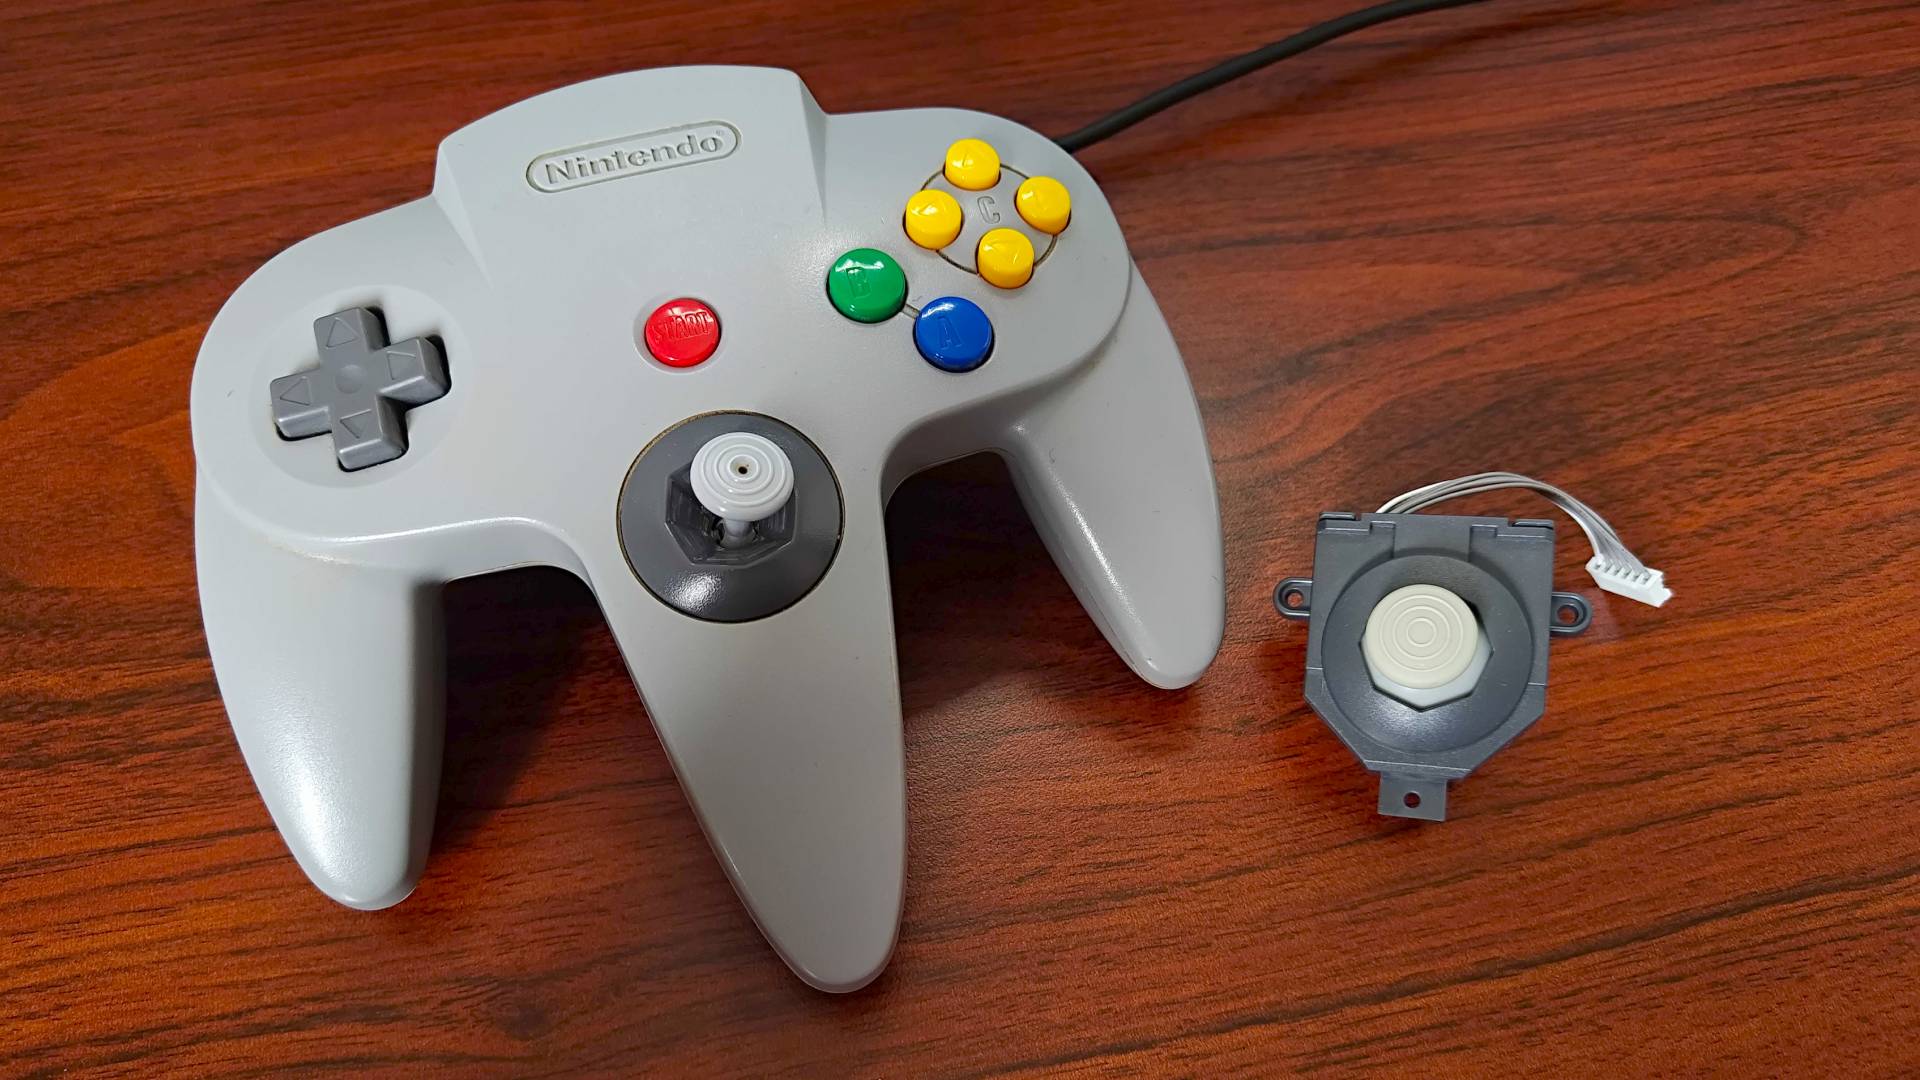
I genuinely believe this N64 controller upgrade is one of the easiest mods out there, but you'll still need to disassemble the old '90s gamepad. I know for a fact this will give some of you the ick, especially if you're not used to tinkering with old tech, so I've got basic steps to follow that'll help you dodge any modding mishaps.
Like most projects, this one starts with a screwdriver. The N64 controller thankfully uses standard Phillips head screws, meaning you won't need one of those "gamebit" security drivers that aren't in standard sets. I personally use an iFixit Moray kit for small mods, and you'll want to specifically unfasten all the controller's main screws using a Phillips #1 bit.
But wait! Before you go jamming your screwdriver in the N64 controller's hole and twisting away, I want to proceed with just a sprinkle of caution. These are old, potentially rusty screws we're dealing with, and using too much force or the wrong screwdriver bit could result in stripping the screw. To try and prevent this, I normally insert my driver with good downward pressure, then gently turn until I feel distinct movement. If you start to feel the screwdriver turn without the screw, stop what you're doing immediately and consider using a slightly larger bit.
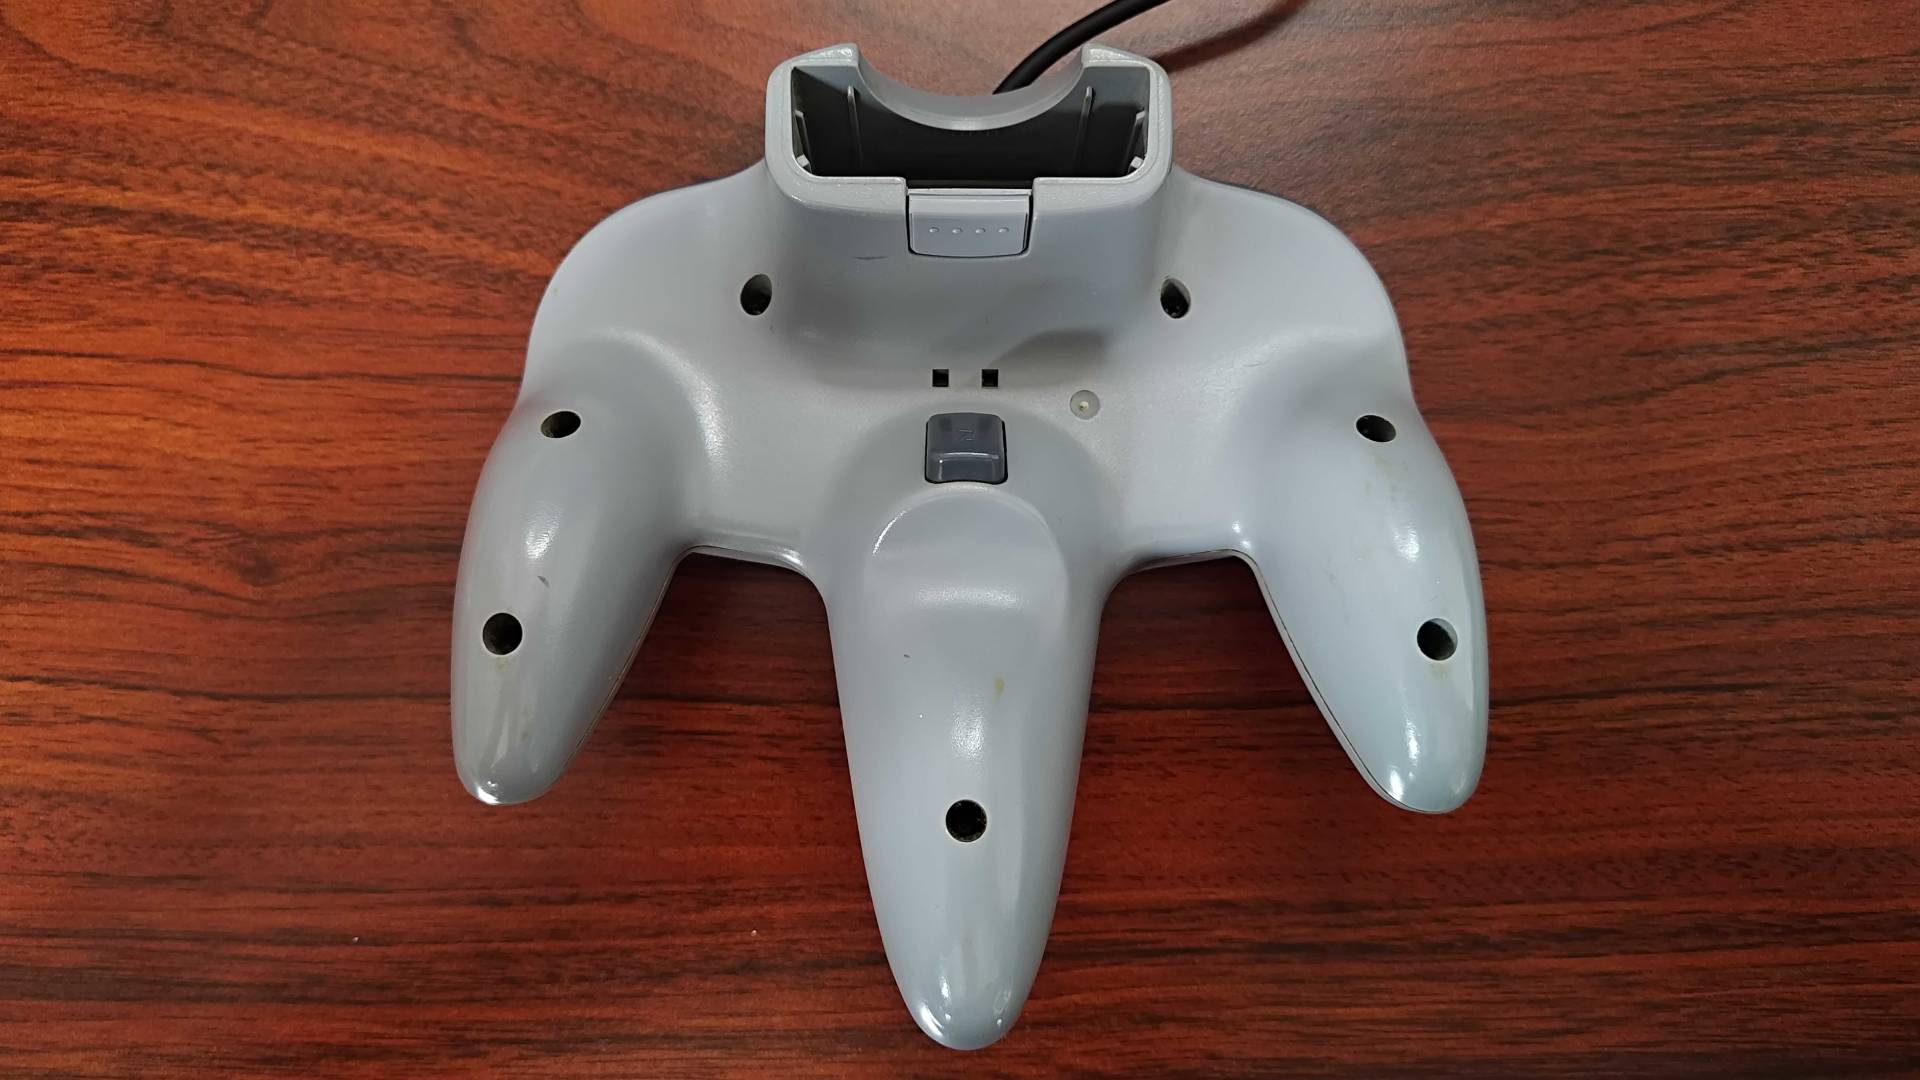
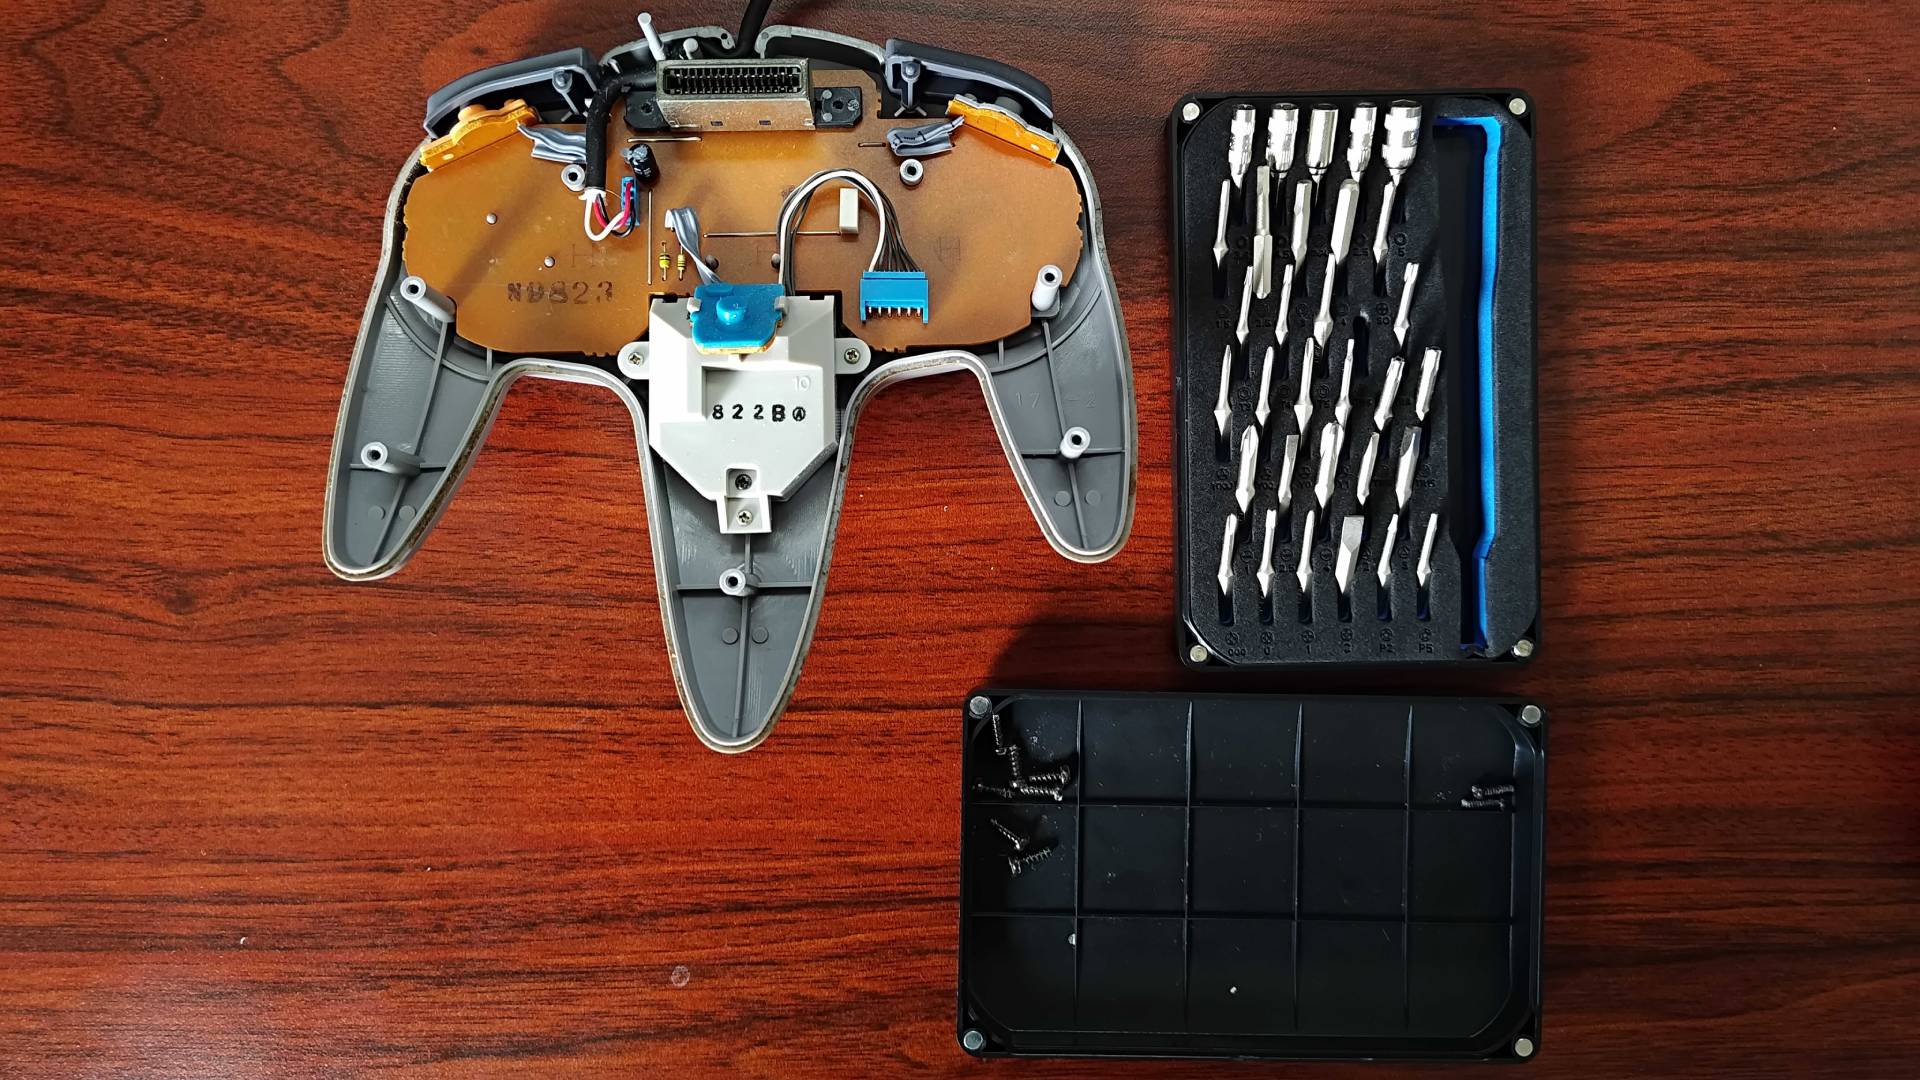
On the back, you'll see seven screws in plain sight, but you'll also want to undo two smaller ones inside the back expansion port. Doing so should allow you to separate the shell in half and access the thumbstick module, which is secured to the front shell using three smaller Phillips screws.
Weekly digests, tales from the communities you love, and more
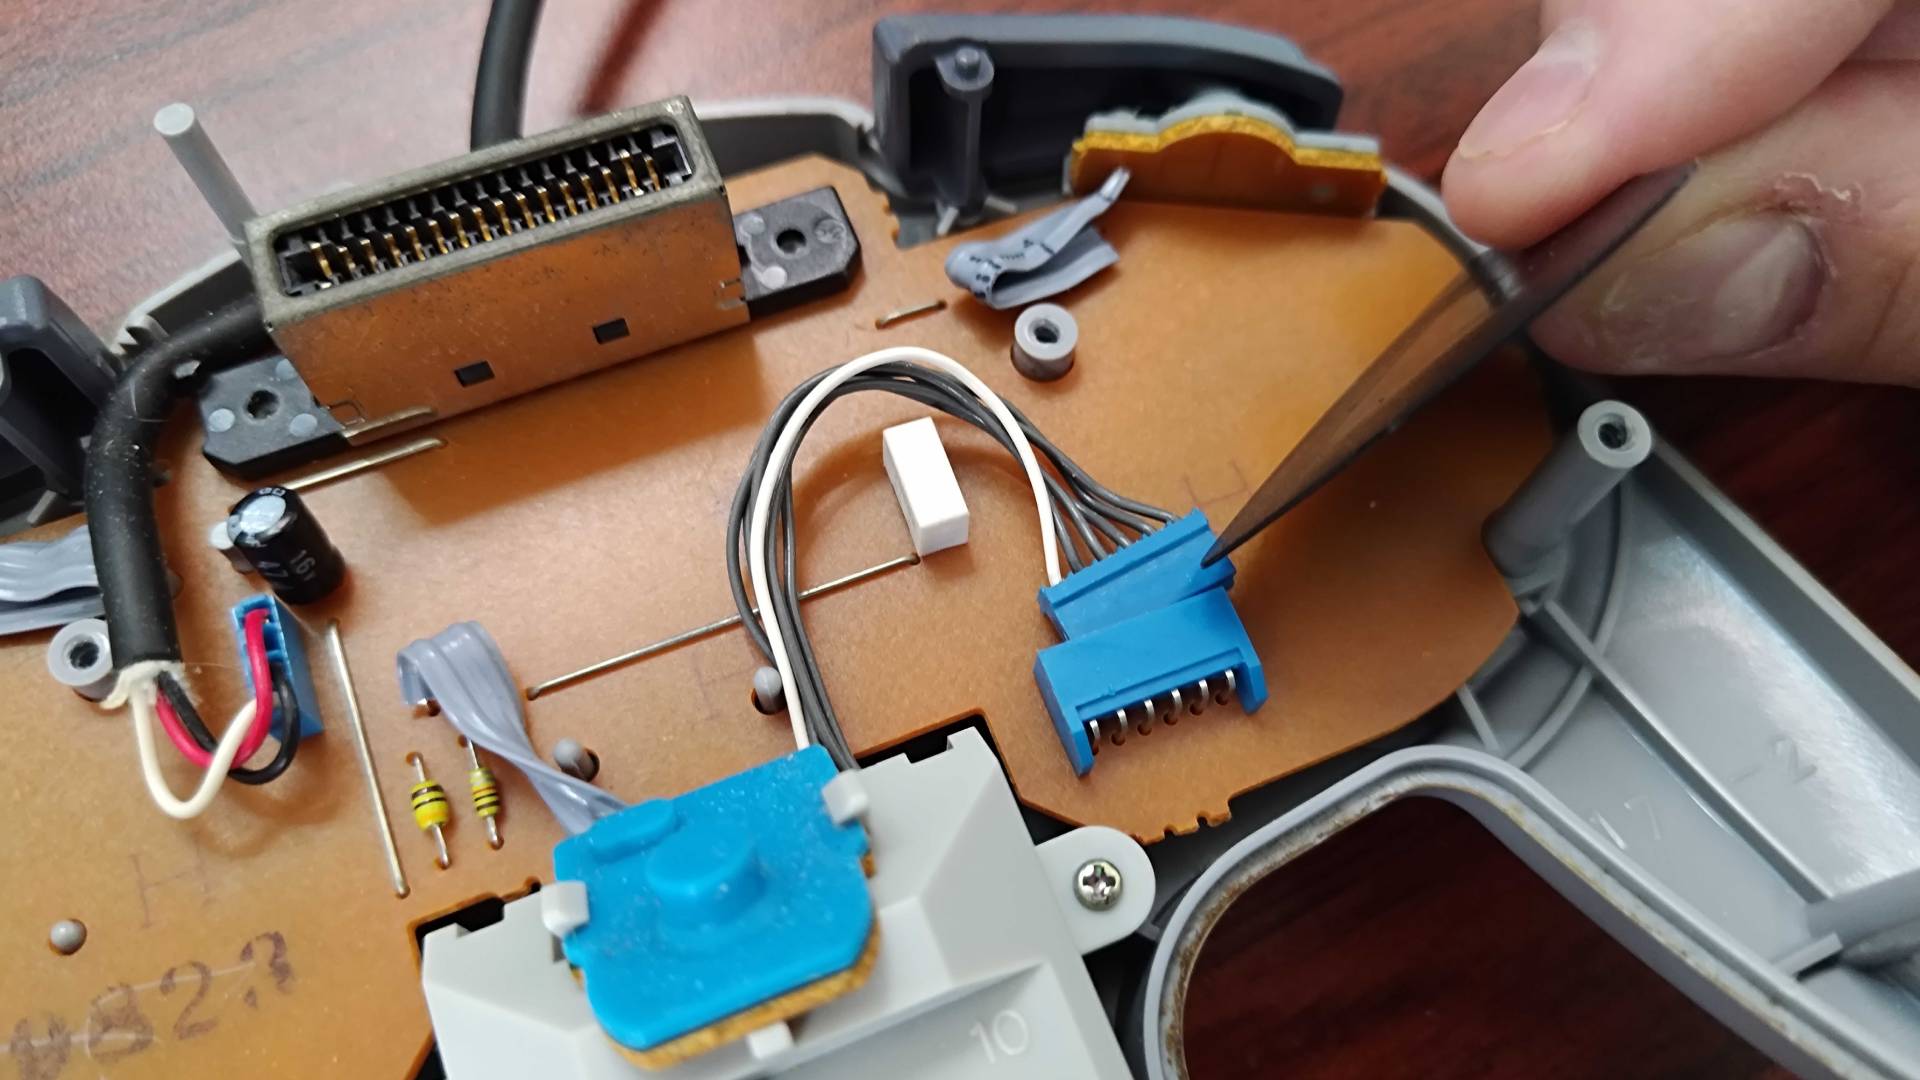
Once you've successfully reached the inside of the controller, you'll be able to extract your pad's drifty old joystick. If you're simply looking to hotswap the part and put everything back together, your last disassembly steps are to remove those smaller screws and pull out the module's cable from the main board gently using a spudger or prying tool. You'll also want to slide out the tiny Z-button board secured to the back, being mindful of its flimsy ribbon cable.
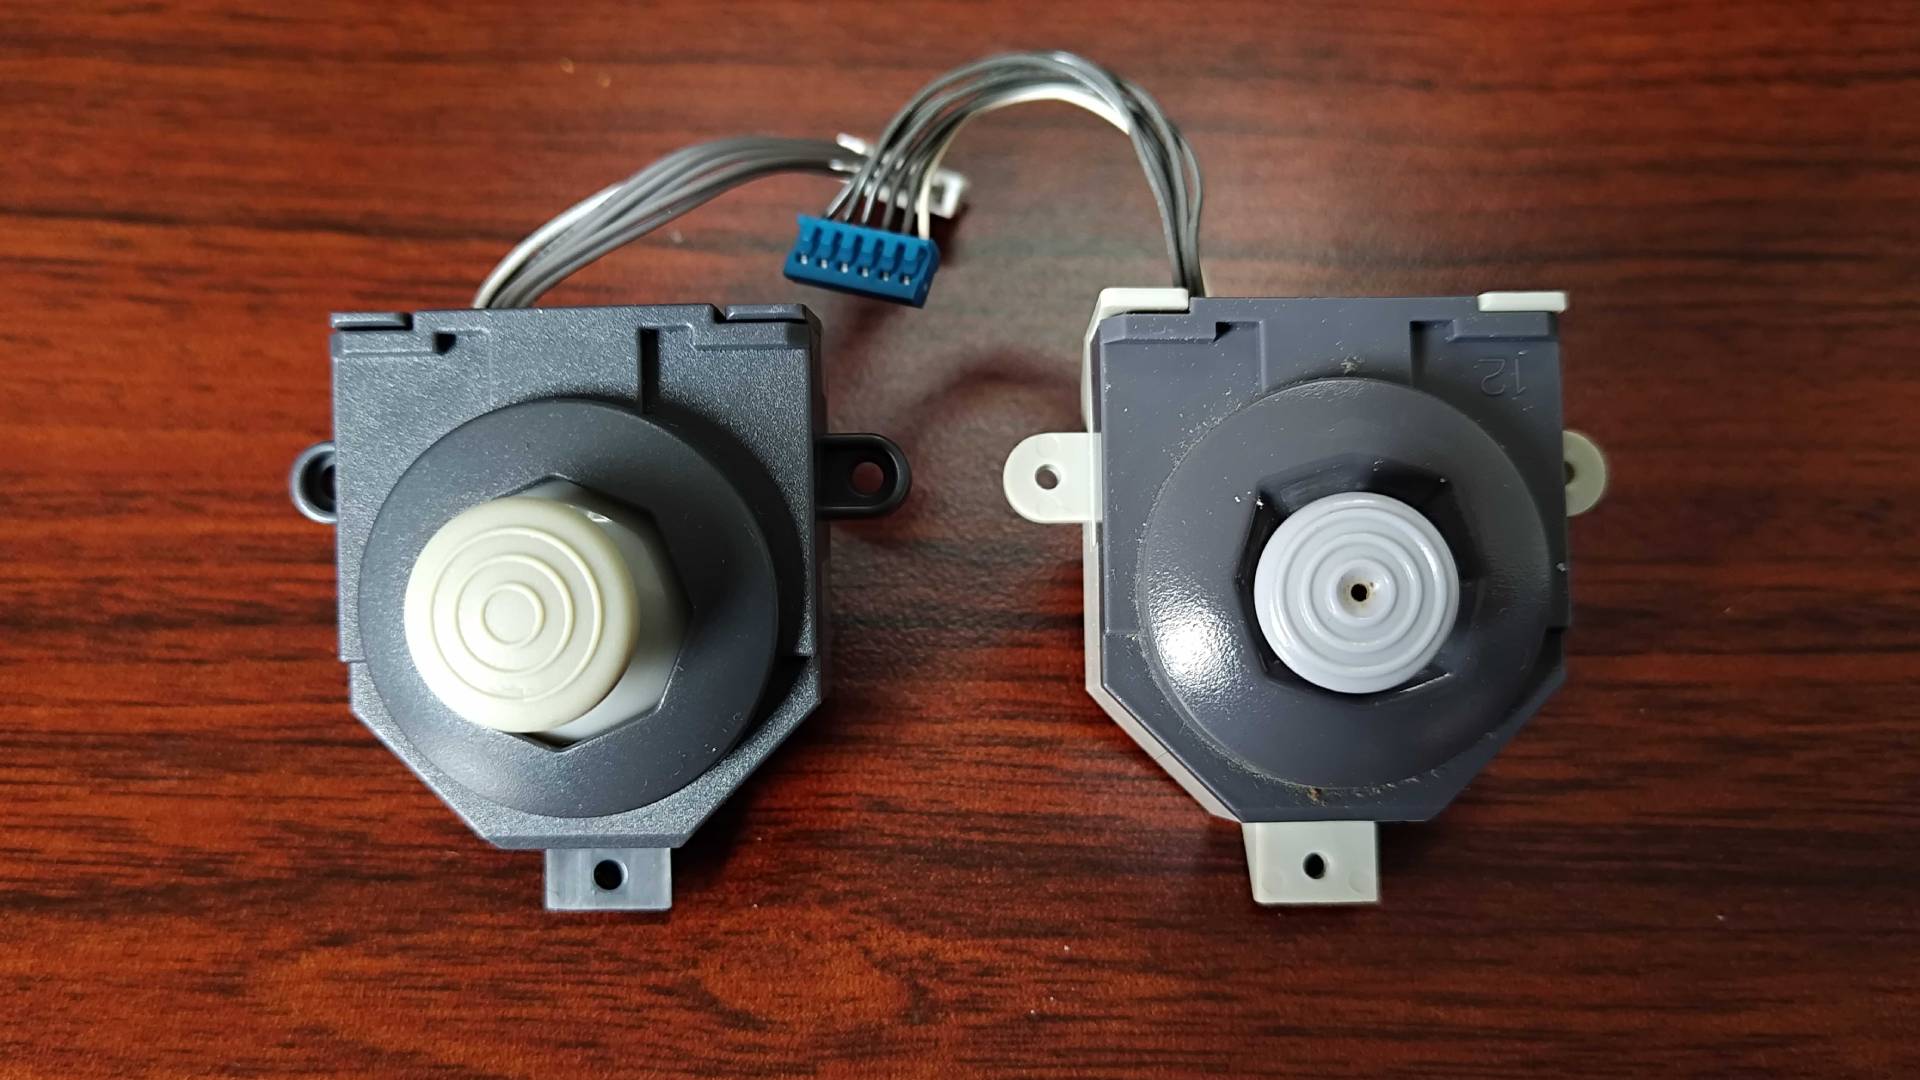
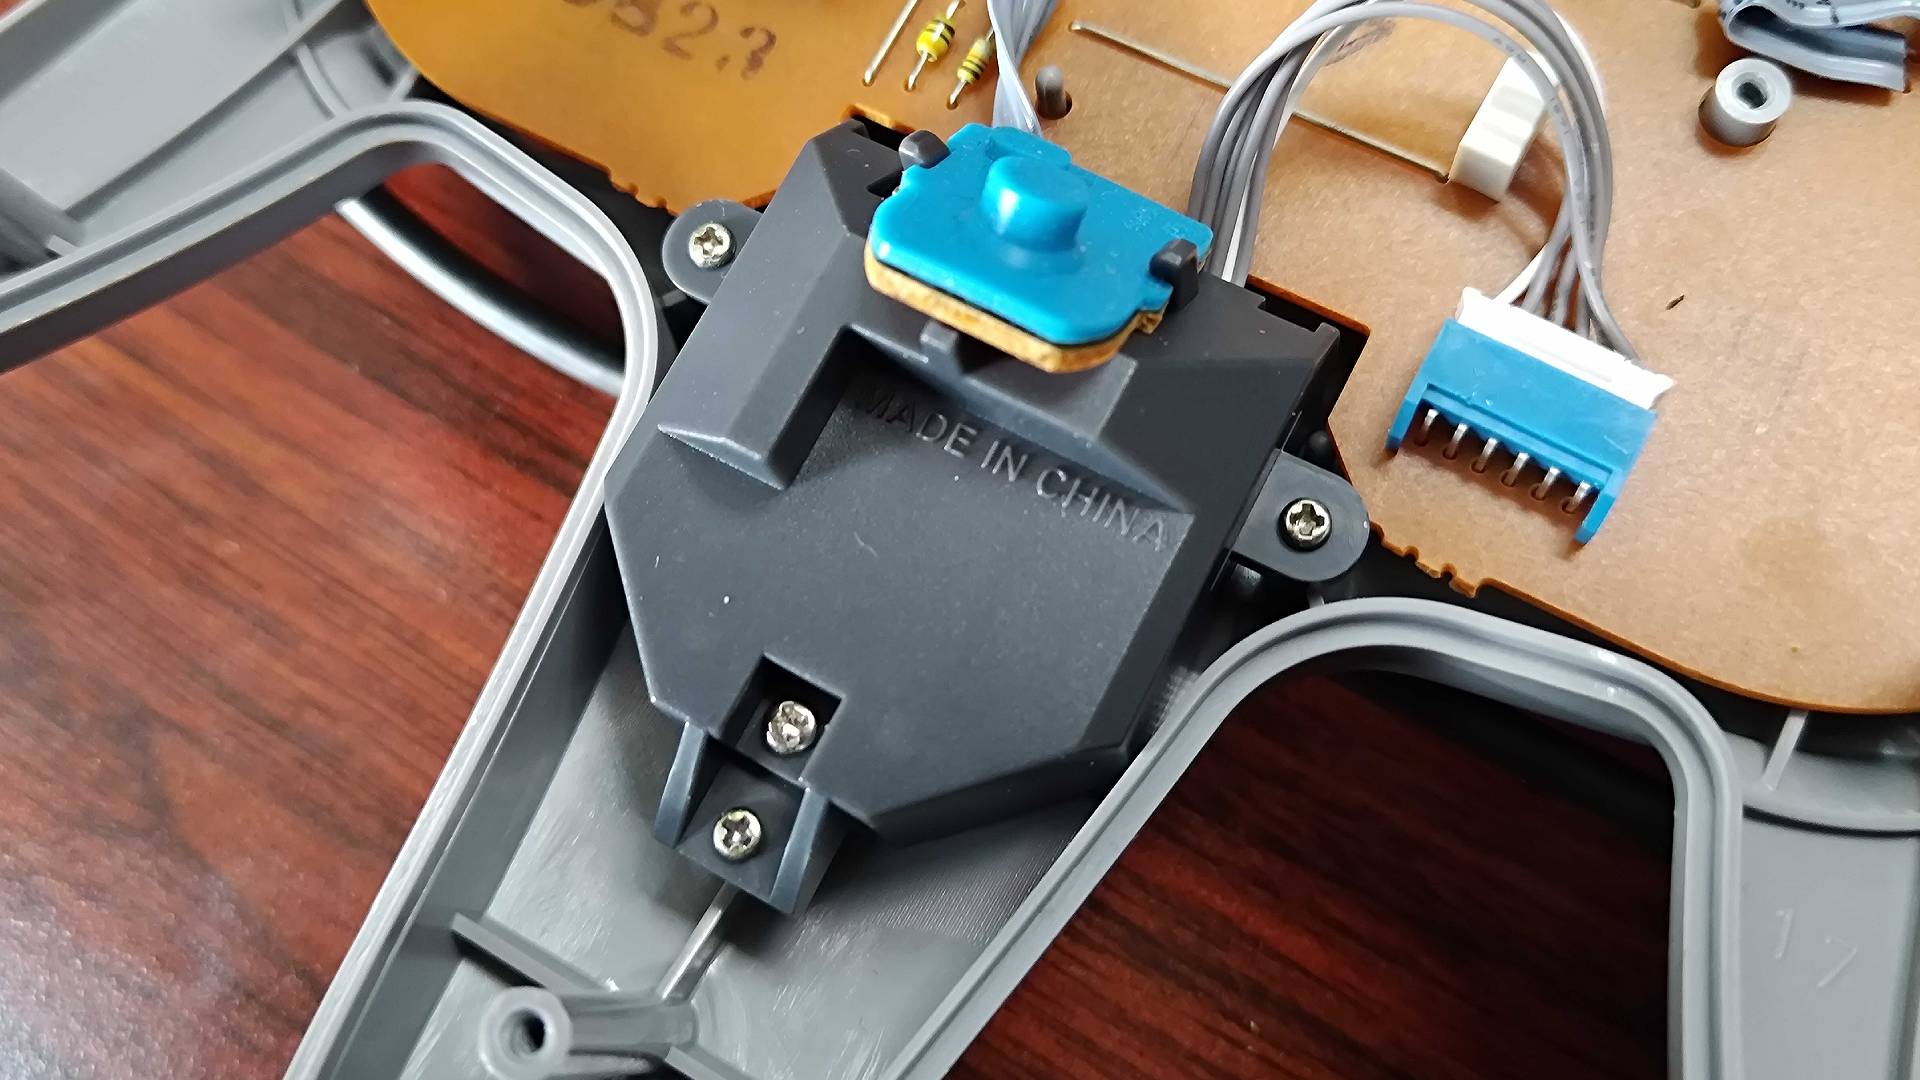
At this stage, you're virtually ready to place the hall-effect module in the N64 controller and reassemble your N64 controller. The replacement part is nearly identical to the old part on the outside, with the only real visual difference being the type of stick and thumbgrip used.
Since this is a fairly easy project, though, I'm going to sprinkle in a few extra steps to help you easily refurbish your N64 controller. If your pad is already in good condition, you might want to skip the next part, but it will ultimately help improve the controller's performance and looks.
Treat your N64 controller to a bath
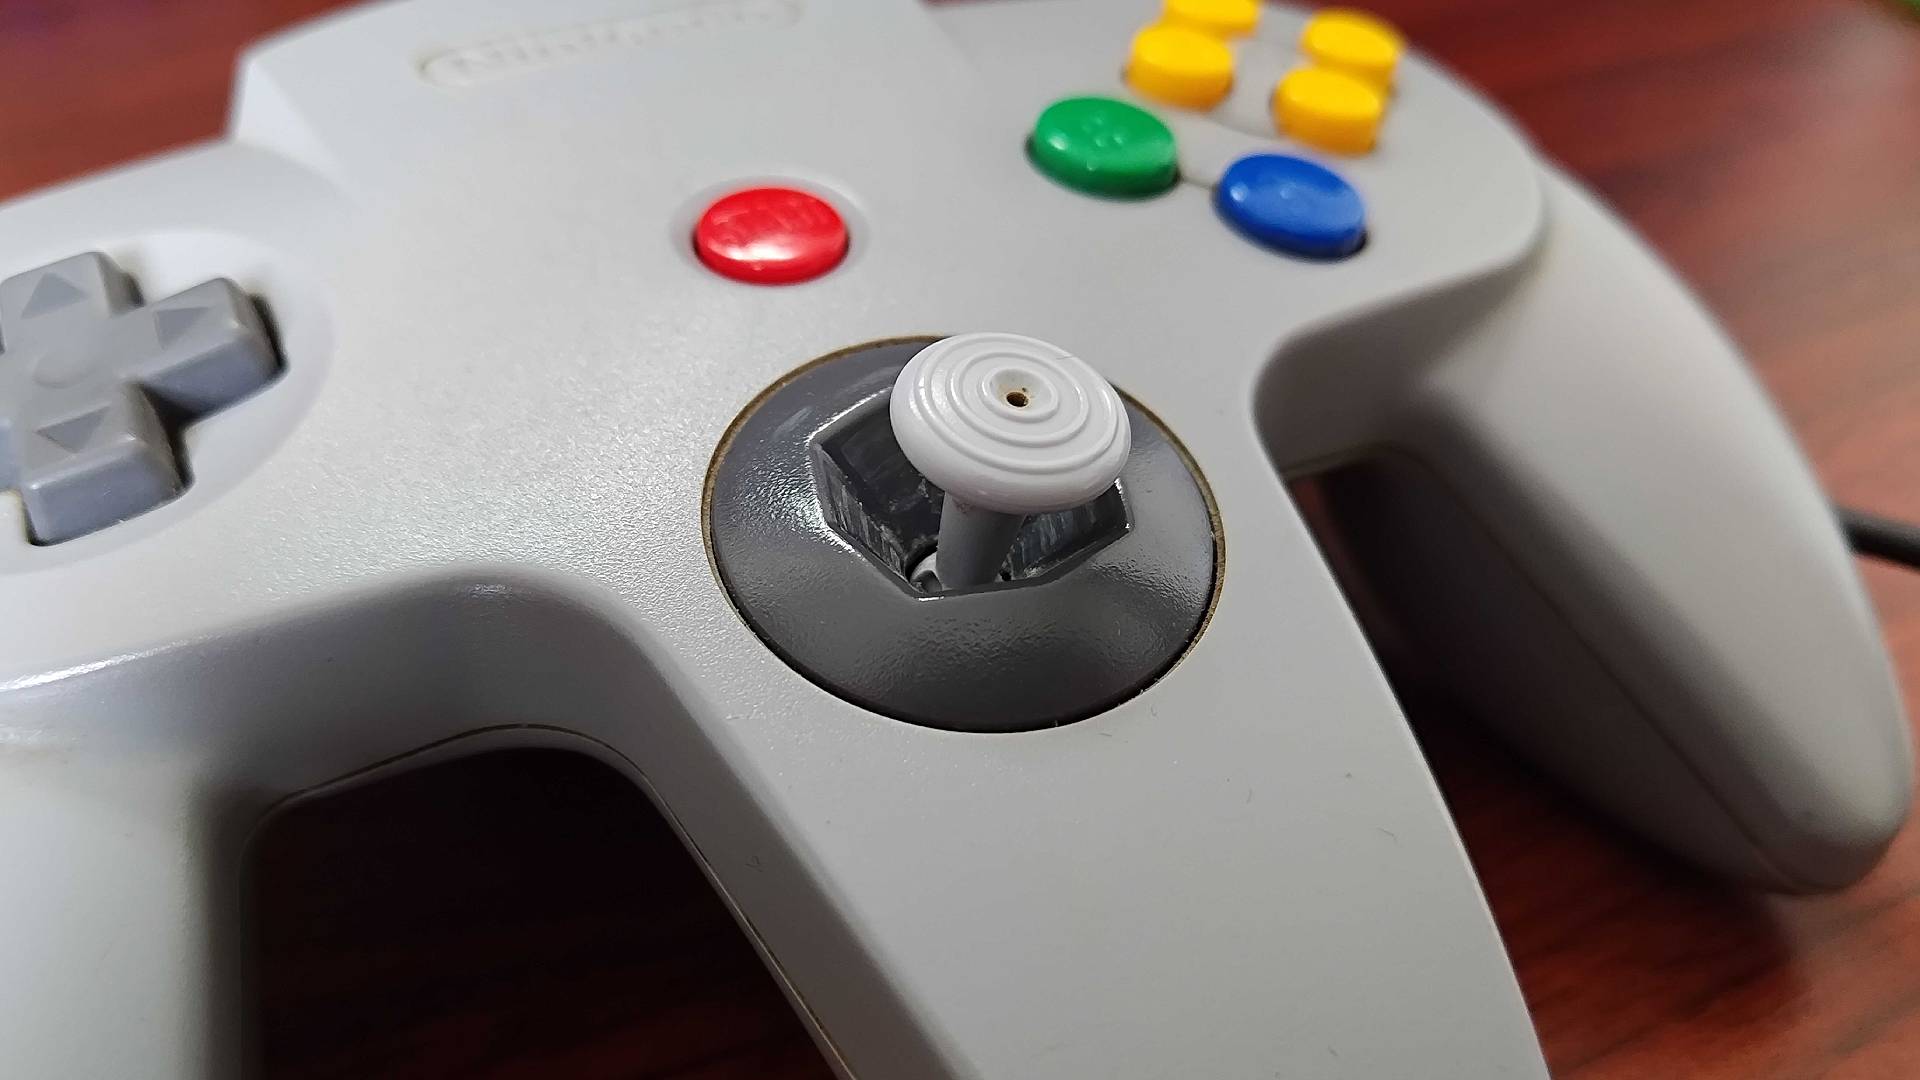
Rather than upgrading one of my existing N64 controllers with this hall effect stick, all of which remarkably still boast solid josticks, I decided to pick up a guinea pig gamepad second-hand specifically for this project.
Just like most old retro accessories out there, the N64 controller I ended up with is fairly crusty. Scrubbing decades of dead skin cells, old Cheetos remnants, and sweat-fortified dust off of gamepads is par for the course with this hobby, so I thought I'd use the pad's filth as an excuse for a quick refurb tutorial.
Admittedly, it also just feels wrong to crack open an N64 controller to jam in a new Hall effect joystick while ignoring all the caked-on dirt. I won't judge you for just giving the shell a quick wipedown and calling it a day, but if you'd rather help the pad look nice and shiny again, you'll want to effectively give everything a bath.
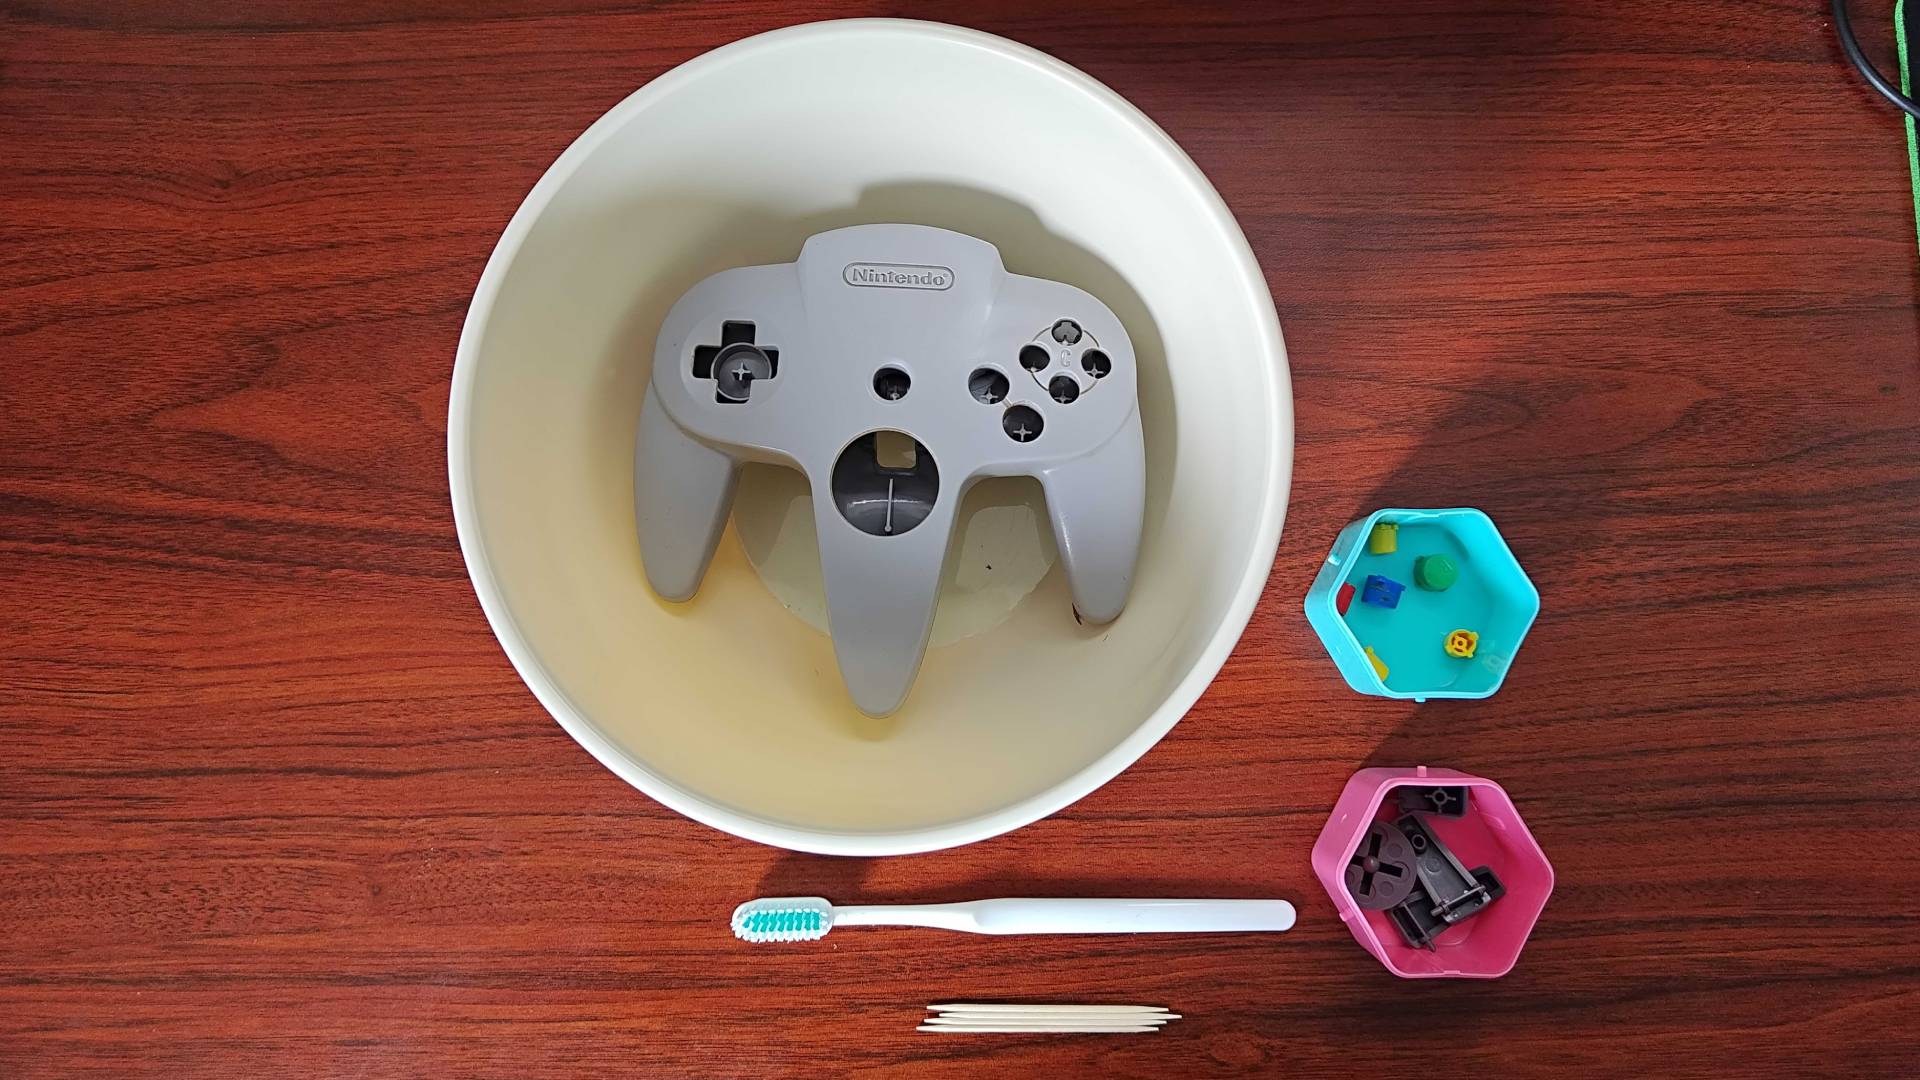
I normally like to start the controller spa process by playing the shell in a reasonably sized basin. You'll want something big enough to submerge the parts in warm water, and I personally like to use just a touch of mild dish soap to combat the built-up grime. It's also worth using separate, smaller containers for your buttons so that you don't have to splash around in dirty water to retrieve them.
I want to stress that you should use warm water rather than anything overly hot for cleaning any old retro console plastics. I tend to just rely on my tap to provide a reasonable temperature, but using anything close to boiling point can warp controller shells.
If you use water that you can keep your hands in for more than a few seconds, it will be enough to shift the dirt, but I like to use a soft toothbrush and some wooden toothpicks to remove anything stuck in grooves and indents. The trick is to avoid tools that are harder than the plastic itself, like metal, as that'll simply result in introducing new scratches and damage.
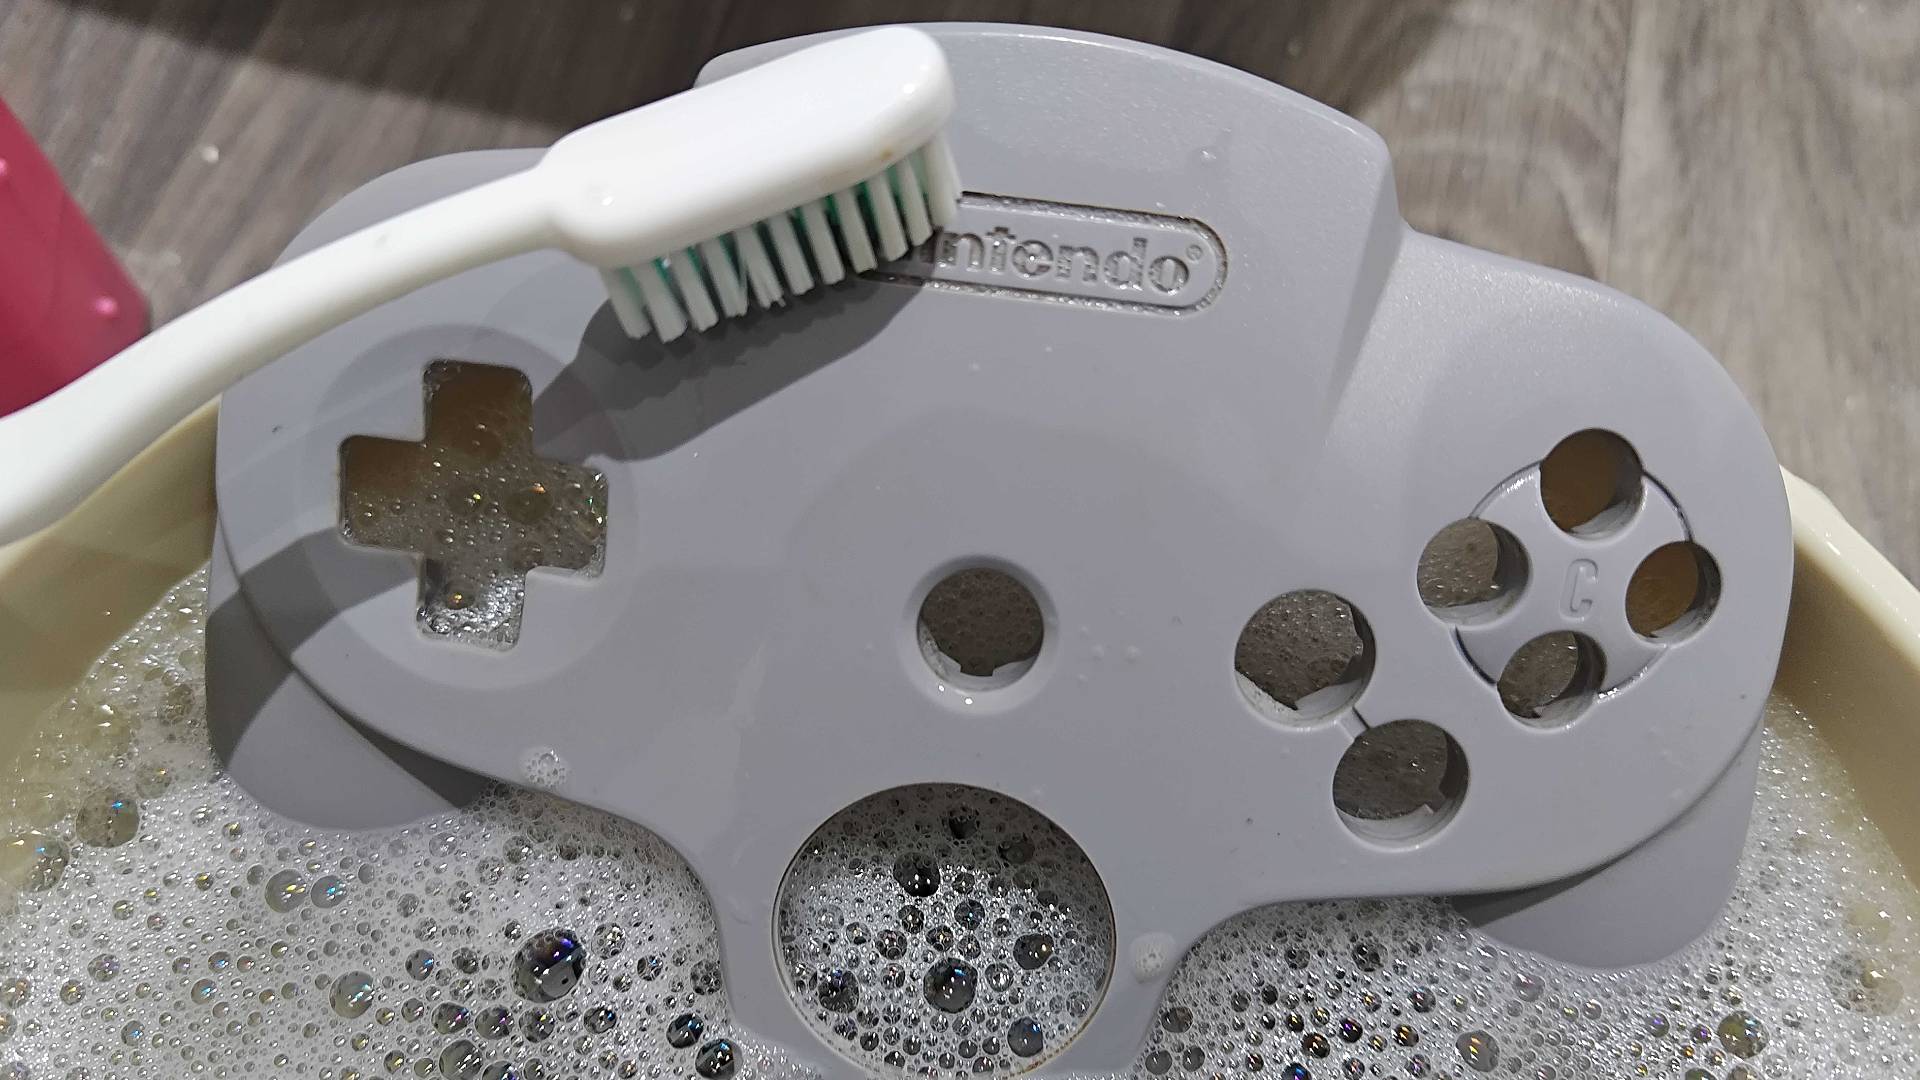
Lastly, to quote Sabrina Carpenter, please, please, please give your controller parts plenty of time to dry before reassembling. You'll naturally want to rinse everything and pat dry after it's spent enough time in the tub, but you'll also want to let everything air dry for at least 24 hours. I've often found that there are still water droplets hanging around shells for longer than that, and if they get on the circuit board, they could cause corrosion.
Providing everything is bone dry, you can then reassemble your N64 controller, install the new hall-effect, and admire your work. I personally think my before and after shots speak for themselves, especially when you compare the close-ups, and you'll be surprised at how well a near-30-year-old gamepad can scrub up.
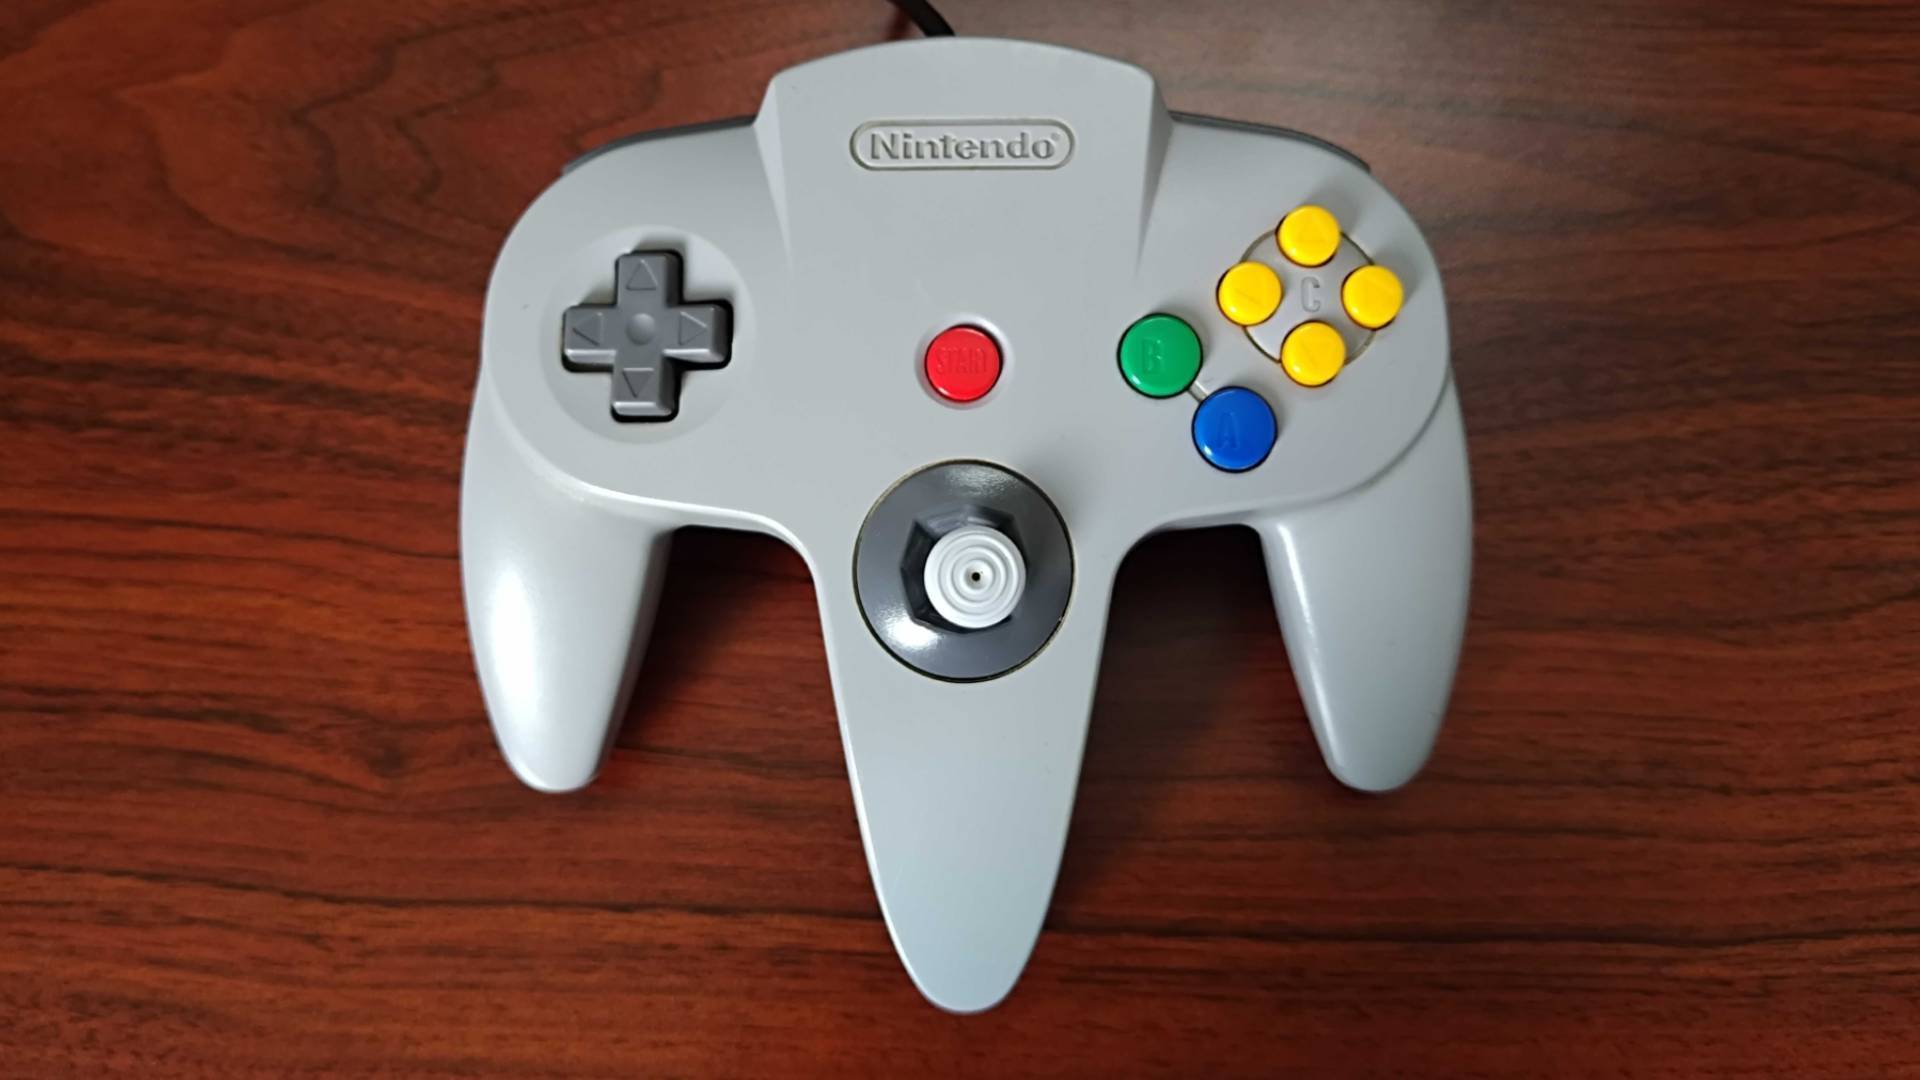
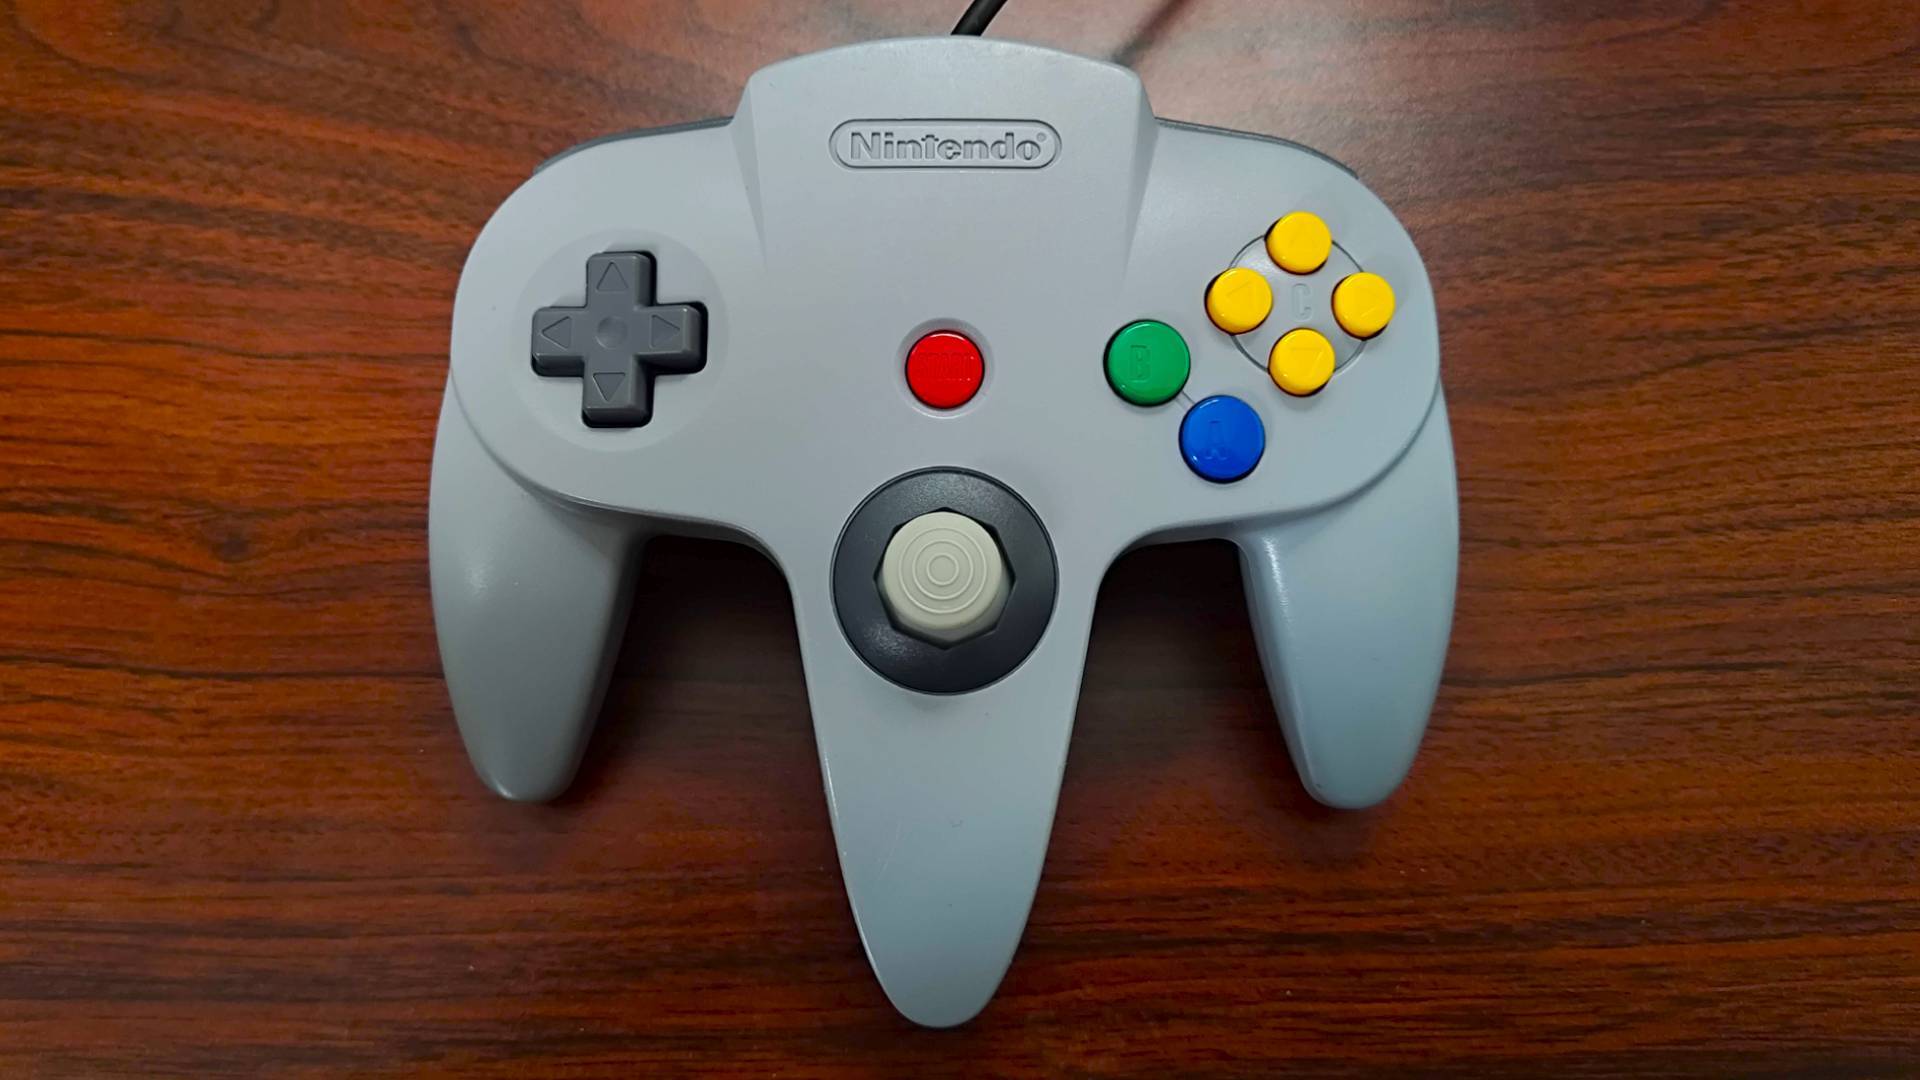
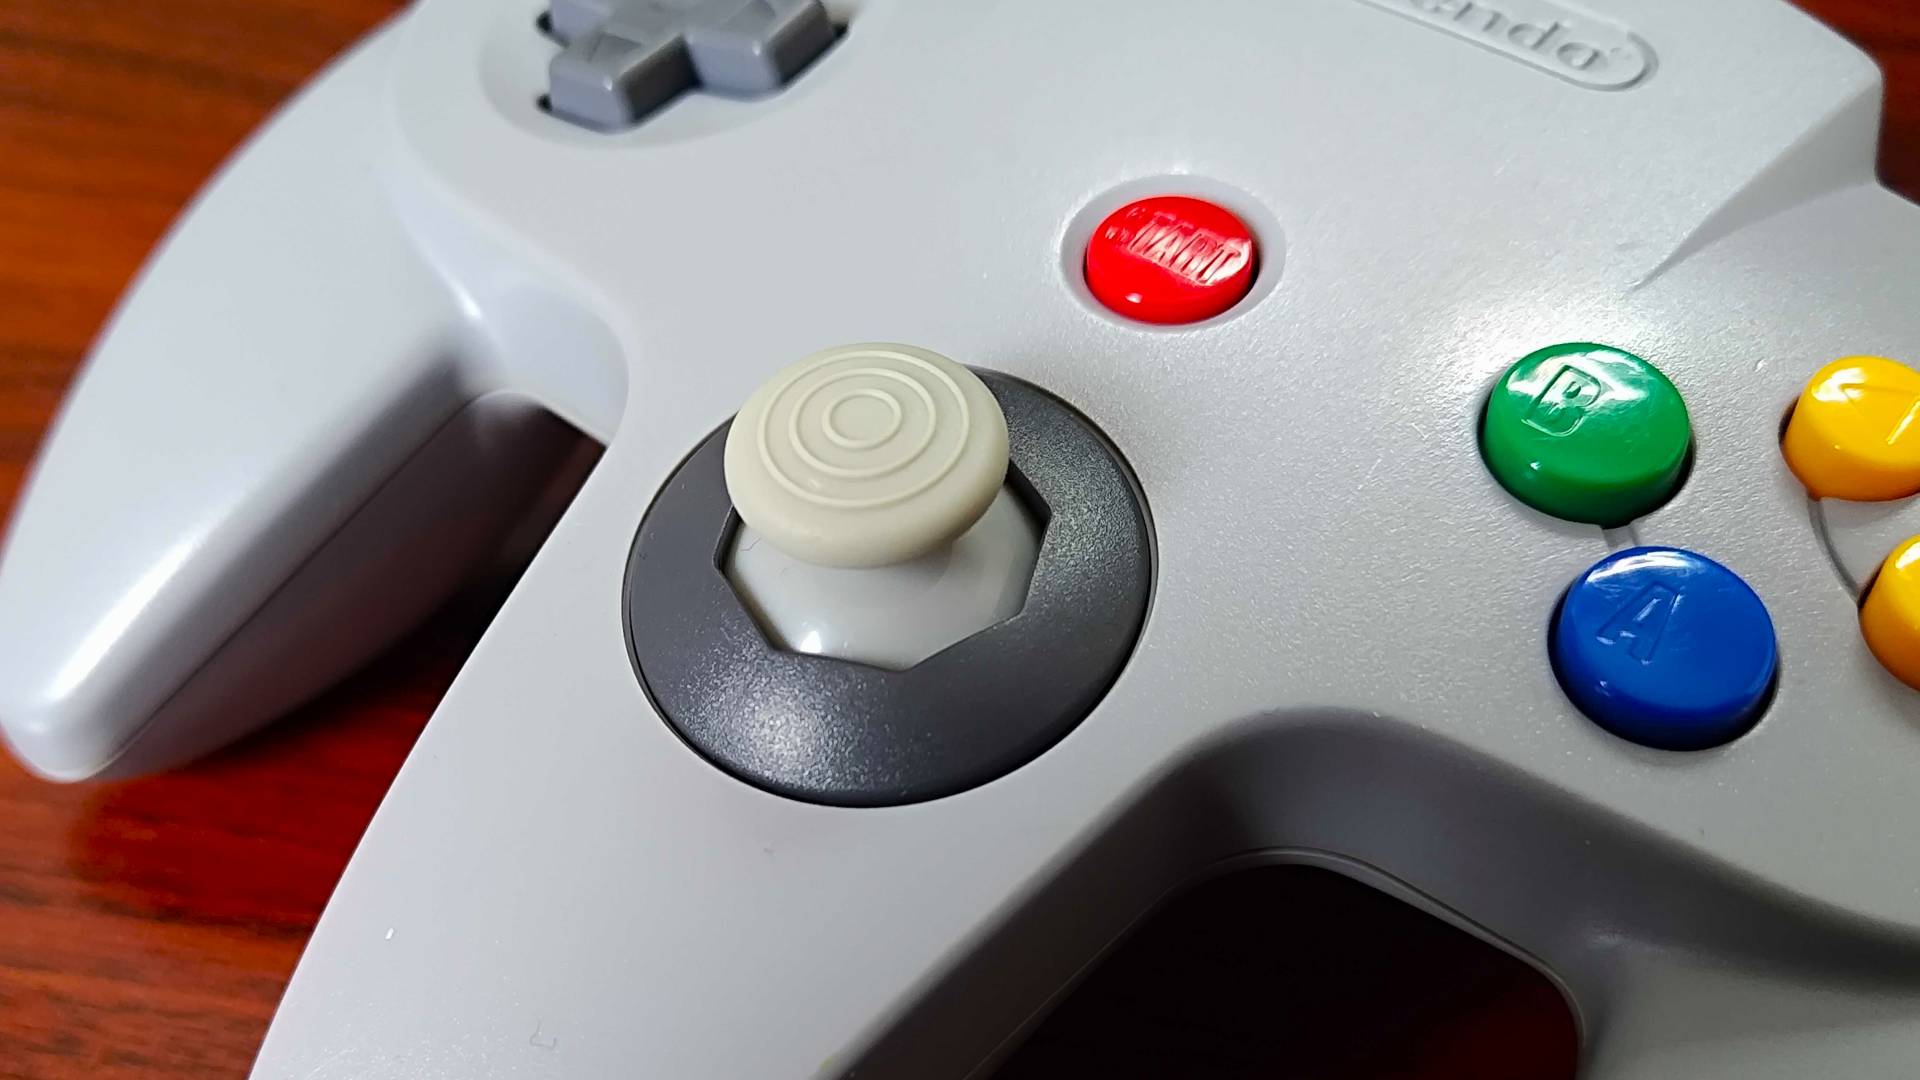
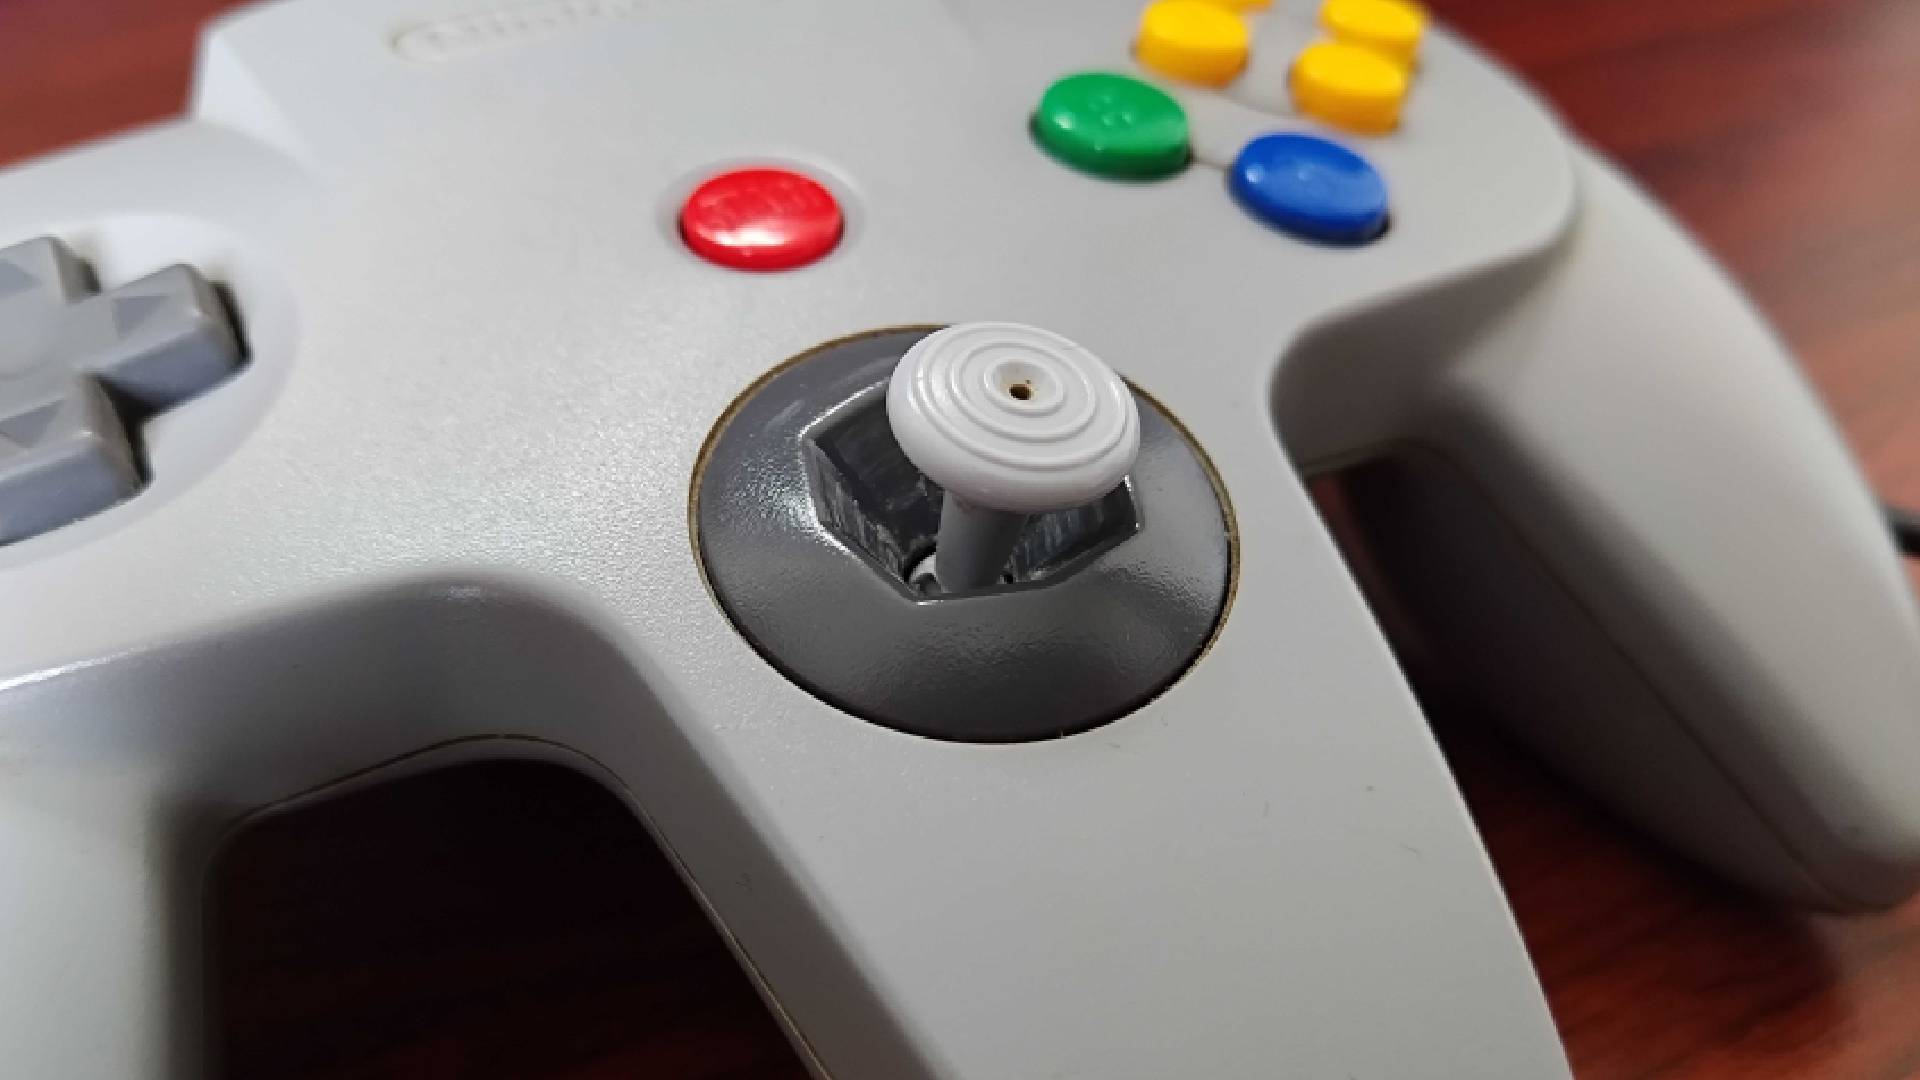
Naturally, your controller may have scratches that can't be scrubbed off, and old console plastics can start to yellow if they're kept out of the sunlight. There are ways to reverse this using hydrogen peroxide and UV light, but if you'd like me to delve into that process in a dedicated article, let me know in the comments.
Can you teach an old N64 controller hall effect tricks?
I know some of you out there will be wondering why you'd want to add a hall-effect joystick to an N64 controller in the first place. To fully understand why the replacement part is even a thing, it's worth delving into the OG thumb stick's flaws and why similar solutions haven't quite hit the mark in the past.
A picture says a thousand words, so it feels only right to show you what 30 years does to the N64 controller's mechanical stick. The main issue with its design is that it uses a combination of gimbals, springs, flywheels, and optical sensors to detect movement. The mechanism is entirely plastic, and the friction caused by moving Nintendo's "control stick" causes the parts to literally disintegrate into dust over time.
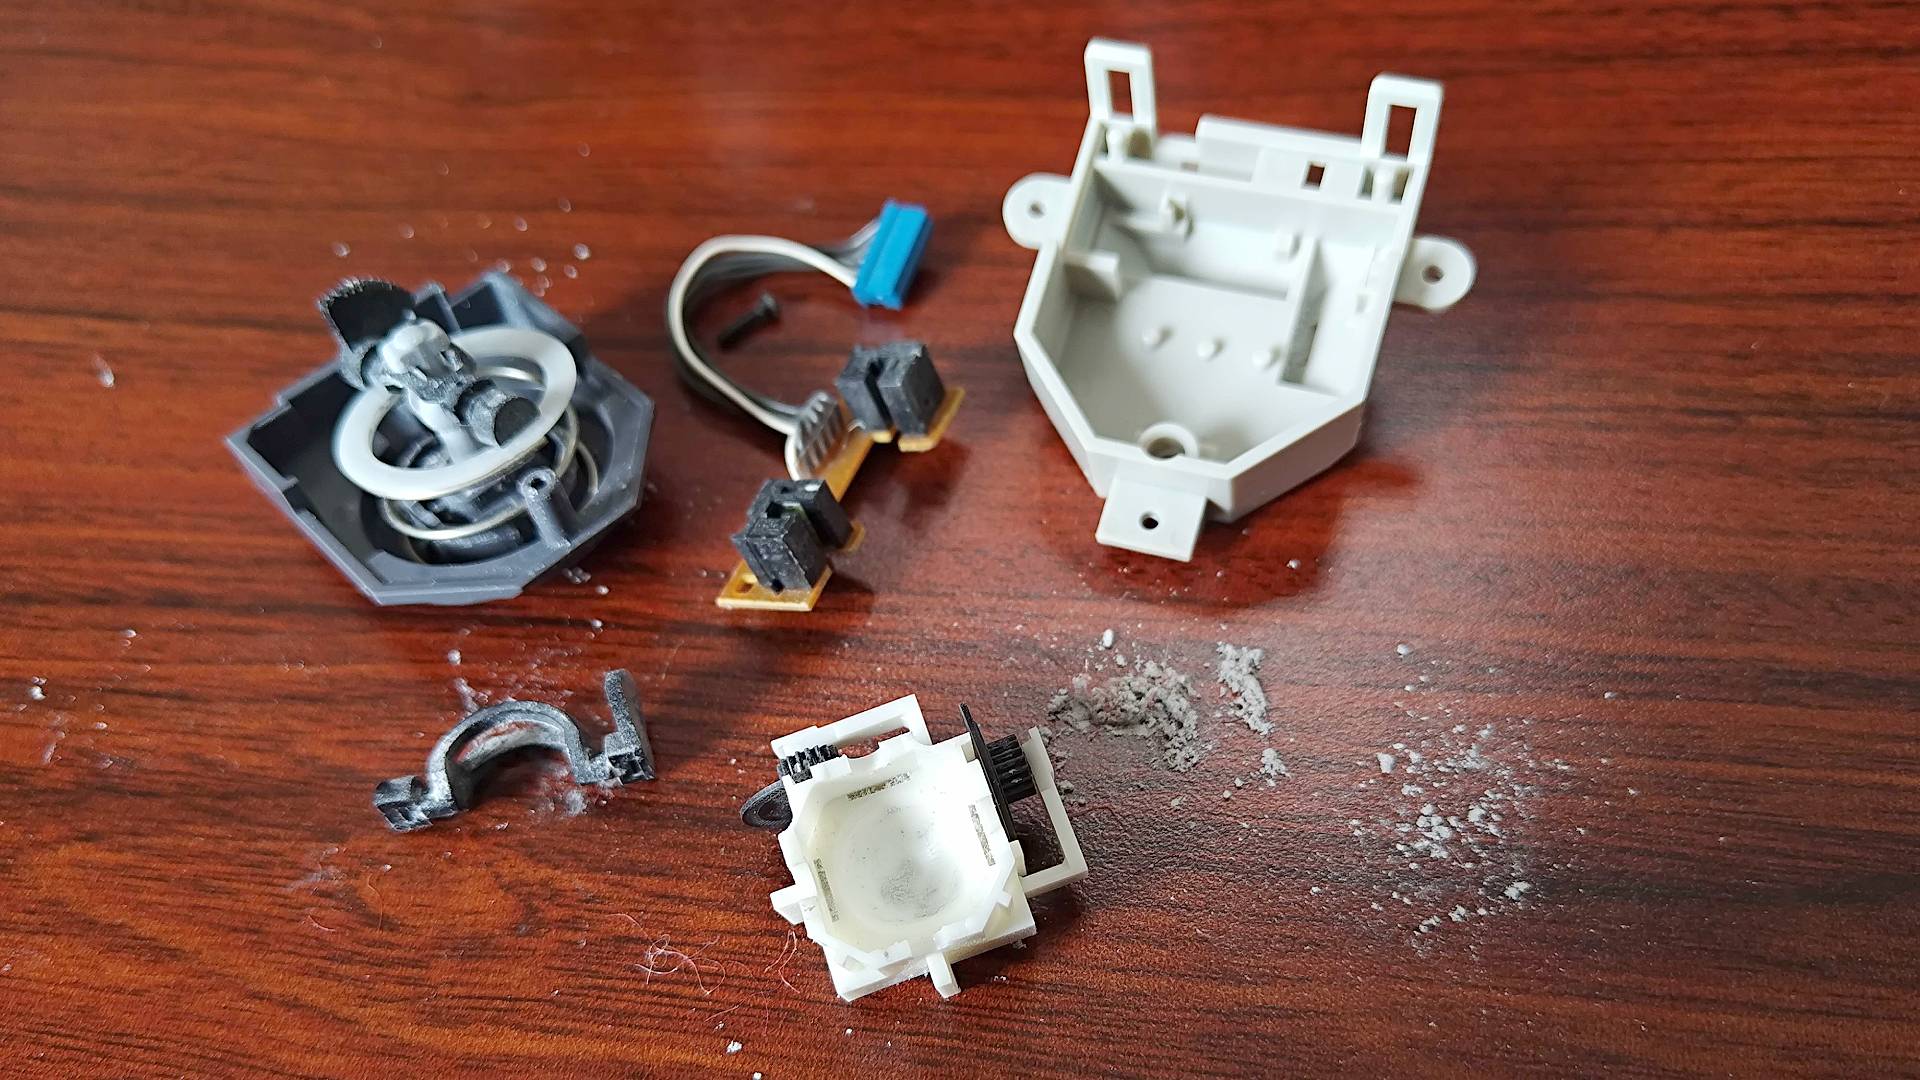
There are effectively multiple failure points when it comes to the N64 stick. For starters, the gimbals will start to get wider over time as the plastic wears down, which causes the stick to wiggle. The joystick bowl that serves as a gate also tends to get deeper as the stick rubs against it, which also stops the mechanism from returning to the centre.
All of this culminates in old N64 joysticks developing stick drift, and it's arguably more severe than modern cases. Therefore, it's easy to see why players might want a quick solution that fixes the issue for good. That said, it does come at the cost of changing how the controls feel, and I can confirm that older "GameCube Style" replacements that use traditional potentiometer-based tech aren't super accurate.
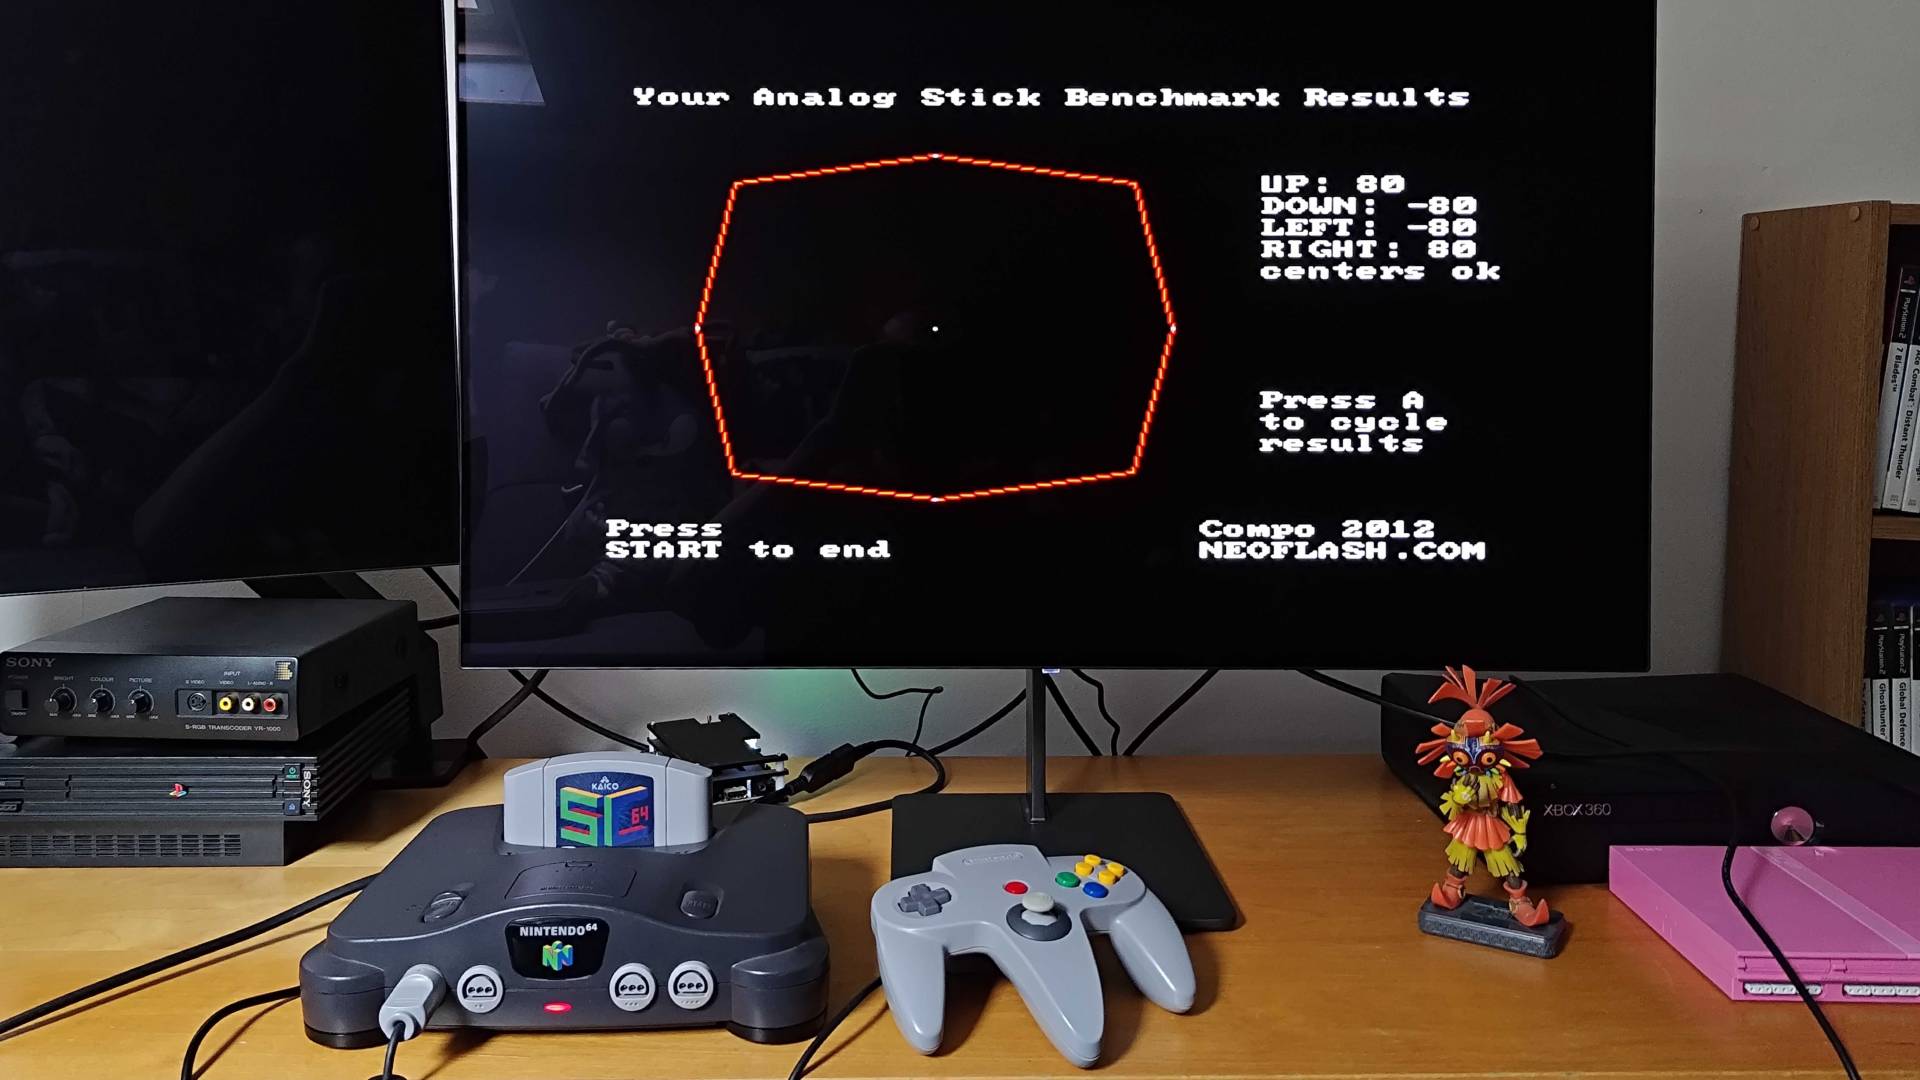
Not only will older ALPS N64 joysticks potentially develop stick drift down the road, but their ranges aren't anywhere near the same as Nintendo's OG setup. If you run benchmarks using controller testing software, you'll see that the readings are way out of range and show up as a square, whereas the official stick and even 8Bitdo's Analogue 3D controller show up as more of an octagon.
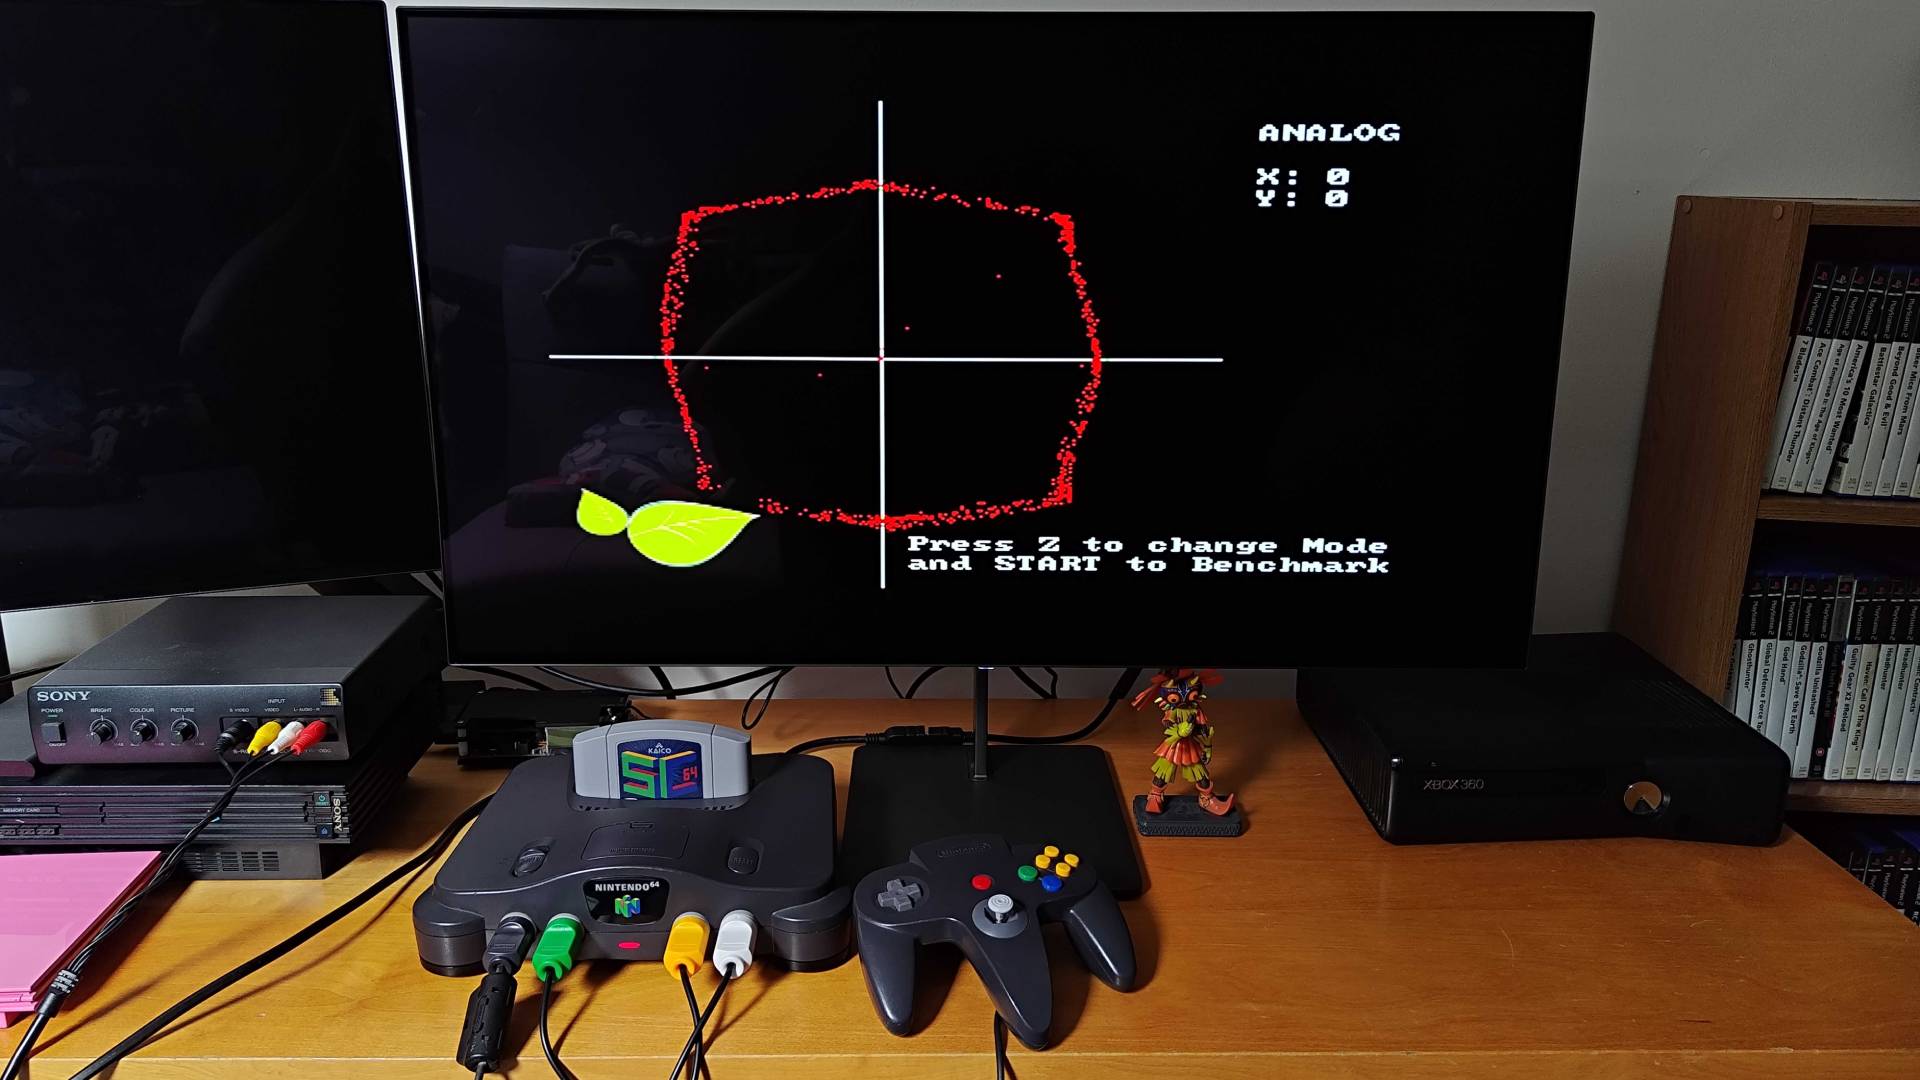
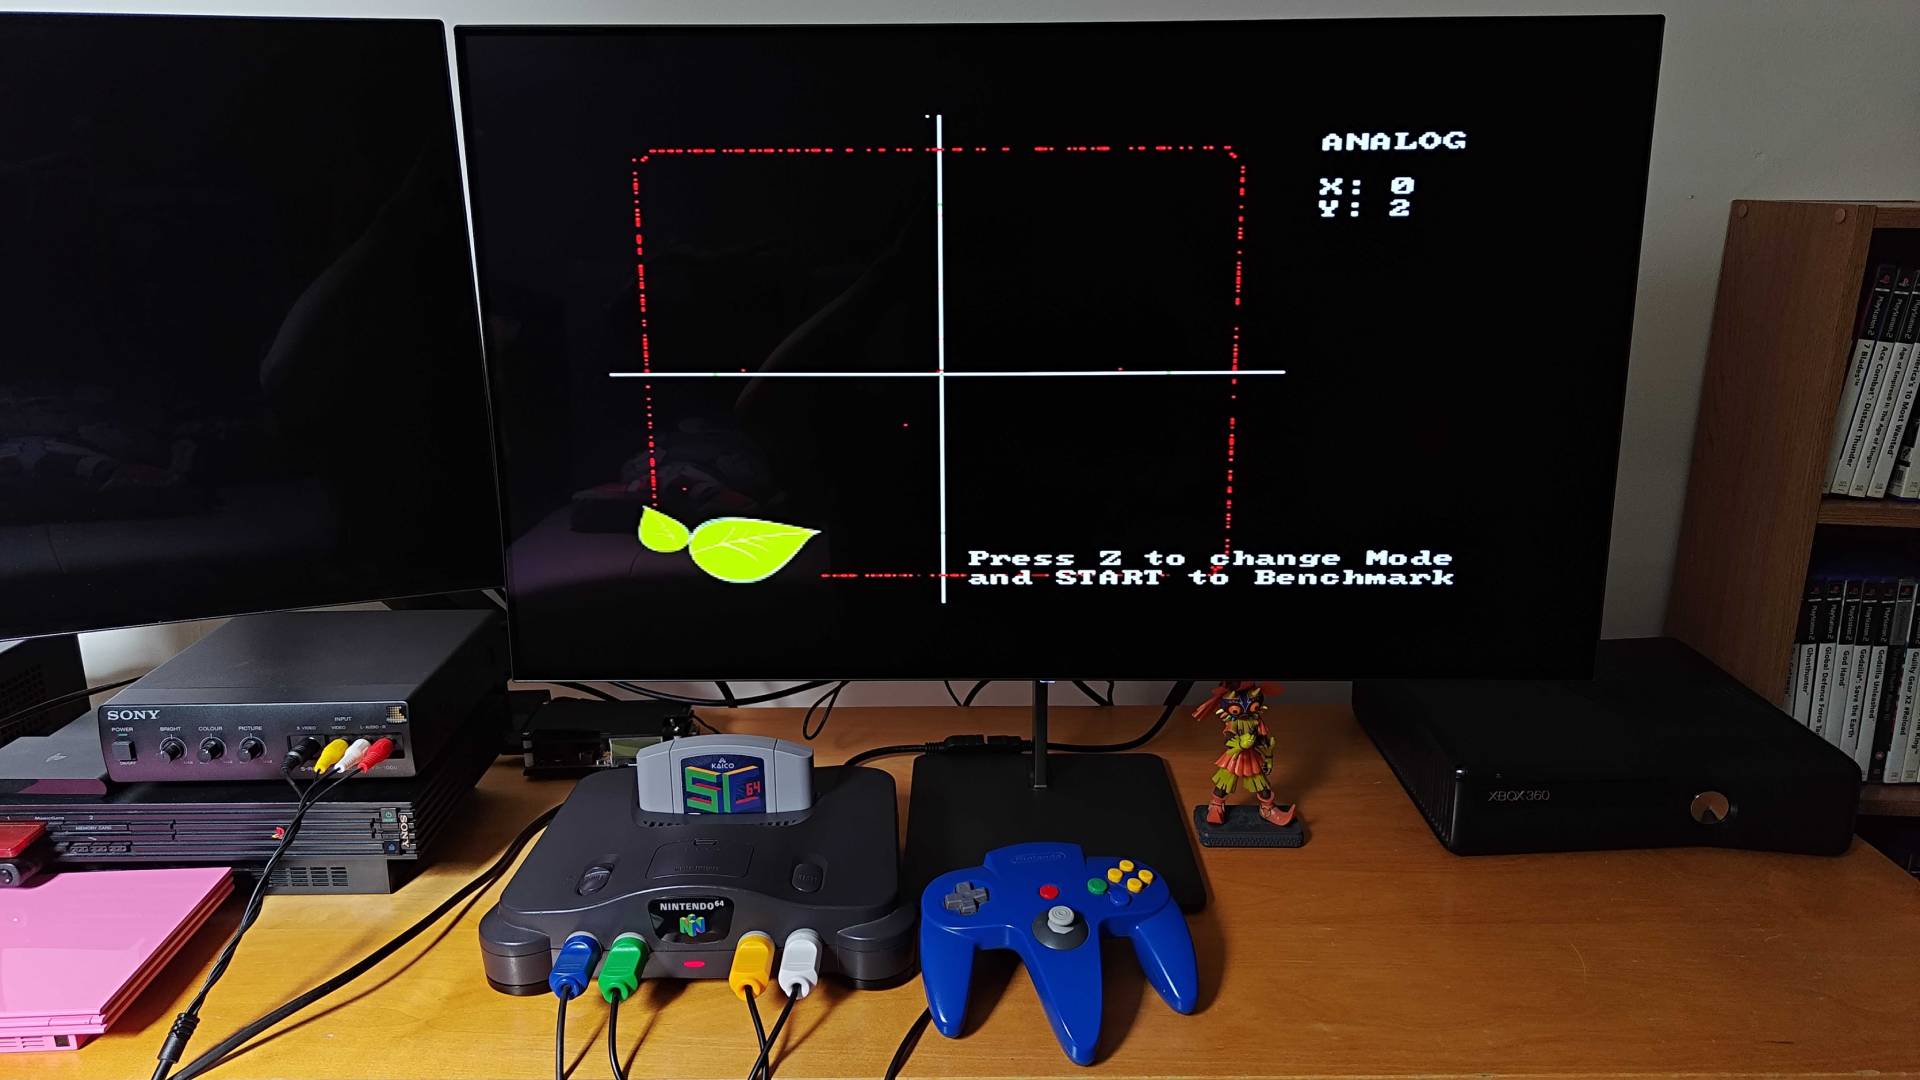
It's worth noting 8Bitdo's N64 pad does use hall-effect tech, and that did provide me with some confidence in regards to Hyperkin's newer replacement part. Upon benchmarking my newly refurbished controller, I actually found that the readings were nearly identical to the official pad, meaning my initial accuracy fears were completely unfounded.
I consider Goldeneye 007 to be the ultimate N64 controller test since it relies on accurate movement. While my older Hyperkin ALPS stick feels pretty unwieldy thanks to those wide ranges, the hall-effect stick genuinely feels almost the same as the original.
Admittedly, the actual feel of the GameCube-style thumb stick does feel different since there's far less resistance compared to the old mechanical sensors, and some of you might not be into that. I would say that if you didn't grow up with the N64, though, this new stick will probably feel more natural to you, even if it's not strictly authentic.
Should upgrade your N64 controller with a hall effect joystick?
I know I'm going to upset some retro purists when I say this, but I think Hyperkin's N64 hall-effect joystick is well worth considering in most cases. I wouldn't replace a perfectly functioning OG stick if it's still nice and springy, as preserving original hardware is a passion of mine. However, if you do need a quick fix that boasts similar benchmarks, I reckon this is the part for the job.
It helps that this N64 hall-effect joystick upgrade is one of the simplest mods out there, as it makes the project super approachable. That said, I do think it's worth asking yourself if you actually want to be using the OG pad with the Nintendo 64, as there's a wealth of alternatives out there that ditch the three-pronged setup for something arguably more ergonomic.
Those of you who do adore the trident-shaped pad might also want to keep the old mechanical joystick, too, and I completely get why. One of the things I love most about retro gaming is getting to experience tech exactly how it would have arrived back in the day, warts and all.
Those of you who prioritise authenticity will want to explore different N64 controller remedies. Not only are there like-for-like replacements by Kitsch-Bent that use Ninty's design, but there are even metal parts by the likes of SteelSticks64 that'll better withstand wear.
Of course, I'll also continue to fix the original parts to the best of my ability, and I'm always finding new ways to do so. I've even started experimenting with completely restoring the optical-mechanical module using 3D printing, but even with that in mind, I'd still highly recommend giving Hyperkin's hall-effect replacement a shot, even if just for your player 2 pad.
- More N64 controllers at Amazon
- Retro Fighters Brawler64 | $39.95 at Amazon
- 8Bitdo 64 Bluetooth Controller | $39.99 at Amazon
- Hyperkin Fleet Admiral | $25.99 at Amazon

Phil is currently the Hardware Editor at GamesRadar+ who specialises in retro gaming, the best gaming handhelds like the Steam Deck, and more modern components like graphics cards. Having spent years offering up classic console advice and over a decade as a gaming journalist for big names like TechRadar, The Daily Star, the BBC, Den of Geek, and many more, Phil now dedicates their days to covering the latest news and offering up invaluable setup advice.
You must confirm your public display name before commenting
Please logout and then login again, you will then be prompted to enter your display name.
