
 Join The Community


Wild Area

Despite heading to Motostoke, a flock of Wooloo on the tracks forces the train you're on to stop abruptly at the Wild Area. When in the station — if you played Pokemon Let's Go Pikachu or Eevee — speak to the couple to the left of the door to the platform. They'll give you a special version of Pikachu or Eevee depending on the version you played. What's so special, I hear you ask? They can be Dynamaxed!
Leave the station and you'll be in the Wild Area, where you can control the camera with the right stick. Revolutionary! You don't need to do anything specific in the Wild Area right now, simply aim to get to Motostoke at the other end. We've got everything to do with this vast expanse covered in our Pokemon Sword and Shield Wild Area guide, so check that out for more information.
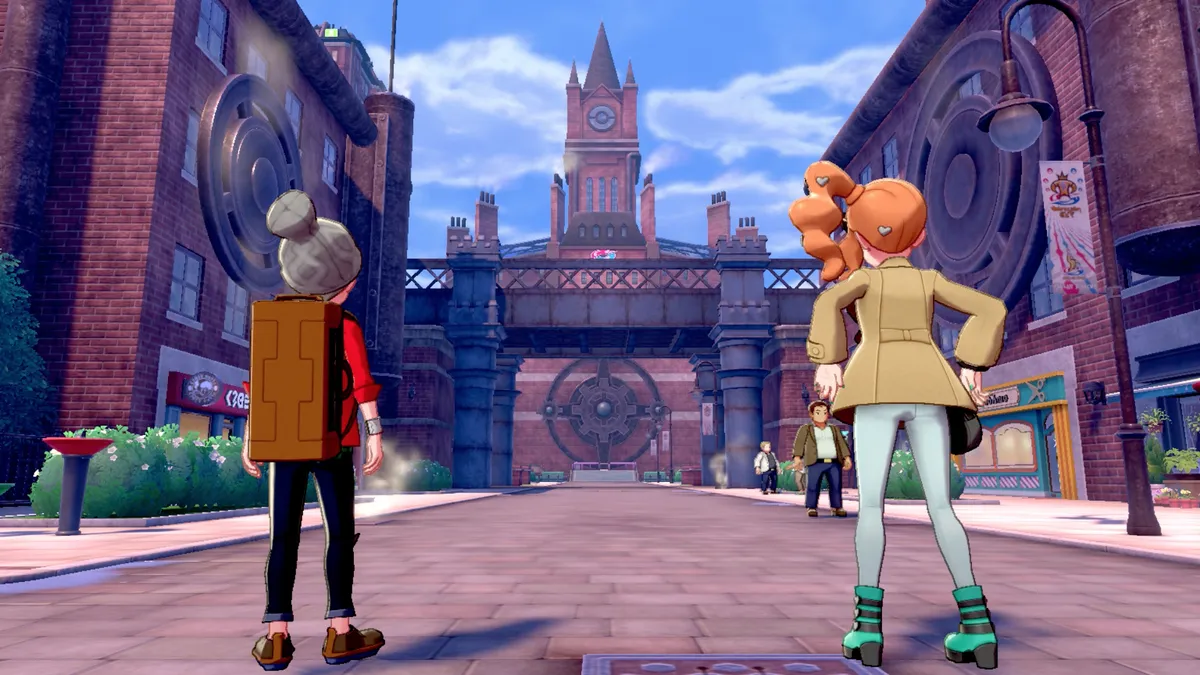
Motostoke
Pokemon: Motostoke - Fishing

| Pokemon | Rarity |
|---|---|
| Barboach | Average |
| Chewtle | Frequent |
| Magikarp | Frequent |
Items: Motostoke
| Item | Visible | Hidden |
|---|---|---|
| Black Glasses | Y | Row 0 - Cell 2 |
| Burn Heal x3 | Y | Row 1 - Cell 2 |
| Great Ball x3 | Y | Row 2 - Cell 2 |
| Nugget | Row 3 - Cell 1 | Y |
| Paralyze Heal x2 | Row 4 - Cell 1 | Y |
| Poke Ball | Row 5 - Cell 1 | Y |
| Poke Doll | Row 6 - Cell 1 | Y |
| Repel | Row 7 - Cell 1 | Y |
| Revival Herb | Row 8 - Cell 1 | Y |
| Silk Scarf | Y | Row 9 - Cell 2 |
| Super Potion | Row 10 - Cell 1 | Y |
| TM02 Pay Day | Y | Row 11 - Cell 2 |
| X Accuracy | Row 12 - Cell 1 | Y |
When you get to Motostoke, head towards the Pokemon Center to find Sonia. She'll take you inside and show you how league cards work, then afterwards, you can spend some time exploring the high street. Make sure you check out the Battle Cafe and take on Cafe Master Dwight because you'll earn a reward every time you fight him, although his lineup changes each time you face him.
Afterwards, make sure you talk to the guy outside of the record store to get the Hi-Tech Earbuds – these allow you to go into the options and adjust the volume of Background Music, Pokemon Cries, and Sound Effects individually – then head to the end of the road to use the lift. Leon will interrupt and give you an item dependent on which starter you picked, but then you can head up the lift and into Motostoke Stadium. Not before speaking to Ball Guy, of course.
Speak to Hop and enter the Motostoke Stadium, then get registered with the guy at the front desk. Leave again and you'll be taken to the Budew Inn down the road, but don't go inside yet. Go west a little further and speak to the two boys by a shipping crate with their mom.

They've lost their Minccino and it's up to you to find it for them. All you know is it likes water, so walk back along to the stadium and outside are two fountains. Approach the one on the left and whistle to make Minccino come out of hiding. Head back to the boys for a reward, then go inside the Budew Inn.
After speaking with Sonia in the lobby, you'll be introduced to Team Yell for the first time, with three successive battles against four Grunts, with the final fight being a duo battle alongside Hop.
Team Yell Grunt
| Pokemon | Level | Type |
|---|---|---|
| Zigzagoon | 9 | Dark/Normal |
Team Yell Grunt
| Pokemon | Level | Type |
|---|---|---|
| Nickit | 9 | Dark |
Team Yell Grunt & Team Yell Grunt (Duo)
| Pokemon | Level | Type |
|---|---|---|
| Zigzagoon | 9 | Dark/Normal |
| Nickit | 9 | Dark |
Take down all four trainers and Marnie, one of the challengers for the Gym Challenge will appear. Team Yell are her rather eager fans, and she apologises on behalf of them. Speak to the receptionist to jump to the next day.
Walk over to the Motostoke Gym to watch the opening ceremony for the Gym Challenge, featuring Rose, the Director. When it's done, Rose and Leon will come and talk to you, then as you leave, you'll receive the Flying Taxi service as a gift which allows you to fly to any location you've visited already. Walk left down the path to find Hop who insists on another battle.
Hop
| Pokemon | Level | Type |
|---|---|---|
| Wooloo | 11 | Normal |
| Sobble/Grookey/Scorbunny | 14 | Water/Grass/Fire |
| Rookidee | 12 | Flying |
After you've beaten Hop, keep going left to find Route 3.
Pokemon Sword and Shield walkthrough: Postwick and Route 1
Pokemon Sword and Shield walkthrough: Wedgehurst and Route 2
Pokemon Sword and Shield walkthrough: Wild Area and Motostoke
Pokemon Sword and Shield walkthrough: Route 3, Galar Mine, and Route 4
Pokemon Sword and Shield walkthrough: Turffield, Turffield Gym, and Route 5
Pokemon Sword and Shield walkthrough: Hulbury and Hulbury Gym
Pokemon Sword and Shield walkthrough: Galar Mine No.2 and Motostoke Gym
Pokemon Sword and Shield walkthrough: Hammerlocke and Route 6
Pokemon Sword and Shield walkthrough: Stow-on-Side and Stow-on-Side Gym
Pokemon Sword and Shield walkthrough: Glimwood Tangle
Pokemon Sword and Shield walkthrough: Ballonlea and Ballonlea Gym
Pokemon Sword and Shield walkthrough: Route 7 and Route 8
Pokemon Sword and Shield walkthrough: Circhester and Circhester Gym
Pokemon Sword and Shield walkthrough: Route 9
Pokemon Sword and Shield walkthrough: Spikemuth Gym
Pokemon Sword and Shield walkthrough: Hammerlocke Gym
Pokemon Sword and Shield walkthrough: Route 10 and Wyndon
Pokemon Sword and Shield walkthrough: Wyndon Gym and Rose Tower
Pokemon Sword and Shield walkthrough: Wyndon Gym Finals and Slumbering Weald
Pokemon Sword and Shield walkthrough: Energy Plant and Champion Battle
Pokemon Sword and Shield walkthrough: Zacian and Zamazenta
Pokemon Sword and Shield walkthrough: Post-game activities

