Pokemon Sword and Shield complete guide and walkthrough to become the Champion of Galar
All the Pokemon Sword and Shield guides you'll need for your playthrough
Hulbury

Pokemon: Hulbury - Fishing
| Pokemon | Rarity |
|---|---|
| Arrokuda | Frequent |
| Basculin (Red Stripe - Sword) | Average |
| Basculin (Blue Stripe - Shield) | Average |
| Chewtle | Average |
| Chinchou | Common |
| Wishiwashi | Rare |
Items: Hulbury
| Item | Visible | Hidden |
|---|---|---|
| Full Heal | Row 0 - Cell 1 | Y |
| Magnet | Y | Row 1 - Cell 2 |
| Net Ball x5 | Y | Row 2 - Cell 2 |
| Shell Bell | Y | Row 3 - Cell 2 |
| Super Potion x2 | Row 4 - Cell 1 | Y |
| TM82 Electroweb | Y | Row 5 - Cell 2 |
| X Sp. Def | Row 6 - Cell 1 | Y |
| X Speed x2 | Row 7 - Cell 1 | Y |
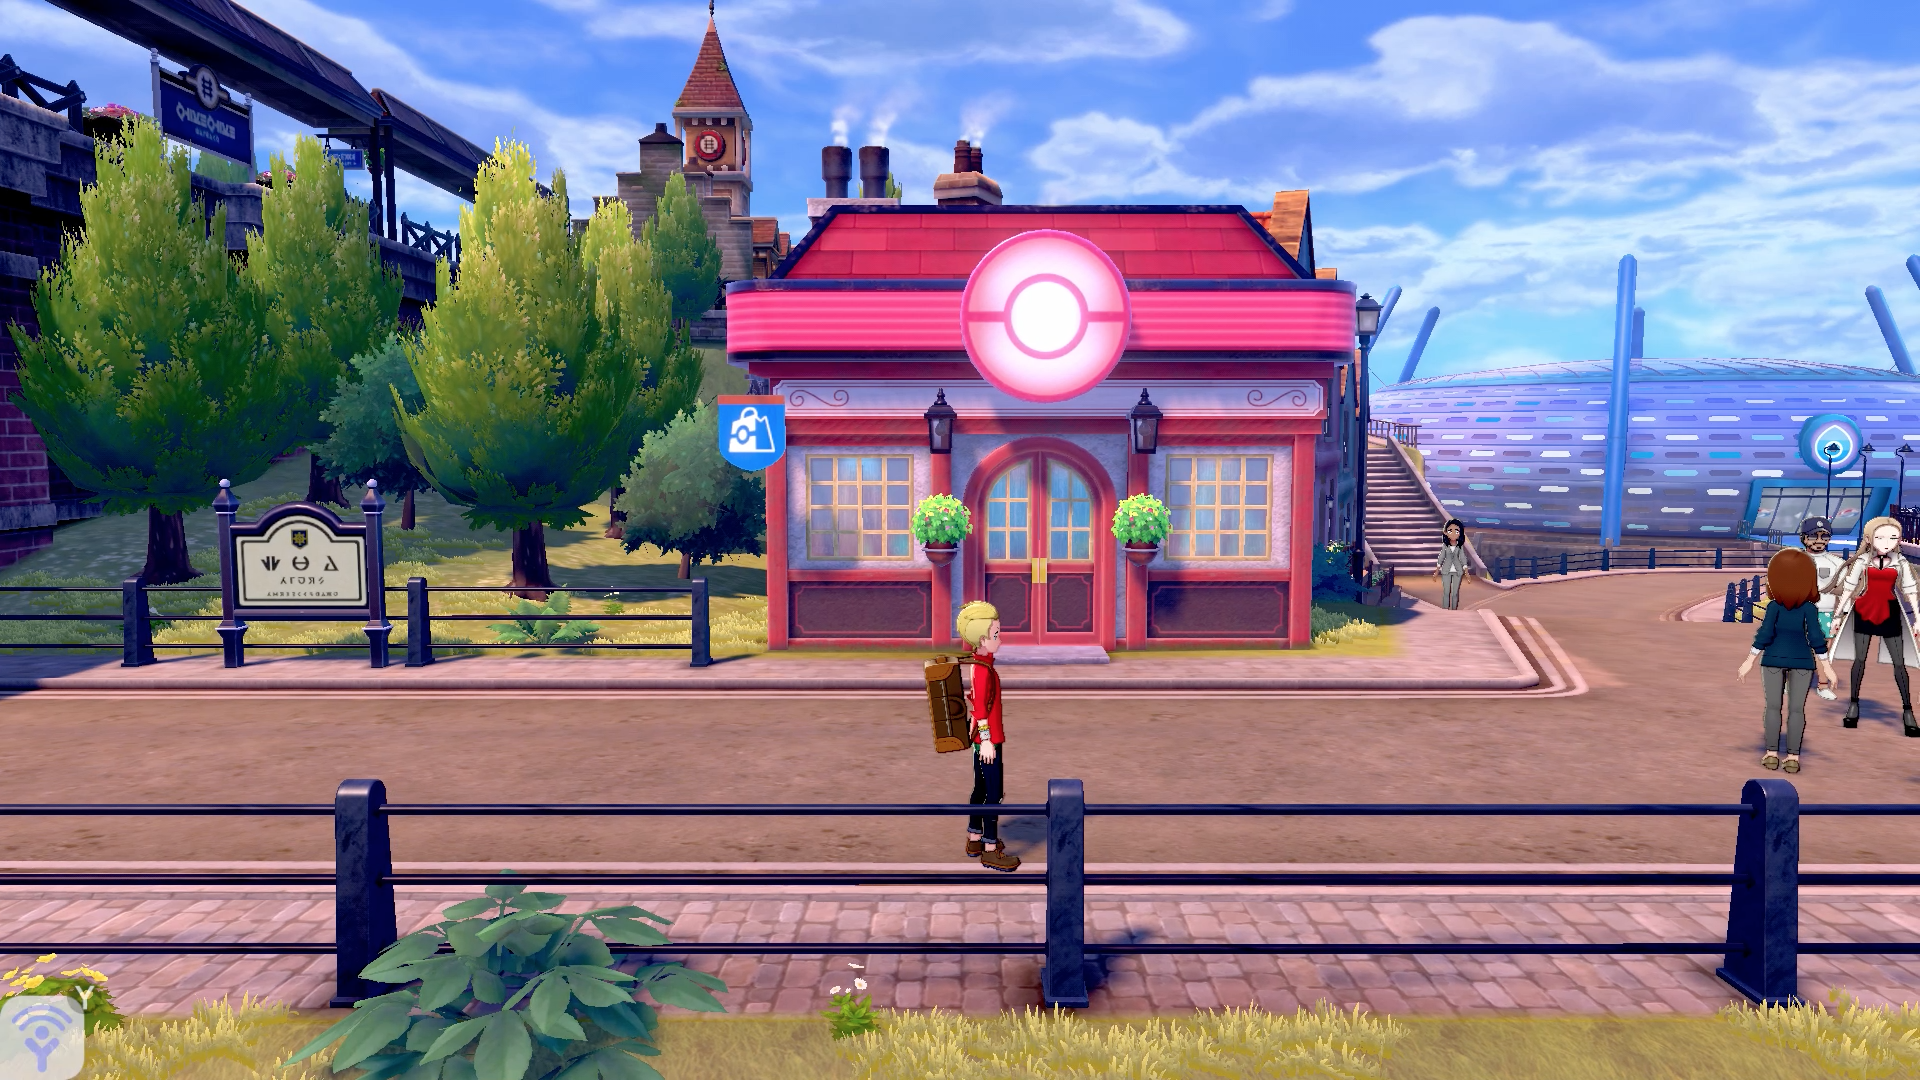
Welcome to Hulbury! Heal up at the Pokemon Center by the entrance then when you leave, you'll be greeted by Rose and his assistant, Oleana. She tells you that Rose will be waiting for you in the local seafood restaurant but first, you need to defeat Gym Leader Nessa in the Water-type gym. Before that however, let's do a little exploring.
Head down the stairs opposite the seafood restaurant and you'll find a woman looking for a Minccino, offering a Cottonee in return. If you caught a Minccino previously, this is a trade worth doing. There's also a lady at one of the market stalls selling various types of incense. They're not cheap, but it's worth having a browse to see if any are applicable for your party.
Head east and down the steps to the dock with a number of boats moored to find a Shell Bell, then make your way towards the gym in the distance. You'll be reliably informed that Nessa is out at the moment and tends to hang out by the lighthouse, so walk past the gym further east. Take the path onto the pier to find five Net Balls, then head back up to the road and keep going east to find Nessa chilling. Speak with her and she'll return to the gym so you can take on the challenge.
Hulbury Gym

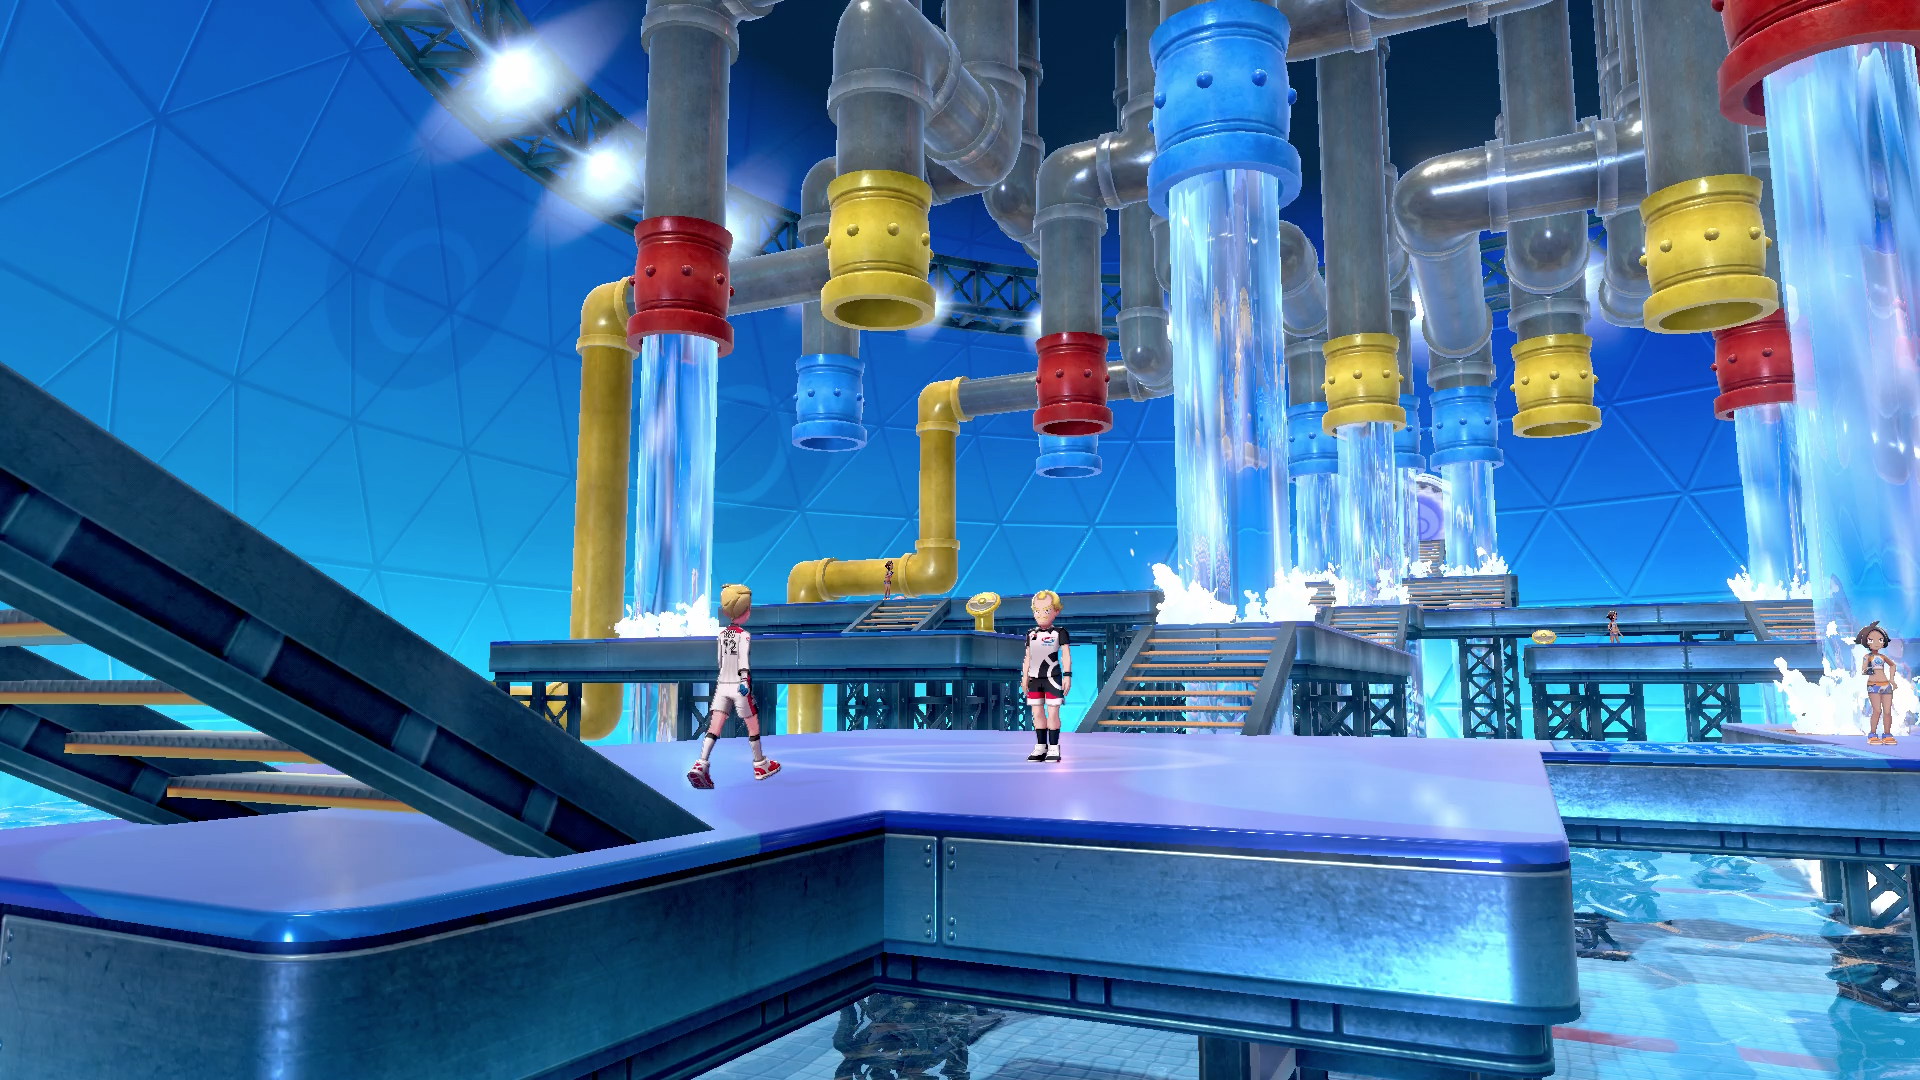
Since this is the Water-type gym, the puzzle you have to solve to reach the end is based on valves to change the flow of water. Kick things off by heading to the right and taking on Gym Trainer Julia.
Gym Trainer Julia
| Pokemon | Level | Type |
|---|---|---|
| Tympole | 21 | Water |
When you've beaten her lone Tympole, interact with the red valve to change the flow of water. Run over the now-vacant red panel and interact with the yellow valve, then turn around and hit the red one again. Now you can progress down the right-hand side.
When you reach the top of the stairs, run forwards and take on Gym Trainer Heather before interacting with any other valves.
Gym Trainer Heather
| Pokemon | Level | Type |
|---|---|---|
| Krabby | 20 | Water |
| Corphish | 20 | Water |
After you've beaten her, turn the yellow valve behind her, then run to the opposite side and use the red one. That should free up the path across the top. Run all the way to the other side and take on Gym Trainer Lynn.
Gym Trainer Lynn
| Pokemon | Level | Type |
|---|---|---|
| Remoraid | 20 | Water |
| Chewtle | 21 | Water |
Now you want to head right to the bottom and interact with the yellow one, then go back up the way you came and press the red one in the corner. Finally, cross the path to the only blue switch and interact with that in order to free up the trio of blue jets at the top. Go down the stairs to the central path and up to reach Gym Leader Nessa.
Gym Leader Nessa

| Pokemon | Level | Type |
|---|---|---|
| Goldeen | 22 | Water |
| Arrokuda | 23 | Water |
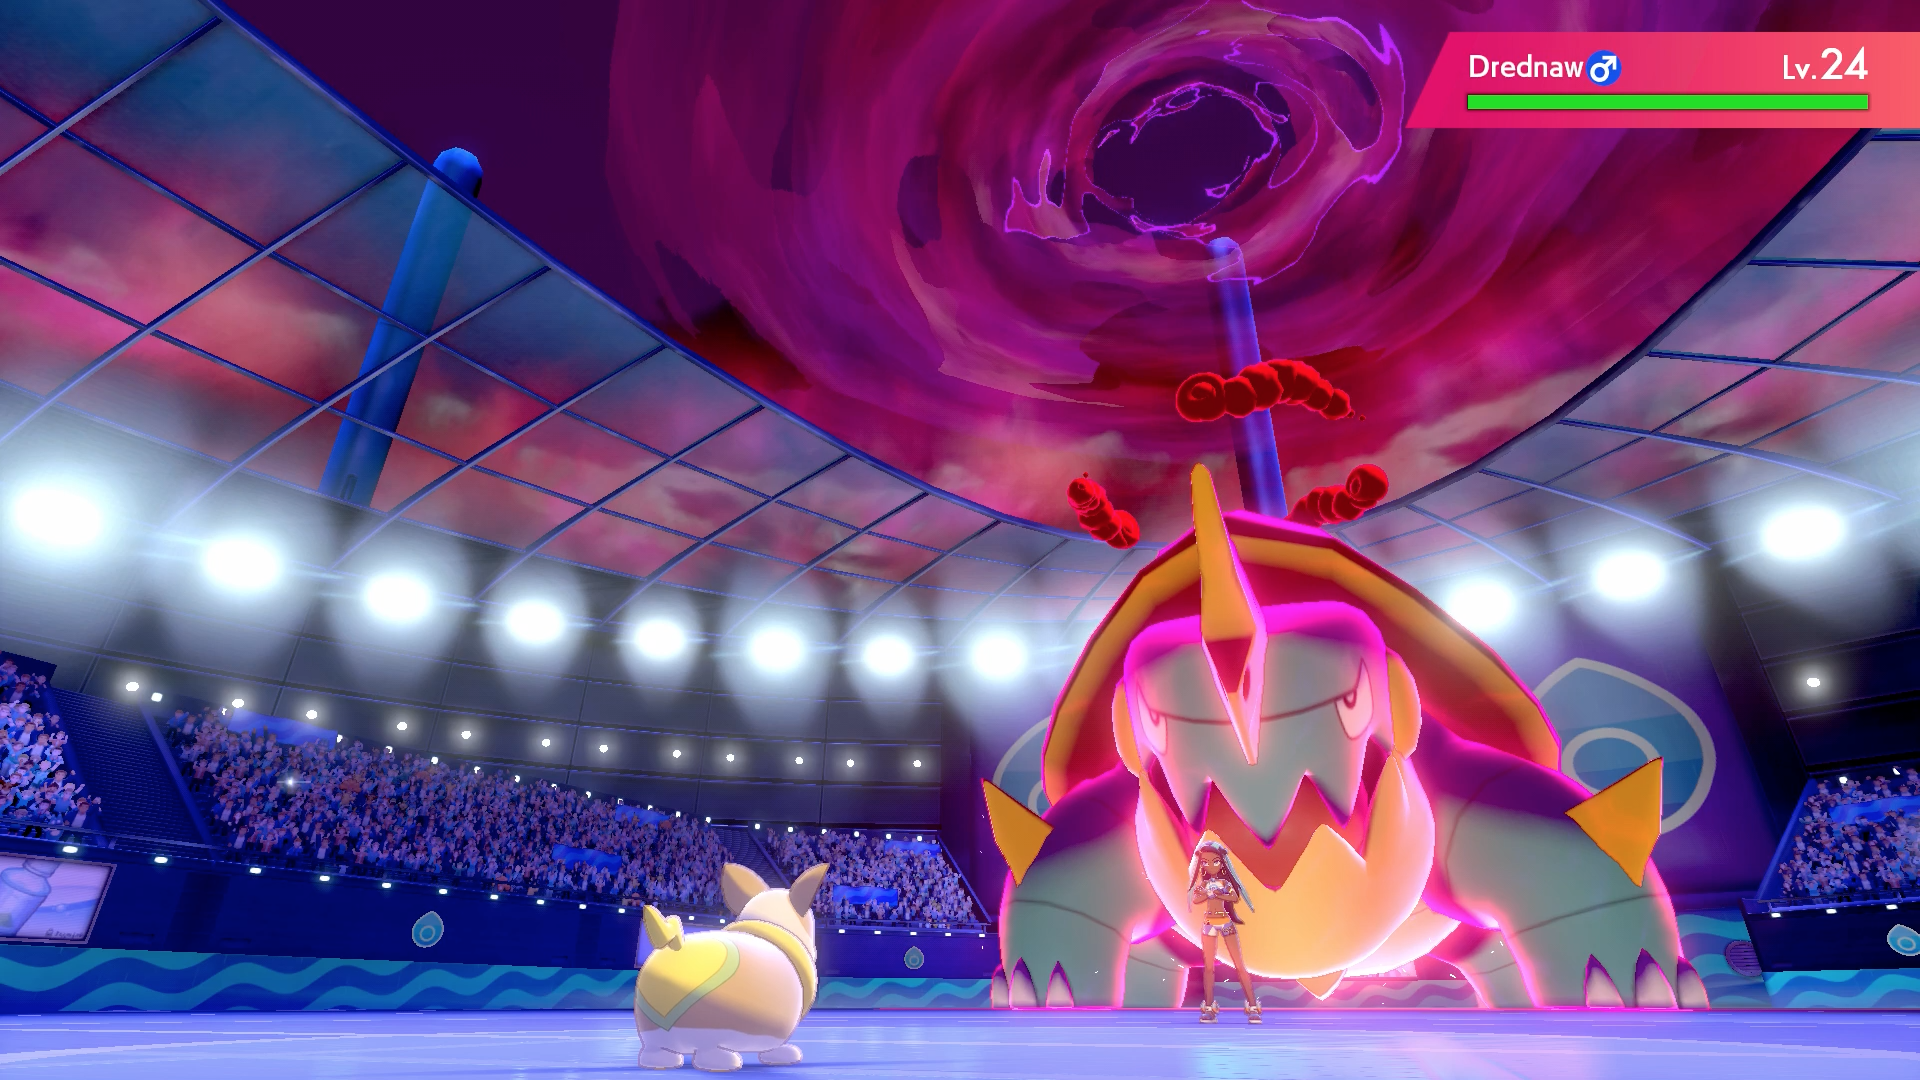
| Drednaw | 24 | Water |
Taking down Goldeen and Arrokuda isn't too difficult, but Drednaw is when Nessa will Dynamax. I'd recommend switching out to one of your Pokemon that can simply absorb some hits while Drednaw is Dynamaxed, then switching back to one of your favoured types like an Electric or Grass-type Pokemon after the three turns are up.
When you defeat Nessa, you gain the ability to catch Pokemon up to level 30, and you're given TM36 Whirlpool. Leave the gym and Oleana will meet you, telling you to hurry up to the seafood restaurant. Go there and a brief cutscene will take place, which ends with Sonia being instructed to go to Hammerlocke and find the vault. Afterwards, you'll be given TM79 Retaliate, and Hop will meet you outside, saying next stop is back to Motostoke to take on the Fire-type gym.
Pokemon Sword and Shield walkthrough: Postwick and Route 1
Pokemon Sword and Shield walkthrough: Wedgehurst and Route 2
Pokemon Sword and Shield walkthrough: Wild Area and Motostoke
Pokemon Sword and Shield walkthrough: Route 3, Galar Mine, and Route 4
Pokemon Sword and Shield walkthrough: Turffield, Turffield Gym, and Route 5
Pokemon Sword and Shield walkthrough: Hulbury and Hulbury Gym
Pokemon Sword and Shield walkthrough: Galar Mine No.2 and Motostoke Gym
Pokemon Sword and Shield walkthrough: Hammerlocke and Route 6
Pokemon Sword and Shield walkthrough: Stow-on-Side and Stow-on-Side Gym
Pokemon Sword and Shield walkthrough: Glimwood Tangle
Pokemon Sword and Shield walkthrough: Ballonlea and Ballonlea Gym
Pokemon Sword and Shield walkthrough: Route 7 and Route 8
Pokemon Sword and Shield walkthrough: Circhester and Circhester Gym
Pokemon Sword and Shield walkthrough: Route 9
Pokemon Sword and Shield walkthrough: Spikemuth Gym
Pokemon Sword and Shield walkthrough: Hammerlocke Gym
Pokemon Sword and Shield walkthrough: Route 10 and Wyndon
Pokemon Sword and Shield walkthrough: Wyndon Gym and Rose Tower
Pokemon Sword and Shield walkthrough: Wyndon Gym Finals and Slumbering Weald
Pokemon Sword and Shield walkthrough: Energy Plant and Champion Battle
Pokemon Sword and Shield walkthrough: Zacian and Zamazenta
Pokemon Sword and Shield walkthrough: Post-game activities
Current page: Pokemon Sword and Shield walkthrough: Hulbury and Hulbury Gym
Prev Page Pokemon Sword and Shield walkthrough: Turffield, Turffield Gym, and Route 5 Next Page Pokemon Sword and Shield walkthrough: Galar Mine No. 2 and Motostoke GymWeekly digests, tales from the communities you love, and more
Give me a game and I will write every "how to" I possibly can or die trying. When I'm not knee-deep in a game to write guides on, you'll find me hurtling round the track in F1, flinging balls on my phone in Pokemon Go, pretending to know what I'm doing in Football Manager, or clicking on heads in Valorant.
- Leon HurleyManaging editor for guides
- Sam LoveridgeBrand Director, GamesRadar+


