Pokemon Sword and Shield complete guide and walkthrough to become the Champion of Galar
All the Pokemon Sword and Shield guides you'll need for your playthrough
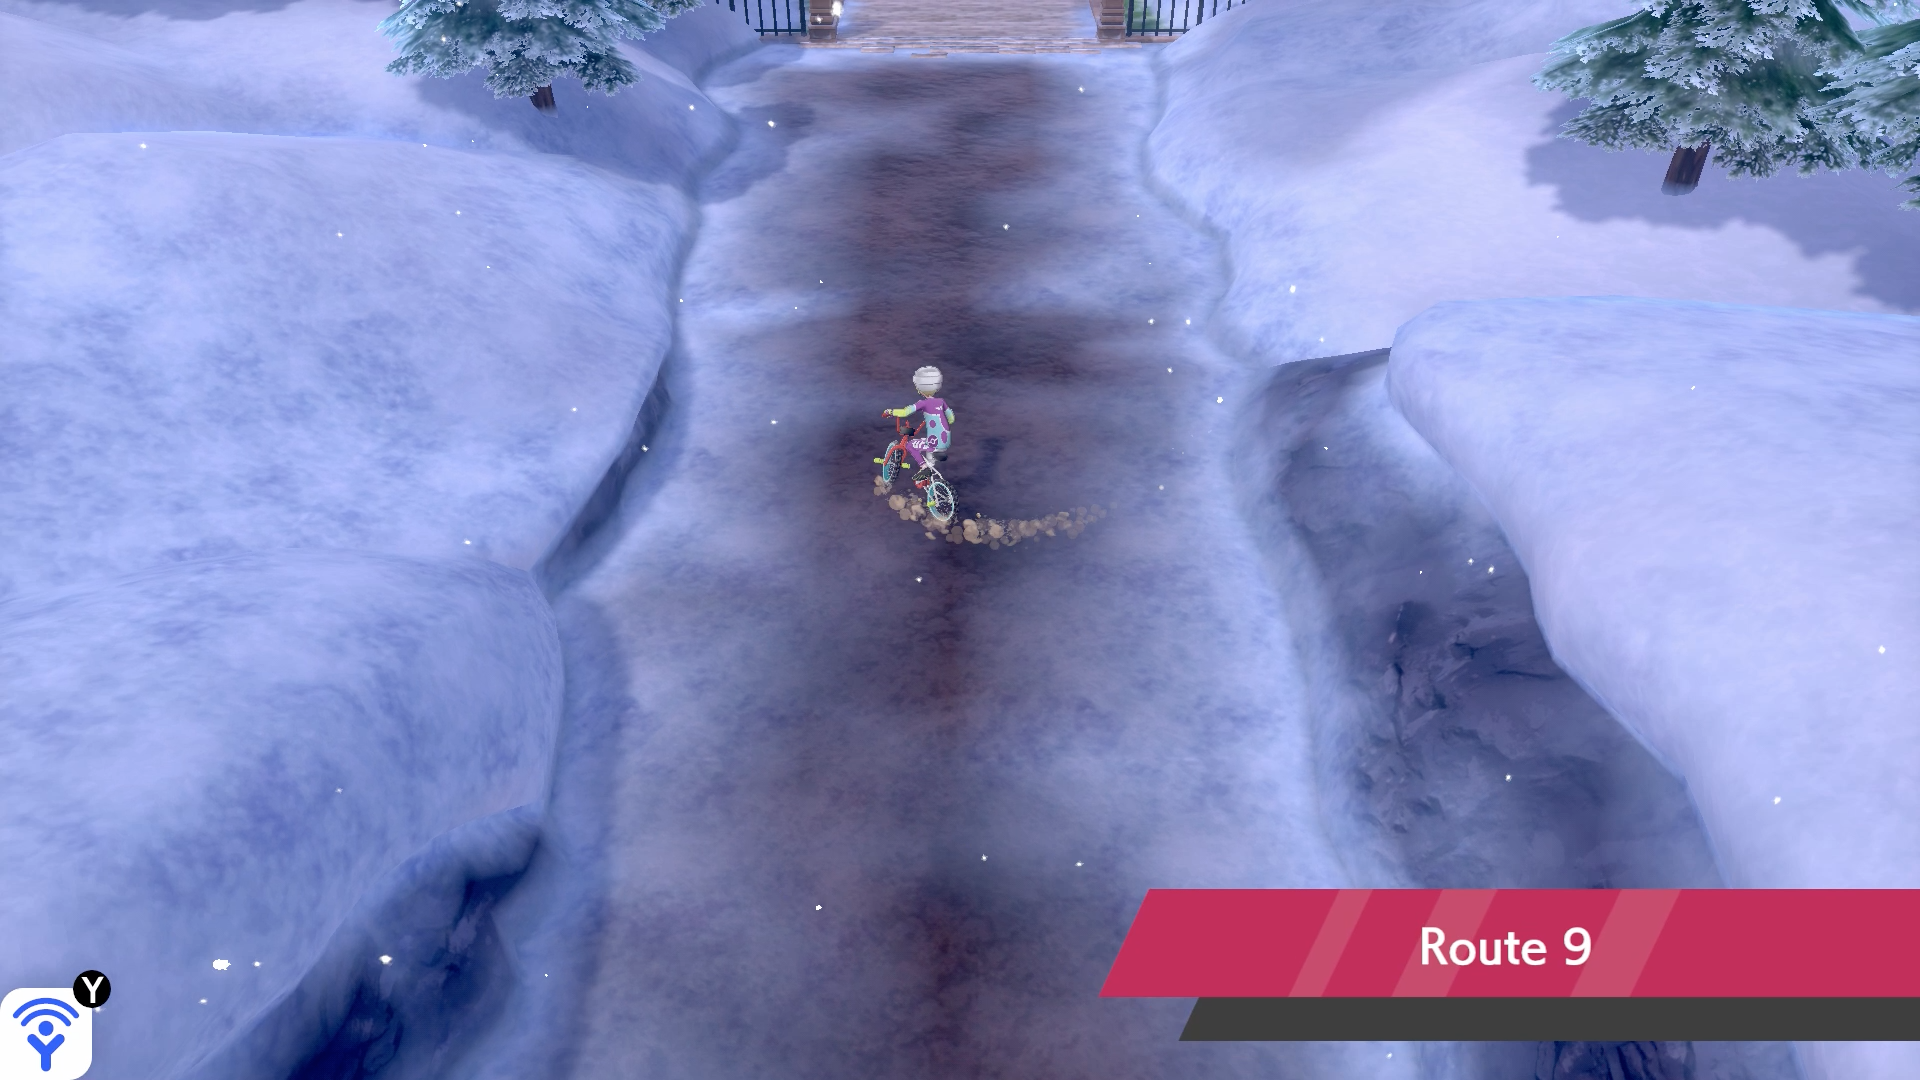
Route 9
Pokemon: Route 9 - Overworld
| Pokemon | Rarity |
|---|---|
| Gastrodon | Average |
| Jellicent | Rare (Sword) / Common (Shield) |
| Mareanie | Common (Sword) / Rare (Shield) |
| Pelipper | Frequent |
| Pyukumuku | Rare |
Pokemon: Route 9 - Random Encounters
| Pokemon | Rarity |
|---|---|
| Cramorant | Frequent |
| Kingler | Common |
| Octillery | Common |
| Pincurchin | Rare |
Pokemon: Route 9 - Water Surface
Article continues below| Pokemon | Rarity |
|---|---|
| Jellicent | Rare |
| Mantyke | Common |
| Pelipper | Frequent |
| Qwilfish | Common |
Pokemon: Route 9 - Fishing
| Pokemon | Rarity |
|---|---|
| Octillery | Frequent |
| Pyukumuku | Average |
| Wishiwashi | Common |
Items: Route 9
| Item | Visible | Hidden |
|---|---|---|
| Max Potion | Y | Row 0 - Cell 2 |
| TM64 Avalanche | Y | Row 1 - Cell 2 |
Route 9 opens up to be a fairly complex area, but first, you simply need to head south over the bridge in the south-east corner of Circhester. As soon as you cross the bridge, you'll find a trainer on the left looking for a battle.
Fisher Harriet
Weekly digests, tales from the communities you love, and more
| Pokemon | Level | Type |
|---|---|---|
| Barraskewda | 39 | Water |
| Lanturn | 39 | Water/Electric |
After beating her, head down the path and in the tall patch of grass on your left you can grab a Max Potion. Keep going south and you'll run into another trainer.
Dancer Zoe
| Pokemon | Level | Type |
|---|---|---|
| Darumaka | 39 | Ice |
| Bellossom | 39 | Grass |
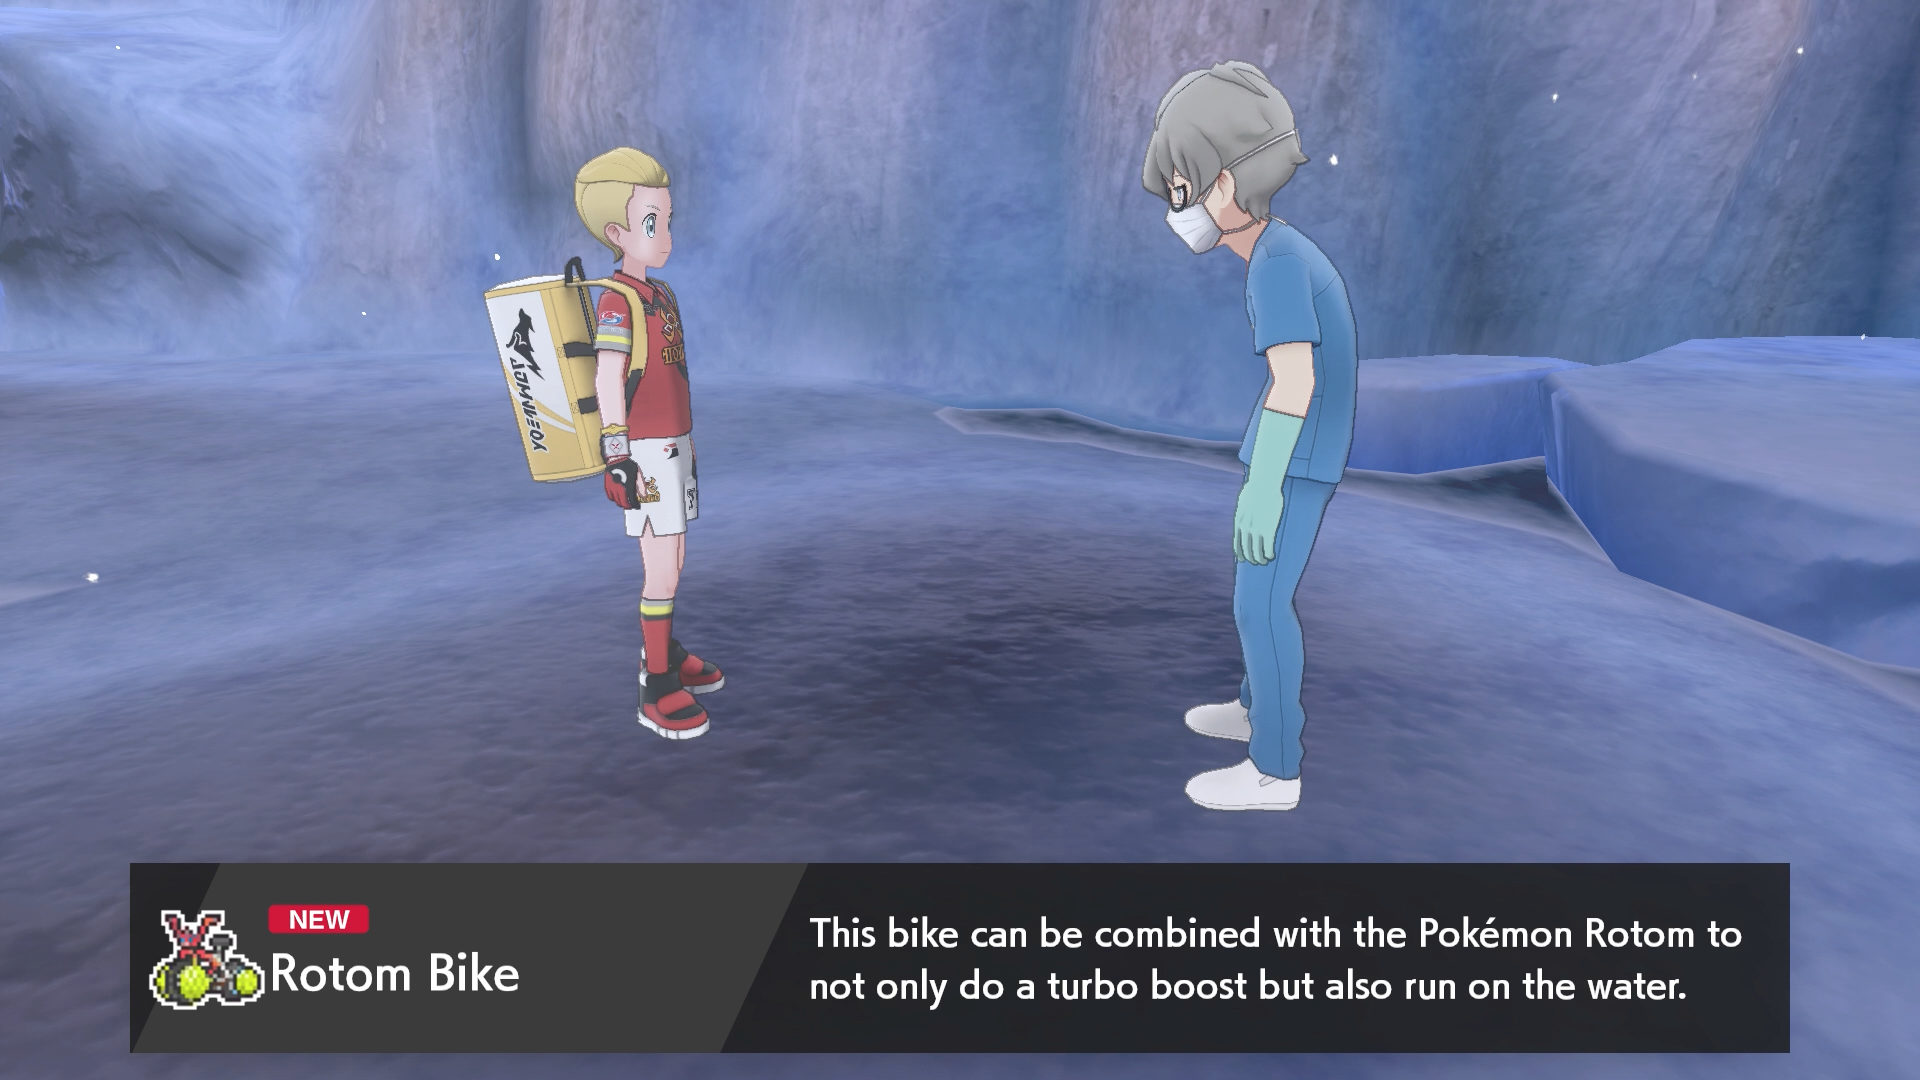
A few steps further south and you'll spot a familiar face. Remember the friendly chap who gave you a Rotom Bike after you saved him from Team Yell? He's in trouble with the wrong crowd once again, and you need to defeat the Grunt giving him grief.
Team Yell Grunt
| Pokemon | Level | Type |
|---|---|---|
| Linoone | 39 | Dark/Normal |
| Pangoro | 40 | Fighting/Dark |
Despite there being two of them, you only need to win one battle to make them flee with their Drednaw. As thanks, the fellow will reward you with an amphibious attachment for your bike so you can ride it on water. Now the world truly is your oyster, and there's so many more Pokemon you can try to catch in this Circhester Bay area.
Pokemon: Route 9 (Circhester Bay) - Overworld
| Pokemon | Rarity |
|---|---|
| Barbaracle | Average (Sword) / Common (Shield) |
| Bergmite | Average (Sword) / Common (Shield) |
| Clobbopus | Common |
| Dhelmise | Extremely Rare |
| Octillery | Common |
| Toxapex | Common (Sword) / Rare (Shield) |
Pokemon: Route 9 (Circhester Bay) - Random Encounters
| Pokemon | Rarity |
|---|---|
| Cramorant | Frequent |
| Gastrodon | Common |
| Inkay | Common |
| Pincurchin | Rare |
Pokemon: Route 9 (Circhester Bay) - Water Surface
| Pokemon | Rarity |
|---|---|
| Grapploct | Frequent |
| Mantine | Average |
| Mantyke | Common |
| Remoraid | Average |
| Wailmer | Frequent |
Pokemon: Route 9 (Circhester Bay) - Fishing
| Pokemon | Rarity |
|---|---|
| Lapras | Extremely Rare |
| Mantine | Average |
| Mantyke | Frequent |
| Wailmer | Common |
| Wailord | Rare |
Items: Route 9 (Circhester Bay)
| Item | Visible | Hidden |
|---|---|---|
| Big Pearl | Row 0 - Cell 1 | Y |
| Big Pearl | Row 1 - Cell 1 | Y |
| Big Pearl | Row 2 - Cell 1 | Y |
| Black Belt | Row 3 - Cell 1 | Y |
| Dive Ball x3 | Y | Row 4 - Cell 2 |
| Ice Stone | Row 5 - Cell 1 | Y |
| Max Elixir | Row 6 - Cell 1 | Y |
| Max Revive | Y | Row 7 - Cell 2 |
| Never-Melt Ice | Row 8 - Cell 1 | Y |
| Normal Gem | Row 9 - Cell 1 | Y |
| Pearl | Row 10 - Cell 1 | Y |
| Pearl | Row 11 - Cell 1 | Y |
| Pearl String | Row 12 - Cell 1 | Y |
| PP Up | Row 13 - Cell 1 | Y |
| Protector | Y | Row 14 - Cell 2 |
| Rare Candy | Row 15 - Cell 1 | Y |
| TM22 Rock Slide | Y | Row 16 - Cell 2 |
| Zoom Lens | Y | Row 17 - Cell 2 |
Before you enter the water from where you got the floatation device, take the path to the left first and you can find a Zoom lens. Turn around and cycle past the wild Grapploct in the corner on the right-hand side of the screen. Keep following the path then move to the left-hand side of the next open area and take on the fishing trainer there.
Fisher Marina
| Pokemon | Level | Type |
|---|---|---|
| Qwilfish | 39 | Water/Poison |
| Pyukumuku | 40 | Water |
Catch any new wild Pokemon you spot in this section of tall grass, then go west and you'll find Stephan's camp in a clearing. Below him is another trainer.
Black Belt Reece
| Pokemon | Level | Type |
|---|---|---|
| Sawk | 41 | Fighting |
| Throh | 41 | Fighting |
After defeating him, cycle off to the left and stick to the bottom of the wall. You'll stumble upon two people stood by an umbrella, but they don't want to battle. Speak to the girl and she'll give you TM45 Dive, then you can grab the three Dive Balls behind the sun loungers. Cycle north to the smaller beach and take on Black Belt Carter.
Black Belt Carter
| Pokemon | Level | Type |
|---|---|---|
| Grapploct | 41 | Fighting |
After taking him down, cycle east and you'll find a Max Revive at the end of a short path. Keep going across the top to the east and you'll arrive back at the start. You've covered most of the first section now, so to reach the next part, head back down to between where you fought Black Belt Reece and the girl you got the Dive TM from.
Cycle between the two rocks at the bottom, then go left at the first opportunity and pick up TM22 Rock Slide from the small beach. Turn around and go east to challenge another trainer on the beach at the top.
Swimmer Logan
| Pokemon | Level | Type |
|---|---|---|
| Wishiwashi | 40 | Water |
| Wailord | 40 | Water |
Keep going east after beating him and you'll find another trainer stood by a Trainer Tips sign, itching for a battle.
Swimmer Jacob
| Pokemon | Level | Type |
|---|---|---|
| Cloyster | 39 | Water/Ice |
Beat him, then go east a little further to find a Protector next to the Circhester Bay sign. Now you can go back the way you came and keep heading south to find another trainer by a berry tree.
Swimmer Scarlett
| Pokemon | Level | Type |
|---|---|---|
| Remoraid | 39 | Water |
| Octillery | 40 | Water |
| Mantine | 40 | Water/Flying |
Turn around and head back south-west to find the end of this treacherous route full of Wailmer, and to take on another couple of trainers.
Pokemon: Route 9 (Outer Spikemuth) - Overworld
| Pokemon | Rarity |
|---|---|
| Bergmite | Frequent |
| Clobbopus | Common |
| Dhelmise | Extremely Rare |
| Jellicent | Rare |
| Mareanie | Common |
| Toxapex | Rare |
Pokemon: Route 9 (Outer Spikemuth) - Random Encounters
| Pokemon | Rarity |
|---|---|
| Liepard | Common |
| Morpeko | Rare |
| Perrserker | Frequent |
| Thievul | Common |
Items: Route 9 (Outer Spikemuth)
| Item | Visible | Hidden |
|---|---|---|
| Dire Hit x3 | Row 0 - Cell 1 | Y |
| Guard Spec. x3 | Row 1 - Cell 1 | Y |
| Scope Lens | Y | Row 2 - Cell 2 |
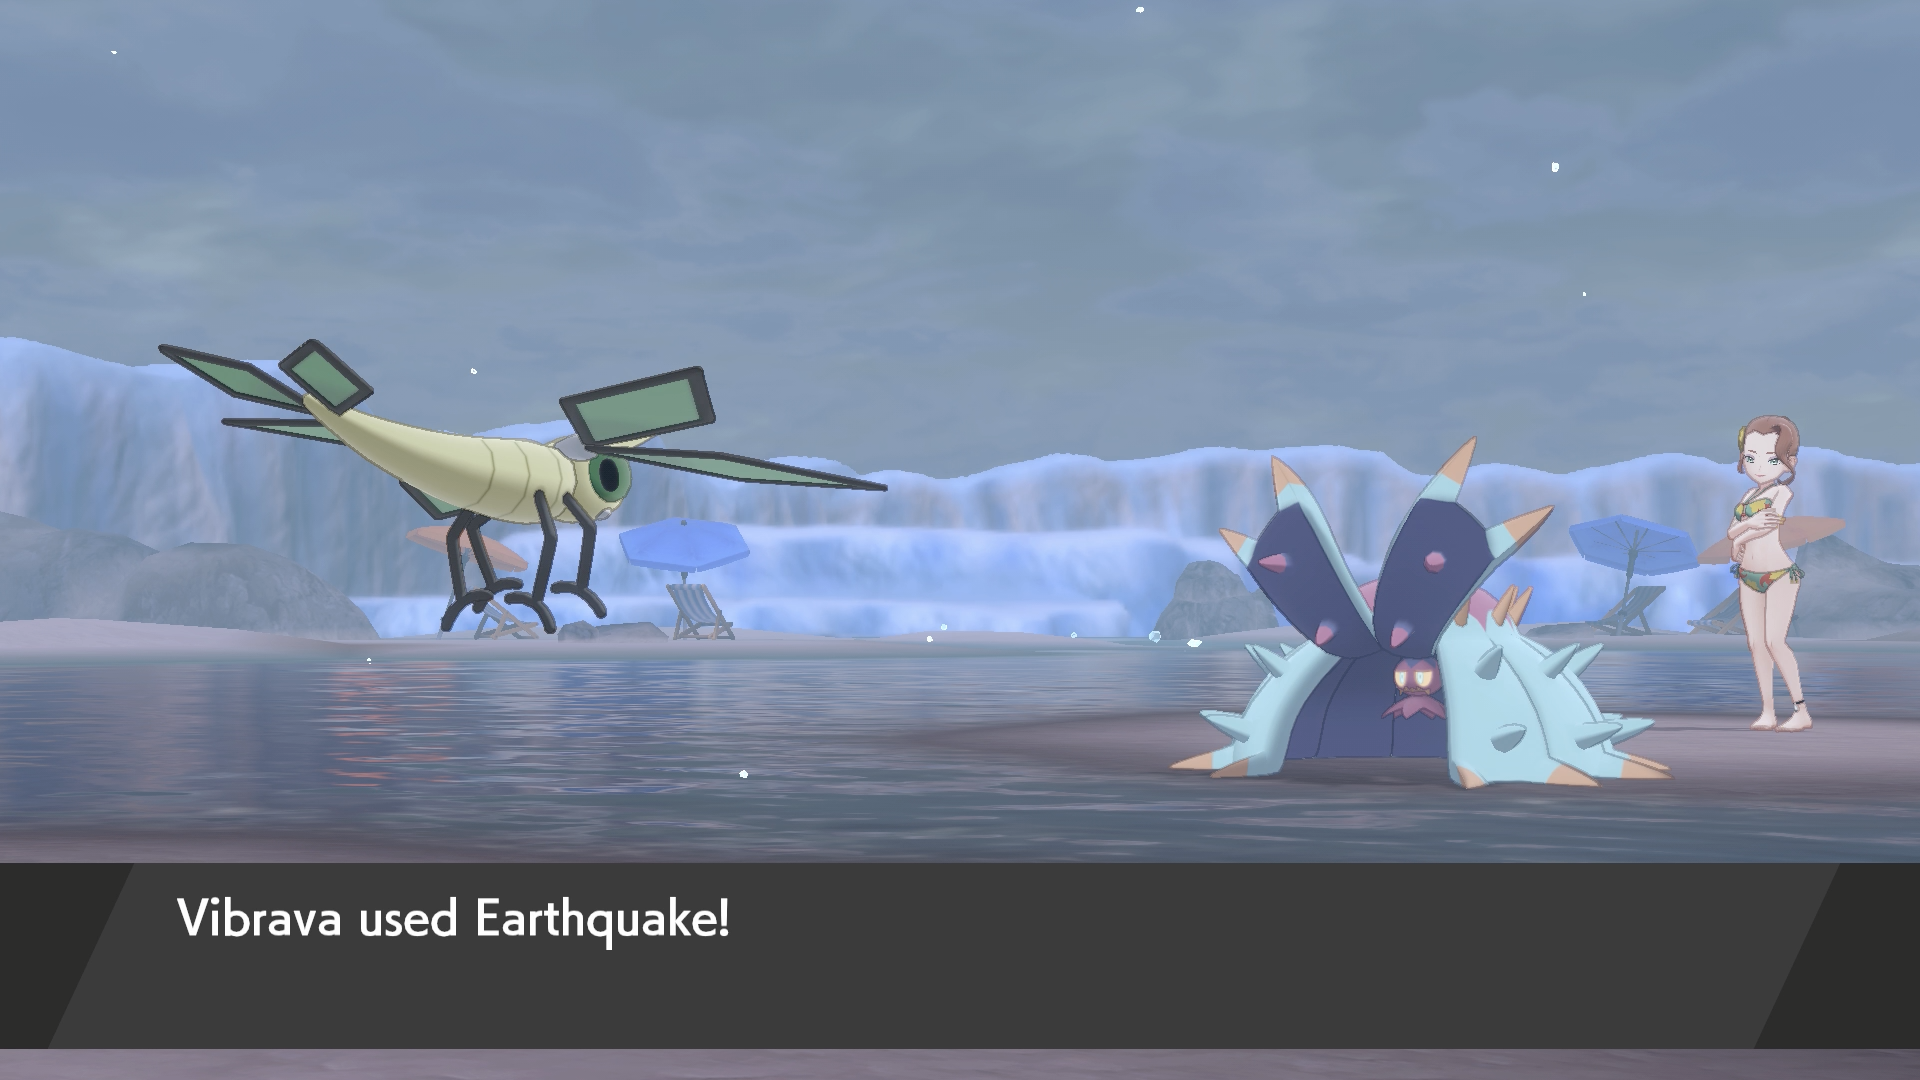
Swimmer Layla
| Pokemon | Level | Type |
|---|---|---|
| Toxapex | 39 | Poison/Water |
There's a few more patches of tall grass to head through, then go left and you'll have a pair of trainers to take on.
Music Crew Owen and Andrea (Duo)
| Pokemon | Level | Type |
|---|---|---|
| Toxtricity | 41 | Poison/Electric |
| Maractus | 41 | Grass |
Shake the berry tree after beating them then walk towards Spikemuth to begin a cutscene.
Pokemon Sword and Shield walkthrough: Postwick and Route 1
Pokemon Sword and Shield walkthrough: Wedgehurst and Route 2
Pokemon Sword and Shield walkthrough: Wild Area and Motostoke
Pokemon Sword and Shield walkthrough: Route 3, Galar Mine, and Route 4
Pokemon Sword and Shield walkthrough: Turffield, Turffield Gym, and Route 5
Pokemon Sword and Shield walkthrough: Hulbury and Hulbury Gym
Pokemon Sword and Shield walkthrough: Galar Mine No.2 and Motostoke Gym
Pokemon Sword and Shield walkthrough: Hammerlocke and Route 6
Pokemon Sword and Shield walkthrough: Stow-on-Side and Stow-on-Side Gym
Pokemon Sword and Shield walkthrough: Glimwood Tangle
Pokemon Sword and Shield walkthrough: Ballonlea and Ballonlea Gym
Pokemon Sword and Shield walkthrough: Route 7 and Route 8
Pokemon Sword and Shield walkthrough: Circhester and Circhester Gym
Pokemon Sword and Shield walkthrough: Route 9
Pokemon Sword and Shield walkthrough: Spikemuth Gym
Pokemon Sword and Shield walkthrough: Hammerlocke Gym
Pokemon Sword and Shield walkthrough: Route 10 and Wyndon
Pokemon Sword and Shield walkthrough: Wyndon Gym and Rose Tower
Pokemon Sword and Shield walkthrough: Wyndon Gym Finals and Slumbering Weald
Pokemon Sword and Shield walkthrough: Energy Plant and Champion Battle
Pokemon Sword and Shield walkthrough: Zacian and Zamazenta
Pokemon Sword and Shield walkthrough: Post-game activities
Current page: Pokemon Sword and Shield walkthrough: Route 9
Prev Page Pokemon Sword and Shield walkthrough: Circhester and Circhester Gym Next Page Pokemon Sword and Shield walkthrough: Spikemuth and Spikemuth Gym
Give me a game and I will write every "how to" I possibly can or die trying. When I'm not knee-deep in a game to write guides on, you'll find me hurtling round the track in F1, flinging balls on my phone in Pokemon Go, pretending to know what I'm doing in Football Manager, or clicking on heads in Valorant.
- Leon HurleyManaging editor for guides
- Sam LoveridgeBrand Director, GamesRadar+

 Join The Community


