Pokemon Sword and Shield complete guide and walkthrough to become the Champion of Galar
All the Pokemon Sword and Shield guides you'll need for your playthrough
Wyndon Gym Finals
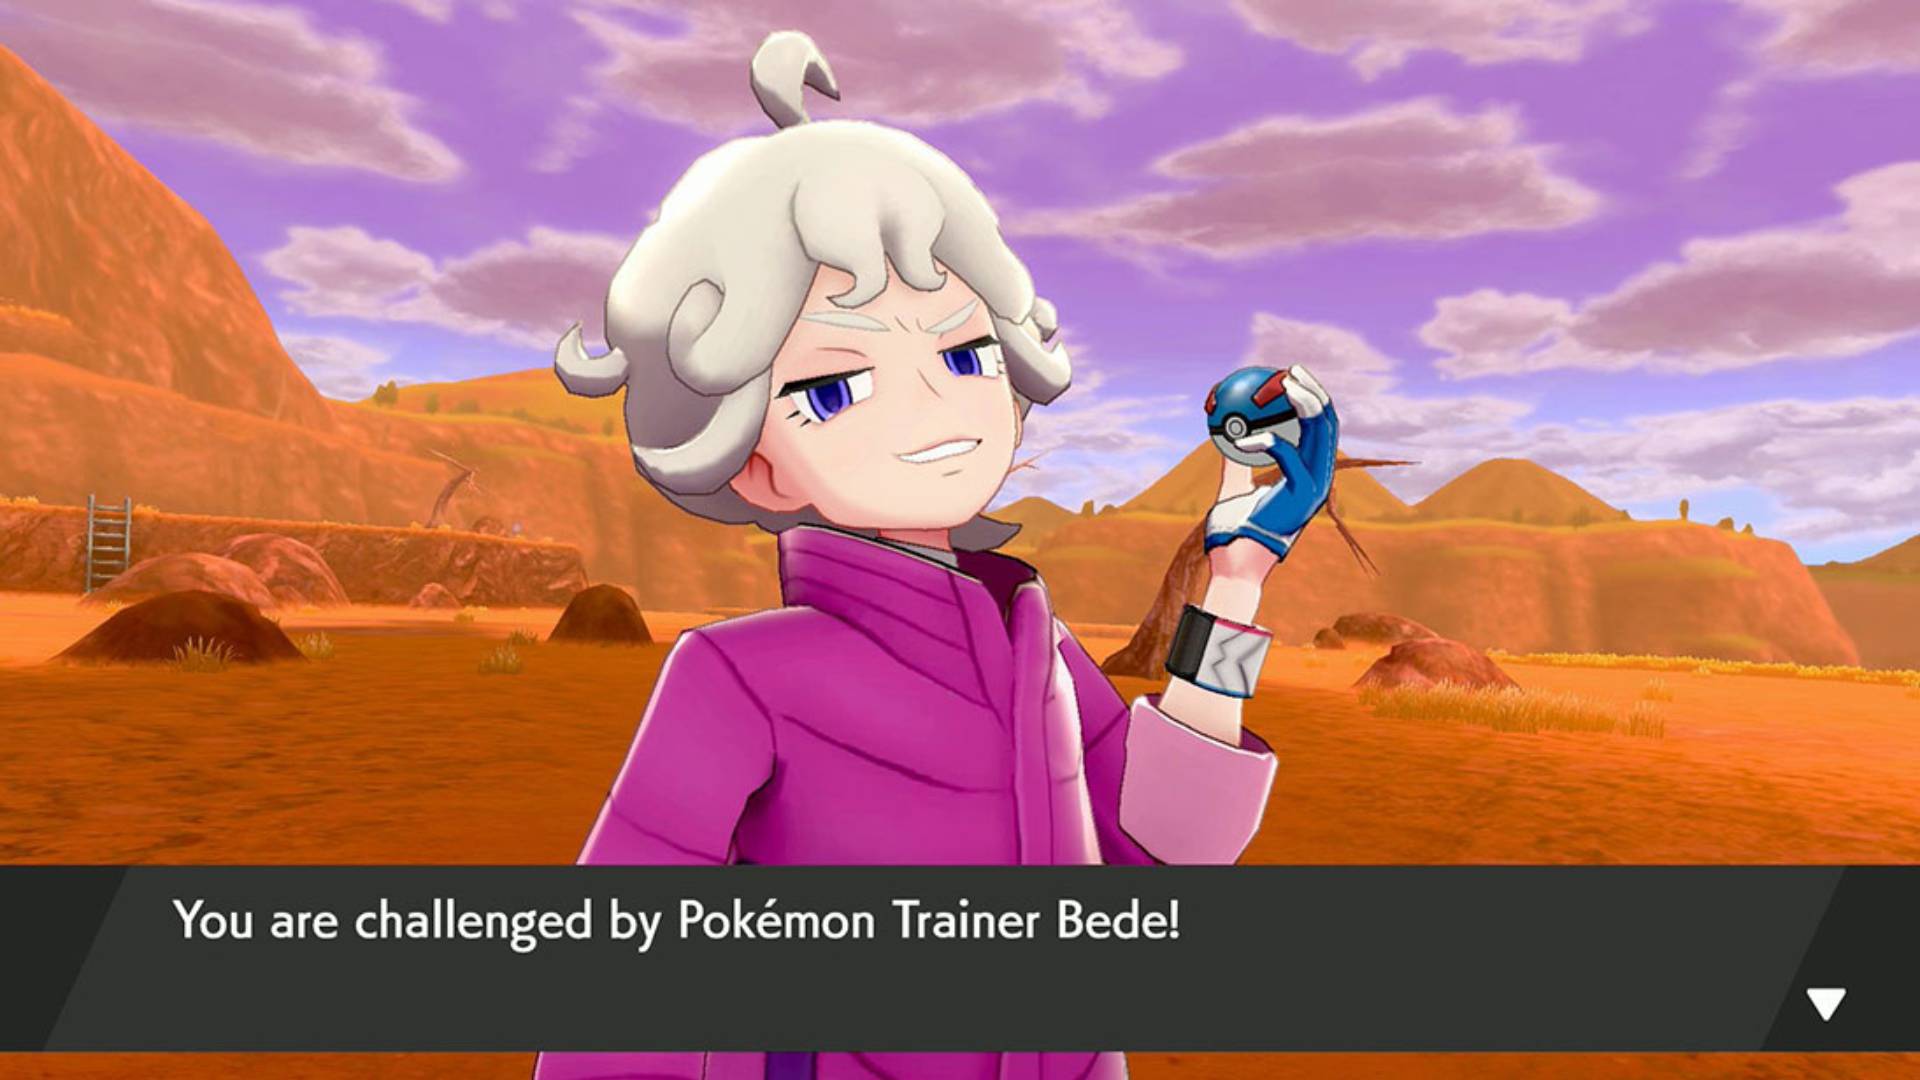
It's now time to return to Wyndon Gym amidst all this chaos and uncertainty so that you can finally... take on the finals. You'll need to speak to the person at the front desk as usual and then try and head out to the stadium. When you do you'll find you'll be interrupted by Bede looking for a fight. While it might seem against tournament regulations this challenge will get the okay and you'll find yourself preparing for battle.
Bede
| Pokemon | Level | Type |
|---|---|---|
| Mawile | 51 | Steel/Fairy |
| Gardevoir | 51 | Psychic/Fairy |
| Rapidash | 52 | Psychic/Fairy |
| Hatterene | 53 | Psychic/Fairy |
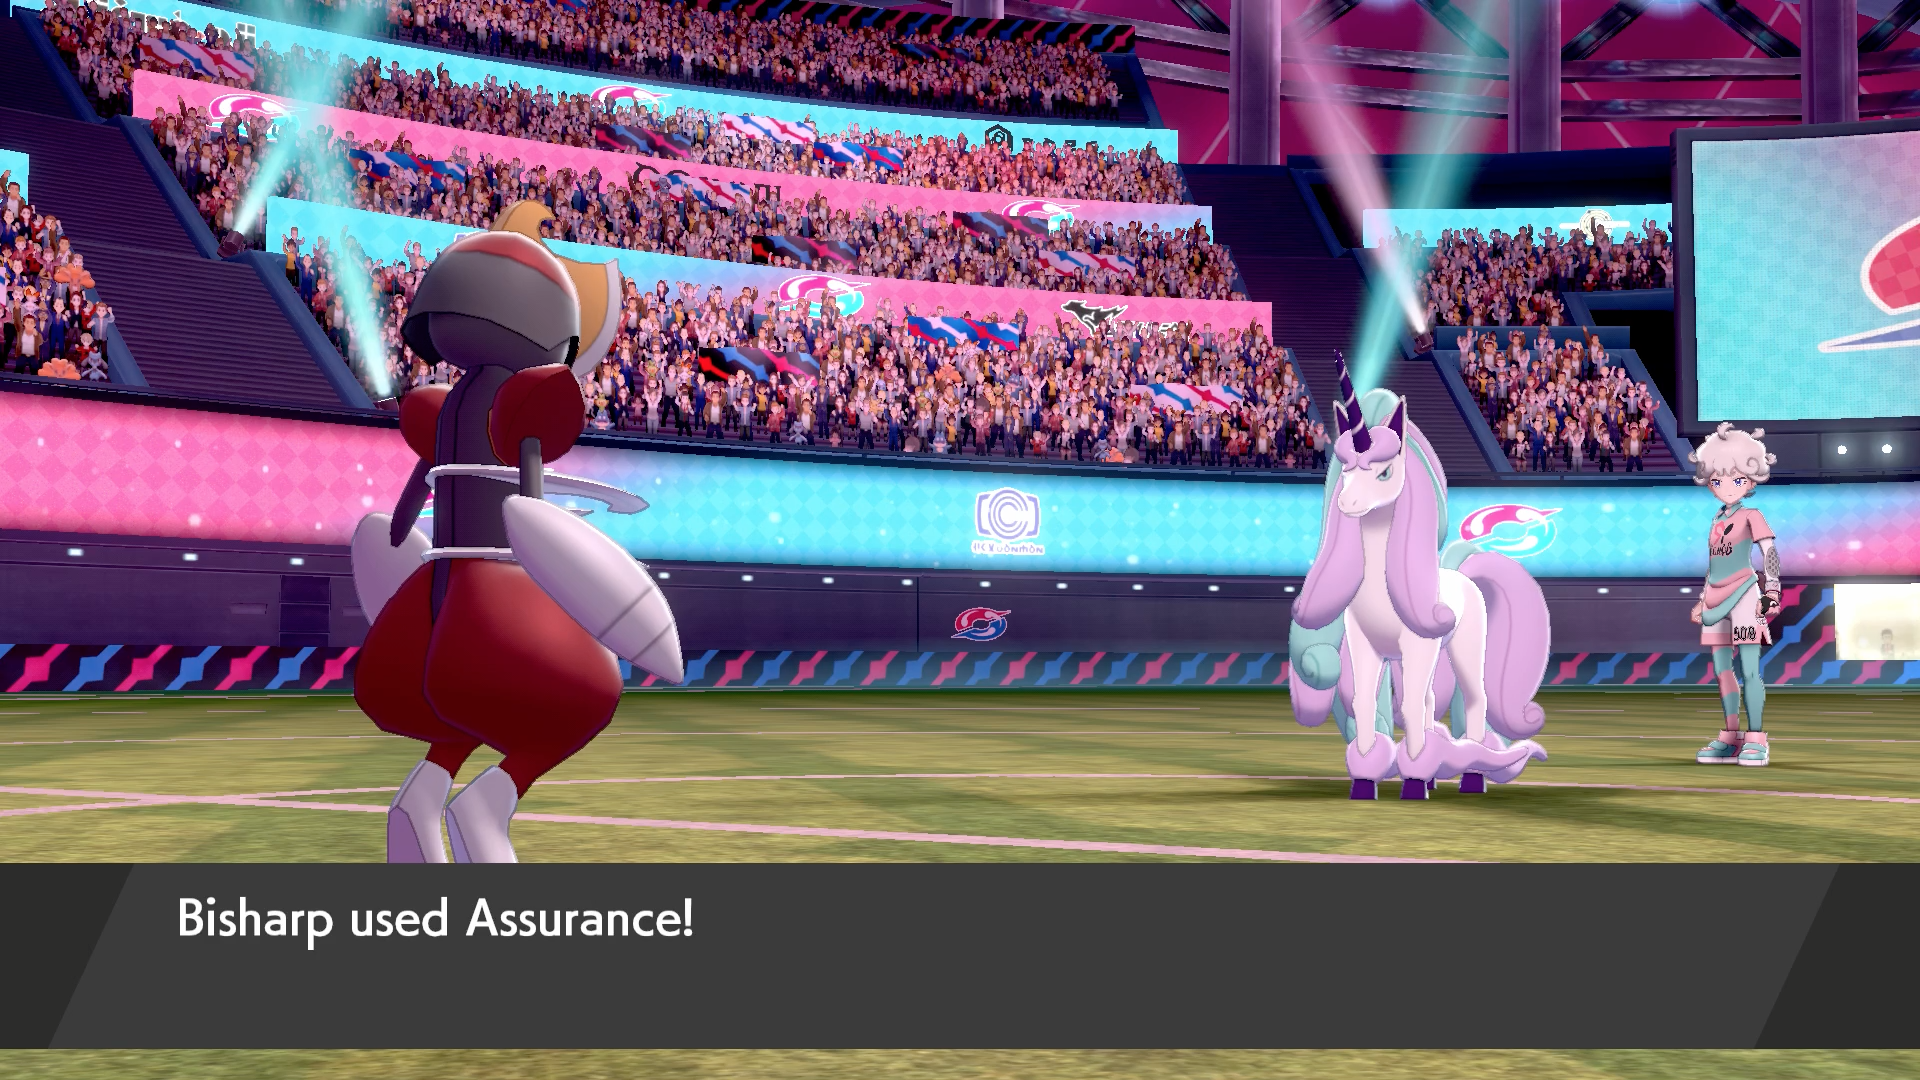
We all know Bede is a fiend for the fairies now, so load your party up with Poison and Steel-types in preparation. To be honest, she's kind of a pushover. She'll Gigantamax Hatterene, but with the right counter it's not difficult to deal with.
When you've defeated Bede, the proper tournament bracket will start. First up: Nessa.
Article continues belowNessa

| Pokemon | Level | Type |
|---|---|---|
| Golisopod | 51 | Bug/Water |
| Barraskewda | 52 | Water |
| Seaking | 52 | Water |
| Pelipper | 51 | Water/Flying |
| Drednaw | 53 | Water/Rock |
Nessa's the Water-type gym leader if you can cast your mind all the way back to near the start of the game, but now her team is much stronger. Duh. If you've got a couple of high level Grass and Electric-type Pokemon you'll be absolutely fine, but as is the trend with every gym leader's final Pokemon, she will Gigantamax Drednaw. As usual, rely on a few Revives to cycle through your Pokemon and after three turns, hit it back with some super effective moves.
After Nessa, you'll have to face Allister (or Bea in Pokemon Sword!), so get ready for another fight.
Bea (Sword)
| Pokemon | Level | Type |
|---|---|---|
| Hawlucha | 52 | Fighting/Flying |
| Grapploct | 52 | Fighting |
| Sirfetch'd | 53 | Fighting |
| Falinks | 53 | Fighting |
| Machamp | 54 | Fighting |
By this point, you'll have fought enough Fighting-type Pokemon to know that Flying-types and Psychic-types are incredibly powerful against them, while Normal-types will fail miserably.
Allister (Shield)
| Pokemon | Level | Type |
|---|---|---|
| Dusknoir | 52 | Ghost |
| Chandelure | 52 | Ghost/Fire |
| Cursola | 53 | Ghost |
| Polteageist | 53 | Ghost |
| Gengar | 54 | Ghost/Poison |
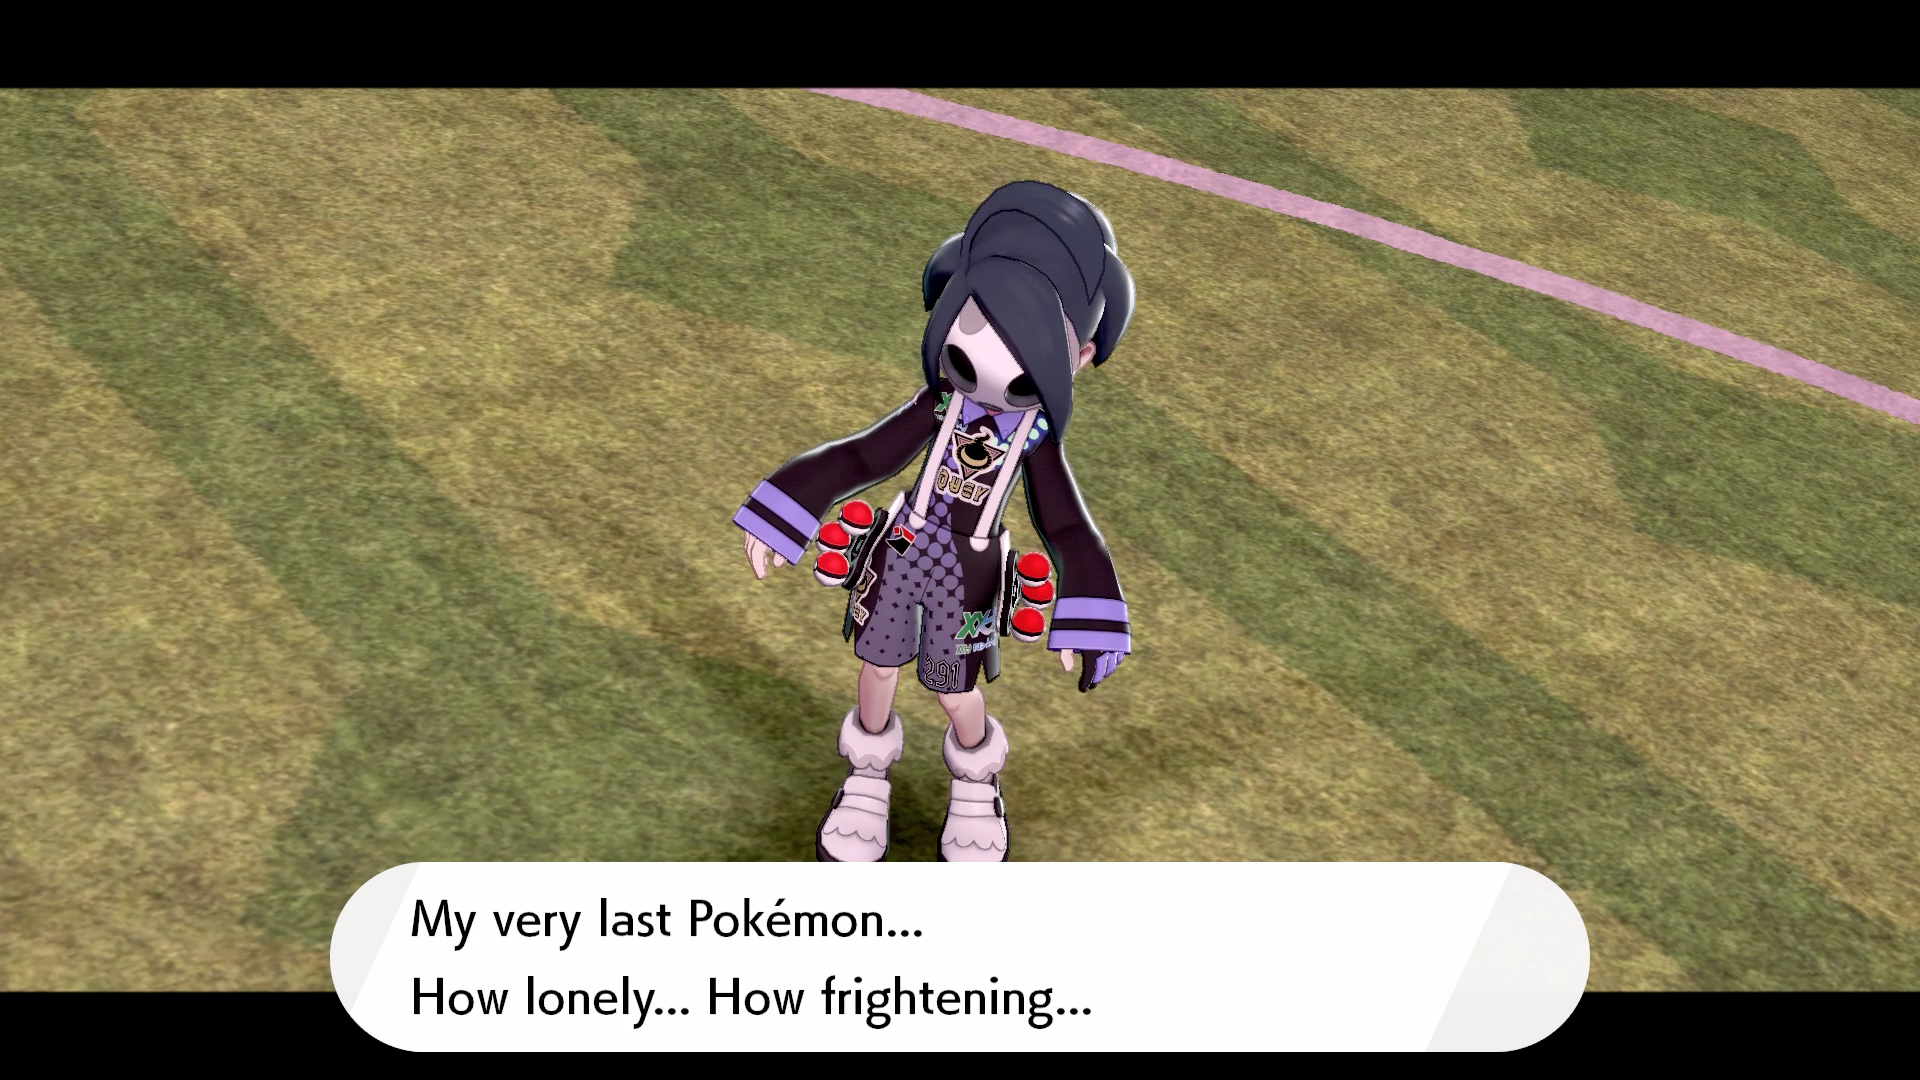
As you'll have discovered the last time you faced Allister, the biggest strength against Ghost-type Pokemon is other Ghost-types, along with Dark-types. Be wary if you're stocking up on Ghost Pokemon because every hit you take will also be super effective, especially when he Gigantamaxes his Gengar at the end of the battle. Gigantamaxed Gengar is super strong so before you knock out Polteageist, ensure you have a good few Pokemon healed up in preparation.
Weekly digests, tales from the communities you love, and more
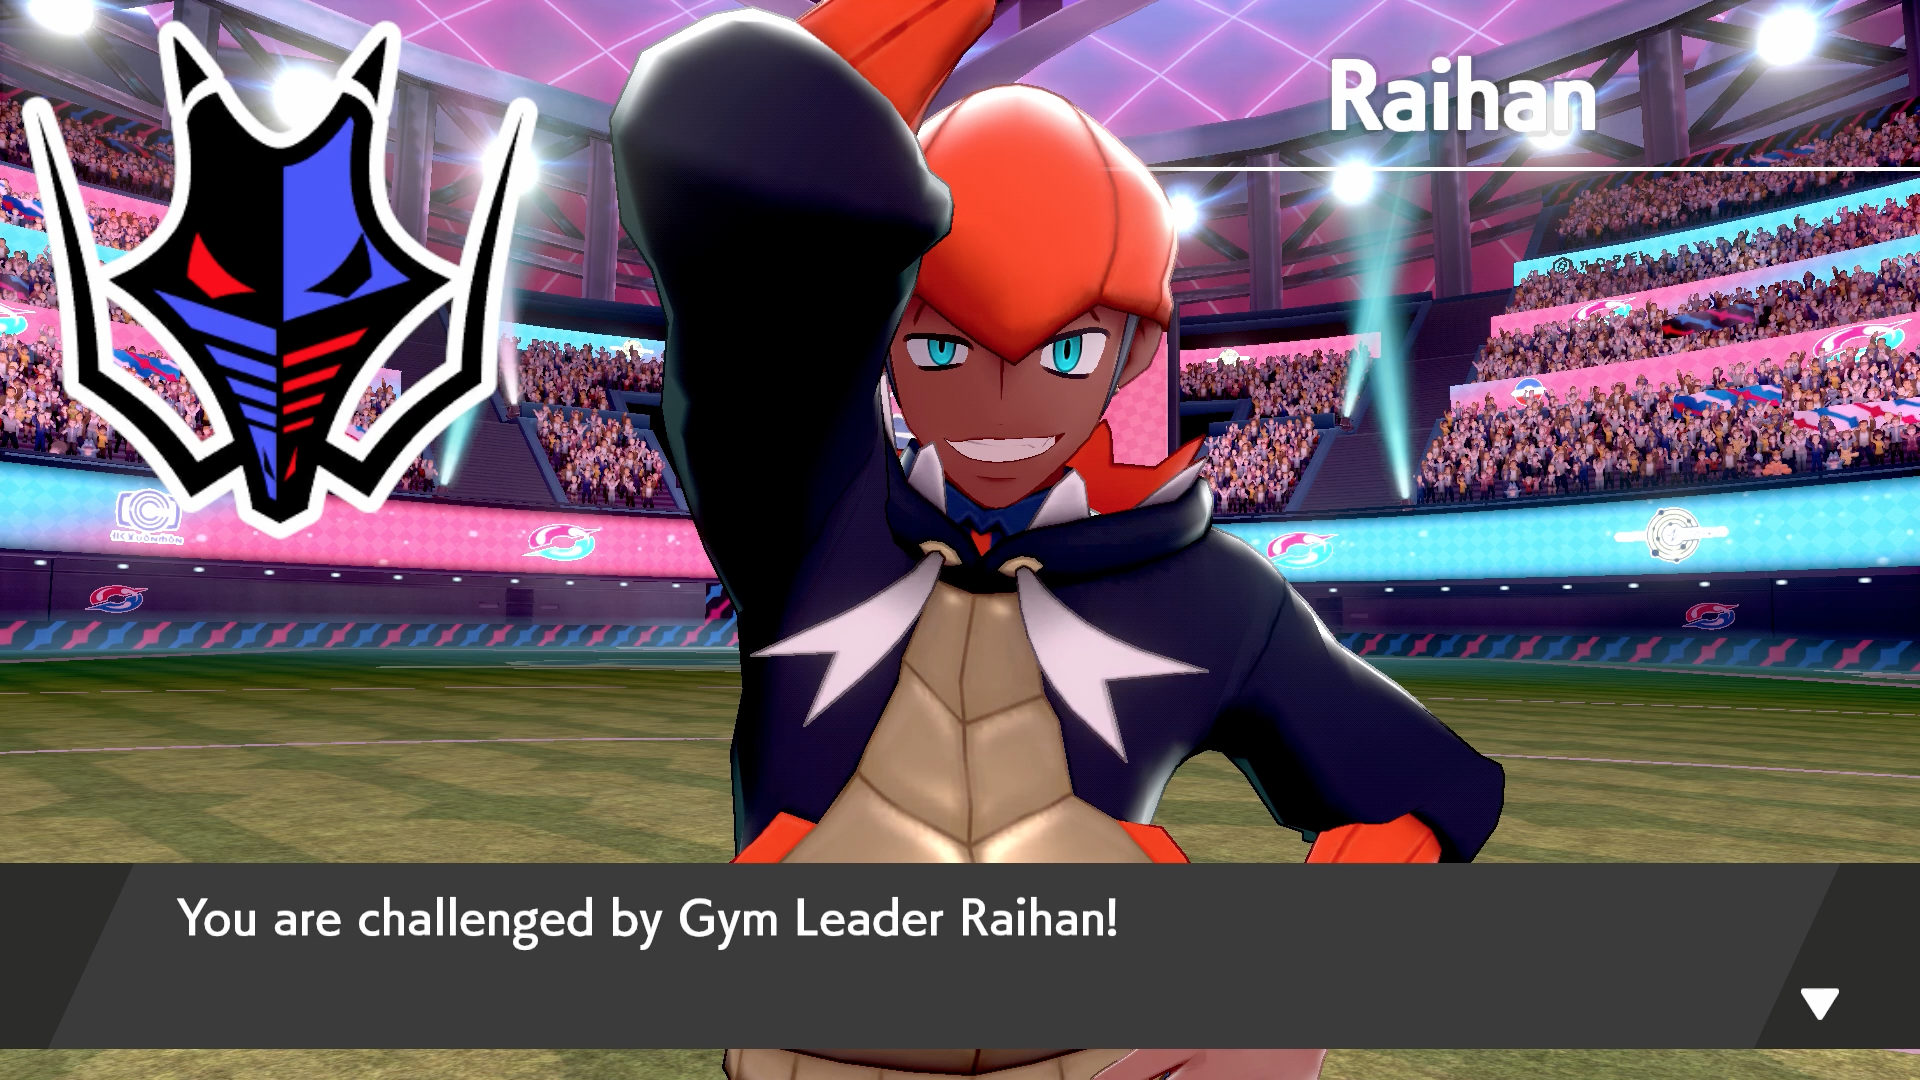
Defeat Allister and you've got just one more person to beat before Leon; Raihan!
Raihan
| Pokemon | Level | Type |
|---|---|---|
| Torkoal | 53 | Fire |
| Goodra | 54 | Dragon |
| Turtonator | 54 | Fire/Dragon |
| Flygon | 54 | Ground/Dragon |
| Duraludon | 55 | Steel/Dragon |
You fought Raihan recently, but he clearly took the defeat to heart because he's got rid of his Gigalith and Sandaconda and replaced them with Goodra, Turtonator, and Torkoal. Torkoal is the only non-Dragon-type in his team, so equip yourself with a Water-type or two to deal with both Torkoal and Turtonator, then use another Dragon-type to see off the rest of his Pokemon as just like Ghost-types, Dragon-types are strong against one another.
Once you've defeated Raihan, it's time to take on Leon... oh wait, no, not yet. Rose will interrupt your pre-match banter with Leon to let you know he's bringing about the Darkest Day. Yeah, he's a certified nutjob. Watch the rest of the cutscene and you'll be back in the Slumbering Weald, next to your house. Very convenient.
Slumbering Weald
Pokemon: Slumbering Weald - Overworld
| Pokemon | Rarity |
|---|---|
| Corviknight | Rare |
| Munna | Common |
| Orbeetle | Average |
| Stunfisk | Frequent |
| Weezing | Frequent |
Pokemon: Slumbering Weald - Random Encounters
| Pokemon | Rarity |
|---|---|
| Butterfree | Rare |
| Corviknight | Common |
| Munna | Common |
| Orbeetle | Average |
| Stunfisk | Rare |
| Weezing | Common |
Pokemon: Slumbering Weald - Fishing
| Pokemon | Rarity |
|---|---|
| Barboach | Common |
| Magikarp | Common |
| Whiscash | Frequent |
Items: Slumbering Weald
| Item | Visible | Hidden |
|---|---|---|
| Elixir | Row 0 - Cell 1 | Y |
| Full Restore | Row 1 - Cell 1 | Y |
| Life Orb | Y | Row 2 - Cell 2 |
| Mental Herb | Y | Row 3 - Cell 2 |
| Misty Seed | Y | Row 4 - Cell 2 |
| Smoke Ball | Y | Row 5 - Cell 2 |
| TM86 Phantom Force | Y | Row 6 - Cell 2 |
Welcome back to this misty place! Follow the path along, dodging all of the low level Pokemon until you reach a slightly wider area you couldn't access previously. Take the path going north then walkk down the first trail on your left to find a Misty Seed, along with a fishing spot at the end of the northbound path.
Turn around and head back to the clearing then go west, and you'll spot a hidden Full Restore glistening in a patch between the grass. Hug the left-most wall and you'll find a Mental Herb, then at the next junction, take the path north across the fallen tree.
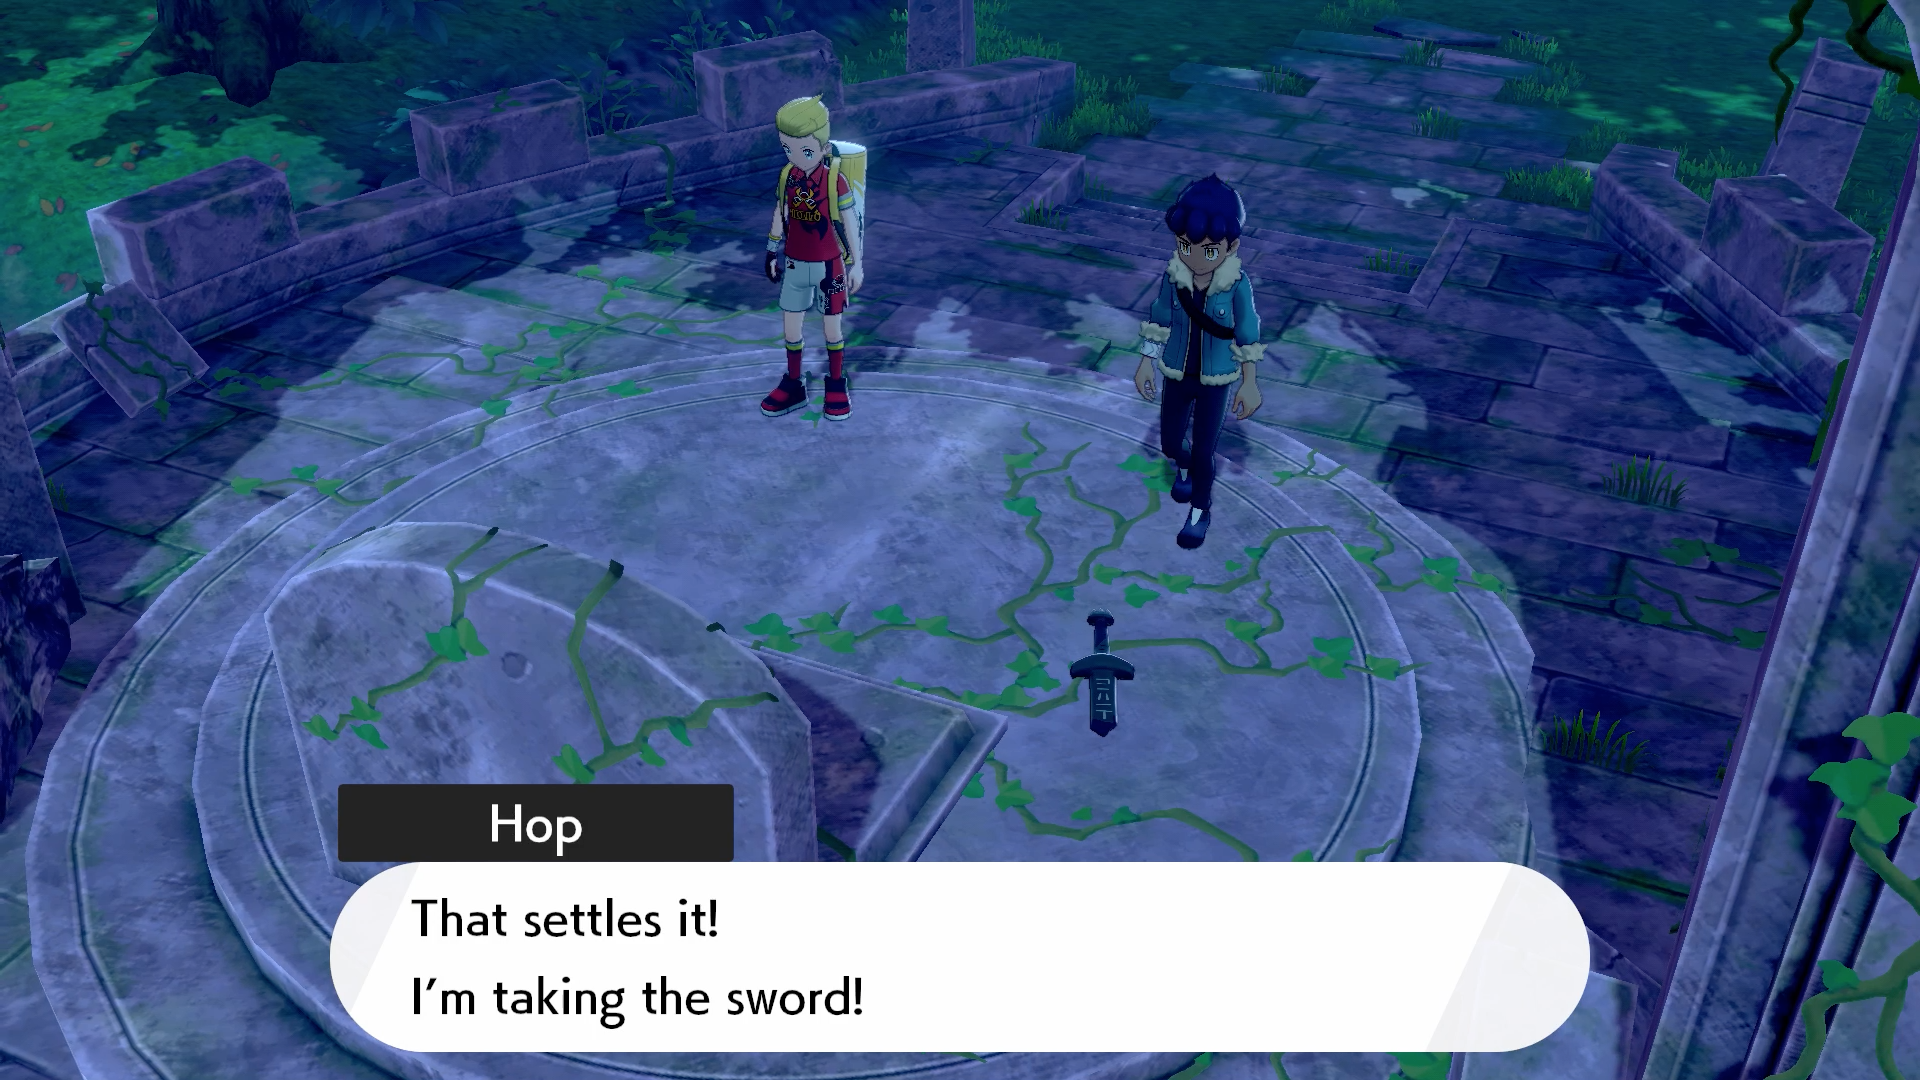
At the end of this path you'll find TM86 Phantom Force, then turn around and cross back over the log. Take a right turn and you'll find a V junction; the path on the right has a Smoke Ball at the end, then take the left path to find Hop. A cutscene will start and you'll be greeted by a creature you met long ago...
That's right, it's Zacian and Zamazenta! You know, the Pokemon on the box? Watch the cutscene then follow the path to the end, where you'll discover a rusted sword and shield. How convenient. Pick them up in the cutscene then make your way to Hammerlocke, where you'll be greeted by Raihan at the entrance to the gym.
Pokemon Sword and Shield walkthrough: Postwick and Route 1
Pokemon Sword and Shield walkthrough: Wedgehurst and Route 2
Pokemon Sword and Shield walkthrough: Wild Area and Motostoke
Pokemon Sword and Shield walkthrough: Route 3, Galar Mine, and Route 4
Pokemon Sword and Shield walkthrough: Turffield, Turffield Gym, and Route 5
Pokemon Sword and Shield walkthrough: Hulbury and Hulbury Gym
Pokemon Sword and Shield walkthrough: Galar Mine No.2 and Motostoke Gym
Pokemon Sword and Shield walkthrough: Hammerlocke and Route 6
Pokemon Sword and Shield walkthrough: Stow-on-Side and Stow-on-Side Gym
Pokemon Sword and Shield walkthrough: Glimwood Tangle
Pokemon Sword and Shield walkthrough: Ballonlea and Ballonlea Gym
Pokemon Sword and Shield walkthrough: Route 7 and Route 8
Pokemon Sword and Shield walkthrough: Circhester and Circhester Gym
Pokemon Sword and Shield walkthrough: Route 9
Pokemon Sword and Shield walkthrough: Spikemuth Gym
Pokemon Sword and Shield walkthrough: Hammerlocke Gym
Pokemon Sword and Shield walkthrough: Route 10 and Wyndon
Pokemon Sword and Shield walkthrough: Wyndon Gym and Rose Tower
Pokemon Sword and Shield walkthrough: Wyndon Gym Finals and Slumbering Weald
Pokemon Sword and Shield walkthrough: Energy Plant and Champion Battle
Pokemon Sword and Shield walkthrough: Zacian and Zamazenta
Pokemon Sword and Shield walkthrough: Post-game activities
Current page: Pokemon Sword and Shield walkthrough: Wyndon Gym Finals and Slumbering Weald
Prev Page Pokemon Sword and Shield walkthrough: Wyndon Gym and Rose Tower Next Page Pokemon Sword and Shield walkthrough: Energy Plant and Champion Battle
Give me a game and I will write every "how to" I possibly can or die trying. When I'm not knee-deep in a game to write guides on, you'll find me hurtling round the track in F1, flinging balls on my phone in Pokemon Go, pretending to know what I'm doing in Football Manager, or clicking on heads in Valorant.
- Sam LoveridgeBrand Director, GamesRadar+
- Leon HurleyManaging editor for guides

 Join The Community


