Luigi's Mansion: Dark Moon gem and boo locations guide
How to find every gem and boo
Weekly digests, tales from the communities you love, and more
You are now subscribed
Your newsletter sign-up was successful
Want to add more newsletters?
TREACHEROUS MANSION E-6 / BOSS FIGHT
Welcome to Treacherous Mansion's Boss Mission, Stop the Knightmare. To get the battle started, try and grab the Dark Moon piece from the Knight ahead.
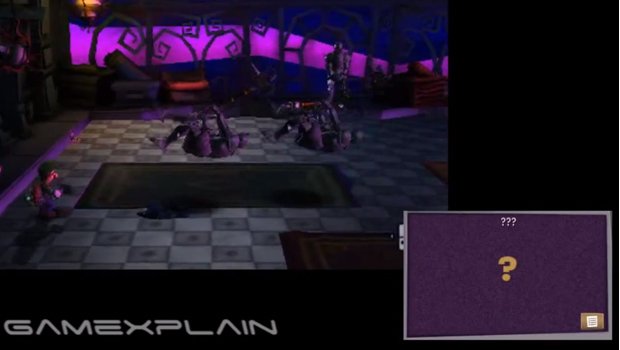
The battle begins simply enough with two knights going on the offensive. Like the knights you've faced before, you'll have to lure them to a rug and pull it out from underneath them. However, because the knights will revive each other if you only take one down, you'll have to lure both to the same rug and pull it out from underneath them at the same time. If you're having trouble keeping them in the right spot, wait for them to initiate their attack animation, which should give you plenty of time to either lure the other one, or to pull the rug out.
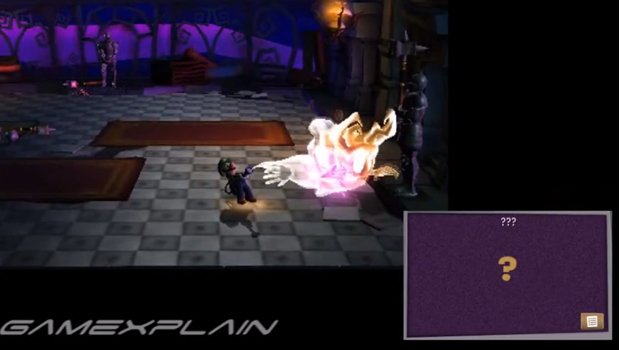
After doing so, the Poltergeist will be revealed. Like all the previous times, wait for him to dash into a wall to KO himself, then go in for the capture to inflict some damage. In the next round, you'll have to take on three knights, but the strategy is still the same: lure them to the same rug and pull it out from underneath them. This will reveal the Poltergeist again--like before, go for the capture when he stuns himself.
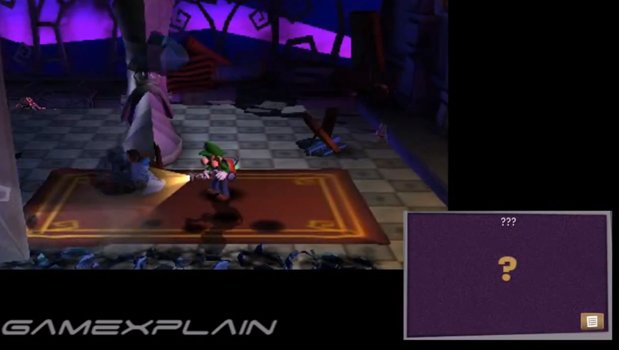
In the final part of the battle, the Poltergeist will possess a giant suit of armor. Besides watching out for falling debris throughout the battle, which you can evade by keeping an eye out for their shadows, the knight has two main attacks. For one, he'll either stab his sword into the ground or slide through it in a straight line, though he occasionally switches directions half-way through. But because he'll never actually slice through the rugs, we recommend hanging out on them for the battle.

His other attack attack has him attempting to step on you one foot at a time, but this is also his weakness. You'll have to lure both of his feet one a rug each. As soon as you've lured the second one onto a rug, pull it out form underneath that foot first, to throw off his balance, buying you enough time to suck up the second rug and knocking him down completely. This will expose the Poltergeist for the third and final time. Like before, wait for him to KO himself then capture him once and for all to complete the battle and reveal a piece of the Dark Moon that's yours for the taking.
Weekly digests, tales from the communities you love, and more
