Luigi's Mansion: Dark Moon gem and boo locations guide
How to find every gem and boo
Weekly digests, tales from the communities you love, and more
You are now subscribed
Your newsletter sign-up was successful
Want to add more newsletters?
Join the club
Get full access to premium articles, exclusive features and a growing list of member rewards.
HAUNTED TOWERS B-5
Welcome to Haunted Towers B-5, Doggone Key. If you've been following our guide, there are no Gem Stones to find since you've already found them all, but there is still 1 Boo waiting to be tracked down.

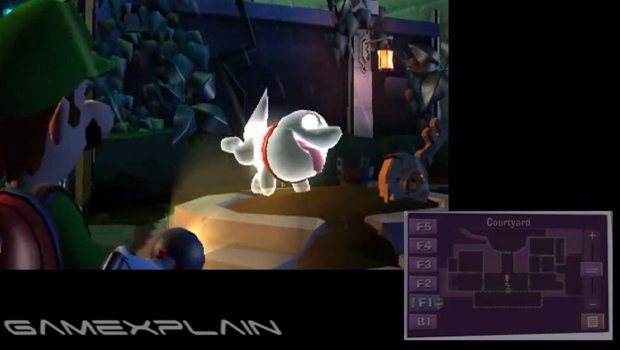
Start things off by heading into the courtyard to find that adorable Polterpup who has your key. In this mission, you'll have to track him throughout the mansion using your Dark Light, which reveals his footprints and entry points into rooms. But you won't need to use it much since you have us. He's currently hiding in the Tool Shed, which you can reach by way of the Hydro Generator room to the East Hall, and the door on the right. Once there, check out the right set of drawers to reveal him. But he won't stick around for long as he heads for the garden, which you can reach via the southeastern door.

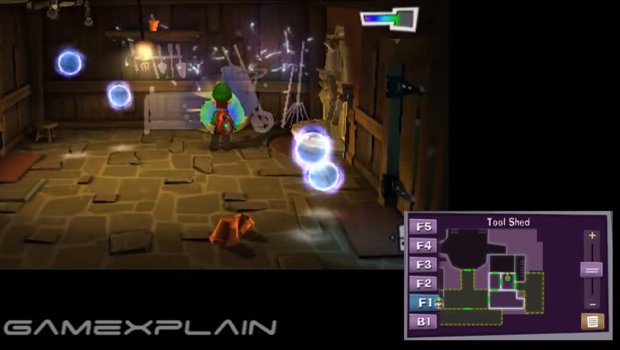
Once you find him there, he'll hightail it to the Toolshed Stairs. But you'll have to take down some ghosts before you can backtrack through the toolshed to follow him. Although you may want to make a pit stop in that same Tool Shed as things seem...a little different. It looks like someone did some cleaning...and that someone is this mission's boo. Simply use your Dark Light to reveal every invisible object in the room to make expose the culprit.

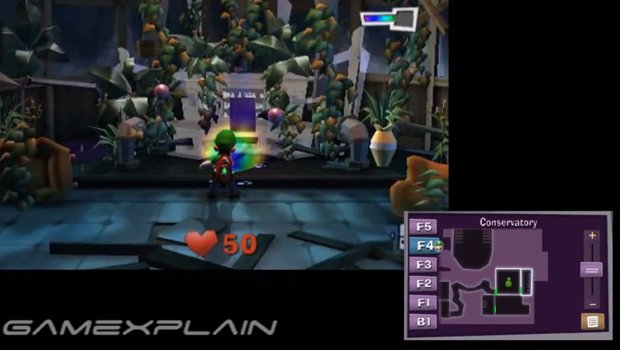
Afterward, use the fountain in the northeast corner to reach the Toolshed Stairs. But before you follow the puppy upstairs, watch out a well hidden creeper at the base of the staircase. Now the Potlerpup is actually just higher up in the Toolshed Stairs, so continue into the Botany lab, up the vine into the Seedling Lab, then out the door on the right. Now although it appears the dog ran right back in, he actually went upstairs to the Conservatory. So climb the stairs here and continue through the door at the top. The Polterpup is hiding inside the Organ, which has been turned invisible. Reveal it with your Dark Light, then play it to expose the ghostly canine. He'll then go hide around the backside. There's a path to the left you can use to scare him back out, but watch out for another creeper hiding at the start of it.

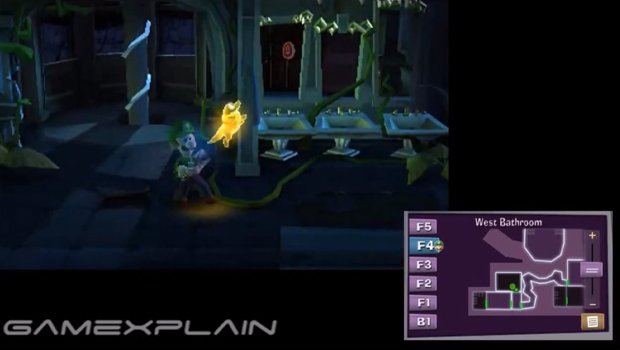
Once you find the Polterpup, he'll take off again, this time to the West Bathroom. But before you can follow him, you'll have to take down some more ghosts. Once clear, head out the west door, through the crow's nest into the West Hall, then through the northern door. You'll spot the puppy for a brief moment before he hides--check the sink on the left to expose him. Well, that is until he darts into the West Bedroom, which you can reach via the left-side door in the West Hall. Now you will actually want to use your Dark Light in the west bedroom to figure out which of 3 beds the Polterpup is hiding it. And this is your chance to catch him so get ready as soon as you rip off the sheet revealing him. If you're too slow, you'll have to chase him back into the bathroom, where you'll have to find him again. Either way, once you capture him, grab the key that appears to complete the mission
Weekly digests, tales from the communities you love, and more
 Join The Community


