The Witness walkthrough & puzzle guide
Solve every puzzle in The Witness and uncover the mysteries of the island with our complete walkthrough guide
Pressure Pad Maze
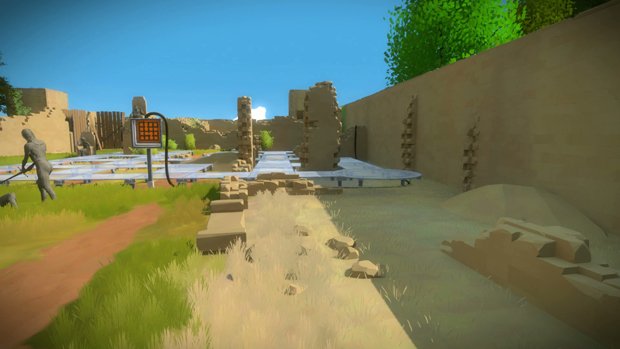
In the same area as the Hedge Maze (Keep) you'll find another sequence of mazes that work via pressure pads you walk on.
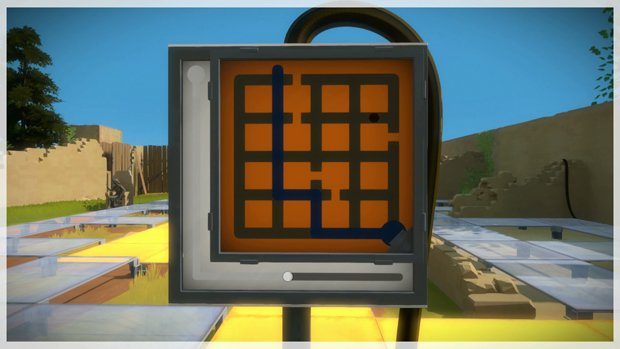
If you make a mistake at any point, you can swipe the line on the panel to reset the pressure pads.
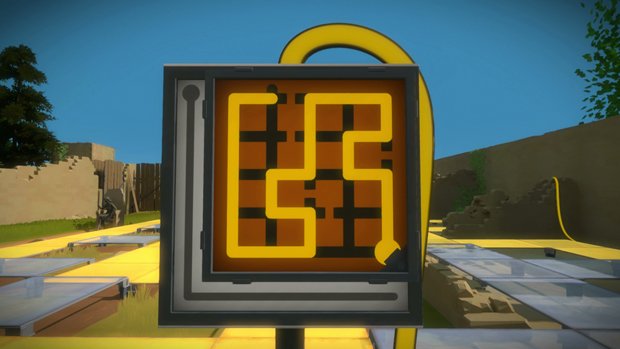

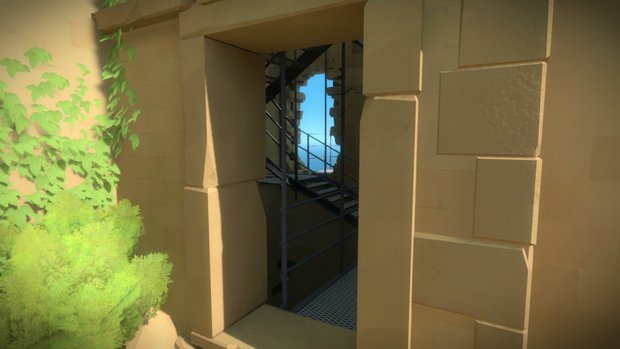
By the next panel is a path to a Shipwreck, which we'll cover later.
Article continues belowHint: Match the shape to the path.
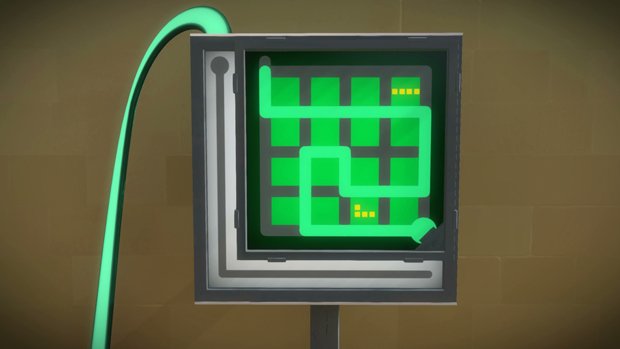
Constrain the shape within your path on the correct orientation.
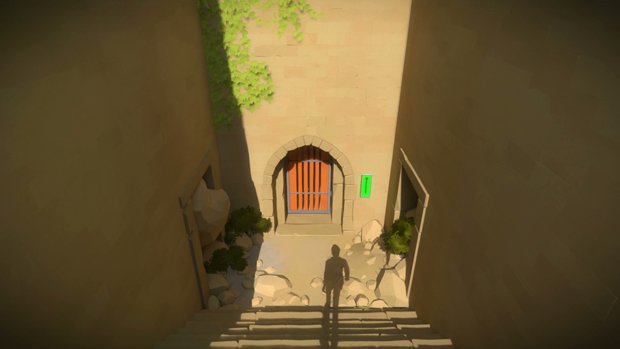
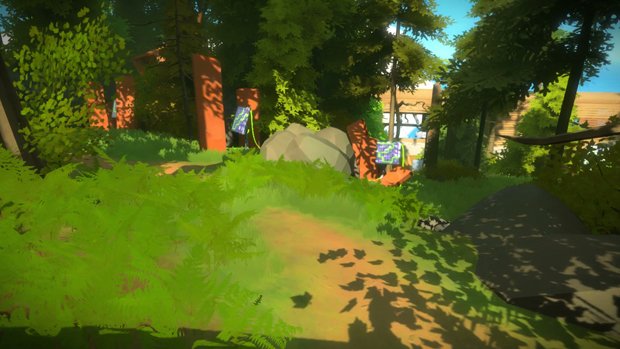
By the next panel is a gate you can open for a shortcut to the Orange Trees (Shady Trees) area.
Hint: Don't worry about the orientation.
Weekly digests, tales from the communities you love, and more
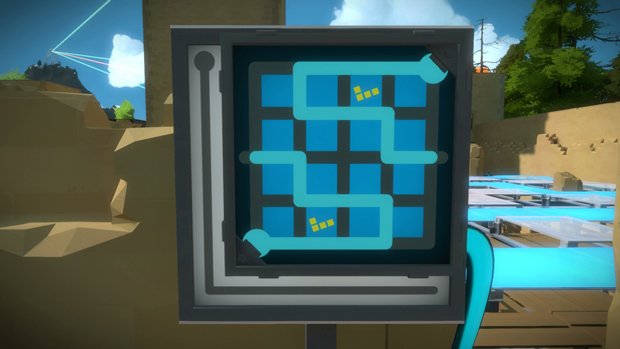
An angled shape can be constrained at any orientation.
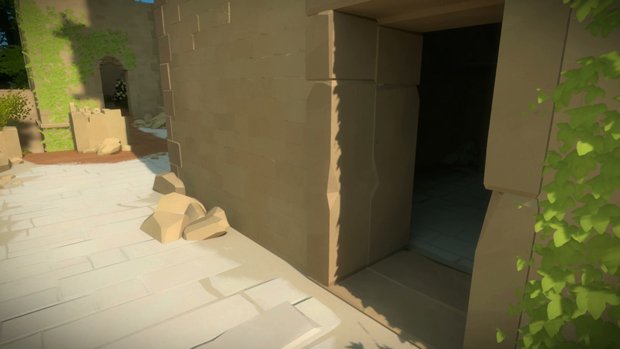
Head to the top of the central tower for the last panel.
Hint: You'll need a new path that follows all the rules.
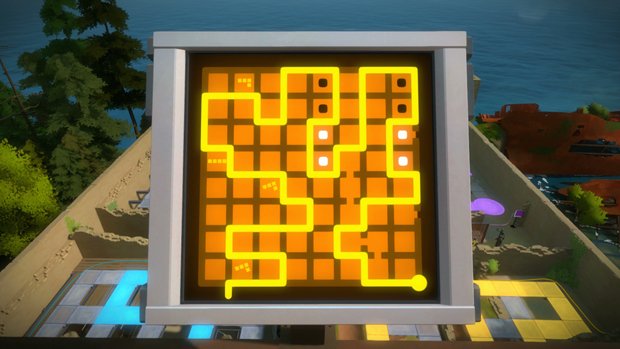
This is one of a number of possible solutions. Note that the bottom left area combines all three shapes, with the long bar running horizontally through the middle.
Jump to Section:
Opening Garden
Blue & Green Panels
Pink Trees
Pottery (Symmetry)
Orange Trees (Shady Trees)
Sun Temple (Desert Ruin)
Hedge Maze (Keep)
Pressure Pad Maze
Red Tree Temple (Monastery)
Greenhouse (Bunker)
Marsh
Treehouses
Quarry
Bamboo Forest (Jungle)
Town
Mountain
Mountain Challenge
Secret Rooms
Windmill & Video Player
Secret Ending
Current page: The Witness: Pressure Pad Maze
Prev Page The Witness: Hedge Maze (Keep) Next Page The Witness: Red Tree Temple (Monastery)
Iain originally joined Future in 2012 to write guides for CVG, PSM3, and Xbox World, before moving on to join GamesRadar in 2013 as Guides Editor. His words have also appeared in OPM, OXM, PC Gamer, GamesMaster, and SFX. He is better known to many as ‘Mr Trophy’, due to his slightly unhealthy obsession with amassing intangible PlayStation silverware, and he now has over 1,000 Platinum pots weighing down the shelves of his virtual award cabinet. He does not care for Xbox Achievements.
You must confirm your public display name before commenting
Please logout and then login again, you will then be prompted to enter your display name.

 Join The Community


