Tearaway collectibles guide
Weekly digests, tales from the communities you love, and more
You are now subscribed
Your newsletter sign-up was successful
Want to add more newsletters?
The Desert
Red Presents
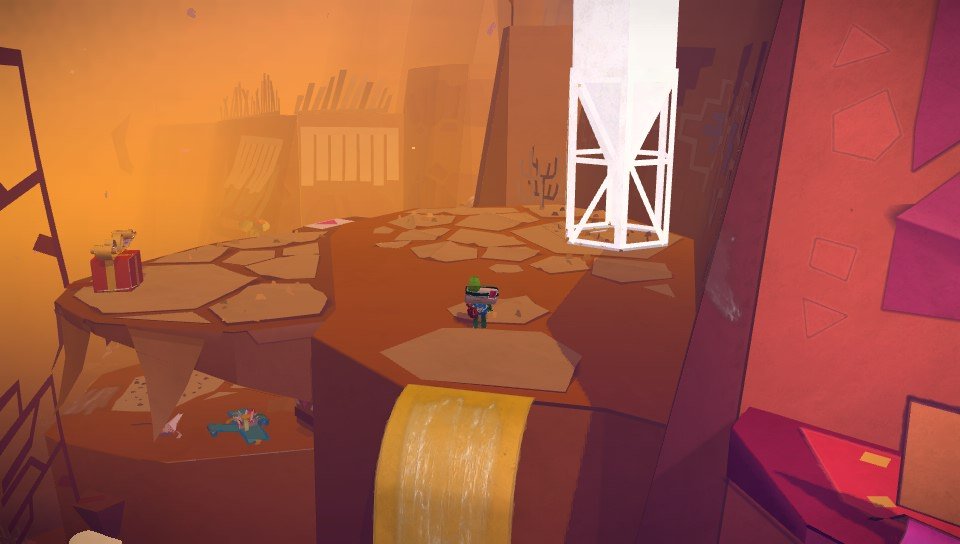
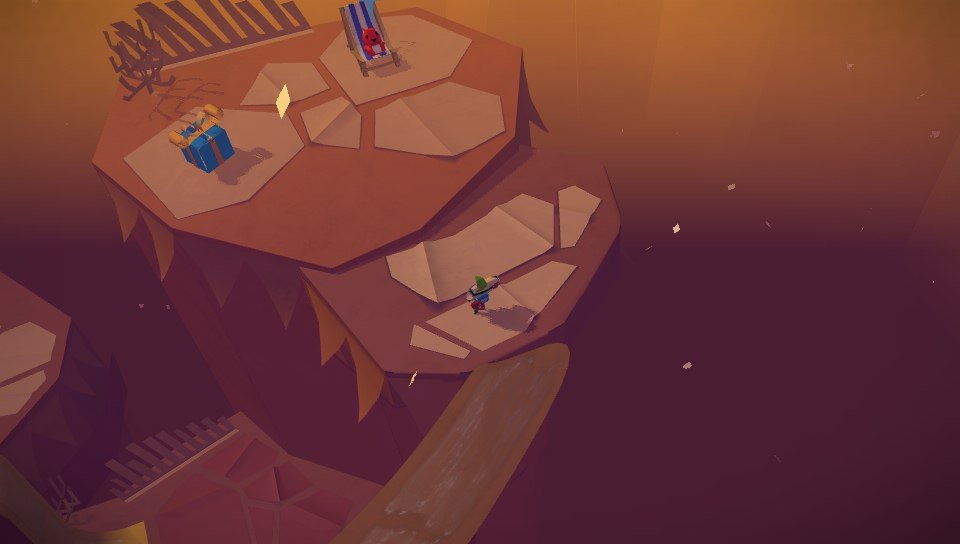
The first Red Present is up at the top of a platform that also contains the the Desert Bush Papercraft photo.
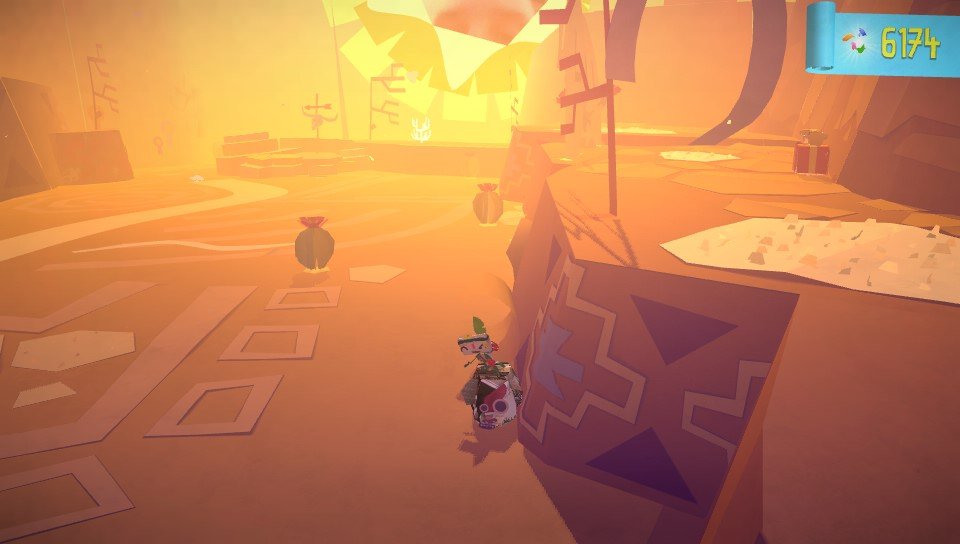
The second Red Present awaits just after you unfold a bridge that you'll see right after you cross a different bridge covered in glue.
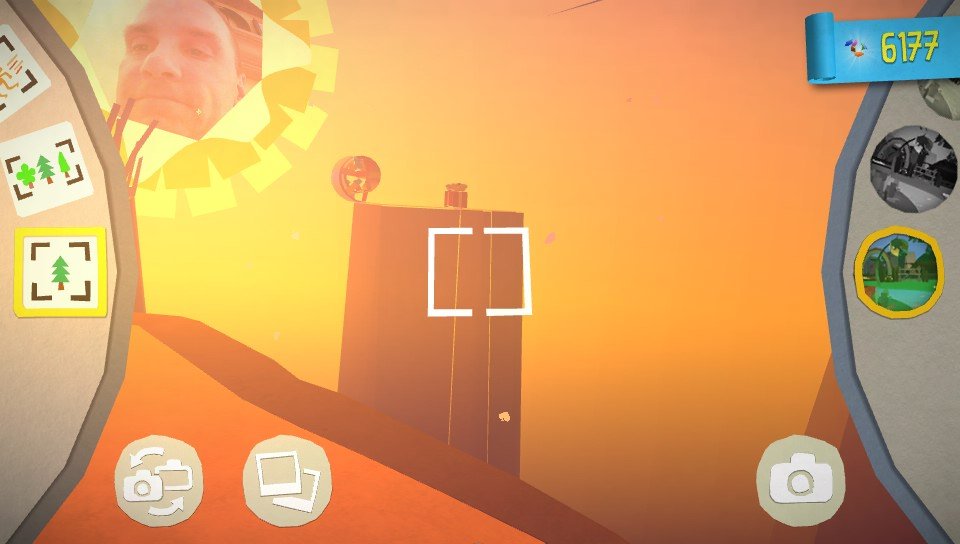
The third Red Present is right after the first Blue Present. Walk down the glue wall and you'll see it just to the left.
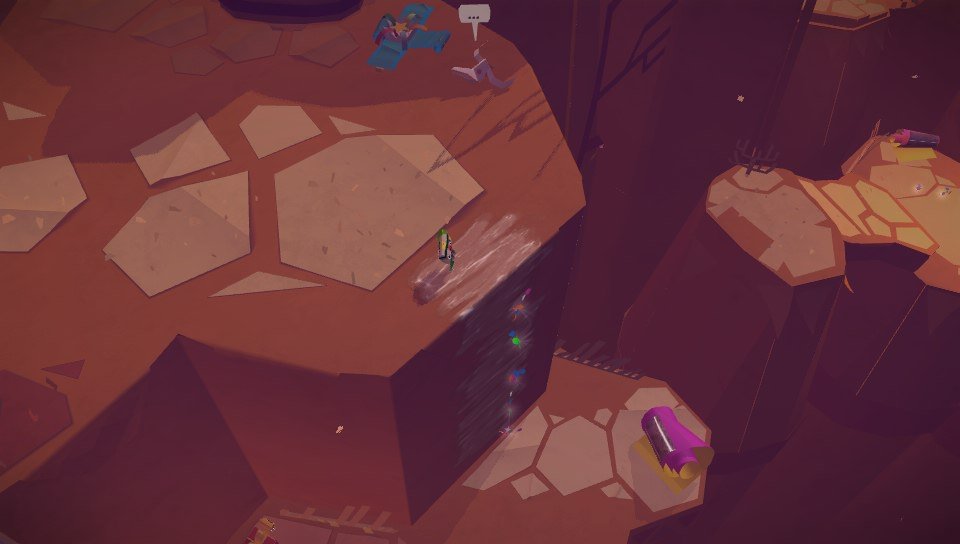
The fourth Red Present awaits behind the base of another glue wall. This one is much easier to spot!
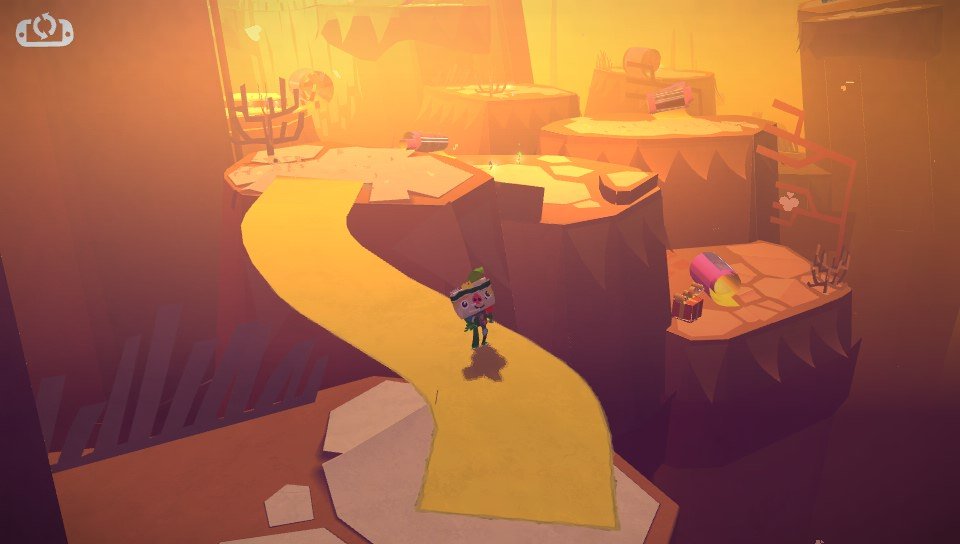
The fifth Red Present is tucked away nicely. You need to head back up the glue wall that hid the fourth Red Present, roll out two yellow bridges, then roll out a bridge on the right. After following it, you'll see the fifth Red Present waiting for you.
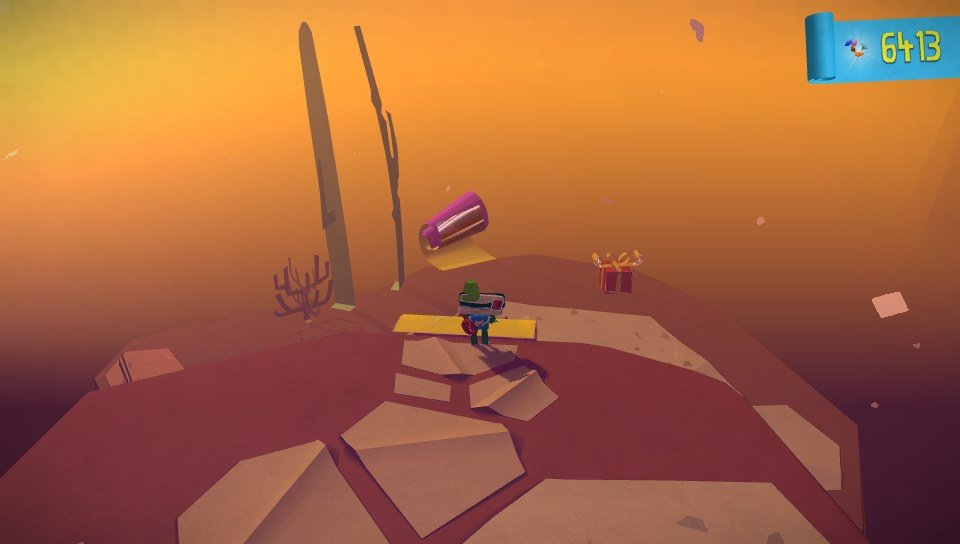
The sixth and final Red Present is also right next to the Papercraft Photo Water Tower, right after you encounter the cactus.

Blue Presents
The first Blue Present awaits right after you cross the rapids. A disembodied skull wants you to pin a skull and crossbones on yourself - do so and claim your reward!
Weekly digests, tales from the communities you love, and more
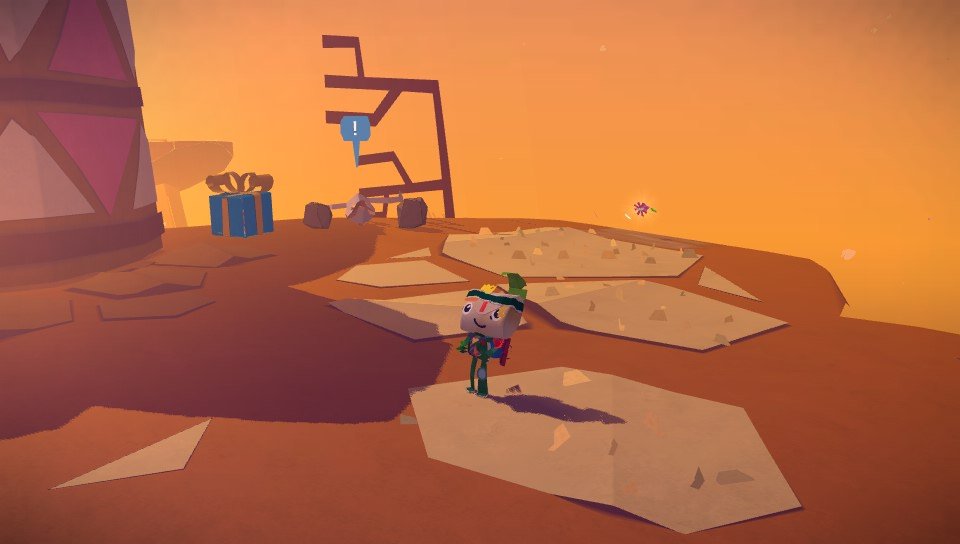
You'll find the second Blue Present just before the fifth Red Present. You'll see a glue wall - take that all the way to a squirrel who sits waiting for you. He'll need you to pin a mouth on him. Do it and you'll get the Blue Present!
Papercraft Photos
The first Papercraft Photo is right at the start of the level. You'll see several cacti stand out against the rest of the background. Take their picture to restore the color!
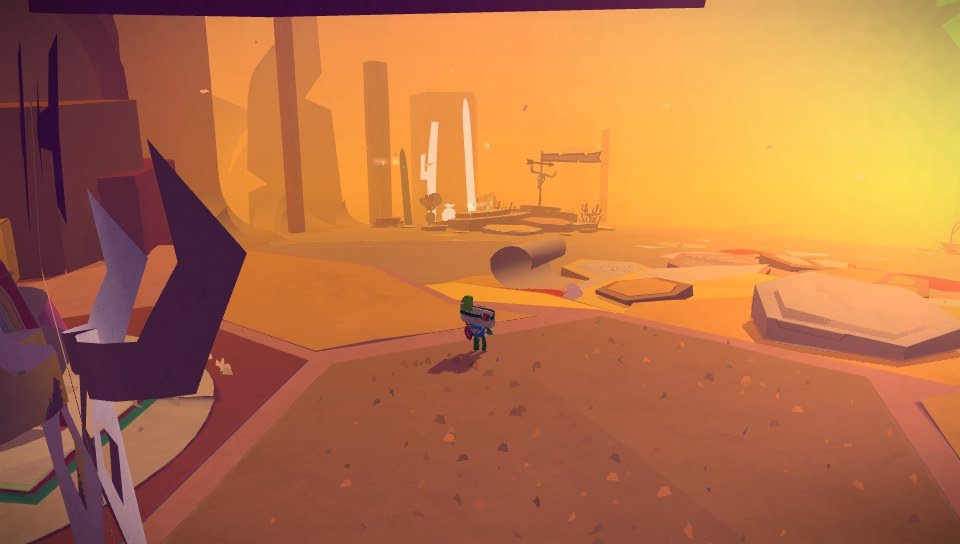
The second Papercraft Photo is impossible to miss, since you can't keep the story going without it! Paint him to get the photo and move along.
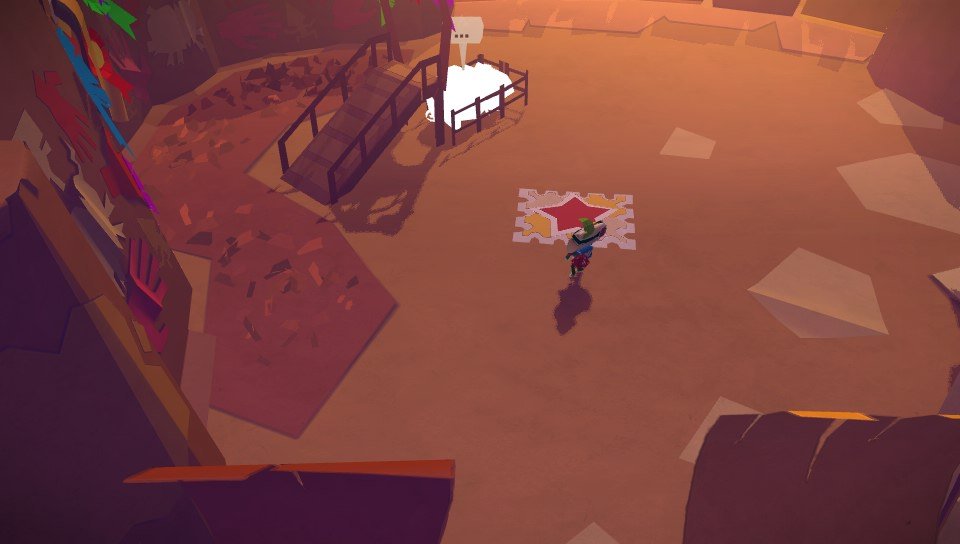
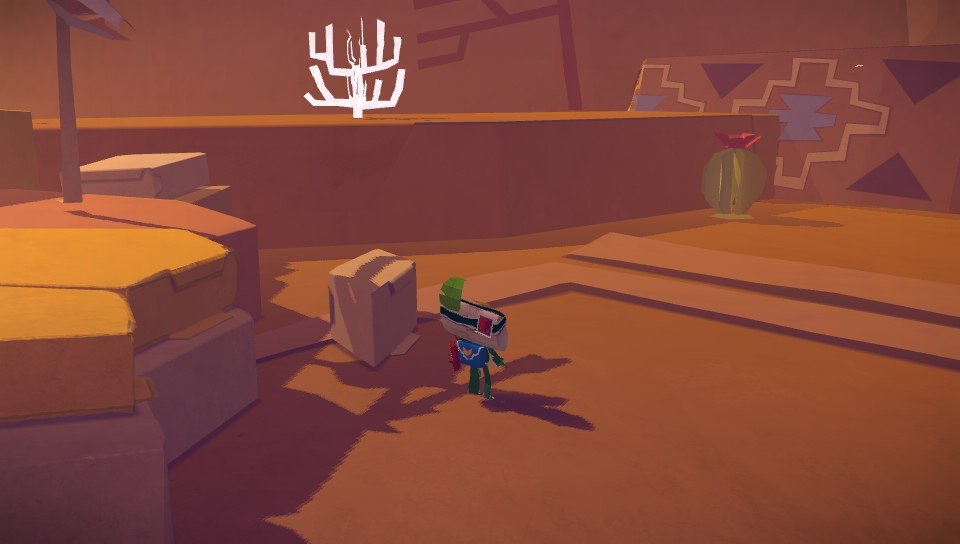
The third Papercraft Photo could easily be missed, though. Right after you're done with the pig, make sure you scan the landscape and snap a photograph of the Desert Bush that's ghostly white.
The fourth and final Papercraft Photo can't be missed either - a giant water tower that also sits just to the right of the sixth Red Present.
