Skylanders: Swap Force treasure locations guide
Weekly digests, tales from the communities you love, and more
You are now subscribed
Your newsletter sign-up was successful
Want to add more newsletters?
Rampant Ruins
Legendary Treasure: The Monkey's Paw
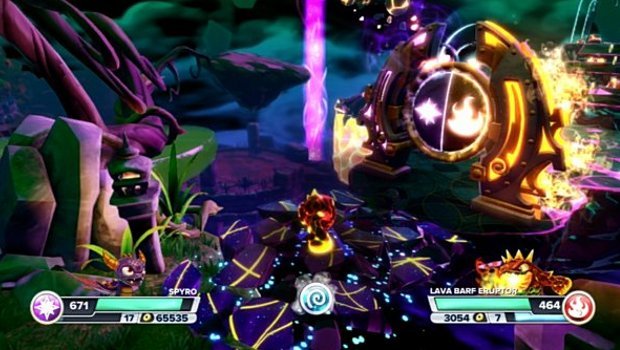
Very shortly into the level, you'll reach a dual Magic/Fire Elemental Gate. Make a Swap Force character with these qualities (or use two appropriate Skylanders, if you're playing co-op) to open it. Move through the course and defeat the giant enemy to obtain this.
Grave Monkey Totem (1/5)
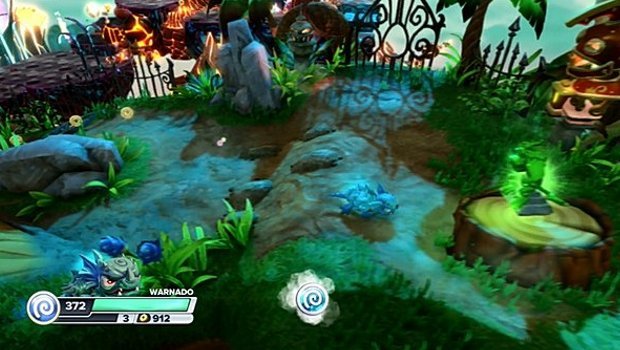
After battling the Chompy Rustbuds, you'll find this on the stump in the same area.
Grave Monkey Totem (2/5)
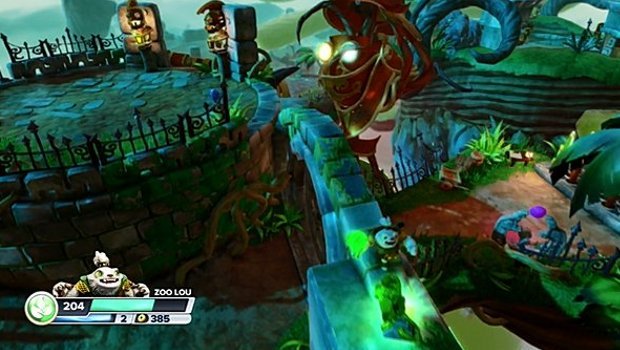
After battling the Arkeyan Rip-Rotors, walk across the arch to the right of the Battle Gate to grab this.
Grave Monkey Totem (3/5)
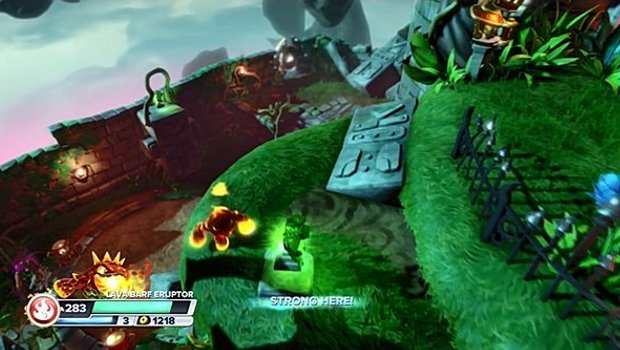
Take a left after battling the Arkeyan Slamshocks to find this on a short path.
Grave Monkey Totem (4/5)
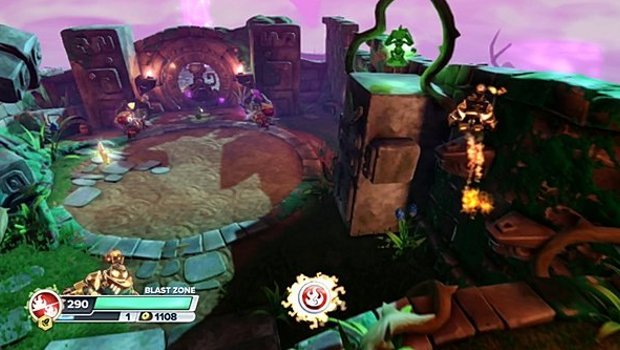
When you reach the Simian Throne Room, look to the right wall. Hop across the hands there to reach another totem.
Grave Monkey Totem (5/5)
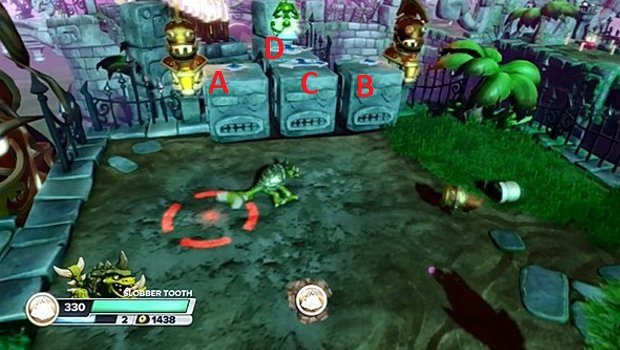
Soon after, you'll reach an area where Evil Glumshanks throws missiles at you. Approach the blocks and push blocks A and B forward, then push block C to the left. Push block D forward, then push blocks A and B left and right off the edges. Push block C forward and left to stack it atop block A. Finally, push block D down twice and left once. Now you can jump from block C to D and reach the last totem.
Winged Sapphire
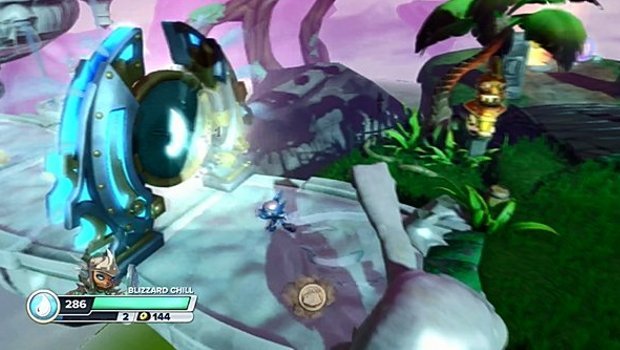
Just after the block puzzle, there will be a Water Elemental Gate on your left. Use a Water Skylander to enter, then make your way through the course to collect this.
Weekly digests, tales from the communities you love, and more
Story Scroll: The Grave Monkey
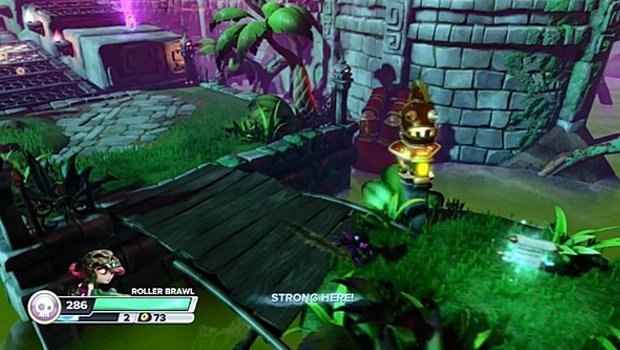
Once you've taken the launch pad to Monkey Monk's Path, turn around to spot this across a short bridge.

Tony lives in Maryland, where he writes about those good old-fashioned video games for GamesRadar+. His words have also appeared on GameSpot and G4, but he currently works for Framework Video, and runs Dungeons and Dragons streams.
