Lego Jurassic World Minikit and Amber Fossil Brick locations guide
Find every Minikit in Lego Jurassic Park with our guide
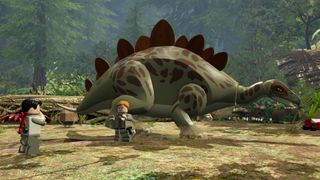
Finding all of the Lego Jurassic World Minikit locations is no mean feat, as we're not exaggerating when we say that you can find them practically everywhere in the game, along with the Amber Fossil Bricks that can also be dug up along the way. Tracking them all down can be a painstaking process, which is why we're here to help take the edge off your search.
Remember that there are 10 Lego Jurassic World Minikits to collect in each level, and once you've found them all you'll unlock something within the game hub. Some of these Minikits can be found in Story Mode, while others can only be accessed in Free Play where you'll need to use specific Lego Jurassic World Character unlocks in order to reach them. Then there are the new Amber Fossil Bricks, making their first appearance this time around. Each one unlocks a dinosaur for Freeplay mode, so naturally you'll want them all. There's one to be found in each level, and we've got all their locations here for you as well.
Get started with the Prologue below, or use the menu at the bottom of the page to jump to the required section of the story. Happy hunting!
Prologue - Raptor Transfer
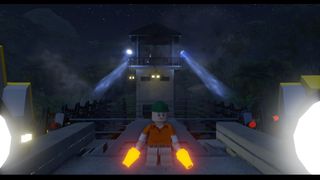
The first area in the prologue contains four minikits. You can pop back in Free Play once you've unlocked the characters with the required skill set to reach the fourth one, or you can hop over to the list of character unlock codes to find who you need if you can't be bothered to wait that long.
Minikit #1
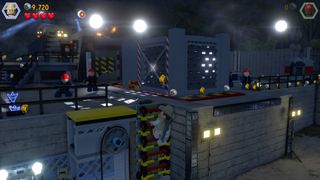
Climb the ladder to the upper area and switch to Jophery.
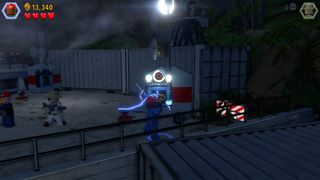
There are three spotlights you need to jump start to get a minikit. The first one is to the right of the cage near the edge of the platform.
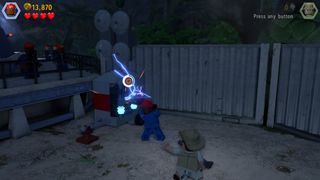
The second is also to the right of the cage in the back corner.
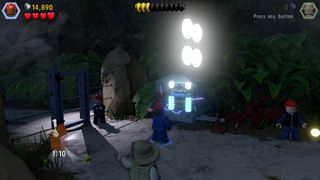
The third one can be found at the very back of this area in the left corner. Once you juice up the last spotlight, you'll be awarded a minikit for your trouble.
Minikit #2
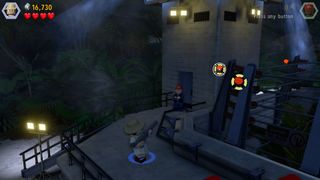
Switch to Muldoon and take out the four red lights around the enclosure to pick up a second minikit. The first two are at the back of the area near the tower.
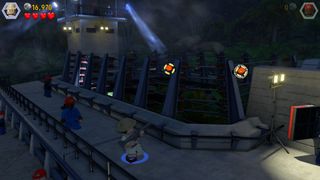
Head towards the control panel to find the last two.
Minikit #3
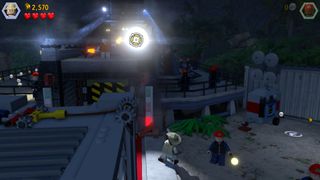
Using Muldoon's rifle again, target the large spotlight to the upper right of the cage.
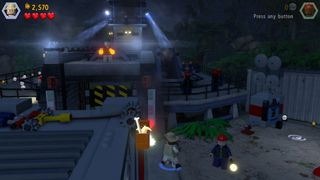
Shoot it twice to dislodge a minikit.
Minikit #4 - Free Play Mode
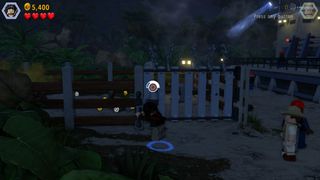
Choose a character with the crowbar ability and crank open the gate on the left of the enclosure.
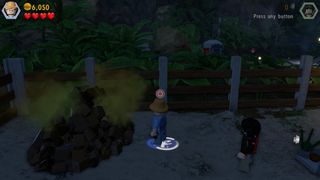
Switch to Ellie and dive right into the pile of dino poop.
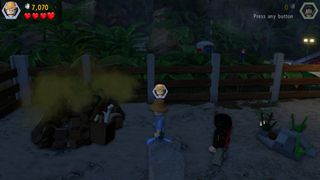
Swimming around in there will reward you with the last minikit in this area.
Prologue - The Dig

You'll find six minikits and an amber fossil brick squirrelled away in this sandy area.
Minikit #1
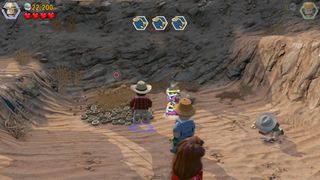
Head to the right of the area and root around in the sand to find the bones.
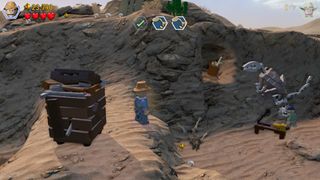
After constructing the skeleton, make your way across to the raised platform on the right with Ellie, than destroy the crate to create a path up for Grant.
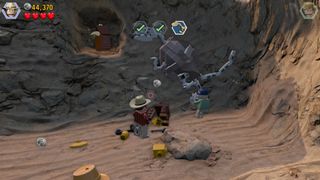
Smash the table next to the guy trying to extract the skeleton from the cliff, and make a jackhammer for him to dig it out.
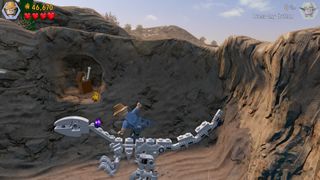
Reassemble it and climb up with Ellie. Jump across to the cave in the cliff face to pick up the minikit.
Minikit #2
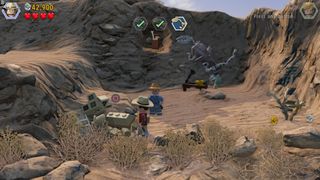
To get the next minikit, you need to build four sandcastles around the dig site while your colleagues slave away doing important archaeological work. Destroying sand dunes will give you the parts you need to make them. The first one is to the front left of the worker trying to get the skeleton out of the cliff face.
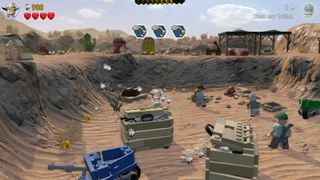
To reach the next sand dune, head to the left of the area, destroy the wheelbarrow, and reassemble it into a road-sweeper.
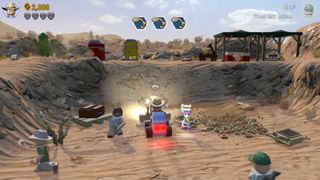
Use it on the pile of sand at the back of the area to reveal the dino bones.
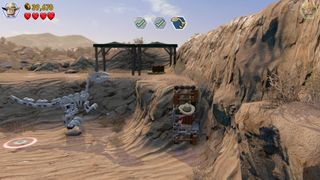
Hop up to the platform above with Ellie, and smash the crate to create a ladder for Grant.
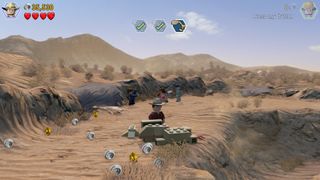
Follow the path around to the left to find the sand dune that you can create a sandcastle out of.
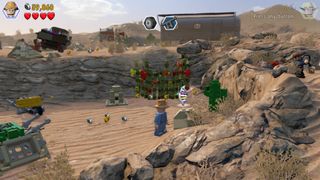
Make your way to the area above and when you reach the kids trying to fix the seismic thumper, head to the right to find the sand pile you need to destroy to make your next masterpiece.
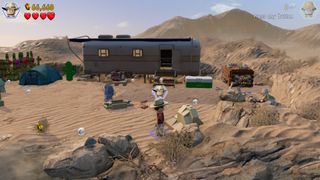
The last lump of sand is in the area where the helicopter lands. After bouncing up here, go over to the right and bash the pile of sand in front of the trailer to make your last sandcastle and get a minikit as a reward.
Minikit #3
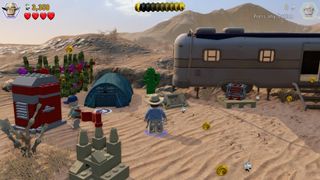
To find this minikit, simply shred the bejesus out of the foliage to the left of the blue tent next to the trailer.
Minikit #4 - Free Play Mode

Switch to a character with the small-access skill and enter the blue tent to the left of the trailer.
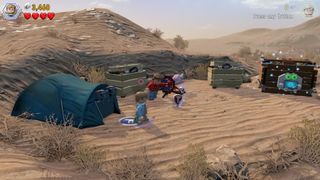
You'll emerge next to a man trying to roast a turkey - and not having much luck.
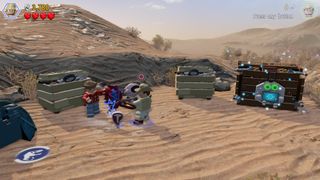
Switch to a character who can use the piece of meat to track down some of the parts you need to help him, then destroy the two bins behind him for the rest.
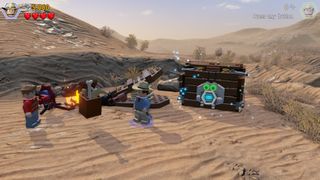
Reassemble the parts into a giant bellow, get that turkey roasted and pick up your reward.
Minikit #5 - Free Play Mode

Switch to a character with the scanner ability and use it to open the sparkly crate to the right to find the minikit.
Minikit #6 - Free Play Mode
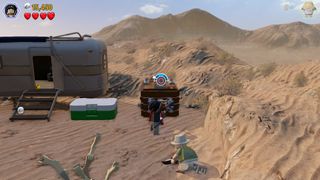
Switch to a character with the crowbar skill and crank open the crate to the right of the trailer.
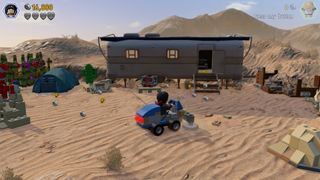
Assemble a road-sweeper with the parts inside and use it on the three sand piles in this area. The first is in front of the trailer.
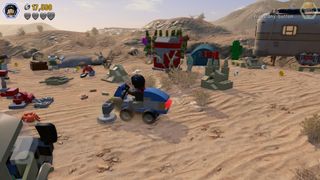
The second is just to the right of the dangling truck.
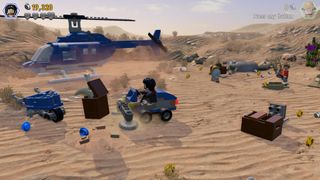
The last one is in front of the helicopter, and once you sweep it up, you'll be awarded the final minikit of the level.
Amber Fossil Brick (Gallimimus) - Free Play Mode

On the way to the area where you fix the seismic thumper, you'll pass a cave.
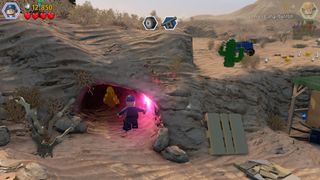
Switch to a character with the illuminate ability and pop inside to find the amber fossil that unlocks the dinosaur Gallimimus.
Jump to Section:
- Prologue
- Welcome to Jurassic Park
- Park Shutdown
- Restoring Power
- The Visitor Centre
- Isla Sorna
- InGen Arrival
- The Hunted
- Communications Centre
- San Diego
- Landing Site
- The Spinosaurus
- Breeding Facility
- Eric Kirby
- The Bird Cage
- Welcome to Jurassic World
- Gyrosphere Valley
- Out of Bounds
- Under Attack
- Main Street Showdown
Check out our other Lego Jurassic World guides:
Sign up to the GamesRadar+ Newsletter
Weekly digests, tales from the communities you love, and more
