Lego Jurassic World Minikit and Amber Fossil Brick locations guide
Find every Minikit in Lego Jurassic Park with our guide
San Diego - San Diego Docks
Just when you thought you were safe, along comes a kaiju attack.
Minikit #1
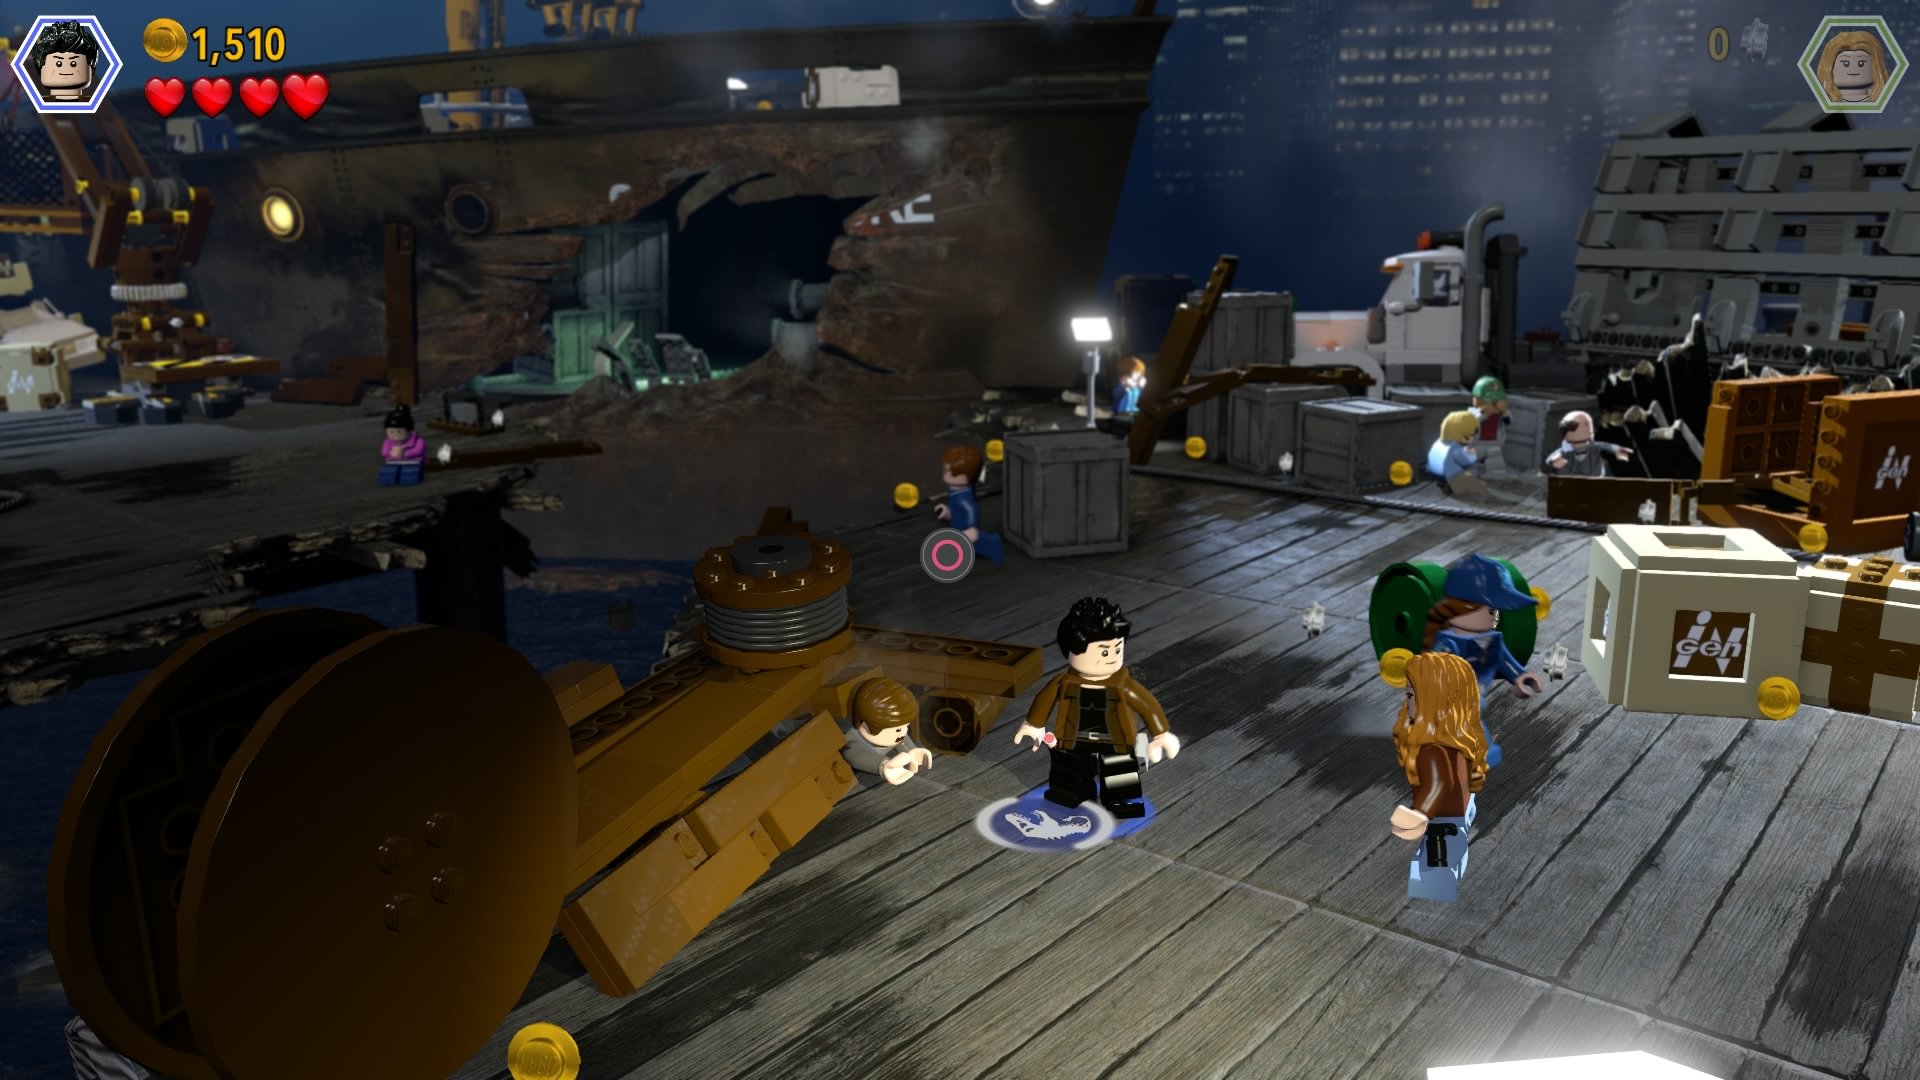
You need to save three people trapped by the debris and wreckage of the ship crash. The first is under some planks at the very start of he level.
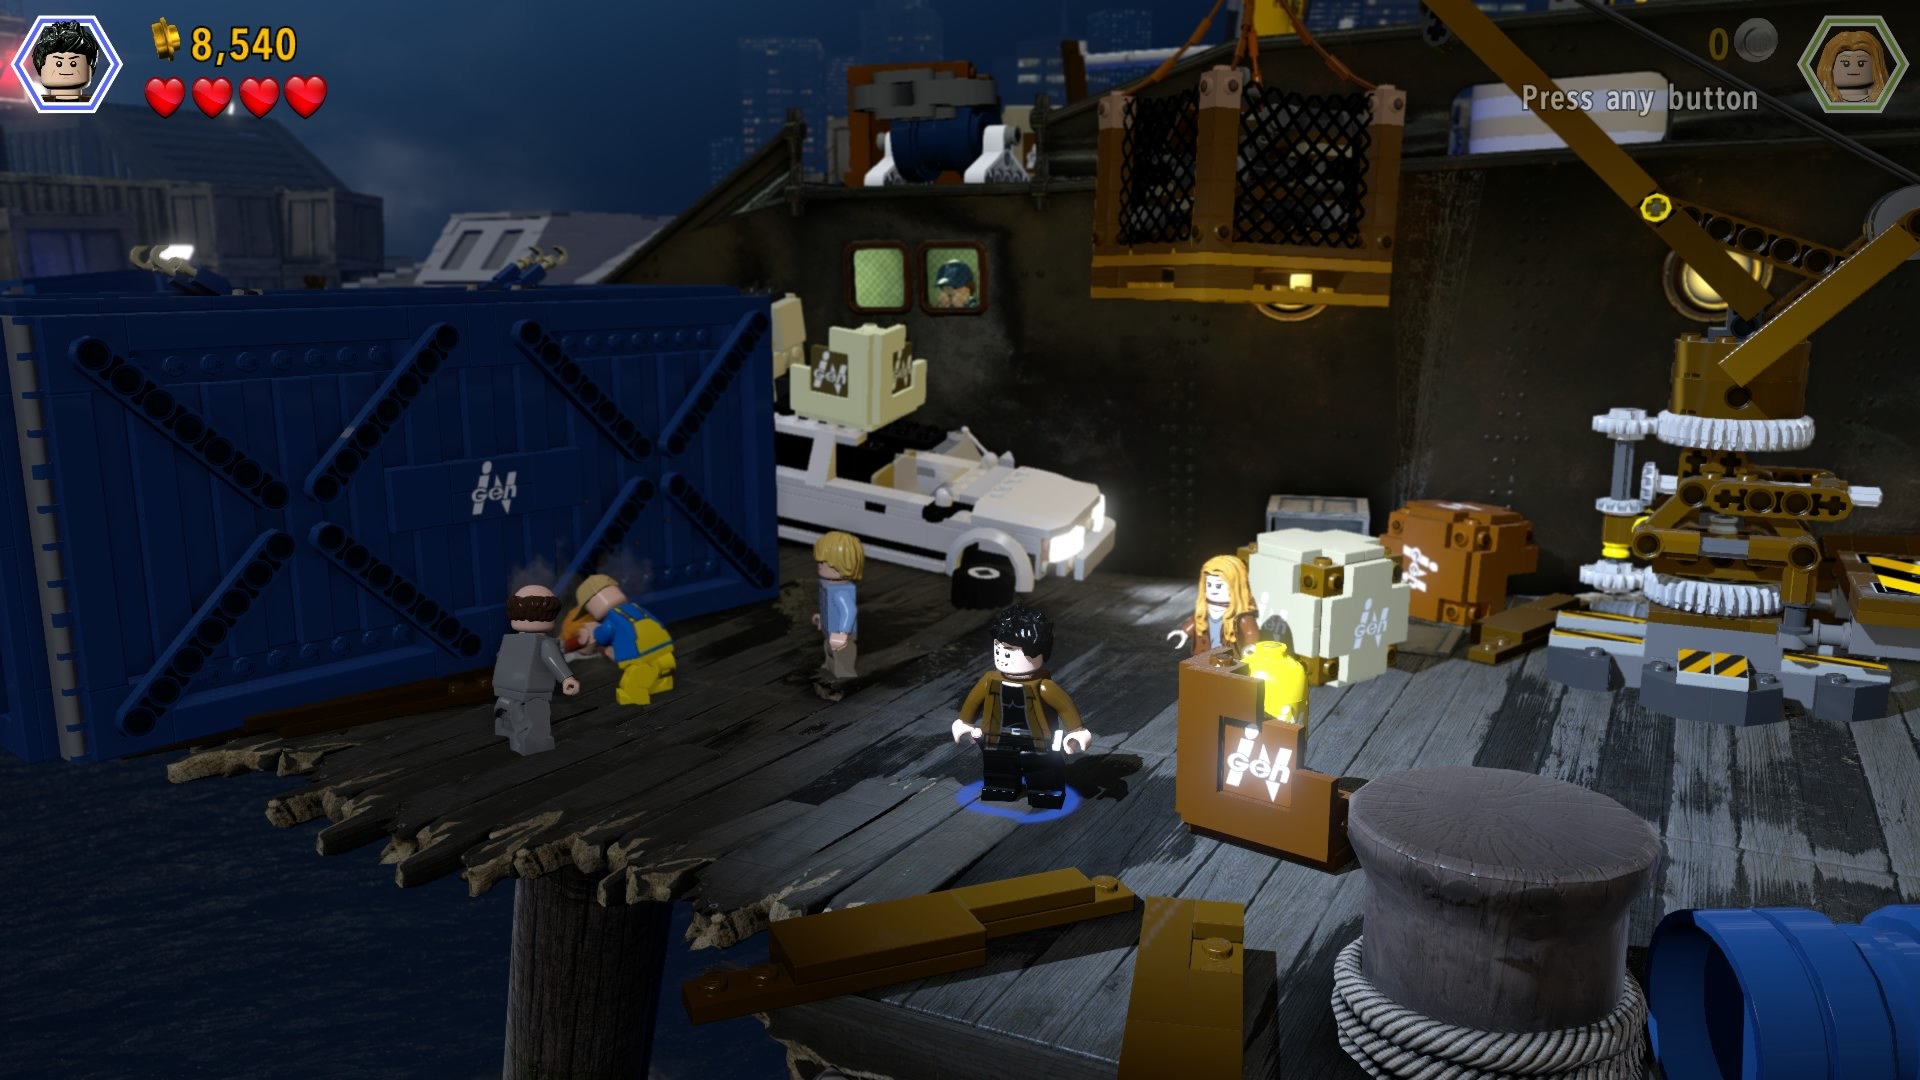
The second is miraculously alive despite half of his body being wedged beneath a shipping container.
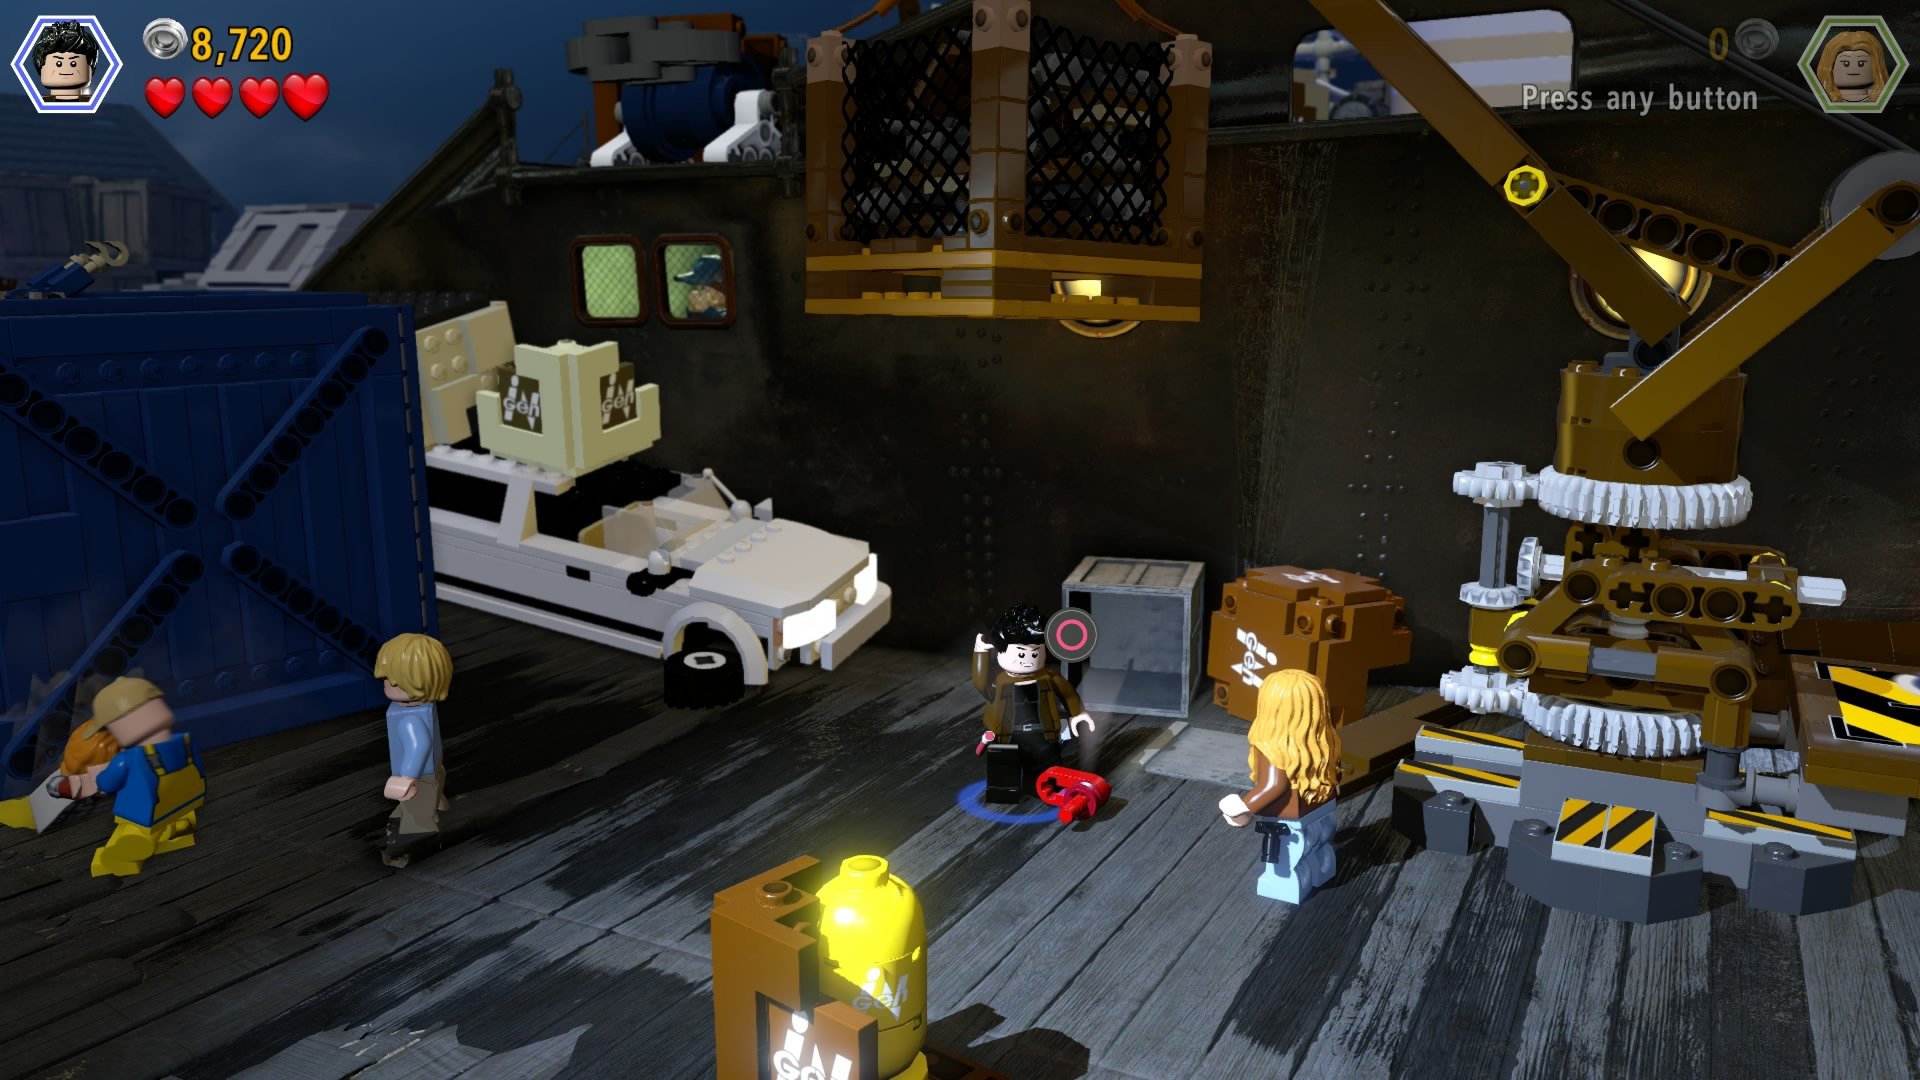
Destroy the boxes nearby to find the crank for the small crane. The pieces to build a bridge to access the upper level will be released after you use it.
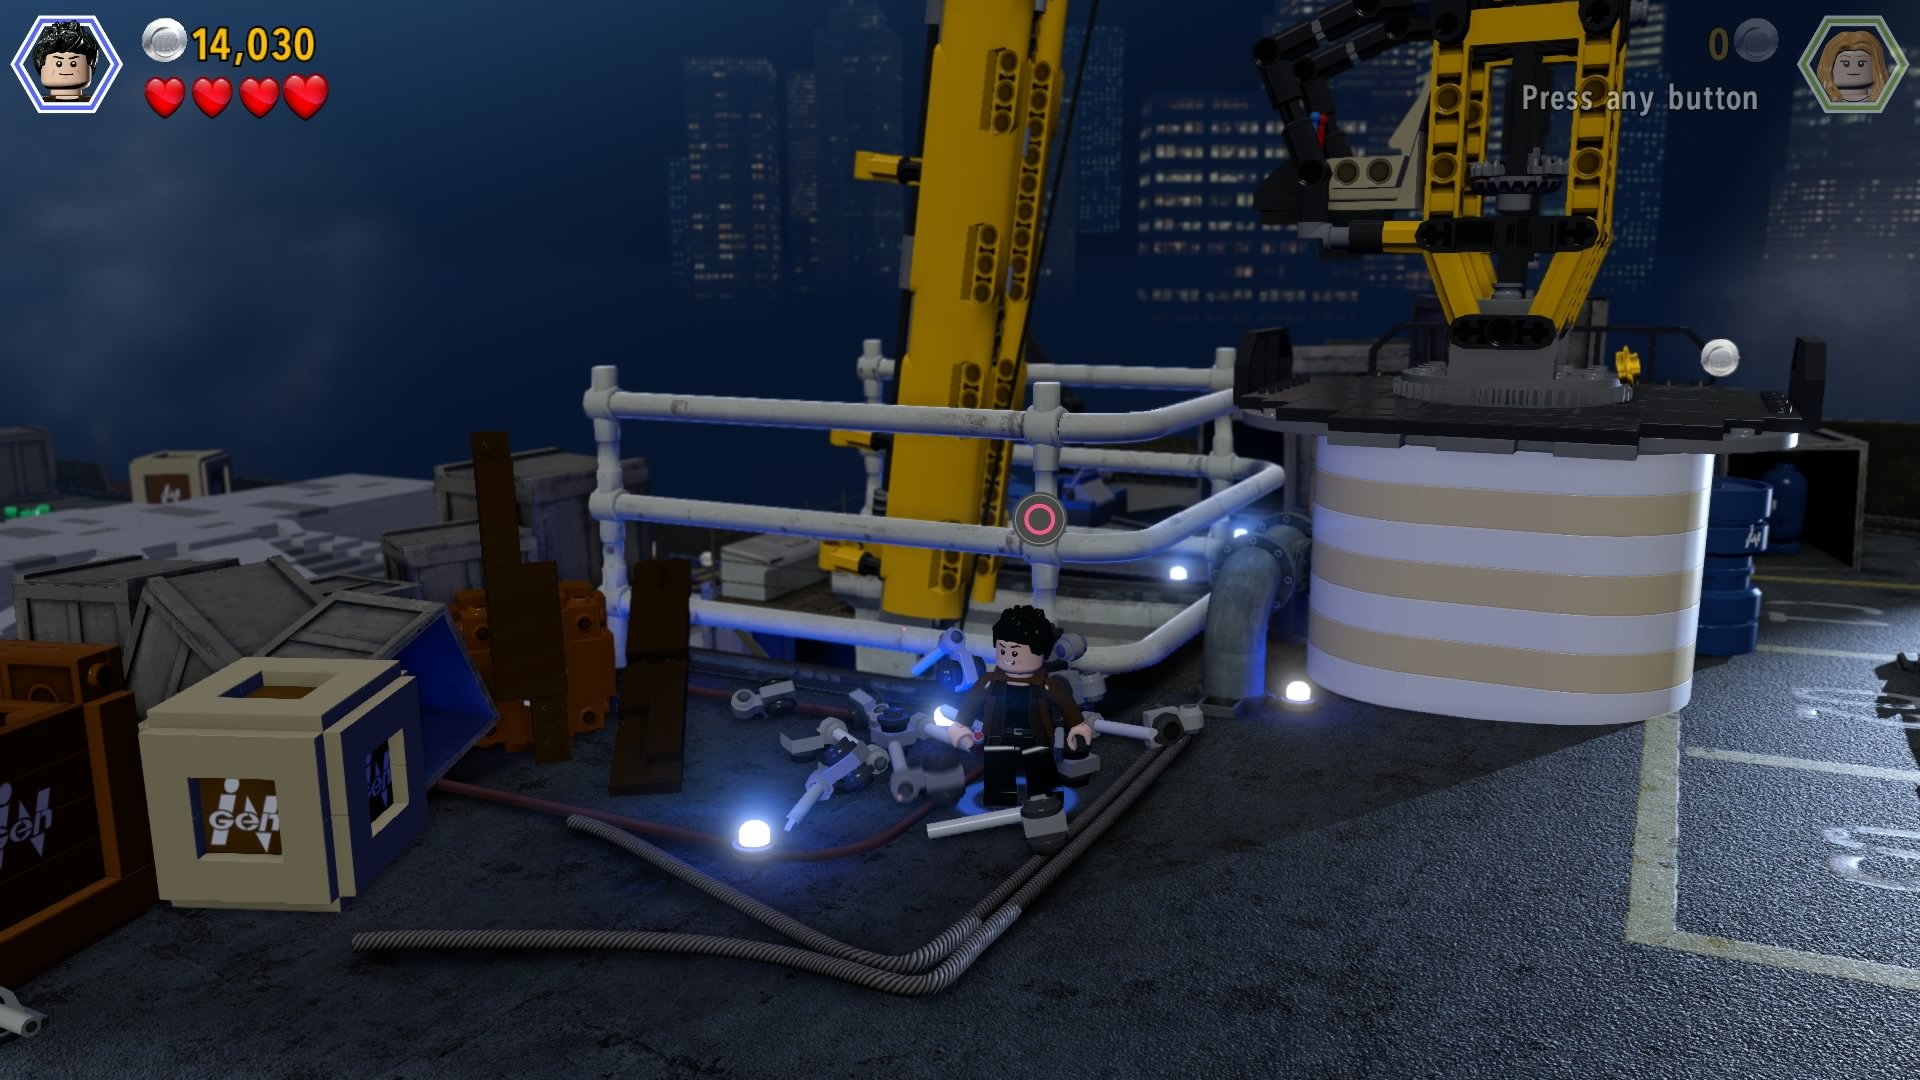
Smash the crates on the upper level to find the pieces to build a ladder up to the large crane.
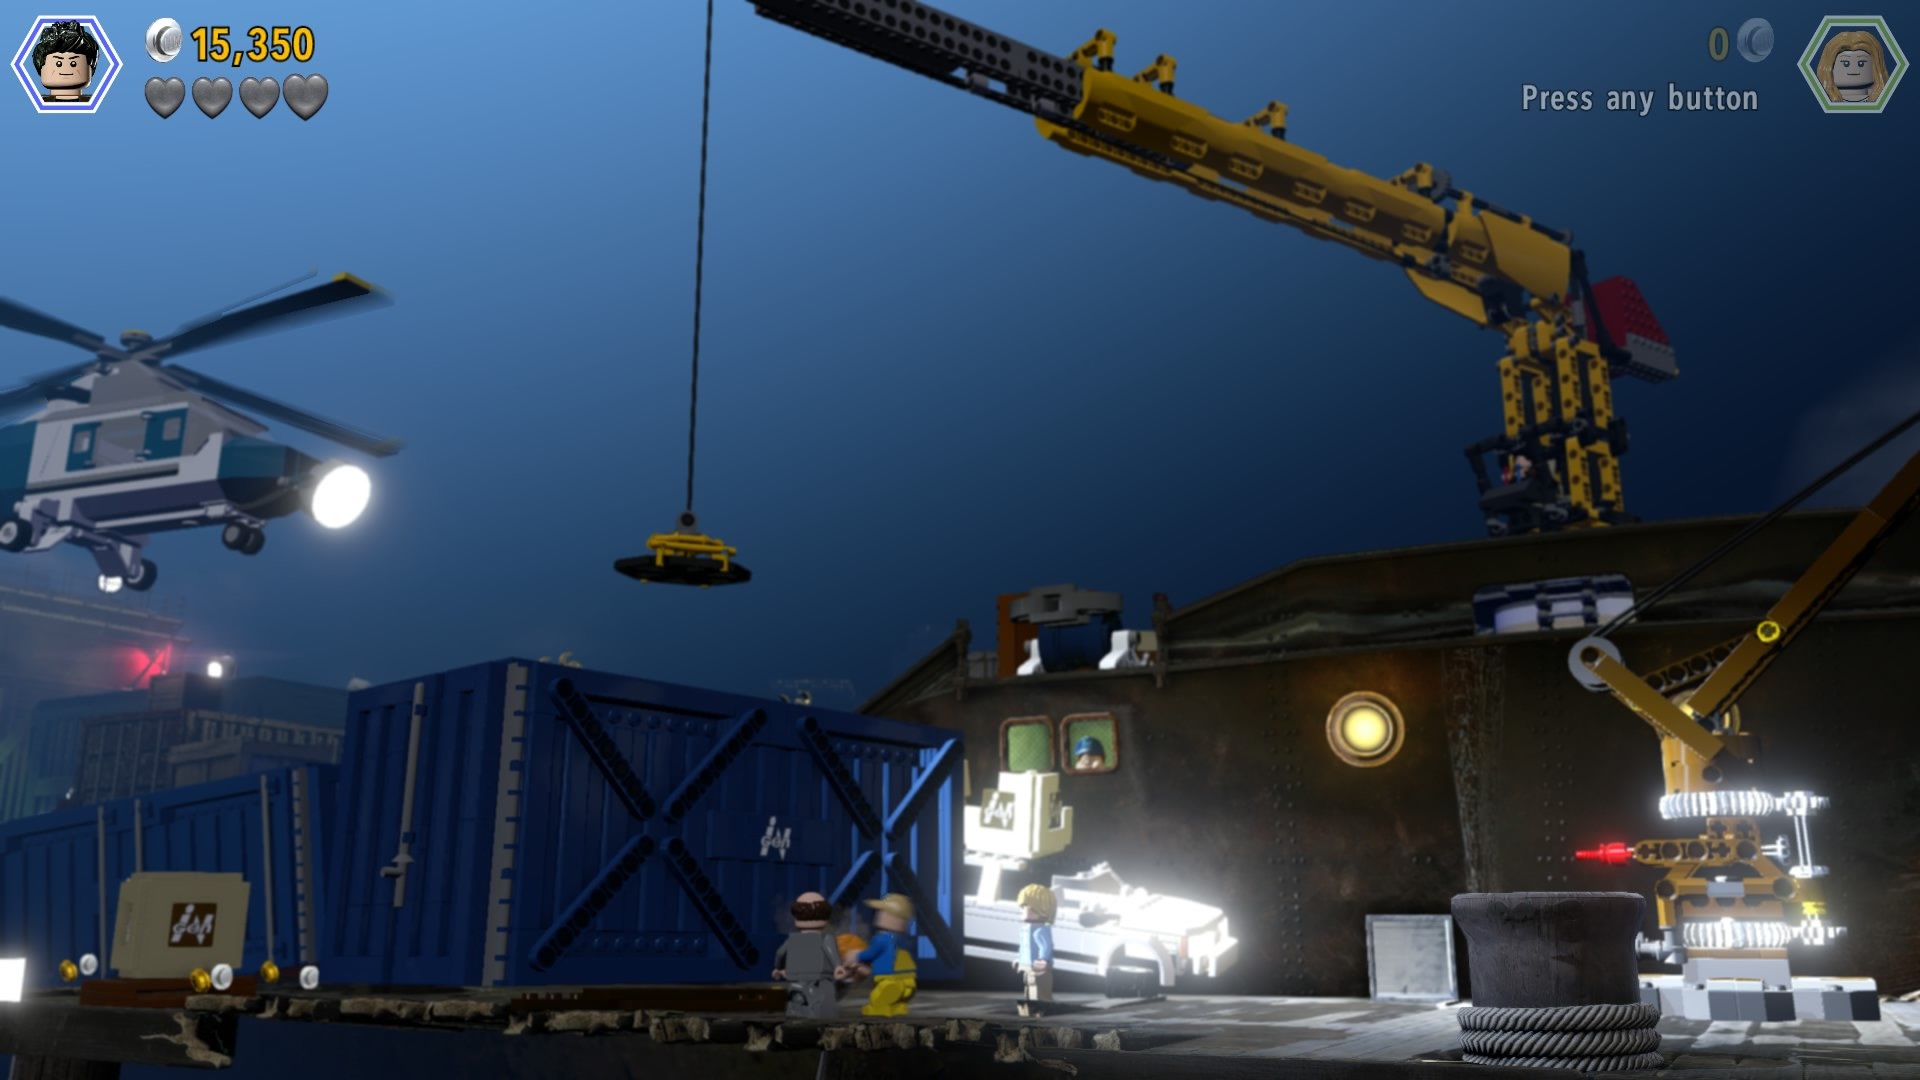
Use the large crane to lift the shipping container off the poor sod underneath, and clear yourself a path to the rest of the level.
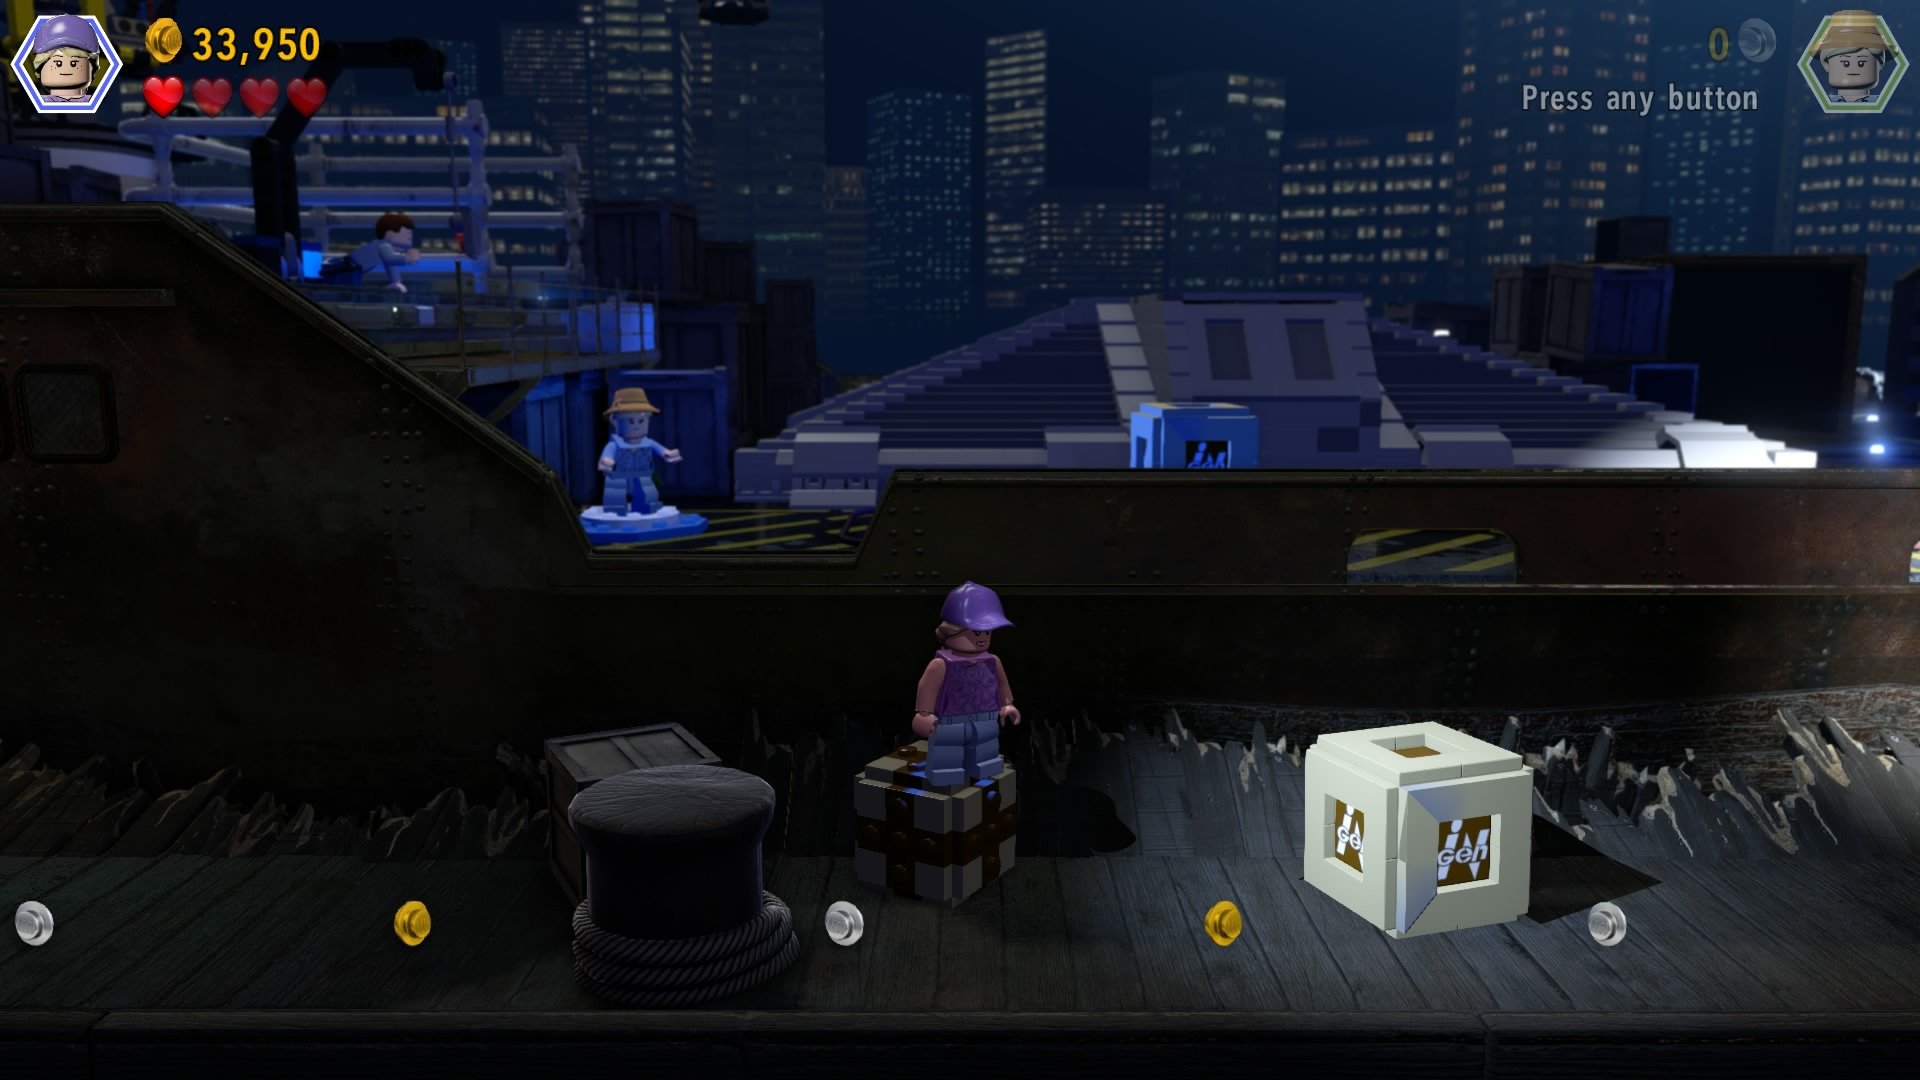
To rescue the last chap, when you reach the guy trying to push the big red button, ignore him and hop off the ship and onto the dock.
Weekly digests, tales from the communities you love, and more
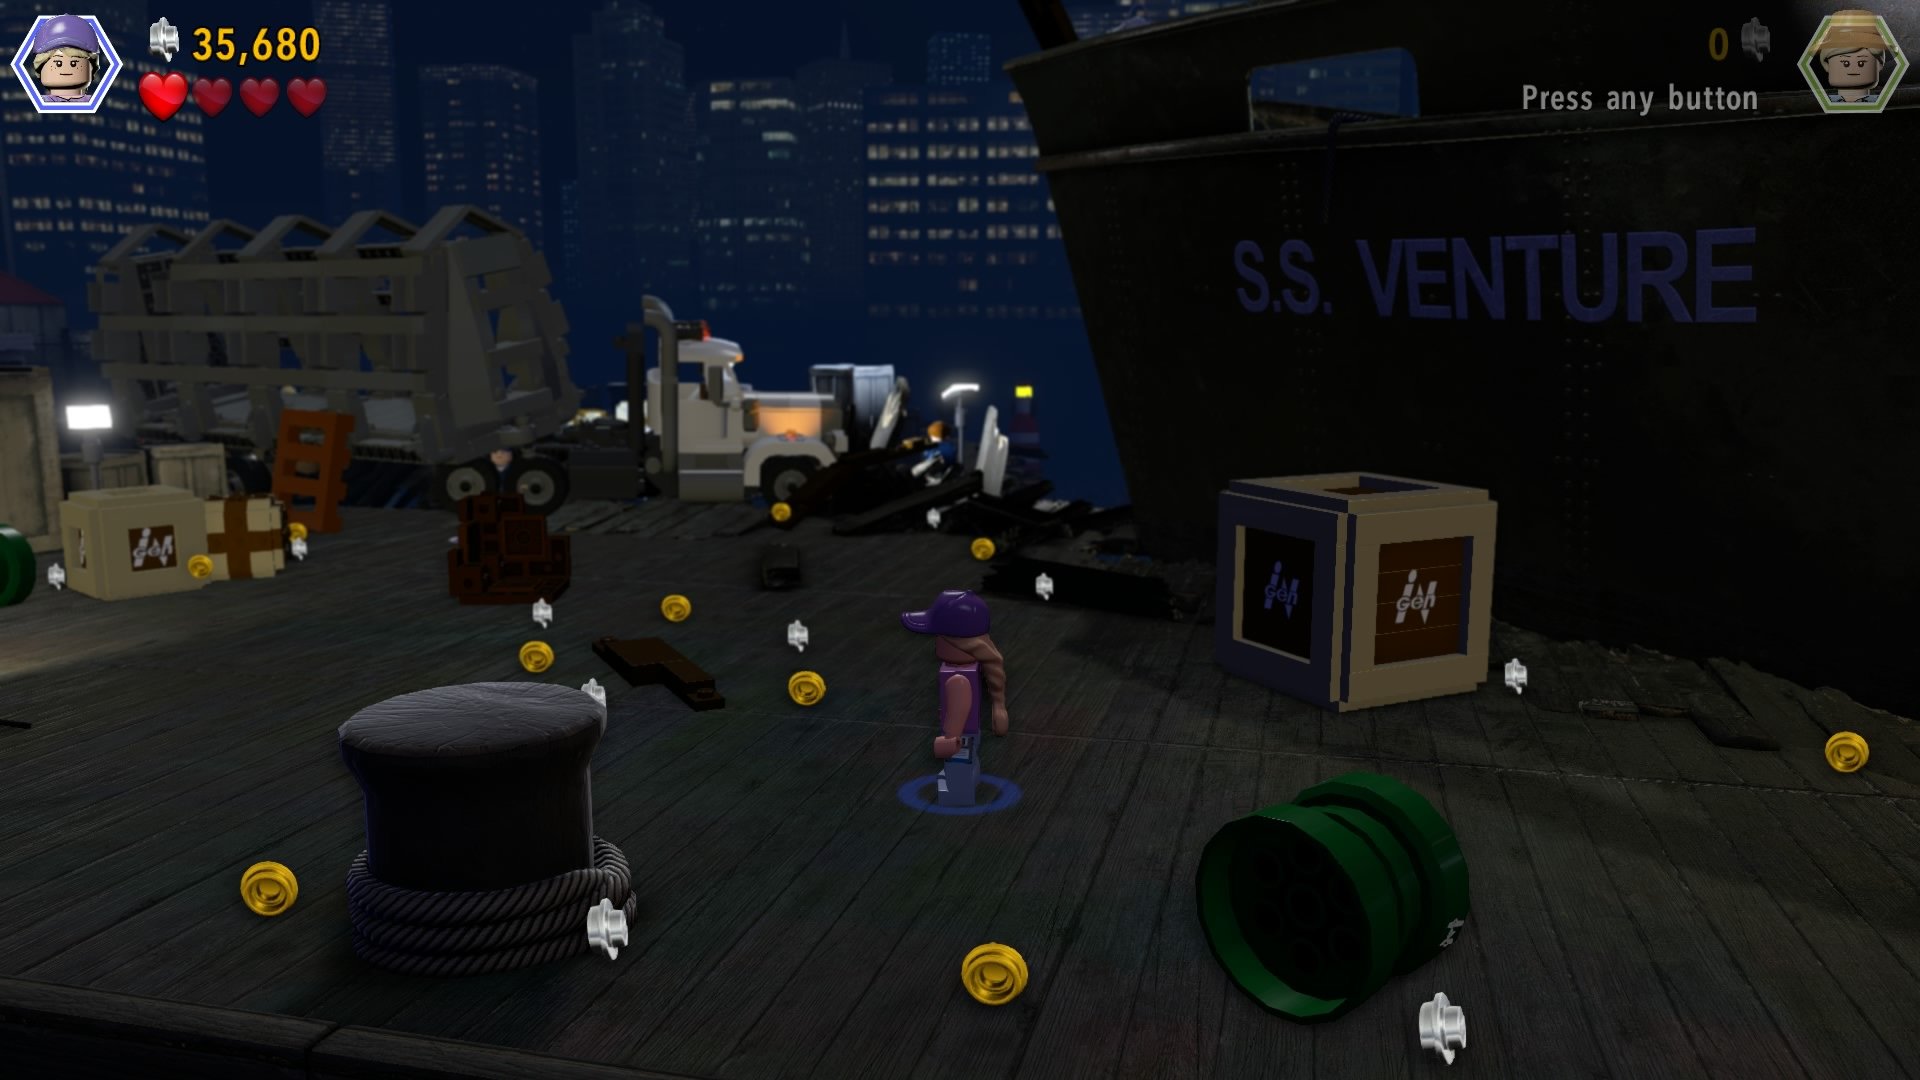
Follow it around to the left and you'll be on the other side of the truck you passed at the start of the area.
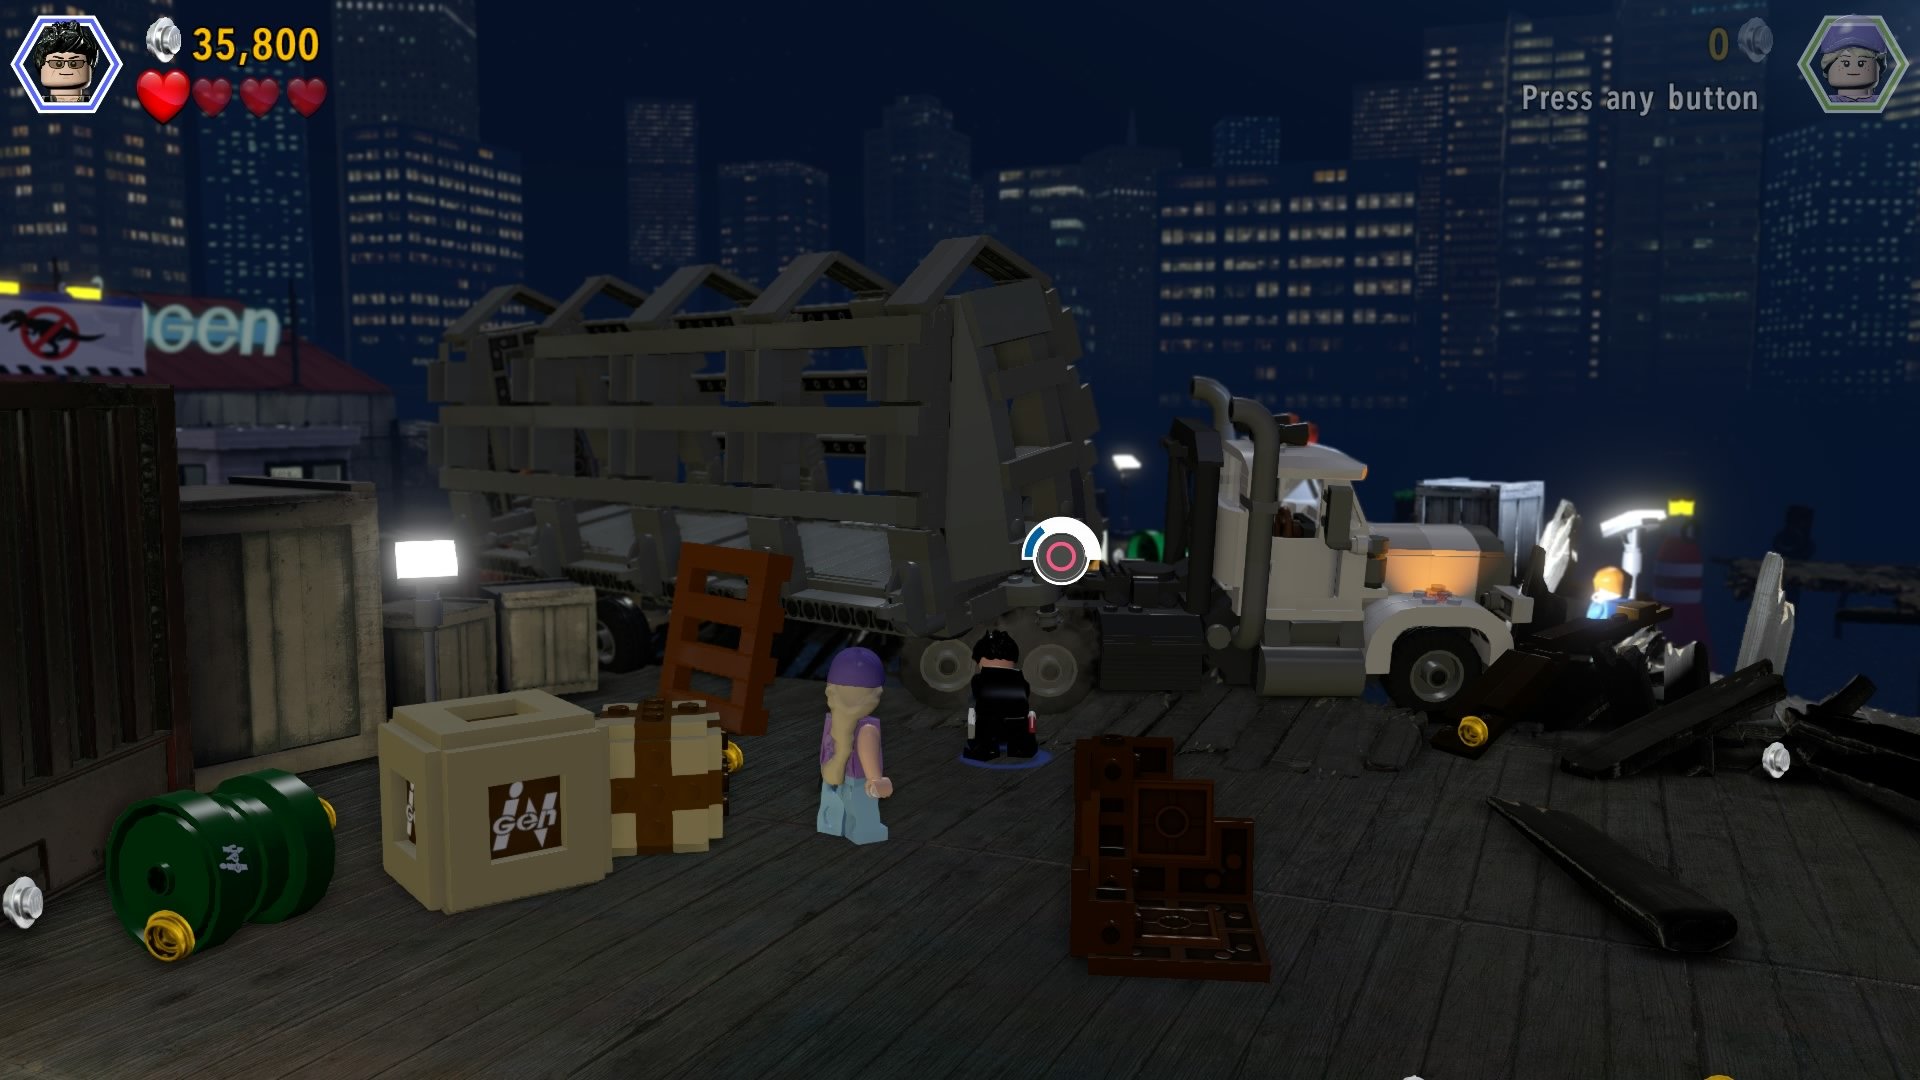
Pull out the last person in need of a helping hand for the minikit.
Minikit #2
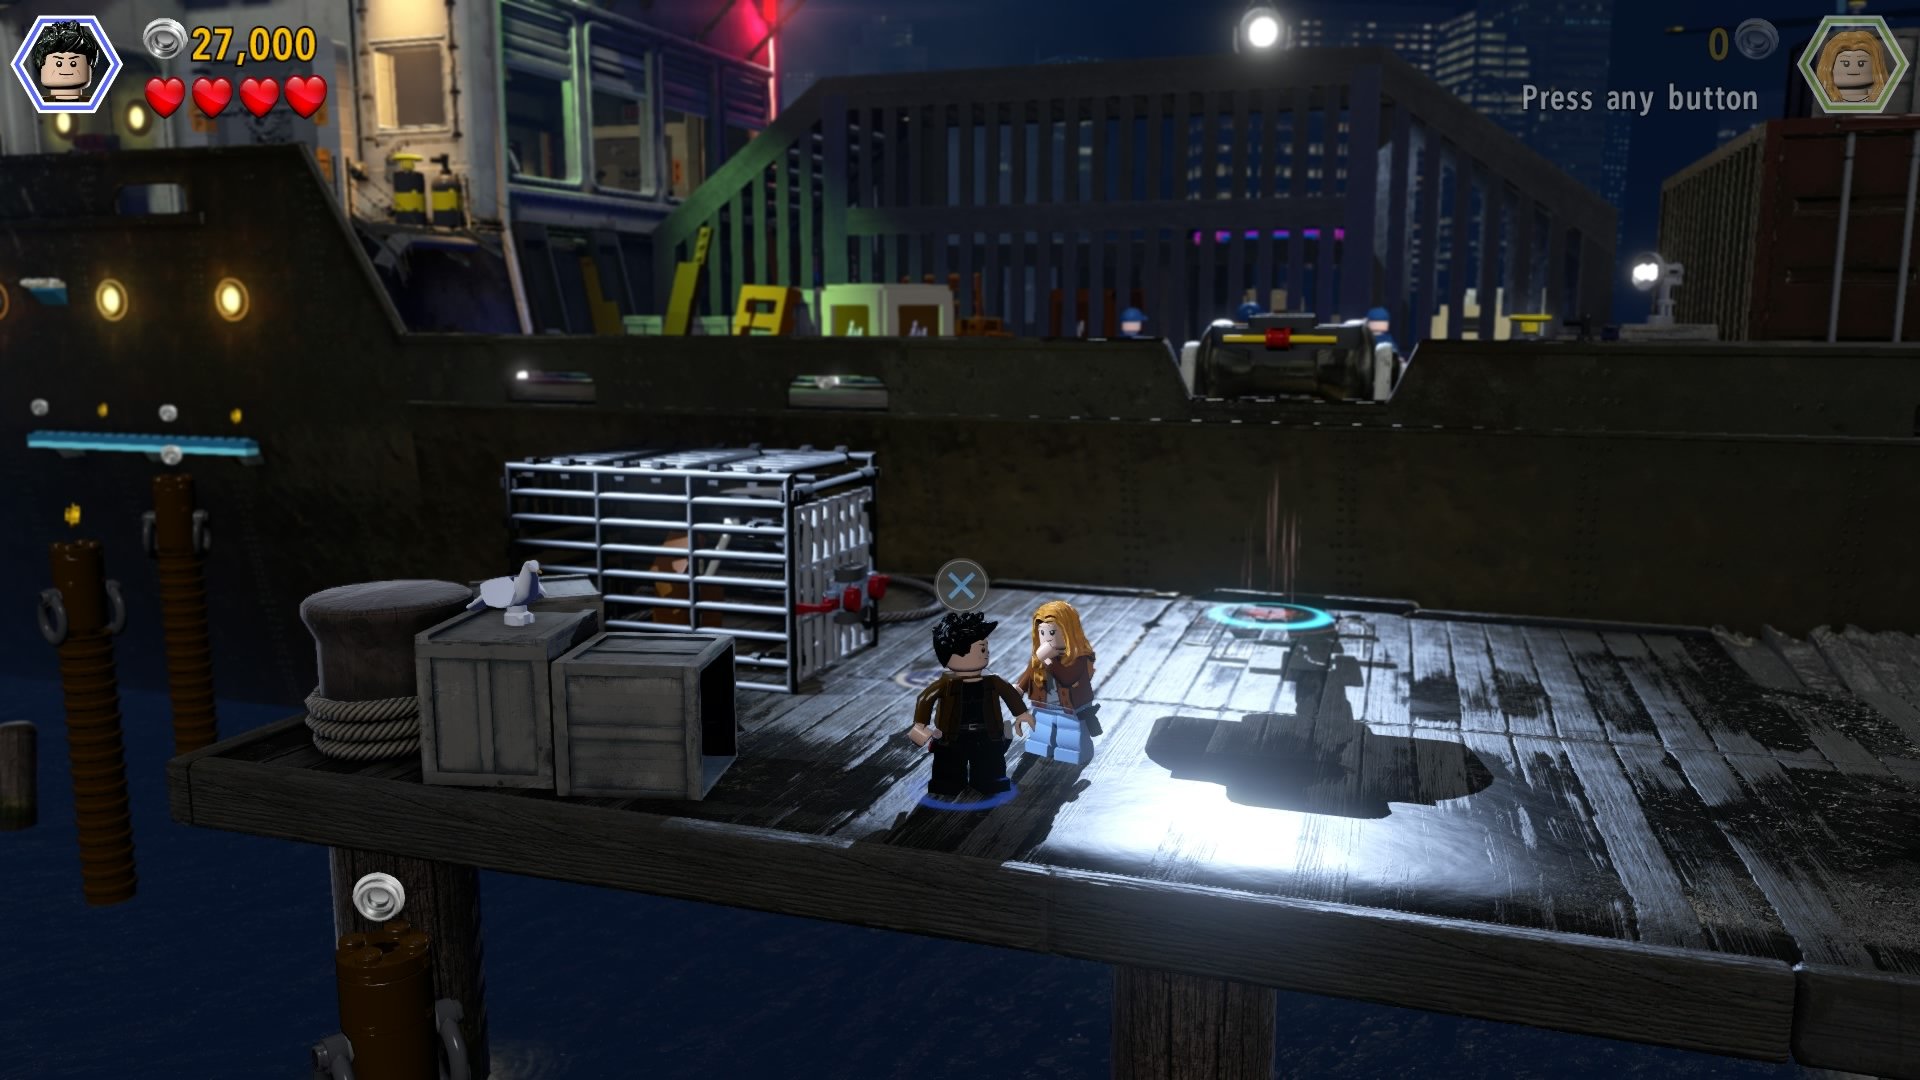
At the end of the first dock, you can hop off the edge and onto the poles sticking up out of the water.
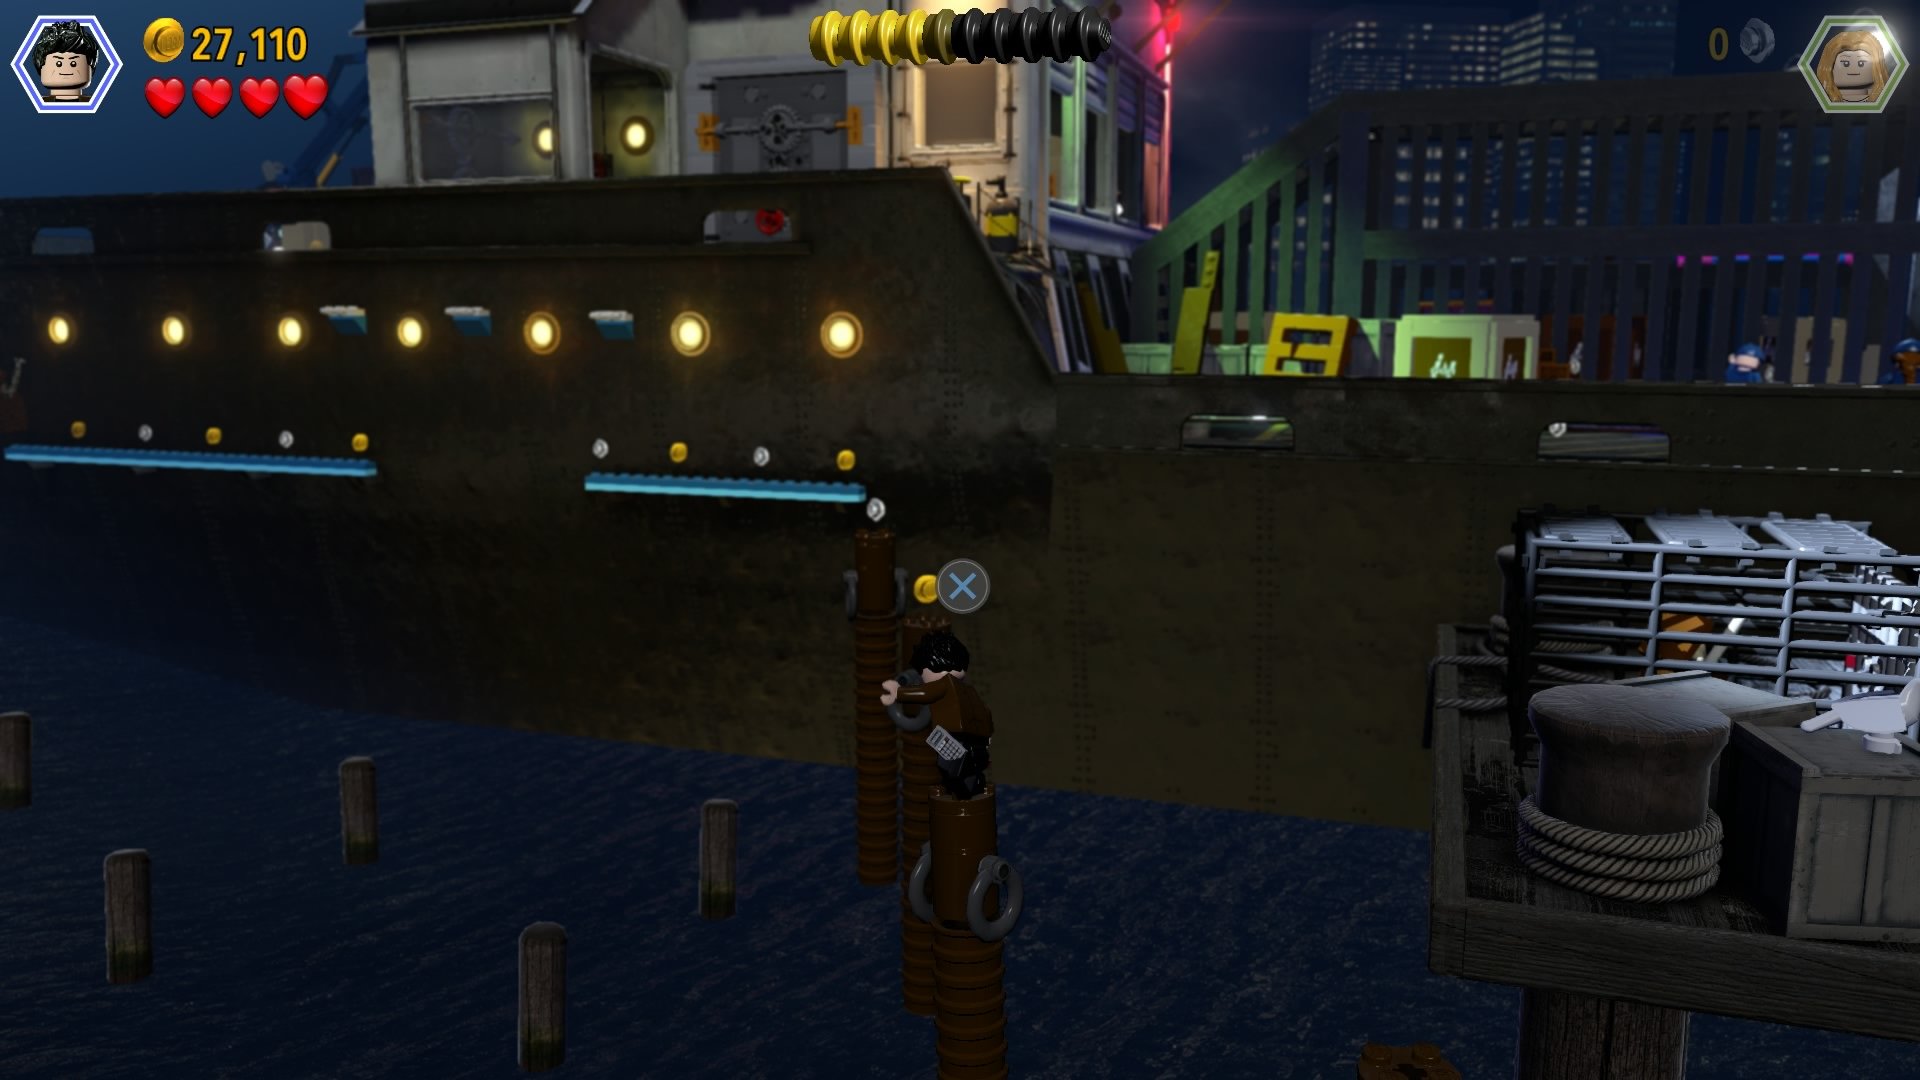
Make your way across and onto the ledges and handholds alongside the ship.
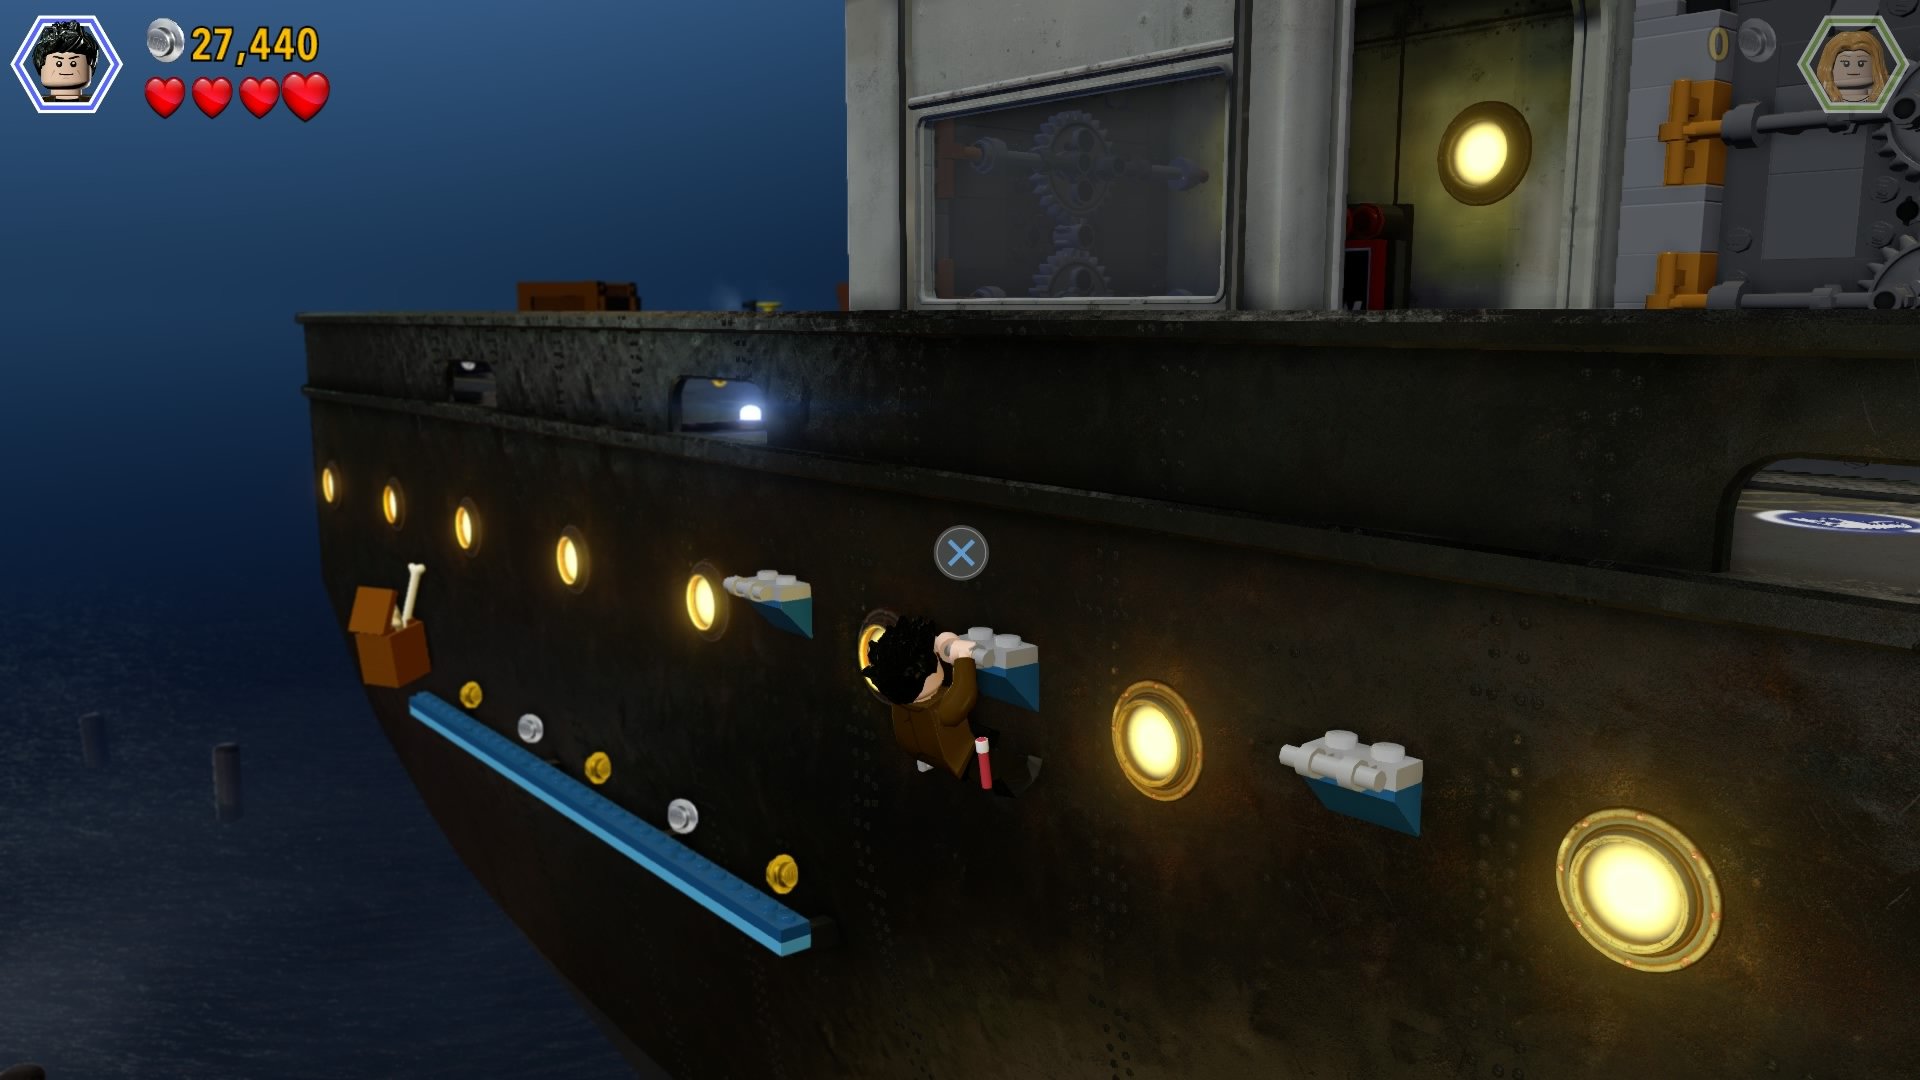
The minikit is at the end.
Amber Fossil (Brachiosaurus)
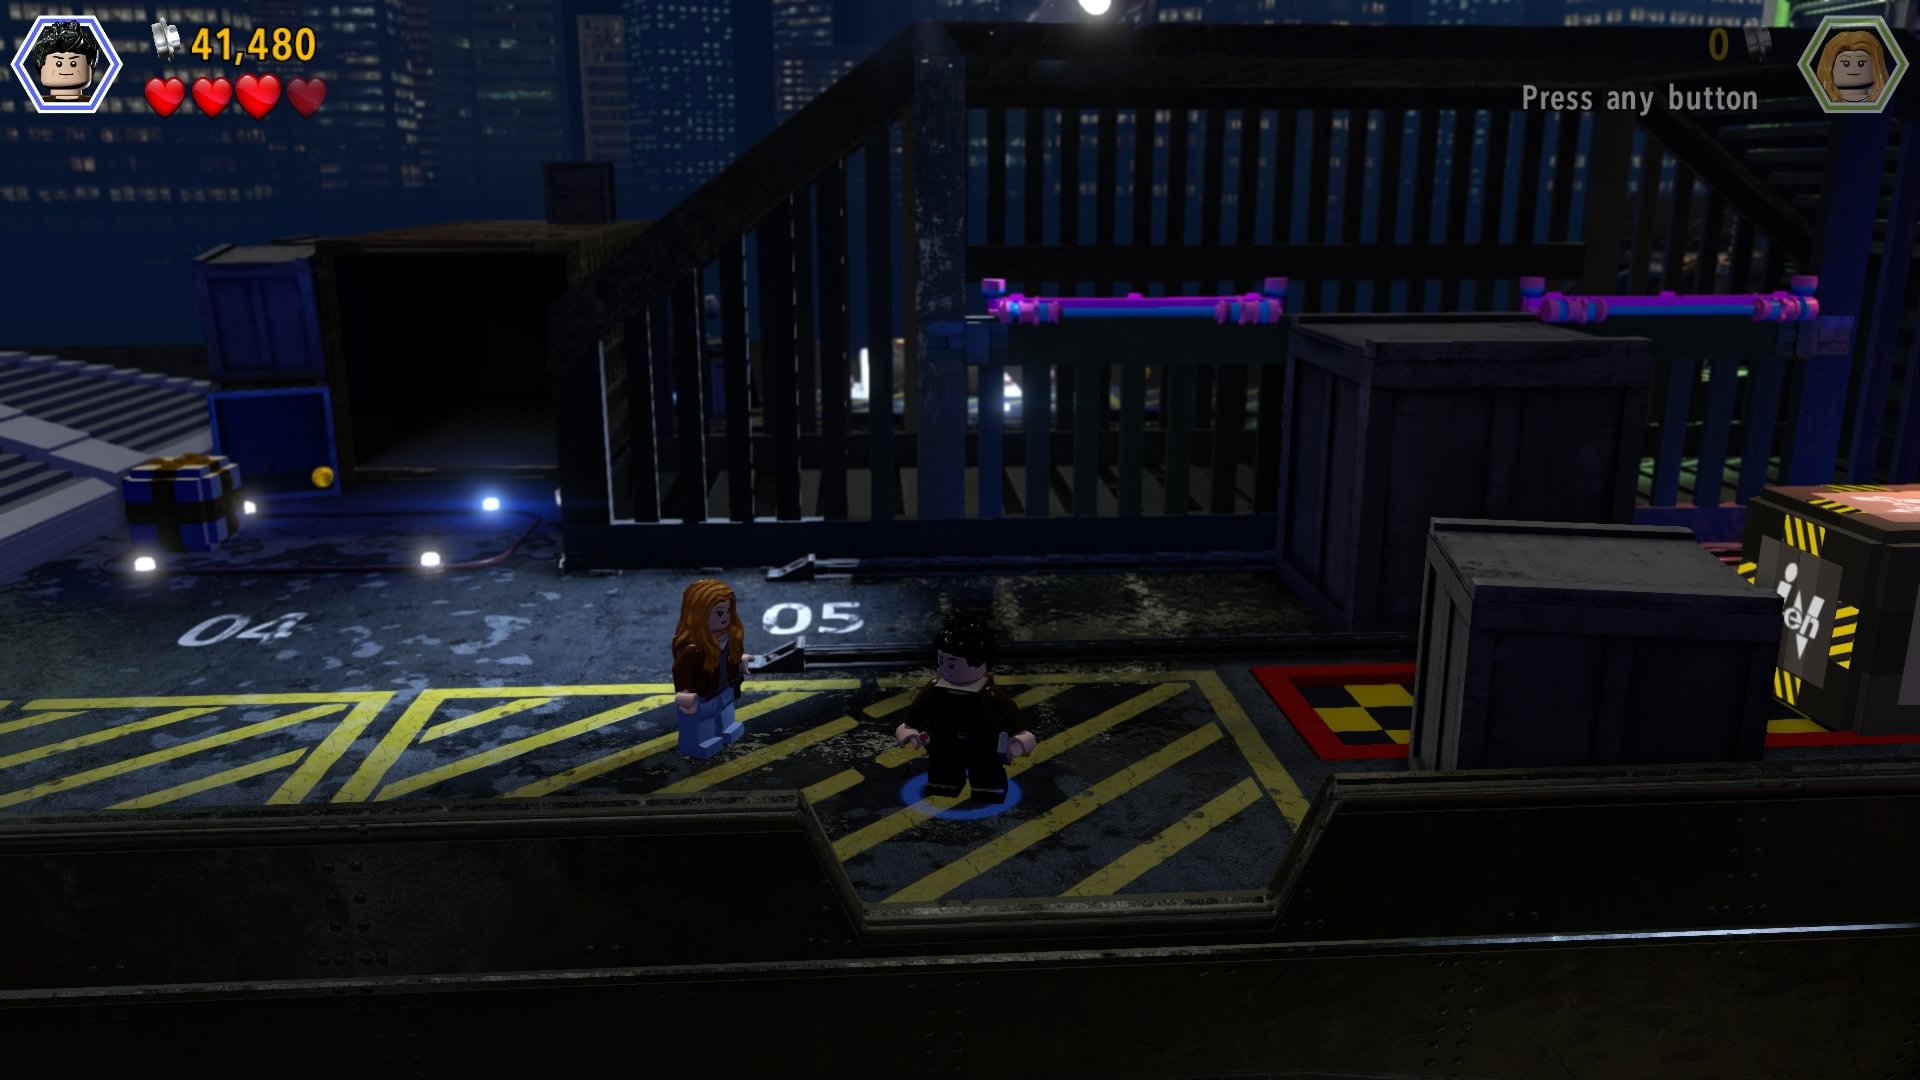
After passing through the cage with the agility bars, you'll spot a shipping container to the left.
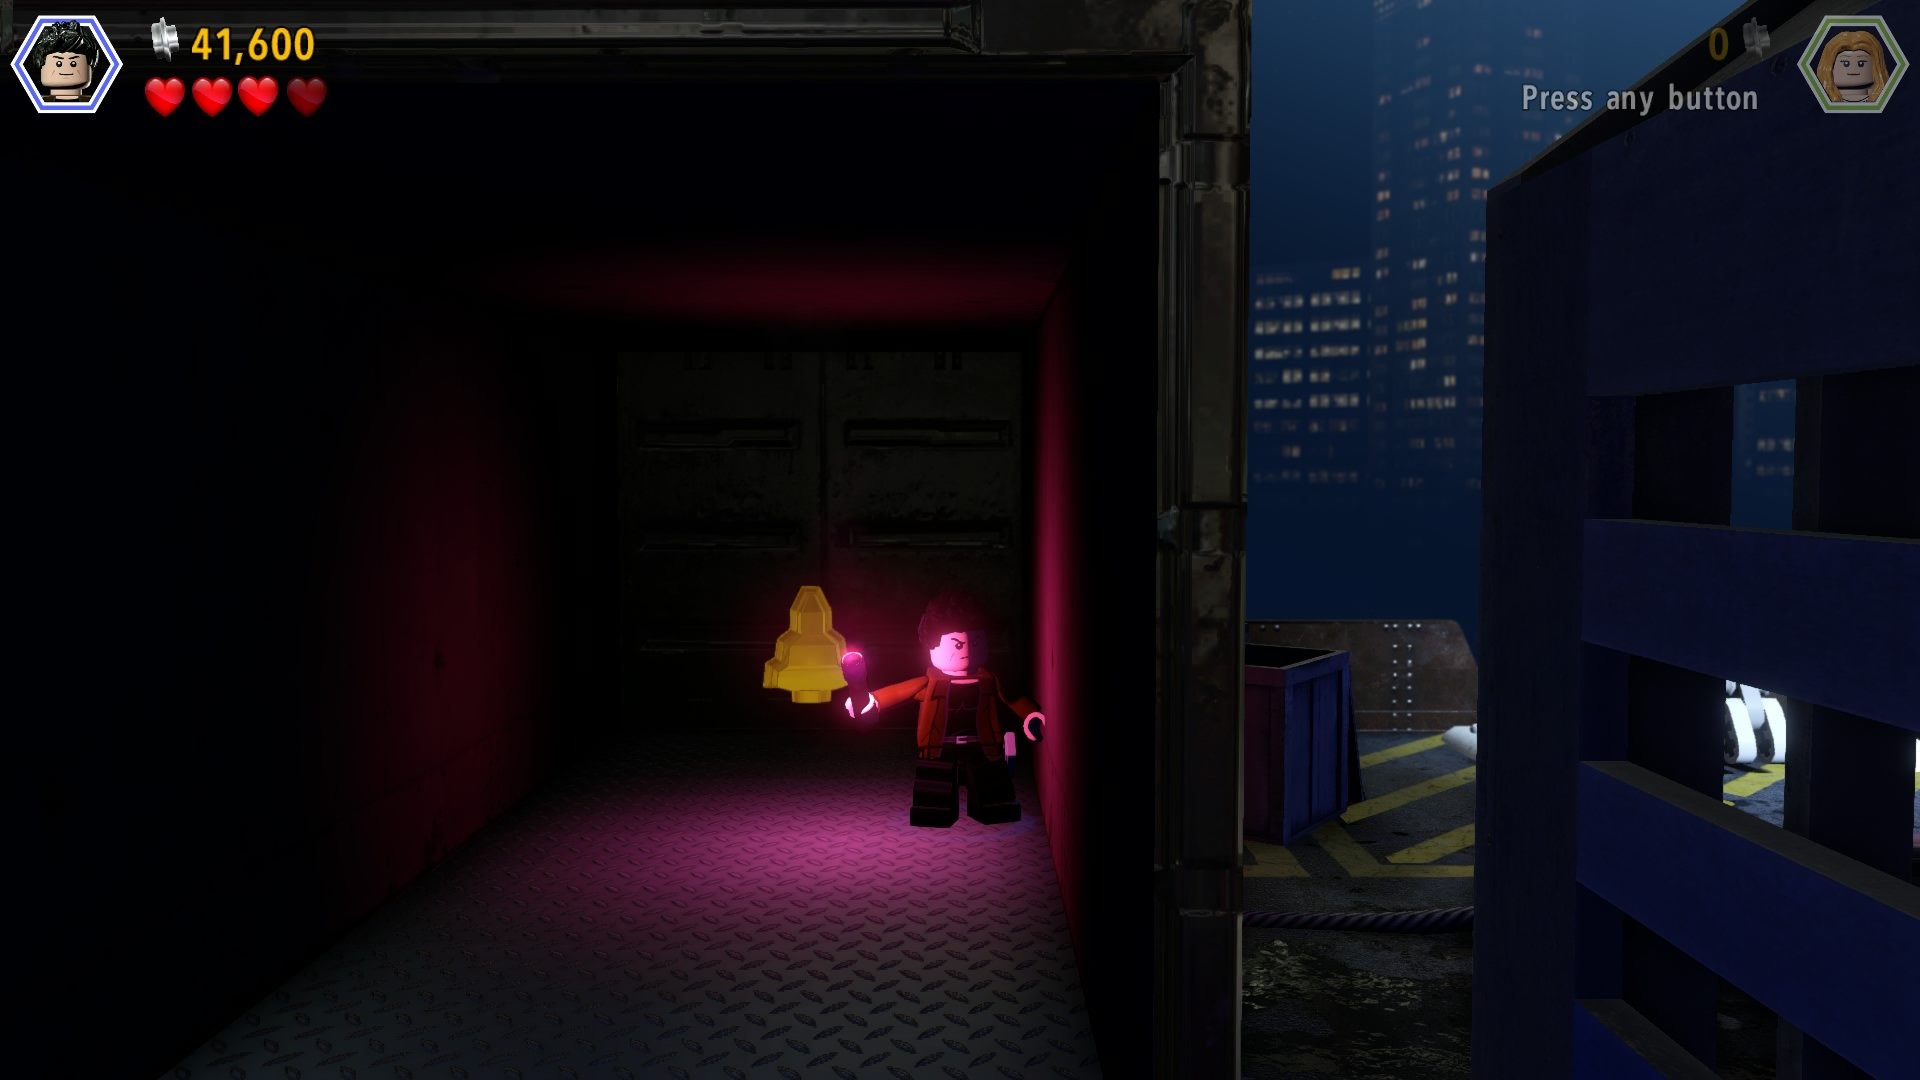
The fossil is inside.
Minkit #3 - Free Play Mode
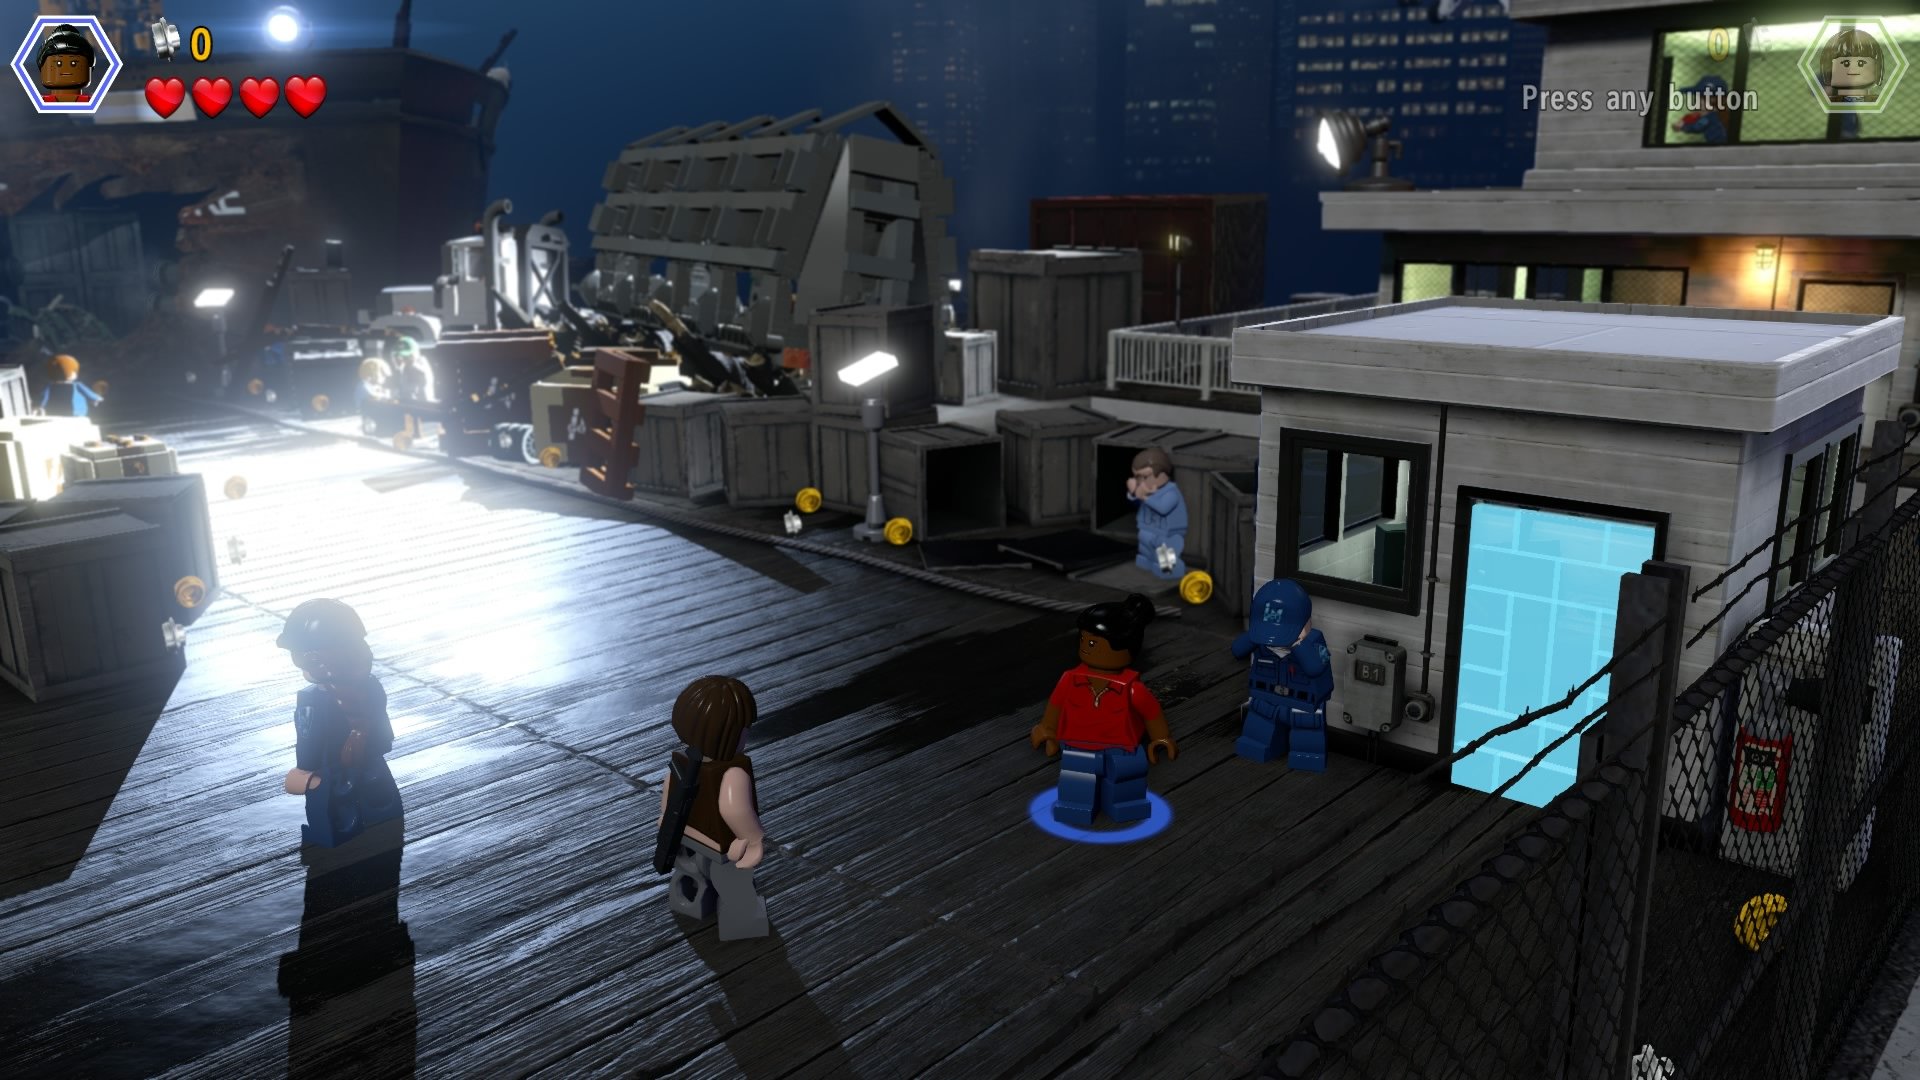
At the very start of the level, shatter the glass with a character that can scream the place down and grab the minikit inside the security hut.
Minikit #4 - Free Play Mode
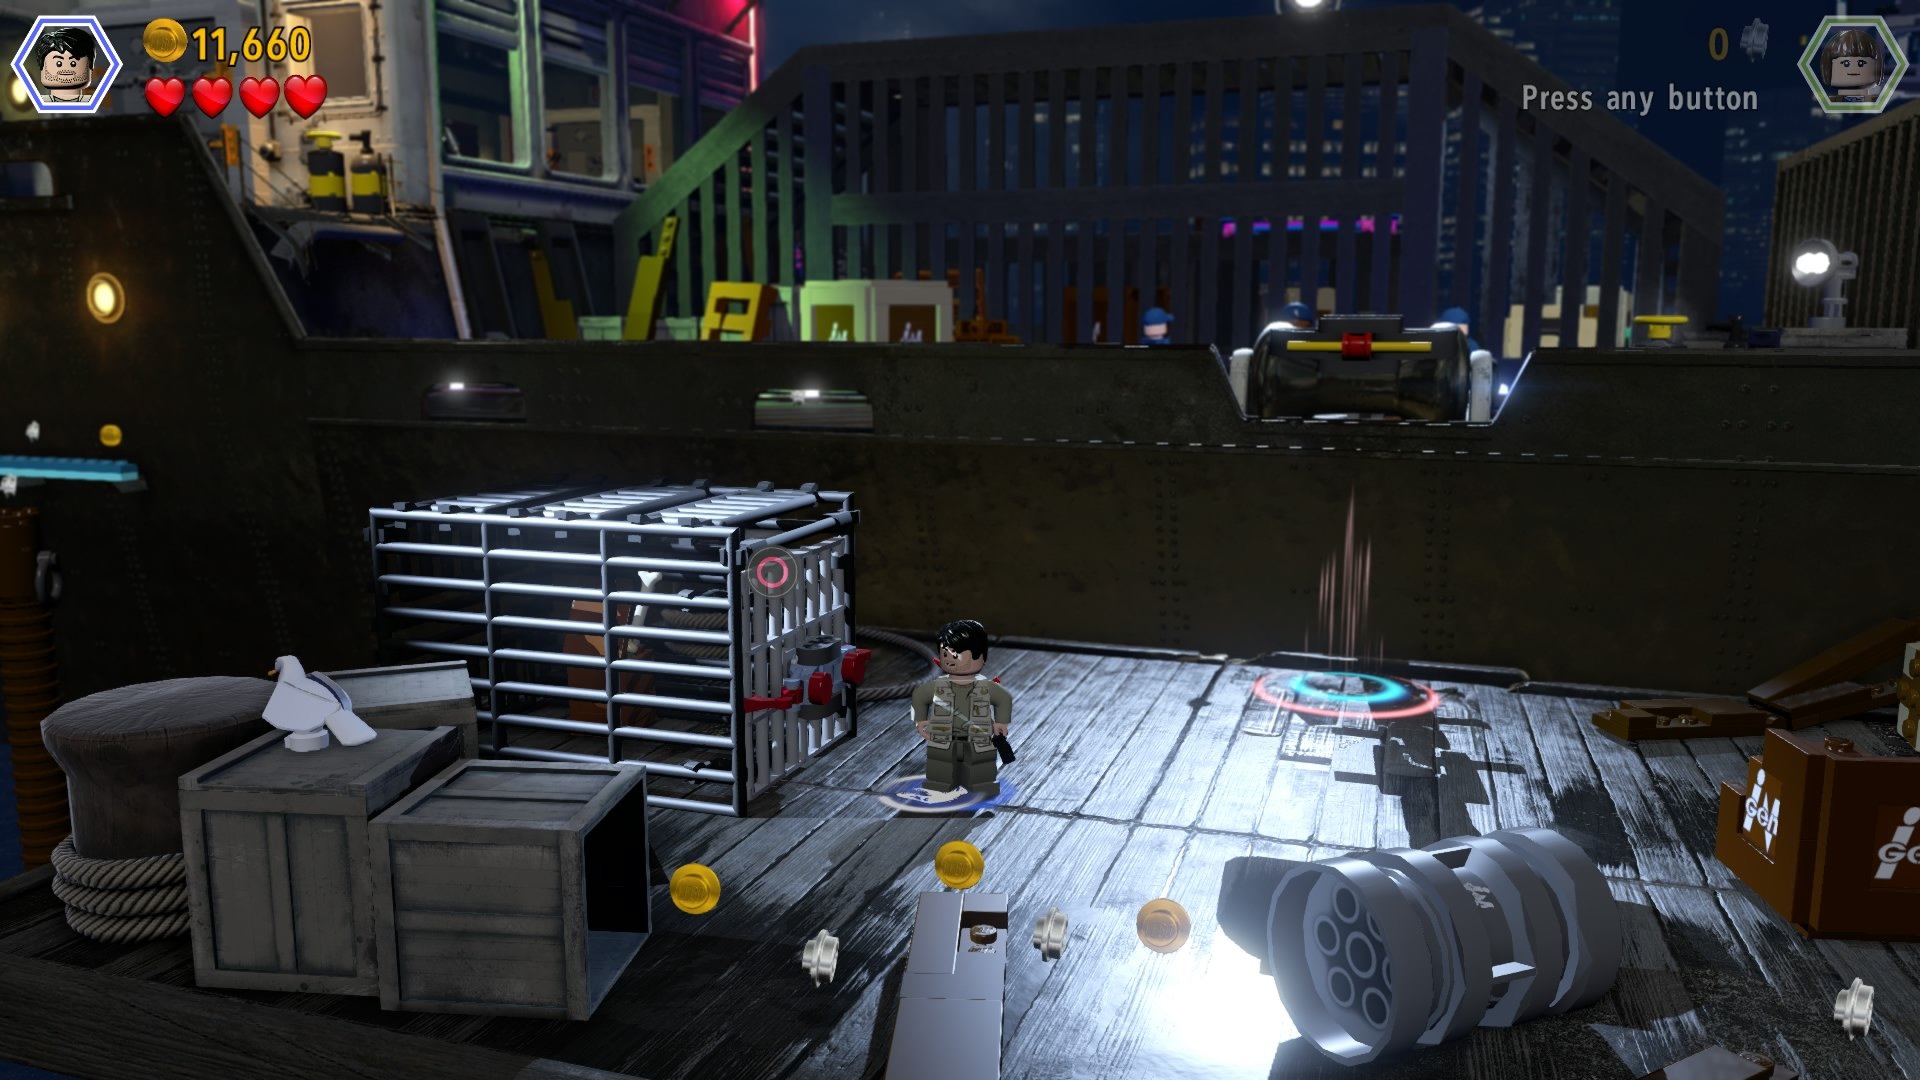
At the end of the docks is a cage with a minikit inside. Use a character with a crowbar to open it and get the minikit.
Minkit #5 - Free Play Mode
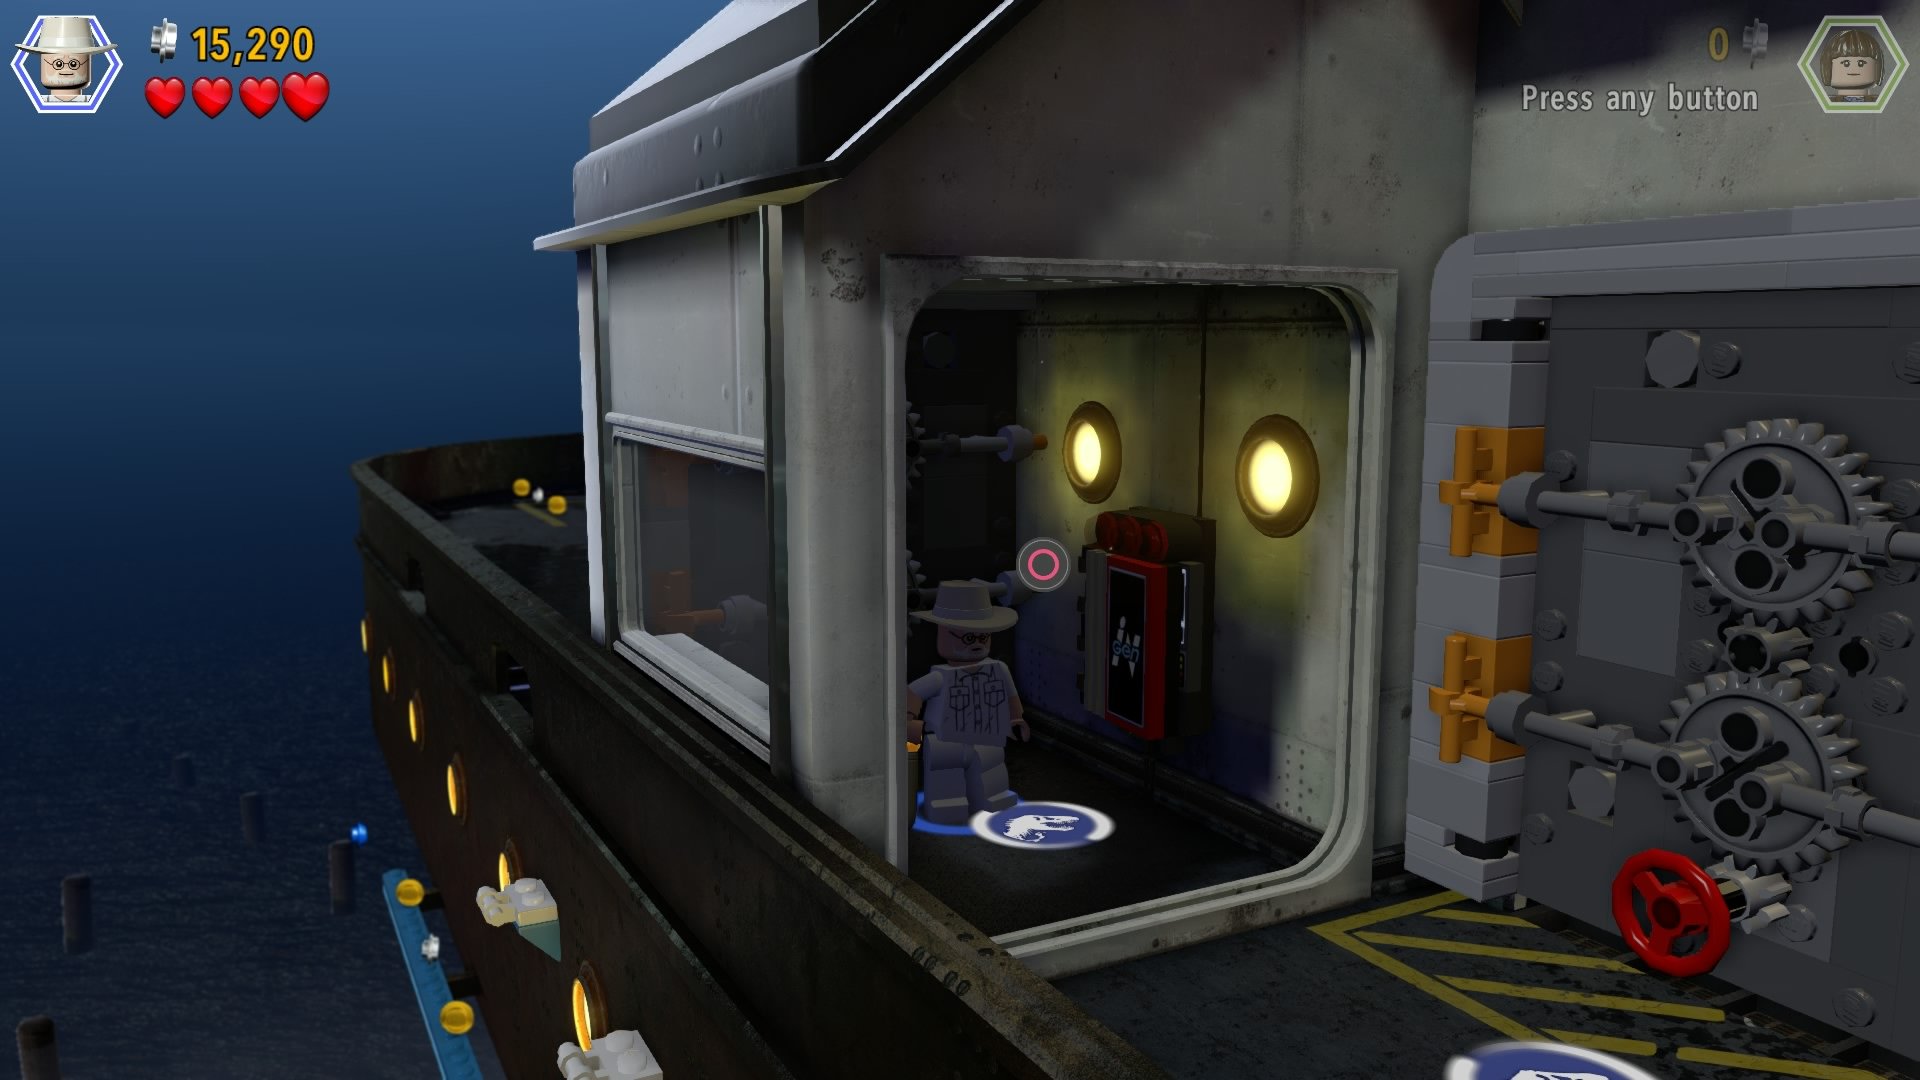
Next to the door that leads to the bridge is an InGen access panel. Interact with it to pass through to the area beyond.
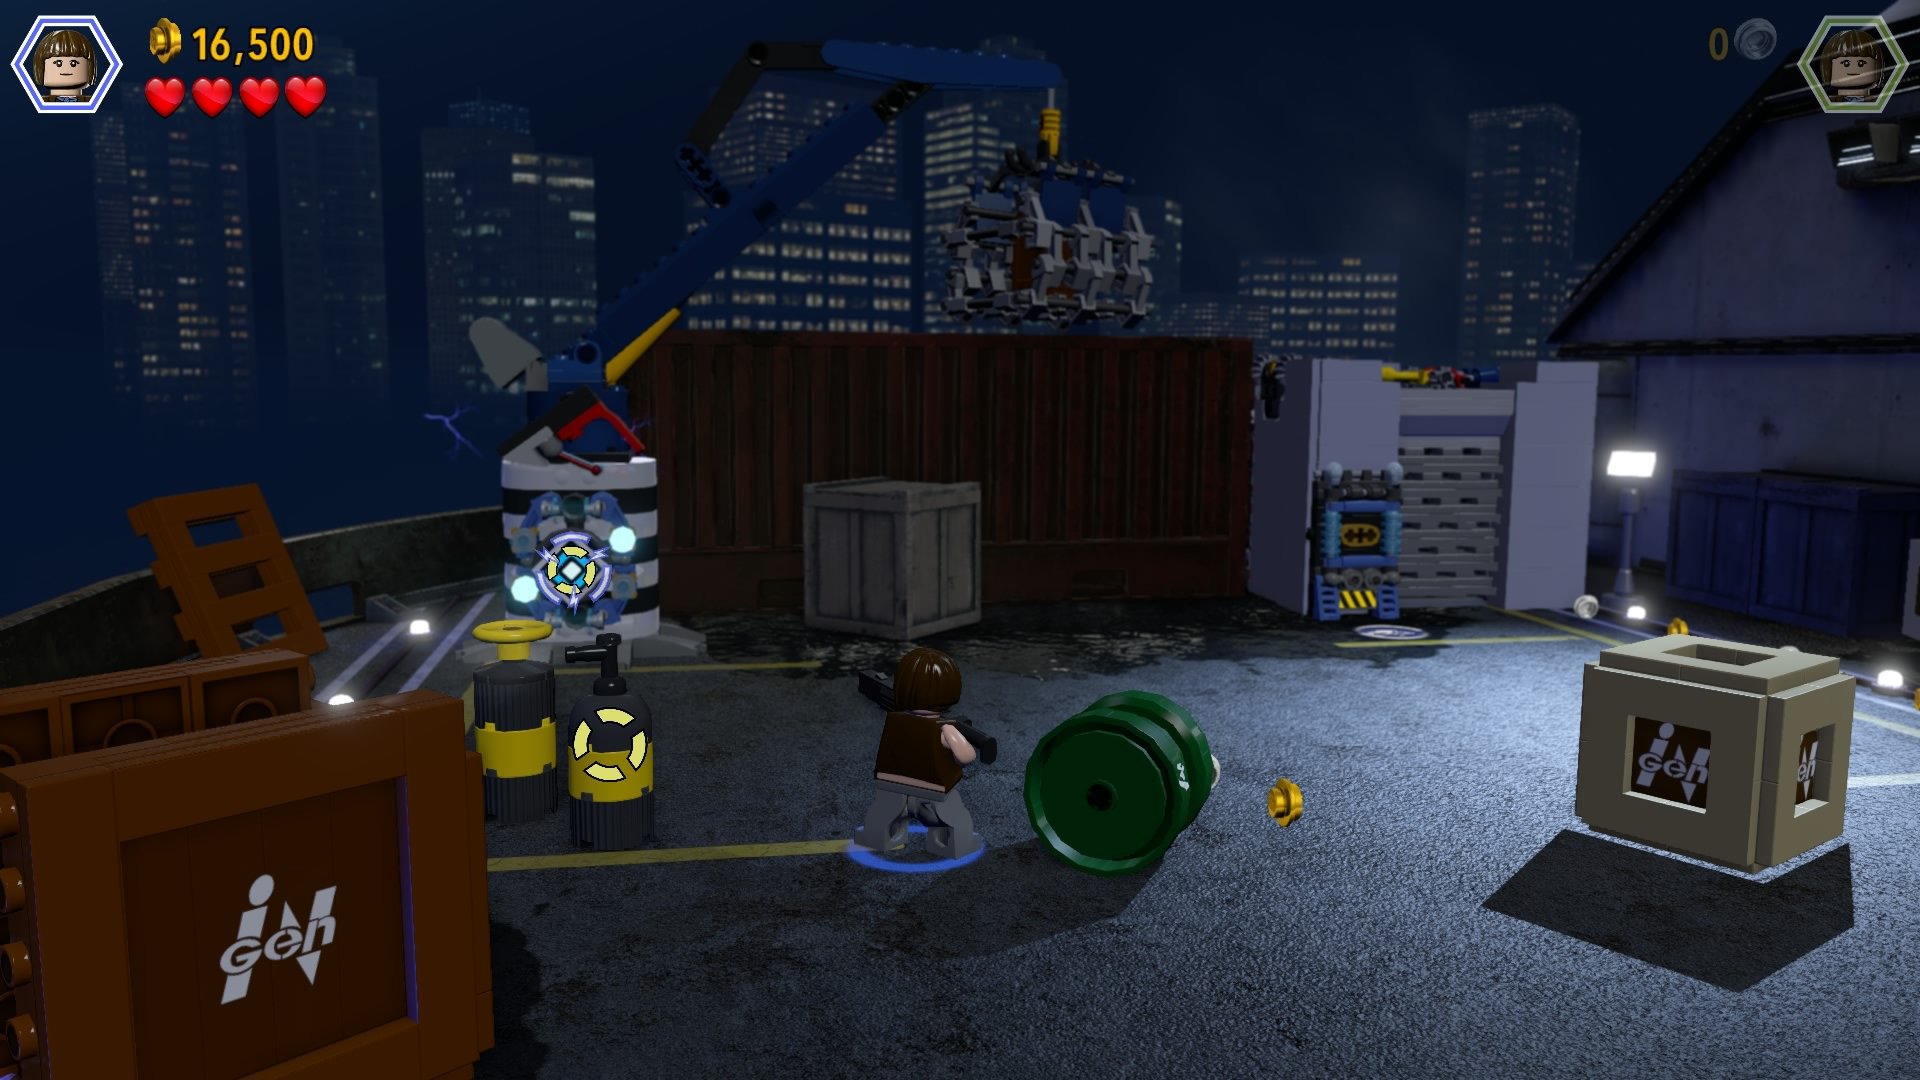
Fight off the swarm of Compys, then shoot the electric switch at the back left.
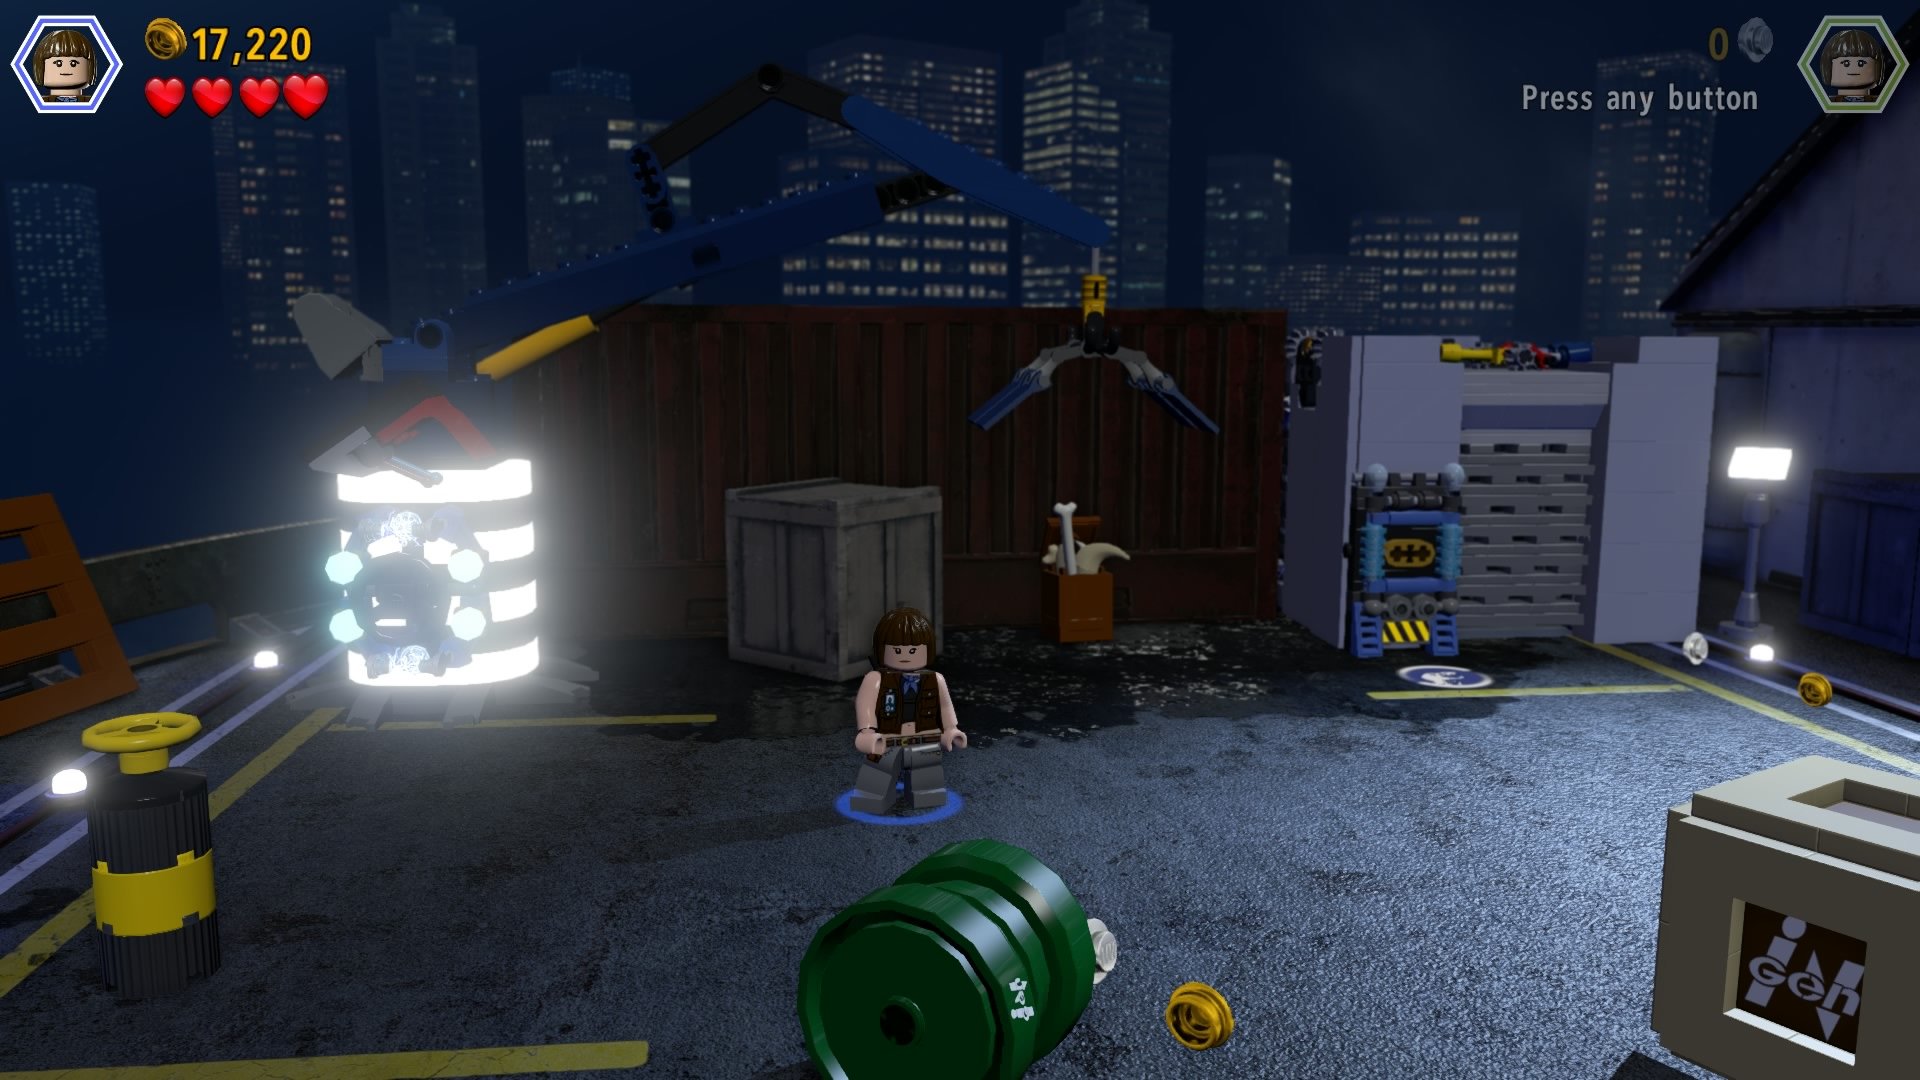
This will release a minikit for you.
Minikit #6 - Free Play Mode
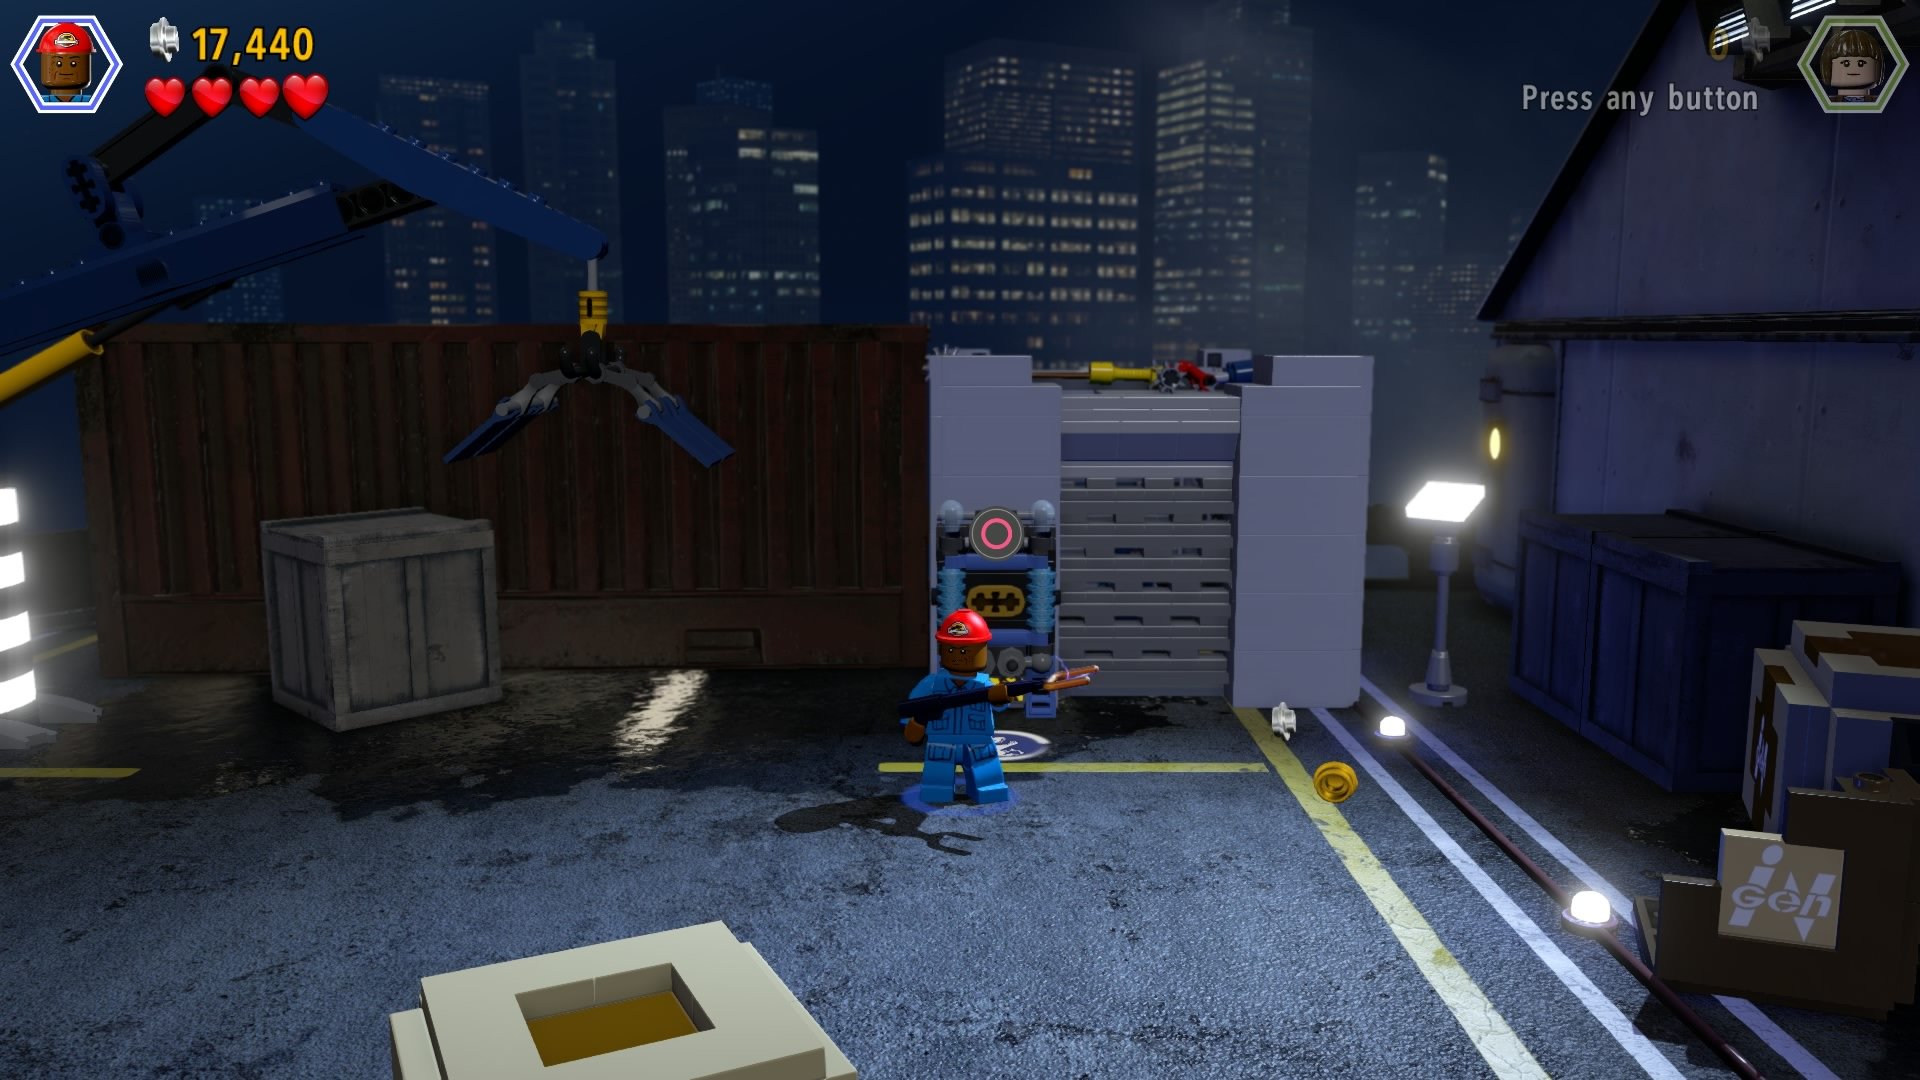
Power up the generator to the cage on the right.
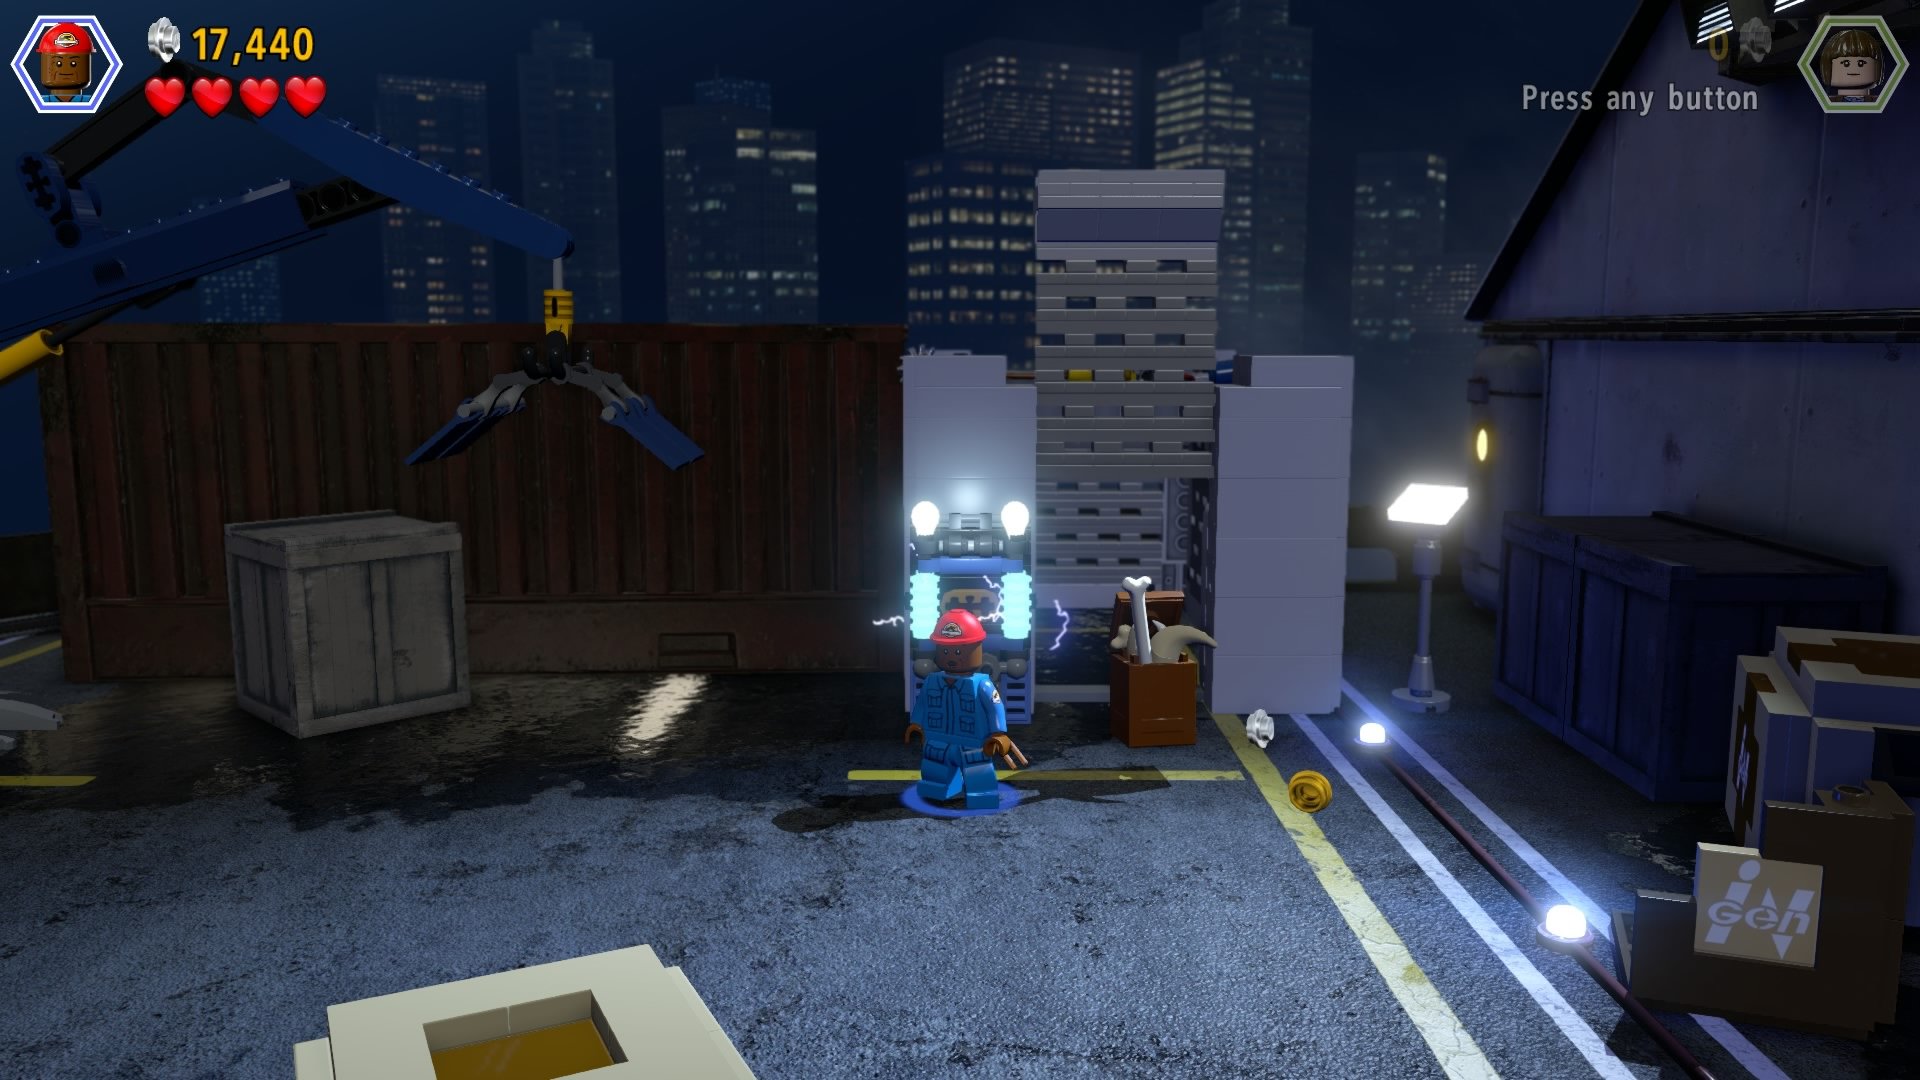
Not only will you save the guy inside, but you'll also score a minikit.
Minikit #7 - Free Play Mode
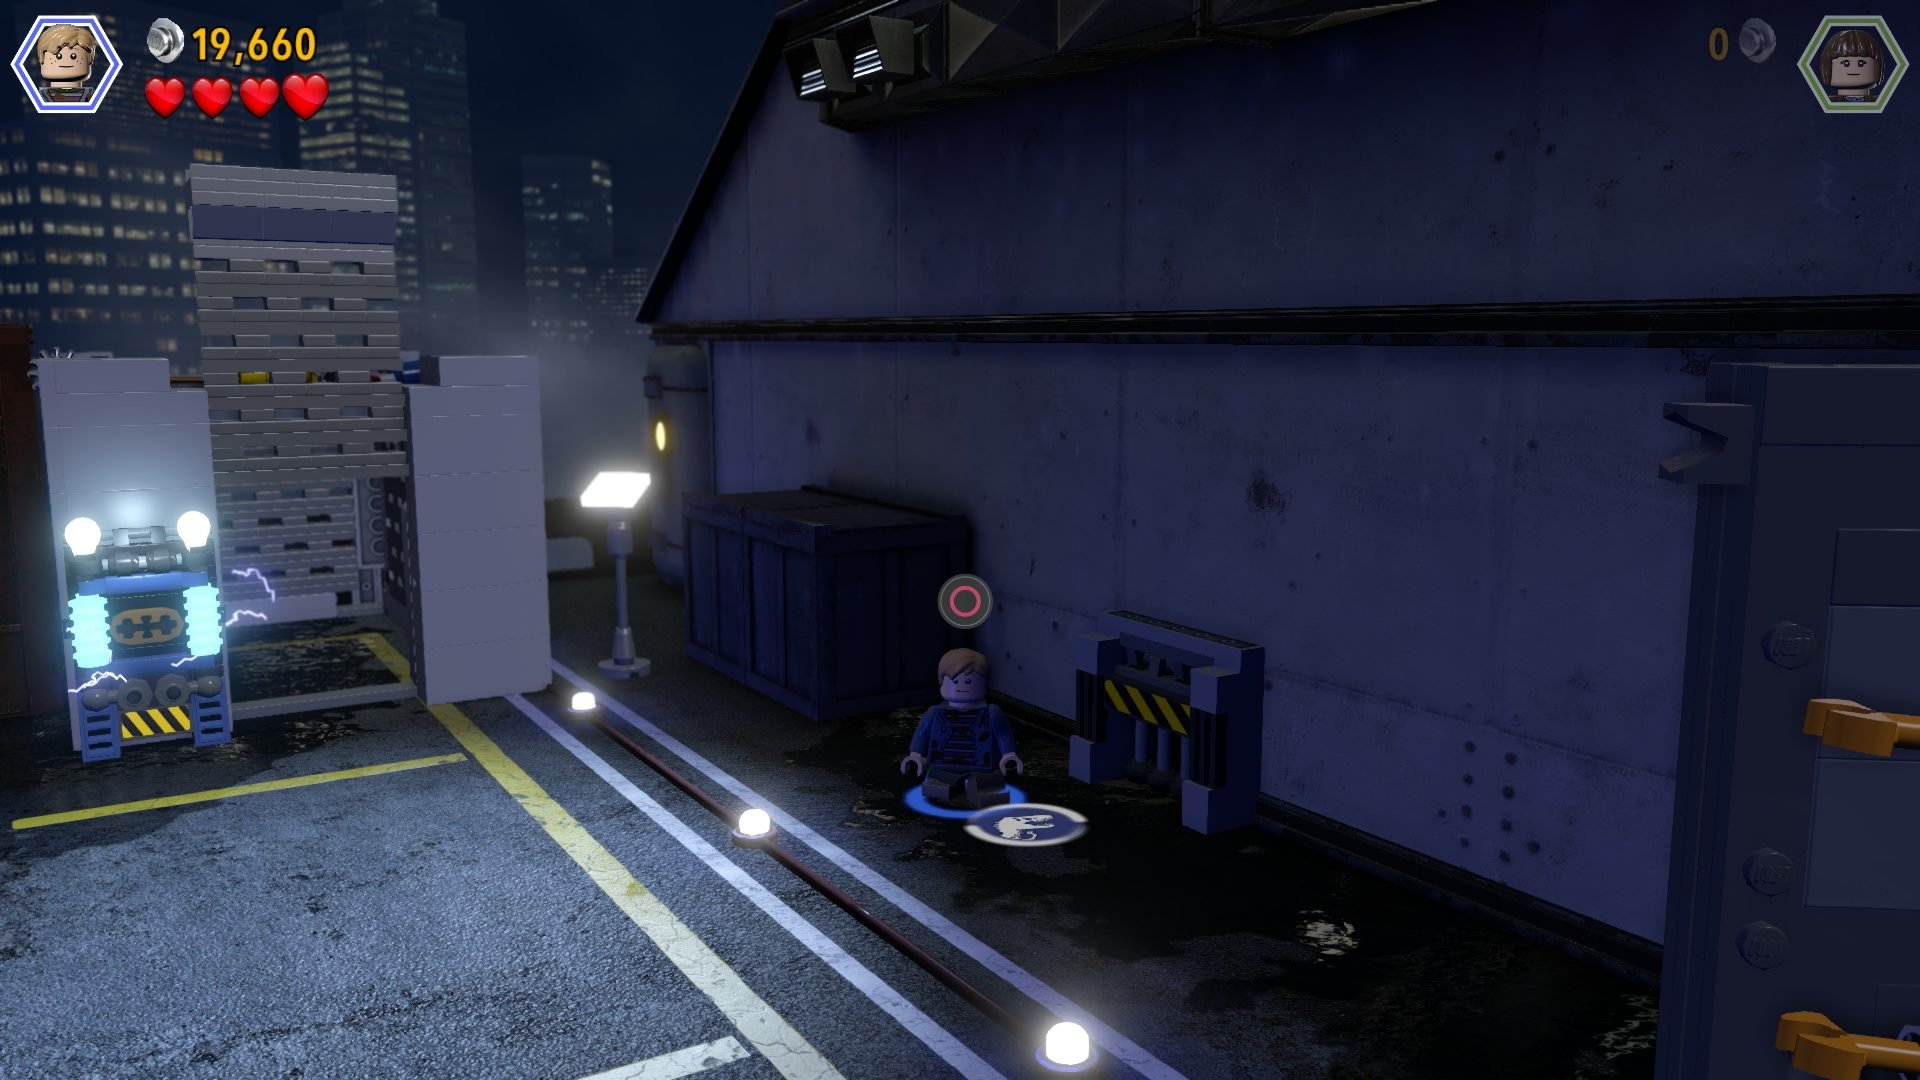
In the same area is a small access hatch, to the right of the cage.
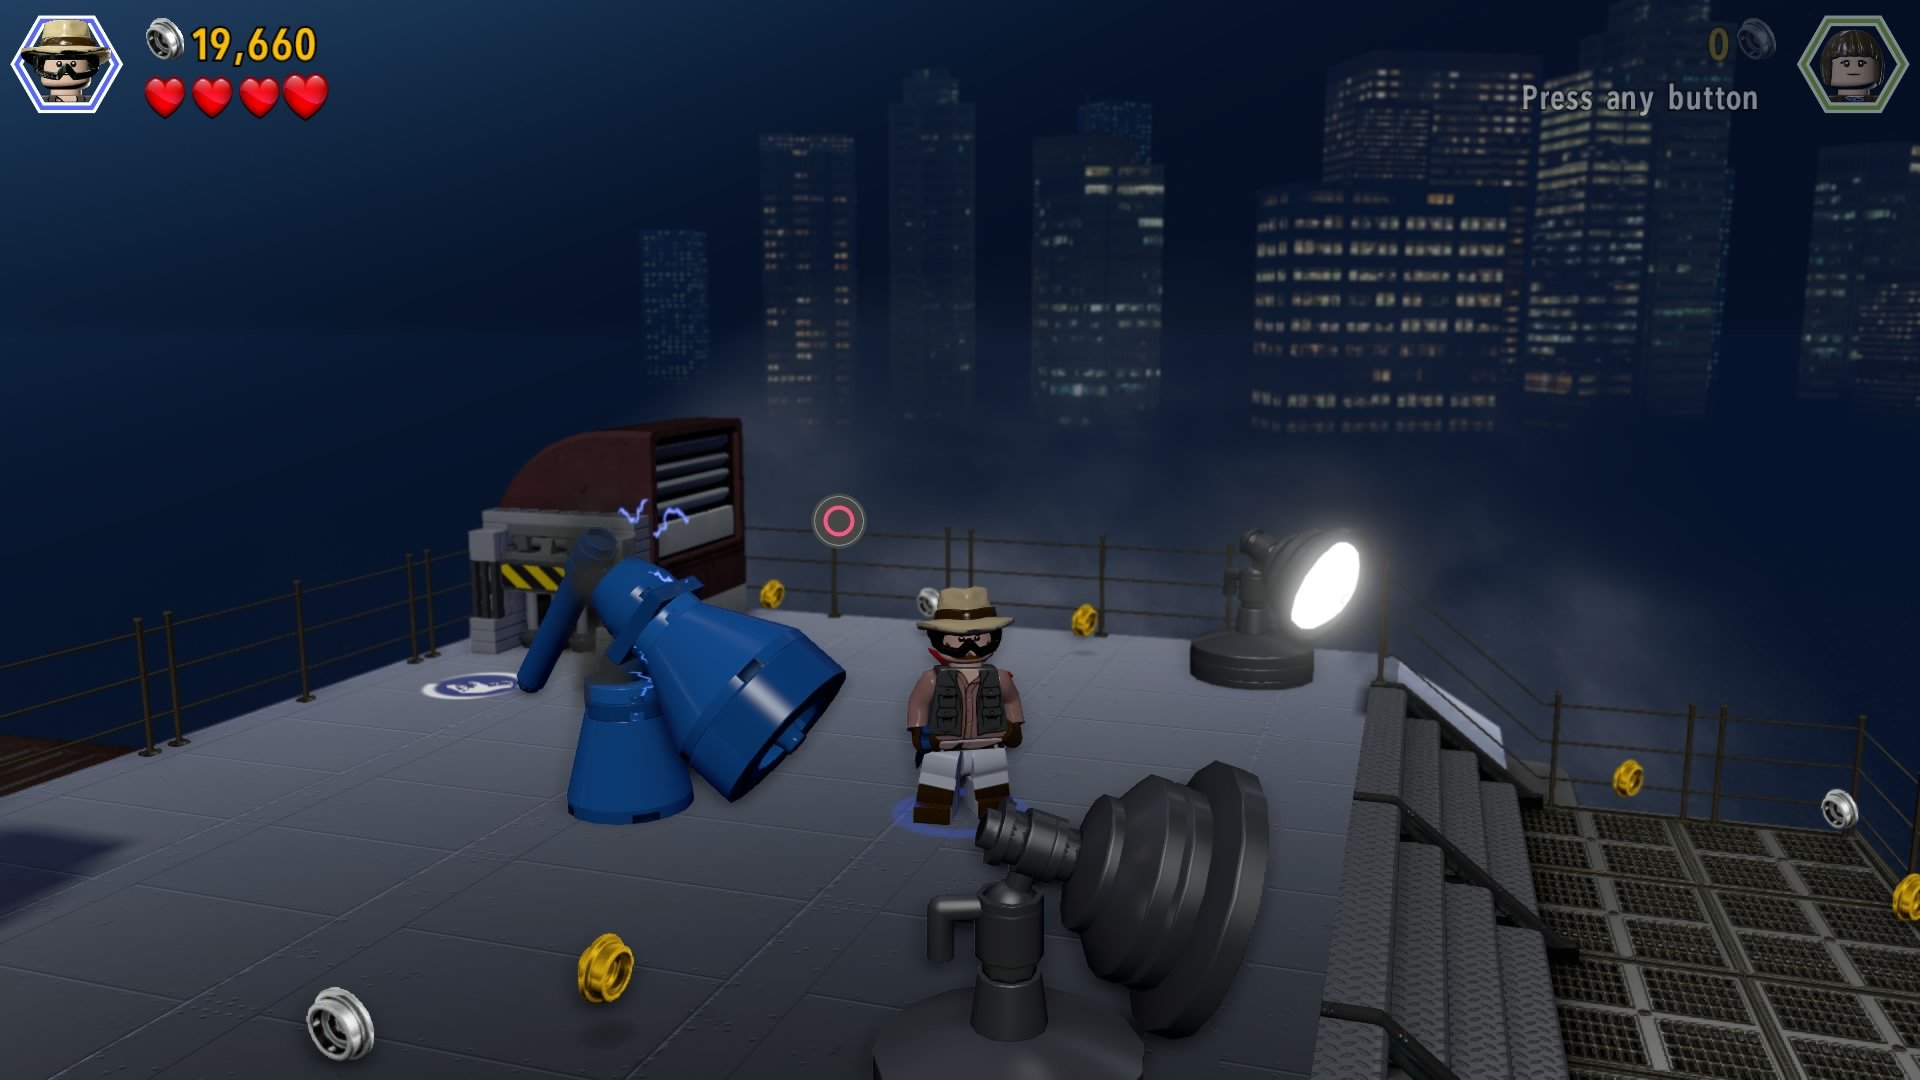
Pass through and fix the broken blue doodad to be rewarded with minikit pieces that you can throw together for the last one in this area.
San Diego - San Diego Streets
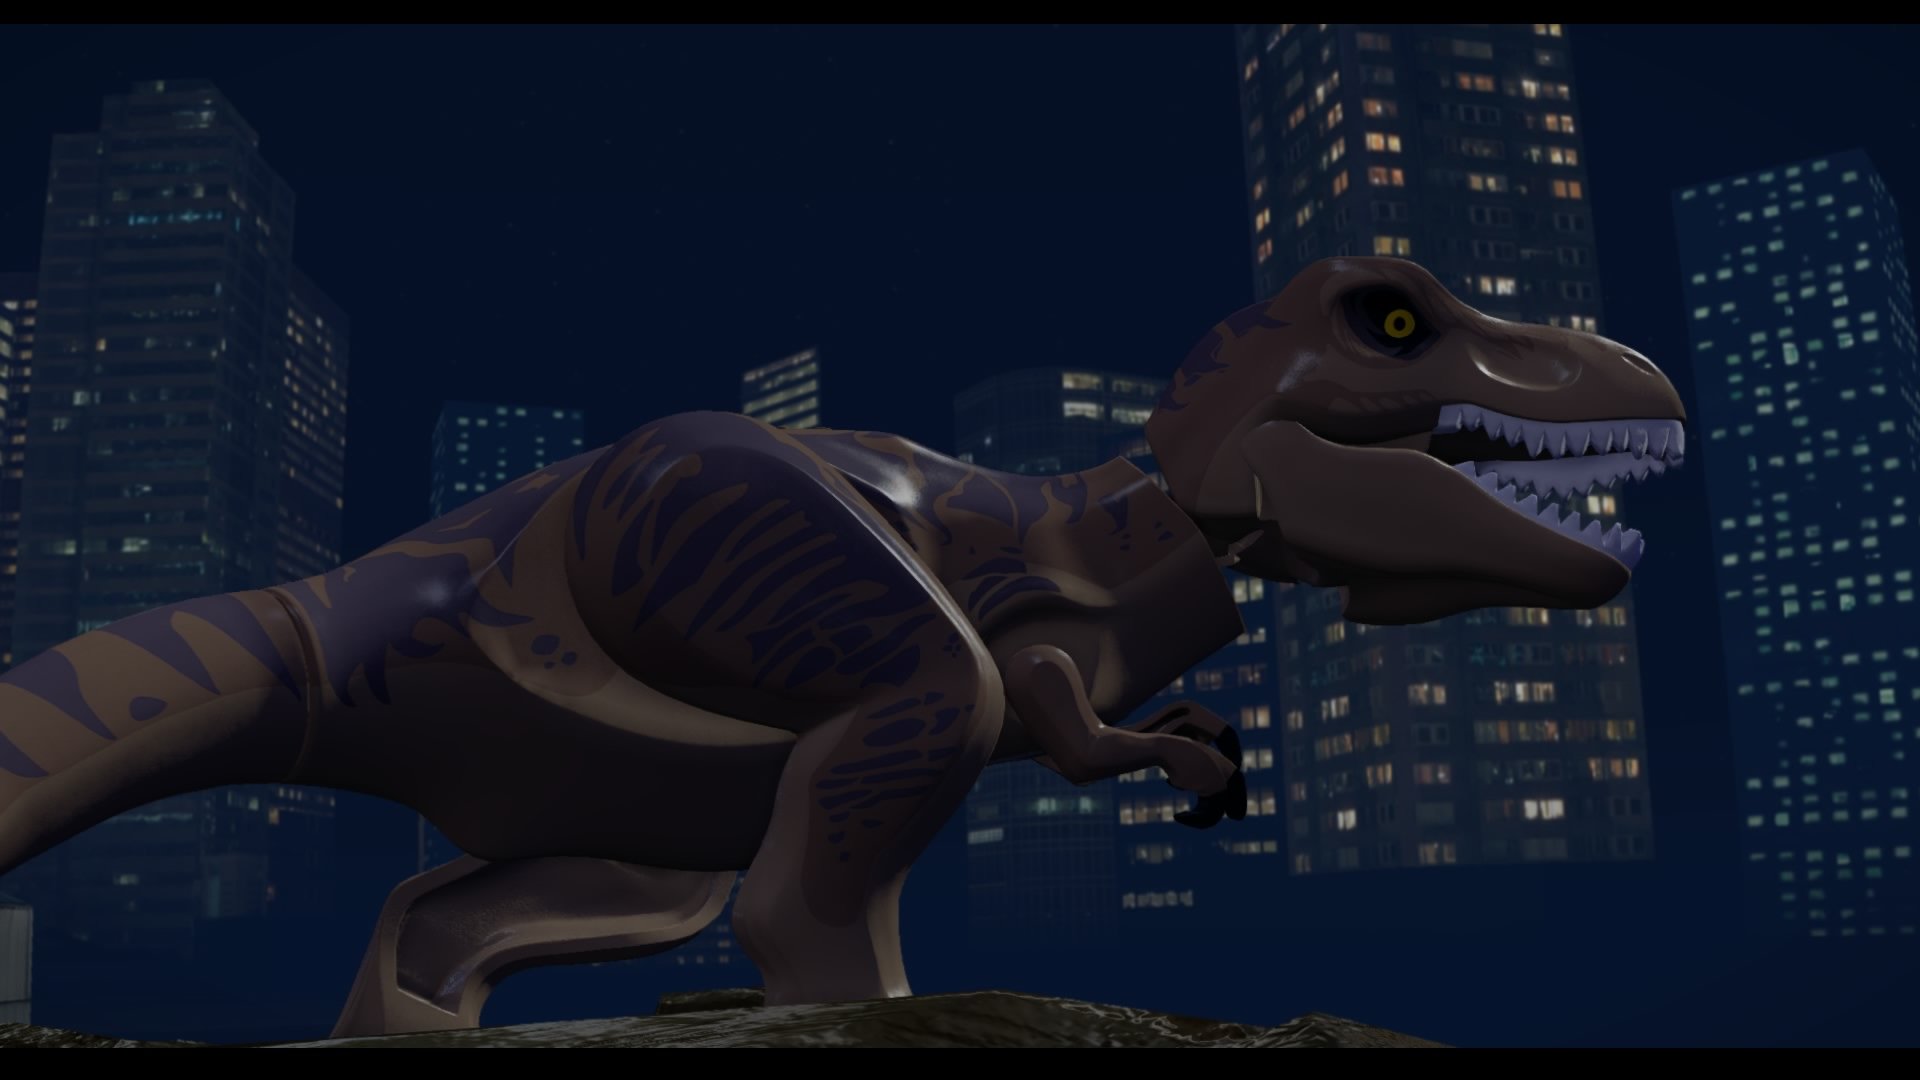
All three kits in this section have to be collected during the T-Rex chase, so stay frosty.
Minikit #1
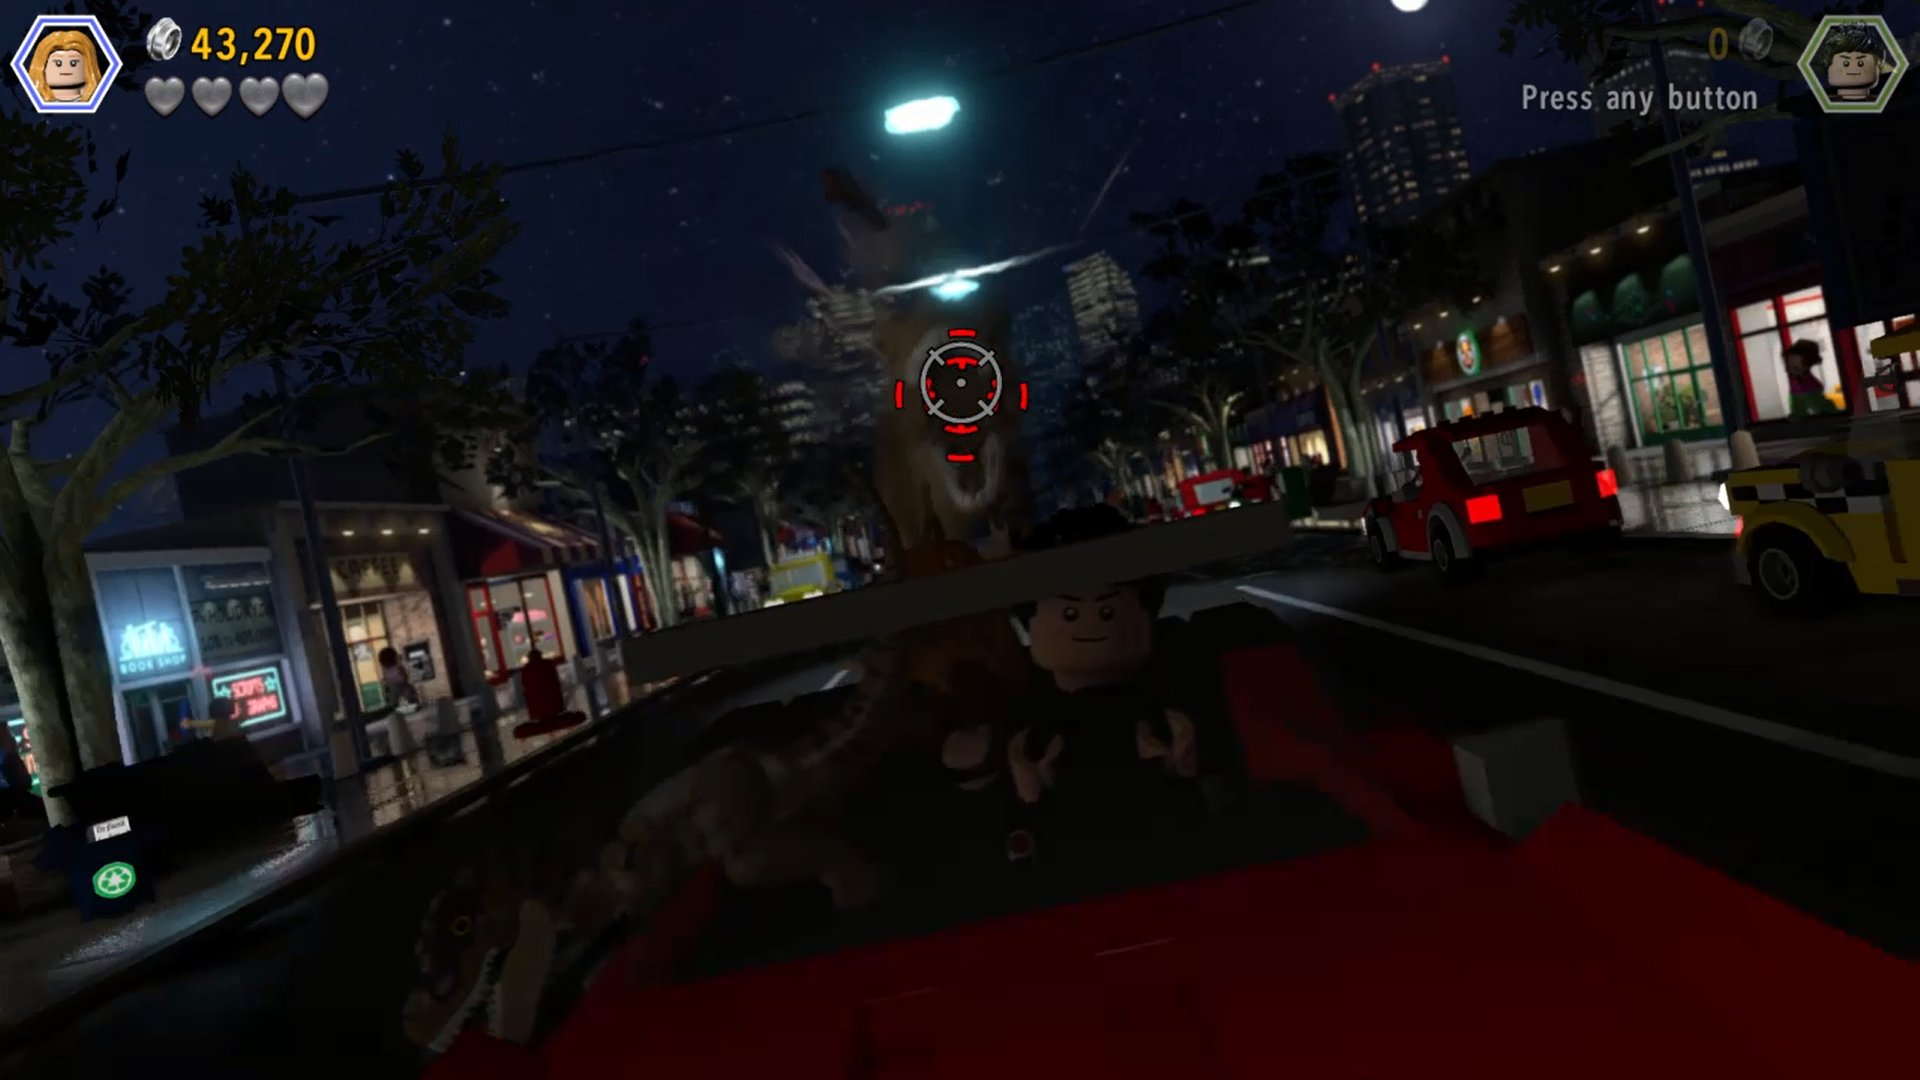
Just like the last T-Rex chase, you'll need to throw things down its maw three time to get the minikit. In this case, it's chicken legs.
Minikit #2
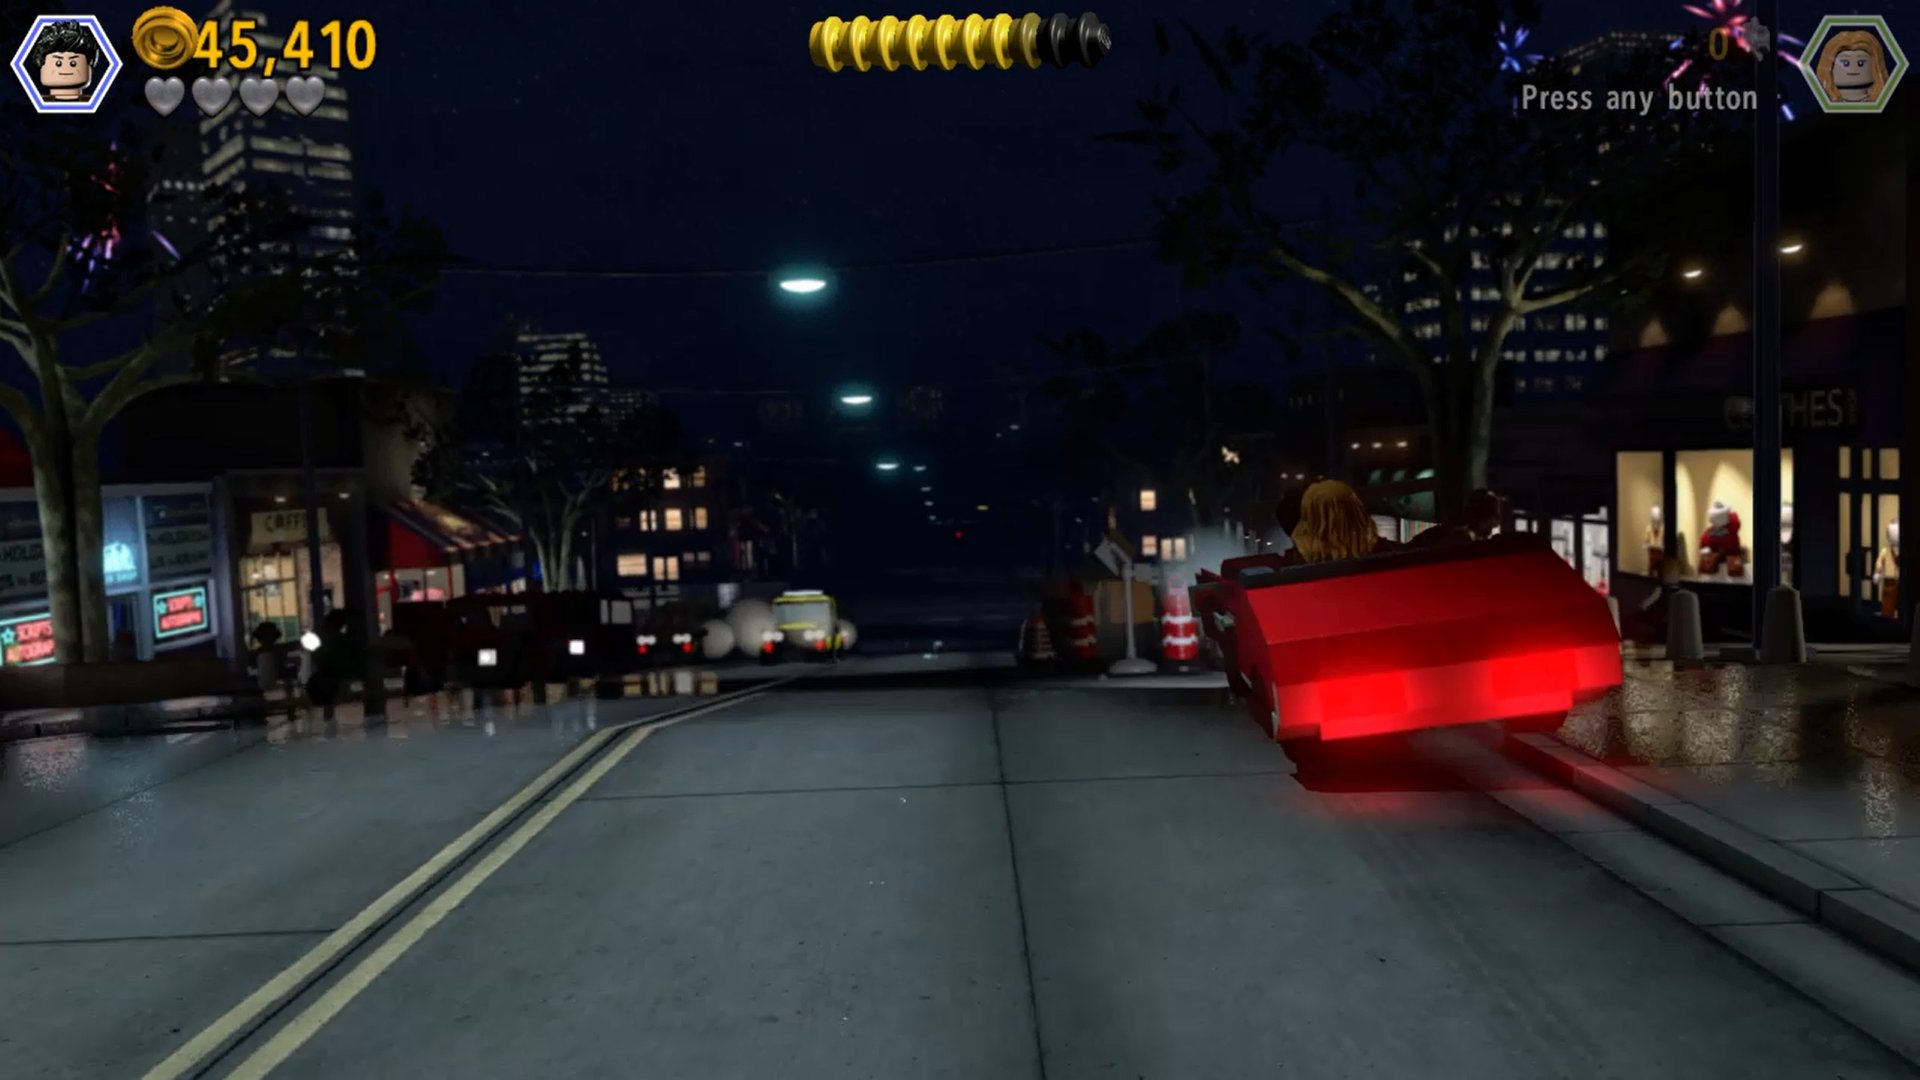
During the chase, the camera angle will switch to a side-on view, and then switch back. At this point, stick to the right.
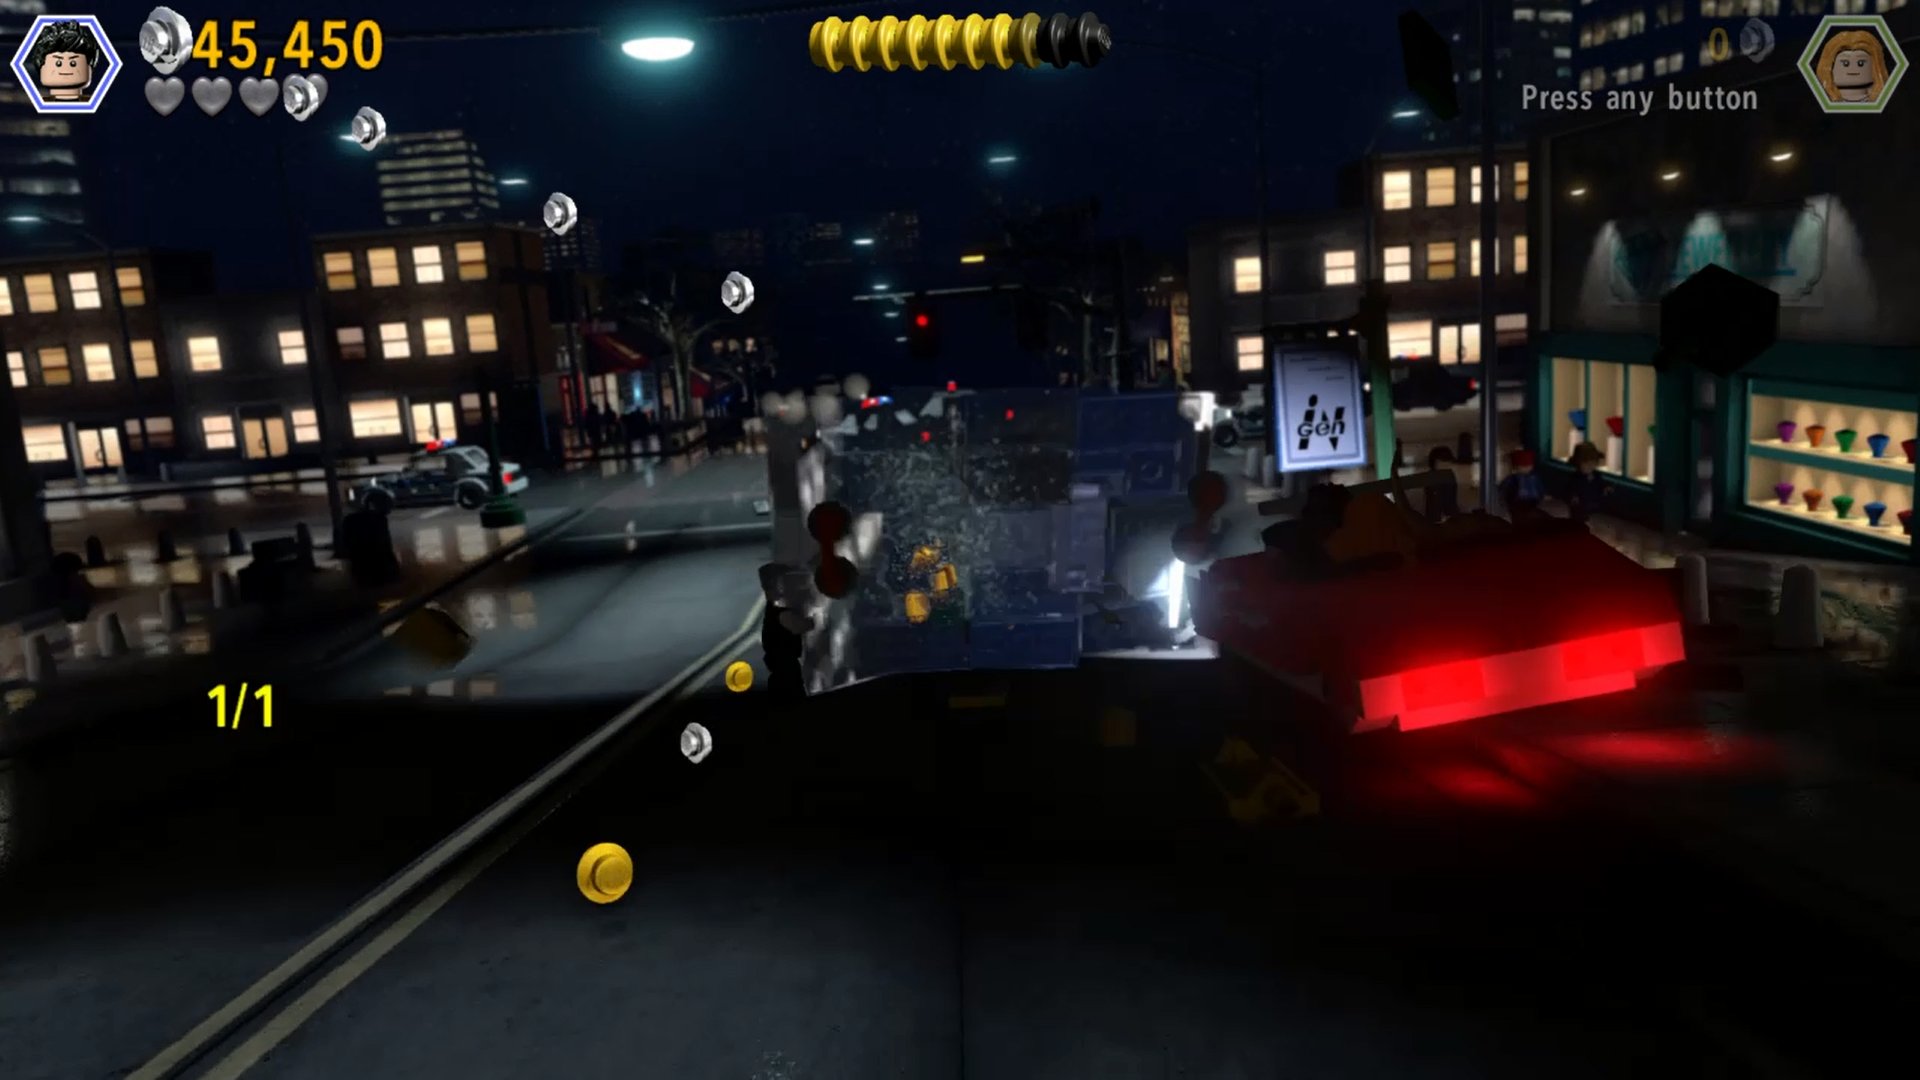
A pair of men carrying a plate of glass will stumble across your path. As long as you stay to he right, you'll smash right through, earning the next minikit.
Minikit #3
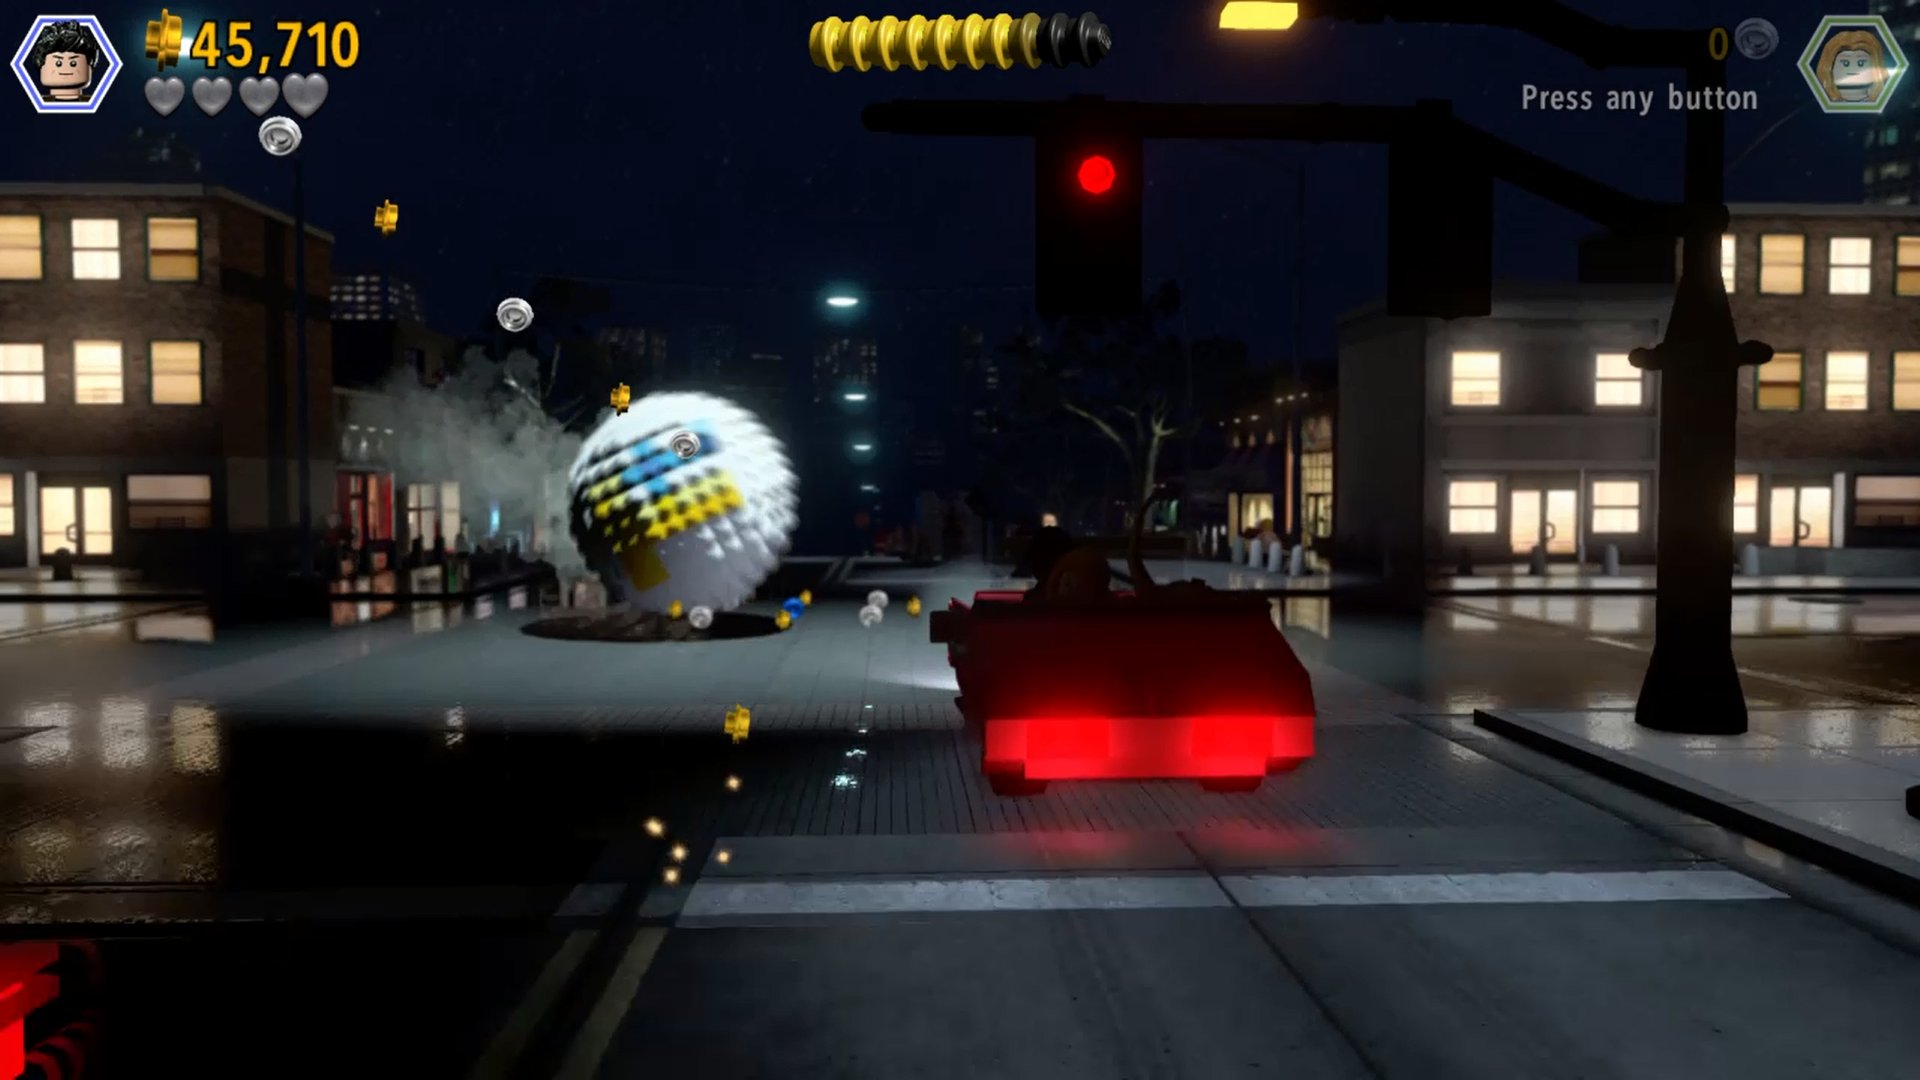
Don't stray from the right. Shortly after you smash through the glass, a giant ball will roll across you path.
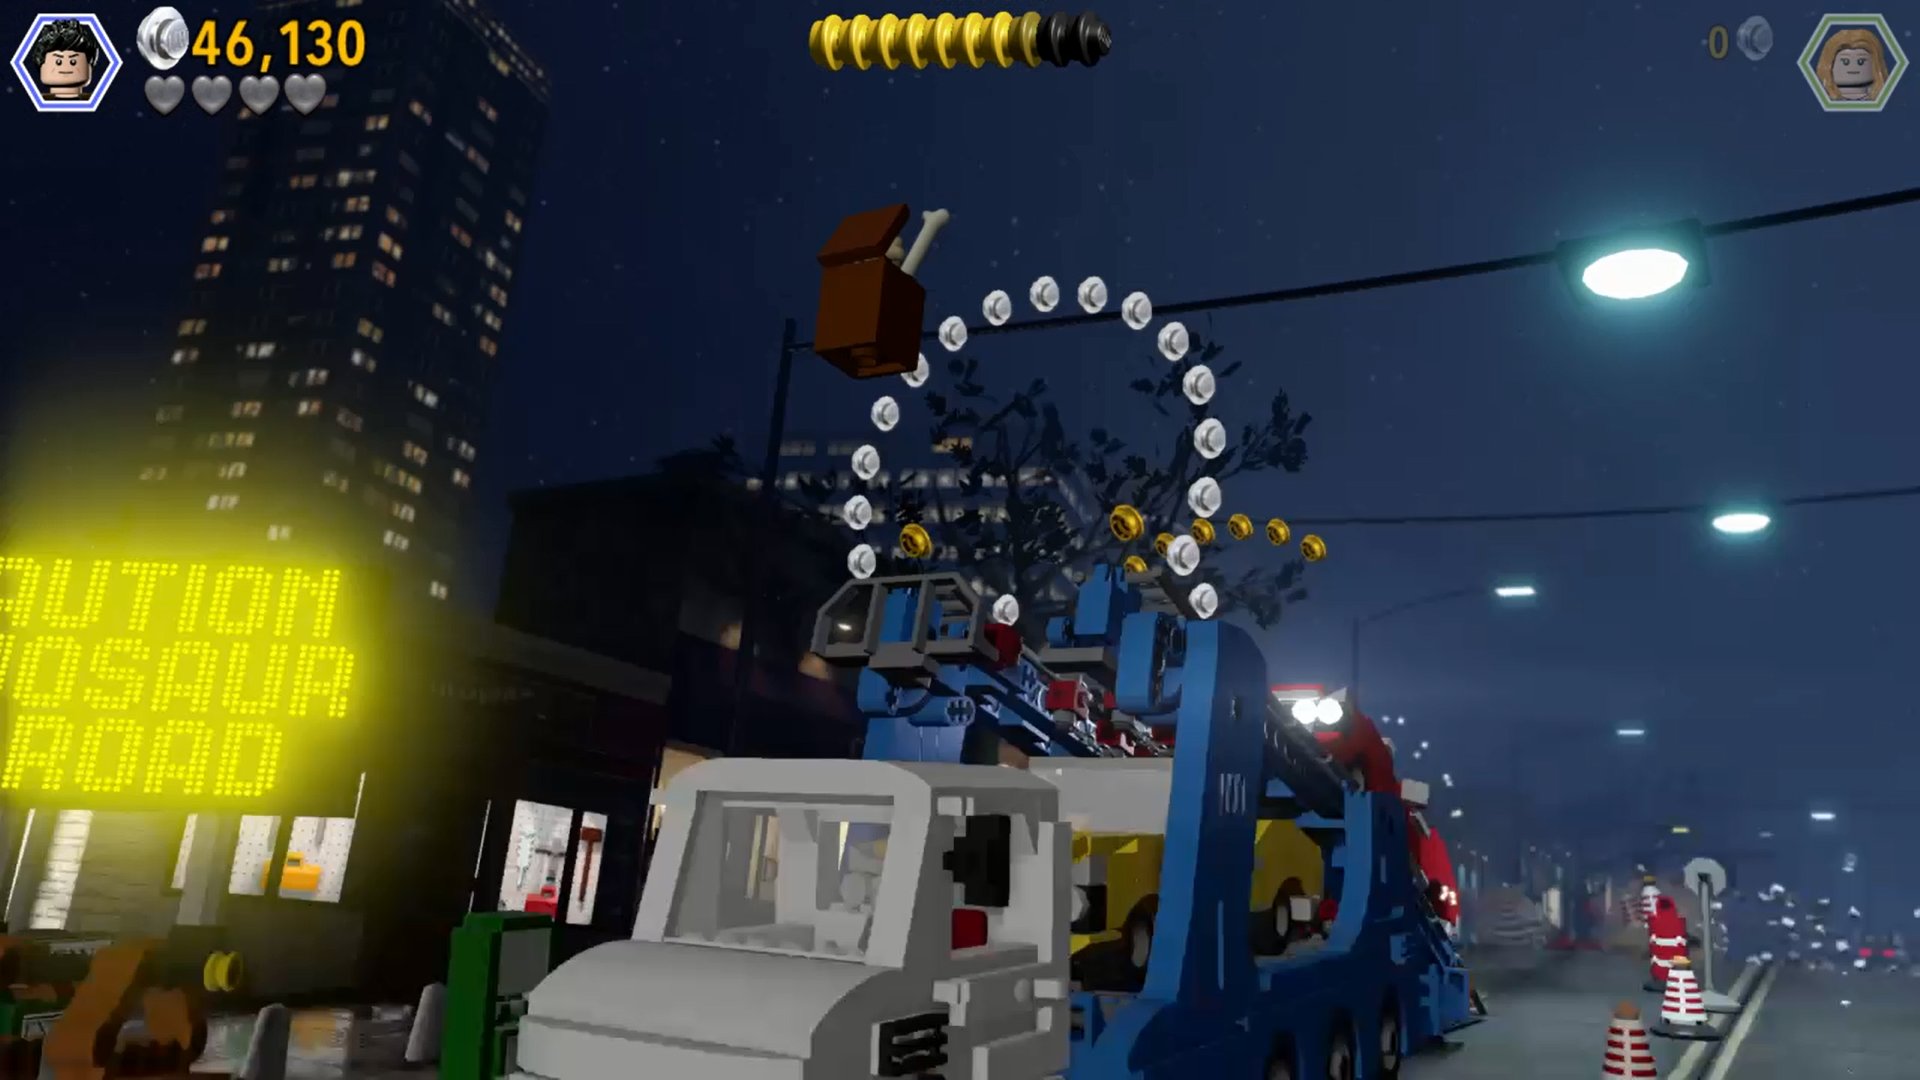
Immediately ahead and to the right will be a ramp leading up to the last minikit of the level.
Jump to Section:
- Prologue
- Welcome to Jurassic Park
- Park Shutdown
- Restoring Power
- The Visitor Centre
- Isla Sorna
- InGen Arrival
- The Hunted
- Communications Centre
- San Diego
- Landing Site
- The Spinosaurus
- Breeding Facility
- Eric Kirby
- The Bird Cage
- Welcome to Jurassic World
- Gyrosphere Valley
- Out of Bounds
- Under Attack
- Main Street Showdown

Shabana was born looking like a girl wearing a Pikachu hoodie, so when such things became popular, she fitted right in. She writes guides, reviews and features for GR+ when she isn't screaming at Dark Souls 2 on YouTube.

 Join The Community


