War Front strategy guide - Allied campaign
Liberate Europe with our complete Allied mission walkthrough
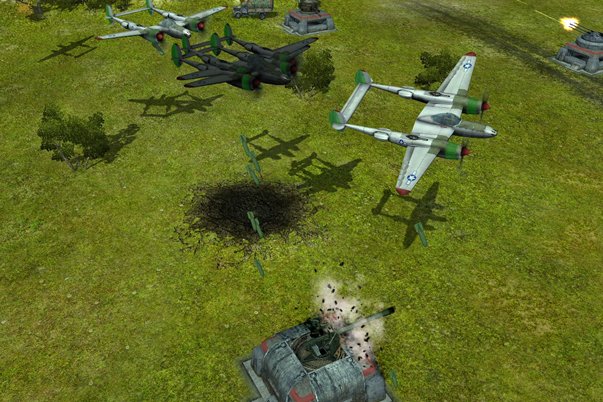
Things will begin to get more frantic as you turn north and begin to advance to the plateau where the V1 Launch Site was located. You will encounter Sonic Tanks, which can be devastating if they can close on their target. Long-range weapons like Priests can target the path down which they travel to soften them up, and your Core Units (hopefully Pershing tanks) can pick them off from distance. You should have plenty Call-In Aphrodite Bombers at your disposal, and you can use them in conjunction with your Radar Station’s Reconnaissance ability to pinpoint key German buildings (V1 Launch sites, Tank Factories, and Airfields) and destroy them with the explosive-laden B-29s.
There’s a mine due west of the destroyed V1 Launch site, and you can send in an Engineer from the second base you built to construct a Supply Stash here and a nearby Weapon Factory, effectively creating yet another base. The Germans will pound the Supply Stash with not only bombs but V1 rockets, but the Weapon Factory you built can produce an Engineer to rebuild it—and it’s better that you lose a Supply Stash rather than having that lethal bomb fall on your troops. Regardless, be prepared for massive German counterattacks. The Airfields you built earlier in the game can prove decisive at this point—select them and use the Guard Area command to protect your western (left flank) against the Jetpack Infantry and Wurfrahmen that will be streaming down from the north. The units from this second base—including lots of Bofors to fend off pesky strafing runs from Me 262s—should be positioned just north of the destroyed V1 Launch Site and just south of the plateau on which the primary German base is located. It’s a good idea to build a defensive line of Pillboxes to the west; this is where many German units will be coming from.

Weekly digests, tales from the communities you love, and more


