War Front strategy guide - Allied campaign
Liberate Europe with our complete Allied mission walkthrough
With your newly formed armored force back near Sagnier’s headquarters, head north to the Airfield and take out the Bunkers around the base by attacking from the eastern edge of the map, while minimizing the loss of units to any Flammwagens guarding the area. With the Bunkers and Flammwagens gone, destroy the Flak AA Bunkers and last of all the Airfield itself. This allows Wells to send in new paratroopers, including crack Ranger units whose High Explosives Skill can demolish buildings in a single blast.
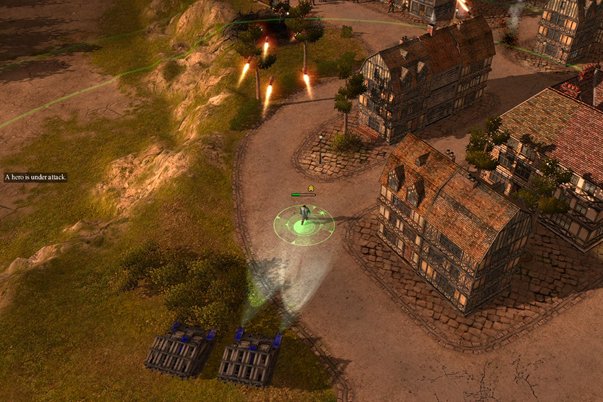
At this point, you’ll want to send Lynch and all ground troops toward the original start point, as Anna, Sagnier, and your armored units (especially the Wurfrahmen) head down the east-west road leading into town. Position the armor a fair distance from the Flame Bunker and AT88 Bunker. Sagnier can destroy the deadlier AT88 Bunker with this Bomb skill, then he and Anna can lure the Panthers out of the town and into the fire of the waiting armored units. Just be sure to keep Wurfrahmen safe—they are the most critical units you have in this battle.
With these two Bunkers down, you can now position Anna and Sagnier and the tanks you’ve captured close to the edge of town, and the Bazooka Troopers you moved from the western part of the map can hold down the center and aid the advancing Allied attack. Send the Wurfrahmen to join Lynch and his large force of MG Infantry, Bazooka Troopers, and Rangers and begin systematically destroying the defenses on the town’s perimeter. Move in a counterclockwise direction around the town; you should encounter little serious resistance because Anna and Sagnier have distracted the bulk of the existing armored forces.
Weekly digests, tales from the communities you love, and more


