Tearaway collectibles guide
Weekly digests, tales from the communities you love, and more
You are now subscribed
Your newsletter sign-up was successful
Want to add more newsletters?
Between The Pages
Red Presents
The first Red Present is a tough one to spot. It's perched below you on a sideways page that you'll see after crossing a couple of bridges that you open with your finger.
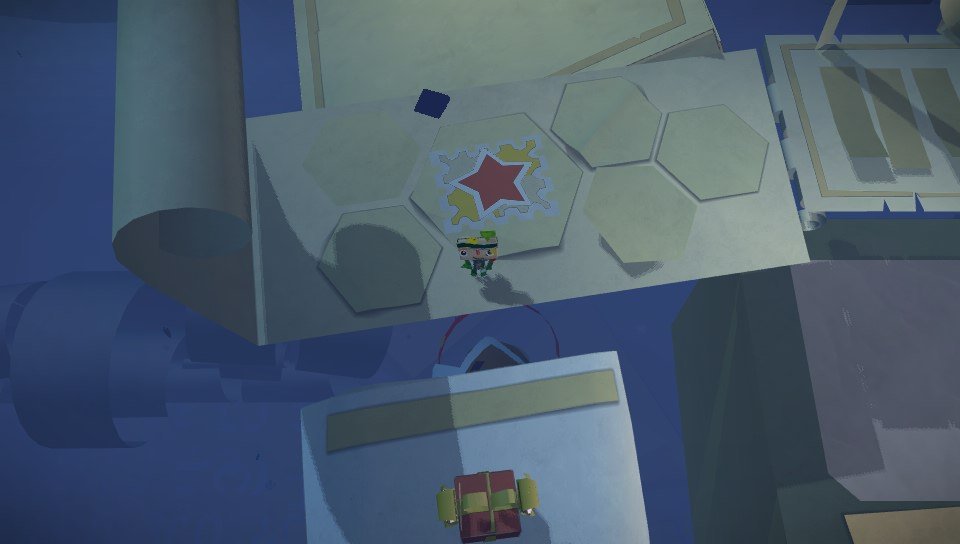
The second Red Present awaits next to the giant spinning books. After you make it to the top of the third book, look down and see it waiting to be unwrapped.
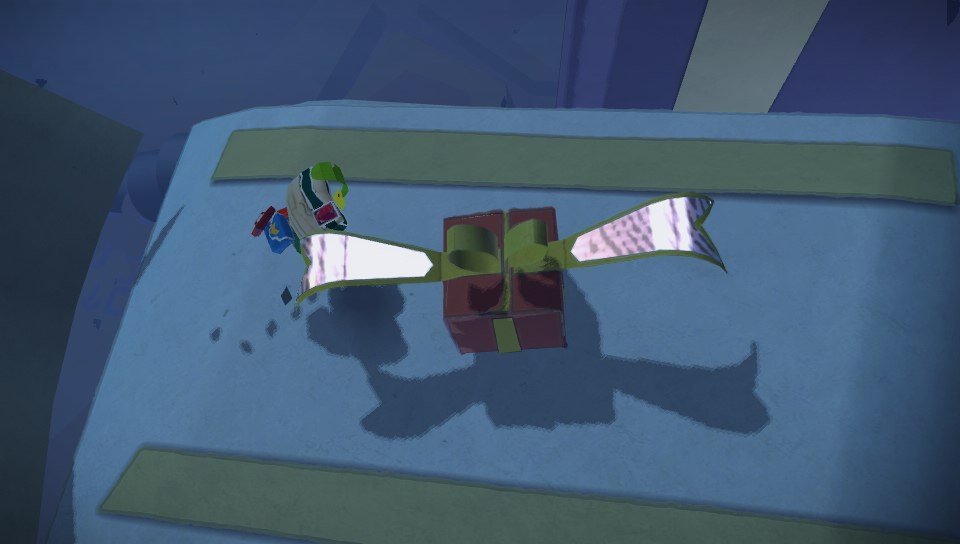
The third Red Present is extremely well hidden. You'll barely notice that a giant object on a wall to your left next to the Beehive Papercraft Photo (see below) can be opened it. Open with your finger to reveal a hallway which has a Red Present waiting for you at the end.
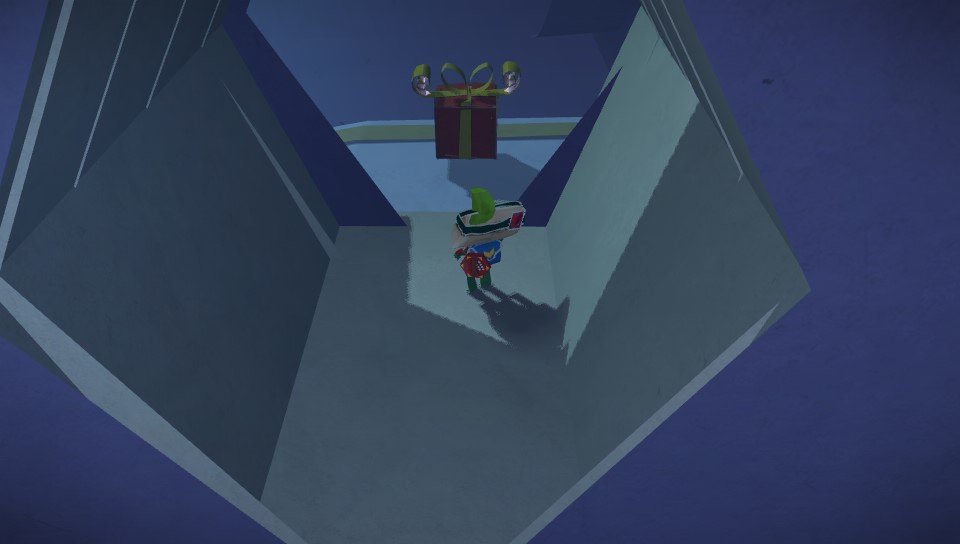
The fourth Red Present is also kind of easy to miss. It's on a floating page below and to the left of the platform that has the front cover of a book based on a photo you took.
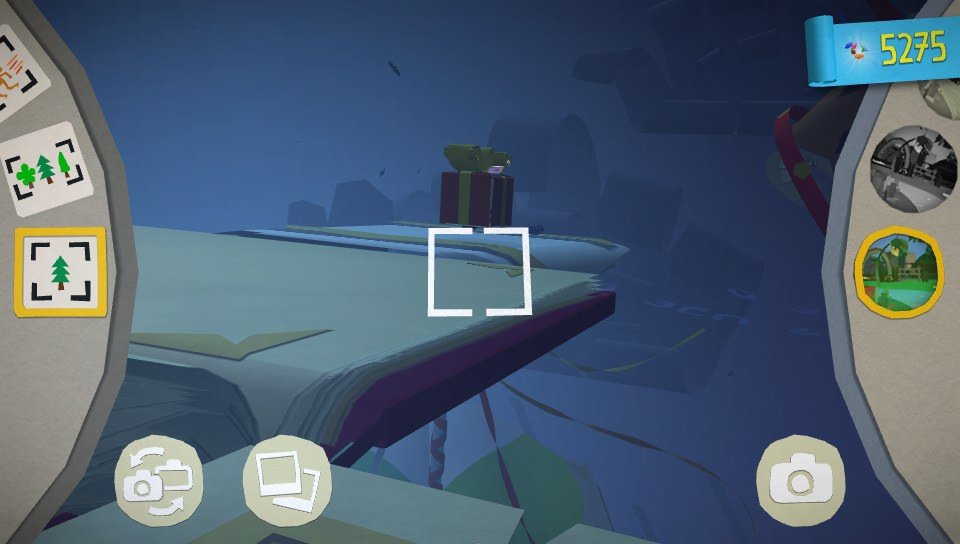
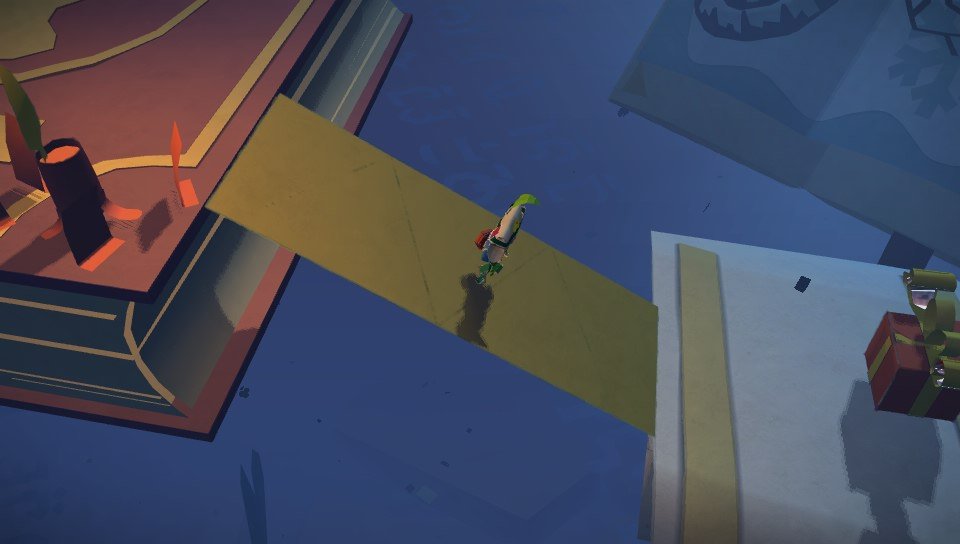
The fifth Red Present is to the right of the head that warns you about how difficult your journey is about to become. Walk over the bridge to find it waiting for you.
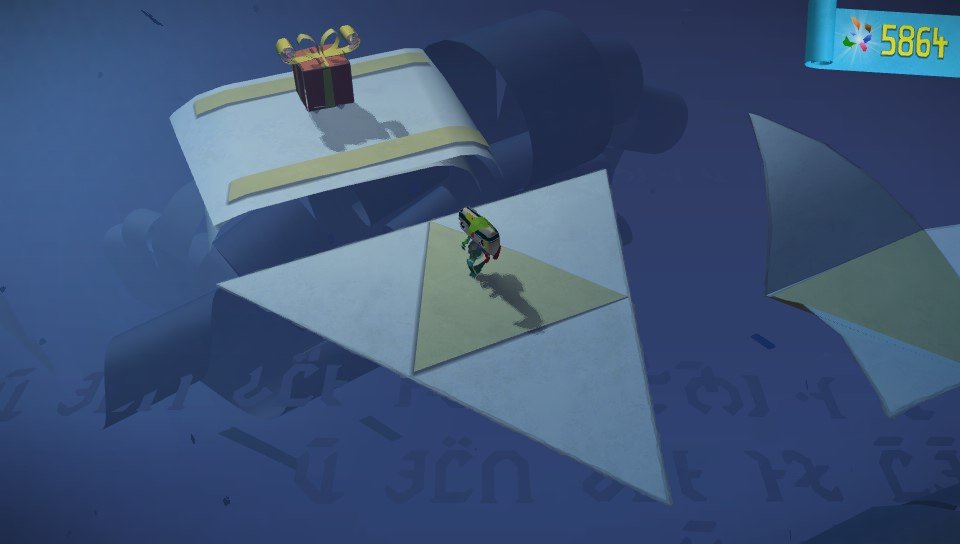
The sixth, and final, Red Present is another tough one to spot. When you're performing the jumps across the triangles that you unfurl with your fingers, make sure to jump to the triangles all the way to the left. The farthest one on the left contains the last Red Present of the level.
Blue Presents
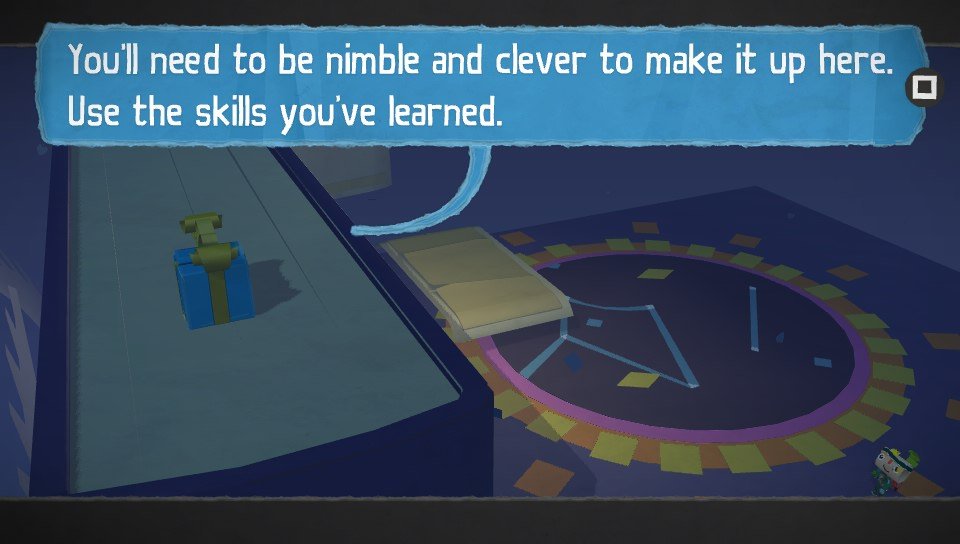
The lone Blue Present will be available to you relatively close to the end of the level. You can easily miss it! After taking an "elevator" of sorts up to the area with the sliding walls, you'll notice a bridge to the right that you can jump to. Take the bridge to the point where you'll be told you can access the prize by being nimble. You get to use all of the skills and tools you've learned so far - rolling, jumping, using the squeezebox - to access it.
Weekly digests, tales from the communities you love, and more
Papercraft Photos
The first papercraft photo is of a water lily very far down below you once you've gotten up past the initial bounce pads. Blink and you'll miss it.
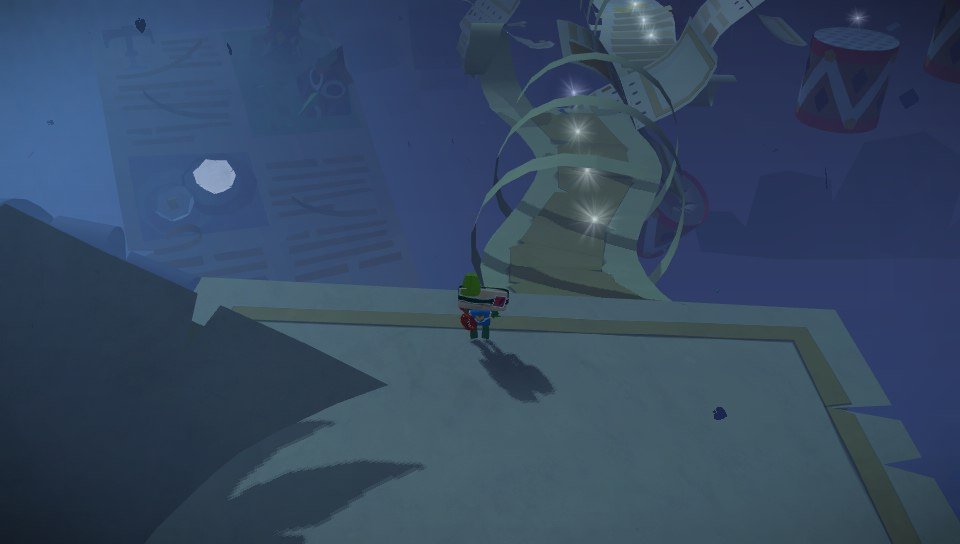
The second Papercraft photo is of a beehive. This one's easy to spot, as it is right on the platform when you drop down from the giant spinning books.
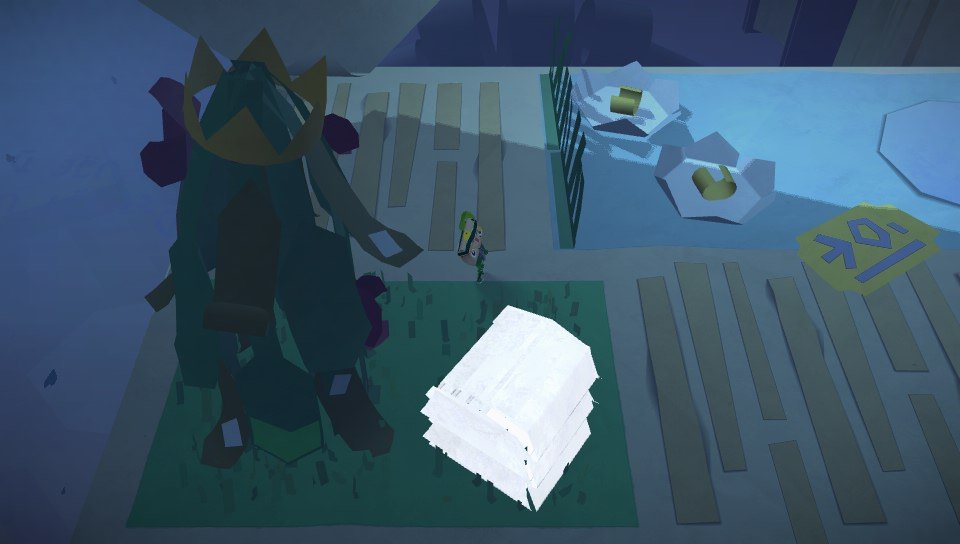
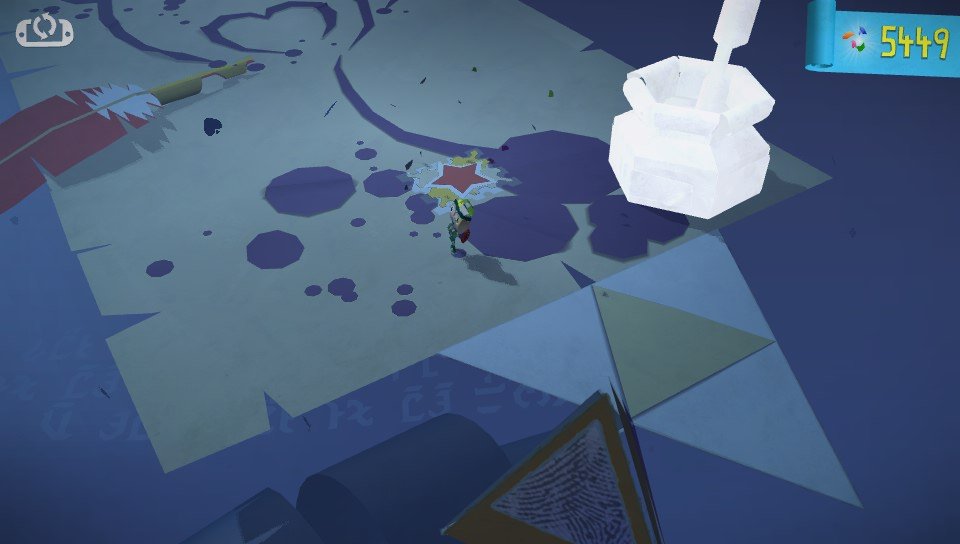
The third and final Papercraft photo is also easy to spot, a giant white Ink Pot. Take its picture to restore it to complete all the collectables in this level.
