How to connect your retro console to a modern TV or monitor
Hook up your old consoles to new screens.
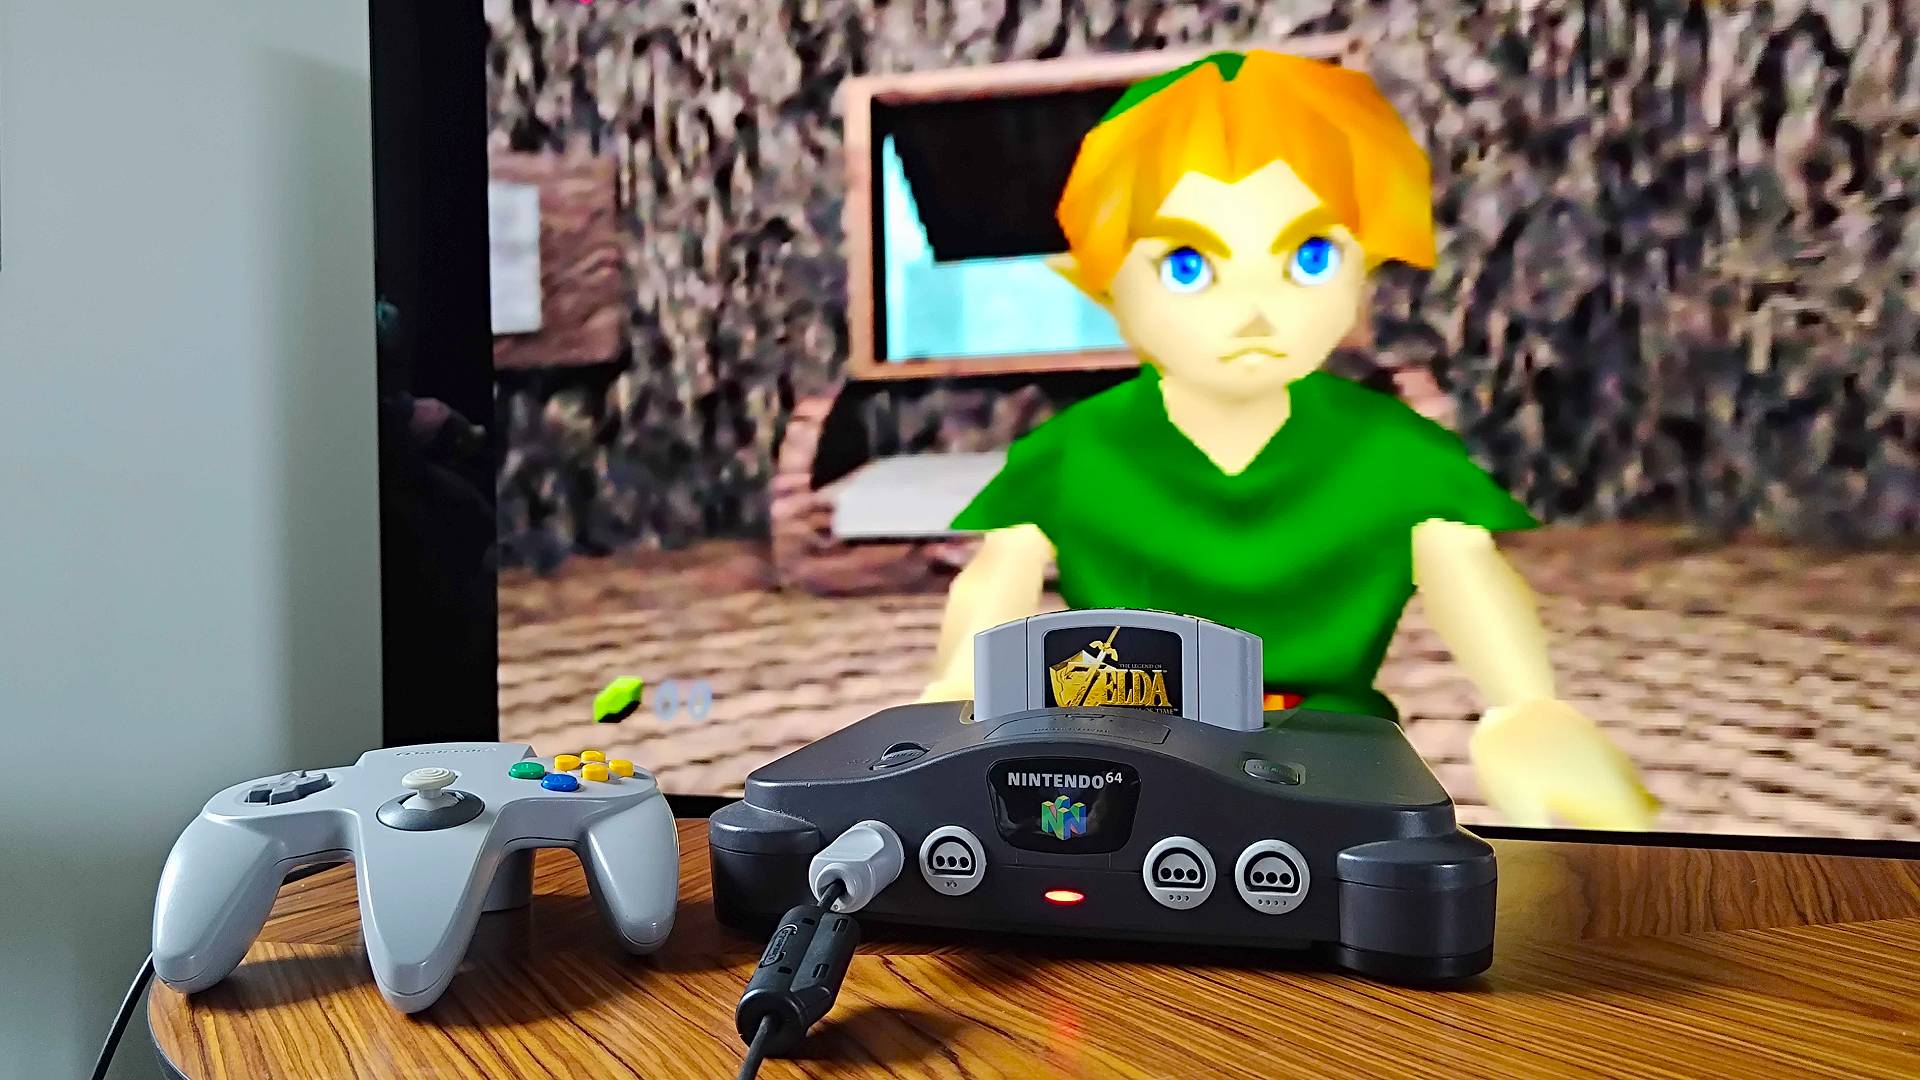
Connecting retro consoles to modern TVs is something I now do for a living, but I’ve also been wrestling with screen inputs for decades. So, you can rest assured that I understand the pain of venturing around the back of your display only to find that the cables you have for your old NES, SNES, Sega Genesis, or any other classic system have nowhere to plug into.
I’m also wary that trying to find out how to connect retro consoles to modern TVs can lead you down a convoluted rabbit hole. While there’s plenty of good advice out there, there are gatekeepers who’ll say using anything other than a super expensive HDMI upscaler with a cable that potentially wasn’t available in your country back in the day is a cardinal sin.
At the end of the day, all that matters is finding a way to hook up the best retro consoles to a new TV that works for YOU. Naturally, investing in better cables and upscalers that’ll ramp things up to 4K will result in prettier pixels, but I’m here to cover all bases and help you use your old hardware regardless of your screen. Put it this way: if you’re currently bamboozled about what RGB scart is, haven’t touched a vintage console since tuning your Atari into a CRT TV, or have only ever used HDMI, you’ve come to the right place.
Check your TV ports
Before even reaching for your old console or picking one up second-hand, I want you to take note of your TV’s ports. Yes, most new screens only boast HDMI, but there is a small chance that your current display has inputs that’ll help you quickly connect old systems without any adapters or upscalers.
Will hooking retro consoles straight up to a new TV yield the best visuals? Absolutely not, but if you’re simply looking to casually use your old NES for a night before returning it to the attic, hooking it up might be simpler than you’d think. Ultimately, it all depends on whether your screen of choice still boasts compatible inputs, and identifying them isn’t that complicated.
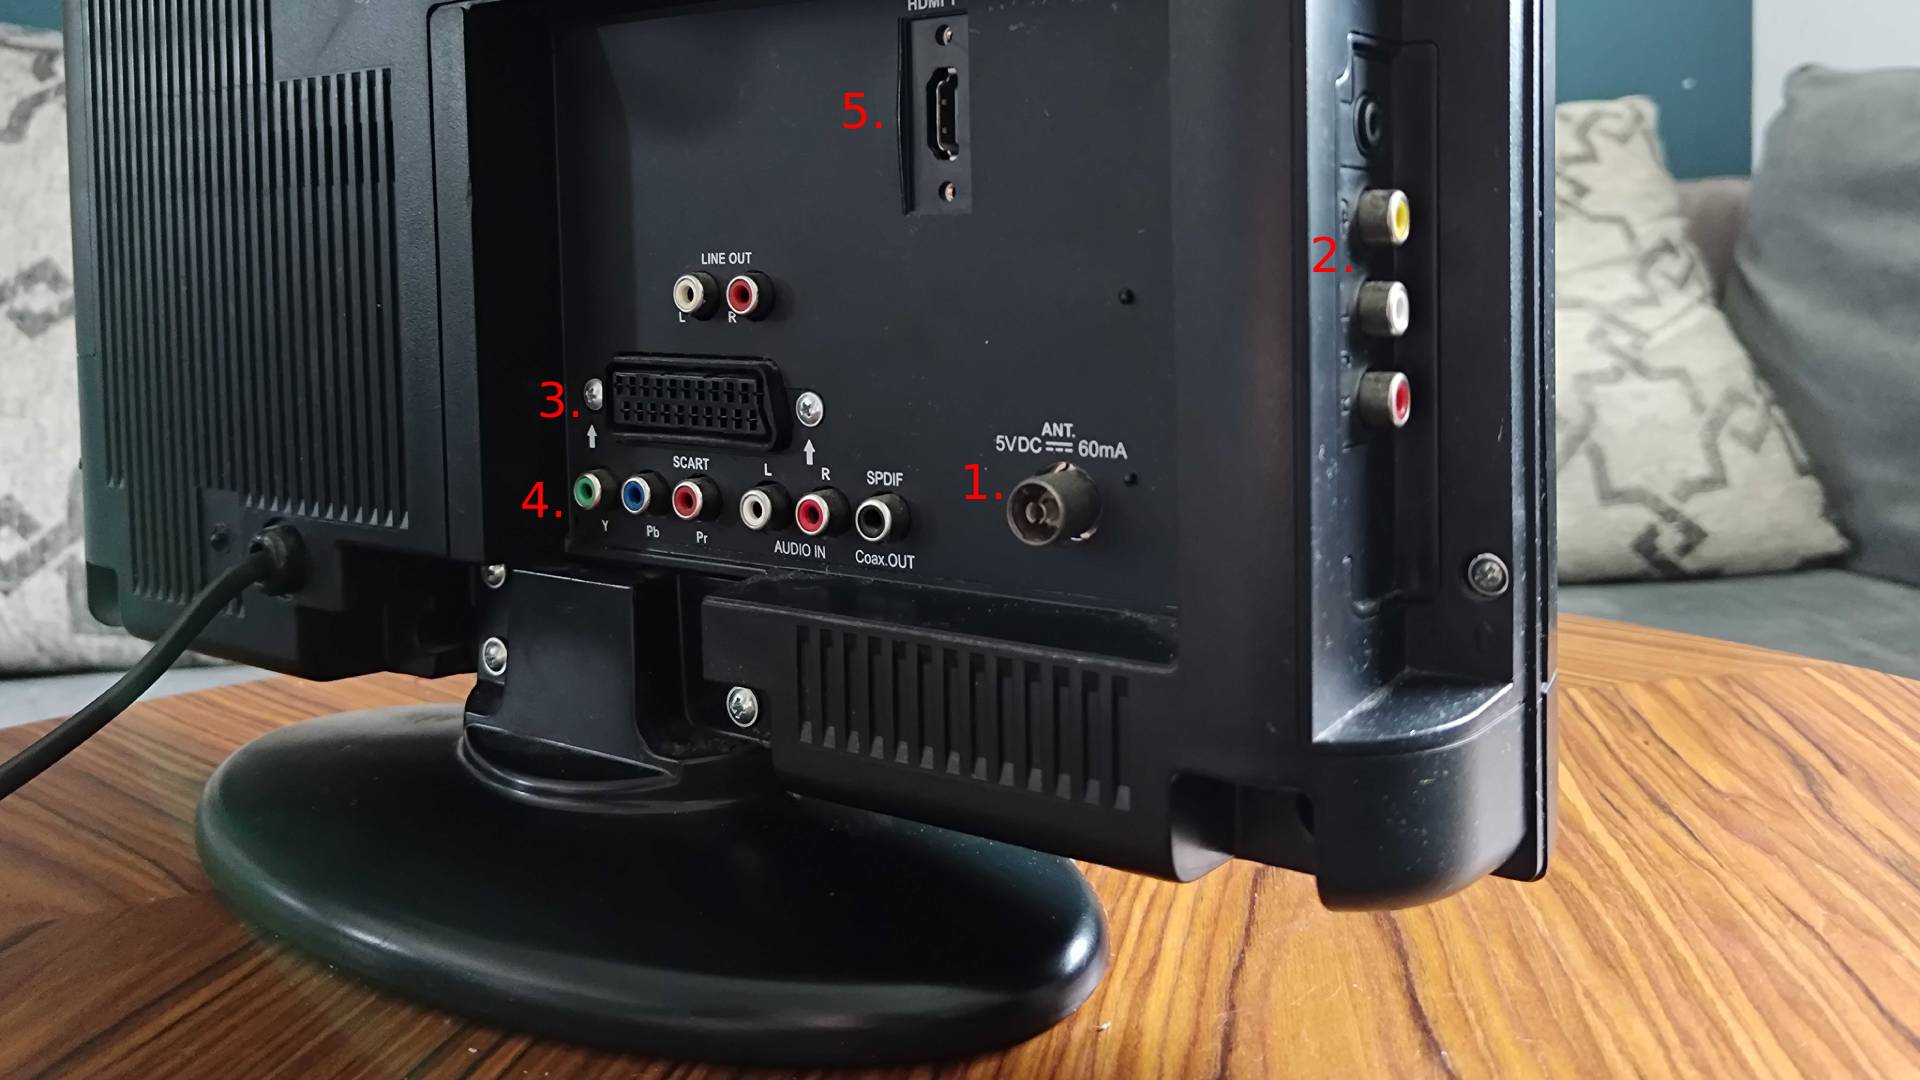
I’m going to use a pretty old (and comically small) LCD TV to talk you through different TV port types since it has most of them. I highly doubt you’ll find most of these connections on any screen made after 2018, but some of you will be using older displays that, compared to old tube sets, are still considered “modern” displays.
Reference number | Port type |
|---|---|
1 | RF connector |
2 | RCA Composite |
3 | RGB SCART |
4 | Component |
5 | HDMI |
I’ll start by highlighting each connector type based on its dominance chronologically, as gaming setups have existed since the 1970s. Back then, the only connector on most TVs was for an antenna, which made sense given that televisions had one noble goal of receiving over-the-air broadcasts.
Weekly digests, tales from the communities you love, and more
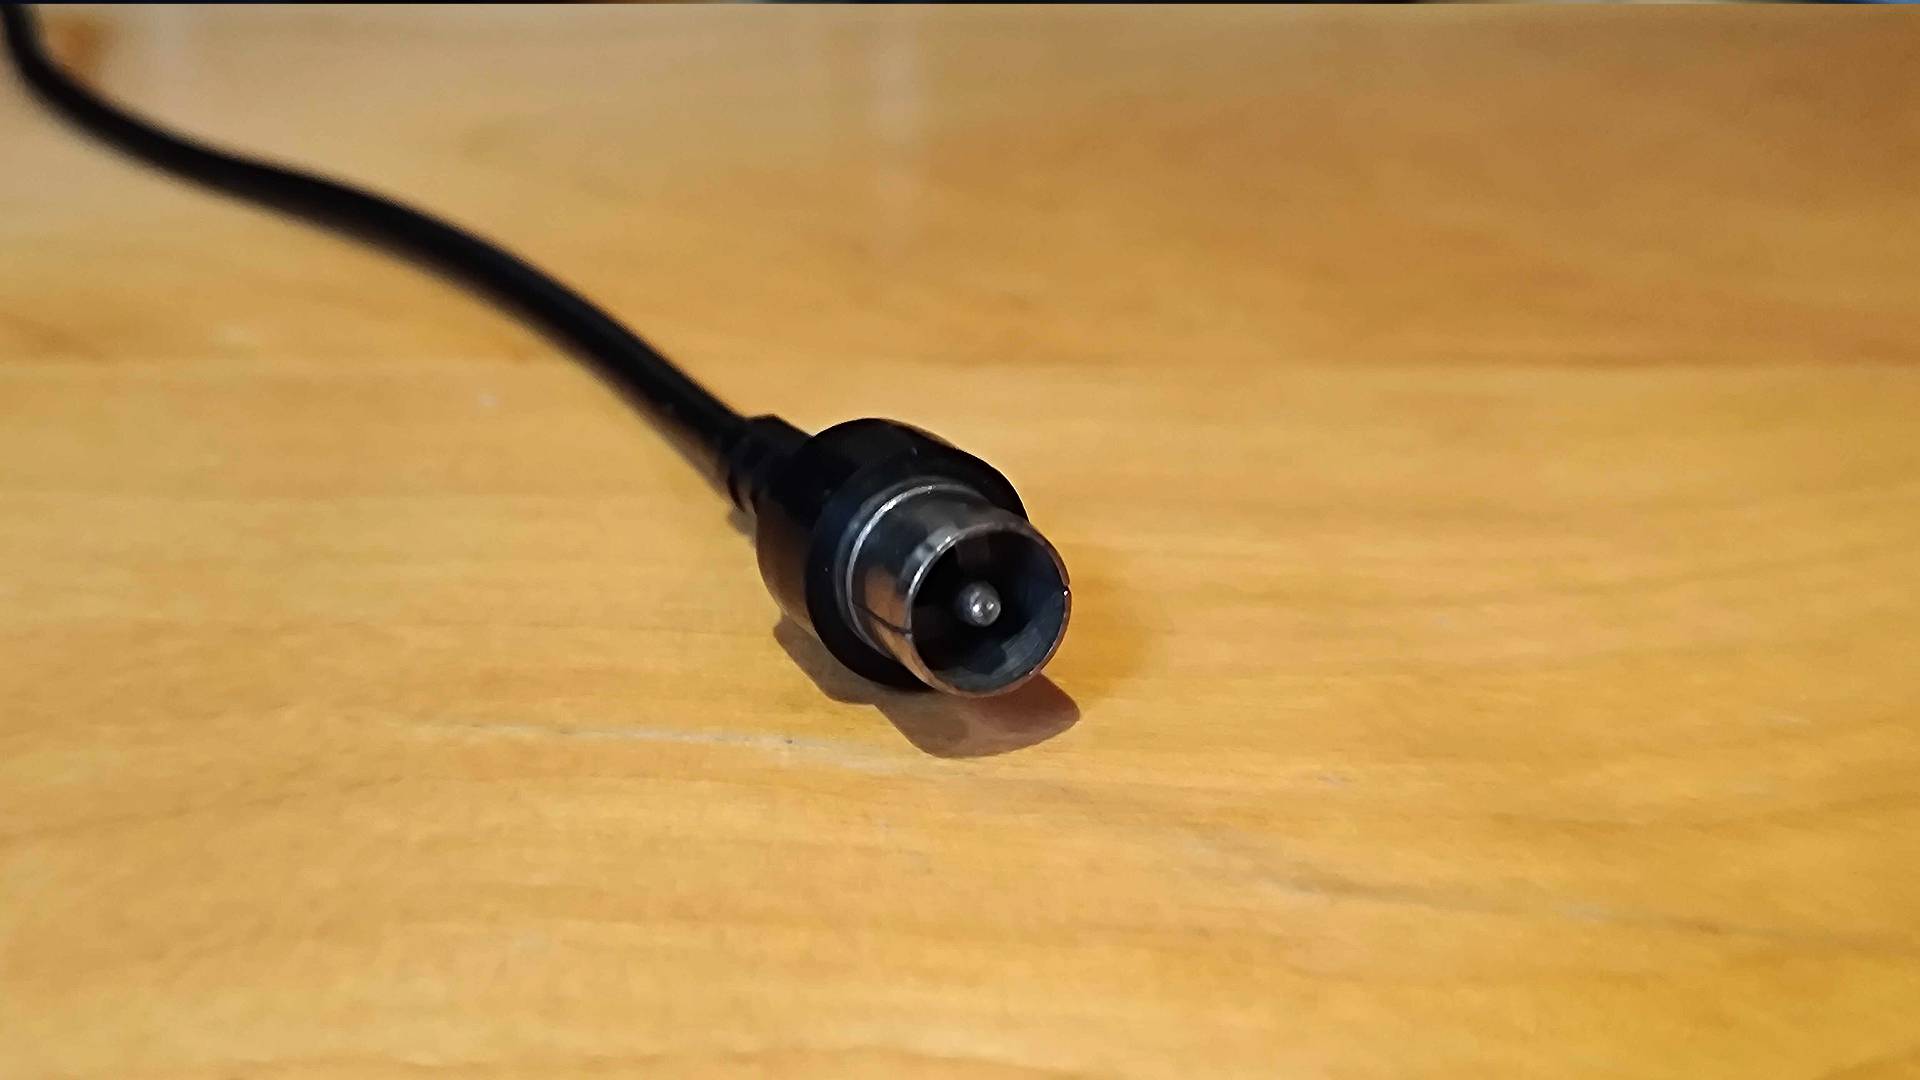
That resulted in vintage systems like the Atari 2600 using an RF (Radio Frequency) signal that could be picked up in the same manner as a TV station. Connecting a coaxial or antenna cable from your console to your TV would then result in the input appearing on channel 2 or 3 instead of an over-the-air broadcast. This method surprisingly still works on many TVs in 2025, but you’ll have to go into your screen’s settings menu and scan for analogue channels with a cable attached and your console powered on.
I must stress that using RF input is going to result in the worst picture quality possible, thanks to interference and the fact that it mashes video and audio into a single signal. However, if you’re using an unmodded 70s or 80s console, it might be your only option, and you will at least still be able to hook the system up if your TV still has an analogue tuner. It is worth noting, though, that many of the latest panels are now only capable of receiving digital broadcasts, so you won’t be able to tap into digital signals.
Thankfully, the console scene quickly moved on from RF-only video and embraced dedicated inputs. For years, the most commonly used connector, particularly for game consoles, was RCA composite. It uses a yellow phono-style connector for video input and two additional white and red jacks for stereo audio.
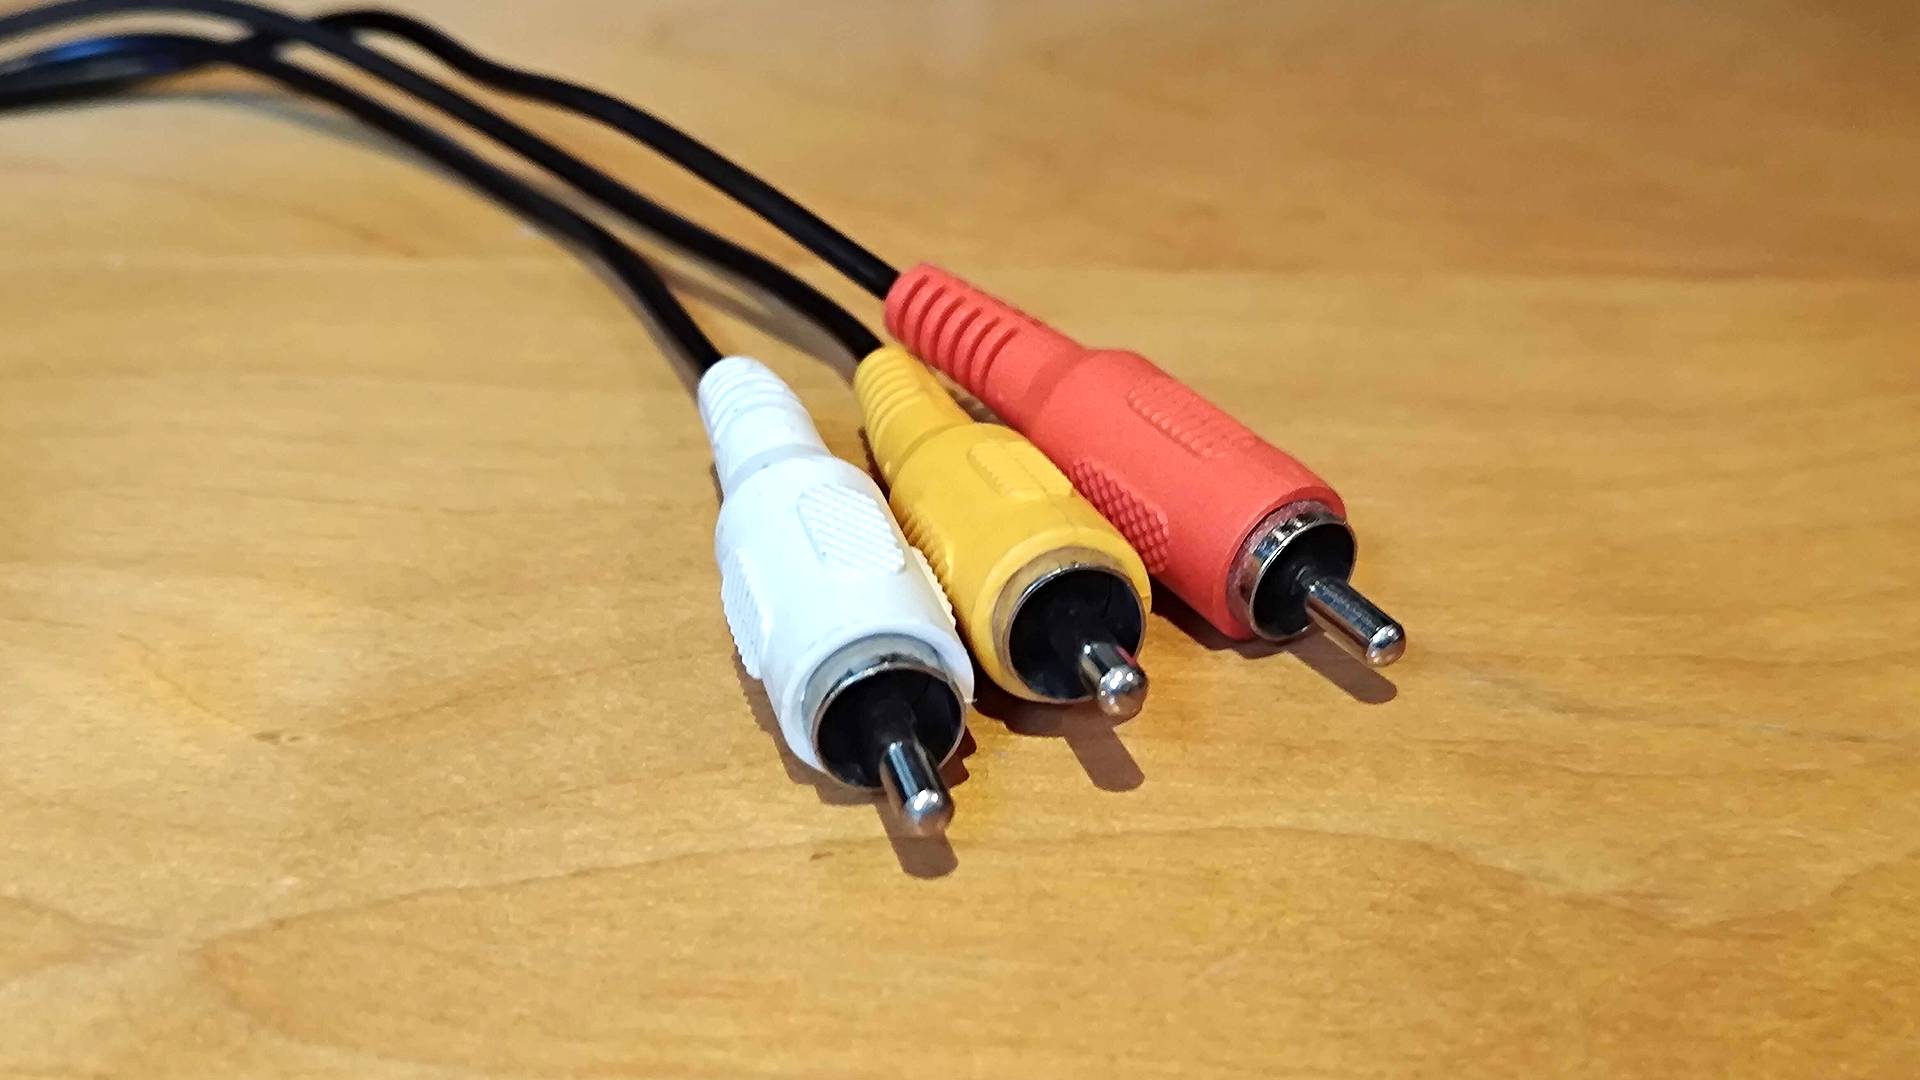
Composite is the connection famously used by the Nintendo Entertainment System and various other ‘80s consoles. It also happens to be the only other output available to the NES other than RF by default, but it's far from being the best in terms of fidelity or quality. That’s largely because it combines all the elements that make up an image, like luminance, chroma, and synchronization, then squeezes them into one signal, resulting in inaccurate colors and blurry pixels.
Admittedly, composite fares much better on an old CRT thanks to the way old screens work. But, on a newer LCD TV, it’s going to look scrappy. You can still use it on many modern displays, though, as even LED models by Samsung and others use a breakout 3.5mm cable to maintain support. If you do still have a way to use RCA composite cables on your screen, it’ll make for a quick and dirty way to play, but you’ll be at the mercy of your panel's own upscaling techniques and associated input lag.
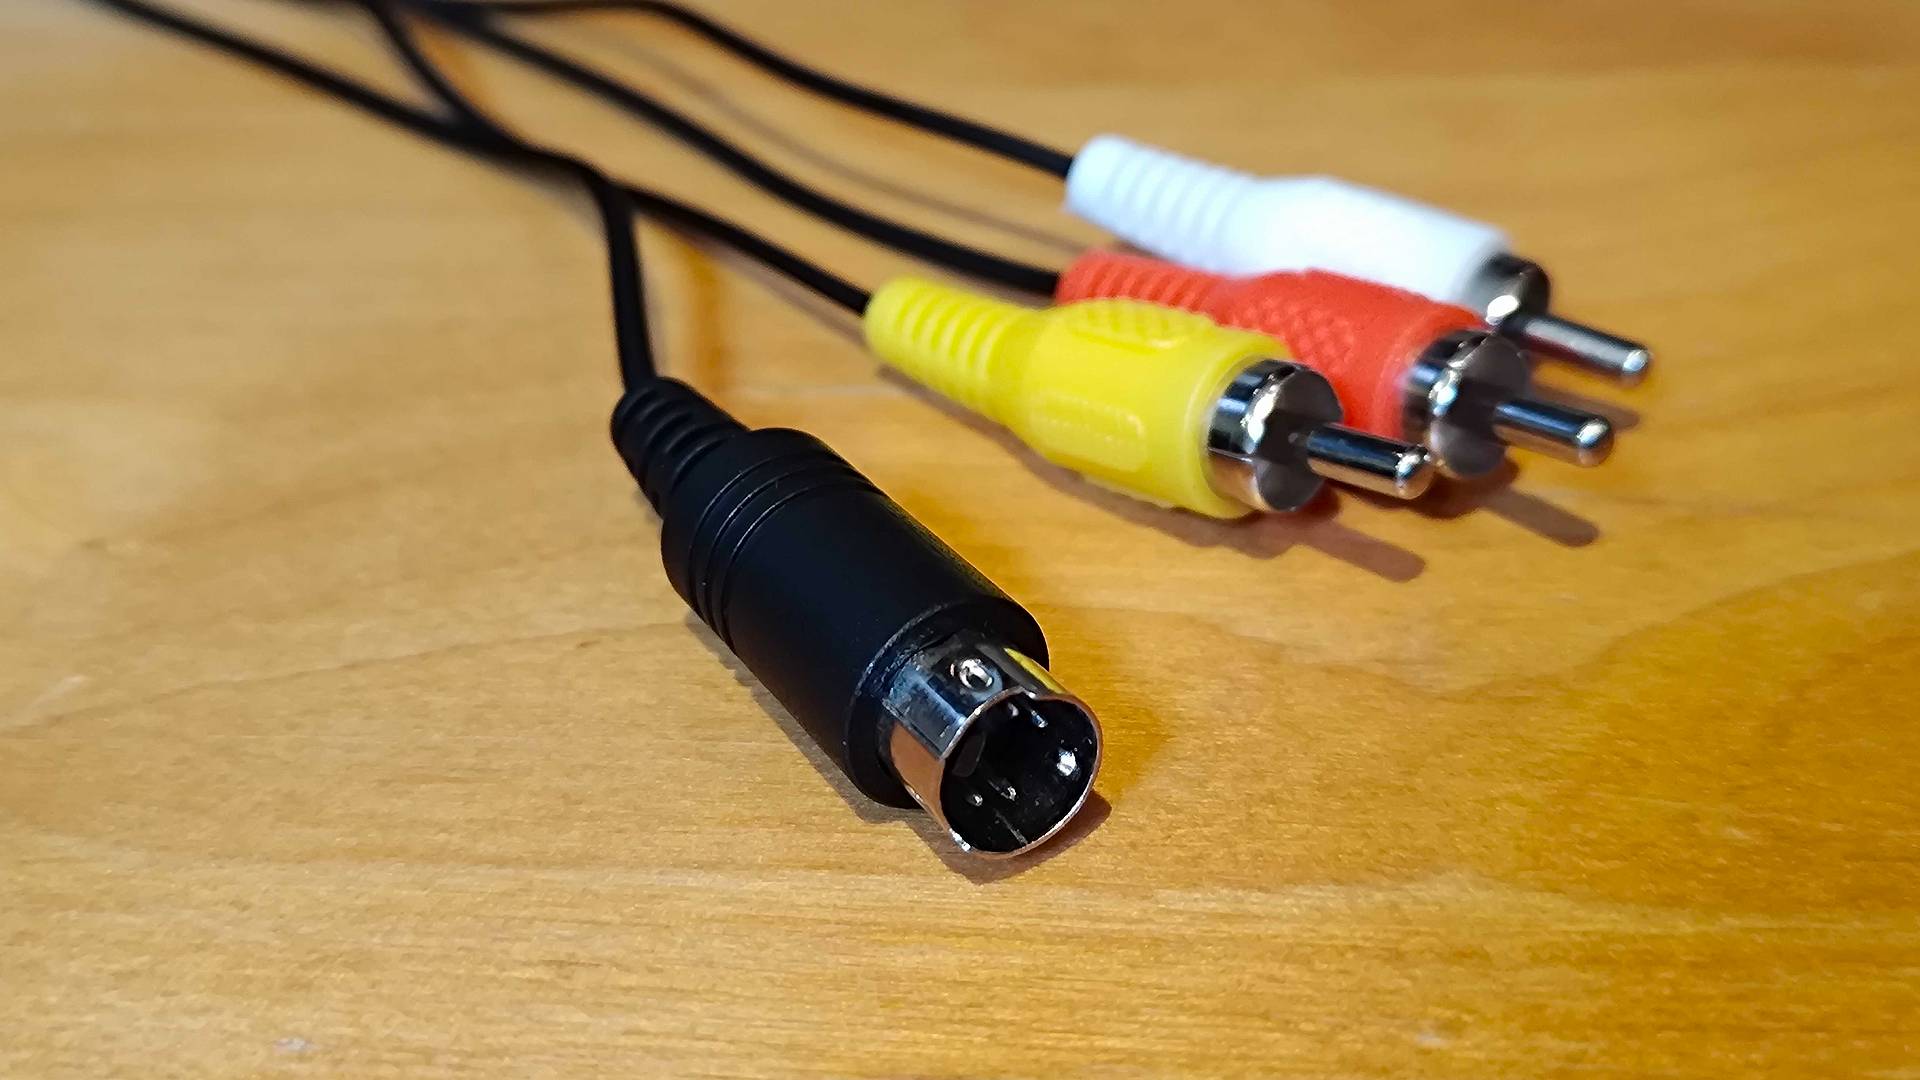
Moving up the old cable hierarchy, you’ll find that many retro consoles also support S-Video. FYI, the “S” stands for “Separate”, and that means it splits Luninance and Chroma into two different channels while retaining RCA for video and sync. That helps the connection type achieve perceptibly sharper visuals than Composite, although you’re less likely to find even slightly older flat screen TVs with a port on the back.
At the top of the food chain are connectors that go a step further by boasting even more separate channels. European countries used to use SCART cables that split color info into red, blue, and green channels, resulting in superior accuracy. It actually uses a whopping 21 pins for everything from audio to sync, meaning there’s zero compromise when it comes to signals.
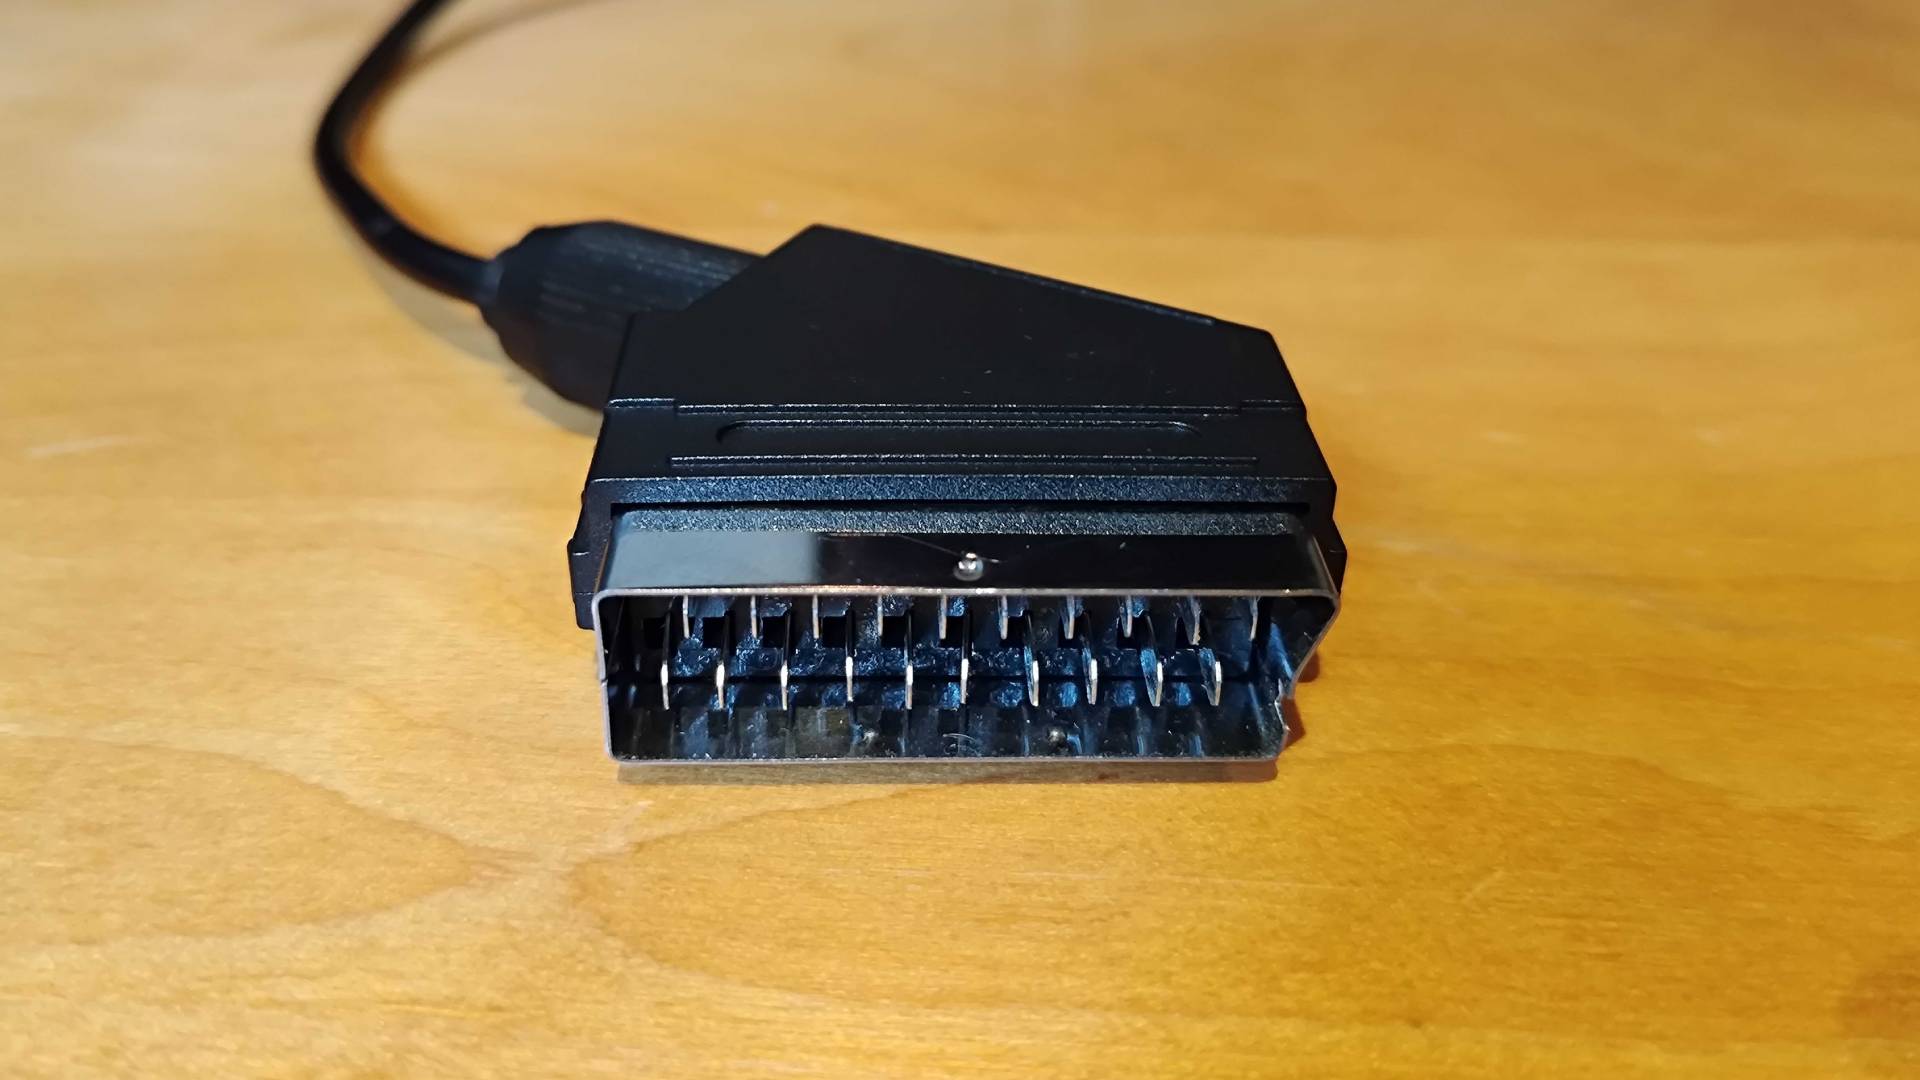
The connection type is heralded as the best for retro gaming, specifically as it produces sharp and vibrant results on screens old and new, but some consoles, like the Nintendo 64, skipped on compatibility. Plus, the standard failed to reach the US, so you’ll only really be using it if you own a new upscaler in the States with the port.
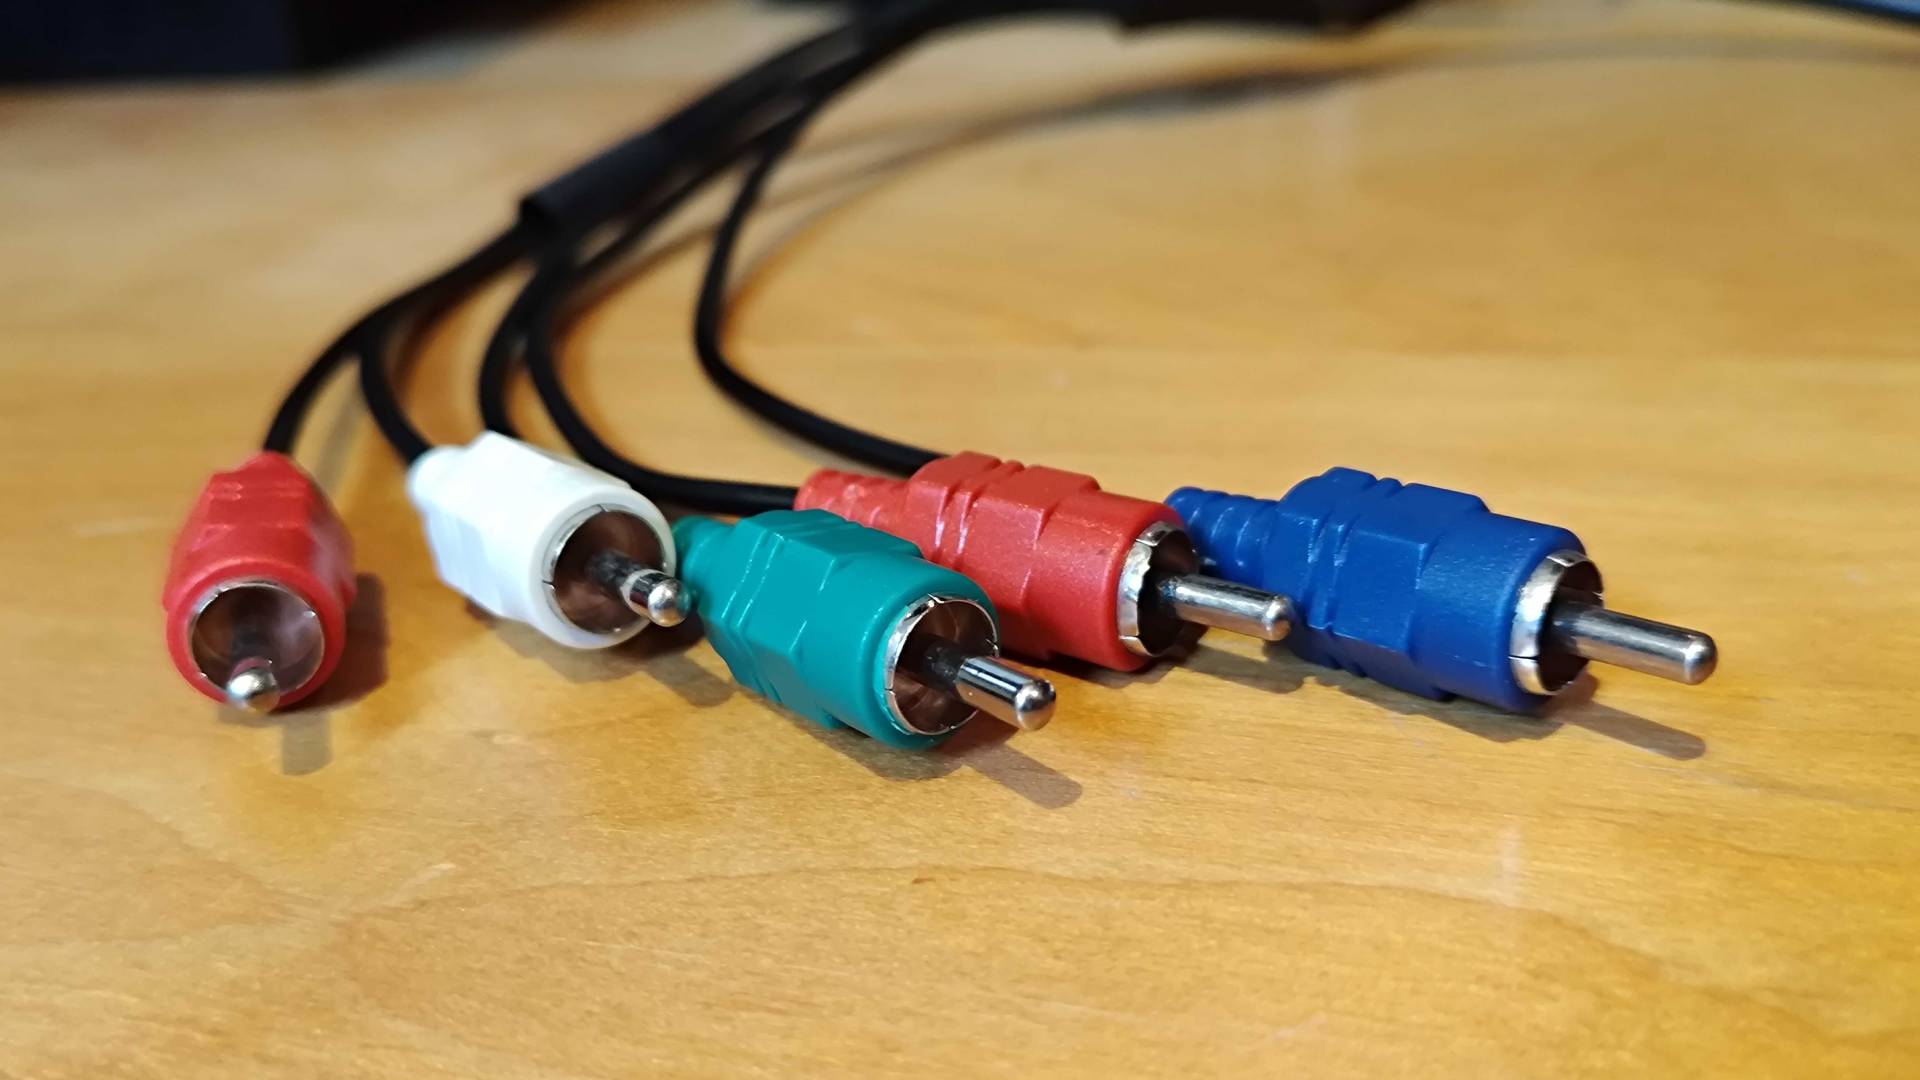
Eventually, the US did start using component cables with separate color channels. At a glance, the connection type looks like composite on steroids since it uses three RCA jacks for video alongside the usual two for audio. It’s effectively the last analogue input type that was widely used before everyone moved onto HDMI, and as a result, it’s still included in TVs, but requires a breakout 3.5mm cable (normally included in the box).
It’s all fine and dandy, simply dubbing a single connection the best for retro gaming, and I do personally like to use SCART where possible. But, when it comes to directly hooking up to TVs, your options will be limited based on your specific inputs and the console you’re trying to use.
For example, S-video will produce the best results on N64, but modern panels will likely only support composite at best. Whereas if you’re using something newer like a PS2, Xbox, or Gamecube, you can tap into component output for better color accuracy and resolutions up to 1080i. Keep in mind that this is before we even dive into the world of retro upscaling devices, and I’d say it’s compatibility that’ll normally drive players towards HDMI conversion.
Using HDMI upscalers with retro consoles
Even if you can hook up your retro console straight to a modern TV, you’ll likely be disappointed with the visual results. The whole rigmarole your screen goes through behind the scenes to take your old analogue low resolution input and stretch it to 4K not only introduces input tag, but it’ll also do a crummy job handling things like colors and interlacing.
Simply put, your retro games are going to pale on a modern TV compared to the CRT screens they were designed for. At least, they will if you let your display deal with the signal, but using a standalone HDMI upscaler can help properly transform your old console’s signal into a contemporary HD image.
In turn, that’s also going to save you from trying to jam old connectors into your old TV, as most HDMI upscalers boast support for old cables. There are a few exceptions to this based on the converter you buy, and there are some instances where I’d recommend using a modded console or buying a revamped version (looking at you, Atari 2600), but most ‘80s and ‘90s systems can be easily scaled.
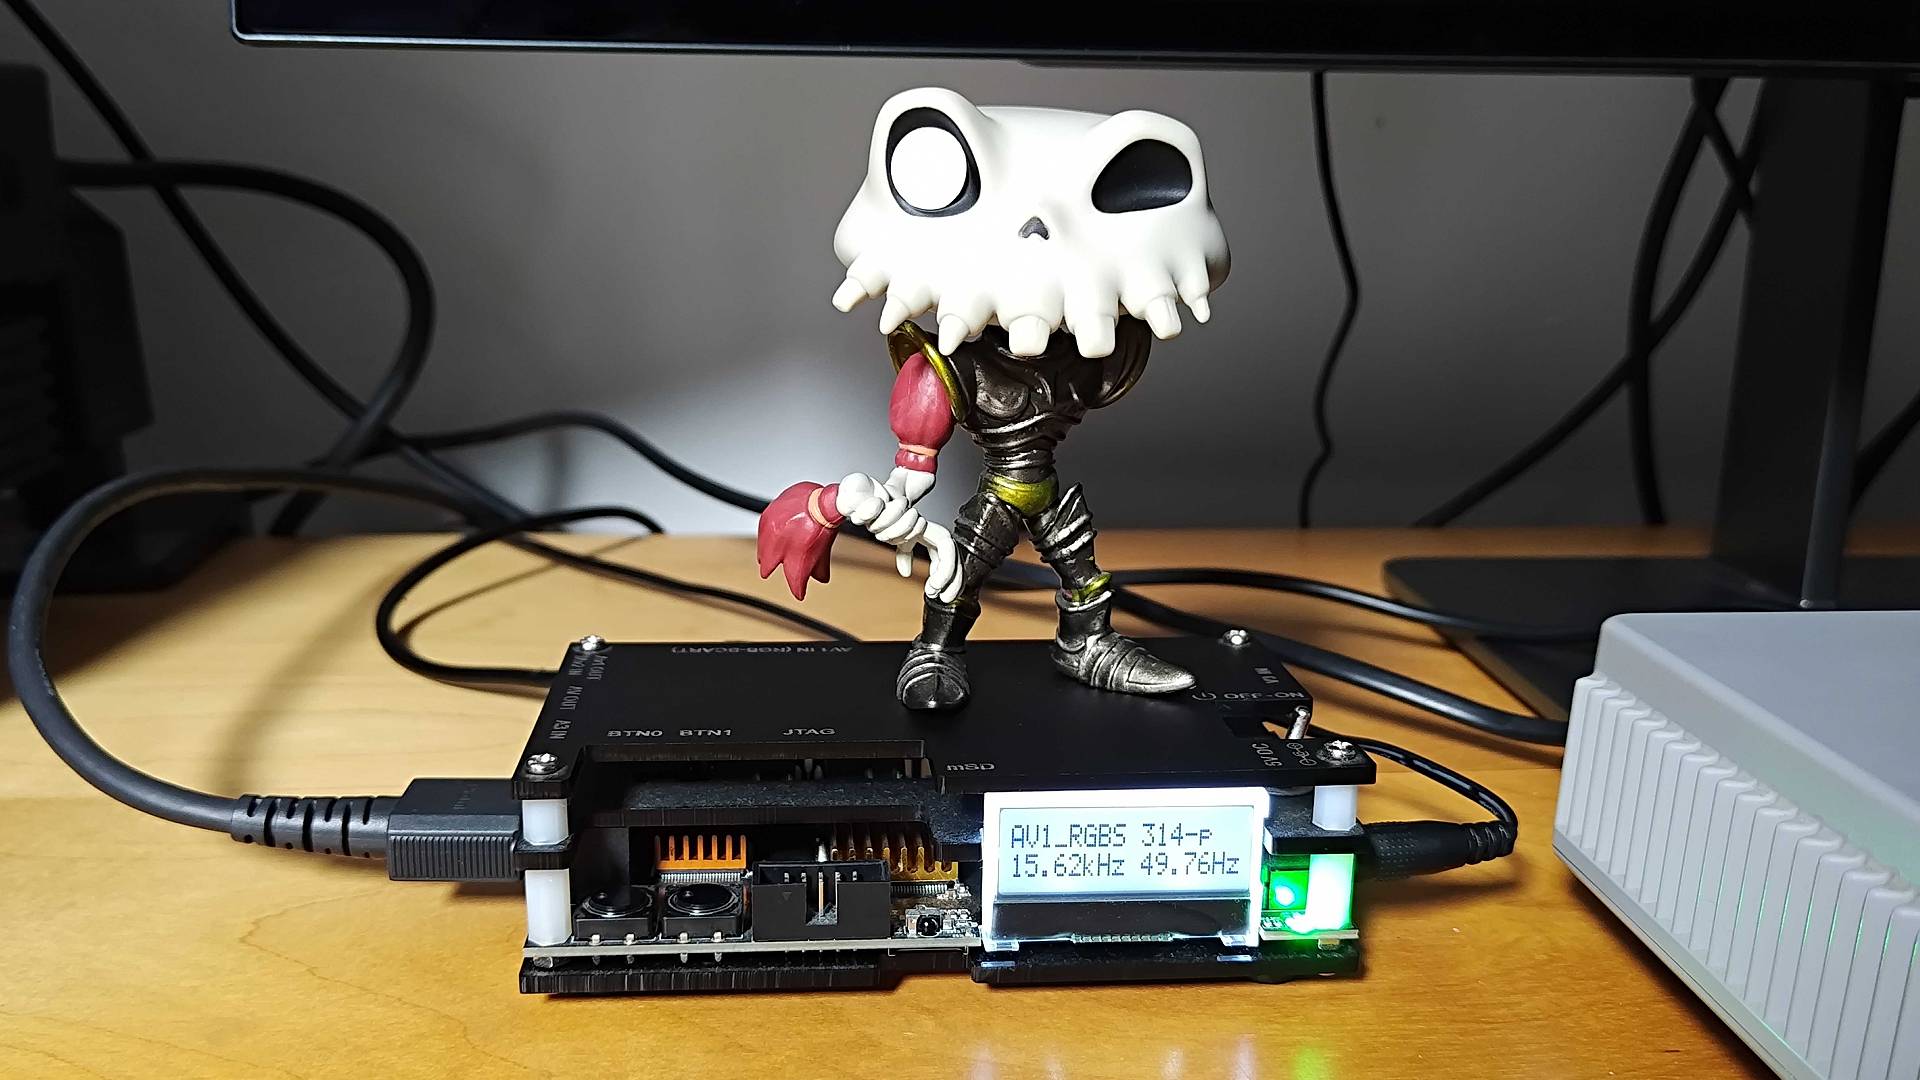
Before I dive into specific HDMI upscalers, I want to stress that no matter what the retro connoisseurs out there say, you don’t have to spend a fortune on one. You’ll hear lots of unnerving chatter about converters like the Retrotink-4K Pro that cost $750, and while that box is going to provide fantastic UHD results, it’s what I’d call enthusiast-grade kid.
At the same time, there are plenty of cheap HDMI “converters” I’d avoid out there, particularly the ones that exclusively use composite input. They’ll technically work if you’re merely looking to hook something up to a newer TV, but just like your panel’s own upscaling methods, the results are shoddy. Keep in mind that composite already looks worse on modern displays since its a single compressed signal, so forcing it to 1080p only highlights those issues.
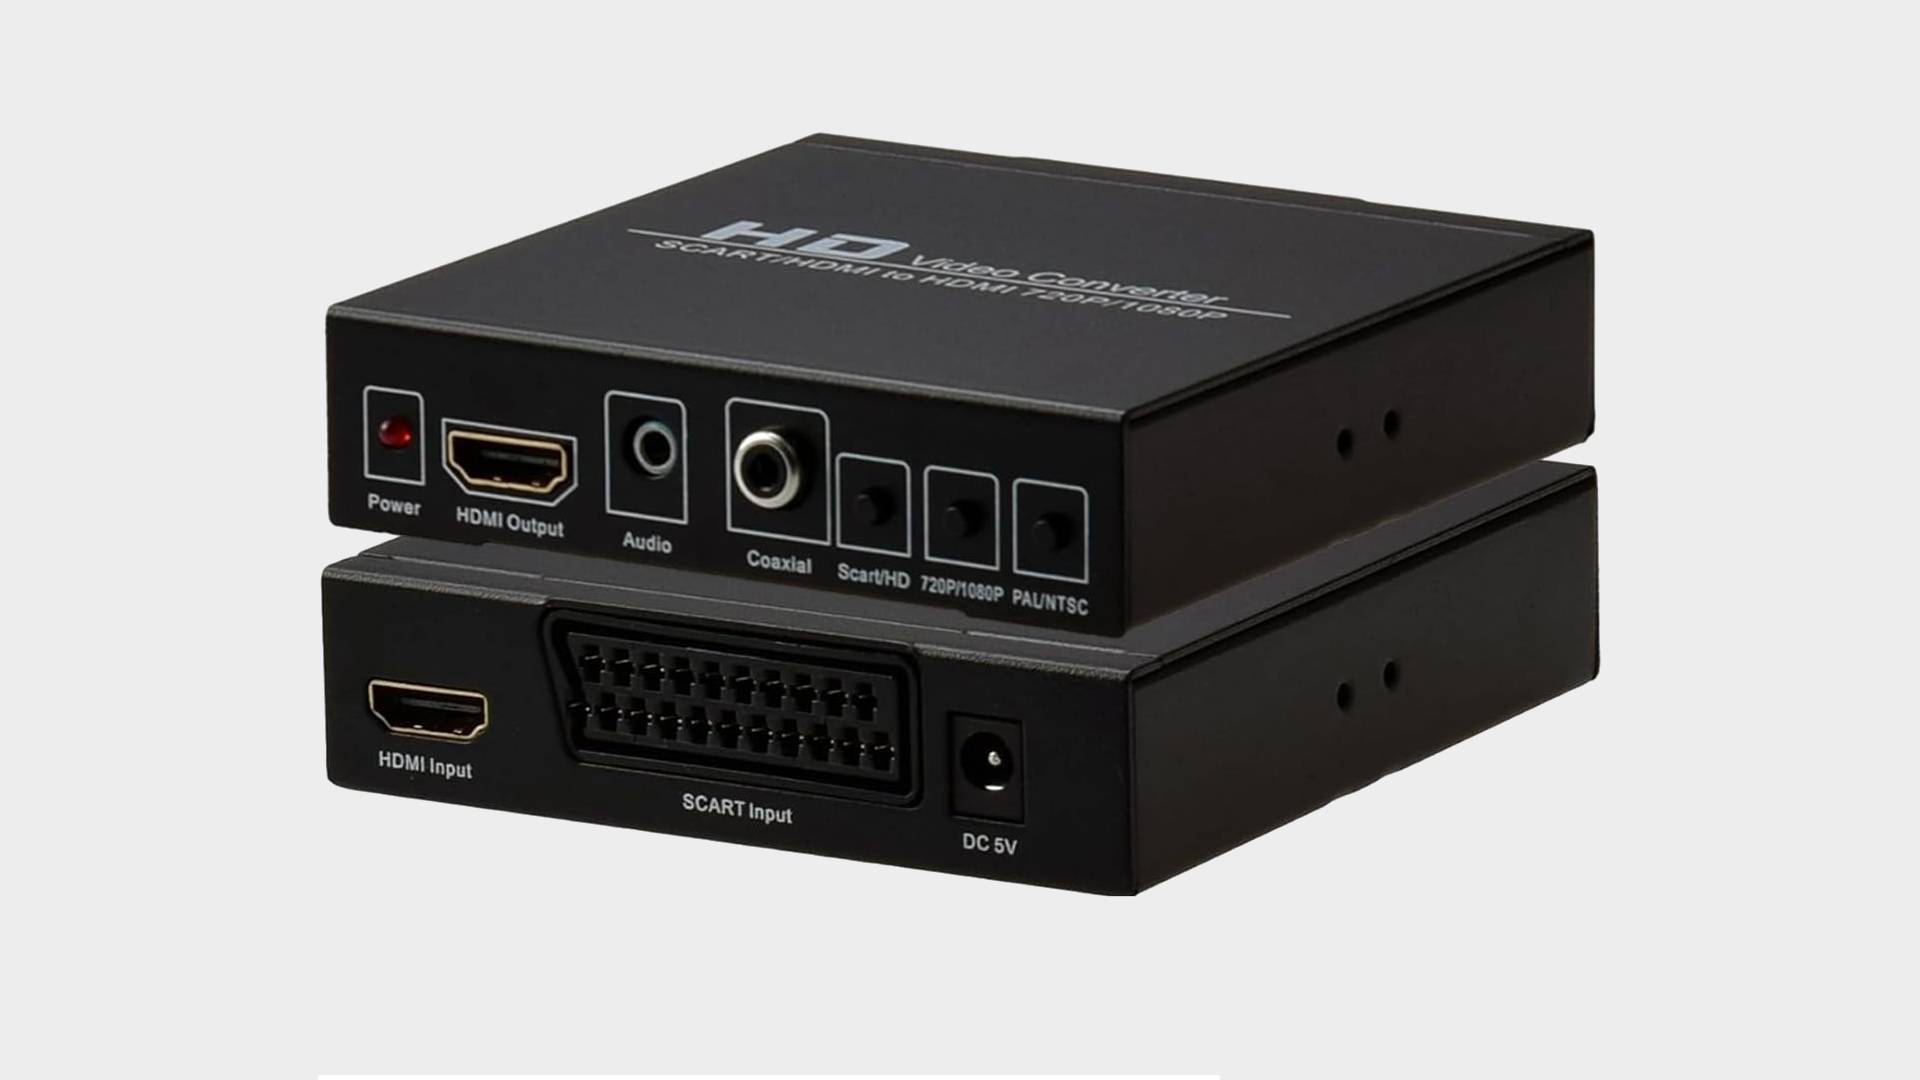
If you are hellbent on parting with as few pennies as possible, but want a passable HDMI upscaling experience, you’ll want to at least opt for something that supports RGB SCART. There’s a specific HD Video Converter that’s been making the rounds for years that I used to use for quick and dirty video capture, and for $29.99 at Amazon, it’s what I’d call the best of a bad bunch. If you use an RGB Scart cable or S-video via an adapter, you’ll at least get better colors than composite, albeit accompanied by some input lag and blurry moving pixels.
Thankfully, more affordable HDMI upscalers are emerging on the scene. Back in the early 2010s, devices like the Framemeister were the only good option for scaling retro consoles to HD, but there are options for under $100 like the RetroScaler2x that are more than serviceable. This converter box comes armed with component, S-video, and composite inputs, and while it technically won’t upscale your visuals to HD, it’ll line double up to 480p and hand off a much cleaner signal to your TV with less lag.
If you’re hellbent on upscaling your retro console to 1080p and above, you’ll sadly need to spend over $100. The good news is that, depending on your system of choice, you could copy my personal setup and use an Open Source Scan Converter (OSSC for short). It’ll typically set you back around $140 at Amazon, but it’s one of the more affordable options out there.
Technically, the OSSC is a line doubler that will duplicate horizontal pixels to ramp things up to five times native resolution. In practice, that means you can scale things up to suit HD screens while feeding your screen a clean RGB signal. The device itself is fairly easy to use, but if you do want to get into enthusiast-grade settings, it has an expansive menu of technical options that’ll let you dial things in perfectly. You can even store profiles for specific consoles to a microSD card, so its far from being a basic option.
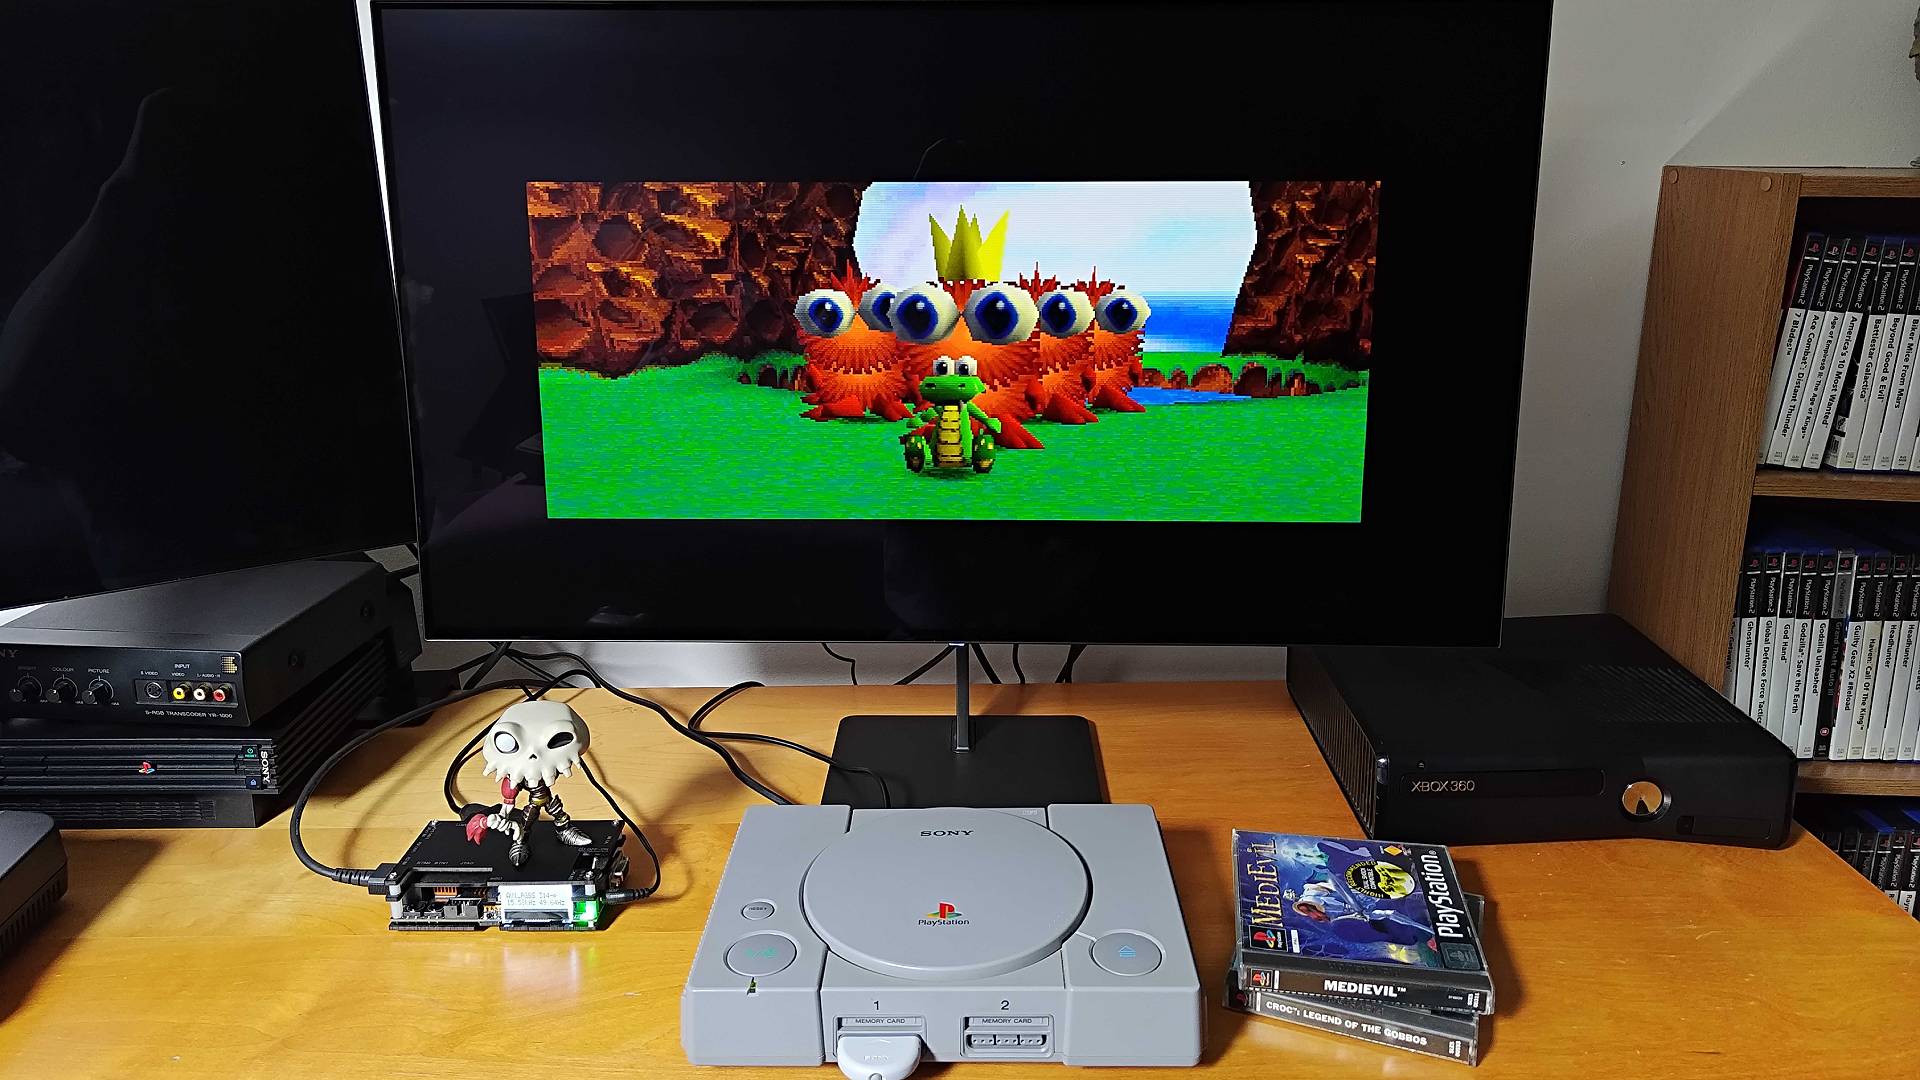
One of my only complaints with the OSSC is that it only takes an RGB signal via component or SCART. That’s completely fine if you’re using a supported console, but since many iconic systems like the NES are stuck with composite, it means you can’t plug straight in. The easiest workaround for this is to actually use something like the RetroScaler2x as a transcoder or pick up an OSSC add-on board to convert the signal to RGB.
I love the OSSC, but when you take the need for composite transcoders and add-ons for full compatibility, costs can start to stack. So, I completely get why some players would rather skip to paying over $300 for a RetroTINK device. These upscalers are considered top tier within the scene today and can provide up to 4K upscaling powered by an FPGA (Field Programmable Gate Array) chipset. That dreaded $750 price tag does crop back up if you look at the RetroTINK-4K Pro, but the 1080p 5X Pro is slightly more approachable at $325.
I’m willing to bet most of you out there aren’t the kind of player to drop over $300 on a retro upscaler. For that reason, I’d say adding an OSSC to the base of your setup is a more reasonable starting point, and the cheaper Amazon converters are a quick fix for anyone looking to mess around with old systems. All these devices will help you get to the end goal of hooking a retro console up to a modern TV, and the ultimate defining factor is video quality.
Mods and recreations
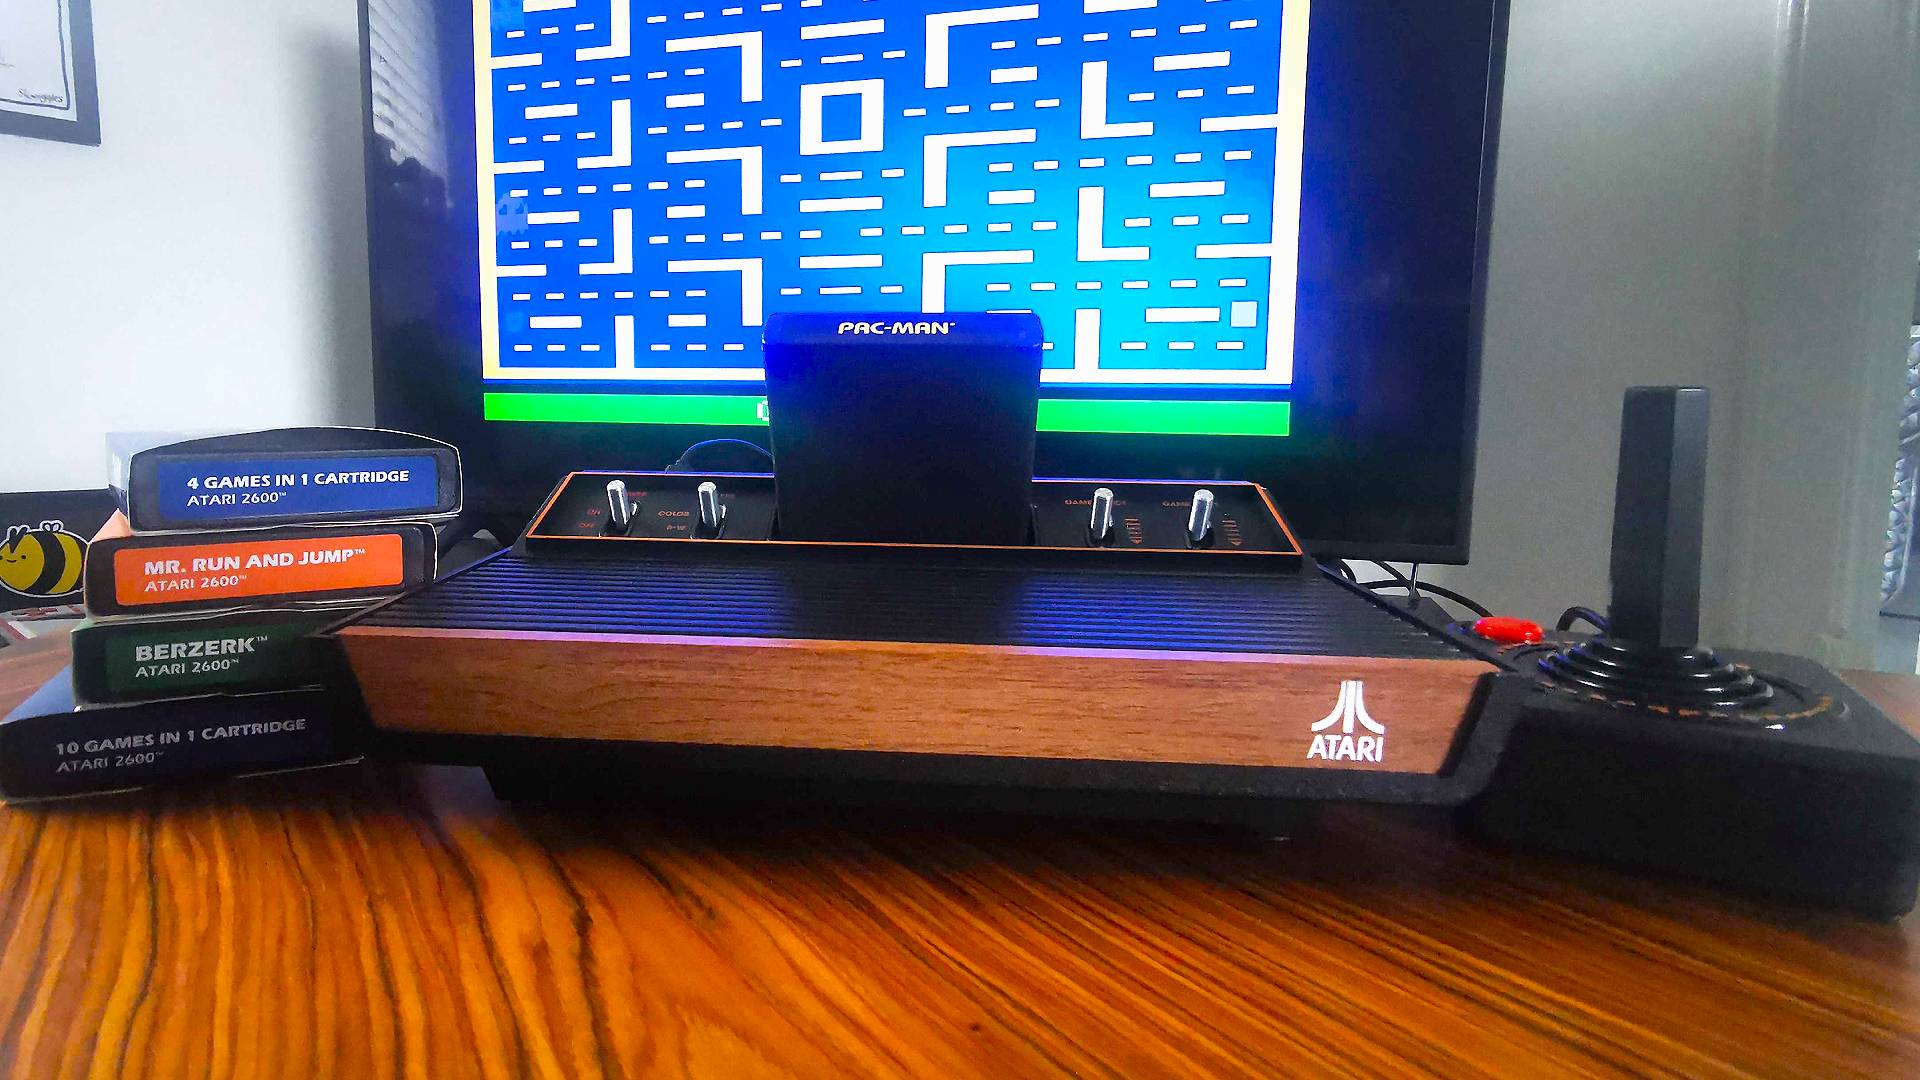
HDMI upscalers are great, but they’re anything but a silver bullet for every scenario. The Atari 2600 serves as the perfect example for this, as the woodclad legend only features RF input.
You can mod the OG console and extract a composite signal, which is technically upscaler friendly, and RF modulators can bridge the gap too, but honestly? I’d opt for an Atari 2600+. That’ll no doubt upset some purists out there, and while I do think it’s worth owning the ‘70s system, the brand new version is going to run your original games and connect directly to your new TV via HDMI.
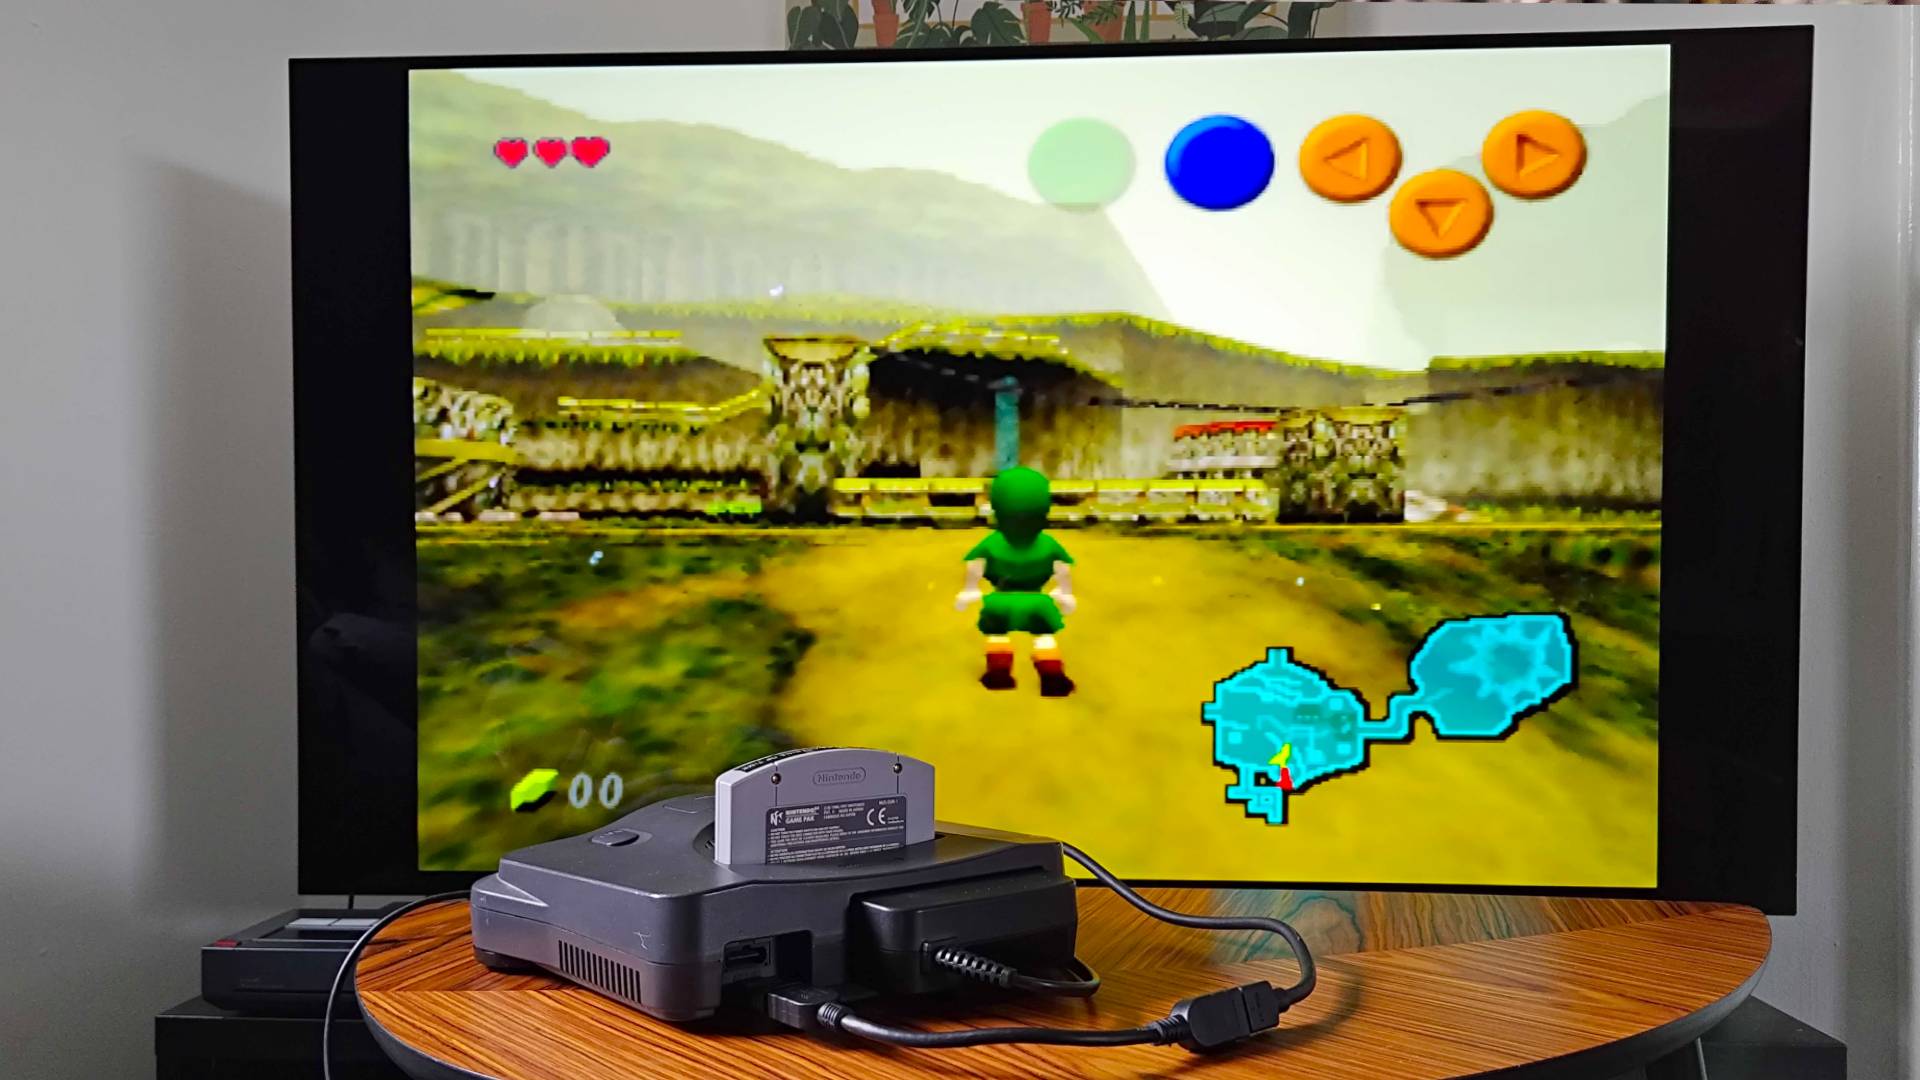
In contrast to this, there are consoles like the N64 that can be connected to upscalers via S-video, but the visuals may still look subpar. This is precisely why I’m excited for the upcoming Analogue 3D, as the reimagined system uses FPGA to replicate Ninty’s hardware and add 4K output.
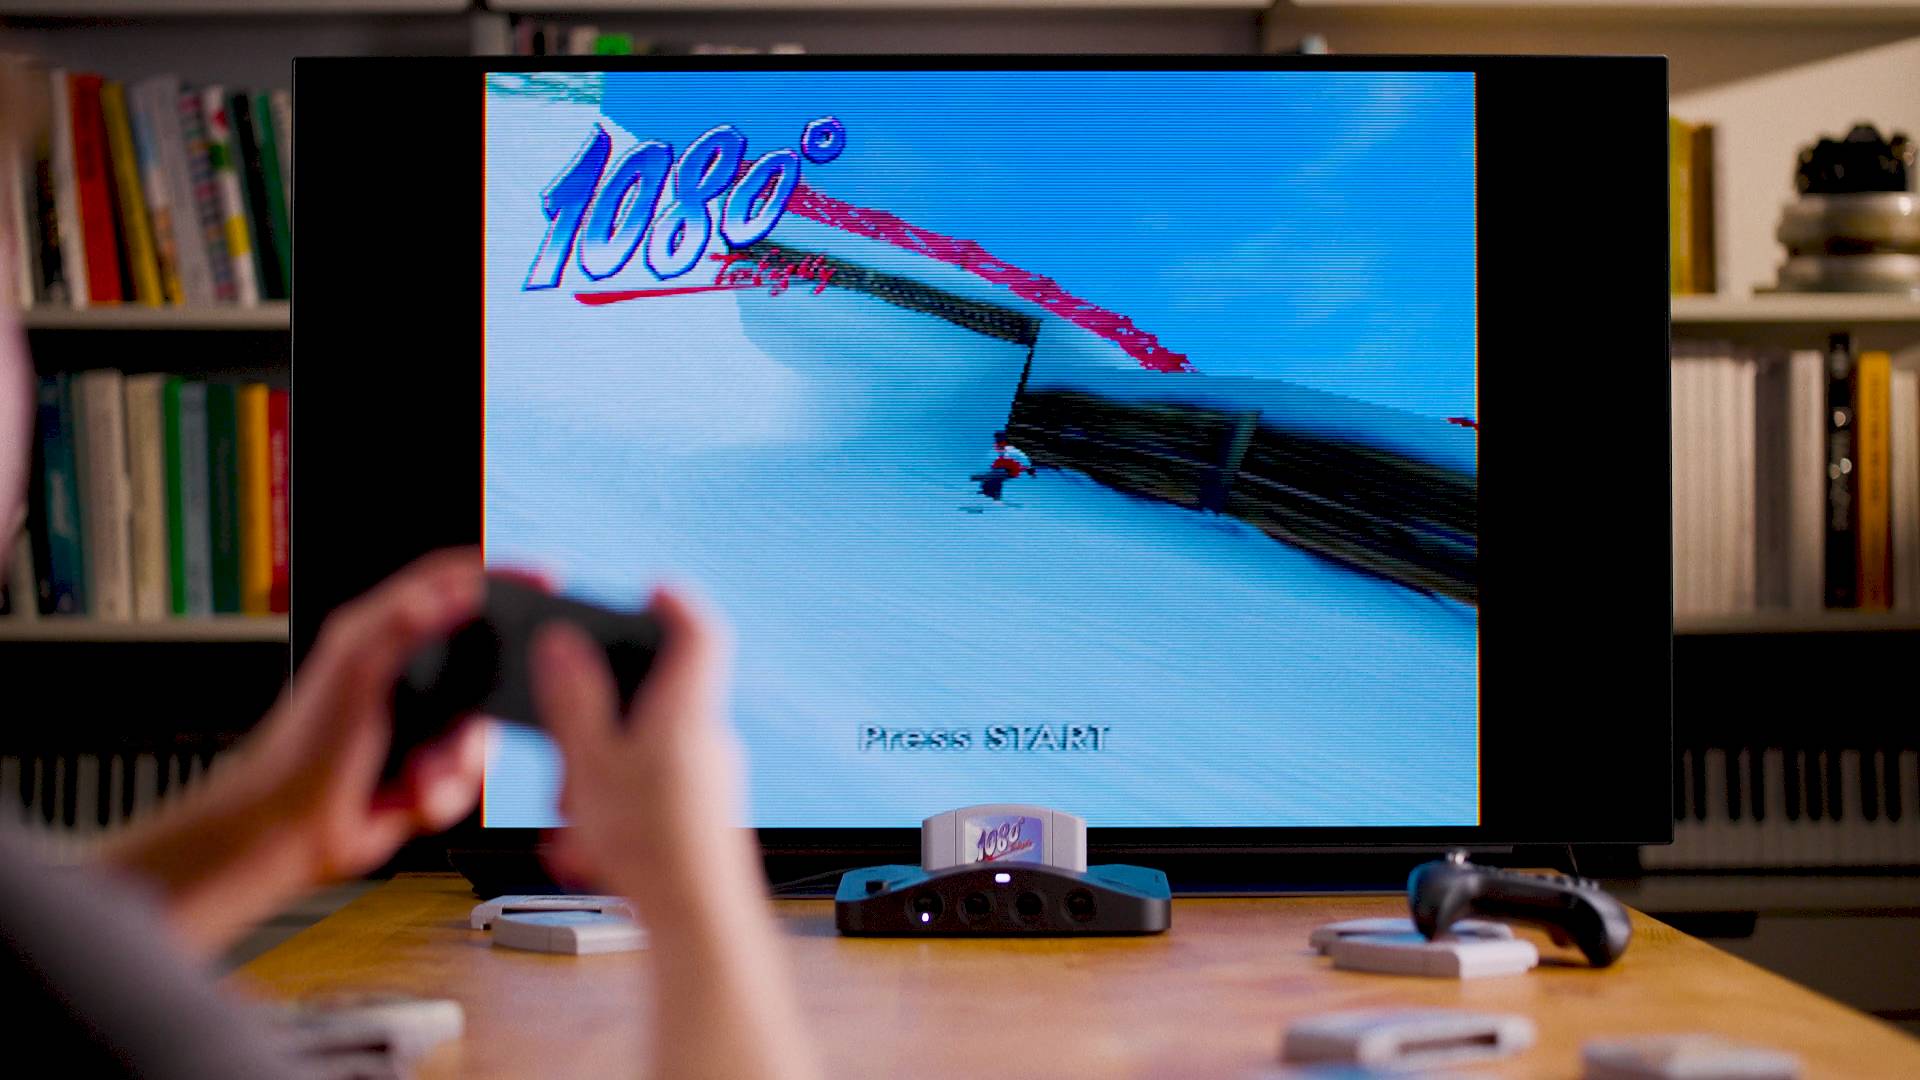
A cheaper DIY solution to this is to HDMI mod your N64 so that you can play the console at 720p on your HDTV. This is the current approach I use, but the output is still plagued with baked-in effects like dithering and anti-aliasing, both of which make things look less crisp. If the Analogue 3D can provide a cleaner image, it could end up being better than picking up a Nintendo 64 and an upscaler, but I’ll confirm whether that’s the case after testing.
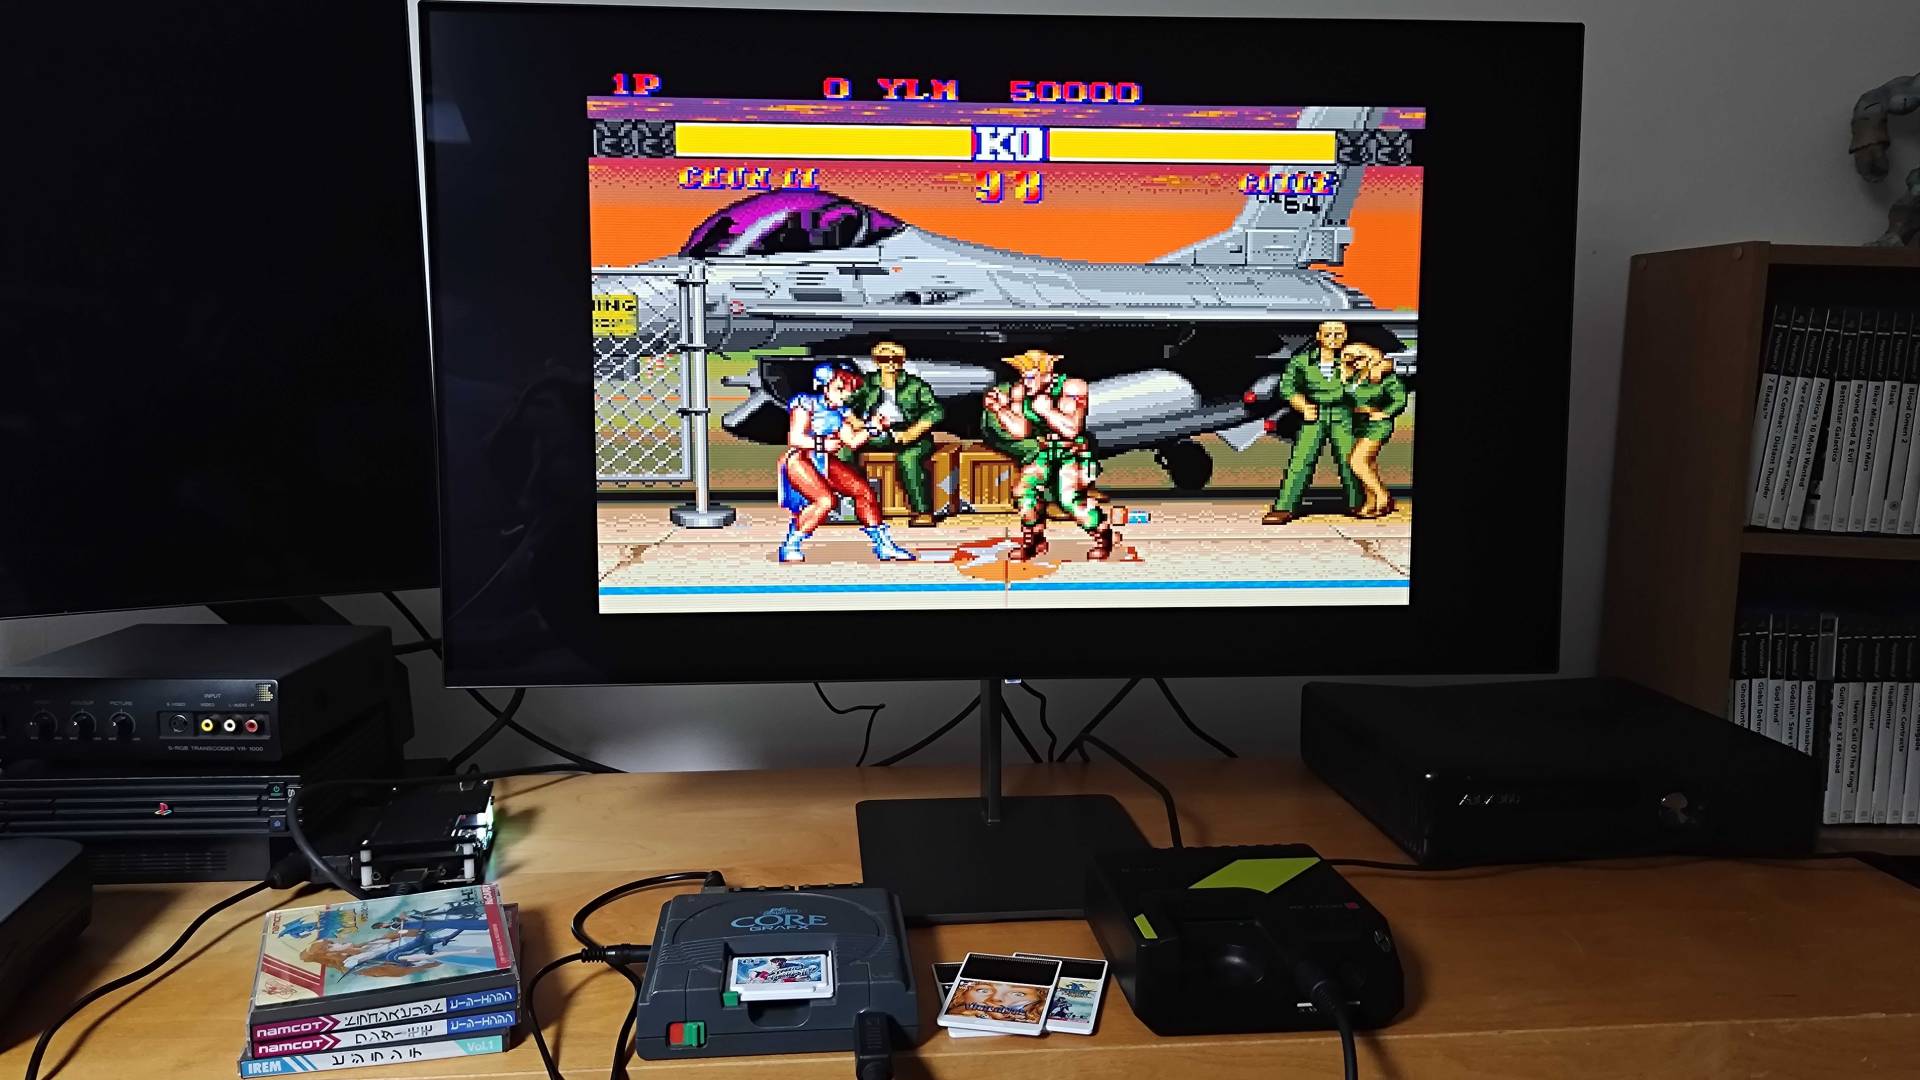
While it’s not strictly a mod, there are sometimes sneaky ways to extract better signals from old consoles. Recently, I reviewed the Hyperkin Retron GX and compared its HDMI abilities to my original PC Engine Core Grax, a system that should only output composite. However, if you connect an adapter to the back, you can tap into RGB output and use a scart cable, which then allows the Japanese NES to look its best.
Modding a retro console can make connecting it to a modern TV a lot easier, especially if you’re also looking to upscale to HD. My only real beef with many mods out there is that the components can be expensive, and even I’ve not talked myself into RGB modding my NES yet. Deciding which route to take ends up becoming a question of cost, and if you’ve got at least one method of hooking up to your screen, you’ve arguably accomplished your mission.
Looking to play classics on the go? Check out the best gaming handhelds for portable PCs and emulation consoles.

Phil is currently the Hardware Editor at GamesRadar+ who specialises in retro gaming, the best gaming handhelds like the Steam Deck, and more modern components like graphics cards. Having spent years offering up classic console advice and over a decade as a gaming journalist for big names like TechRadar, The Daily Star, the BBC, Den of Geek, and many more, Phil now dedicates their days to covering the latest news and offering up invaluable setup advice.
You must confirm your public display name before commenting
Please logout and then login again, you will then be prompted to enter your display name.
