How to get a bow in Zelda Tears of the Kingdom
You can get a bow in Zelda TOTK from enemy constructs in Sky Island
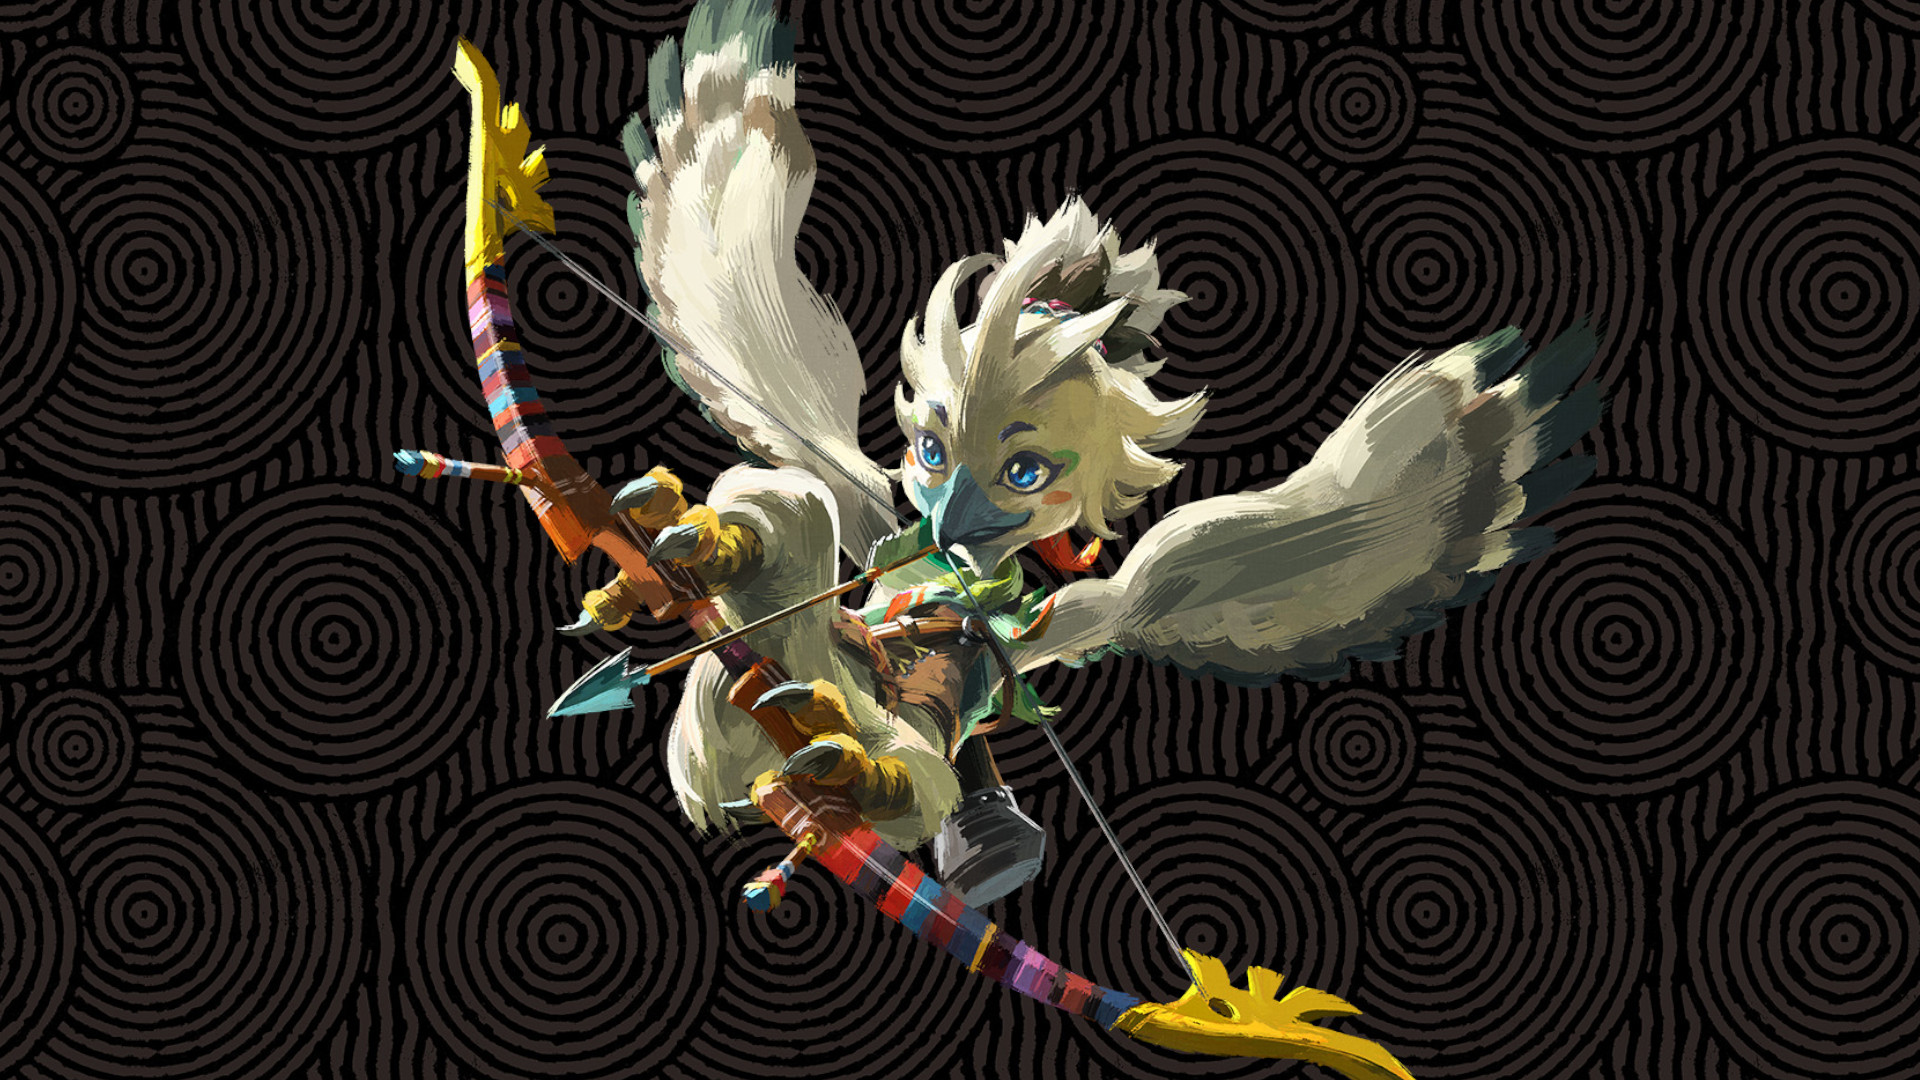
The first Zelda Tears of the Kingdom bow and arrow available to you is one taken from the Ranger Constructs in the Great Sky Islands as part of the game's tutorial. There'll be plenty more bows accessible to you later on, but in the first few hours, you'll have to make use of some of the most basic Zelda Tears of the Kingdom weapons available, as well as work out the best use of your very limited arrows. Here's how you can get a bow as soon as possible in Zelda TOTK, and the best bows you can get later in the game!
How to get the bow in Zelda Tears of the Kingdom
You'll get your Zelda Tears of the Kingdom bow and some arrows from the Ranger Construct. This helpful Construct can be spotted shortly after completing the first of the Zelda Tears of the Kingdom Sky Island shrines. We've marked the location on the map below:
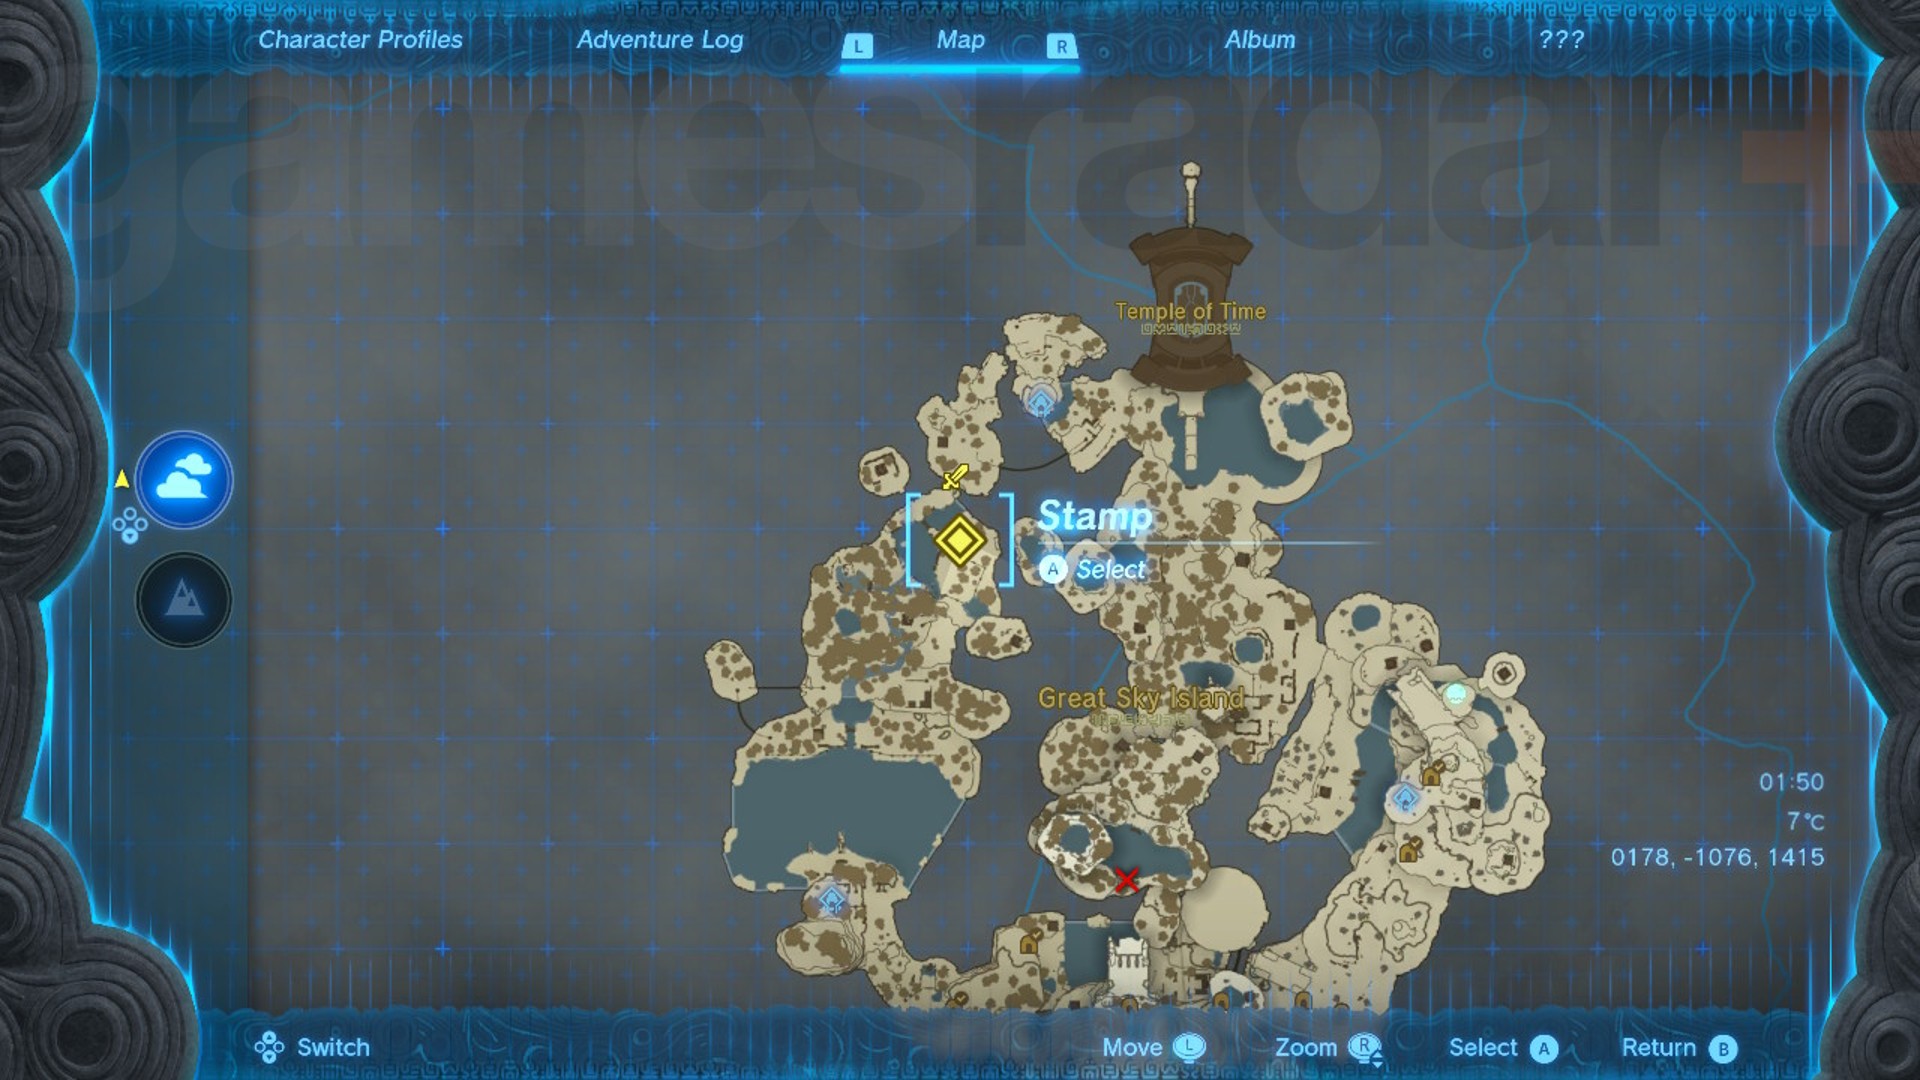
How to get a bow and arrows in Zelda Tears of the Kingdom
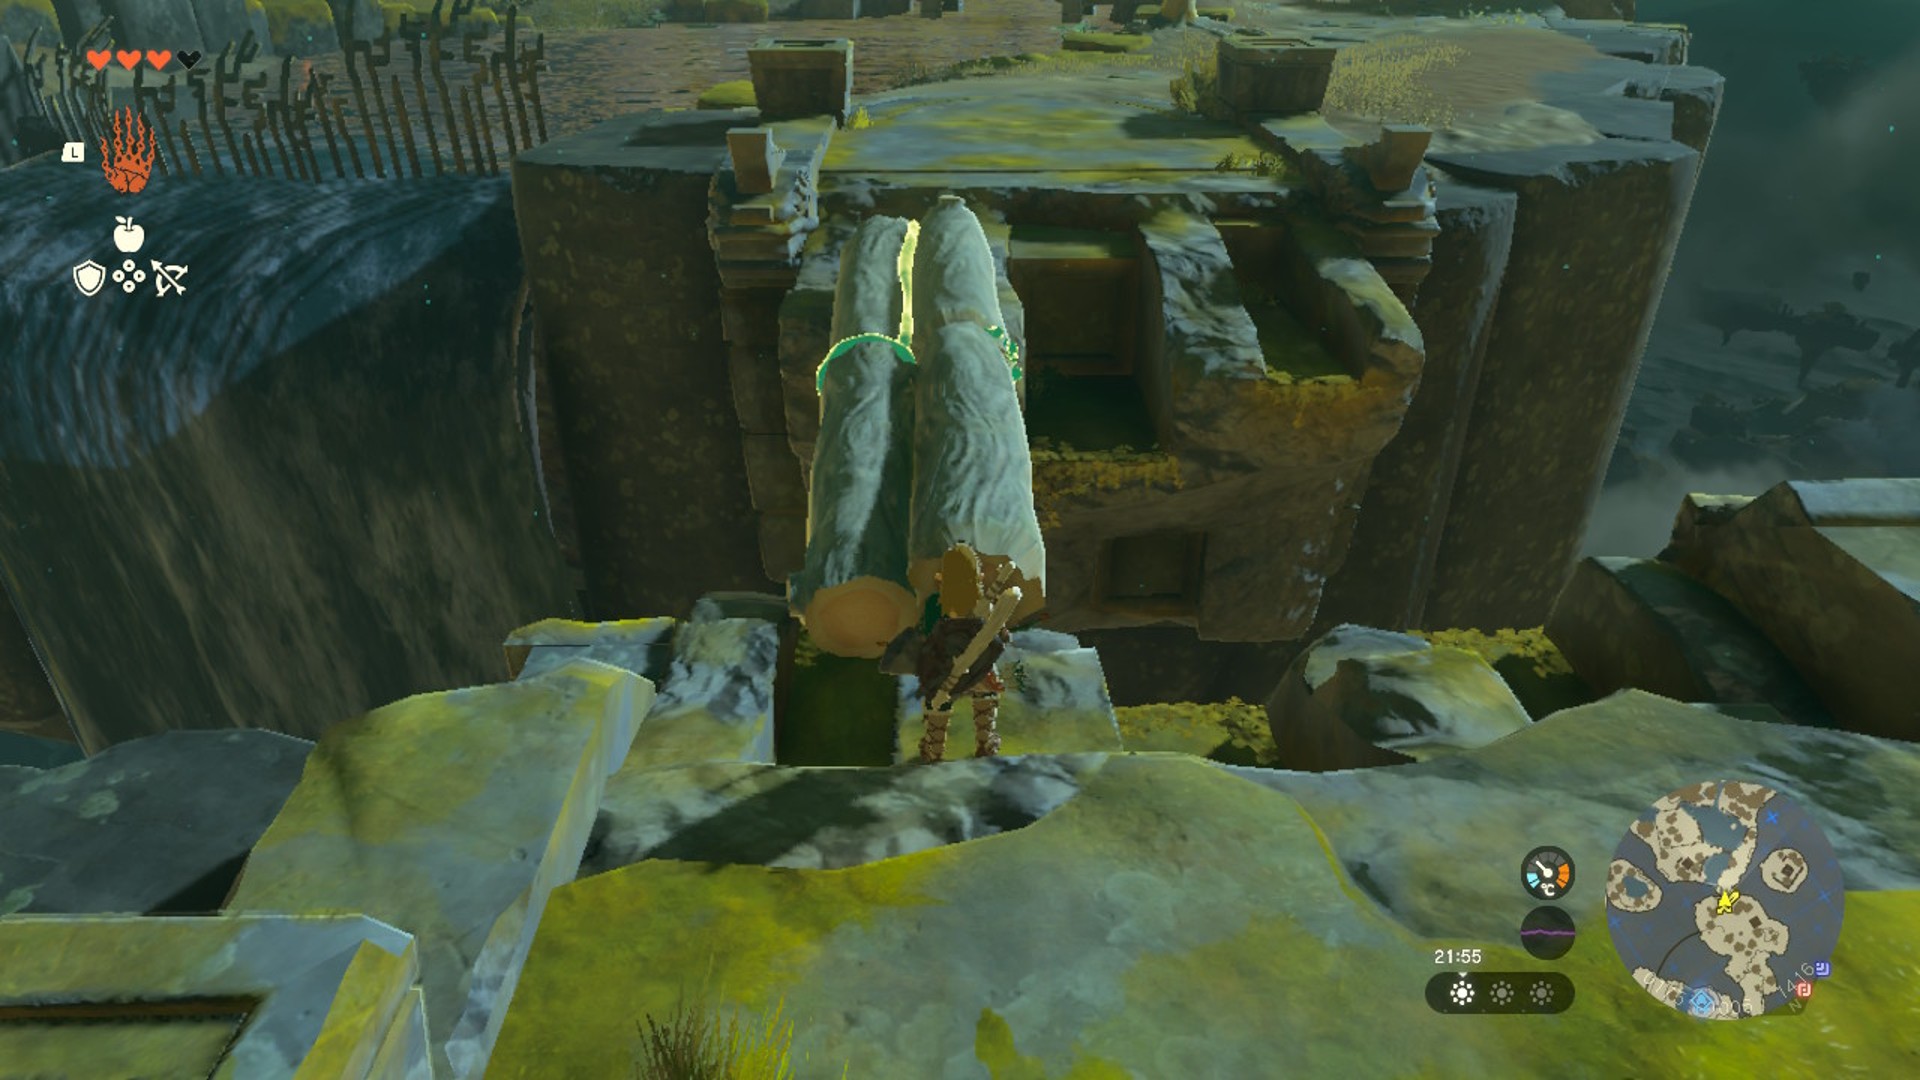
After leaving Ukouh Shrine, head all the way down the broken staircase until you reach a pond at the foot of it on your left. Swim across the lake and climb up the short mossy cliff in front of you, composed of smaller flat-topped rocks, until you're at the summit. You should now see a long beam of wood that connects your location to the other side of a large chasm. Check out our guide on how to use beams in Zelda Tears of the Kingdom if you're stuck on how to get from one side to the other.
Once you're safely transported, you'll meet a Maker Construct who is chopping some wood. It will teach you how to use an axe to cut down trees to get wood or large logs, which can be used with your Ultrahand ability to cross over the broken bridge near the waterfall.
Try connecting four logs together, two side-by-side and then stuck to another pair from the chopped end at the bottom, to build a makeshift bridge. Your Zelda Tears of the Kingdom abilities are the answer to most puzzles in this game, after all.
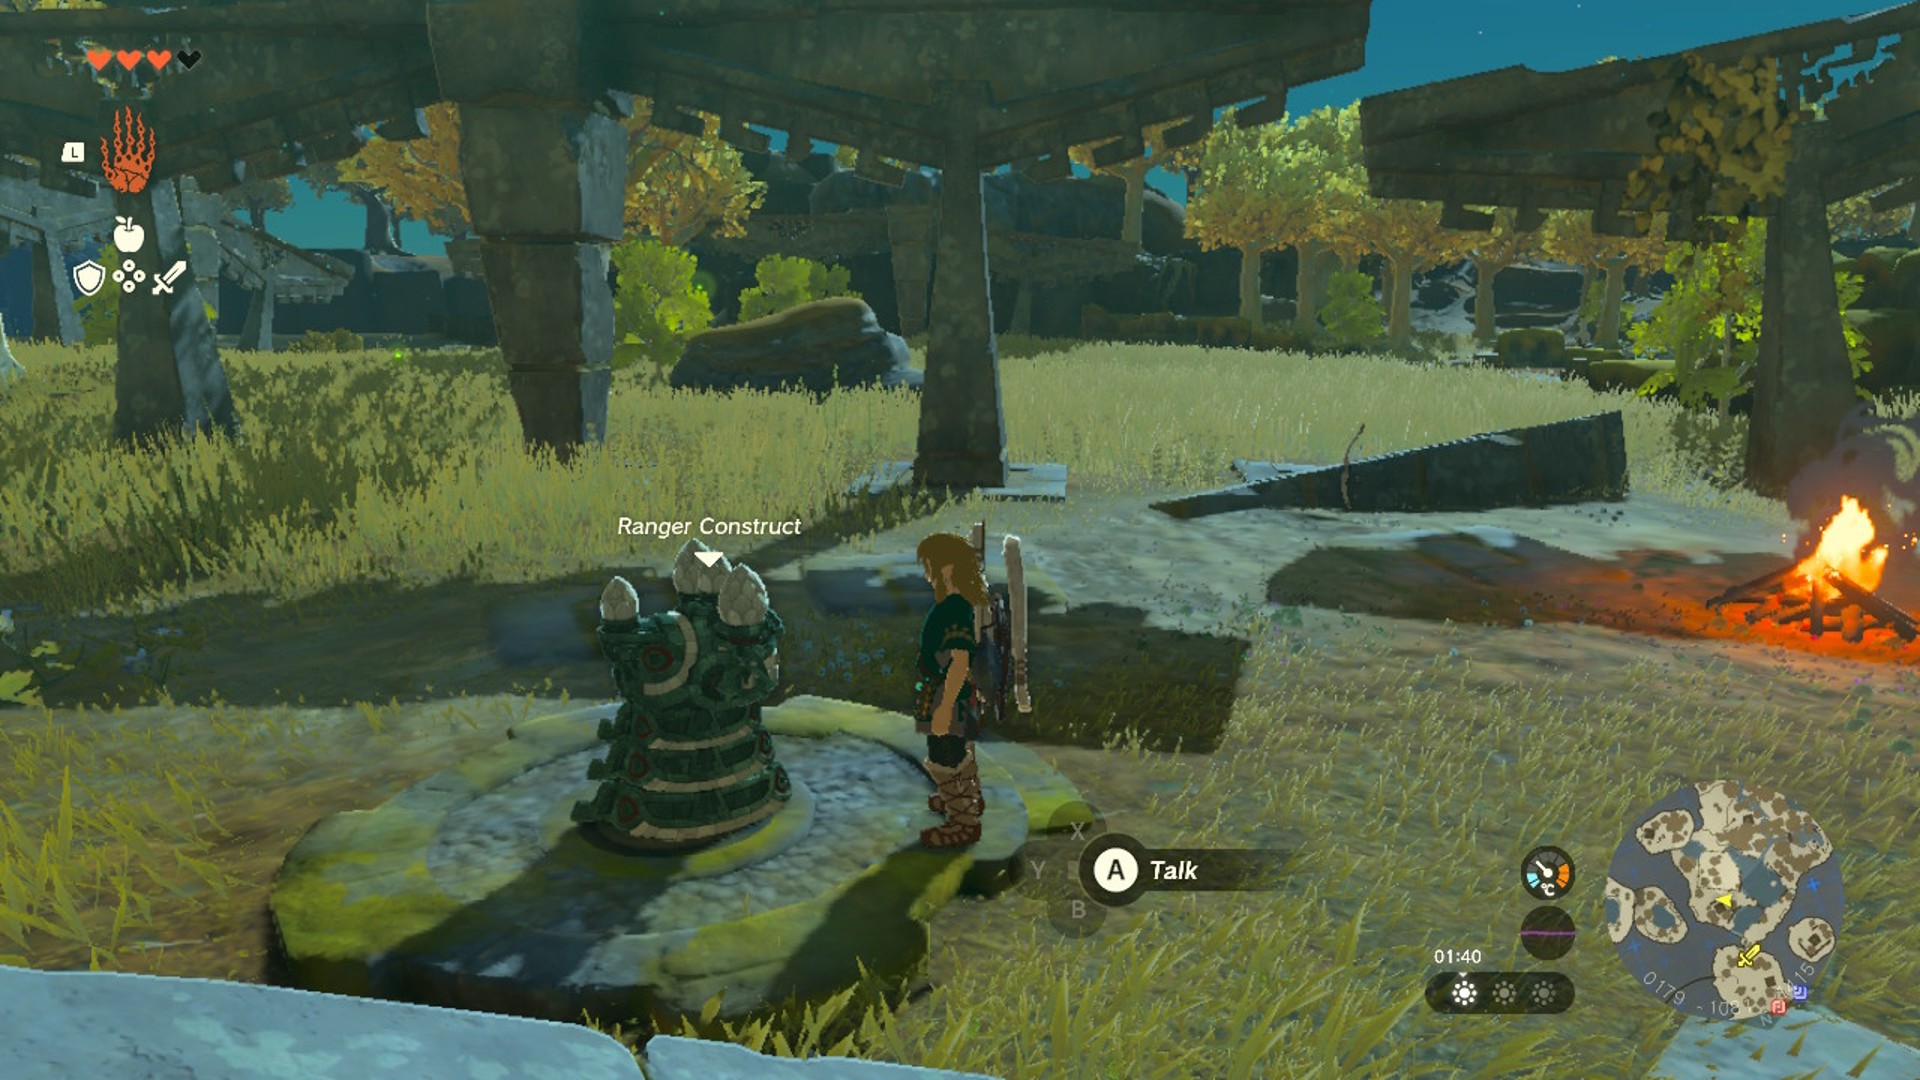
After crossing, veer left and cross over another bridge to the other side of another pond. Here is where you'll find the Ranger Construct, who will give you a bow and some arrows to try your hand at hunting the animals nearby.
Be sure to crouch so you don't scare them away! Their meat gives you plenty of health when cooked with other foraged ingredients, and it can even be used to make powerful warming meals that can help you deal with the cold in Zelda Tears of the Kingdom once you reach Gutanbac Shrine.
The best bows in Zelda Tears of the Kingdom
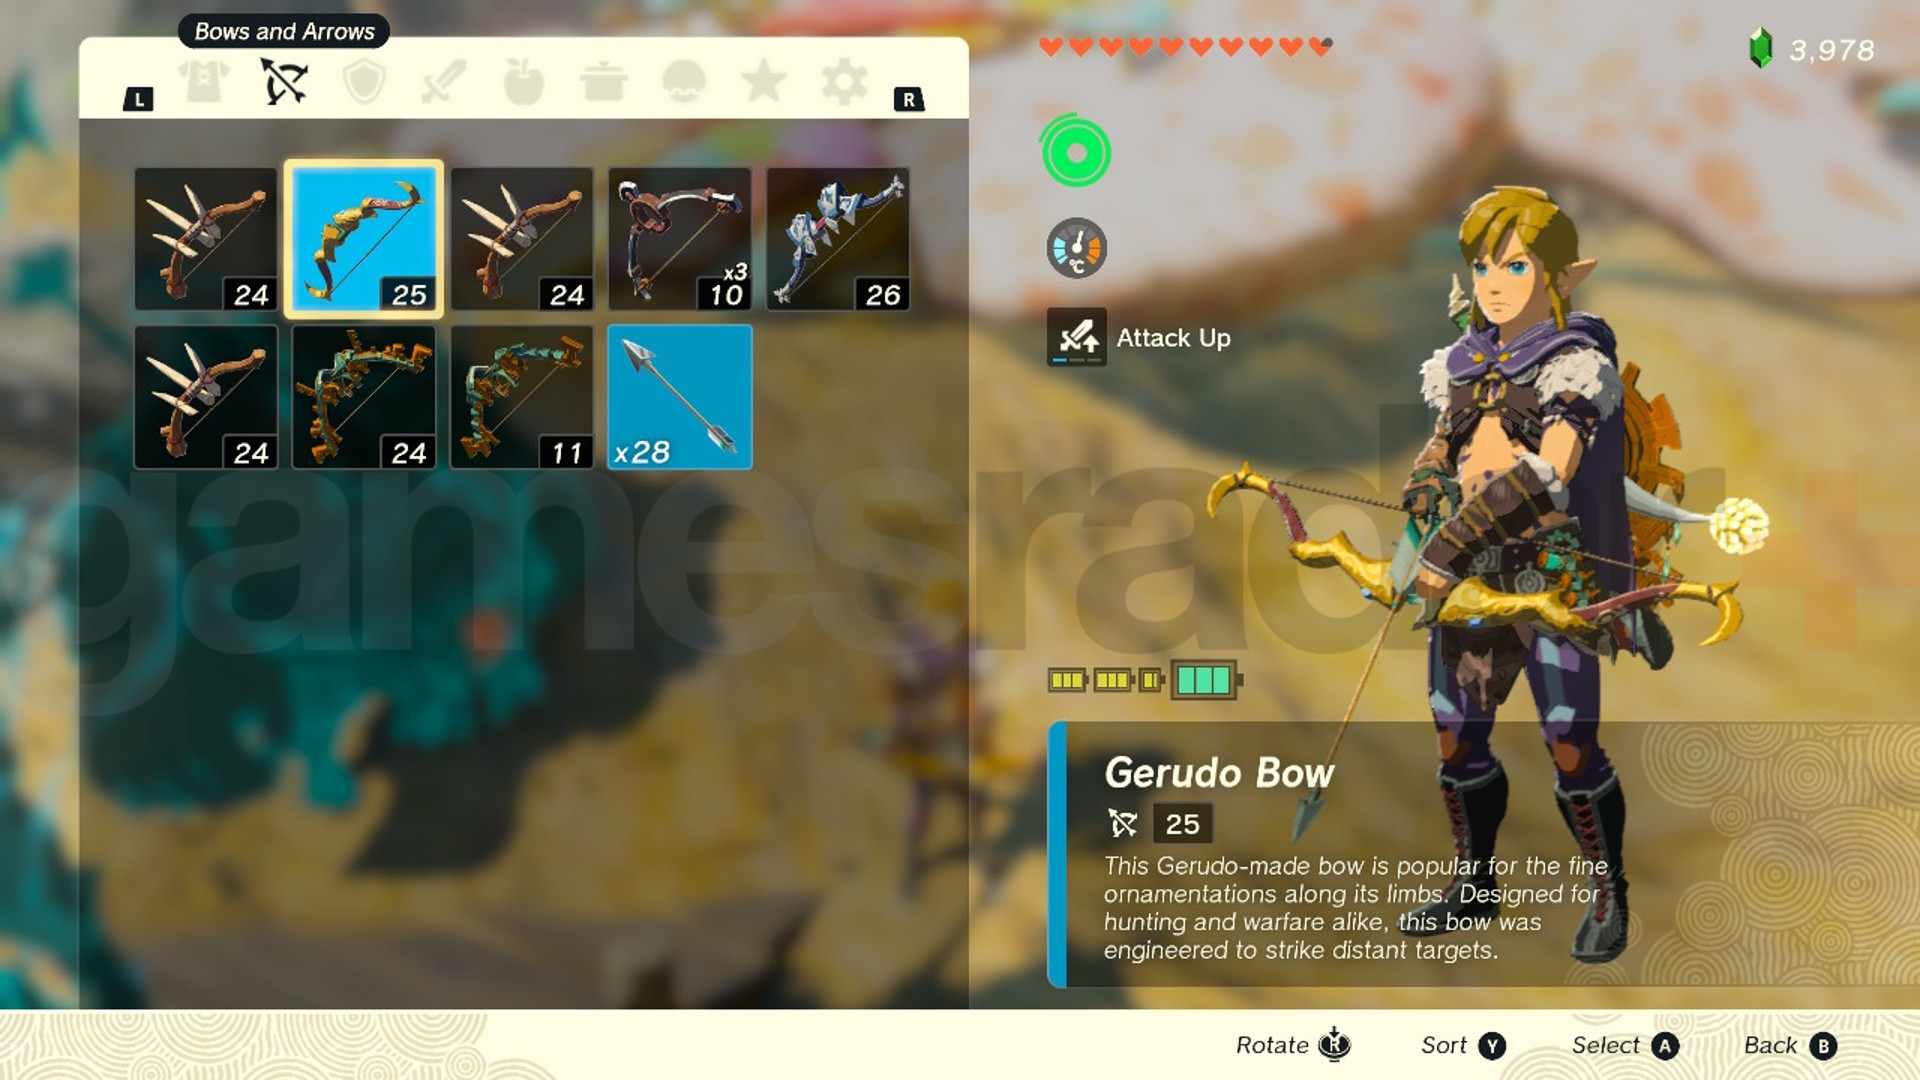
Here are some of the strongest bows we've come across in the game so far, including how and where you might find them. Bear in mind that some will be linked to defeating certain monster types, while others might not be picked up until you're able to gain access to remote areas of the Zelda Tears of the Kingdom map that won't be easy to get to early on:
- Gerudo Bow (Found in Gerudo Town)
- Dragonbone Boko Bow (Dropped by high level Bokoblins)
- Savage Lynel Bow (Dropped by Lynels)
- Knight's Bow (Looted from chests)
- Royal Bow (Looted from chests)
- Zonai Bow (Looted from chests)
- Demon King's Bow (Dropped by Phantom Ganon sub-boss)
- Mighty Construct Bow (Dropped by Constructs)
- Dusk Bow (Found in highest tower of Hyrule Castle, respawns at Blood Moons)
Remember, things don't last forever in this game. Bows are also affected by that pesky Zelda Tears of the Kingdom weapon degradation system, so you'll was to loot as many as you can on your travels and swap them out for stronger bows whenever possible.
© GamesRadar+. Not to be reproduced without permission
Weekly digests, tales from the communities you love, and more

Jasmine is a staff writer at GamesRadar+. Raised in Hong Kong and having graduated with an English Literature degree from Queen Mary, University of London in 2017, her passion for entertainment writing has taken her from reviewing underground concerts to blogging about the intersection between horror movies and browser games. Having made the career jump from TV broadcast operations to video games journalism during the pandemic, she cut her teeth as a freelance writer with TheGamer, Gamezo, and Tech Radar Gaming before accepting a full-time role here at GamesRadar. Whether Jasmine is researching the latest in gaming litigation for a news piece, writing how-to guides for The Sims 4, or extolling the necessity of a Resident Evil: CODE Veronica remake, you'll probably find her listening to metalcore at the same time.
