How to get to the Sky Island Shrines in Zelda Tears of the Kingdom
All Great Sky Island shrine locations in TOTK are listed here, and how you reach them
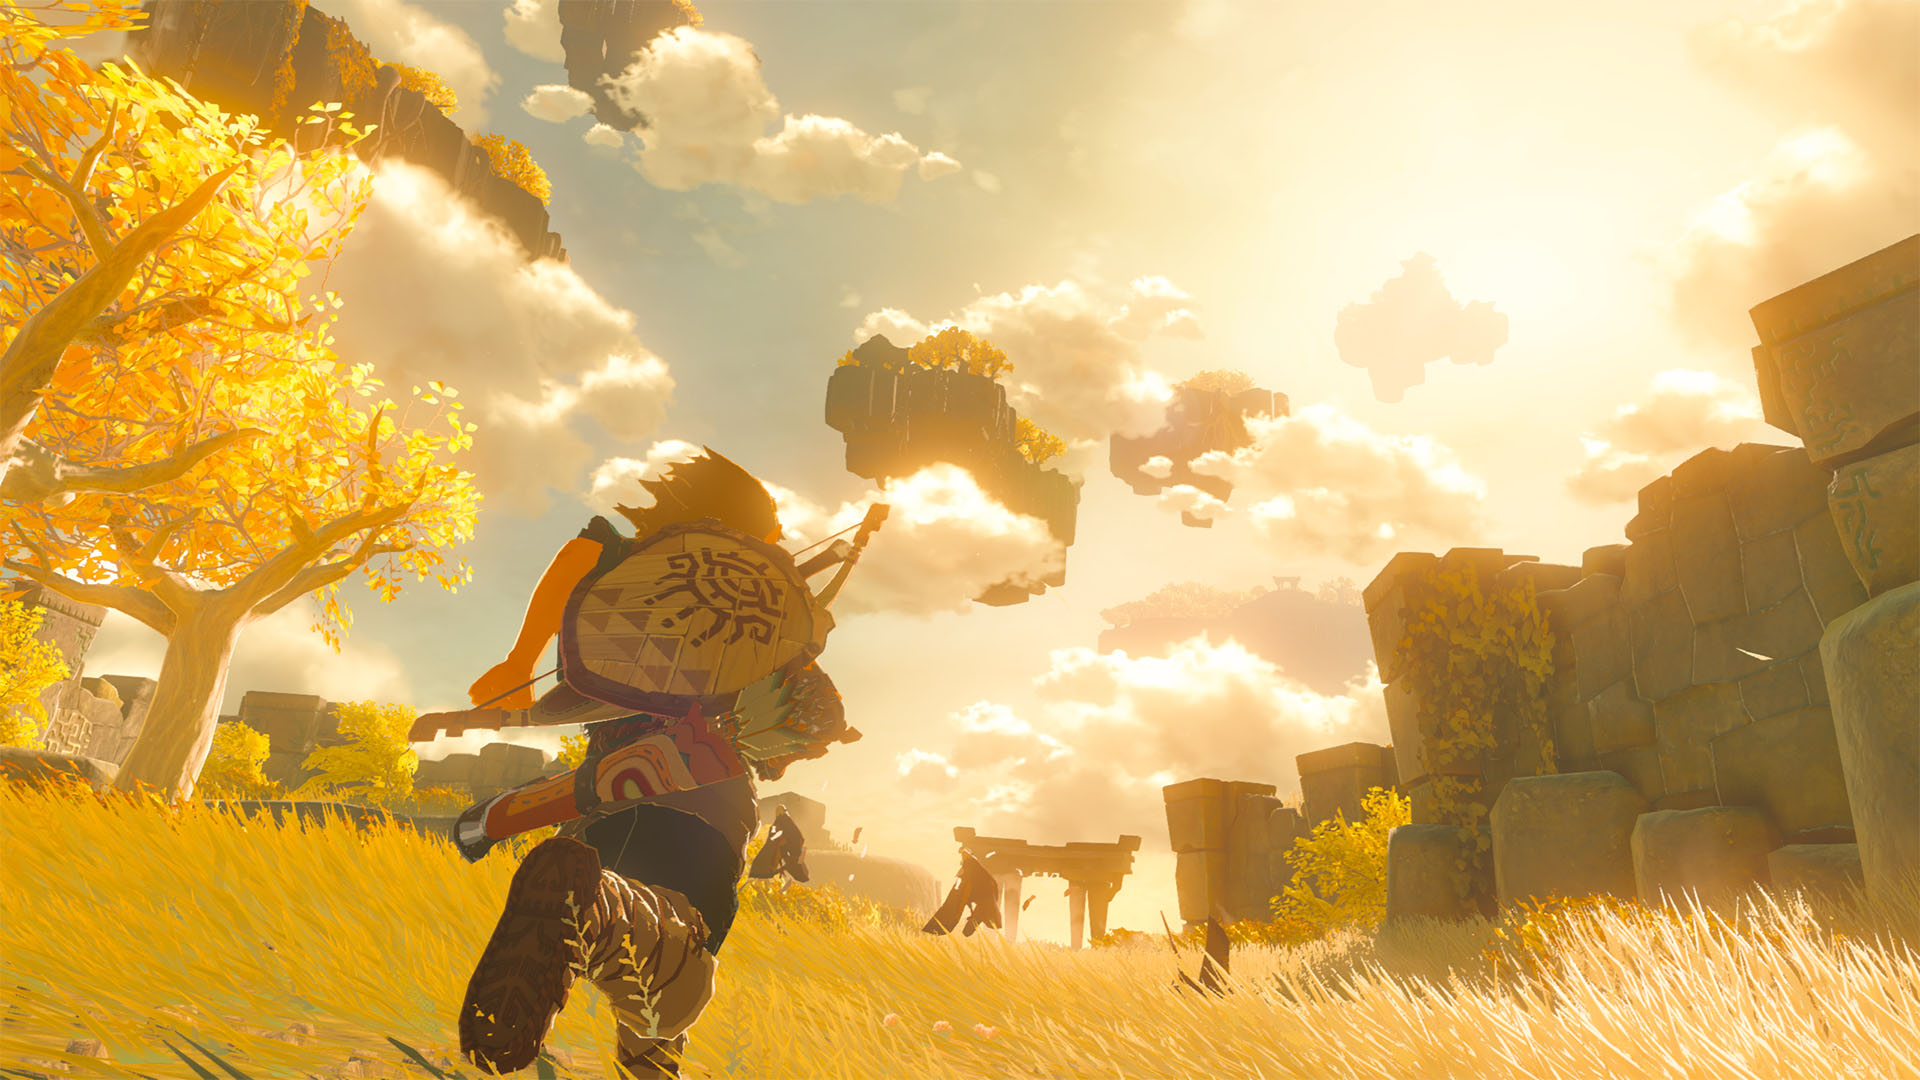
The Zelda Tears of the Kingdom Great Sky Island shrines in the tutorial have to be hunted down, working your way through the area at Rauru's behest to get three light of blessings from the different shrines before heading to the fourth, secret one he tells you about afterwards.
While the objective is clear, the journey is anything but, with the Sky Islands being a bit of a maze and with numerous routes, some of which specifically require intelligent use of each Zelda Tears of the Kingdom ability that you get at the different shrines. Here's the quickest way to get to all three Sky Island shrines in Zelda Tears of the Kingdom, and how to find the secret fourth one.
All Great Sky Island shrine locations in Zelda Tears of the Kingdom
Below we've laid out all three Sky Island Shrines in the best order to do them, as well as how you can reach them and what you can expect to get out of each one. If there's one you haven't completed yet, just scroll down or select the one you want at the side.
Ukouh Shrine

Ability unlocked: Ultrahand
Getting to the Ukouh Shrine in Zelda Tears of the Kingdom is straightforward, as it's just pointed out to you by Rauru. You'll see a bright green glow floating, just to the right of the Temple of Time as you stand outside its locked doors, so simply make your way over the pond – jumping onto lillypads if you don't want your stamina to run out.
Here is where you'll learn the Ultrahand ability, an essential skill that will let you move objects, stick them together, and build both structures and vehicles. After learning Ultrahand and being given your first Light of Blessing, head back down the stony steps and cross the narrow stream on your left. Getting to the next shrine involves using your new Ultrahand skill on those Zelda Tears of the Kingdom beams and constructing a hooked platform, so be sure to check out that guide if you're not too handy with your new power just yet.
In-Isa Shrine
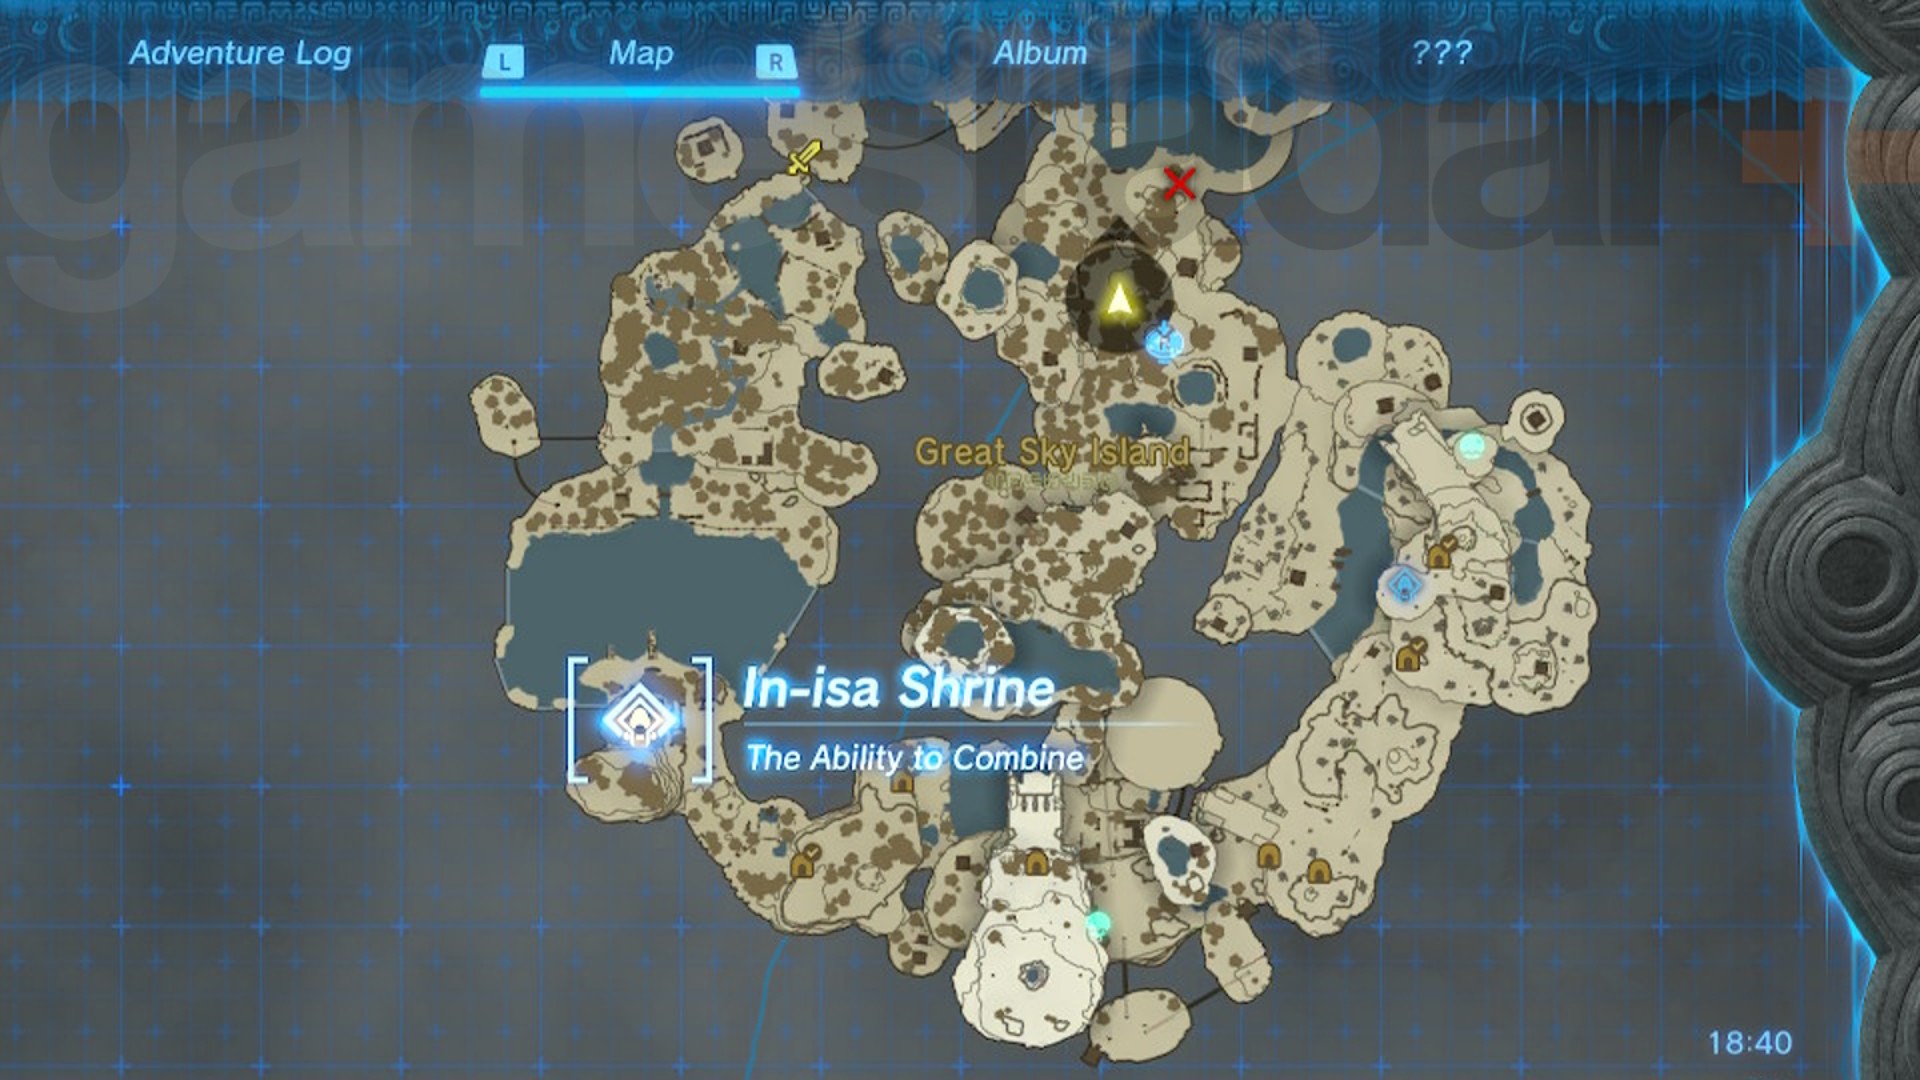
Ability unlocked: Fuse
The next shrine, In-Isa Shrine is across a vast lake - too far to swim safely, and with no lillypads to rest on, drowning is inevitable.
The quickest way I've found to get across is by following the path made for you by the first Korok puzzle. Similar to how you made it across that first chasm to get your Zelda Tears of the Kingdom bow and arrow, making your way down the second beam takes you to an islet with more logs, hooks, and this time, sails. Just make a makeshift raft out of the materials to cross the lake.
That should take you close enough to the other side of the lake for you to jump off and swim the rest of the way. In-Isa shrine is up some stone steps near the middle of the island, and you'll learn the powerful Zelda Tears of the Kingdom Fuse ability here that will let you combine your weapons with items, giving them new damage types and extra strength.
Gutanbac Shrine
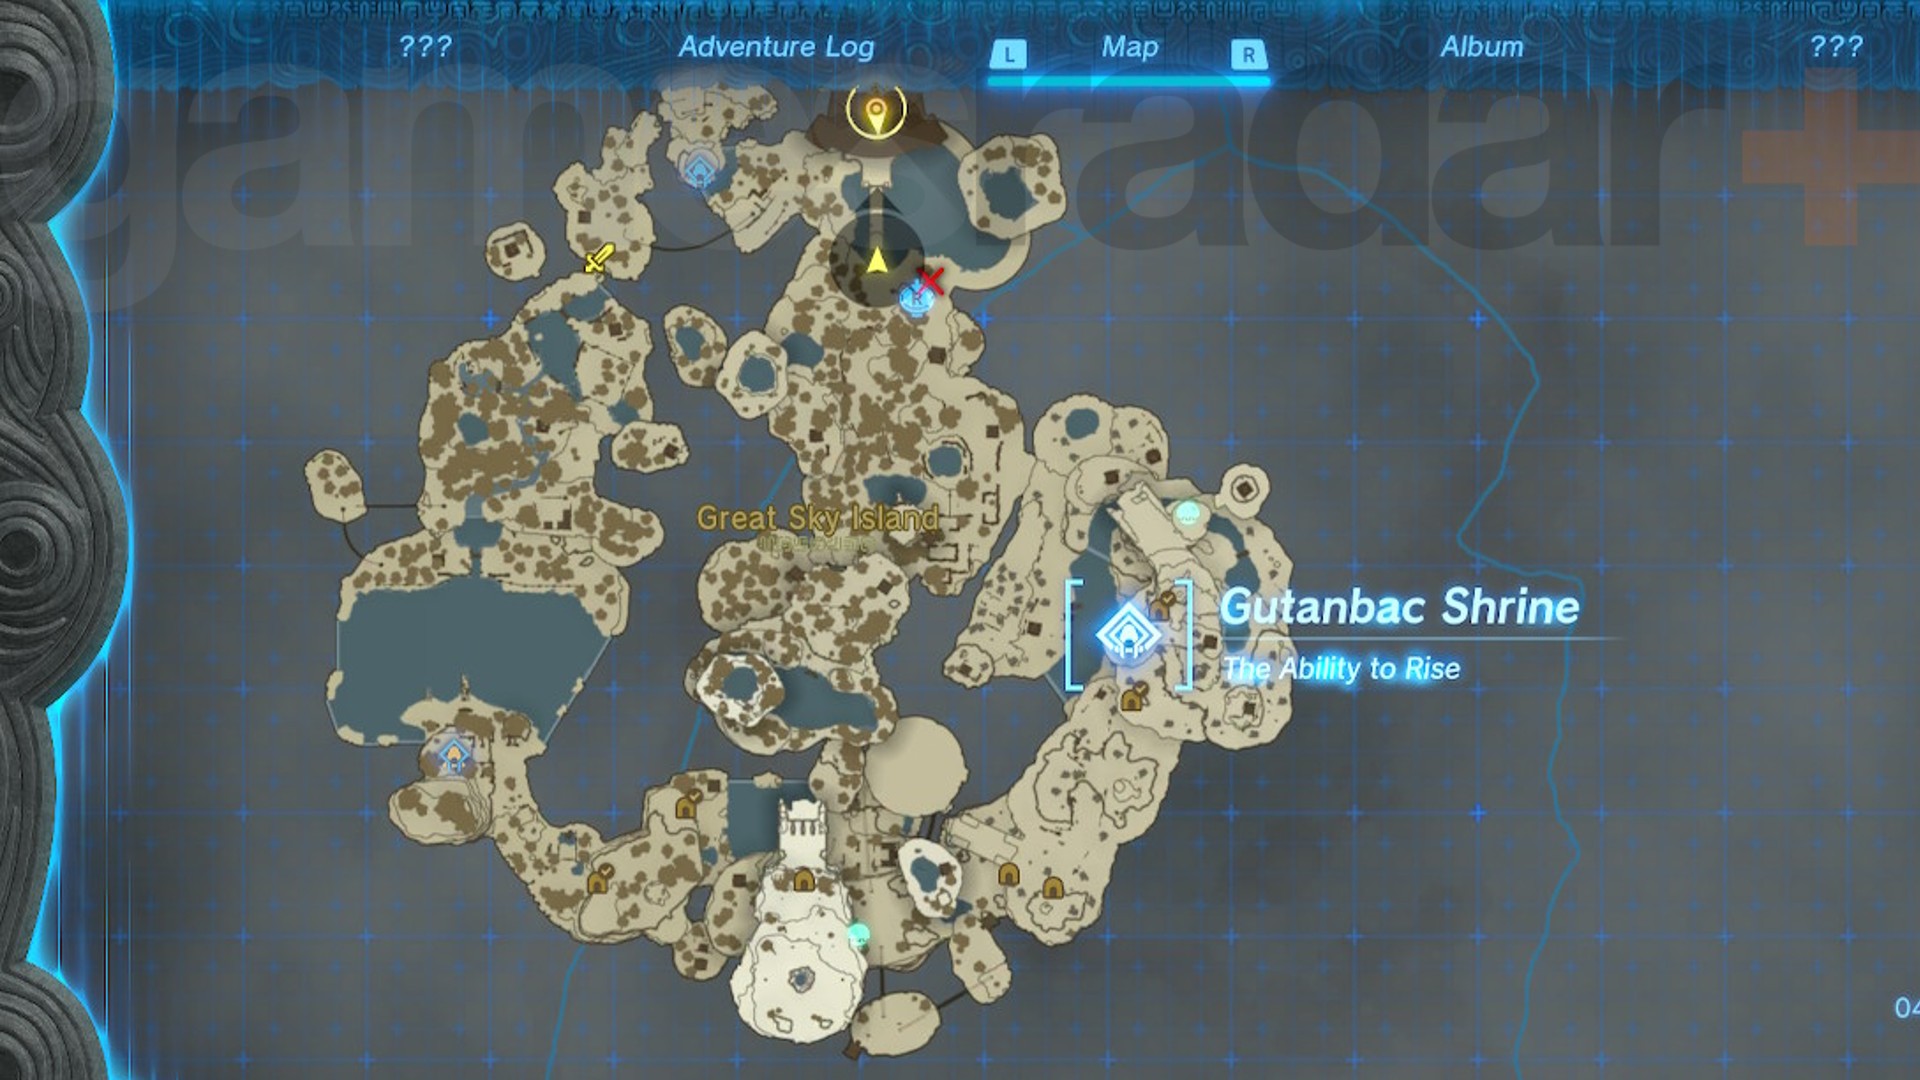
Ability unlocked: Ascend
Gutanback Shrine is atop a treacherous, icy mountain, and getting to it takes a bit of effort in itself. After leaving In-Isa, go down the steps and turn left. Make your way past all the aggressive constructs and Chuchus in your path before entering the Pit Cave on the third level down. Head into the cave, being sure to pick up the Archaic Tunic – the last item on your quest to find Link's shirt in Zelda Tears of the Kingdom – and on the other side you'll come to another pond.
Some maker constructs will be puzzling over how to get their Zonai fans working, but don't worry about that for now, since you don't have an energy cell just yet to power them. We're going to get across this lake using the three floating platforms floating just off the right-hand side of the lake.
The trick here is to pull the first platform toward you, jump on, and then grab the next one and attach it to the one you're standing on. Run to the edge of that floating platform, and do the same with the third platform.
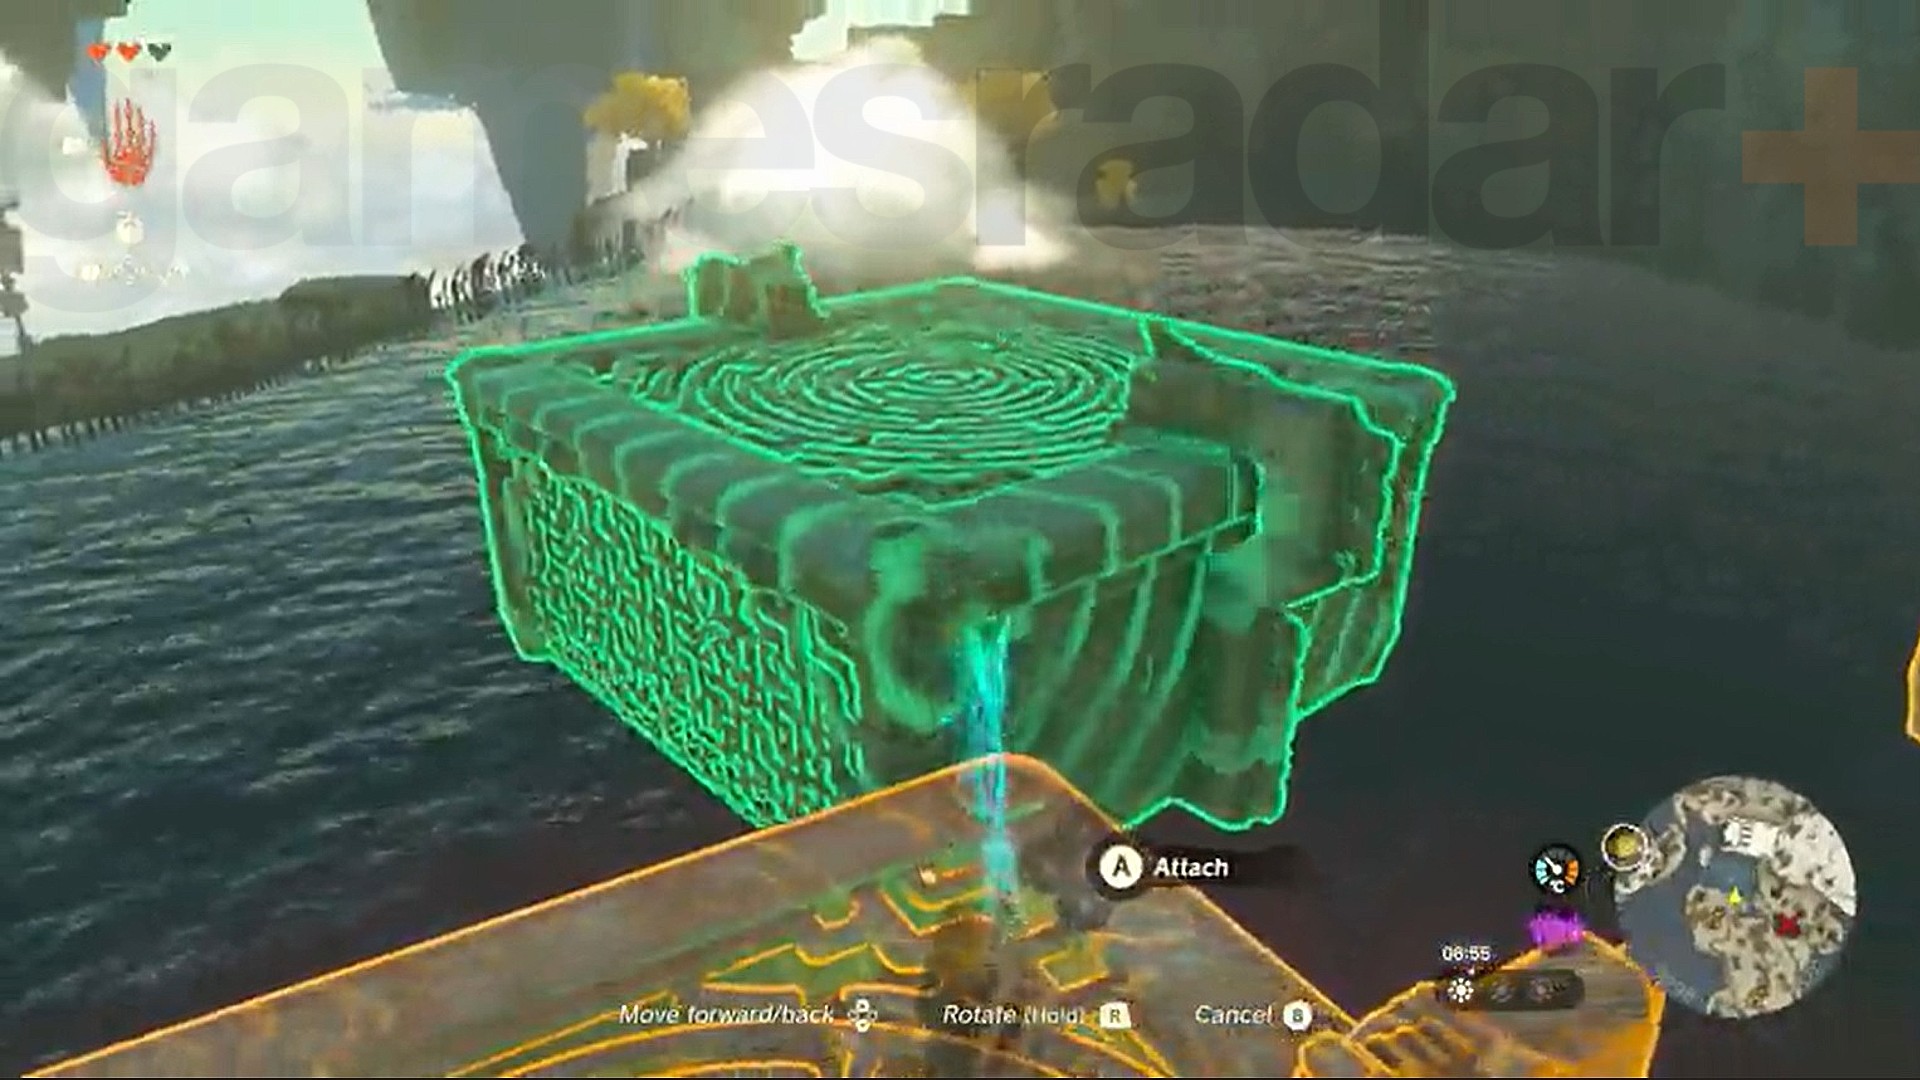
Head back to the first platform and jump back down near the pond. Attached to the two others, grab the first platform with your Ultrahand and move backwards, turning your platform chain to squeeze through the trees. Position it high up over the large pond you're trying to cross, and climb the tall black stone to jump on board. The next bit is a little repetitive, but it does work: run to the edge of the platform, then turn around, select the one directly behind you with the Ultrahand, and jiggle the right joystick to detach it from the platform you are currently standing on. You should now have two attached platforms when you move to position them in front of you.
Repeat this pattern of walking, grabbing, detaching, and reattaching until you're closer to the other side of the pond, or until your bridge is overlapping with dry land.
Now it's time to head up the mountain. Keep going up and up until you reach the Mine Cave on your right, and just climb right up the cliff's edge – or use chopped logs to fashion a long pole to climb up instead.
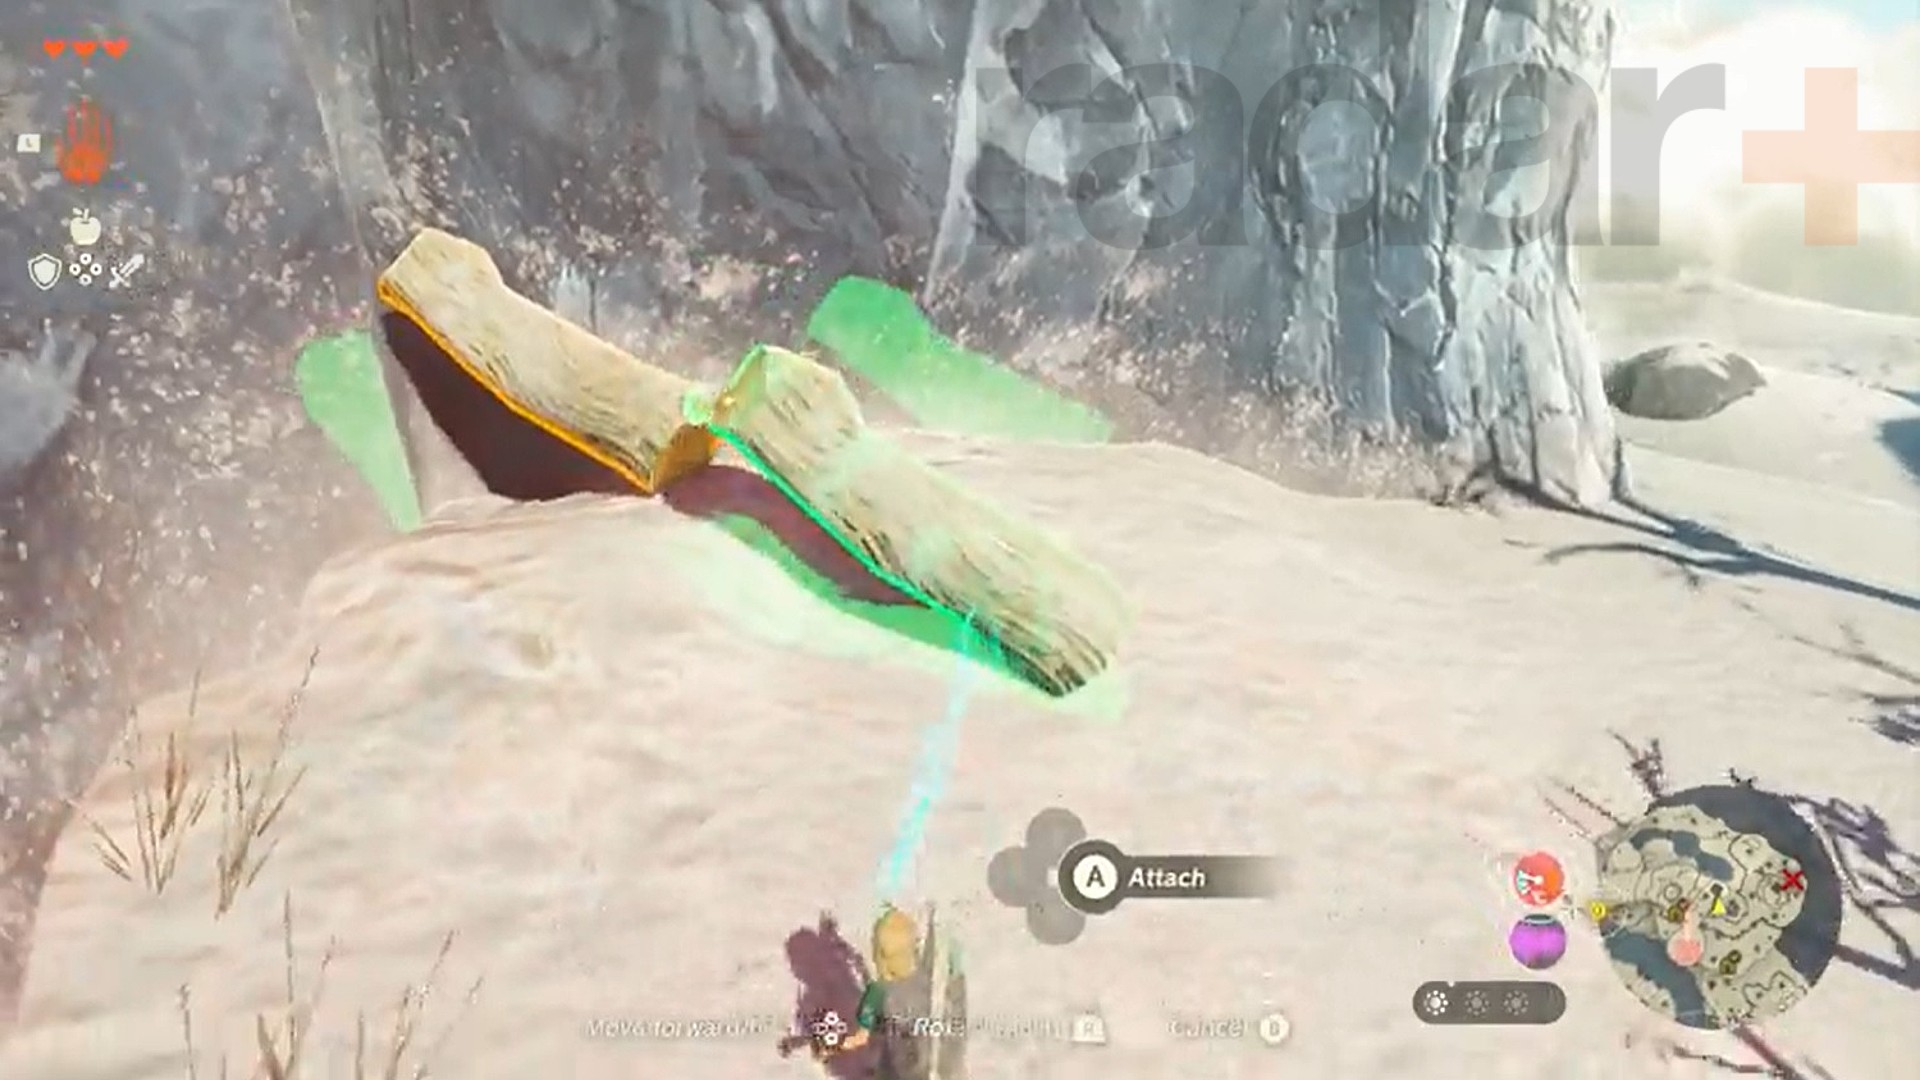
When you reach the top you'll see Rauru, find your first Zonai dispenser, and come across the second Korok puzzle. Ignore them all for now and head straight into the cave on your left where a cooking construct will show you how to make warming meals to help with Zelda Tears of the Kingdom cold resistance. These will keep you from taking damage from the cold weather, so be sure to check out our guide on dealing with the cold if you don't know how to cook with Spicy Pepper.
With an inventory full of spicy food to give you cold resistance, keep going through the cave, defeating all enemies in your path, and finally fashion another long log pole with your Ultrahand when you come out of the cave and turn left. You'll need this, since the cliff's edges are slippery up here. There at the carry on up the mountain and, finally, you'll find the Gutanbac Shrine on your left. Don't forget to check the caves on your way up, because you'll miss out on your first Zelda Tears of the Kingdom Bubbul gem, and those come in handy later.
Nachoyah Shrine
Ability unlocked: Recall
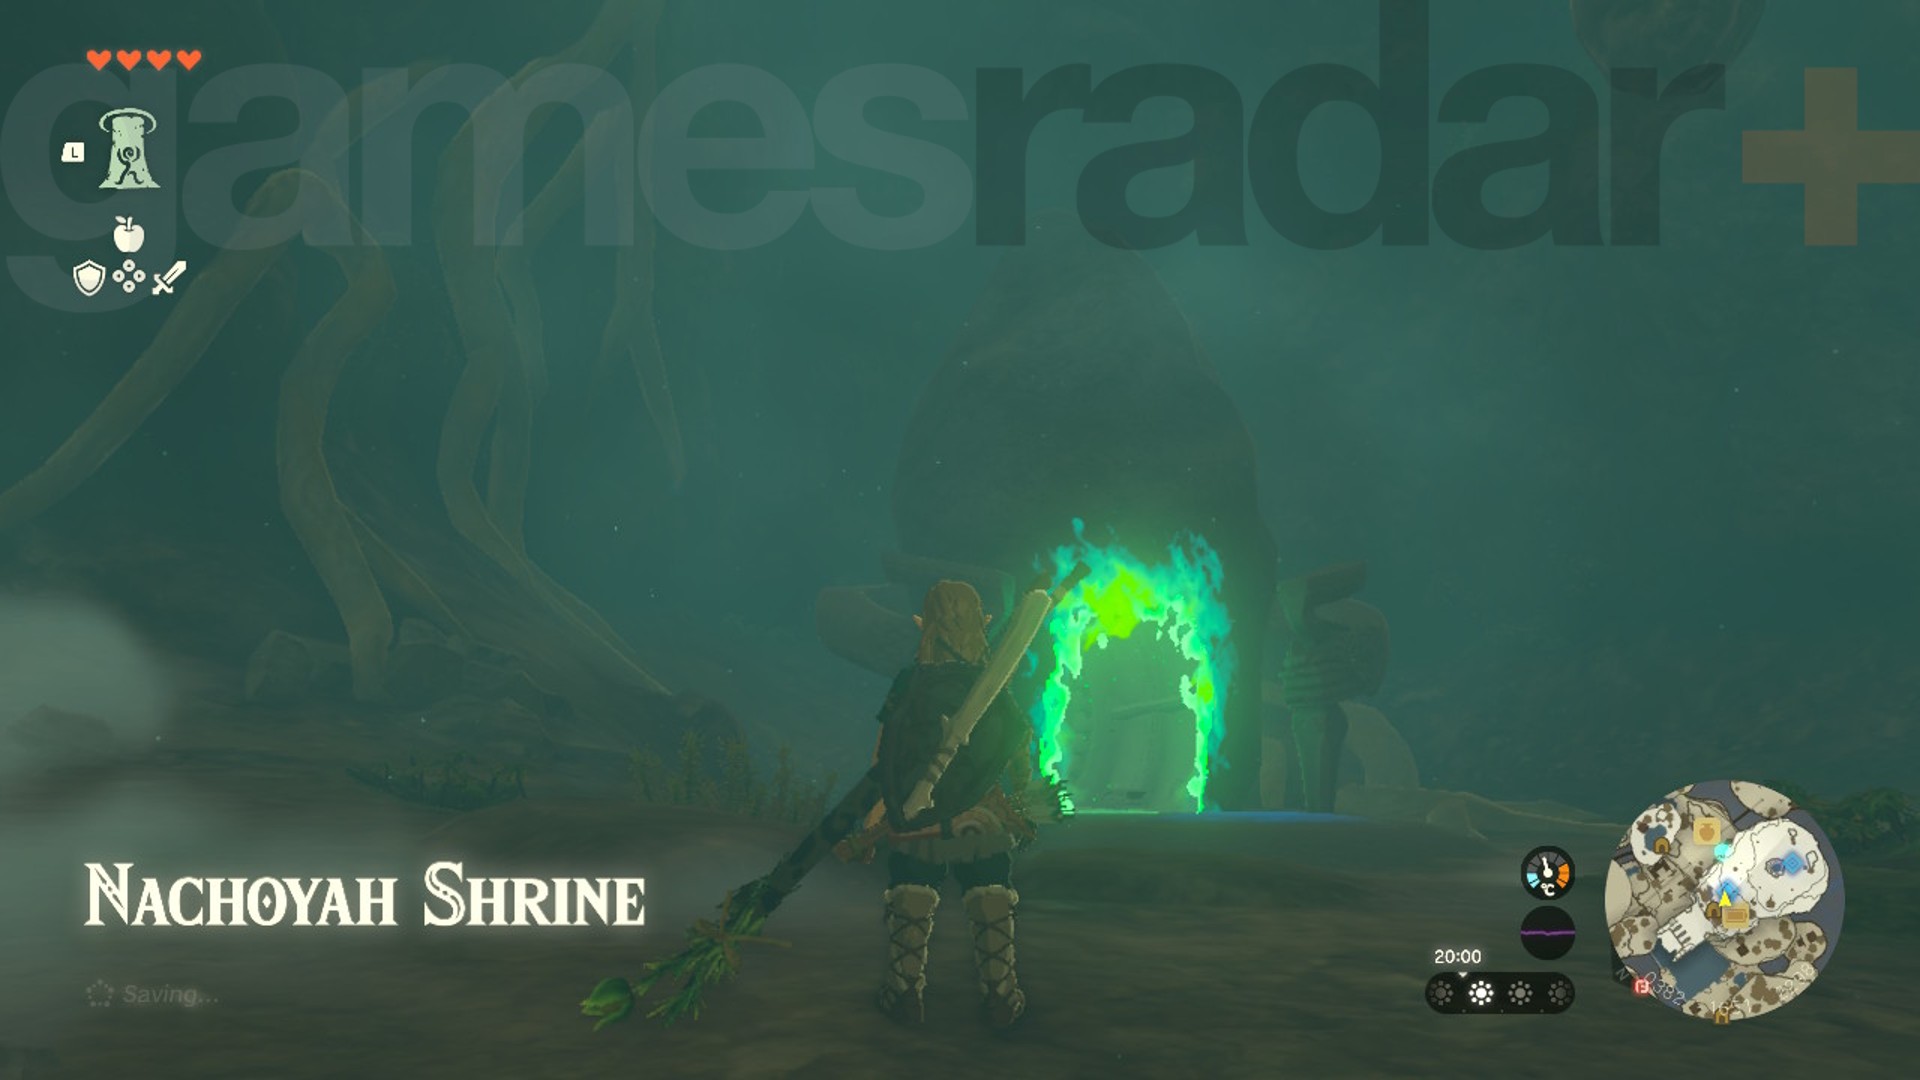
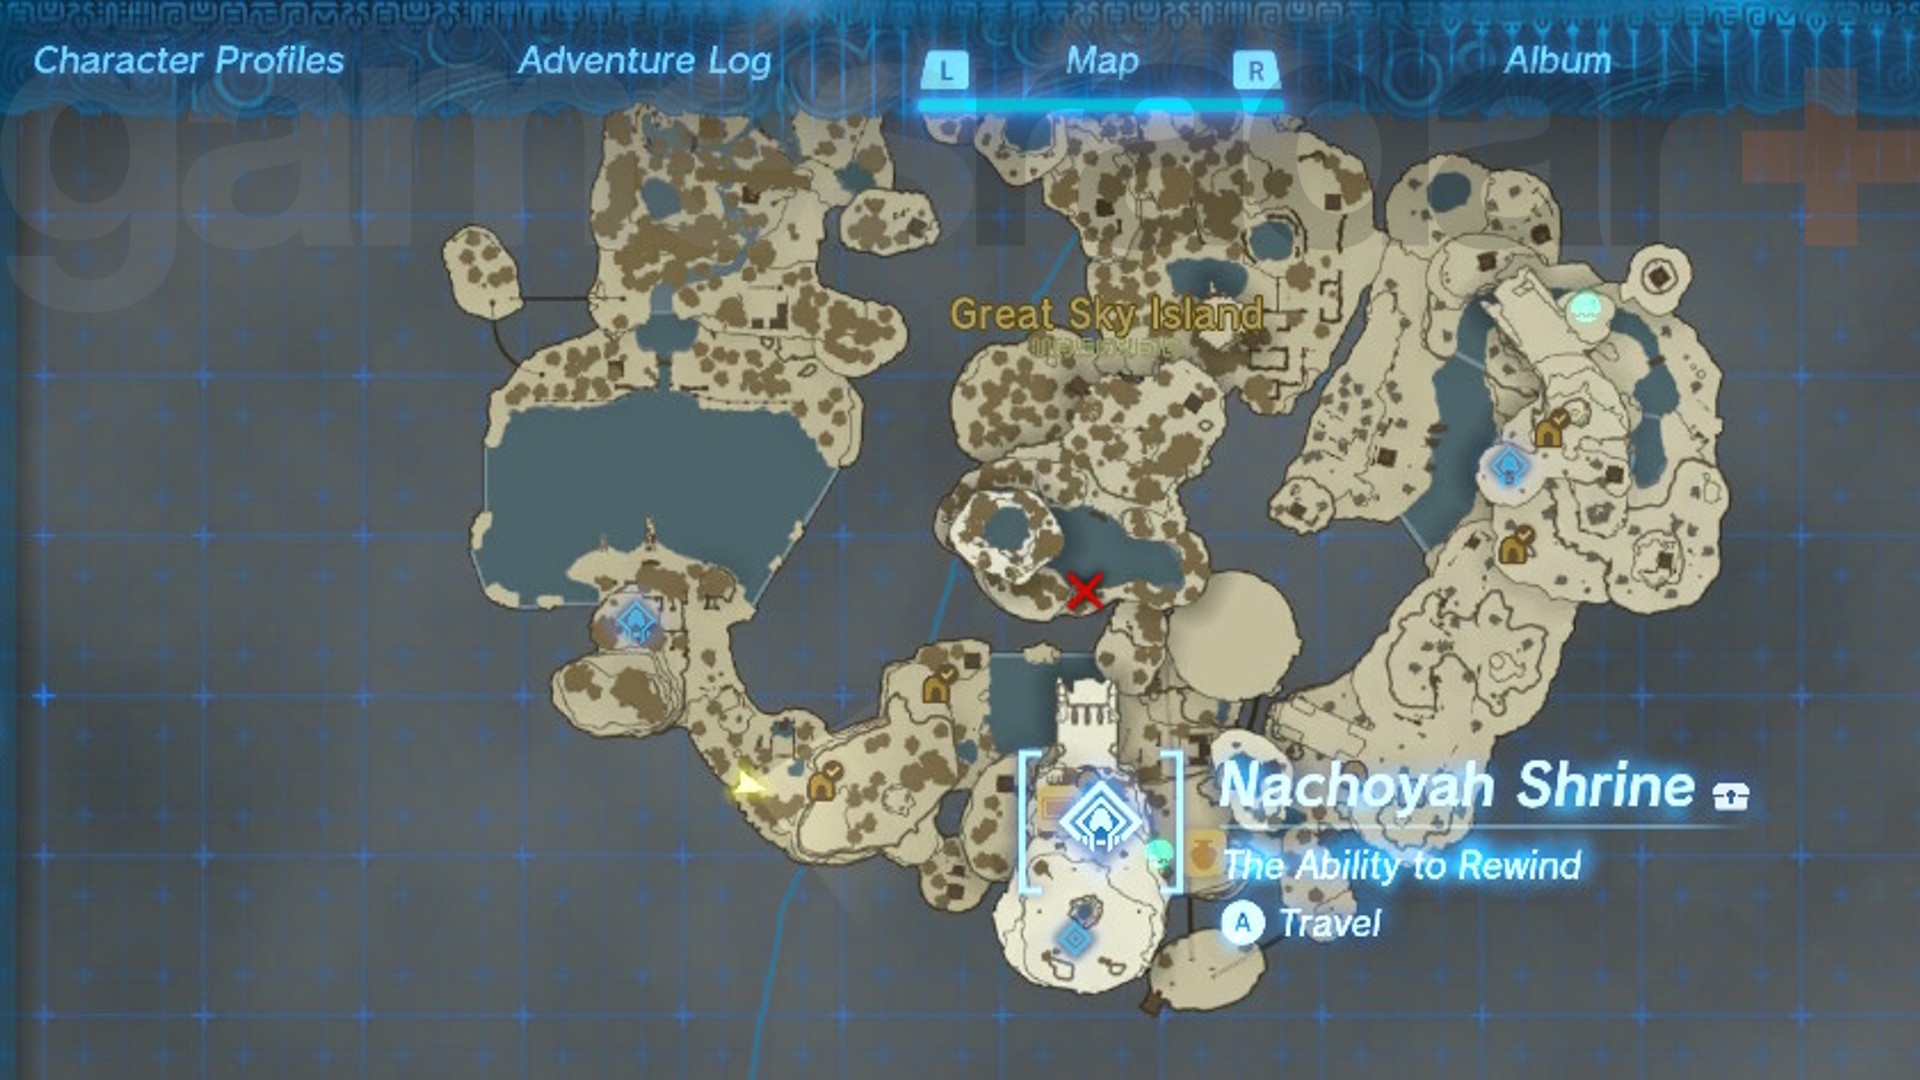
Finding the fourth Sky Garden shrine in Zelda Teara of the Kingdom is easy now you have the Recall ability. Use your newly-unlocked fast travel mechanism on the Purah Pad to travel back to the Room of Awakening, where you first started your journey after being revived with your demon arm. Immediately use Recall to ascend through the ceiling of the cave, and you'll come out atop a tall peak. Use your map to orient yourself properly, and head toward the Nachoyah Shrine. It's through a cave, just a short drop down from where you'll have emerged, and you'll know it's the right place from the Zonai wings and takeoff slope jutting out right in front of it.
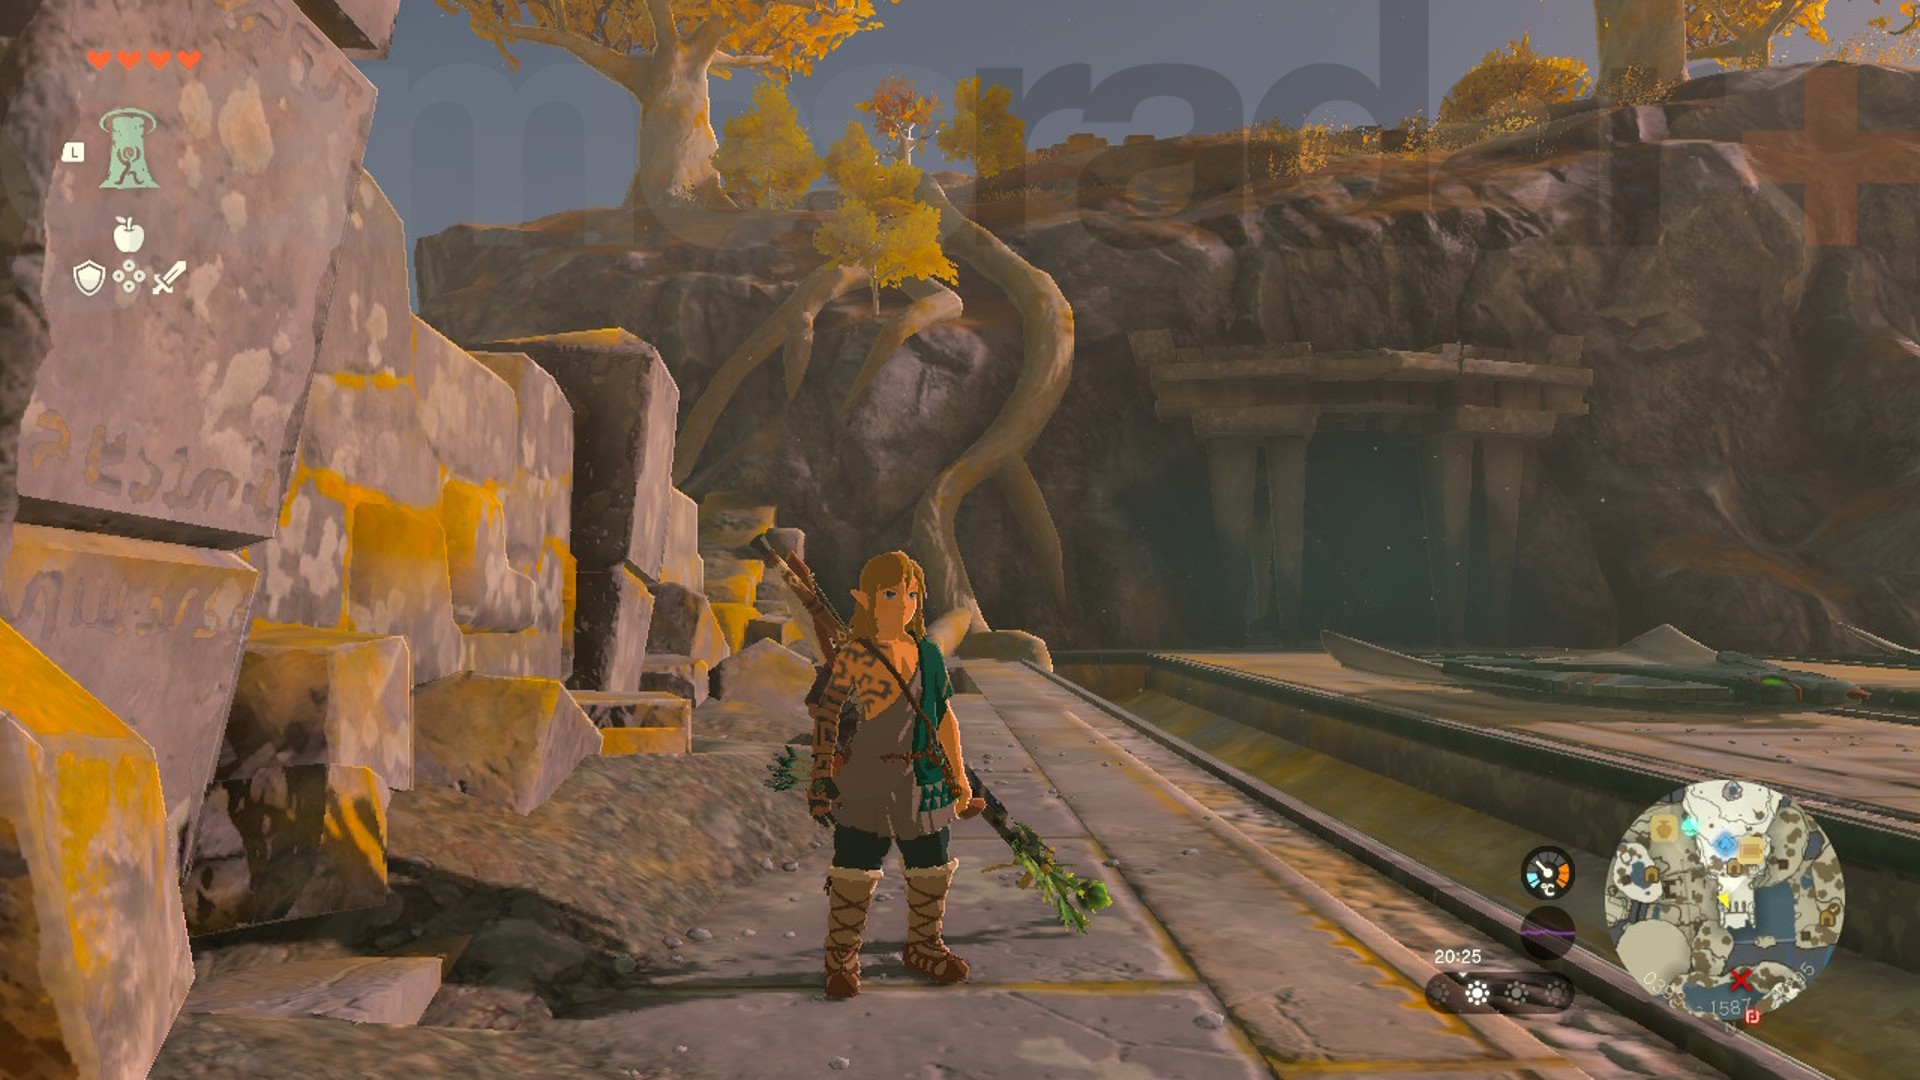
Now you have all four Sky Island shrines ticked off, check out some other top Zelda Tears of the Kingdom tips for how to make the most of your new abilities! If you're keen to take to the skies, check out our guide on when you can hope to get your Zelda Tears of the Kingdom glider. And if you're wondering how to go about fixing and restoring your master sword in Zelda Tears of the Kingdom, we have your back covered there, too.
© GamesRadar+. Not to be reproduced without permission
Weekly digests, tales from the communities you love, and more

Jasmine is a staff writer at GamesRadar+. Raised in Hong Kong and having graduated with an English Literature degree from Queen Mary, University of London in 2017, her passion for entertainment writing has taken her from reviewing underground concerts to blogging about the intersection between horror movies and browser games. Having made the career jump from TV broadcast operations to video games journalism during the pandemic, she cut her teeth as a freelance writer with TheGamer, Gamezo, and Tech Radar Gaming before accepting a full-time role here at GamesRadar. Whether Jasmine is researching the latest in gaming litigation for a news piece, writing how-to guides for The Sims 4, or extolling the necessity of a Resident Evil: CODE Veronica remake, you'll probably find her listening to metalcore at the same time.
- Leon HurleyManaging editor for guides
