Division 2 Builds: How to build your character and dominate Washington D.C.
Learn everything about Division 2 builds, from the basics of building your character to, classes and focusing on a specific playstyle
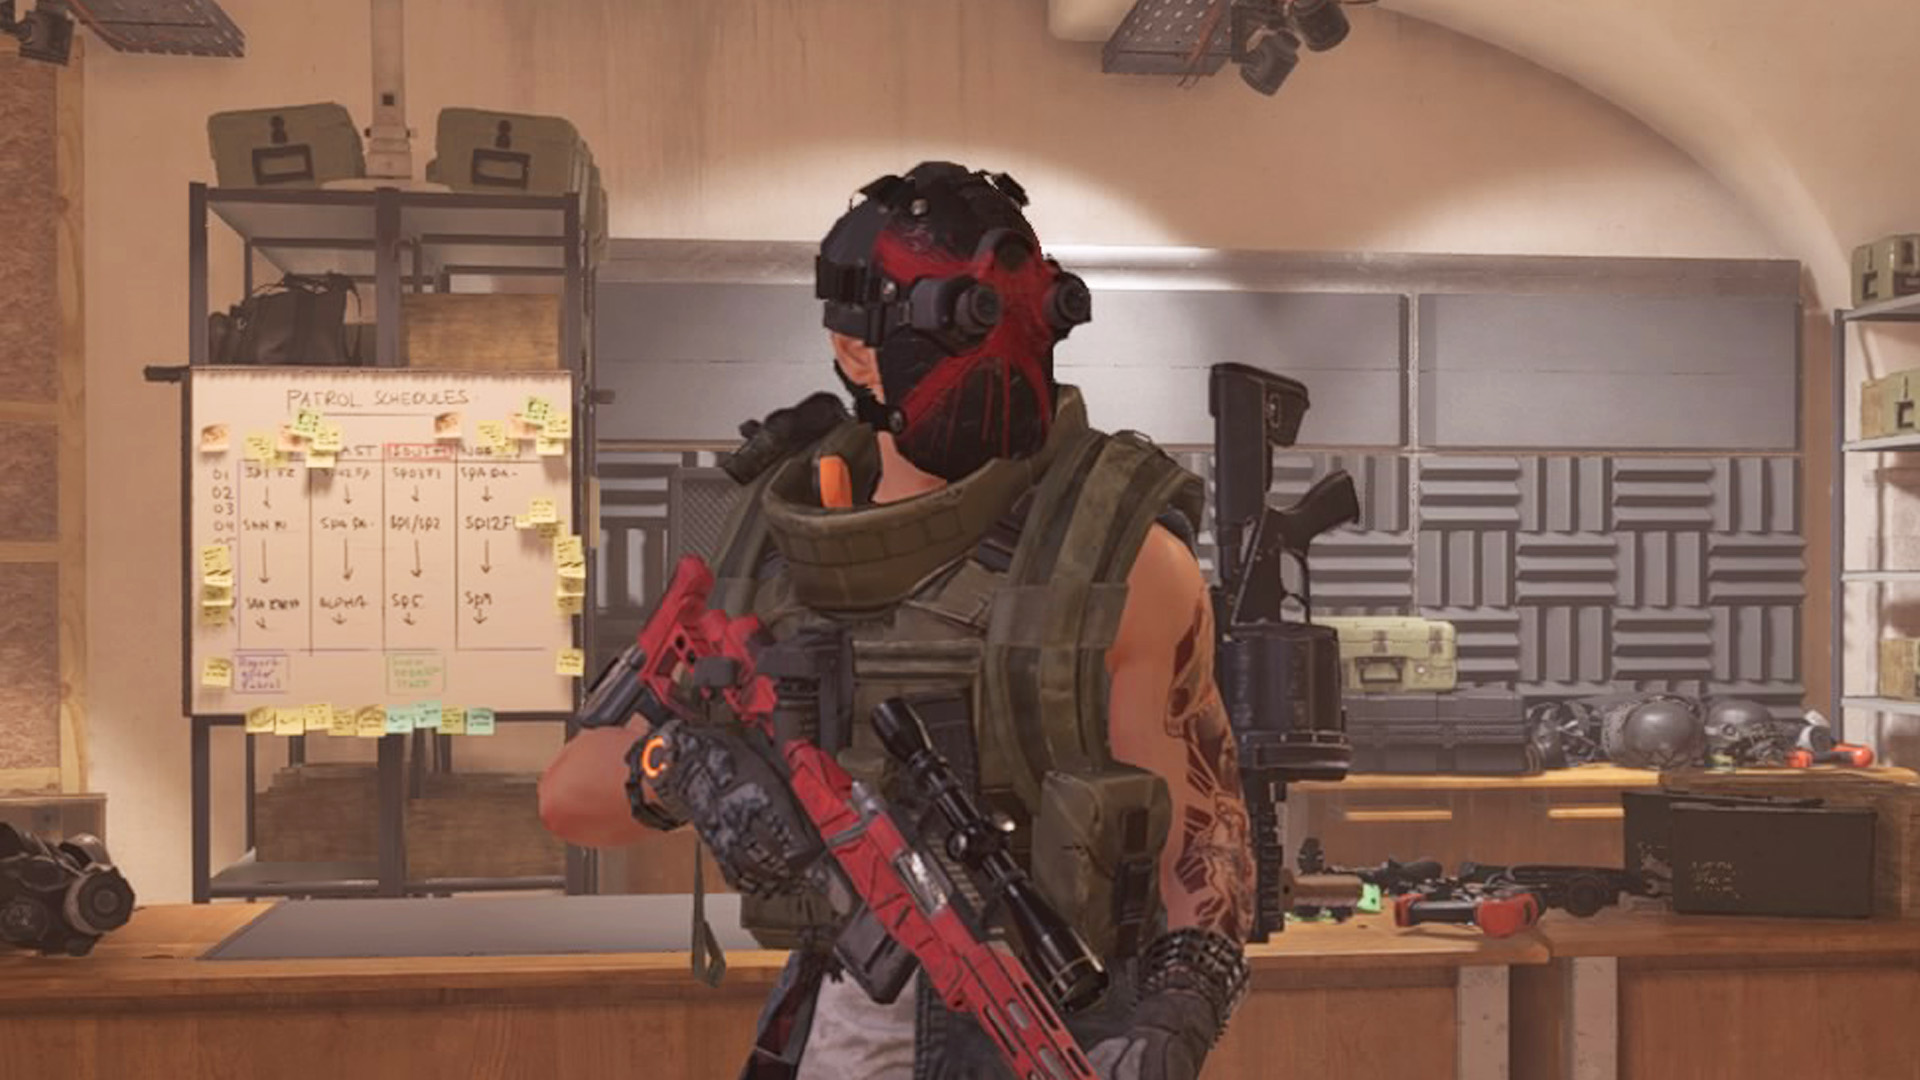
Getting the hang of the Division 2 builds system isn't easy, especially in the early game. There's a number of aspects to take into consideration, from brand set bonuses and attributes to talents and mods. Optimising one of your Division 2 builds so that you can take on heroic missions and level four control points by yourself will take some grinding, but we've got the perfect The Division 2 guide to help you. Read on to learn everything there is to know about Division 2 builds.
Division 2 tips | Best Division 2 skills | Best Division 2 perks | Division 2 Hyena Key locations | Division 2 Dark Zone Keys | How to level up fast in The Division 2 | Division 2 masks | Division 2 Ivory Keys | Division 2 Dark Zone guide | How to unlock the Dark Zone in The Division 2 | Division 2 crafting guide | Division 2 specializations | How to unlock specializations in The Division 2 | Division 2 dyes | Division 2 mods | Division 2 map | Division 2 printer filament | Division 2 bounties | Division 2 builds | Division 2 Snitch Cards | Division 2 hidden side missions | Division 2 Exotics | Division 2 endgame
Division 2 builds: Consider your playstyle & weapons
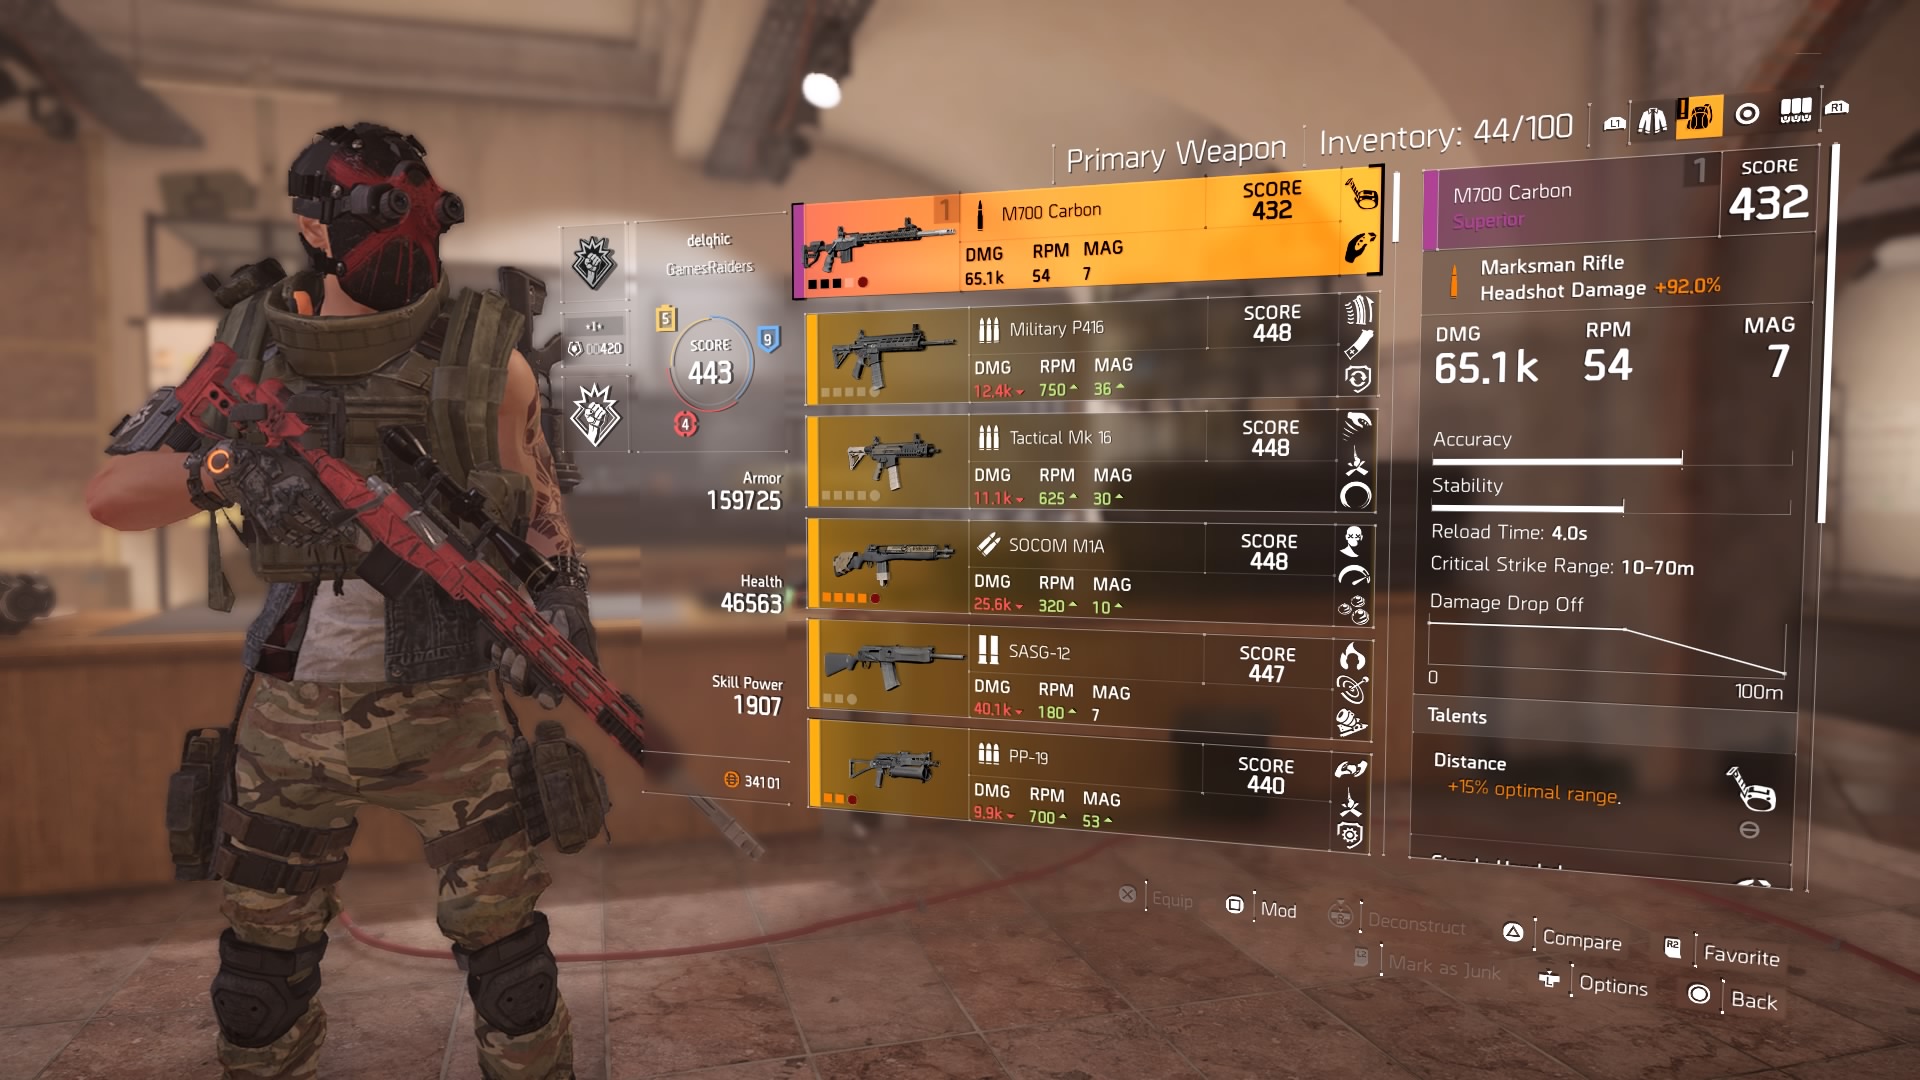
The first thing you need to think about when starting one of your Division 2 builds is how you want to play. Do you want to get up close and personal with shotguns and dart between cover, absorbing lots of damage? Would you rather equip an assault rifle and melt enemies at medium range? Or do you like to sit back and pick enemies off from a distance, before they can reach you?
All of this also depends on how many players you’ll usually be alongside. If you’re trying to solo everything, relying solely on long range guns like Marksman Rifles wouldn’t work because enemies tend to rush you during the endgame. Consider your options and which guns feel the most comfortable in your hands, and organise with your regular teammates which roles they want to fill too.
On top of this, think about whether you want to use this for PvE or PvP. The vast majority of players will only dabble in PvP so chances are you’ll be using this guide to help you with some Division 2 builds for the higher-end world tiers, but if you want to focus on PvP in the Dark Zone, consider how other players react differently to AI enemies.
Division 2 builds: Deciding on your skills
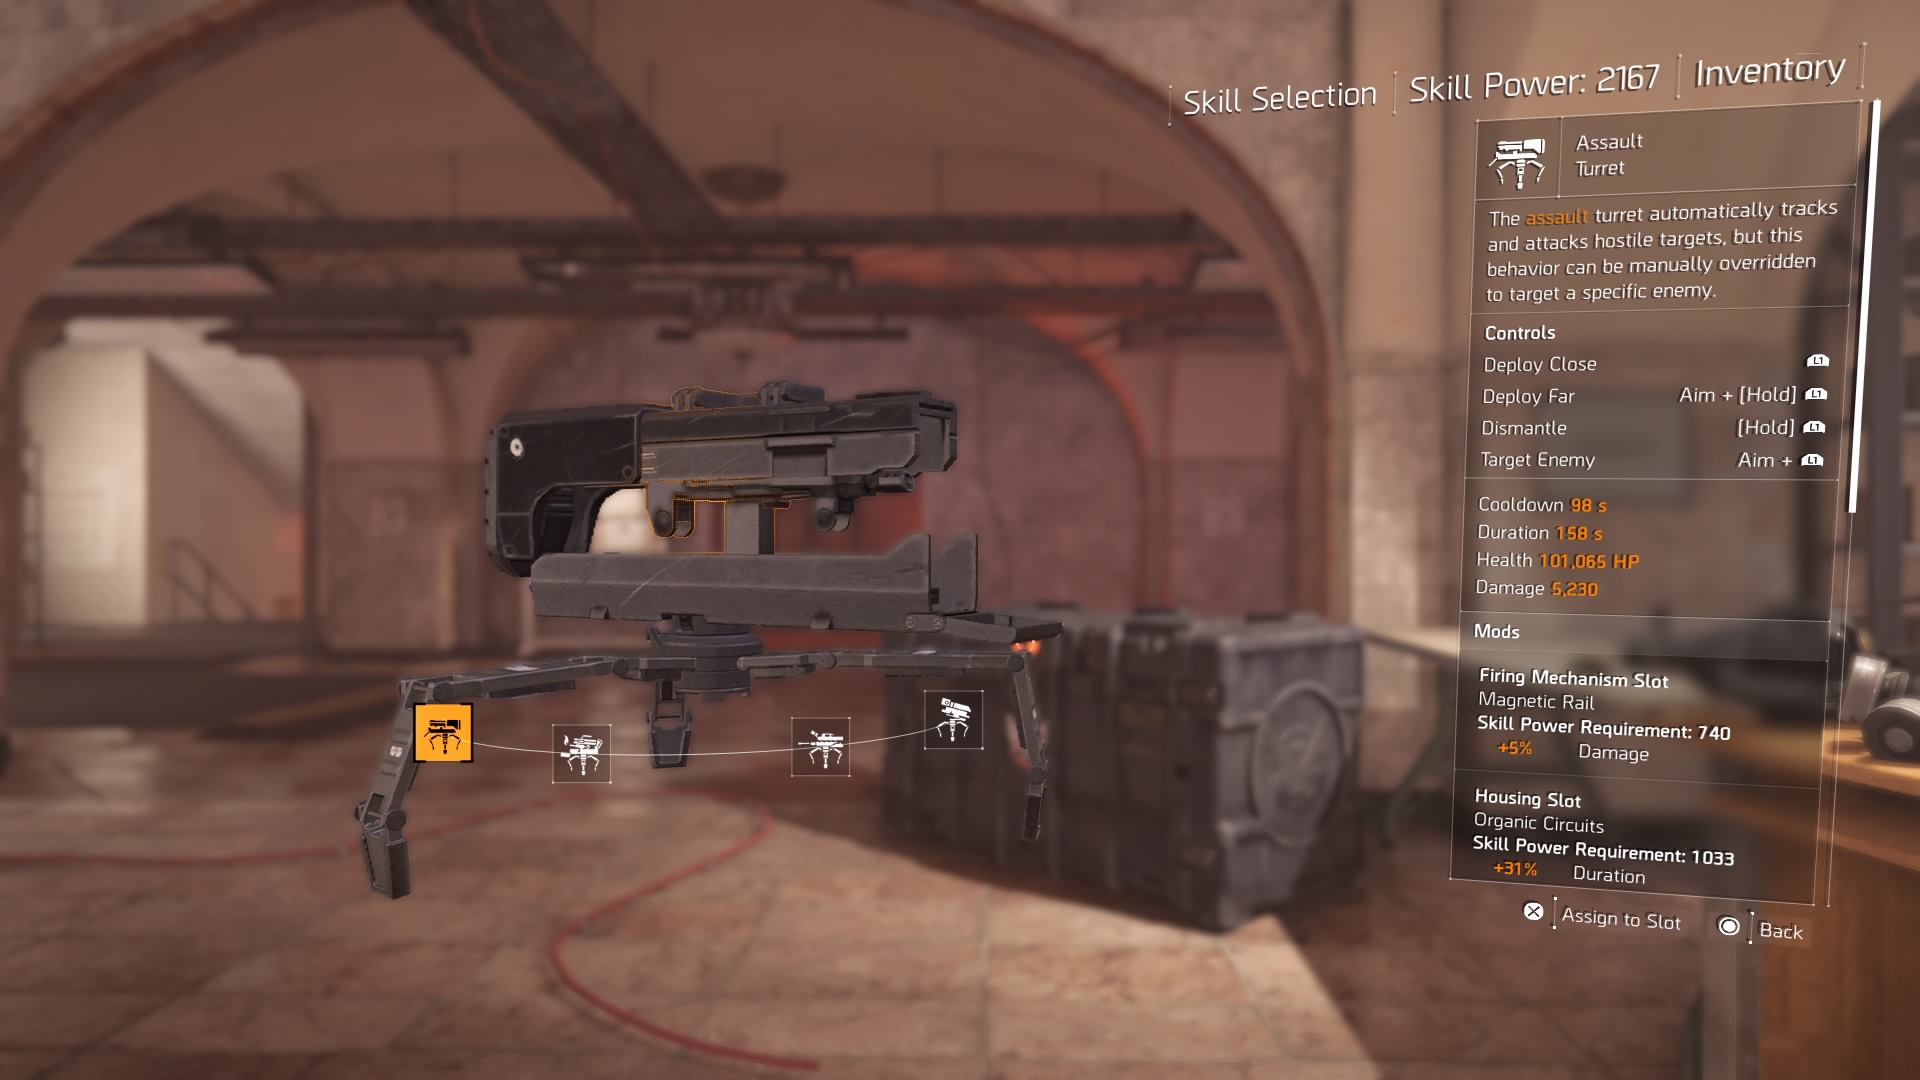
There’s eight different skills in The Division 2 right now, and each of them has multiple options for different scenarios. You can go all out offensive with skills like the Striker Drone or Explosive Seeker Mine, or you can play tactical with the Firestarter Chem Launcher or Burster Firefly. There’s also defensive options such as the Defender Drone or Bulwark Ballistic shield, or you can assume the medic role with the Reviver Hive or Fixer Drone.
With my LMG/Marksman rifle build, I like to sit back often and the Assault Turret is great at laying down fire from a nearby position. The Sniper Turret is another great option at dealing direct damage to targets with less suppressive fire. If I’m playing with friends, I rock the Stinger Hive to deal with large clusters of enemies or the Assault Drone to fly around and attack enemies dead on. If I’m by myself on the other hand, the Reviver Hive has to be included because otherwise I’ll run out of armour kits on challenging difficulty missions.
Take a look at all the options available with Coop Dennison, the quartermaster in the White House, and experiment with multiple different skills. Some options may seem like the outright best, but try out as many as you can. You may be surprised.
Division 2 builds: Brand set bonuses
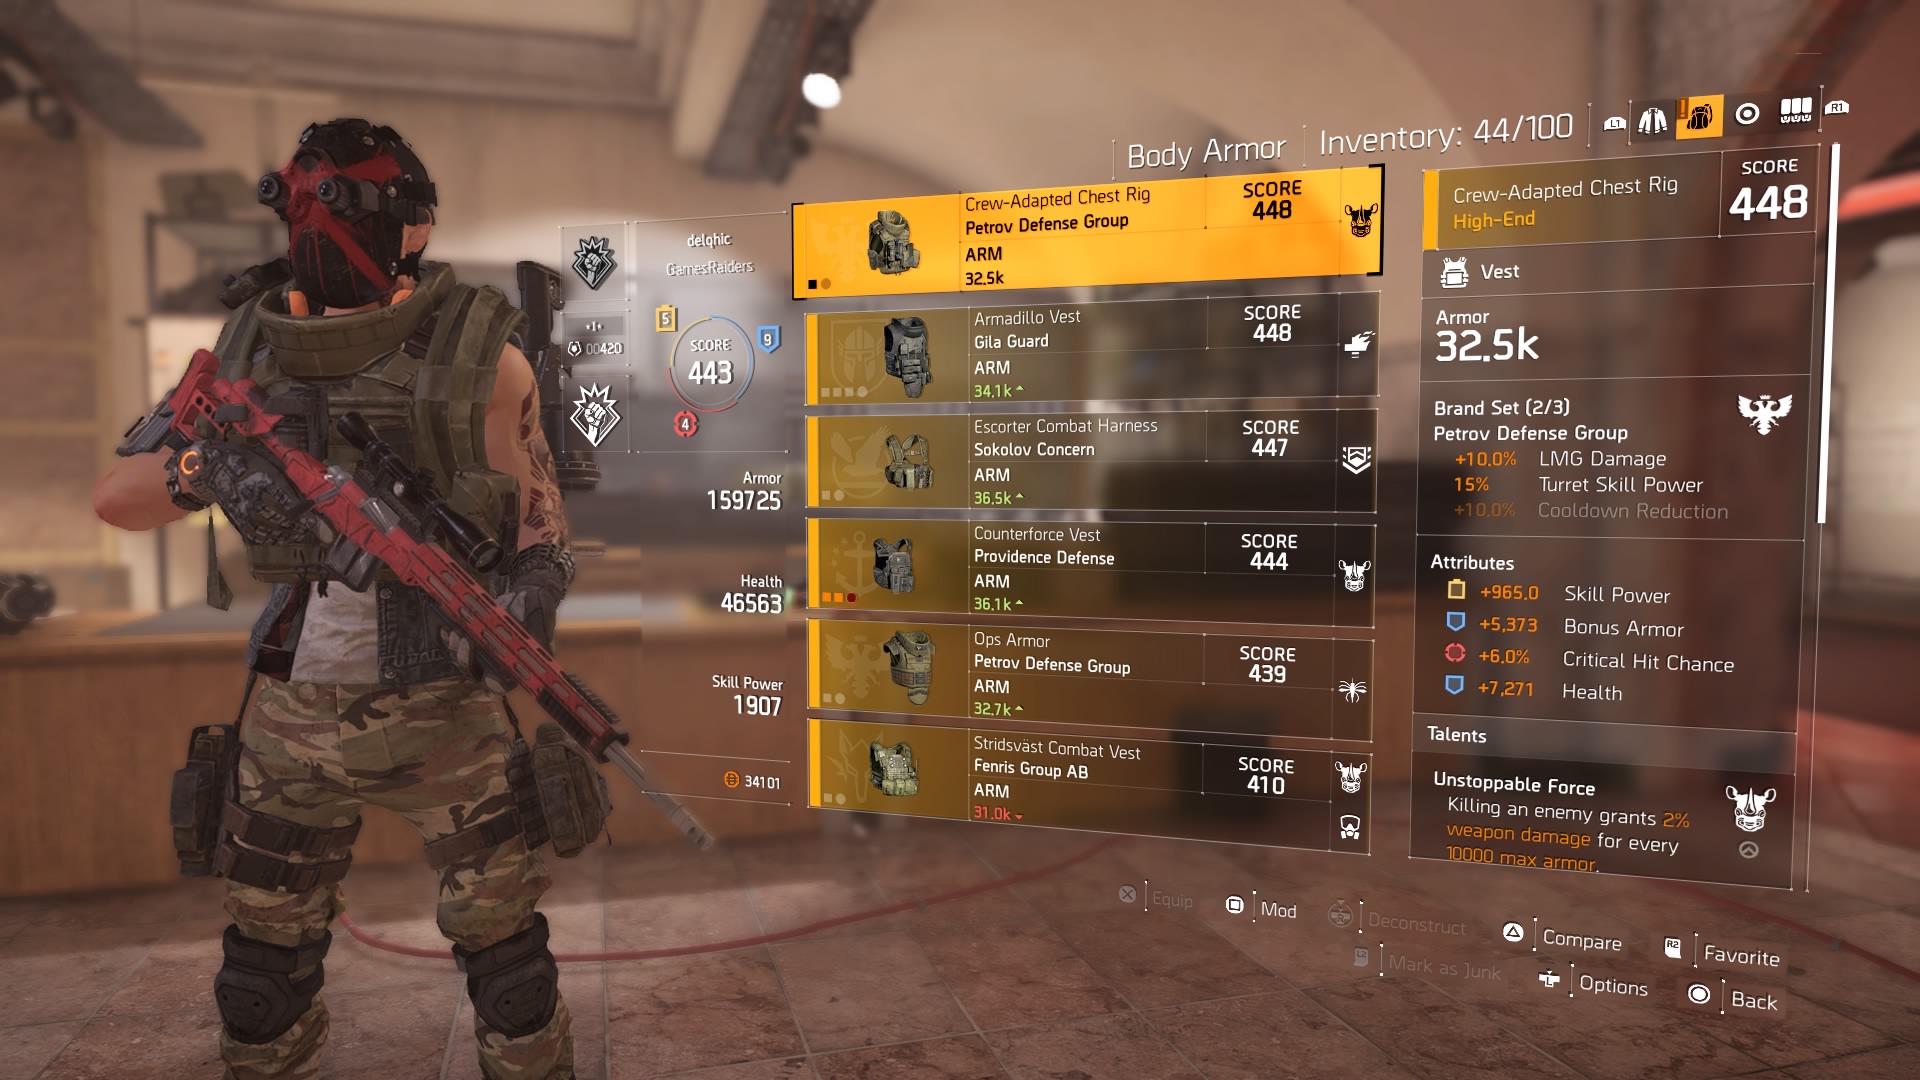
So you’ve chosen your weapons and skills. Now it’s time to decide on the brand set bonuses you want to grind for, followed by the specific gear attributes. If you need a handy spreadsheet with all of the gear attributes and brand set bonuses in the game, check out this useful community-led spreadsheet.
Starting with brand set bonuses, it’s as simple as picking six from the spreadsheet that you desire. If you have three pieces of gear from the same set, you’ll receive all three bonuses. For my LMG/Marksman Rifle build, having two pieces of Petrov Defense Group gear is key, especially since I also run the Turret skill.
Having two pieces of Badger Tuff gear is useful too; I tend to go for mask & backpack, alongside my Petrov Defense Group chest & holster. This means I deal extra damage to elites, and recover armour for every kill. Providence Defense is my first choice for kneepads and gloves, because the 10% skill power can be a huge bonus if I have a lot of skill power buffs in my gear attributes.
Take a look through all of the possible combinations, select your desired six, then hunt them down. If you find the right piece of gear in your desired brand set but it’s not as strong as some of your other equipment, don’t worry; you can recalibrate it, which we’ll get onto soon.
Division 2 builds: Gear attributes
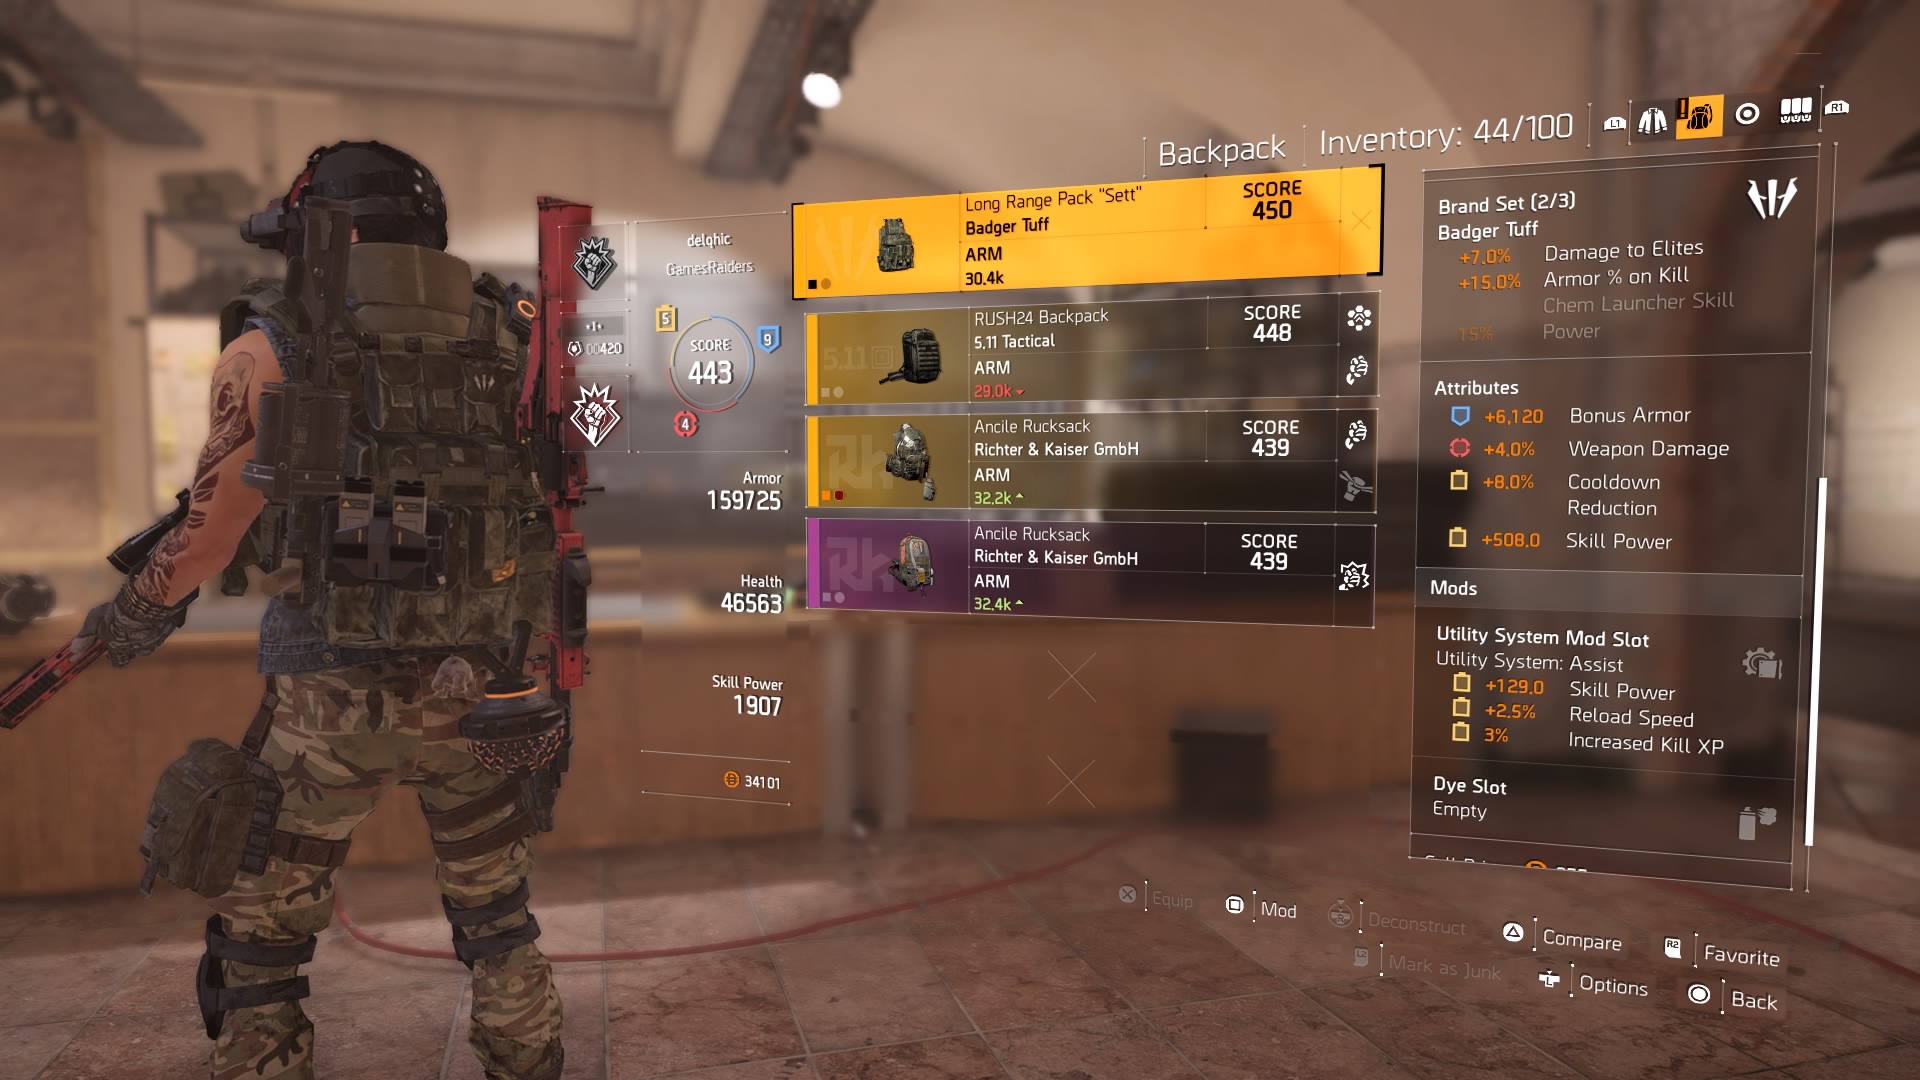
When you open your inventory, where it says your gear score (or level if you haven’t reached endgame), you’ll see a circle around it, similar to a pie chart. It’s divided up into three colours; red, blue, and yellow. These represent your offensive, defensive, and utility attributes respectively. Understanding these is key to making the most out of your gear and mods.
In the aforementioned community spreadsheet, take a look at all the gear attributes. There’s not many - 18 in total - and work out the top three or four attributes you want for your loadout. LMG Damage is crucial to maximise my damage output, so I need something with that attribute. Like all the other weapon-specific damage buffs, gloves are the only piece of gear it can be found on.
If one of your Division 2 builds is focused solely on maximising your skills, you’re going to want to have Skill Power on as much of your gear as possible. Same goes for Cooldown Reduction, since they’re the only two utility options. Otherwise, take a look at all of the options and prioritise your most important attributes. Do you value staying alive over dealing insane damage? Search for defensive options like Health and Health on Kill. If it’s vice versa, look for Weapon Damage, Critical Hit Damage, and Critical Hit Chance.
Division 2 builds: Gear talents
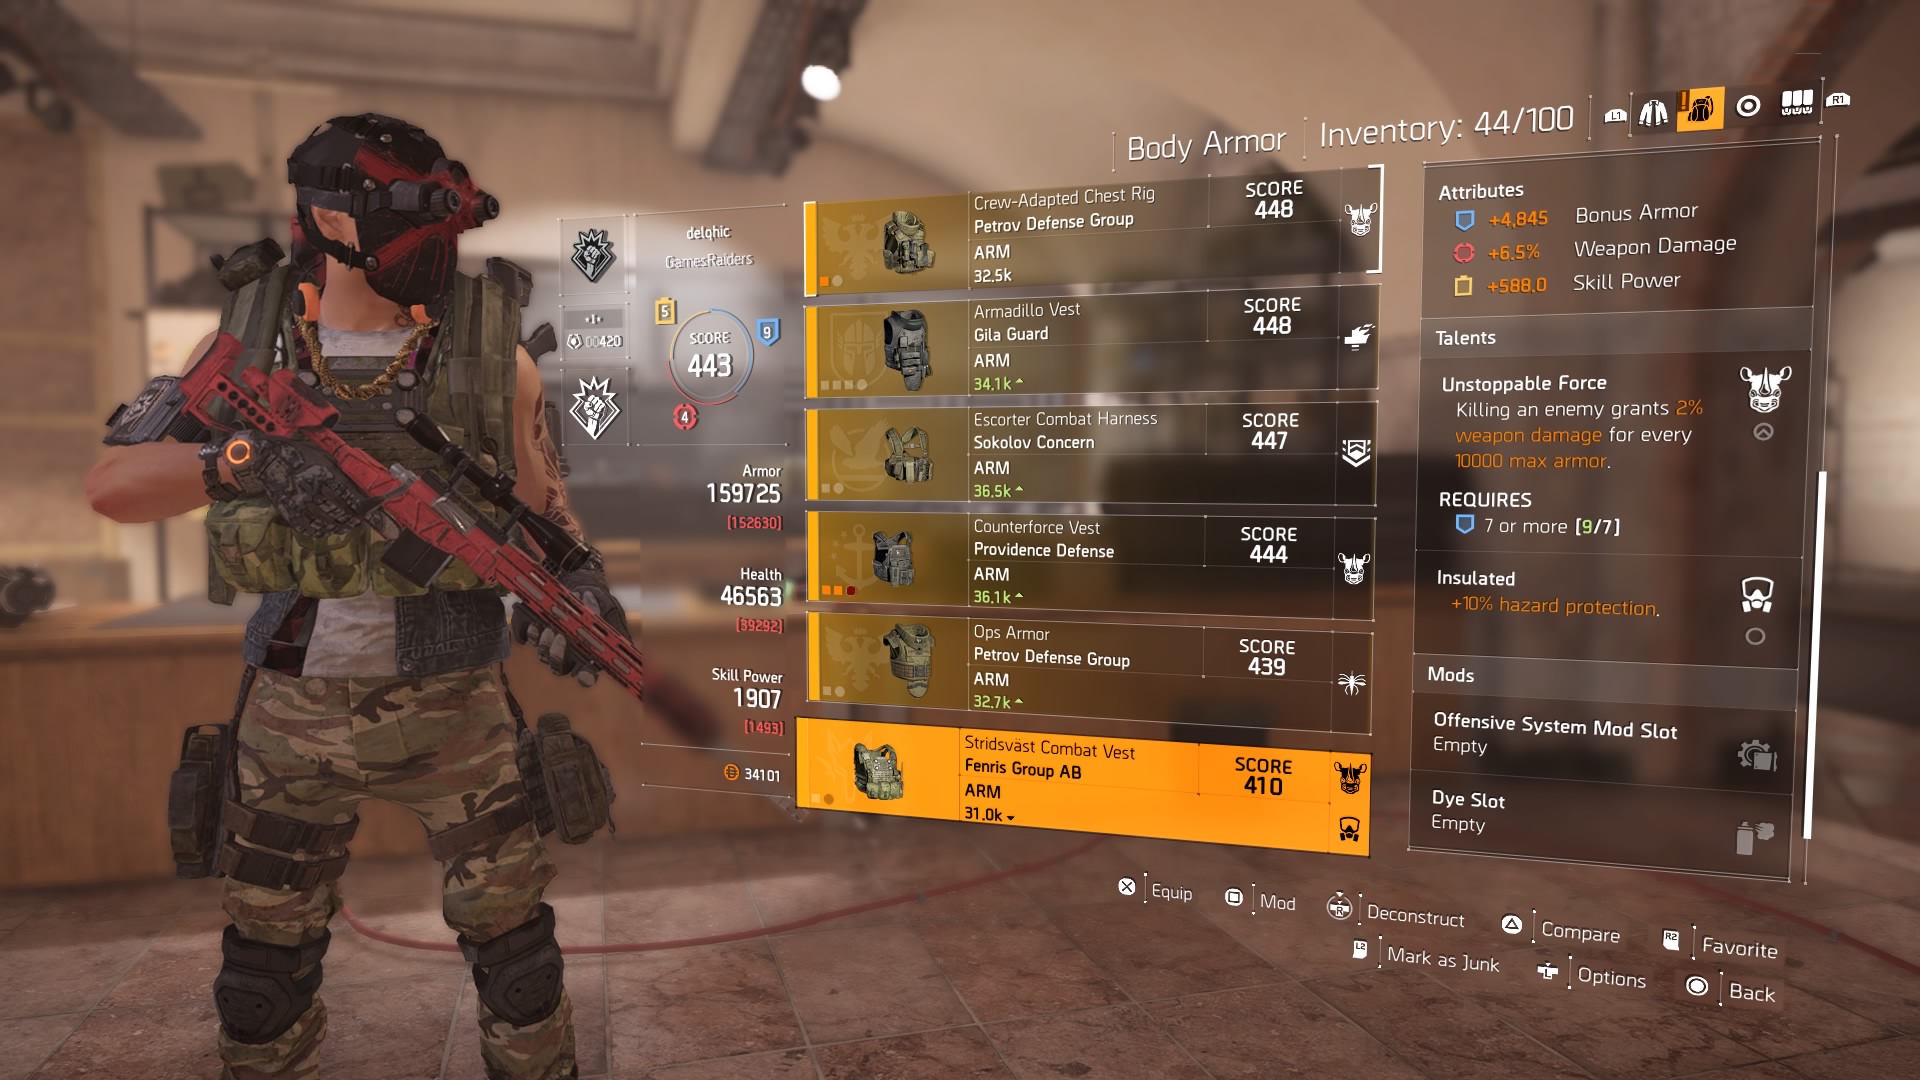
This is a big one. There’s a vast amount of gear talents you can get in The Division 2, and these are randomly assigned to eligible gear pieces when you loot them. All of the active talents tend to be more specific - but also more powerful - than the common talents. These also tend to have specific requirements, such as having four or less of a specific attribute type across all your gear and mods.
Since there’s so many, it’s highly unlikely you’ll receive the exact talents and attributes you desire on the first go. This is where the recalibration station comes in; if you loot something that has even one of the talents or attributes you want on your ideal build, hang on to it. Later down the line, you can recalibrate one from the correct brand set, which allows you to transfer talents and attributes from some of your other gear. This makes the grinding process much easier, as long as you don’t deconstruct or sell items you may need to recalibrate. Just bear in mind that you can’t transfer one attribute type with another; it you can only switch one offensive with another offensive, for example.
For my LMG/Marksman Rifle build, the Patience talent is one of my favourites. It can only be found on kneepads though, and it requires seven or more defensive stats which will take up a considerable portion of my pie chart. It’s the only defensive talent I like though, so for the rest I’ll stack up on offensive talents like Obliterate and Hard-Hitting. Depending on your build, this will look completely different for you though.
Division 2 builds: Gear mods
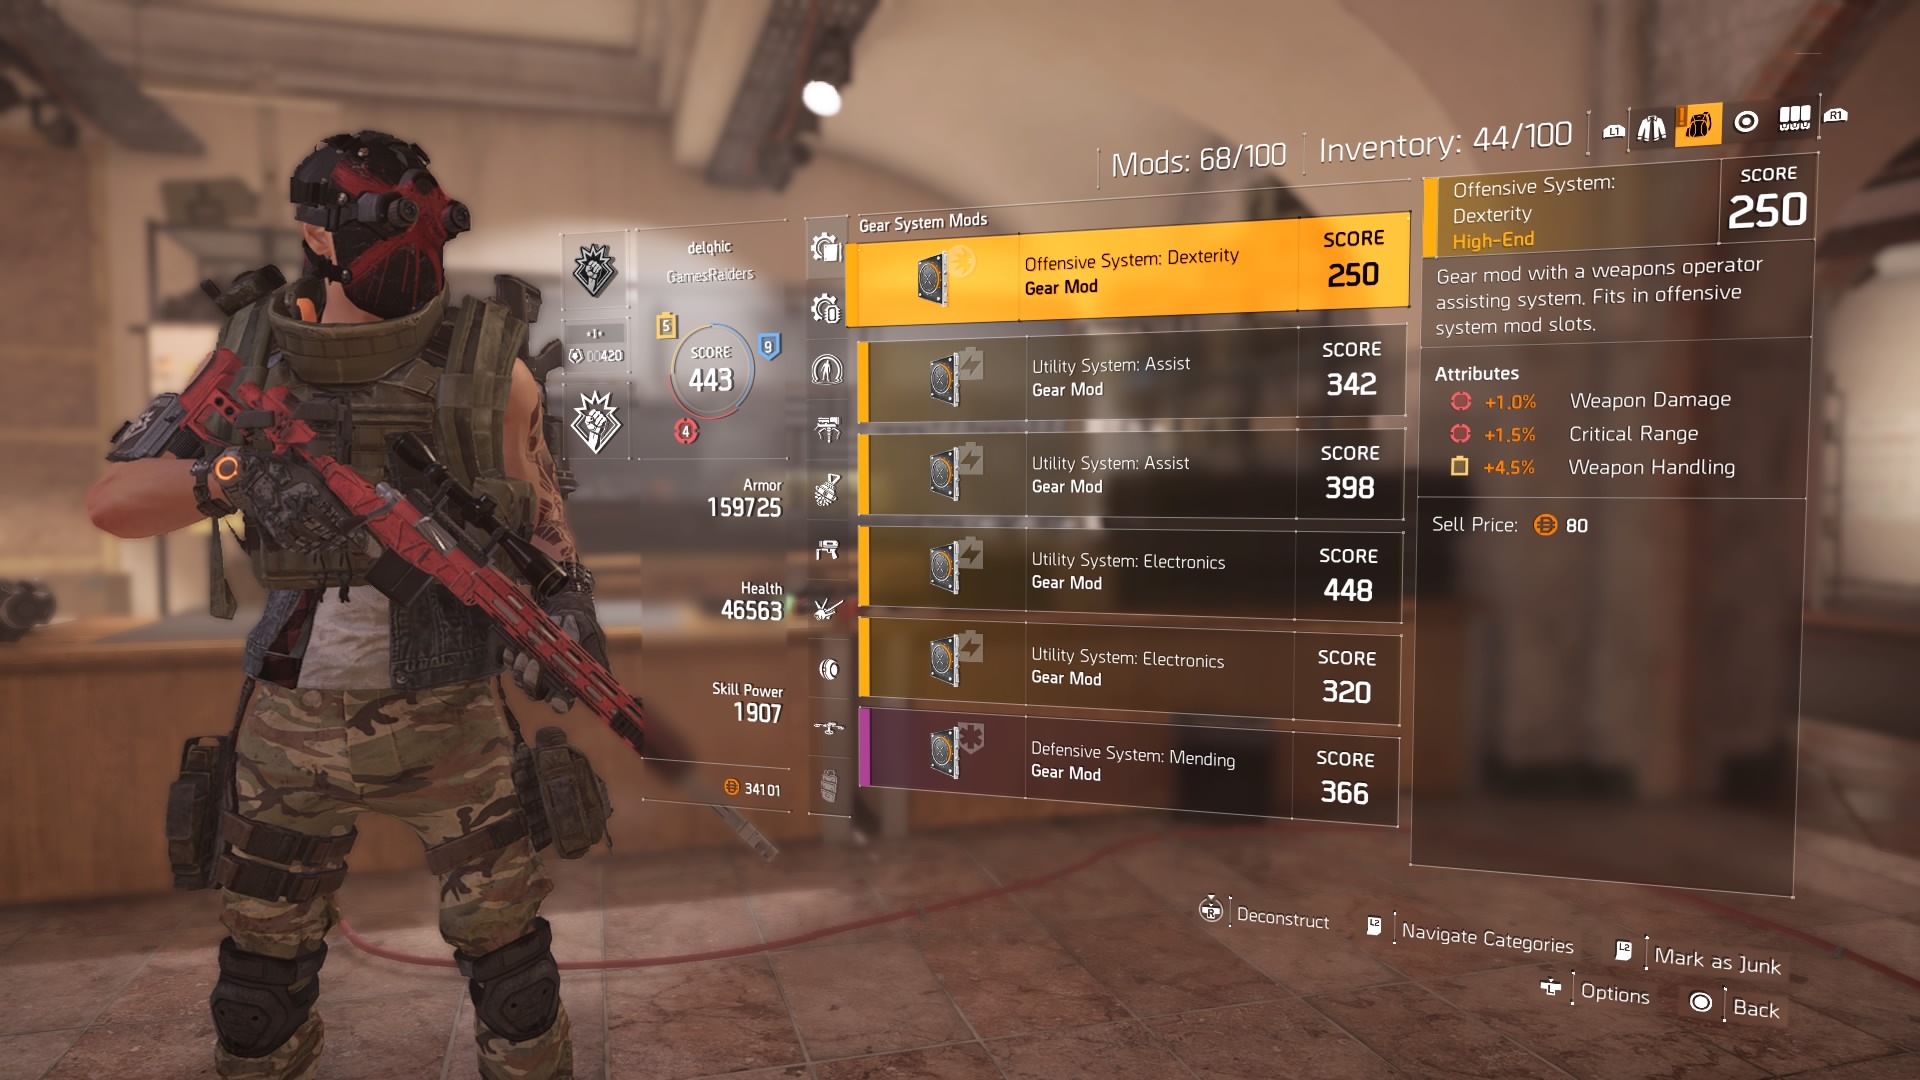
The final aspect to consider when looking at your gear is your gear mods. Firstly, the amount of mod slots available to you depends on each individual gear piece. This is decided by the brand of the specific gear piece, and the tier. A Gila Guard Armadillo Vest has three mod slots at high-end, while a high-end Petrov Defense Group Ops Armor only has one. Weigh up which is more important to you; brand set bonuses or gear mods, then find the gear with your preferred choice.
There’s a lot of gear mods to sift through, some of which only differ very slightly and since the high-end mods have three attributes each, you may end up with a lot of options. This is one of the most random elements of the entire process, so it’s impossible to say which mods are the best. Skill power isn’t one of my focuses so I tend to avoid that and opt for raw damage and armour wherever possible.
Division 2 builds: Weapon talents & weapon mods
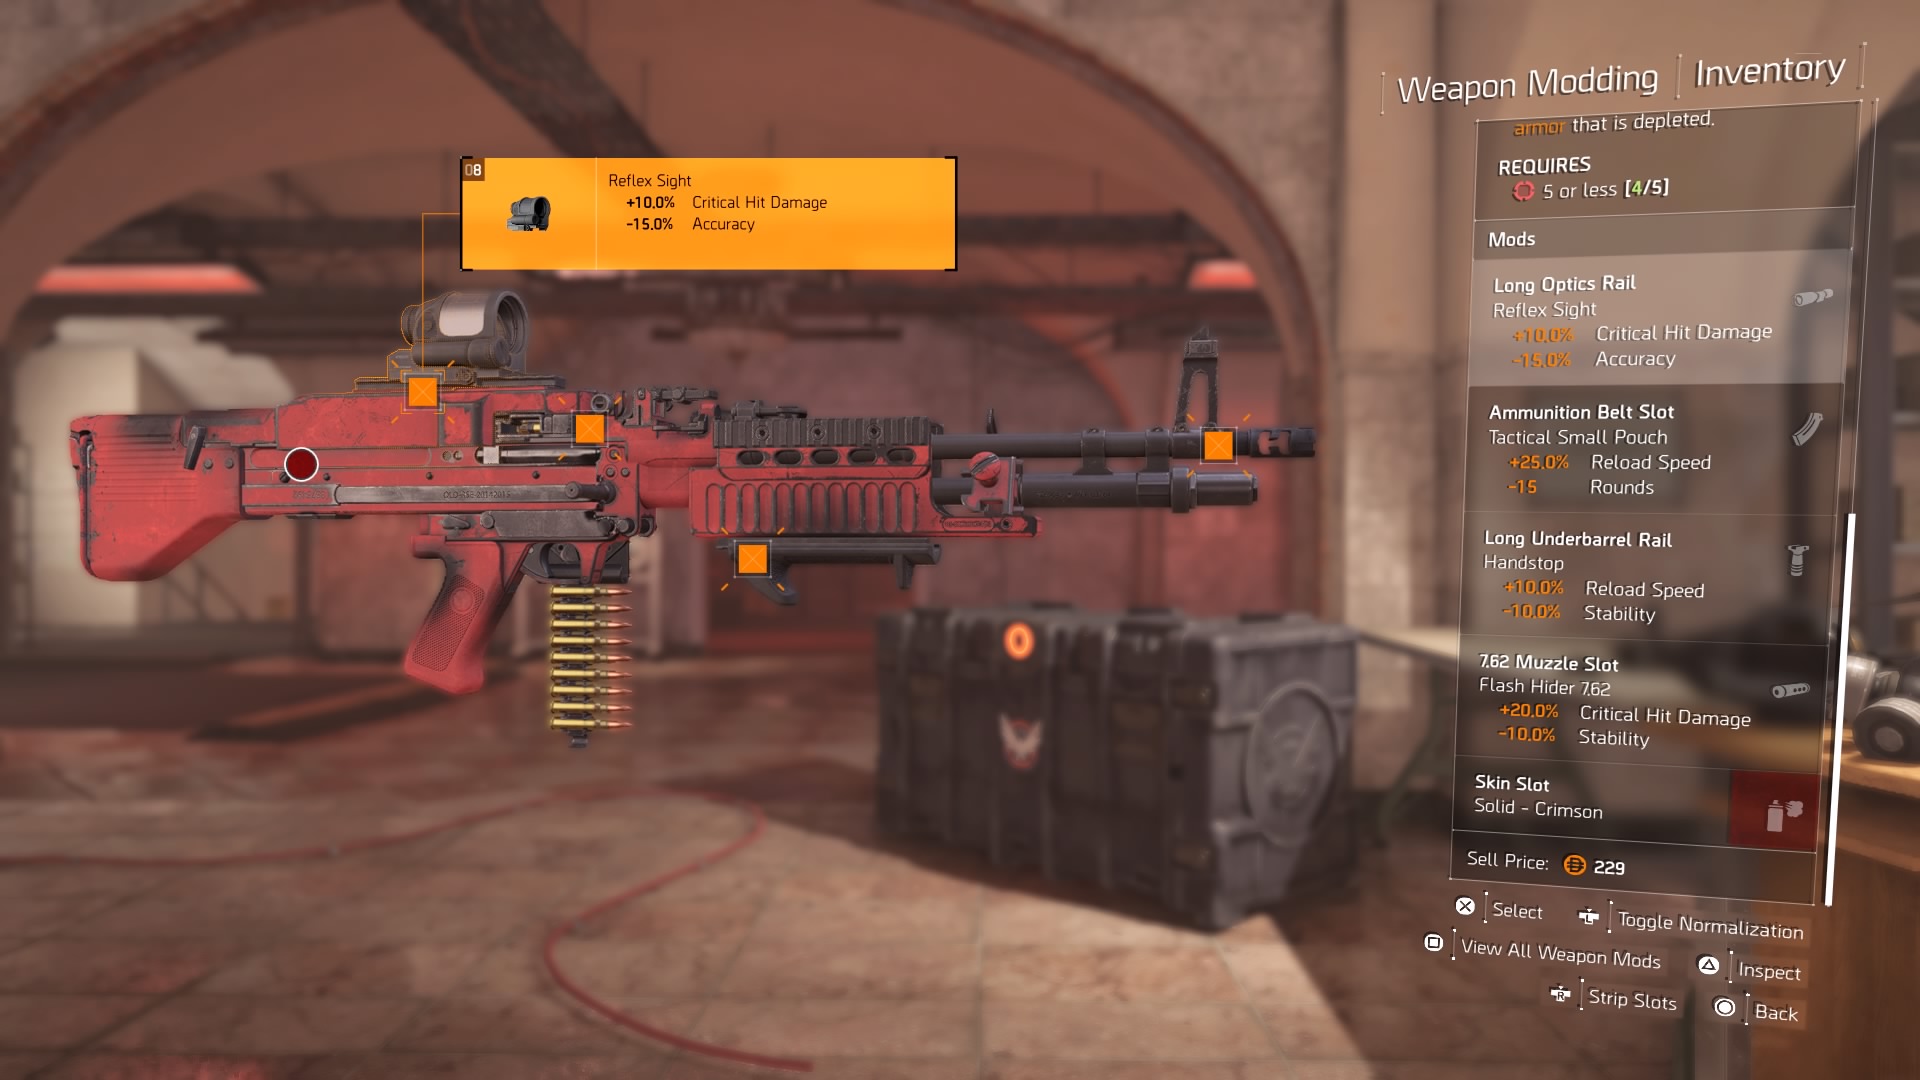
Weapon talents are a lot more self explanatory than gear talents, so there’s not as much to cover here, but they’re still important. The process is pretty much the same; when you’ve decided on your two weapons, scour through the list of weapon talents in the spreadsheet and work out which ones would be ideal for your loadout. Unhinged is great on my LMG because it’s even more damage output, while First Blood means I don’t have to worry about lining up a headshot for every shot after I reload.
With my LMG, accuracy, stability, and range don’t matter to me since I use it up close and personal. I like to equip weapon mods that increase my Critical Hit Damage and Reload Speed only; that way, I can fire a lot of bullets with even more damage for every critical hit I get. My Marksman Rifle on the other hand would use the 8x scope for the 35% headshot damage, but the reticle is atrocious. So instead I rock the 12x scope and put up with the slower reload speed. Since every shot resets before I fire again, accuracy and stability don’t matter either, so it’s all about countering that slow reload speed with the rest of my weapon mods.
I’ve found that when I’ve used things like Rifles and Assault Rifles however, my preferred playstyle has been the opposite. Stability is hugely important for me with them, so I’d encourage you to take over a few control points and experiment with lots of different mods. Chances are, you’ll feel more comfortable with something different.
Division 2 builds: Specialisations
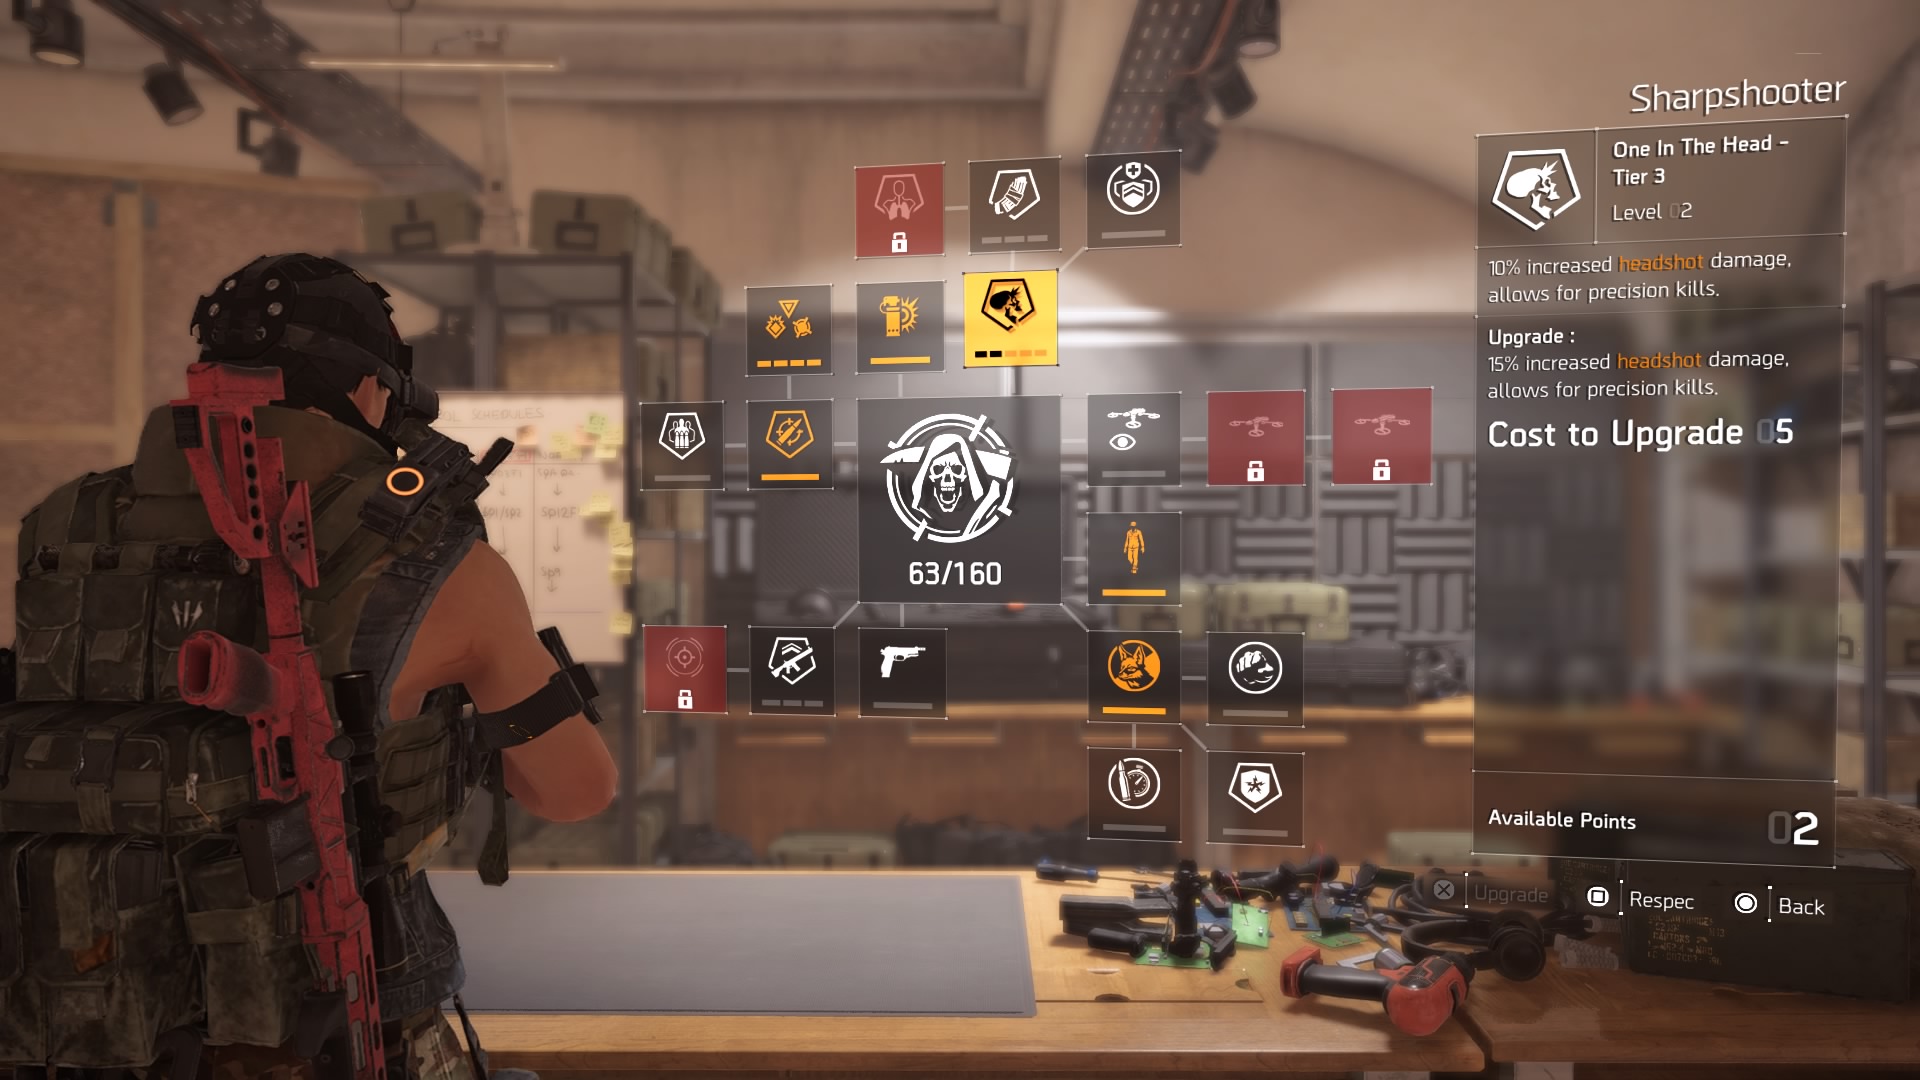
The final thing I want to mention is considering which specialisation you use. All three are incredibly powerful, but they each have vastly different bonuses and perks. I started out with the Sharpshooter because I figured I could get rid of my Marksman Rifle and replace it with something else, but then I figured I should be using one of the others because I use a Marksman Rifle.
Right now, I’m rocking Demolitionist. The grenade launcher is an instant explosion compared to the delay of the Survivalist crossbow, and when I upgrade the Onslaught perk, I get increased LMG damage which is crucial for my build. The SMG damage buff doesn’t help me, but having the Artillery Turret available is useful, and Frag Grenades are arguably the best grenade type available. Especially since explosive kills from other sources drop more explosive ammo.
Have a look through all the perks for each specialisation before deciding. Often the perks will outweigh the benefits of the weapon itself, so consider all aspects. If you want to be super cool, I’d recommend the crossbow, especially for the trophy/achievement to shoot 10 enemies through the knee.
Building a Division 2 character is by no means easy when you reach endgame, but with the right tools and a healthy dose of luck from RNGesus, you’ll be able to tackle level four control points and challenge difficulty missions with ease. Best of luck, agent!
Credit to Reddit user /u/toilet_drake_hs for their basic step-by-step guide which I used when building my own character.
Weekly digests, tales from the communities you love, and more
Give me a game and I will write every "how to" I possibly can or die trying. When I'm not knee-deep in a game to write guides on, you'll find me hurtling round the track in F1, flinging balls on my phone in Pokemon Go, pretending to know what I'm doing in Football Manager, or clicking on heads in Valorant.
