Lego Star Wars III: The Clone Wars Walkthrough
Get from start to finish with our comprehensive walkthrough guide
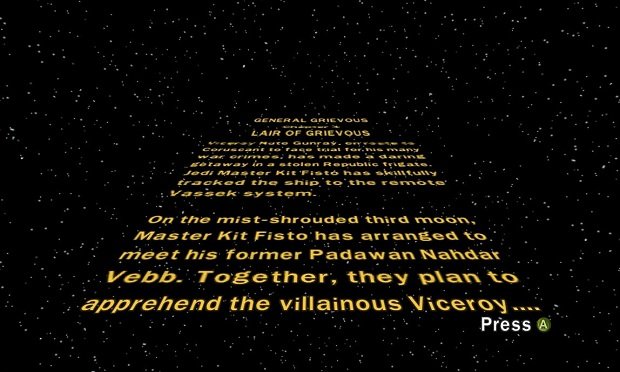
General Grievous: Lair of Grievous
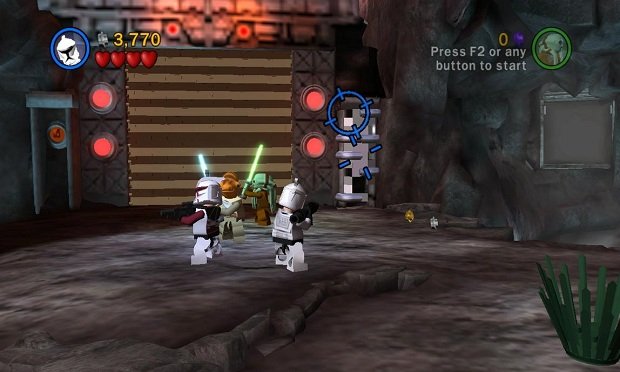
Head up to find a closed brown door. Switch to the clone with the bazooka weapon to shoot down the silver pillar to the right. Now walk left with Commander Fil to grab the attention of the troops waiting near the red ship. Call them over to shoot down the gold pillar. Use the clone's heavy weapon to shoot down the enemies that appear in the wall.
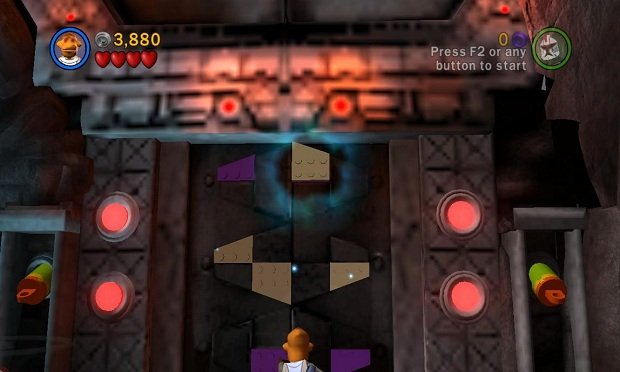
Then, now that you have two exposed hooks, use your two clones to grab both of them at the same time, which will expose a puzzle. Use the Force to move the gray pieces on top of the matching purple pieces.
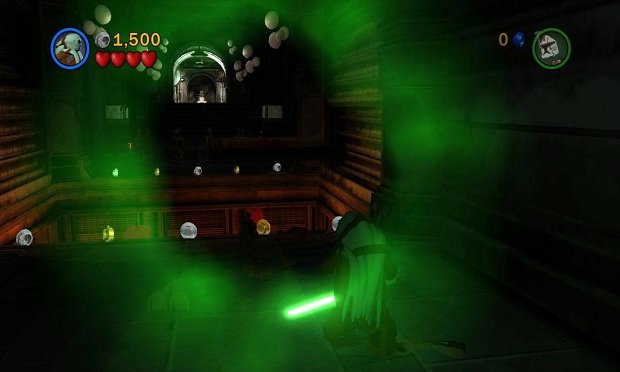
Through the door, make your way down a dark hall until you reach a gap. Use the Force on the left wall to move a platform onto the gap. There's another platform on the right wall, but if you use your double jump you only need one of the platforms.
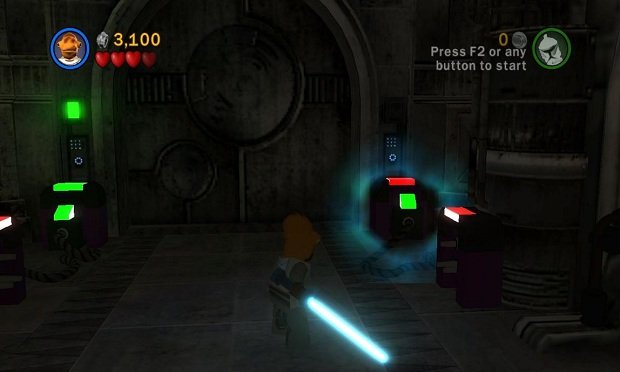
Walk all the way forward until you trigger a cutscene, then walk into the next room. Go down the hall, ignoring all the panels you can't activate, until you reach the power modules at the end. Connect them to the appropriate consoles.
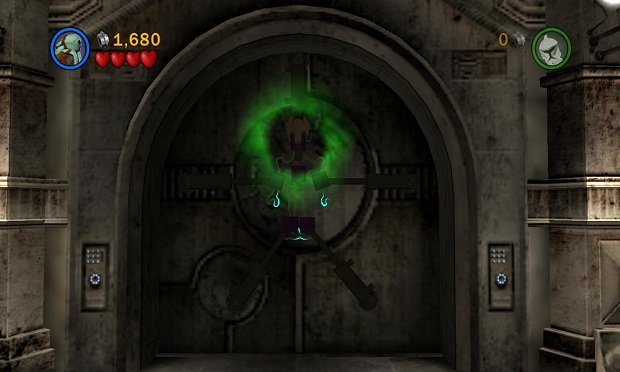
In the next room, grab the two hooks on the left and the right. Watch out for the dual-sided light saber enemies that appear. Then use the Force to build the droid model, piece-by-piece, on the door in front.
Enter Grievous.
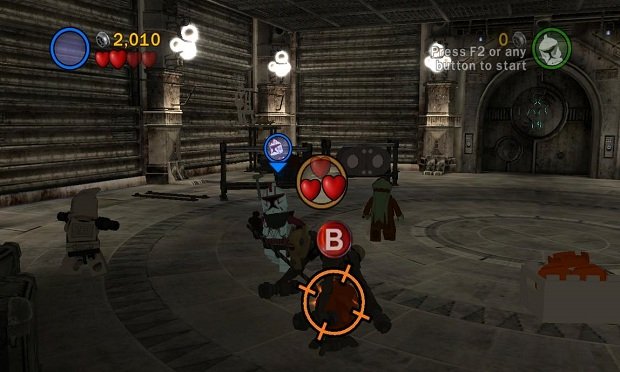
Use the force to hurl objects at him, then switch to a clone to pull on his hook. After two hits, Grievous will start walking upside down on the ceiling. Throw your light saber at him three times to knock him back down, then throw the saber at him two more times. He'll run away. For now.
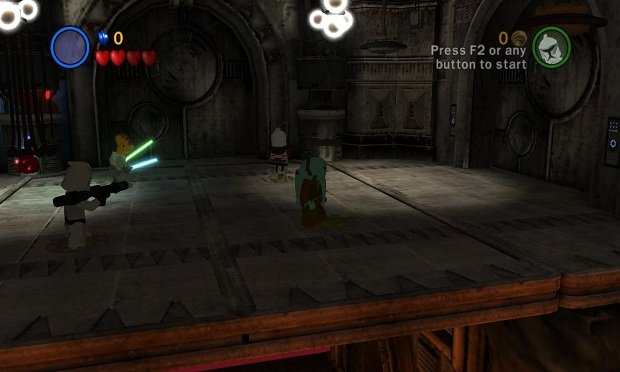
In the next room, step on one of the red switches; your other party members will automatically stand on the other three, causing you all to fall down below.
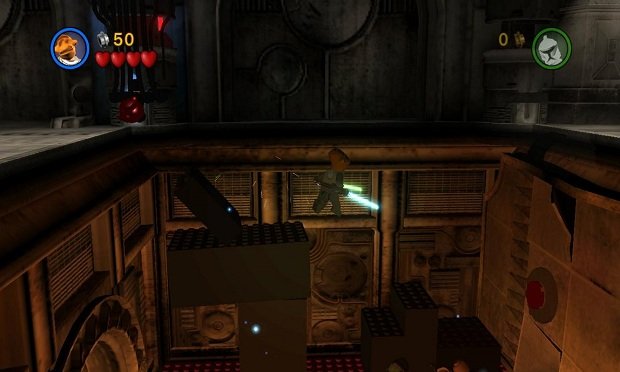
Pile the dark Lego bricks so you can climb back out, and walk through to the next room on the right. Wait until the giant green monster comes storming in.
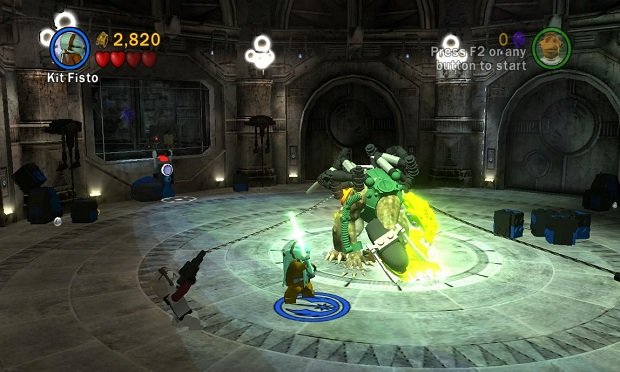
To take him down, use the clones to latch onto his hooks, and then switch to a jedi character to attack via the jedi symbol. Four hits and he'll be gone.
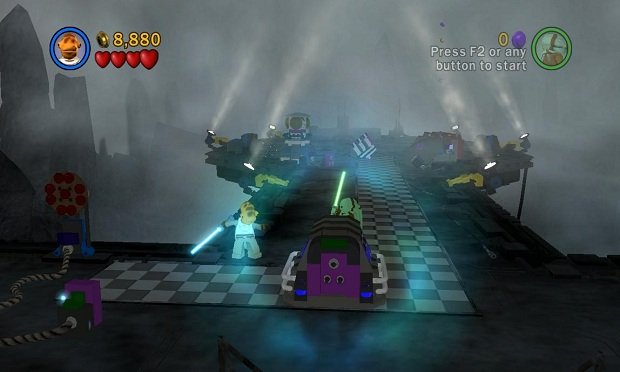
You'll find yourself in a new hallway after the cutscene. Run outside, and take care of the dual-sided light saber enemy. Now, push the module down the checkered path, where you'll find a couple more of the annoying enemies. Take them out so they don't interfere with the rest of this complex puzzle.
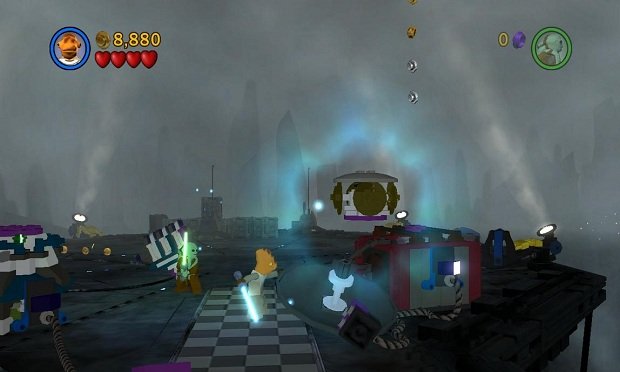
See the two machines to the left and right of the checkered path? Use the Force to take off the top of the machine on the left, and place it on the right-sided machine instead. Now, slightly to the left of the end of the checkered path, there's a pile of rubble. Use the Force to assemble it, and place that on top of the left machine.
Now take the antenna to the right, using the Force to put it on top of the left machine. Now that the satellite device is complete, Force-move its power supply to the module you moved earlier.
And Grievous is back.
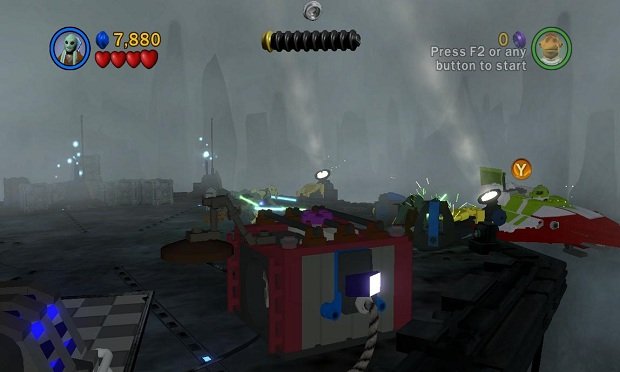
Use your Jedi Slam against him a few times, but you won't do any noticeable damage. Instead, an escape jet will arrive to the right. Jump on it to complete this level.
Weekly digests, tales from the communities you love, and more
