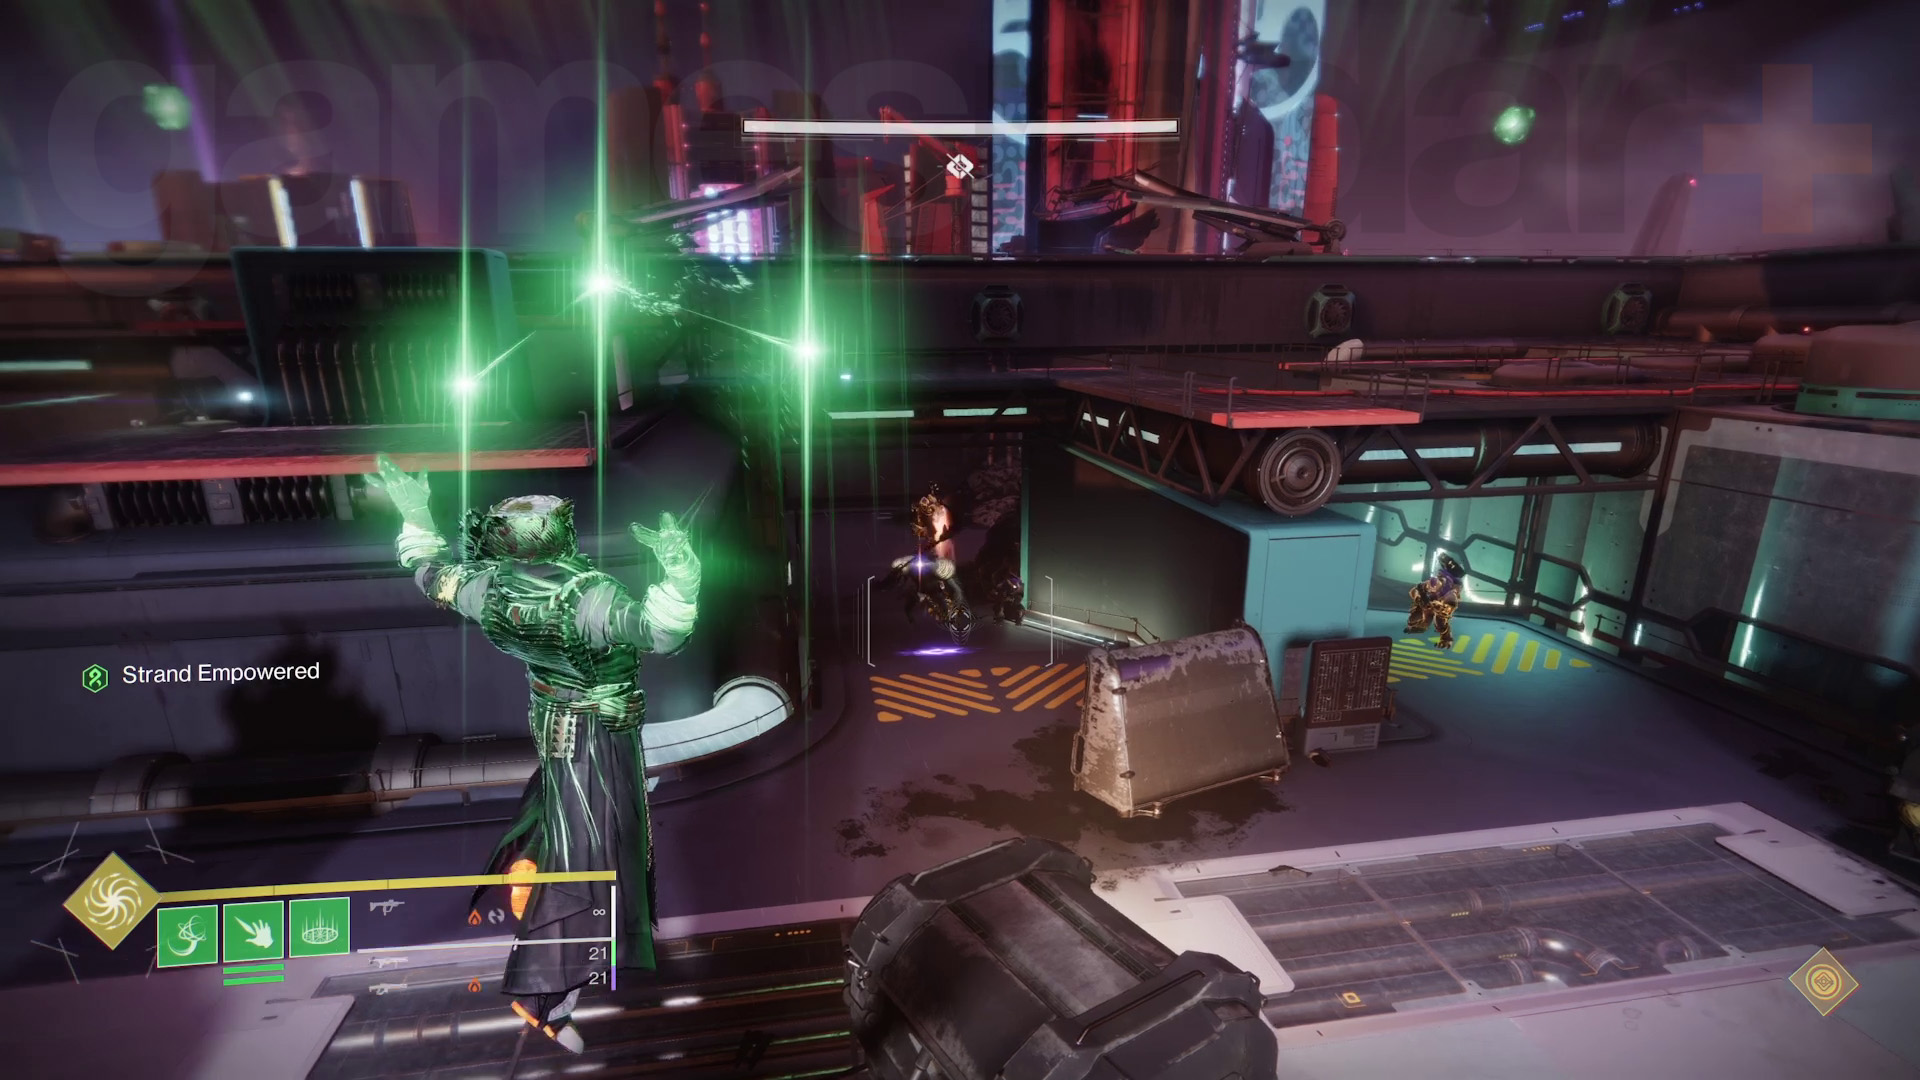
Beating the Destiny 2 Lightfall Desperate Measures mission on Legendary can be incredibly tough due to the lengthy battles, including the final boss fight. However, emerge victorious and you will have beaten all the missions in the Destiny 2 Lightfall story, leaving just a few characters to speak to wrap things up. Here are some tips to get your through the three most challenging parts of the Destiny 2 Lightfall mission, Desperate Measures, including the final boss fight.
Destiny 2 Lightfall campaign spoilers ahead!
Destiny 2 Lightfall Desperate Measures walkthrough
Desperate Measures is the final mission of the Destiny 2 Lightfall campaign and it’s both long and difficult, especially if you’re playing on Legendary difficulty. Before getting started, I highly recommend that your power level is at least 1740, but ideally you want to be at 1750, which is the recommended level. Desperate Measures kicks off with you fighting your way through Shadow Legion forces starting at Zephyr Concourse to eventually reach the Irkalla Complex, but the difficulty ramps up quickly. If you want help with a particular step, use the list below, but otherwise you can read through the whole guide to walk you through the mission:
Destroy the Anti-Air Guns
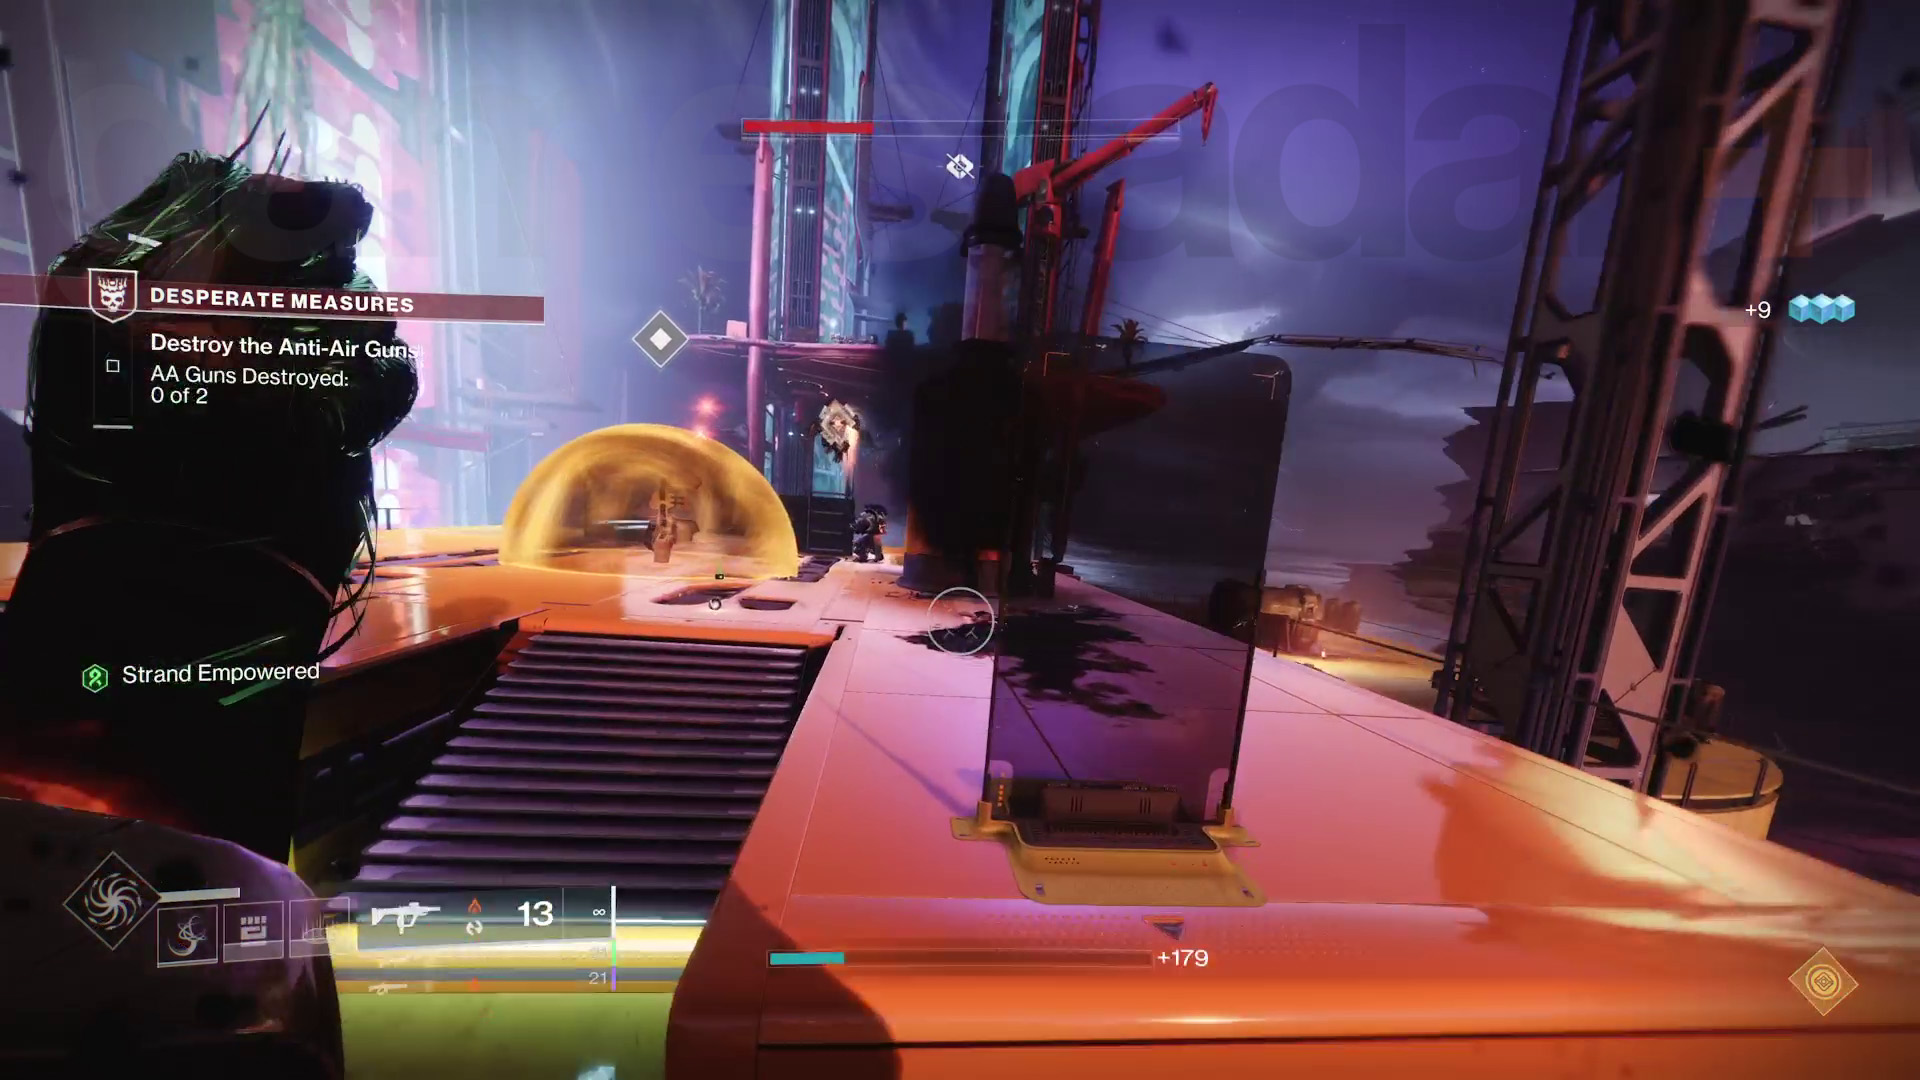
There are two AA guns to destroy which are on top of different buildings, so you’ll need to destroy them one at a time, but the method is the same for both. Eliminate the nearby Shadow Legion forces to remove a forcefield surrounding a console, then interact with that console to lower another forcefield protecting the nearby AA gun. Shoot the glowing explosives on top of the gun to disable it.
Sounds simple, but patience and caution are key here as dying will reset you right back to the beginning of this section. There are hordes of Cabal waiting for you at these guns but you should also be aware of these two things:
- Use your Strand grapple to attach to the Thresher and let it take you to the first AA gun building. The Thresher will start pelting you with tracking rockets, but it will eventually go away and come back to take you to the next AA gun building.
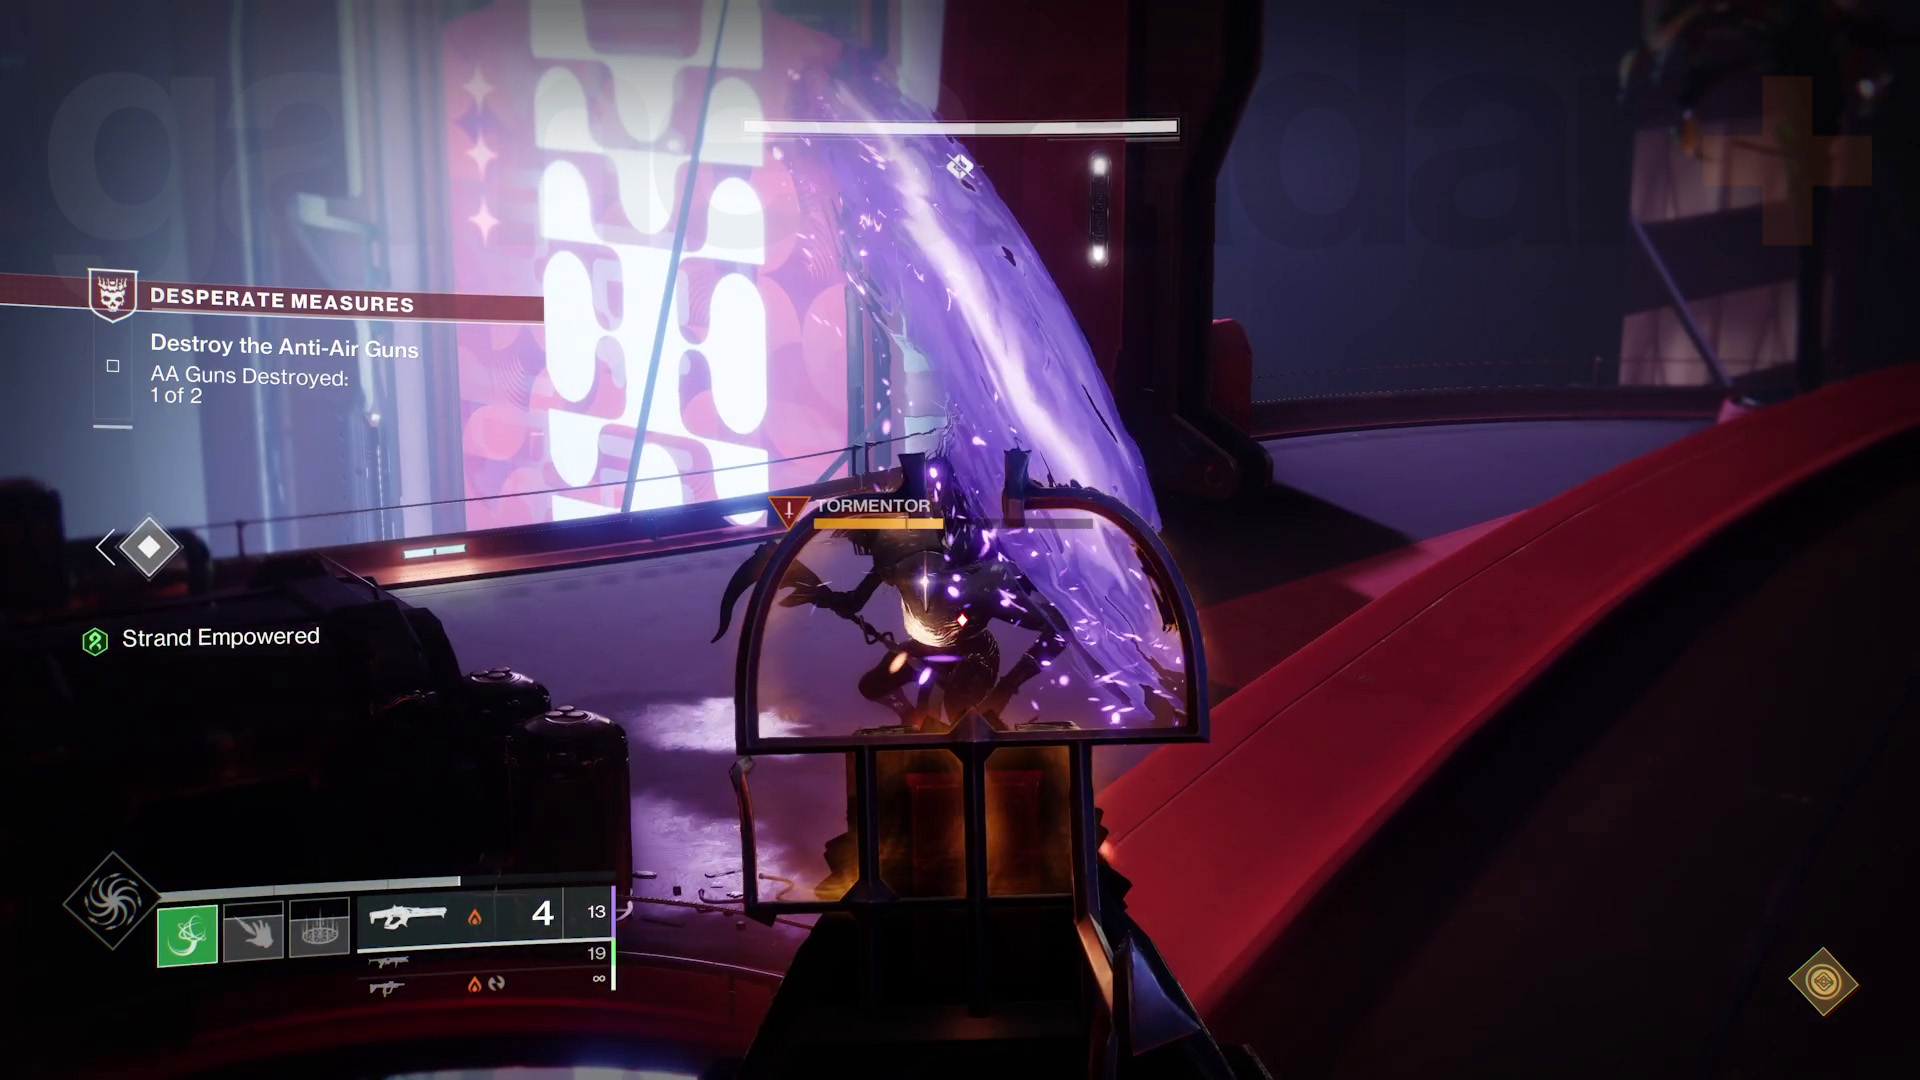
- A Tormentor spawns on the second AA gun building, and you must kill it to bring down the forcefield protecting the AA gun console – make sure you know how to kill Destiny 2 Tormentors with our guide.
With the AA guns down, you jump across to the Irkalla Complex and prepare for the next big battle.
Defend the Vault Entrance
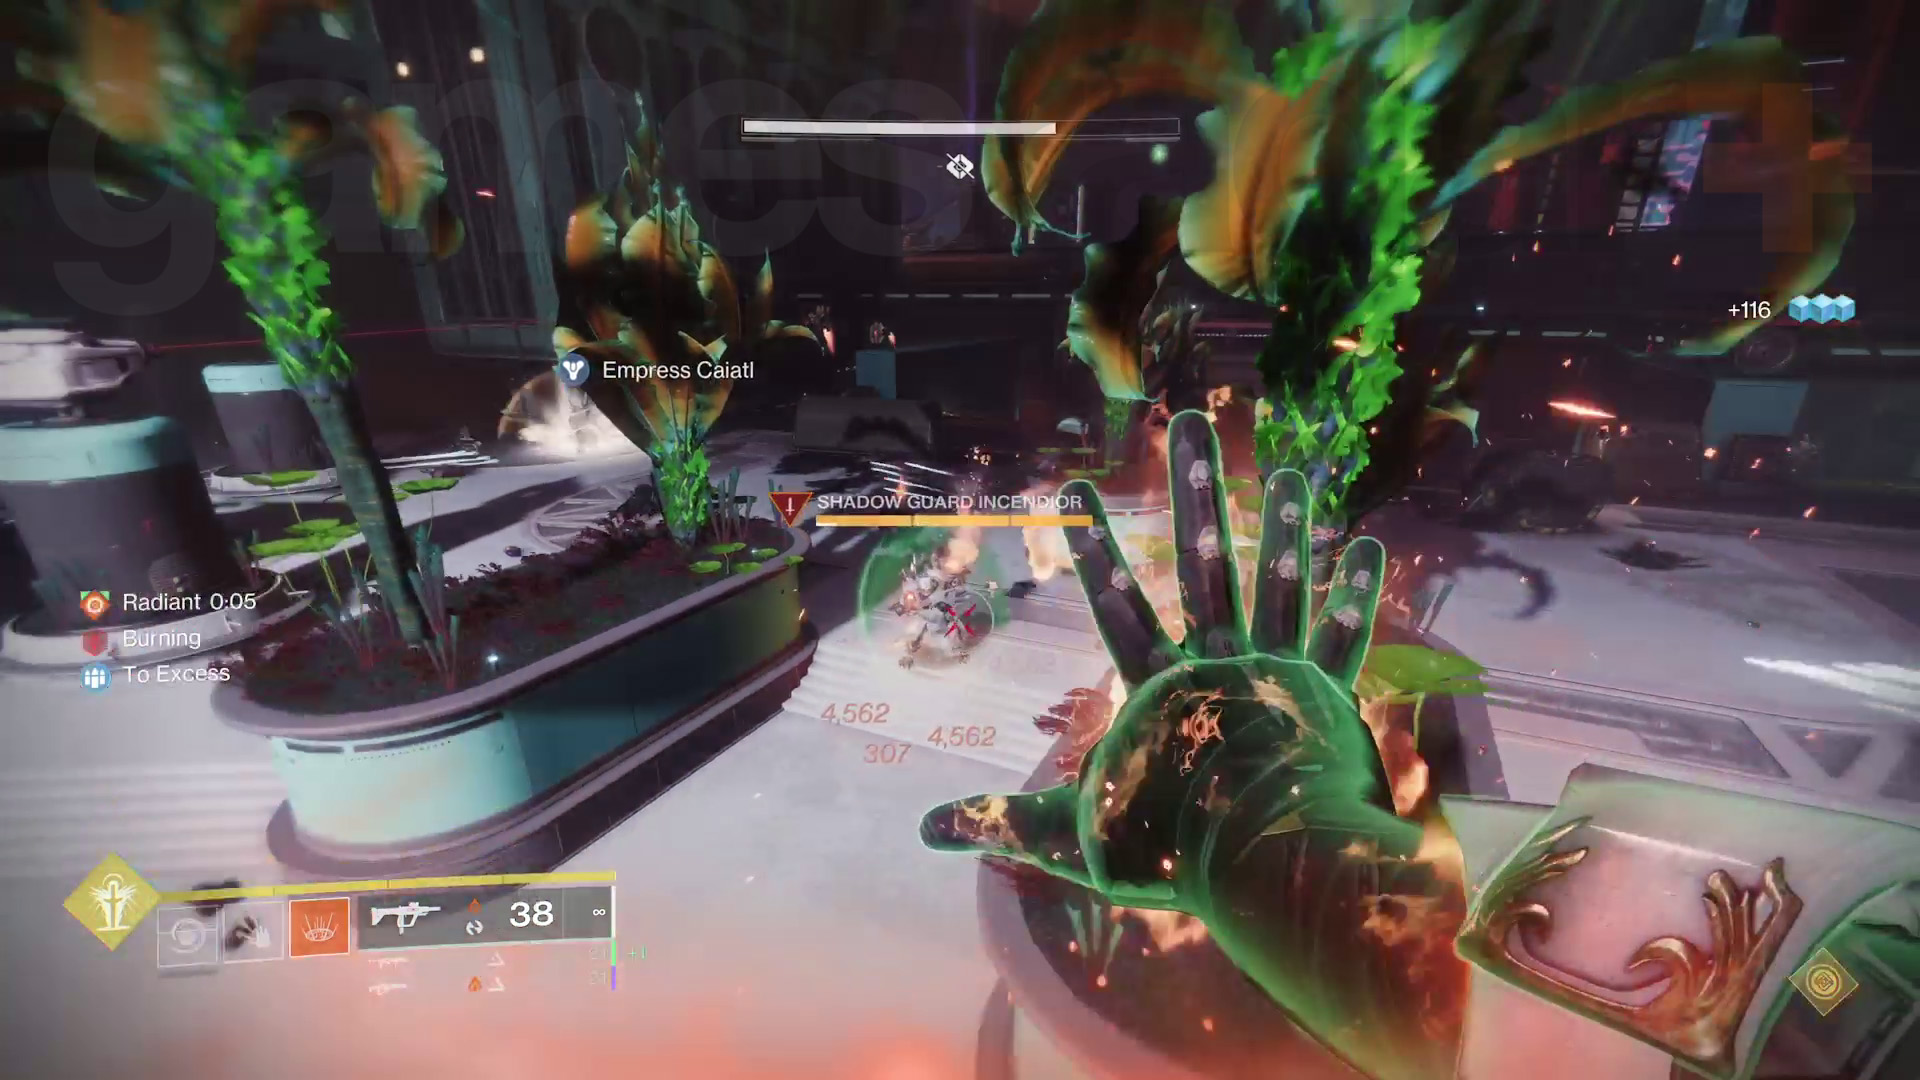
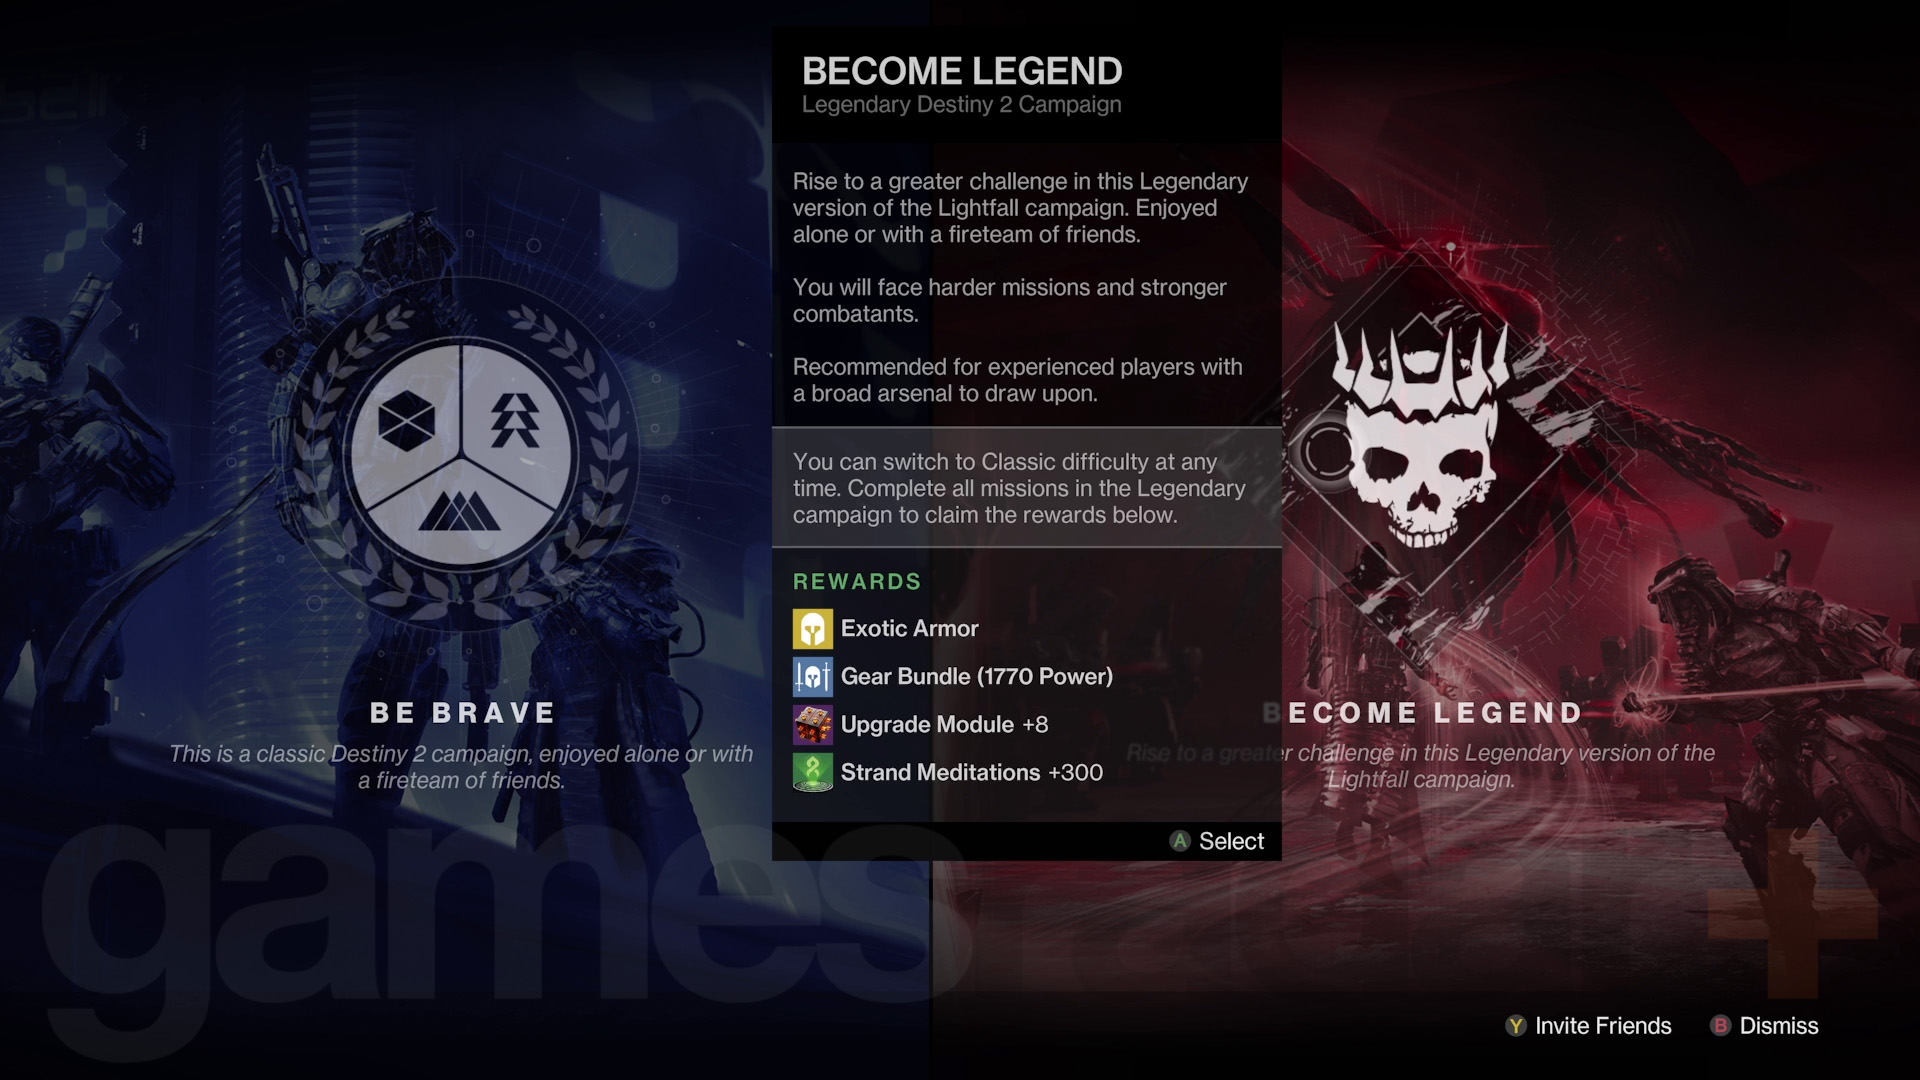
Learn what you'll get out of overcoming this challenge in our Destiny 2 Lightfall Legendary campaign rewards guide
This massive battle encounter is pretty long but all you really have to worry about is killing Shadow Legion forces and avoiding death. You’ll start by clearing some enemies from defense turrets as you reach the Irkalla Complex and then you’ll need to use a new orbital strike weapon to destroy some tanks. Once the tanks have been destroyed, the proper Shadow Legion assault begins. The defense turrets you set up earlier can deactivate if they get swarmed by Shadow Legion enemies, so you must eliminate them to get the turrets working again.
After a few minutes of fighting, Caiatl and her Cabal forces will join the fray to help, but the Shadow Legion will also escalate their assault, bringing in more tanks and Tormentors – use the orbital strike weapons to quickly bring down the tanks and clear out some of the tougher foes. Eventually, Calus will blast a hole into the Irkalla Complex, meaning you’ll have to get inside and stop him from using the Veil directly.
Destiny 2 Calus boss fight
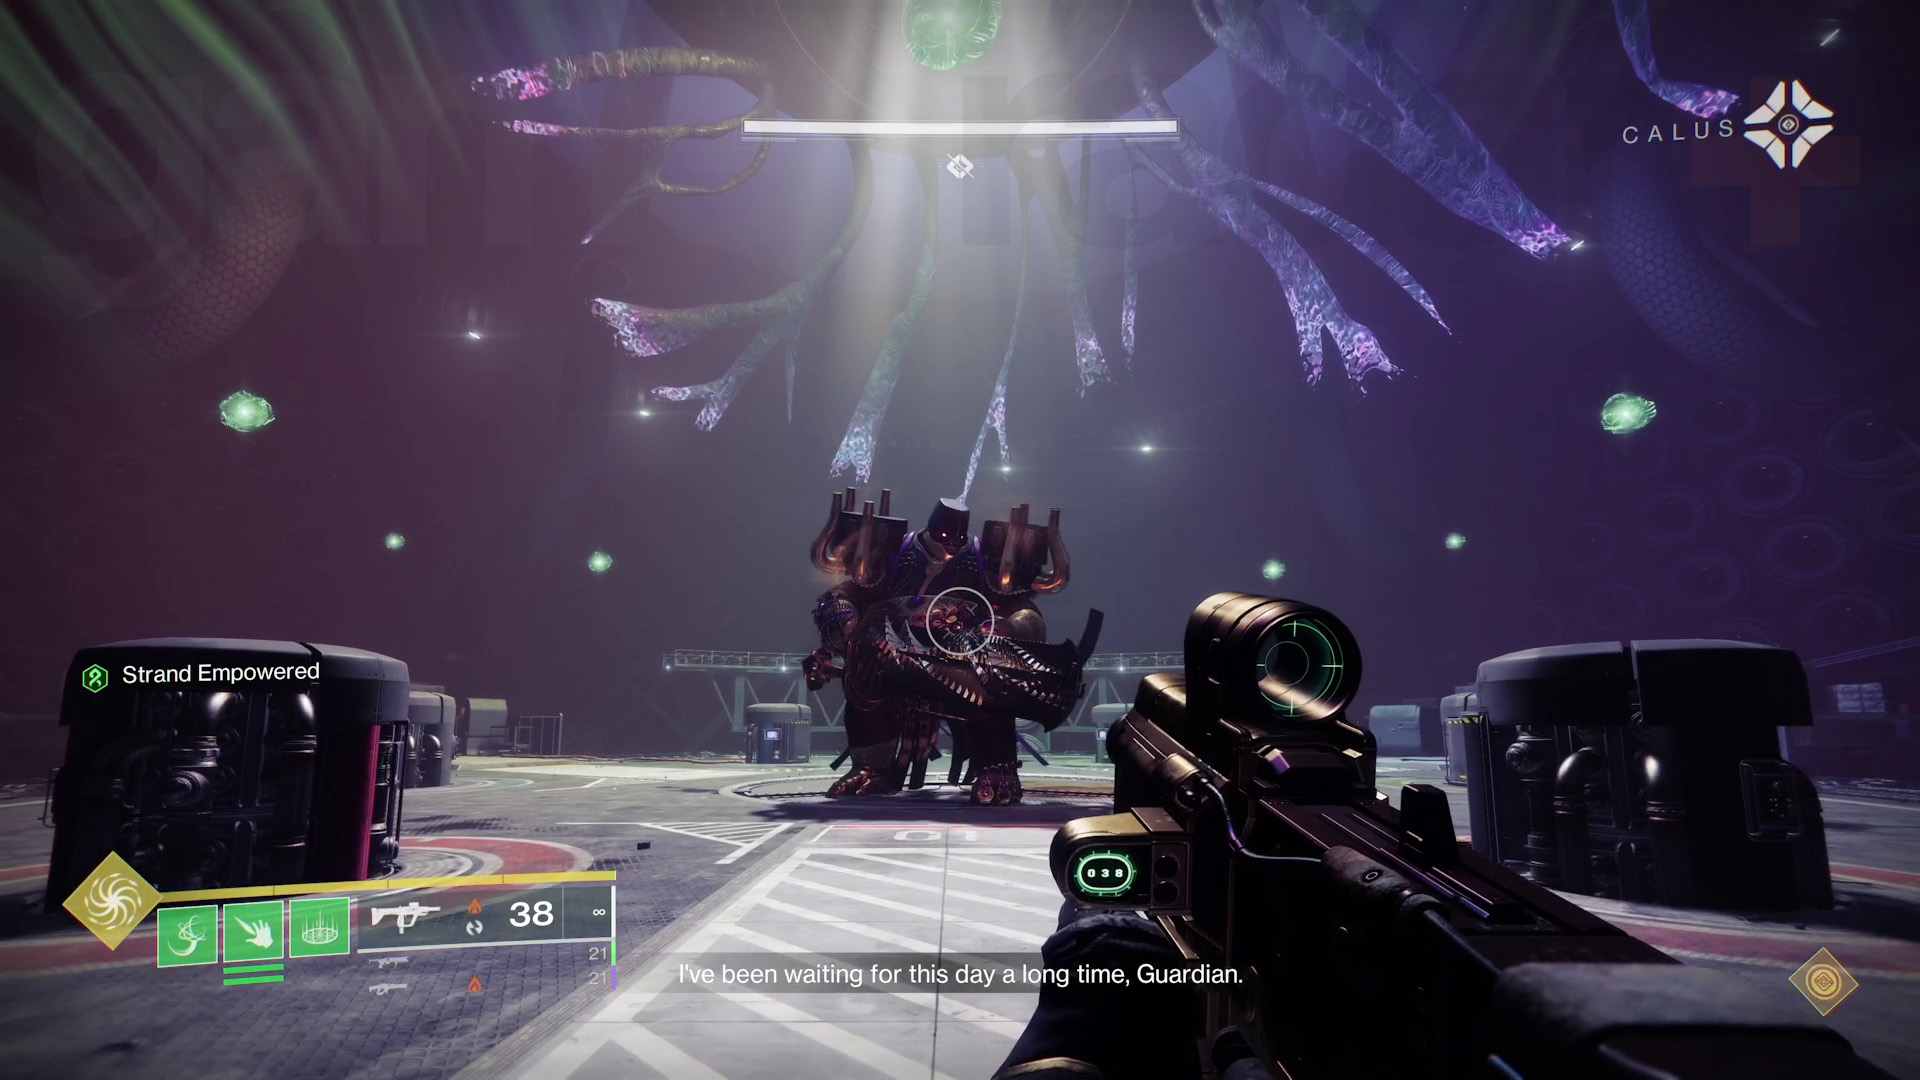
It’s all come down to one final confrontation at the Veil. This Destiny 2 Calus boss fight can be especially tough due to his variety of attacks and little telegraphing. It’s also a two-phase boss fight, so make sure you don’t celebrate too early either. There are some cheese methods you can use to make this fight much easier – namely hiding under and shooting through a flight of stairs – but my tips will help you if you want to beat Calus and the Lightfall campaign sans cheese:
- You don’t have to use Strand: While you’re definitely encouraged to use your newfound powers, the Strand empowerment is completely optional for this fight. There are lots of ways to fall off the arena, and the Strand grapple is useful for saving yourself but consider forgoing it if you’ve got a decent build ready to go for another Subclass.
- Stick to the outside walkways of the arena: These offer relative safety from both Calus and the Cabal enemies surrounding him most of the time.
- However, you need to keep moving: Calus has a few attacks with very little windup that can kill you basically instantly, so you need always keep an eye on him and move around a lot. If you stay in the same spot, especially on those outside walkways, you’ll be prone to an attack where several vertical beams blast down onto you. Tormentors also appear in this fight and are not afraid to chase you down onto these walkways, so make sure you run away when necessary.
- Kill the Tormentors quickly: Calus shoots a lot of projectiles your way, and the Tormentors’ Void waves only add to this problem. I also died several times from getting knocked out the arena and being unable to grapple to safety as I had been suppressed by a Tormentor attack, so get rid of them quickly to minimize these issues.
- Destroy the Shadow Legion shield packs: Certain Shadow Legion enemies, including Calus, hold black packs on their backs that grant shields to nearby fighters. Calus benefits from a comparatively chunky shield that can be difficult to bring down, so make sure you destroy the packs if possible. Damage-over-time weapons, such as Witherhoard and Osteo Striga, are excellent for preventing any shield regeneration too.
- Phase 2 Calus is much faster and melee-focused: With his first health bar gone, Calus will draw two massive swords and begin his second phase, causing the arena to shrink. Strand is undeniably very useful here as the grapple allows you to quickly zip around and keep away from Calus’s high damage slashes. You should also use the round podiums as cover and top keep some distance between you and Calus.
With Calus defeated and the Lightfall campaign pretty much over, you’ll unlock a whole host of endgame quests and activities to complete. If you want to unlock Destiny 2 Strand and all its Fragments, you’ll need to get more Strand Meditations. You can also get the Winterbite Exotic by completing several Hall of Heroes quests, including Destiny 2 Maelstrom and Destiny 2 Bluejay.
Weekly digests, tales from the communities you love, and more

Will Sawyer is a Guides Editor at GamesRadar+ with over five years of experience in writing online guides, news, and features, and has a BA (Hons) in Journalism. Starting as a freelancer, Will contributed to startmenu and Game Rant before joining the GamesRadar+ team in August 2021. Since then, he has written hundreds of guides about a huge range of games, with shooters and action games being his areas of expertise. Outside of writing about games, Will hops between multiplayer shooters with friends, such as Darktide and Helldivers 2, and delves into whatever has been on his backlog for far too long. He also tries to get through his never-ending Warhammer pile of shame of grey Tyranids, Aeldari, and Chaos Space Marines.

 Join The Community


