Darksiders II: Book of the Dead Pages, Stones, Gnomes and collectibles guide
Maps and more to help you locate every Boatman Coin, Book of the Dead Page, Stone, Relic, Scroll, and Gnome
Boatman Coin #34
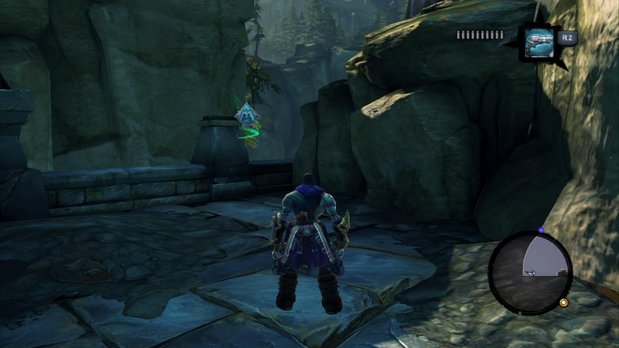
(Tri-Stone) Speak to the Warden, who is now hanging out at the southernmost point of Tri-Stone, and he’ll create a bridge leading further south. Cross it, and look behind the giant statue at the map’s southwestern corner.
The Foundry
Why you can trust GamesRadar+
Stone of Resistance #1
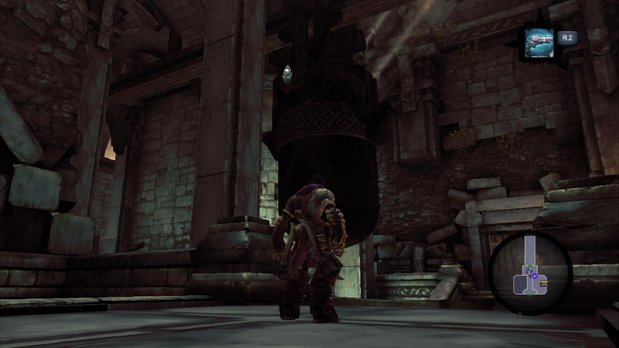
(The Foundry, 1st fl) Upon entering The Foundry, you’ll notice hanging cauldrons moving to the right. The stone is on one of these cauldrons, so wait for it to cycle into view.
Boatman Coin #35
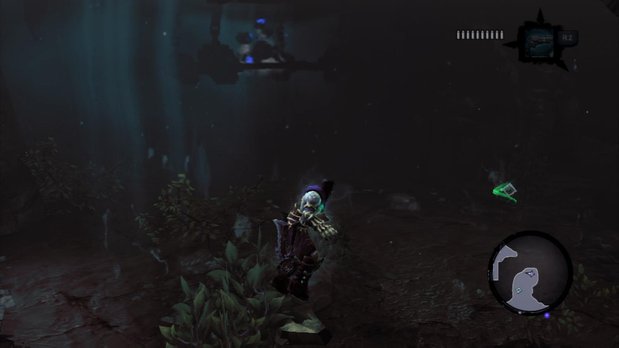
(The Foundry, B1) This coin is underwater (B1), not far from the submerged custodian in the northeastern part of the dungeon.
Book of the Dead Page #10
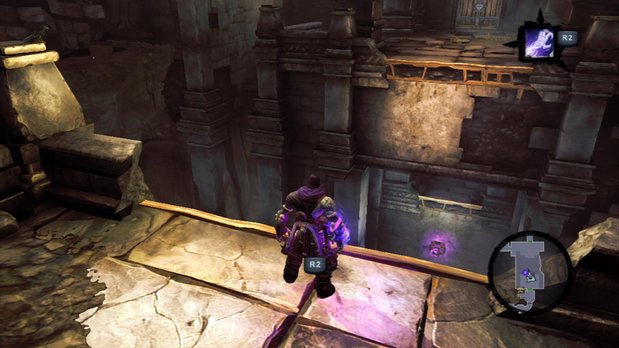
(The Foundry, 2nd fl) Once you’ve acquired the Deathgrip, use it on the first high hook you see. Once you land, turn around and look down for another hook. Leap towards it and use the Deathgrip to grab hold (alternatively, you can just drop from the ledge before using the first hook). This leads you to the tenth page.
Boatman Coin #36
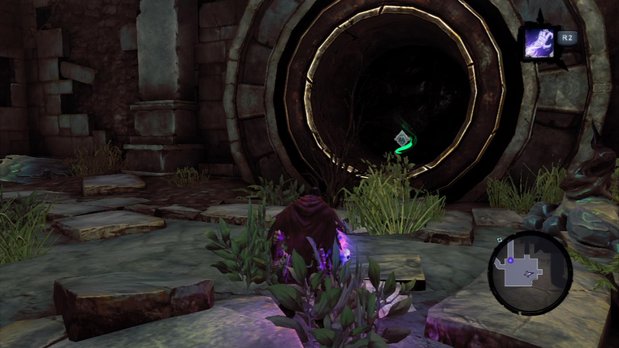
(The Foundry, 1st fl) This one is hard to miss. You’ll find it in a pipe soon after Karn restores the Guardian’s first heart stone.
Boatman Coin #37
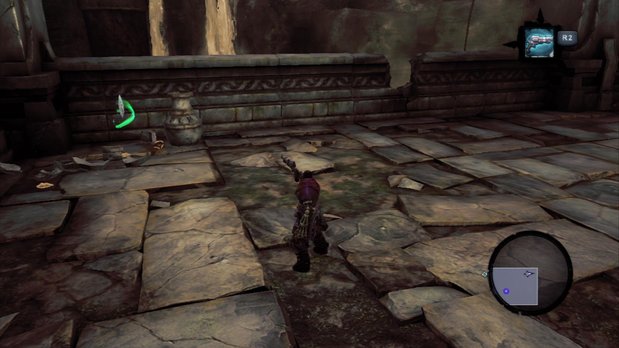
(The Foundry, 1st fl) In the room with the two prowlers and the custodian, break the vase in the northeastern corner to reveal a coin.
Boatman Coin #38
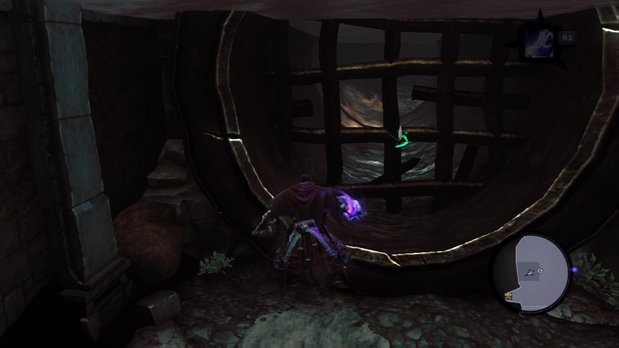
(The Foundry, 1st fl) In the room where you find the second heart stone, jump in the water on the west side. The coin is underwater near the grate.
Boatman Coin #39
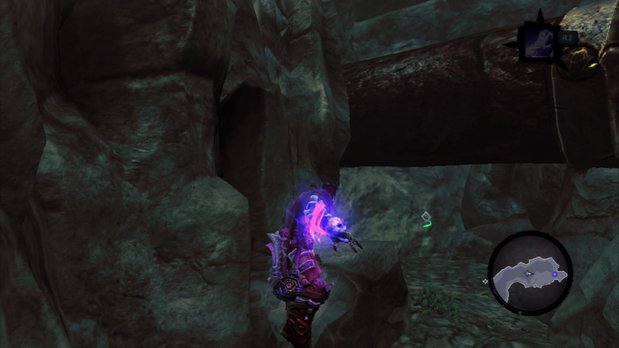
(The Foundry, B1) After climbing the growth and witnessing the short cutscene with the prowlers, you’ll be on a high ledge. Jump into the eastern waters. Deep underwater, below a pipe, you’ll find this coin.
BACKTRACKING 3
As you might expect, the Deathgrip allows you to reach previously inaccessible areas. Some of these areas not only contain collectibles, but also side quest-related bosses. Here’s what we suggest you do before progressing the main storyline:
Boatman Coin #40
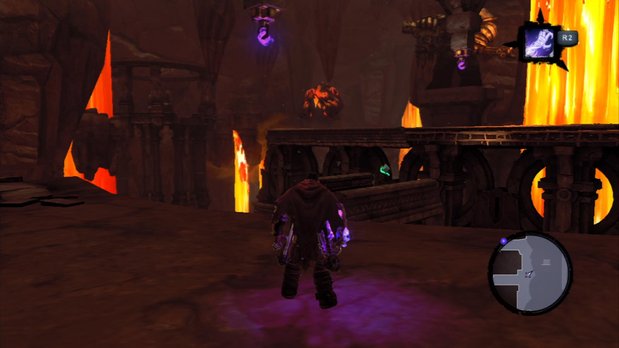
(The Nook, B1) Return to level B1. You’ll notice a large flaming bird (this is Bheithir) flying around an area that was previously inaccessible. Use the Deathgrip to nab the coin pictured above.
Book of the Dead Page #11
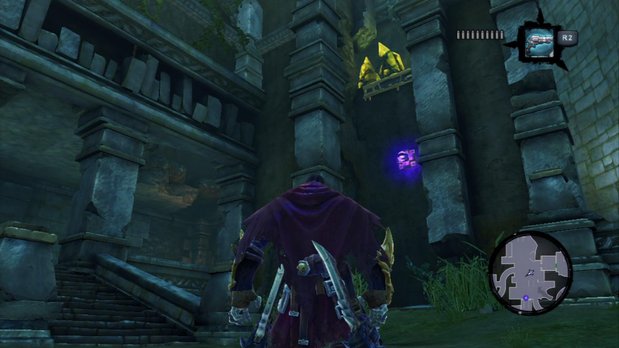
(The Nook, 2nd fl) Go to the open-air room at the center of the first floor and look for this obvious Deathgrip hook. It will take you to floor 2, where you’ll find a page.
Boatman Coin #41
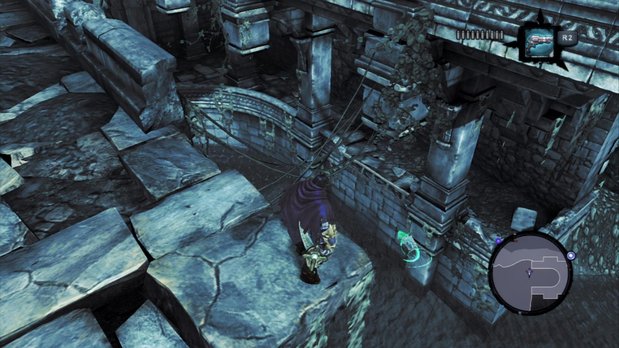
(The Fjord) Go around to the front end of the largest ruined structure in the Fjord. There’s a spot where you can use the Deathgrip to get up to a higher level. From here, you can leap out and grab the coin that’s floating in midair on the west side of the temple.
Stone of Mystics #15
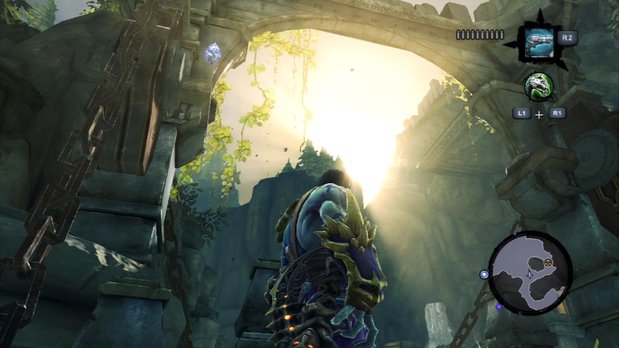
(The Weeping Crag, outside) This is on the east side of the archway if you’re coming at the drawbridge from the east.
Boatman Coin #42
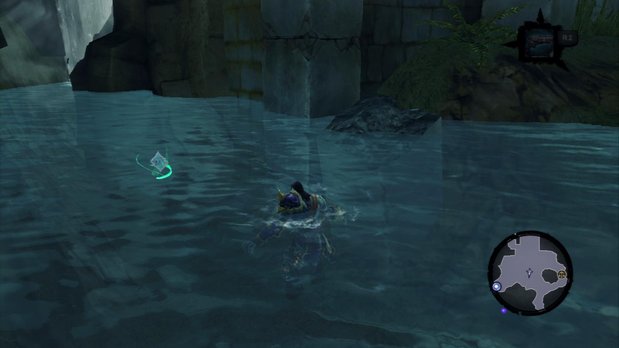
(The Weeping Crag, outside) The Deathgrip allows you to now access this area, but this coin is underwater below the drawbridge.
Book of the Dead Page #12
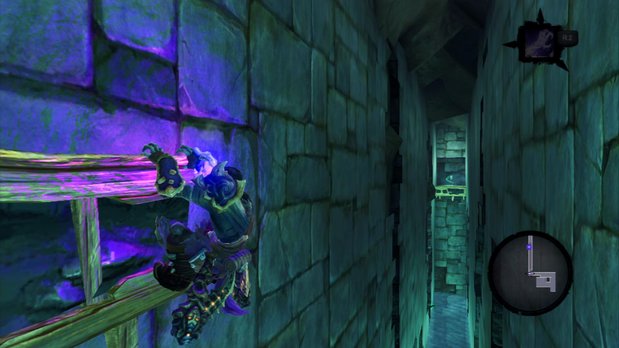
(The Weeping Crag, B1) Soon after unlocking the skeleton door, you’ll be find yourself in a long, narrow passage that requires you to do continuous wall jumps. The page lies at the end, as pictured above.
Stone of Power #4
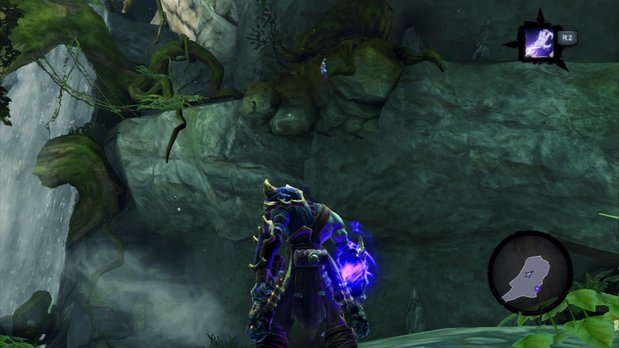
(The Weeping Crag, B3) From where you found page #12, dive into the water and follow the staircase down. This path leads to Gorewood, a side quest-related boss. Once inside his lair, check high on the eastern cliff face for a stone. There are more collectibles in this dungeon but they require item(s) you won’t have until much later in the game.
Boatman Coin #43
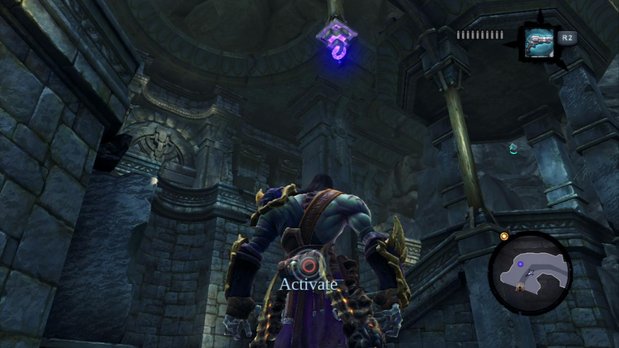
(The Charred Pass) Fast travel to the entrance to The Scar. Once you arrive, it’s quite clear how you need to use the Deathgrip to reachness this floating coin.
Stone of Power #5
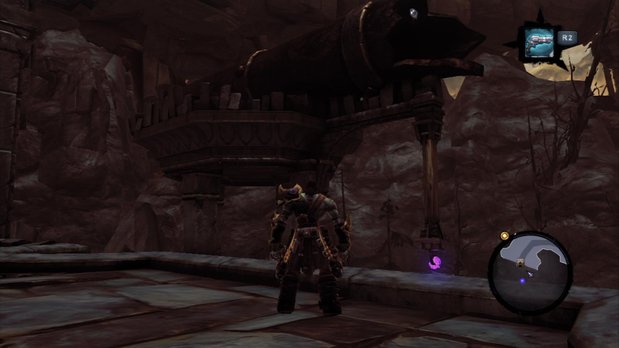
(The Charred Pass) Stand at the entrance to The Scar and turn around. Above the column that holds a Deathgrip hook, you can see a stone of power in the busted pipe.
Book of the Dead Page #13
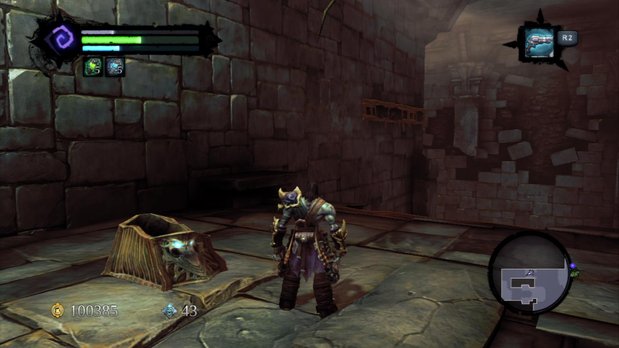
(The Scar, 1st fl) Immediately after obtaining the Skeleton Key, do not leap off the ledge to grab the coin. Instead, turn around and look for some handholds on the left wall. Follow this route to find a page.
Boatman Coin #44
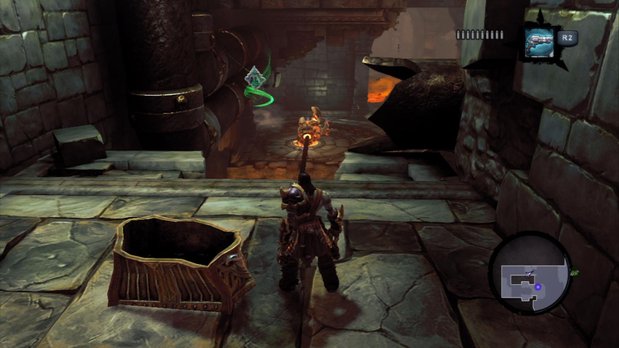
(The Scar, 1st fl) Return to the chest inside which you found the Skeleton Key. Leap off the ledge to grab the coin.
END BACKTRACKING 3
Weekly digests, tales from the communities you love, and more


 Join The Community


