The complete guide to combat in Baldur's Gate 3
We explain how combat works in BG3, from turn order to attacks of opportunity, and more.

Weekly digests, tales from the communities you love, and more
You are now subscribed
Your newsletter sign-up was successful
Want to add more newsletters?
Join the club
Get full access to premium articles, exclusive features and a growing list of member rewards.
If you want Baldur's Gate 3 combat explained, this is the place to begin: BG3's fighting system is modelled on D&D, so those who have experience playing fifth edition will have a good advantage, but don't worry: BG3's combat system is something anybody can learn, and while the game doesn't tutorialise it especially clearly, this guide below will help you out, laying out the basics and detailing out the art of war. I'll go over how fighting works in Baldur's Gate 3 with a beginner-friendly guide and tutorial, with details on movement, turn order, actions, damage and everything else you need to know.
Combat in Baldur's Gate 3 explained for beginners

These are the most basic things to understand with Baldur's Gate 3 combat:
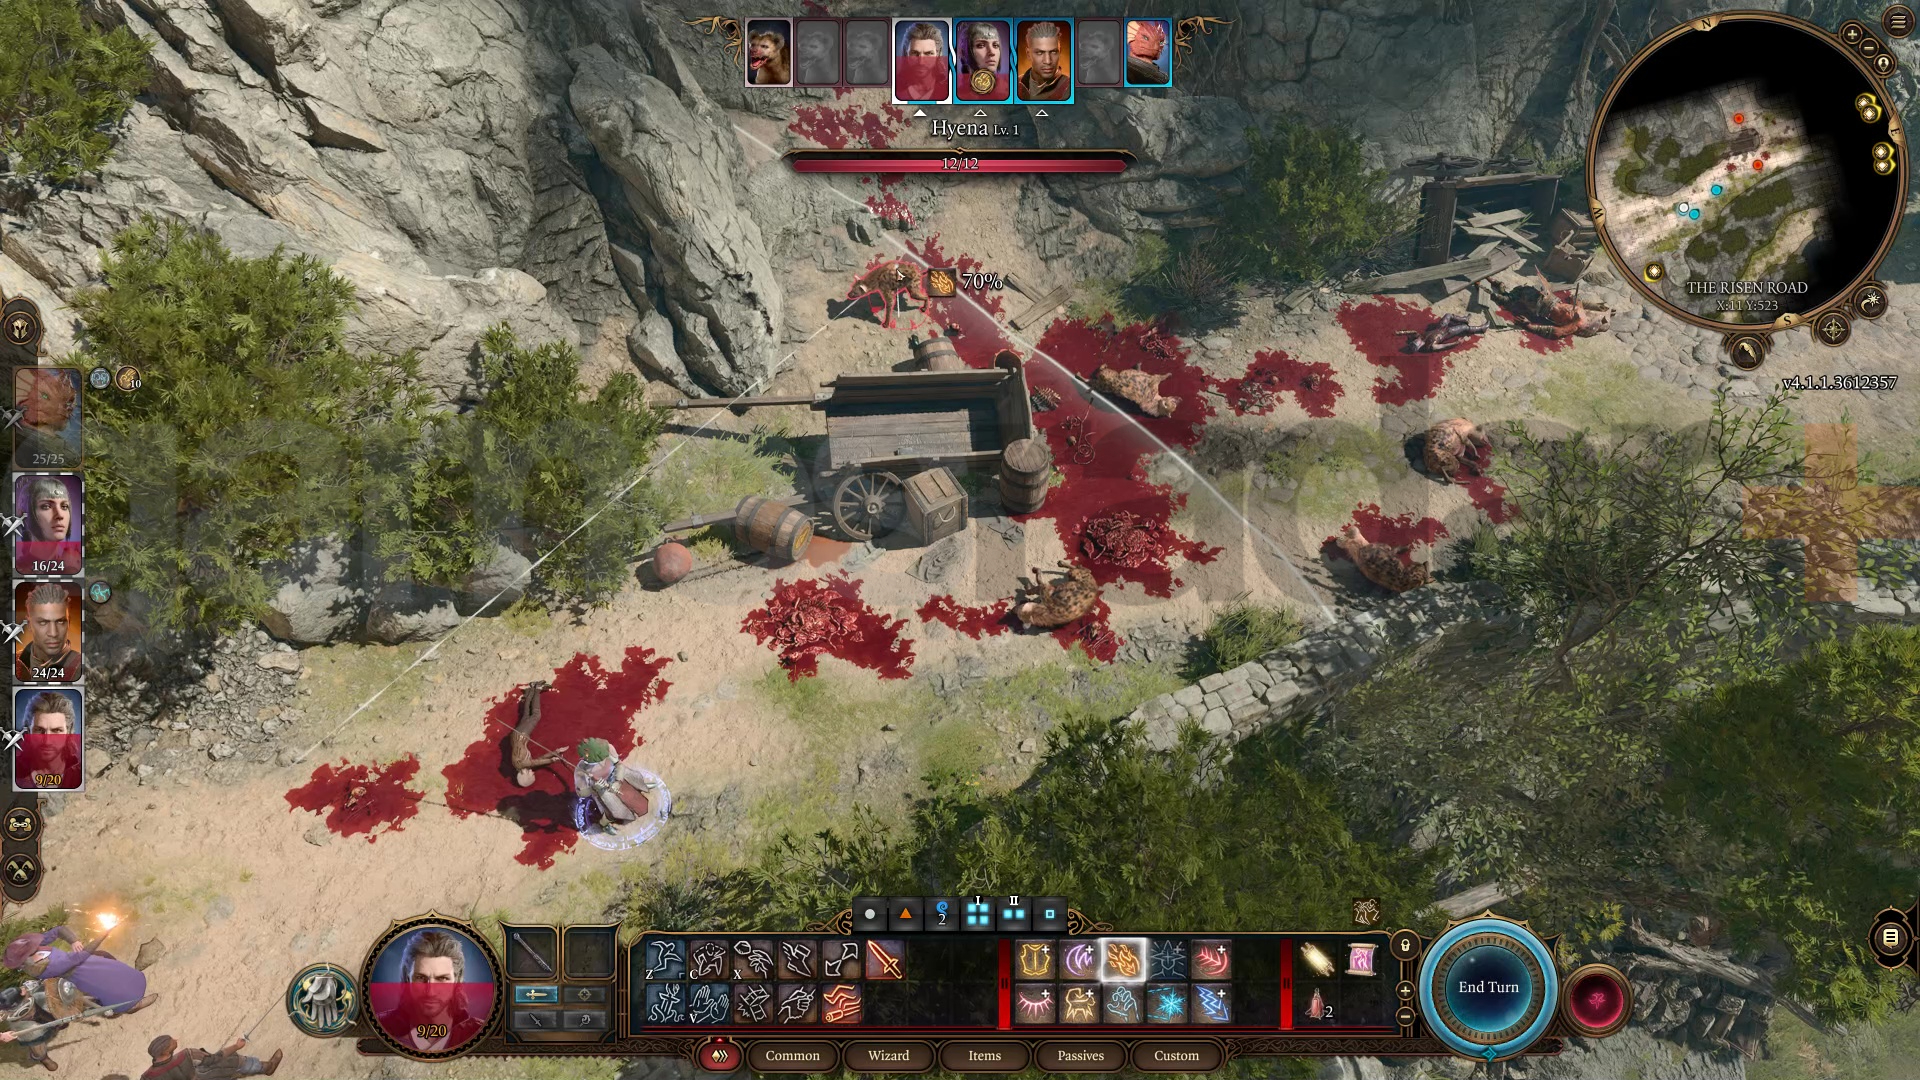
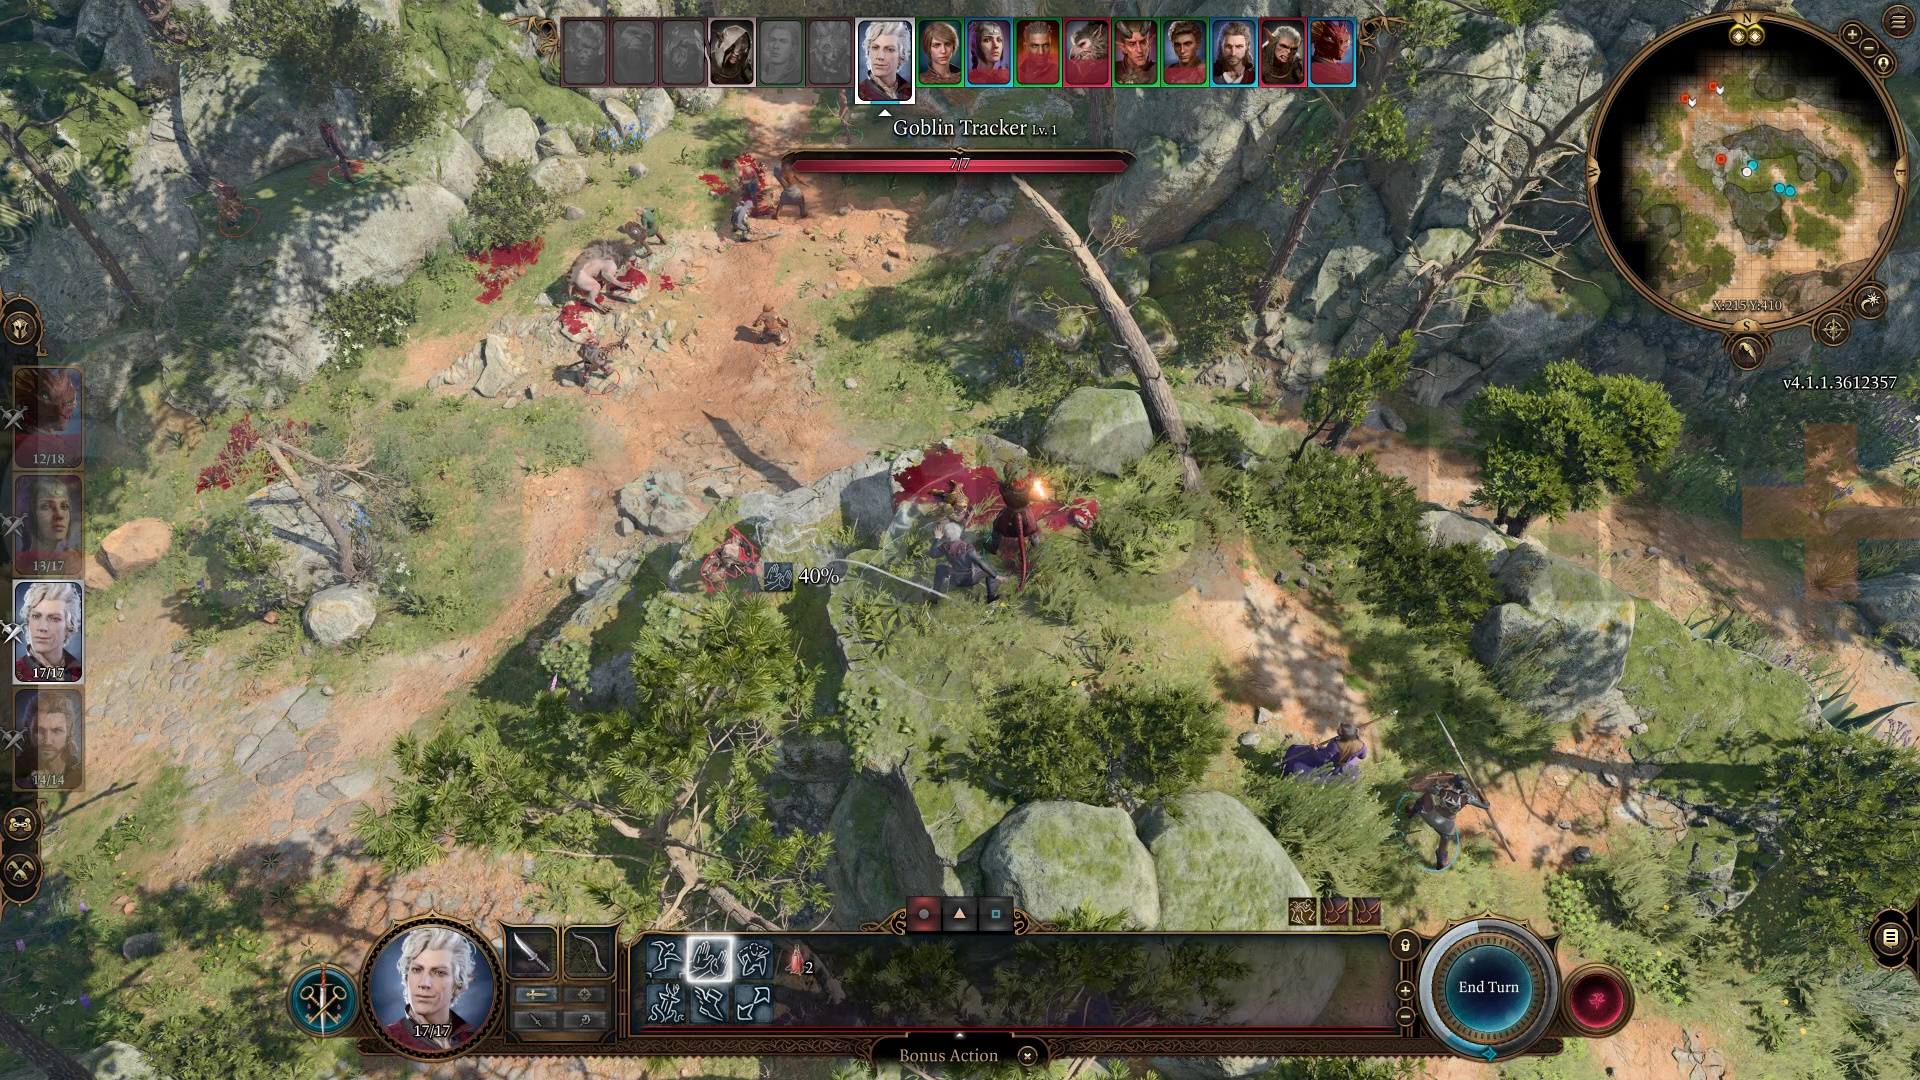
- All characters in combat start by rolling a dice for initiative. The numbers rolled here determine the turn order everyone goes in, which appears at the top of the screen.
- Characters use their movement and actions one at a time in the turn order decided.
- Any attacks, spells or other effects you unleash have a chance to hit a target, represented by a percentage that appears when you mouse over it. Resistances, terrain, and other modifiers can increase or decrees these chances, as well as how much damage they do.
- If you beat the percentage and land the attack you'll then apply the damage or effect of the weapon/spell you used.
- When you've used up all a character's available movement and action points you won't be able to do anything more and will have to use the "End Turn" button to let the next character or enemy go.
- Combat cycles through these turns repeatedly and only ends when one team is left standing.
So basically, you all take turns using a limited pool of individual movement and action points to move around and attack, one at a time. While it might be tempting to just try and whack everything as much and as quickly as possible, it's better to think strategically: higher ground is usually an advantage, for example. Or can you use any spells on your own party for buffs and protections?
Article continues belowYou also need to think about who you're using to do what. Magic users are generally delicate and not great upfront, so you'll want them to hang back and attack from a distance while the fighters get in close.
It's also worth being aware of anything you can use to tip the balance in your favor. Things like explosive barrels, droppable or throwable items, even getting someone near an edge and pushing them off.
Baldur's Gate 3 combat system explained in more detail

Baldur's Gate 3 combat has a lot of elements to it, and we've broken up all the fundamentals below for you to use.
- Turn order and combat start
- Initiative: When combat starts, all characters roll initiative, which determines the combat turn order shown at the top of the screen, left to right. Characters who roll the same initiative can move simultaneously, meaning you can switch between them and set up combos. Characters get bonuses to initiative equal to their Dexterity modifier.
- Surprise and ambush: Starting combat by attacking from stealth causes the ambushers to get a free round at the beginning, where they can all take a free turn but the enemy can't do anything until the attackers have all had a go. It's a serious advantage to starting a fight!
- Turns: Characters can take actions of all sorts and move on their turn. They usually get one major "action" per turn, likely spent on an attack (but there's other options).
- Ending your turn: When you're finished with a character or have done everything you can do with them, hit the "end turn" button at the lower right to move to the next character. Don't worry - if two characters are acting simultaneously, you'll just switch to the other one to finish their turn.
- Avoiding and Resisting attacks
- Attack Rolls (against AC): Characters roll to hit each other with Baldur's Gate 3 weapons and spells. If you roll equal to or higher than the target's armor class (AC), you hit them and can roll damage or the attack's effect.
- Saving Throws (against spells and effects): Some attacks, usually powerful spells, don't go against a target's AC, but instead force them to roll to beat a target number. If they succeed, the target evades the attack or takes a reduced effect. For example, a Dexterity Saving Throw is used to avoid the blast of a fireball.
- Resistances, Immunities and vulnerabilities: Certain characters are resistant to certain kinds of damage, meaning they take half the amount of damage from attacks and dangers. Immunity means they take no damage at all, and vulnerability means they take double damage. You can find out all this when you examine an opponent.
- Cover, height and distance: Placement on the map is very important, especially in ranged combat. Being higher than the opponent gives you bonuses to hit them, while they'll find it harder to hit you.
- Actions, Reactions and Movement
- Bonus actions: Some smaller, simpler actions and spells use up a bonus action instead of a regular action. Characters get one bonus action per turn.
- Movement and dashing: Characters can move a set distance determined by their Baldur's Gate 3 race, maybe altered by the class, depending. They can double their movement by spending their main action to "dash".
- Reactions: All characters can use one "reaction" per round, on specific behaviours and spells that trigger in response to something an enemy does. Casting counterspell or taking an attack of opportunity is an example of this. Because reactions are effectively readied to go on your turn, you can toggle them and off from the hotbar.
- Attacks of opportunity and disengaging: Attacks of opportunity are reaction melee attacks taken on enemies who try to run out of the user's melee range, effectively stabbing them in the back with your equipped weapon when they try to flee. Using an action to "disengage" allows you to move without triggering attacks of opportunity.
- Shoves and pushes: As a bonus action, characters can attempt to shove an enemy in melee range, knocking them back a certain distance depending on the shover's strength score. Chance of success is based on your Athletics score against the enemy's Athletics or Acrobatics (whichever is higher), and bigger enemies are much harder to move. Shoves do no damage on their own, but can knock enemies into danger or off high ledges, occasionally killing them outright.
- Dipping your weapon: This bonus action allows you to place your weapon in certain substances or effects near your character, temporarily imbuing it with that effect. Fire is the obvious one - if you see a torch or candle, or just the burning residue from a spell or bomb, dip your sword or arrow in it for a temporary damage boost.
- Examining enemies: At any time you can right-click on an enemy and choose to "examine" them, getting all sorts of information about their stats, abilities, buffs and resistances. This doesn't cost any sort of action.
- Death, Healing and being downed
- Healing: Healing in BG3 is done through a variety of Baldur's Gate 3 spells, class abilities and items. Different effects heal different amounts, some healing can be done at range, and some spells/items can be used as bonus actions.
- Dying and death: When a Baldur's Gate 3 party member is reduced to 0 hit points, they fall unconscious and enter the "dying" state, rolling a Death Saving Throw every turn to either stabilise or fully die. Three successes causes them to get back up, three failures cause death (shown by the little icon above their head). Taking further damage while dying causes an automatic notch on the failure icon, but any amount of healing will revive them back onto their feet. If the worst happens, check out our guide on how to revive dead characters in Baldur's Gate 3.
- Help: All characters can also use the "help" action to revive a dying ally within arm's reach, getting them up with 1 hit point. It can also end certain status effects on allies, like being wrapped in a web.
Clearly this is a lot, but it gets easier with time as you get to grips with all the mechanics and learn the various nuances. Seek out some easy fights to understand it better and use the quicksave option liberally so you can try again if it comes to it, and don't be afraid to adjust the Baldur's Gate 3 difficulty options if you're having some trouble with all the monsters trying to pull your head off.
Weekly digests, tales from the communities you love, and more
© GamesRadar+. Not to be reproduced without permission

Joel Franey is a writer, journalist, podcaster and Very Tired Man with a BA from Brunel University, a Masters from Sussex University and a decade working in games journalism, often focused on guides coverage but also in reviews, features and news. His love of games is strongest when it comes to groundbreaking narratives like Disco Elysium, UnderTale and Baldur's Gate 3, as well as innovative or refined gameplay experiences like XCOM, Sifu, Arkham Asylum or Slay the Spire. He is a firm believer that the vast majority of games would be improved by adding a grappling hook, and if they already have one, they should probably add another just to be safe. You can find old work of his at Eurogamer, Gfinity, USgamer, SFX Magazine, RPS, Dicebreaker, VG247, and more.
- Leon HurleyManaging editor for guides
 Join The Community


