Dead Rising 2 Combo Card Weapon Guide
We help you find every Dead Rising 2 combo weapon and rate the best and worst of the bunch
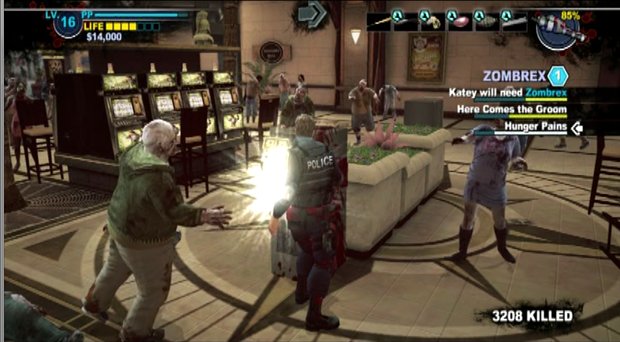
Location of Card:
Gotten by leveling up somewhere between levels 10 - 20
Location of Components:
For the Hacker you’re going to need a Flashlight and Computer Case.
The Flashlight is relatively easy to find especially as one of them can be found in the safe room just by looking around a bit. More of them can be found all over the city but if in doubt simply head back to Royal Flush Plaza and kill some Looters to get more of them.
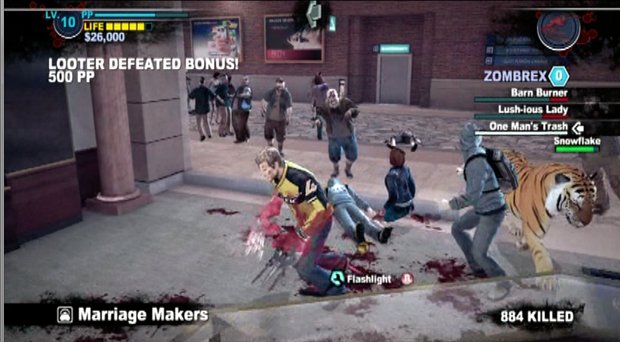
Computer Cases are a bit trickier as they’re often just kind of scattered about. A reliable place to find them is inside of Wily Travels on the second floor of the Royal Flush Plaza. There are about five of them here so if you need any then this is the place to look. Others can be found scattered about the malls in any reception or office area.
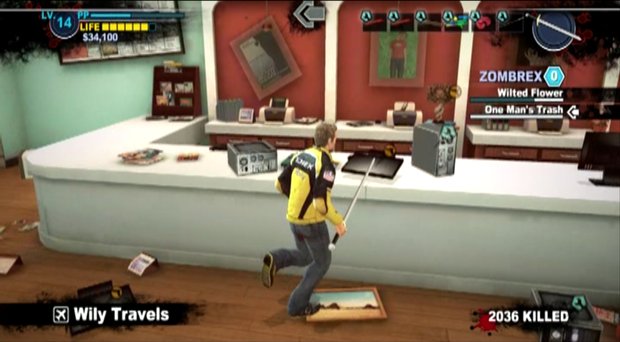
Descriptions of Weapons:
The only purpose to the Hacker is to help make you money. You can’t use this to fight zombies or anything else; all it can do is hack machines to drop chunks of money. Use this on an ATM instead of smashing it to get $10,000 instead of $2,500. As the Palisades Mall southern maintenance room has the components to build this make the Hacker there and use it on the ATM machines in the area to make a decent chunk of change. This is very helpful early on in the game but its usefulness decreases later on in the game.
Notes: It’s not a weapon but a money maker.
Rating: Special
Hail Mary
Location of Card:
Gotten by leveling up somewhere between levels 15 – 30.
Location of Components:
This amusing little weapon is comprised of a Football combined with a Grenade.
Footballs are easily gotten by going to any sporting goods store such as KokoNutz in Palisades Mall as well as SporTrance in Royal Flush Plaza. Numerous others can be found in the grassy areas of Fortune Park.
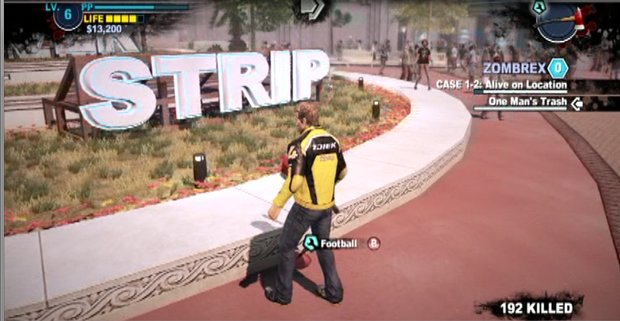
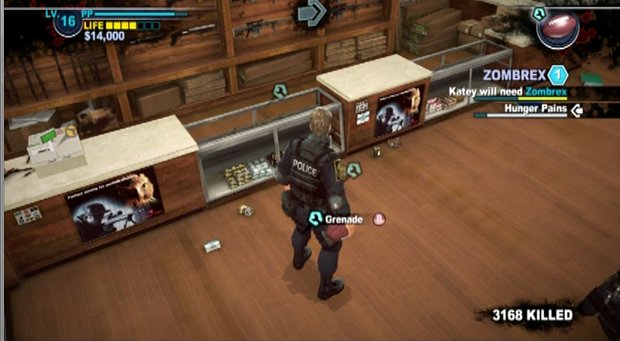
Grenades are a bit harder to nab so check your best bet is to head to the High-Noon Shooting Range in Palisades Mall to find a few of them. Otherwise they can be found in some of the grassy areas of Fortune Park but that’s a pretty rare occasion.
Descriptions of Weapons:
Grenades are very powerful weapons except for the fact that they take too long to explode. The solution to this is to strap the already primed grenades to a football so that they detonate upon impact with your target. Genius! These are very strong weapons with a seriously drastic downside; namely the fact that each one of these takes its own inventory slot which makes carrying these around impractical. For perspective, in the space you would carry two of these in you can carry twenty Blambow shots.
Notes: Very helpful but too limited in use.
Rating: 3/5
Handy Chipper
Location of Card:
Gotten by leveling up somewhere between levels 20 - 30
Location of Components:
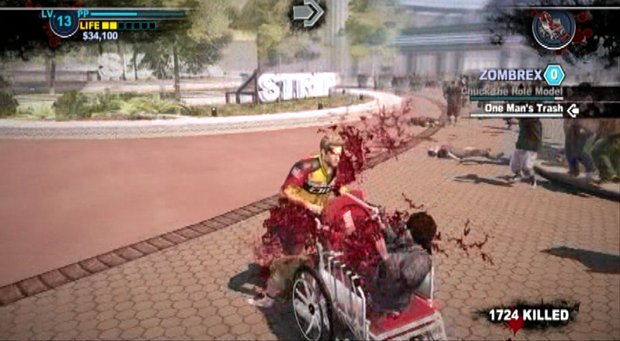
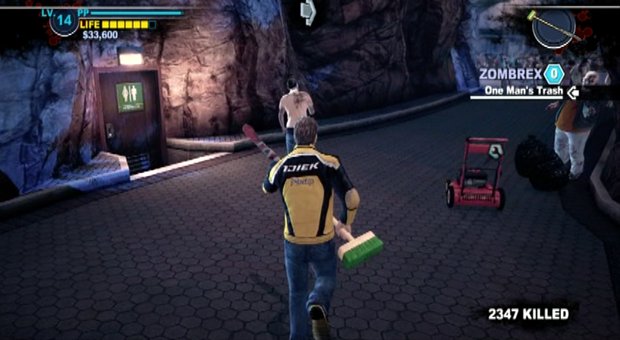
By combining a Wheelchair with a Lawnmower you get this fun diversion.
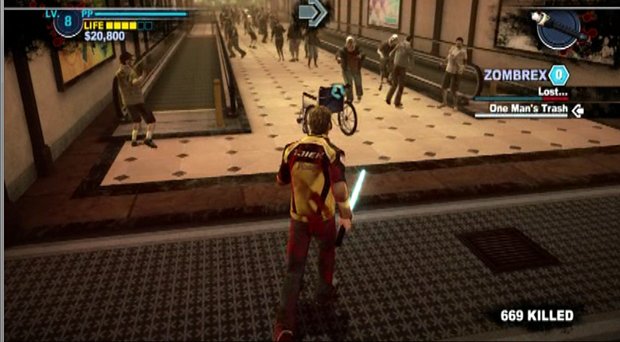
The Wheelchair is gotten pretty much only by searching around the various areas. It’s pretty easy to find them with a bit of searching as the zombies are generally pushing them. An easy one can be found near the exit to Fortune Plaza in Royal Flush Plaza. Otherwise it just takes a bit of looking around to find one.
Chuck can find Lawnmowers by heading on over to the water area in the middle of Fortune Park, near the maintenance room. Just outside of the room is a lawnmower just sitting there, waiting to be used.
Descriptions of Weapons:
As amusing as these wheelchair weapons are they’re more or less useless in the grand scheme of things. This is better than the Electric Chair since it chews through zombies at an incredibly fast rate, killing a whole lot of them in rather short order. But if you’re going to make a weapon that you drive around to gather up PP then you might as well make a Blitzkrieg and just gun your way through the hordes.
Notes: Fun but kind of useless.
Rating: 1/5
Heliblade
Location of Card:
Gotten by leveling up somewhere between levels 10 – 20.
Location of Components:
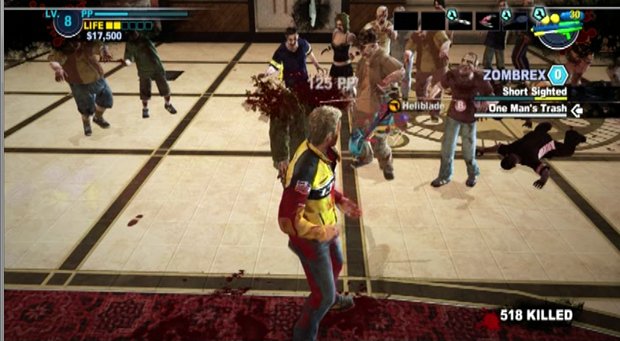
One of the more interesting weapons in DR2, this requires that you have a Toy Helicopter and a Machete on hand.
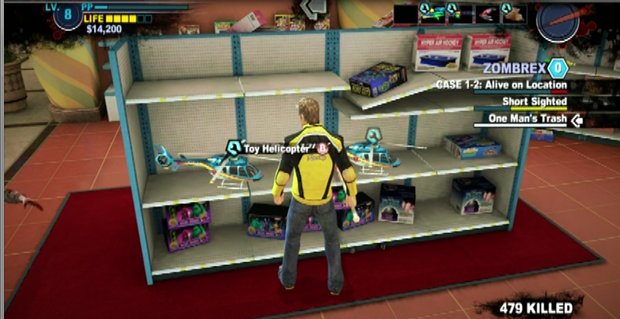
Getting the Toy Helicopter is as simple as going to any children’s toy store. A good example is Ultimate Playhouse in Palisades Mall where you can find this and many other objects for further zombie humiliation.
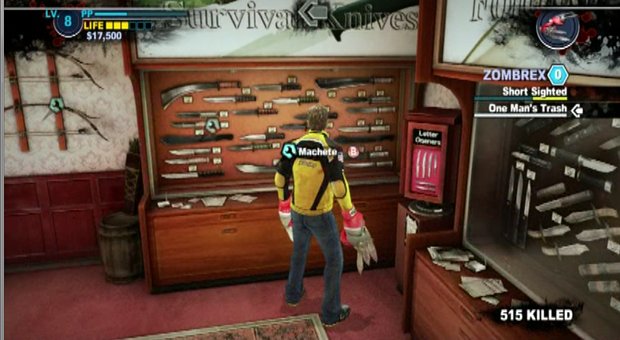
Machetes are pretty easy to get your hands on regardless of where you are. Albert’s Apparel in Royal Flush Plaza has them as do the display cases in Shanks in the Palisade Mall. You can occasionally find them in kitchen areas of restaurants as well.
Descriptions of Weapons:
Now this is a badass weapon if there ever was one. When Chuck lets this bad boy loose it makes a whole lot of noise, drawing in every zombie in the area. That’s where the machete on the helicopter comes in as any zombie that approaches too close will get its chest area sliced up if not losing its head immediately. As the icing on the cake it lasts a heck of a long time. This is a great tool if you’re fighting off a horde of zombies while trying to escort survivors or take out psychopaths.
Notes: Surprisingly useful weapon.
Rating: 5/5
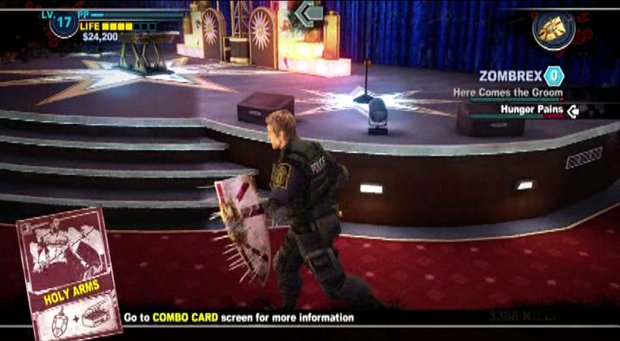
Holy Arms
Location of Card:
Inside of the Atlantica Casino head to the south western corner to find a “Pit Viking” movie poster on the wall – examine this to get the card.
Location of Components:
Somehow or other someone thought it’d be a good idea to combine a Box of Nails with a Training Sword to make this.
Nails can be obtained from almost every maintenance room as well as scattered about the mall. They’re surprisingly easy to find with just a bit of looking although they are sometimes in the oddest places, such as in the dirt under the palm trees in Royal Flush Plaza.
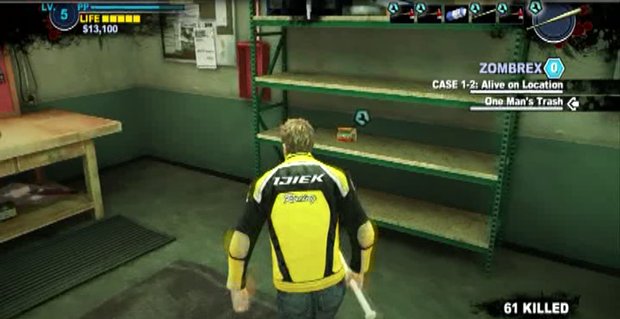
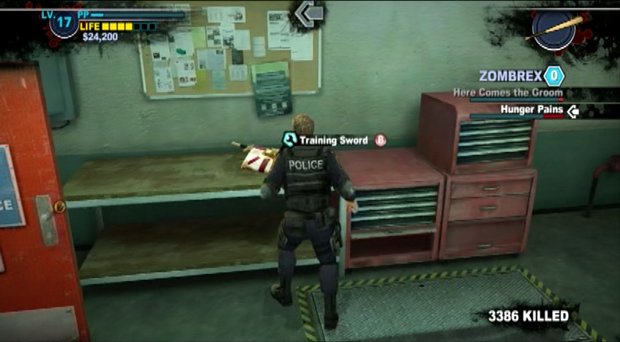
The Training Sword is found in a few very specific locations, namely the backstage area of the Slot Ranch Casino and the Hamburger Fiefdom in the Food Court. There is also one in the maintenance room in the Atlantica Casino.
Descriptions of Weapons:
Holy? As in the holes the nails leave? Oh ye gods the puns, they burn! Regardless of the pain that the puns can potentially inflict this isn’t actually that damaging of a weapon. The multi-hit combo is actually wildly inaccurate and the shots aren’t even all that deadly when they do land. Often two or more hits are required to hit any enemies that weren’t impacted by a direct shot. The shield shots are the most dangerous parts of the Holy Arms combo attacks and are also some of the most inaccurate.
Notes: Useful but cumbersome.
Rating: 2/5
Weekly digests, tales from the communities you love, and more
Daniel is a freelance games journalist, but is also the Editor-in-Chief at Gaming Excellence.


