Dead Rising 2 Combo Card Weapon Guide
We help you find every Dead Rising 2 combo weapon and rate the best and worst of the bunch
As a special thank you to those who purchased Dead Rising: Case Zero, your level carries over from the game, as well as your cash and all of the Combo Cards that you acquired. This gives you a nice head start on the list as well asallowing you to start wrecking zombies earlier in the game. Just bear in mind that most of the items that transfer over are scratch cardsthough there area few useful Combo Cards to be had.
Boomstick
Location of Card:
Imported from Case Zero
Or
This is also supposed to be available by leveling up somewhere between 30 and 40.
Location of Components:
Getting both the pitchfork and the shotgun can take a bit of hoofing it.
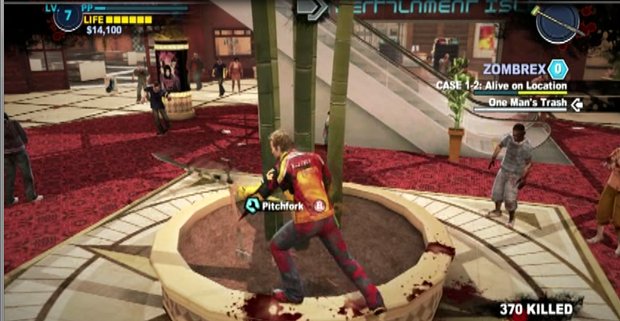
You can get a Pitchfork or two by going to the Food Court and looking for a store called the BBQ Shack. Other ones will spawn into some of the mall locations but these are usually a bit tougher to find although one notable one is in the Palisades Mall. This is found by going to the southwest part of the mall, near the escalators. It’s sticking in the dirt of a large plant.
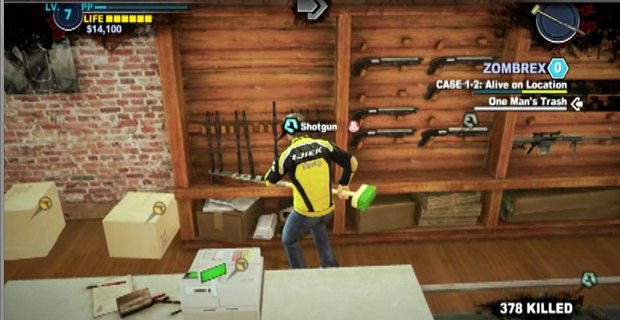
The Shotgun isaccquired by going to the Palisades Mall where you can find some in the High-Noon Shooting Range. Some rare police zombies will have these but that isn’t as reliable as checking a store. The Silver Strip seems to have them at a bit of a higher frequency rate than other locations.
Descriptions of Weapons:
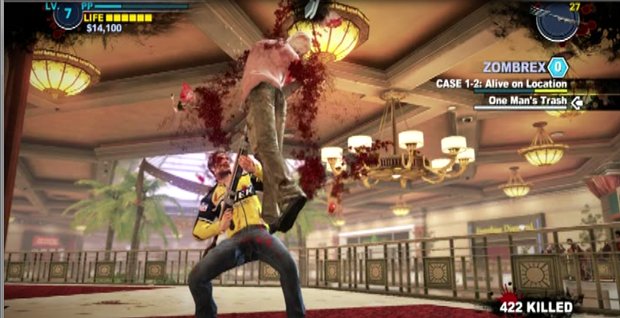
The boomstick is a heck of an interesting weapon – by strapping a pitchfork to a shotgun you can stab enemies before blowing them away. It’s like a monster bayonet really. Unfortunately by doing this you completely lose the ability to shoot the shotgun normally and turn it entirely into a melee weapon. While this weapon can net you a lot of PP shotguns used normally are much better at clearing crowds. It’s also basically useless against psychopaths who are only poked by it but never blown away. It is however immensely useful for getting PP by abusing the heavy attack
Above: More humorous than practically useful
Weekly digests, tales from the communities you love, and more
Rating: 3/5
Drill Bucket
Location
Imported from Case Zero
Or
Recievedby leveling up between levels 1 – 10.
Location of Components:
Finding either the drill or the bucket should pose very little difficulty.
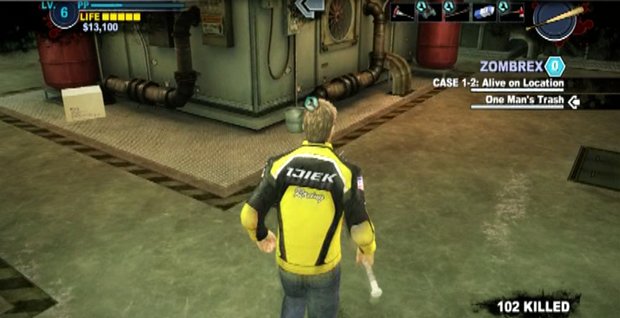
You can find Drills in a number of places, notably there is one in the boiler room you come out of the safe room into. There are others scattered all over the mall, notably near many of the maintenance rooms. You should never have any problems finding them.

Buckets can be found in Chris’ Fine Foods in the Palisades Mall or in the safe house, to the left of the security room. Otherwise your best bet is to search in the employee only hallways for any that might be lying around or in the maintenance rooms themselves.
Descriptions of Weapons:
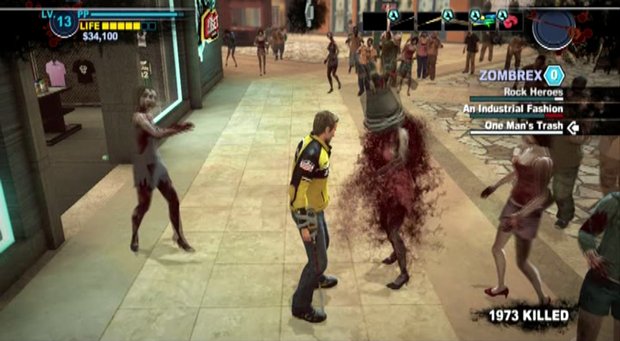
The drill bucket is more fun to use than it is actually very useful. Placing it onto a zombies' head automatically kills that zombie but it takes a bit before you can get it to use it again. If you’re carrying around a few of these you can pop them onto the heads of large amounts of zombies surrounding you, cutting them up rather quickly and raking in a good deal of PP but there are plenty more efficient methods of killing enemies and getting that experience.
Notes: Once again coolness factor rules the day over practicality.
Rating: 1/5
I.E.D.
Location of Card:
Imported from Case Zero
Or
Gotten by simply leveling up between levels 1 – 10.
Location of Components:
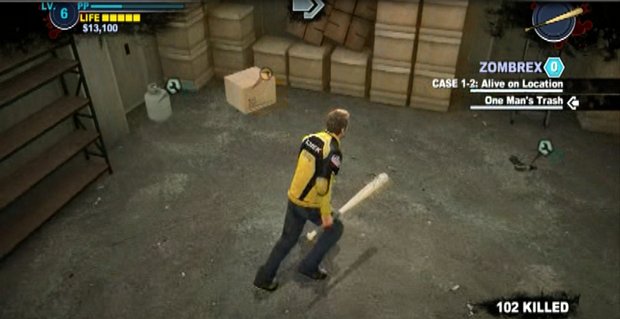
You can always find a propane tank in a few places. One is just after leaving the safe room. Go up the stairs and look to the left of the maintenance room to find a closed door – inside there is a tank. If you go to the maintenance room near Hot Excitorama, it will have both a Propane Tank and Nails.
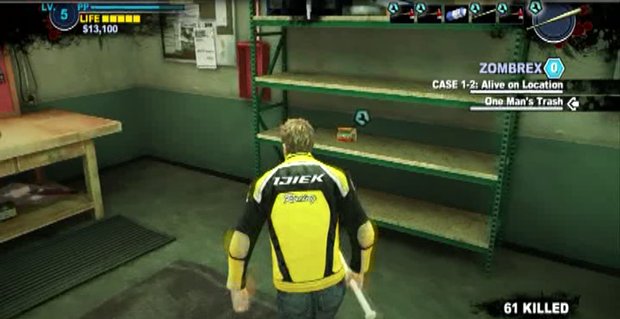
Nails can be obtained from almost every maintenance room as well as scattered about the mall. They’re surprisingly easy to find although they are sometimes in the oddest places, such as in the dirt under the palm trees in Royal Flush Plaza.
Descriptions of Weapons:
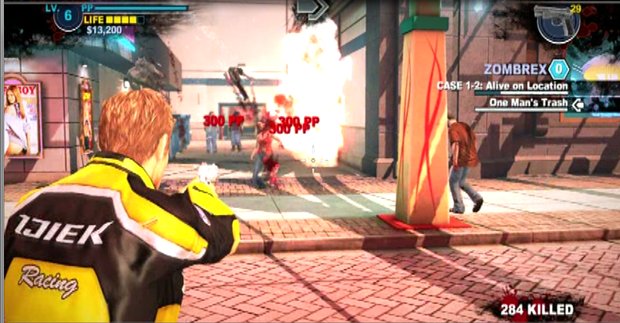
The I.E.D. is something of a mixed bag. When thrown into a crowd of zombies, or stuck to a zombie, it can be blown up to devastate the surrounding horde. In these situations it’s useful for clearing a path as well as getting a lot of PP. This makes it very helpful when rescuing survivors… Well it would if you could store the thing. Unfortunately as the I.E.D. can only be carried in your hands or dropped it’s only marginally as useful as it could be.
Keep in mind that if playing with two players the I.E.D. suddenly becomes incredibly useful again. If one person carries it while the other clears the way this explosive can be deployed only when it’s truly needed.
Notes: Good for clearing crowds but too unwieldy to carry around.
Rating: 2/5 (3/5 in co-op)
Location of Card:
Imported from Case Zero
Or
The card is given to you after you go to the first maintenance room on the first day and put together this weapon.
Location of Components:
As you can probably guess from looking at this thing you’re going to need a baseball bat and some nails.
Finding a baseball bat is easy as pie since they’re scattered all over the mall and one can usually be found in the safe house as well. Another can be found just after leaving the safe house, at the bottom of the steps that lead towards the maintenance room. They are also often inside of maintenance rooms although the one in Royal Flush Plaza, near the safe house, will always have one there.
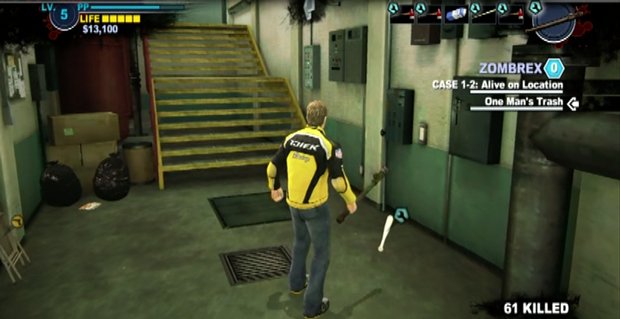
Nails can be obtained from almost every maintenance room as well as scattered about the mall. They’re surprisingly easy to find with just a bit of looking although they are sometimes in the oddest places, such as in the dirt under the palm trees in Royal Flush Plaza.

When in doubt simply go to Royal Flush Plaza as both components should always reappear in the maintenance room near the safe house entrance. This is your go-to source for this item and it can be used as often as you like.
Descriptions of Weapons:
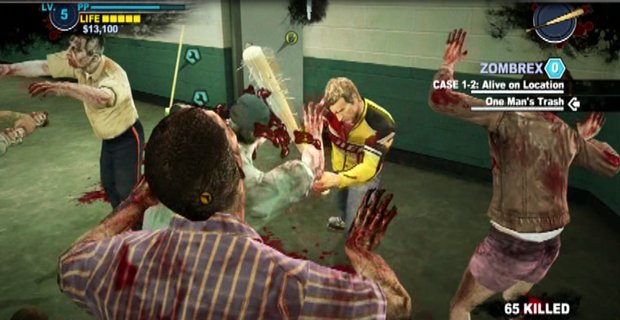
This is probably one of the single best weapons in the entire game. The nail bat swings as fast as a regular bat but is almost always a one shot kill even without using the special swing. It’s great for clearing out large groups of zombies by simply wading into the mix and swinging away. Plus it has a lot of durability which gives it a lot of sustaining power before it finally breaks. Last but not least these are really useful against most of the psychopaths. With just a little bit of dodging you can take many down with this simple weapon and little else required.
Notes: Useful in almost all situations
Rating: 5/5
Daniel is a freelance games journalist, but is also the Editor-in-Chief at Gaming Excellence.

 Join The Community


