Luigi's Mansion: Dark Moon gem and boo locations guide
How to find every gem and boo
TREACHEROUS MANSION E-1
Welcome to Treacherous Mansion E-1, Front Door Key. There are 3 Gem Stones that we recommend grabbing here, as well as one Boo to track down.
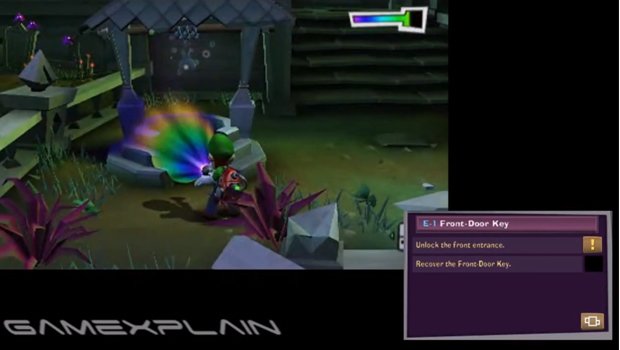
Start off by crossing a series of thin walkways to the mansion's front door. When you attempt to unlock it, Polterpup will appear and run off with your key. Yup, you're going to have to track that darn dog one last time by using your Dark Light. Or at least you would if you didn't have our guide helping you out every step of the way. After Polterpup takes off, the walls will recede revealing a walkway to your left. Follow it down the stairs, where you'll catch a brief glimpse of the mut. To follow him, use your Dark Light on the well to reveal a chain you can grab hold of that will lower you to the bottom.
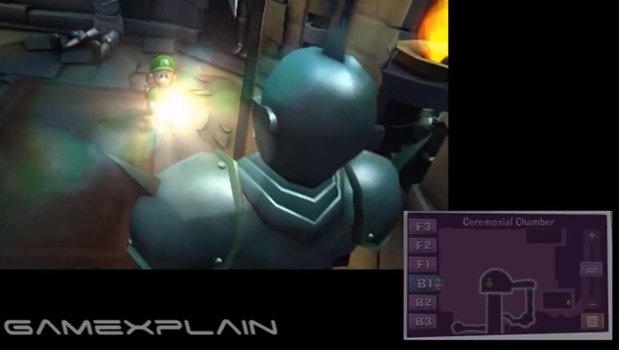
Follow the passage to a wall that you can break down by tugging on the plant growing through it, then head on through into the Guard Tunnel. Inside knock down another wall by pulling on the plant growing through it on the right, though some ghosts will also appear as a result. After taking them down, head on in, through a small passage, to reach the Cliffside. The valve here opens the gate, but only for a brief time, so it's best to position yourself as close to the gate as possible while working the valve to minimize how far you need to travel. Once it's fully open, hurry past and continue through the door into Ceremonial Chamber. Inside, follow the passageway to a larger room and grab the silk sac from the left wall. Carry it back through the passage to ignite it with the fire. Now bring it back to the large room and work your way it lighting the three unlit torches via the attached. Doing so will cause a throne to appear--oh, and one of the knights in the room will magically come alive and go after you. To take him down, lure him onto the carpet, then use your vacuum to pull it out from underneath him. It's easiest if you catch while he's attacking, giving you a huge window to work within. Once he's down, the ghost responsible will be revealed. But while you're working on him, the knight that came with the throne will start coming after you too--take him down in the same way.
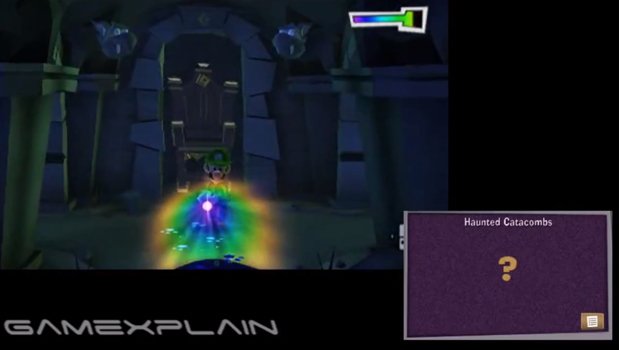
Once the room's clear, climb up onto the throne to discover it's actually a lift that will take you down to the Haunted Catacombs. Here you'll explore a maze, and if you head the wrong way at any point, you'll find yourself back at the start. Fortunately, your Dark Light will reveal Polterpup's trail. Or you can just follow what I tell you. Star off by taking the last passage on the right, then continue straight across the next hall. Head north, making sure to run past the pair of knights before they can block your path, and turn right into the passage right after. Head south and take the door on the right leading into the Underground Lab.
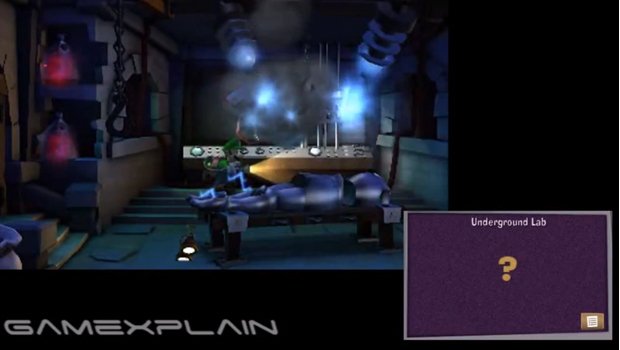
You'll see some strange stuff going on here, but no matter, rip the goggles from the ghosts and take them down. Oh, and watch out for that Sneaker too. Once you've cleared the room, use your vacuum on the valve along the back wall to shock the knight on the table and reveal this mission's Boo.
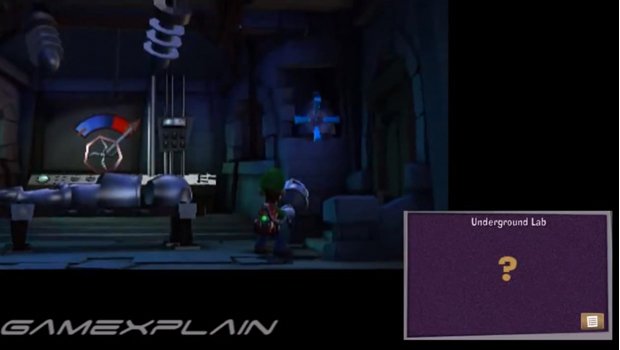
Afterward, grab the knight's helmet that flew off after shocking the armor and launch it at the flask by the right door to reveal the mansion's 1st gem that you can pull down with your vacuum. Now exit out the right door into some more of the Haunted Catacombs.
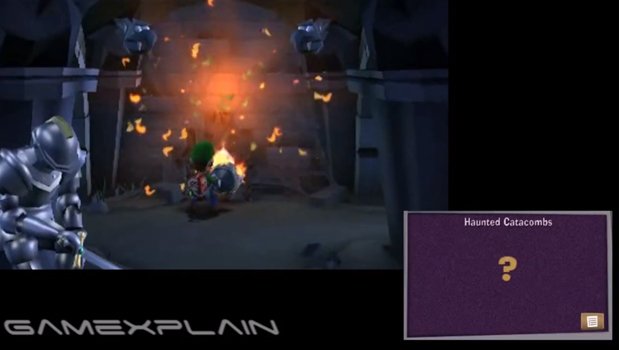
There's a couple gems nearby you can grab, and the knight statues actually point the way. Start off by heading directly across the hall, then north and right at the Knight. Now head south, then right at the next knight. Head north, then right at the wall--and yes, there is a knight there if you reveal him with the Dark Light. You'll find a secret area containing a painting. Cast your Dark Light on it to reveal a silk sac--ignite it with the nearby fire, then carry it with you to the hall previous to the one you just came from, by taking the 2nd passage on the left. Now head north to burn down the web with the lit sac, where you'll find the mansion's 2nd gem.
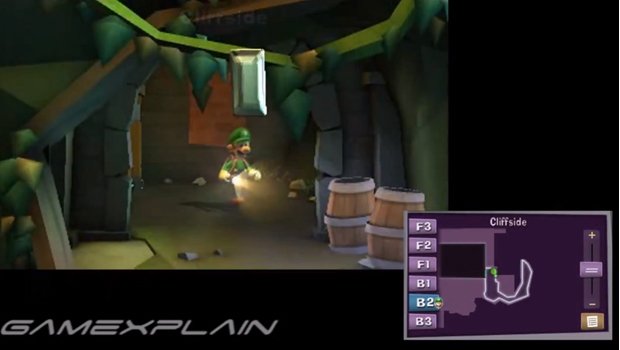
Now head to the opposite end of that same hall to find a door on the right that leads to the Cliffside. Do you see it there, hanging on the vine just outside? Pull it down with your vacuum to claim the mansion's 3rd gem.
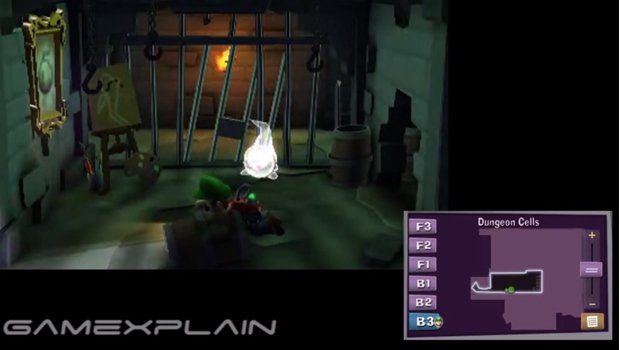
Return to the Catacombs, and it's actually fastest to take the wrong way, such as right across from the door, to find your way back to the start. Now resume the mission by heading south and turning left at the end. Continue through the door there into the Dungeon Cells. Here you'll spot that adorable puppy one final time before you'll have the chance to catch him. Follow him down the stairs and around the corner--and feel free to ignore the ghost here if you wish. Continue to the last cell, which you can actually enter thanks to the bendable bars in the center. Use your vacuum to give the chain inside a tug causing the wall containing a painting to spin around and face the other cell. Head on over to that cell and cast your Dark Light onto the painting through the bars to make a bomb appear that will blow a hole in the wall. Make use of that hole to enter the middle cell from the one on the right. Now check the barrel on its side to reveal the Polterpup who you can finally attempt to catch. If you don't stun him in time, he'll just go hide in one of the nearby barres, which you can easily track with your Dark Light. Once you capture him, the Front Door Key will be revealed. Collect it to complete the mission.
Weekly digests, tales from the communities you love, and more


