Zelda Tears of the Kingdom Runakit Shrine guide
The puzzle at Runakit Shrine in TOTK has to have you use a glider wing and the Ultrahand power
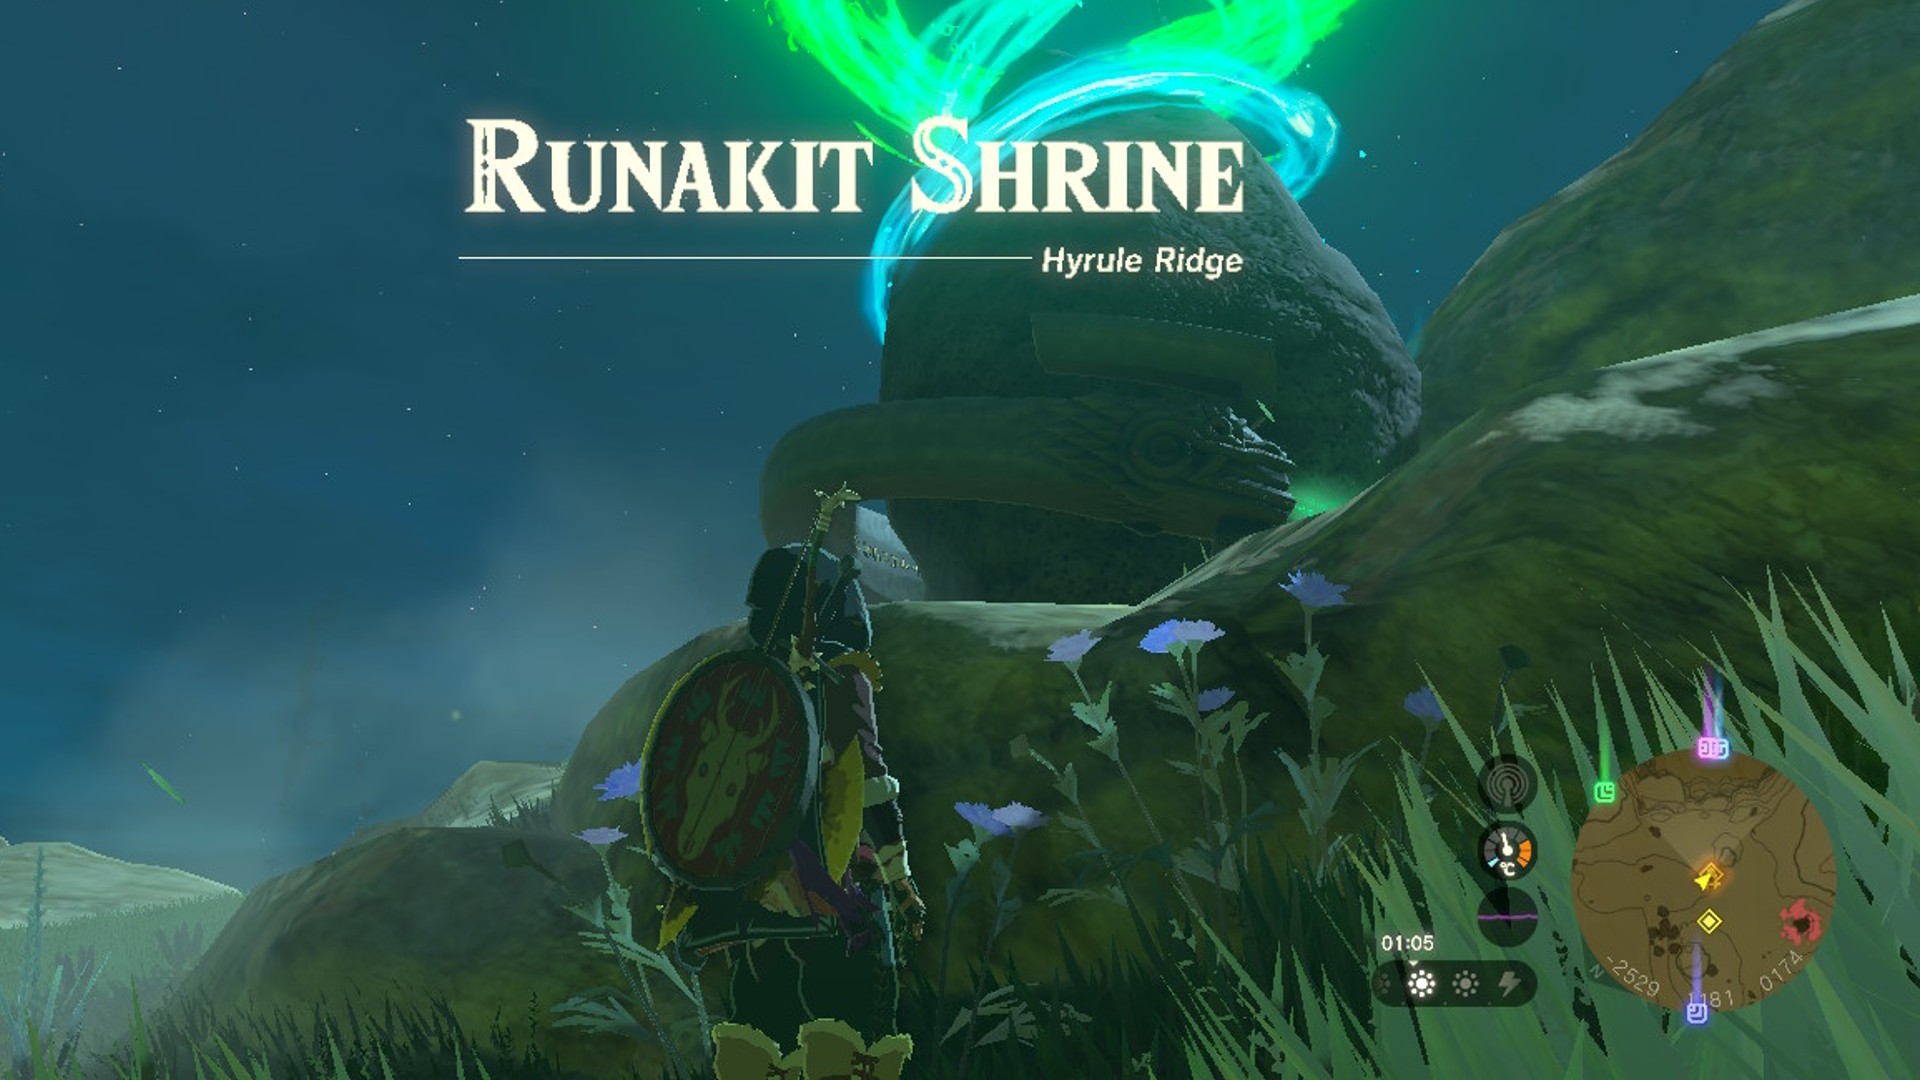
The Runakit Shrine in Zelda Tears of the Kingdom is all about using Ultrahand to make structures that'll carry a metal ball across metal rails and beams to the end of the Shrine - and it's proven to be one of the most difficult shrines in all of TOTK. Each section is its own individual puzzle to be tackled, and with them growing increasingly difficult and finicky, we can't blame anybody for seeking out a guide to help them out along the way. If you're stuck on the Runakit Shrine in Zelda Tears of the Kingdom, our guide will help you pick up your ball and go home.
How to beat the Runakit Shrine in Zelda Tears of the Kingdom
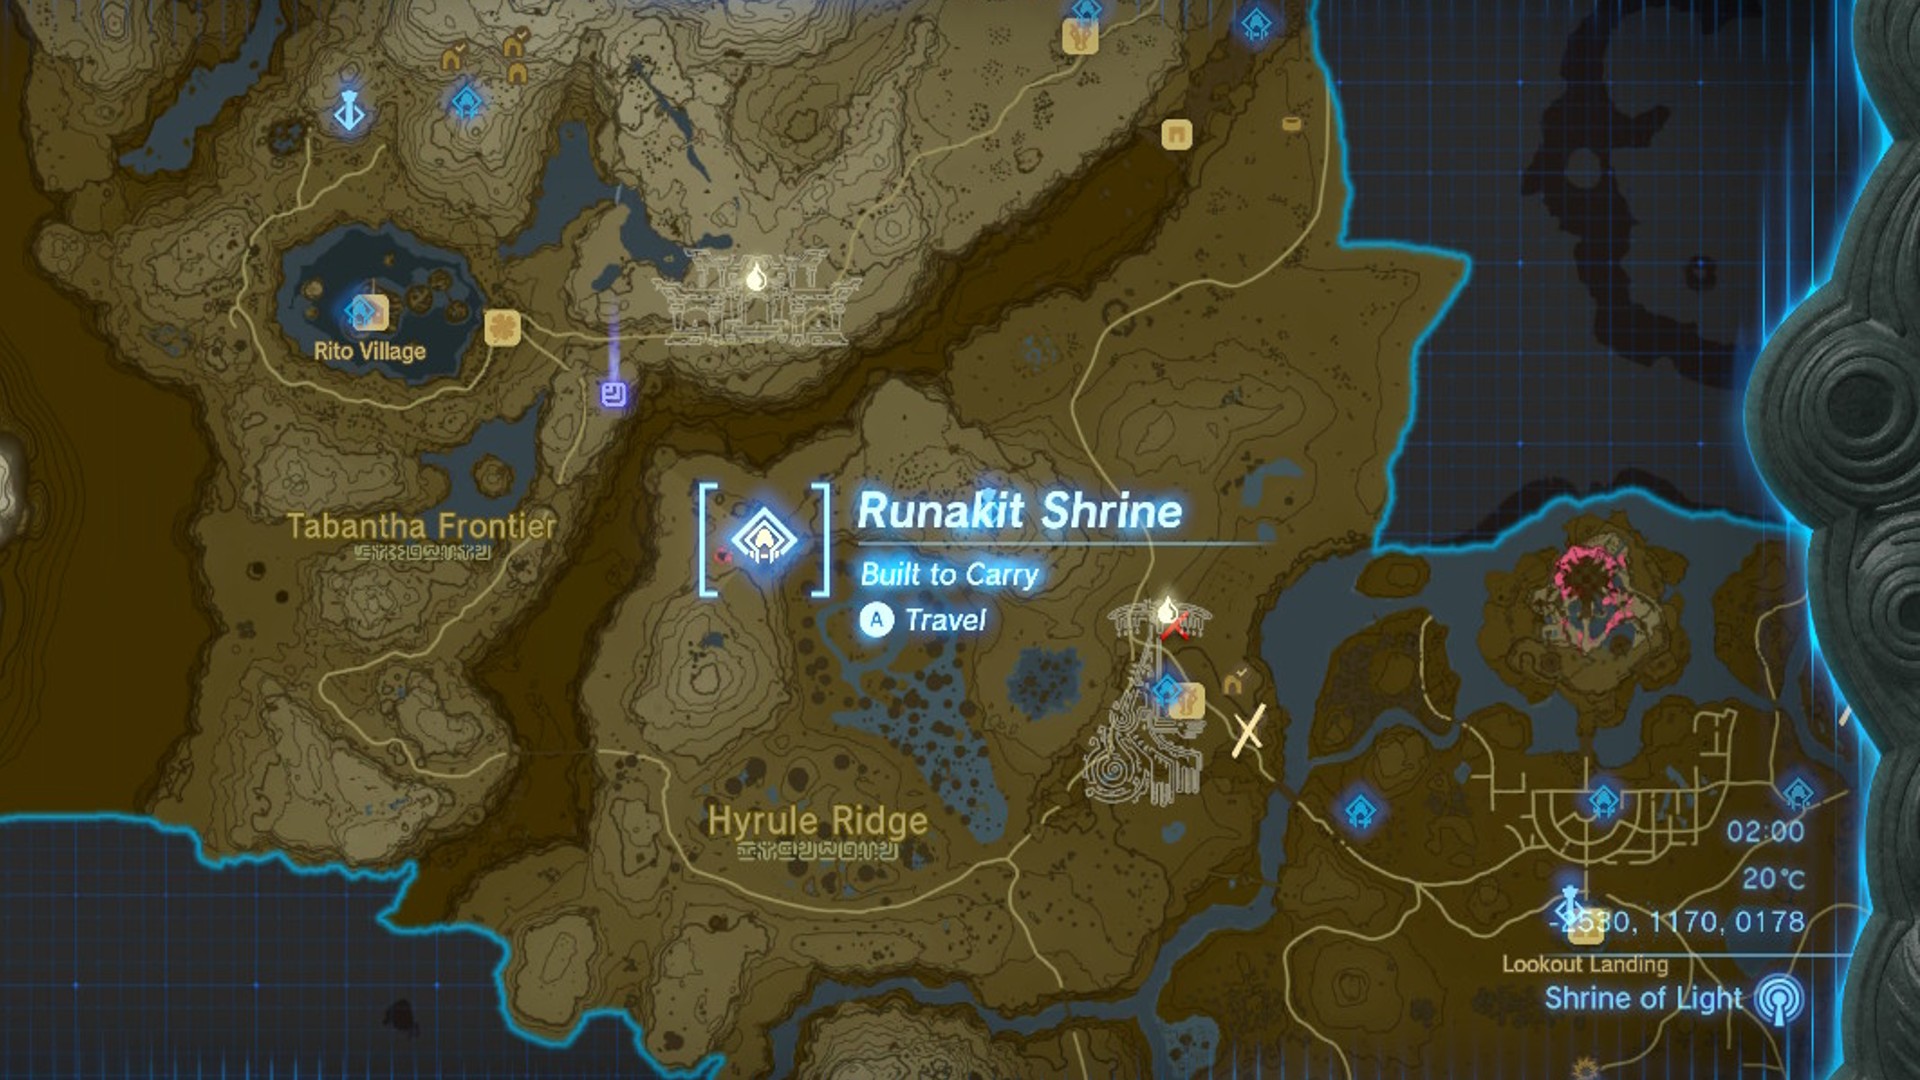
If you're in search of the Runakit Shrine, you'll find it directly east of Hyrule Castle near the top of the Hyrule Ridge region on your map:
When you enter Runakit Shrine, first take note of the concave dish on your left. This is where you'll have to move the large metal ball from one side of the chamber in order to gain access to the innermost chamber. Use your Zelda Tears of the Kingdom glider to get across the large gap between yourself and the side of the room where the ball is, and then lift it off its pedestal. By this point in the game you should be acquainted with your Ultrahand ability in Zelda Tears of the Kingdom, so just place the ball on the metal railings nearby and roll it down to the next platform.
Article continues below 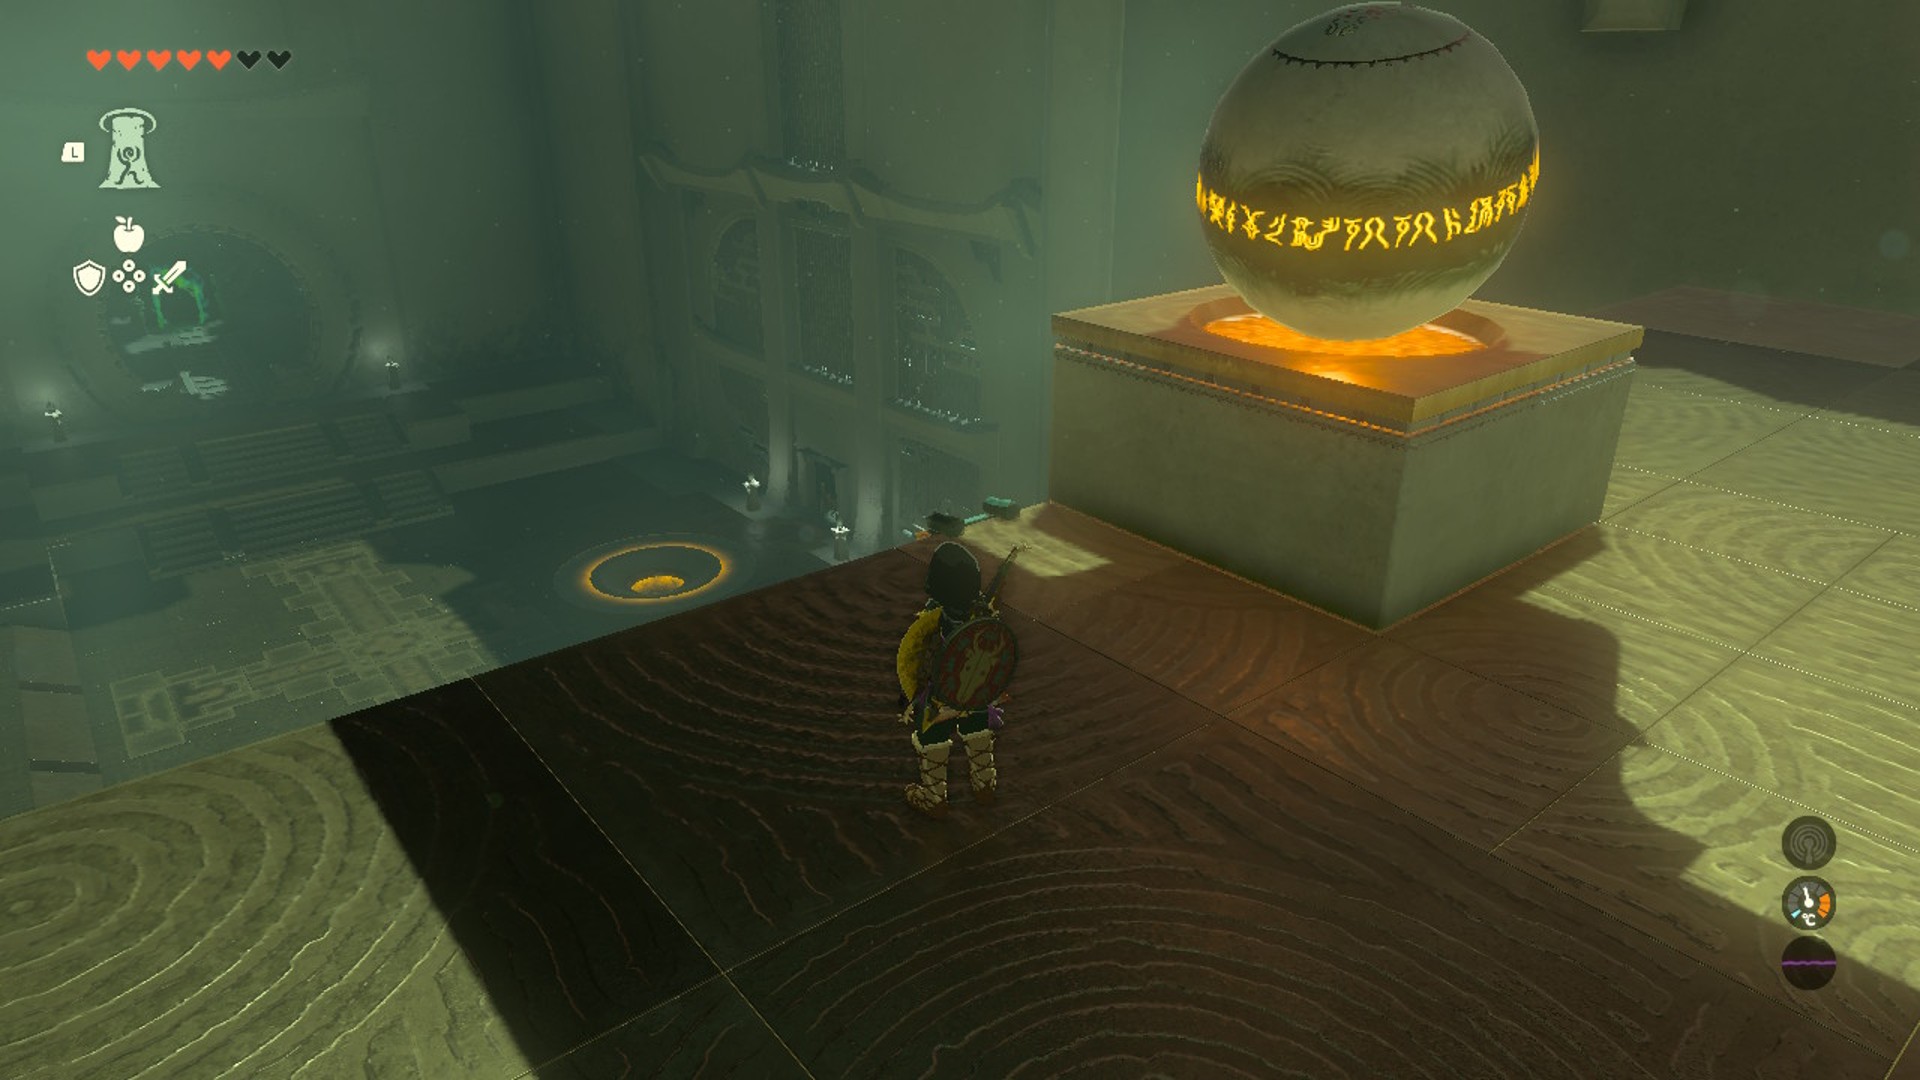
Here, you'll find the next set of railings are too wide to just roll the ball down a second time. Instead you'll have to attach the ball to the rods nearby, ensuring that you connect all four rods end to end so that they can rest on top of the wide railings and act as an anchor. If you don't use all four rods, the ball might get derailed, drop into the abyss, and respawn at its pedestal. Once the ball is safely on the other side of the railings, glide across and detach it from the poles.
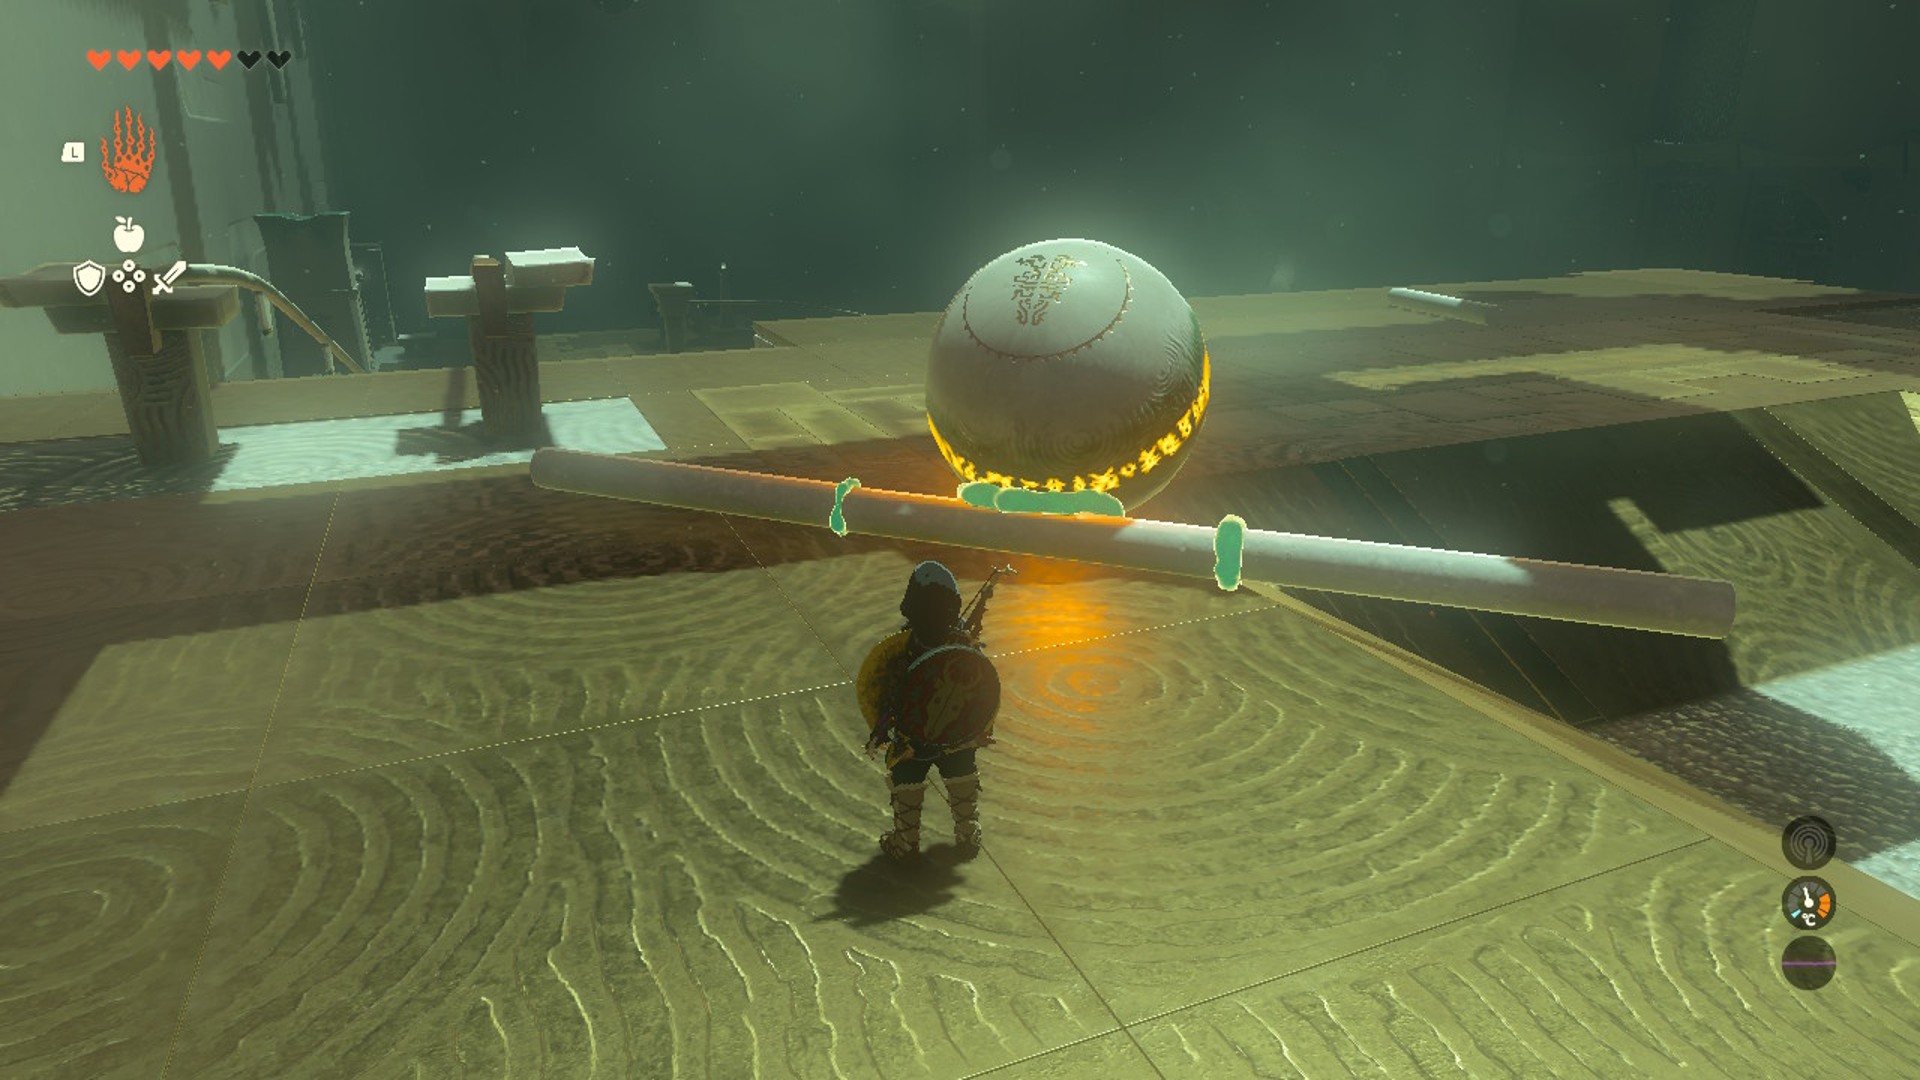
This next part of the Runakit Shrine is a little trickier, because the last railing comprises a single track instead of having two like the others. Next to the railing, you'll find a stone structure that looks like two stone slabs joined together in an L-shape to form a triangular tip. This is how you'll get the ball from one side of the chasm to the other:
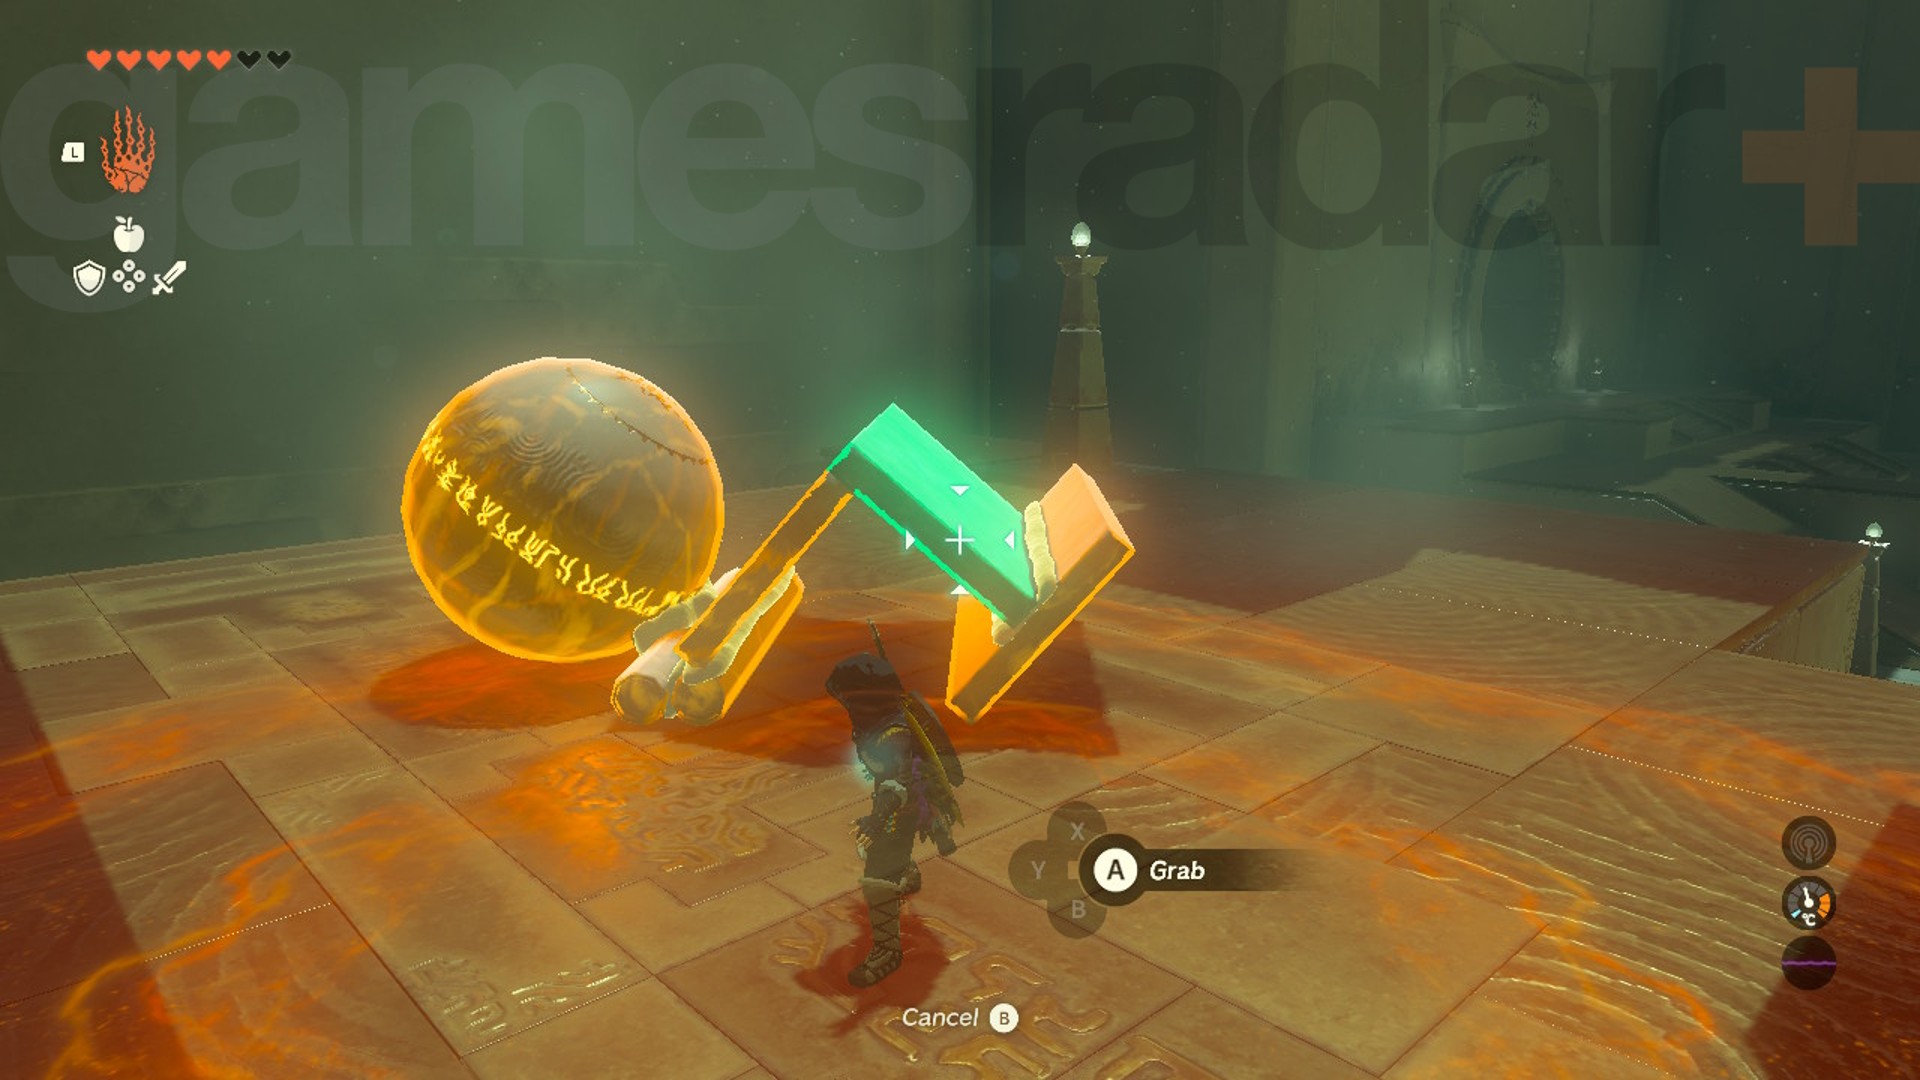
- Take the detached ball and attach it to one single rod, carried down from the previous platform
- With the ball attached, stick the rod to one edge of the stone triangle
- Look around the platform for a flat piece of stone and attach it to the other edge of the triangle, forming a T-shape
- Pick the whole thing up and rest it over the railing, with the crux of the L-shaped stones in the middle
Gravity will carry the ball down to the end of the tracks, since the flat piece of stone you've attached to one edge of the triangle will act as a barrier to prevent it slipping off the railing. Now you can glide over to the ball, detach and lift it into the key slot with Ultrahand, and solve the Runakit Shrine puzzle.
© GamesRadar+. Not to be reproduced without permission
Weekly digests, tales from the communities you love, and more

Jasmine is a Senior Staff Writer at GamesRadar+. Raised in Hong Kong and having graduated with an English Literature degree from Queen Mary, University of London, she started her games journalism career as a freelancer with TheGamer and Tech Radar Gaming before joining GamesRadar+ full-time in 2023. As part of the Features team, her duties include attending game previews and key international conferences such as Gamescom and Digital Dragons in between regular interviews, opinion pieces, and the occasional news or guides stint. In her spare time, you'll likely find Jasmine thinking/talking about Resident Evil, purchasing another book she's unlikely to read, or complaining about the weather.

 Join The Community


