How to get the Purah Pad upgrades in Zelda Tears of the Kingdom
In TOTK, you can get upgrades and new features for your Purah Pad via Robbie
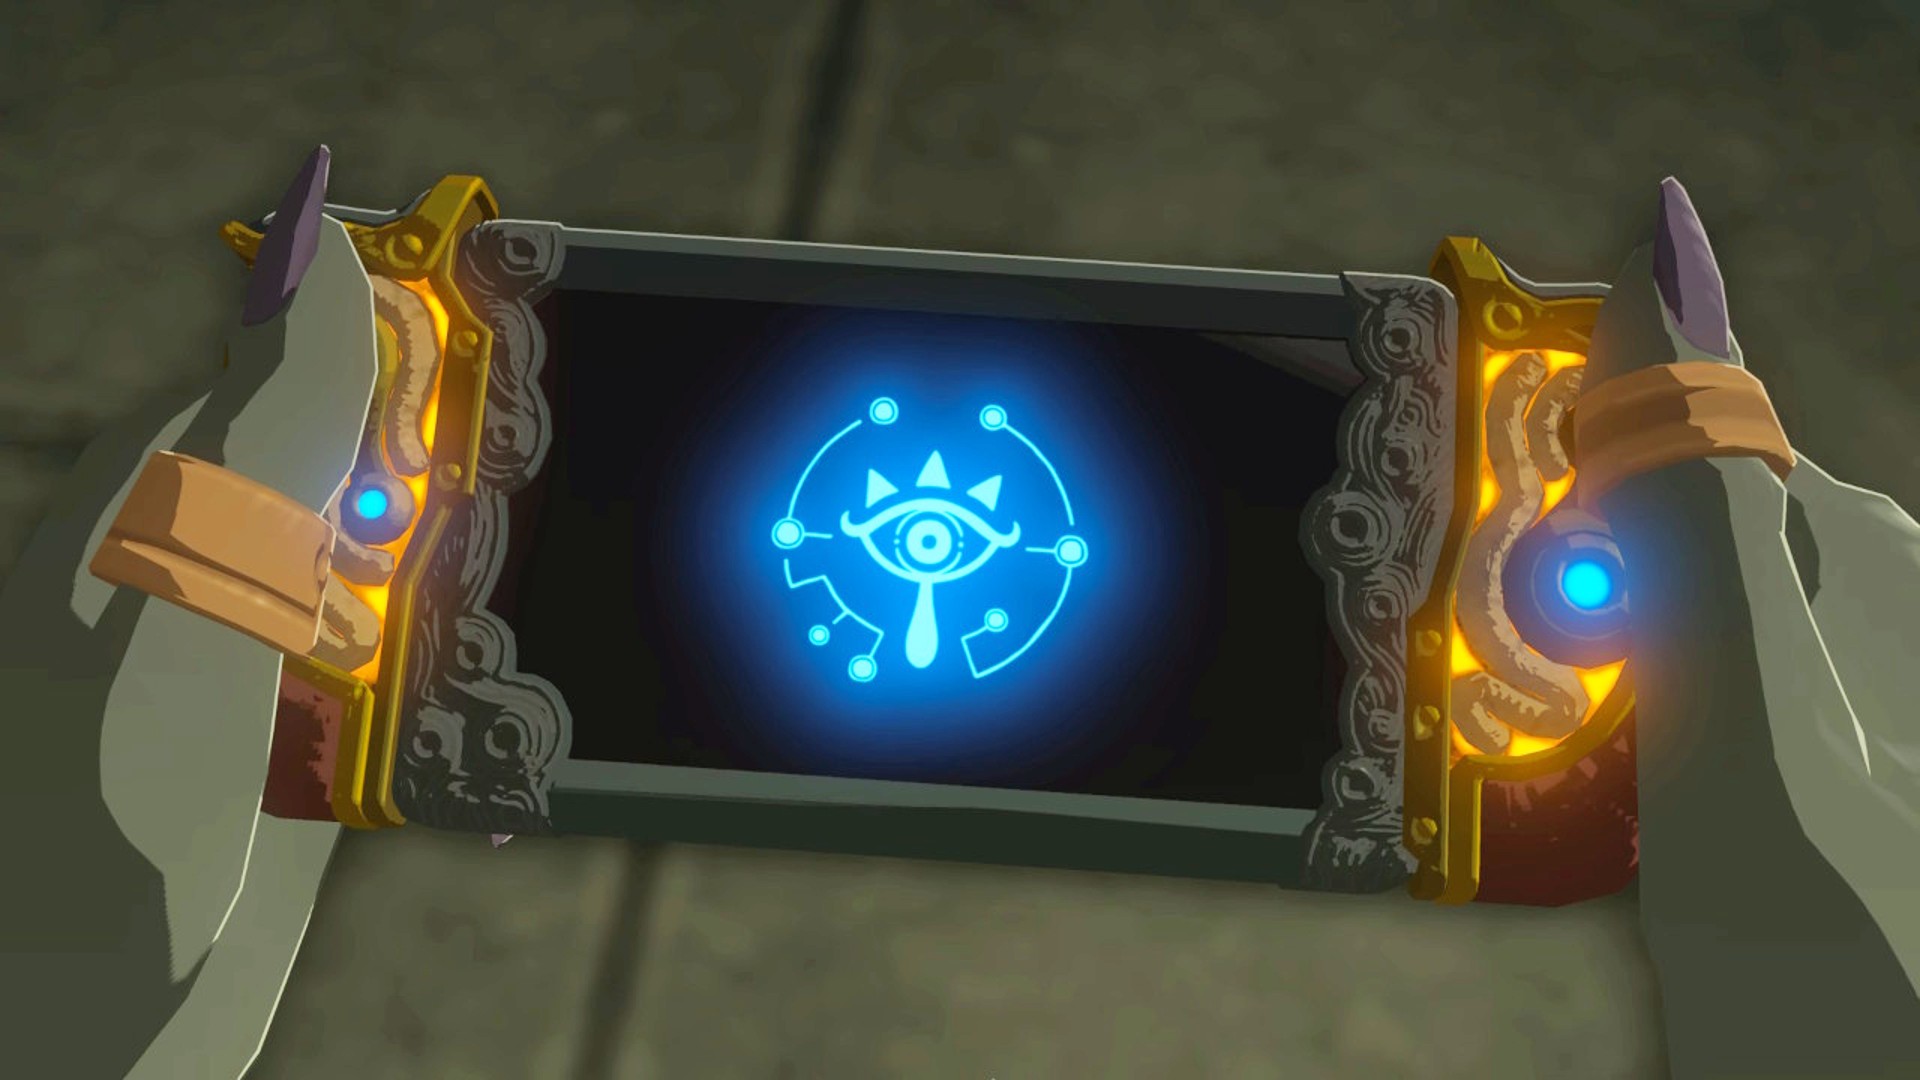
The Zelda Tears of the Kingdom Purah Pad upgrades are associated with Robbie, the wizened little researcher at Lookout Landing who directs you towards the Depths as part of his research. After sending you to complete enough missions that you unlock the Autobuild ability in Zelda Tears of the Kingdom, he'll ask you to help him rebuild a hot air balloon, then ask you to head to Hateno Village - where he'll start adding all sorts of fun features to your Purah Pad, including the ability to fast travel to locations of your choice, not just the shrines and towers! Here's a look at all the Purah Pad upgrades in Zelda Tears of the Kingdom, including how to unlock each one.
All Purah Pad upgrades in Zelda Tears of the Kingdom
There's a total of four different Purah Pad upgrades you can unlock in TOTK, all via Robbie:
- Shrine Sensor
- Sensor+
- Hero's Path
- The Travel Medallion
Purah Pad upgrade: Shrine Sensor
The first of the Purah pad upgrades to unlock is the Shrine Sensor. This will be given to you by Robbie as soon as you meet him at the Lab in Hateno, the location of which will be pointed out to you with a map marker when you select the quest from your mission log.
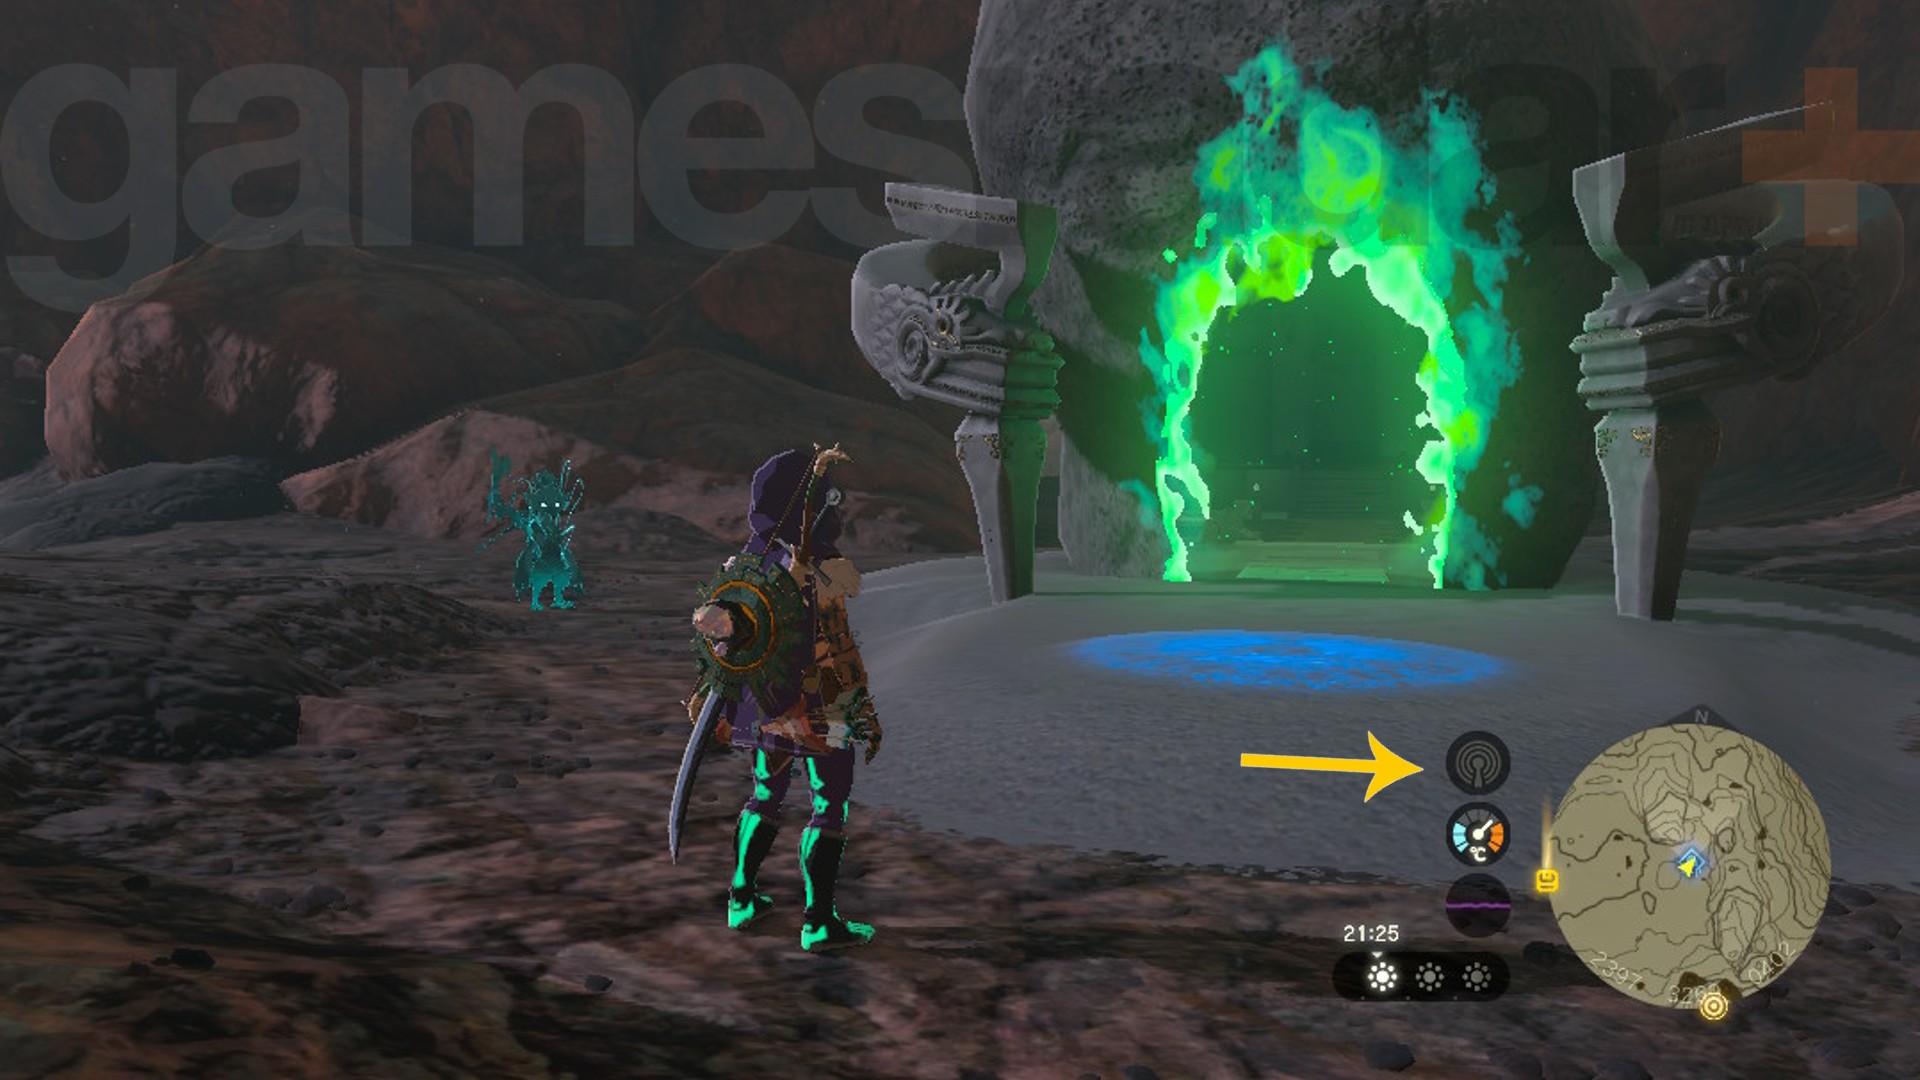
Head over to meet him as soon as you can, perhaps using one of the Zelda Tears of the Kingdom Skyview Towers to help find your way more easily if your map is looking a little bare, and Robbie will install the feature when you talk to him inside the Lab. He will send you out to test it by finding a nearby shrine – there's one in a cave directly beneath the Lab – and when you return to him, he tells you more about the other three features he can add to the Purah pad with the right data. You'll know you're near a shrine thanks to the blue sensor icon flashing on your HUD, pointed out in the image aboce, as well as an auditory cue that will start pulsing faster as you get closer to a shrine.
Purah Pad upgrade: Hero's Path
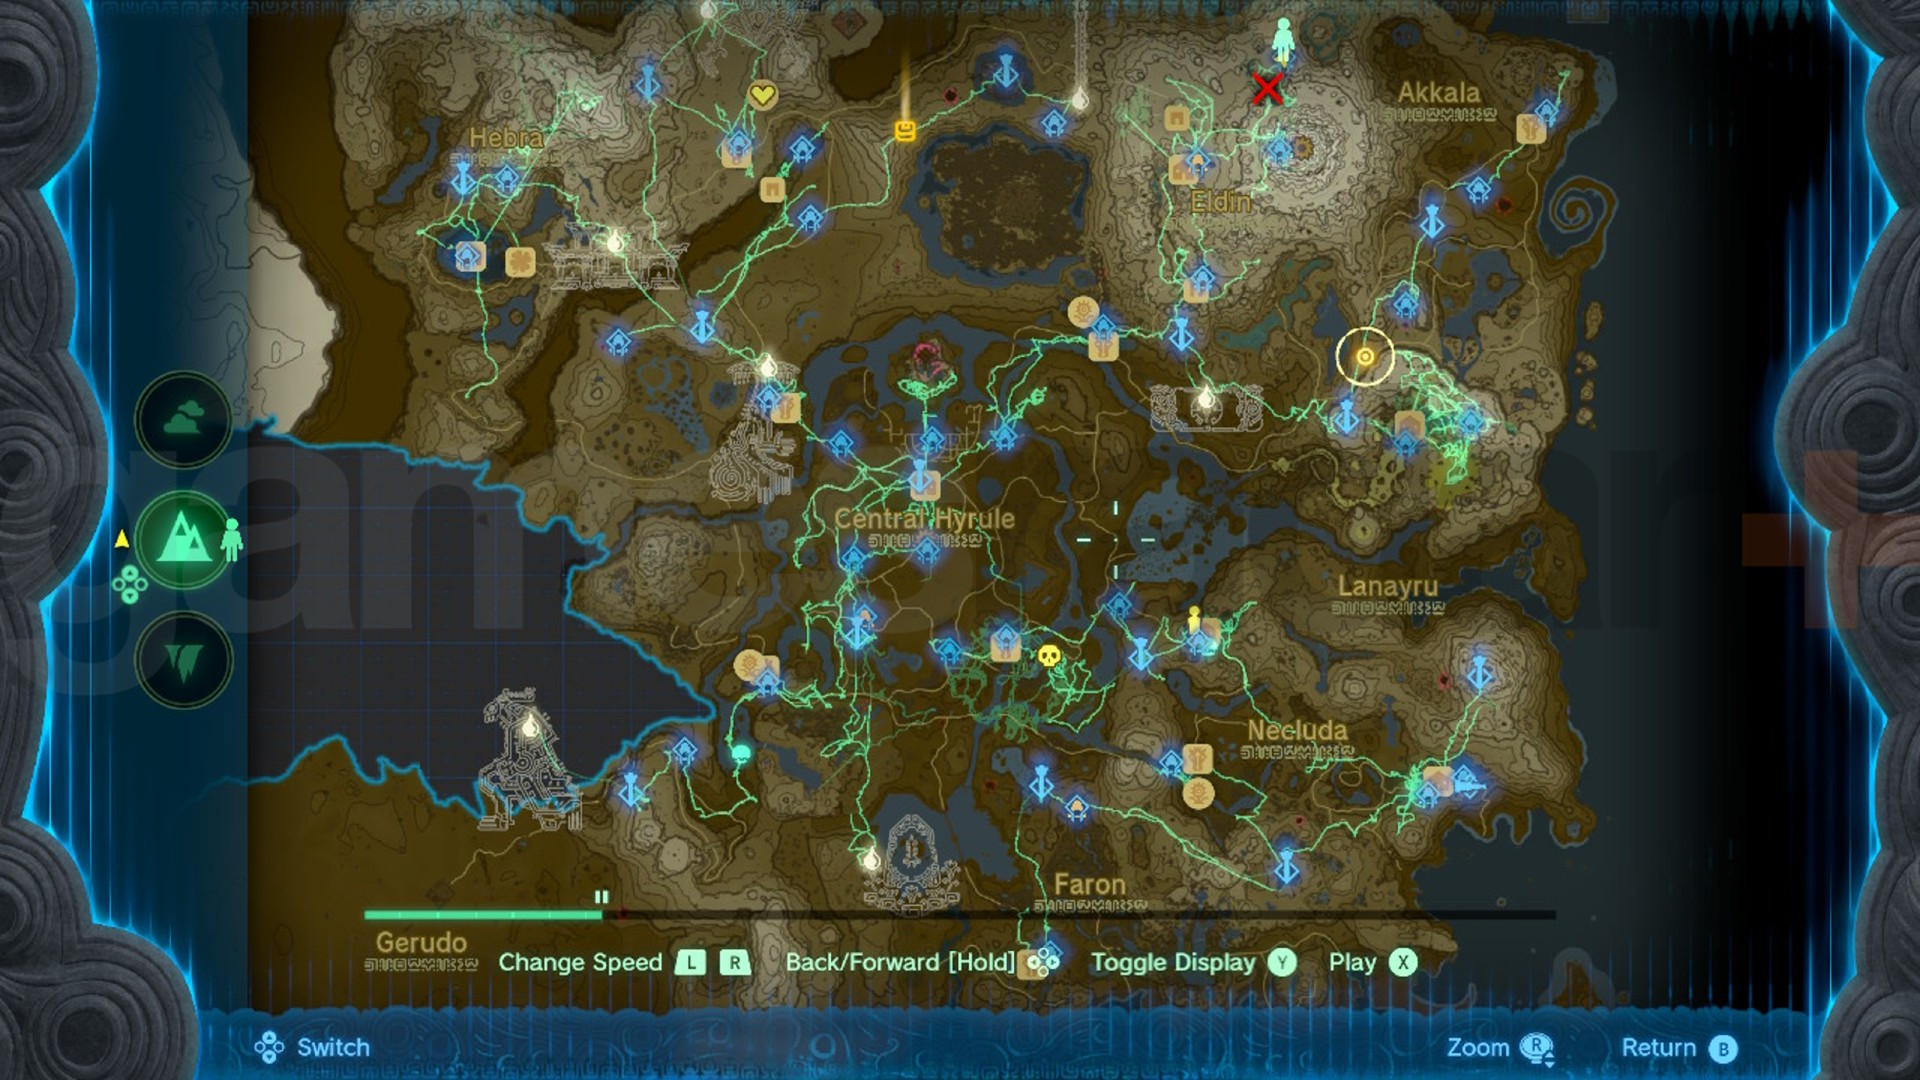
One of the easier Purah Pad upgrades to get is the Hero's Path feature. This allows you to track where you've been via the map by toggling the Hero's Path, showing up as a bright green line that charts all your movements across the three Zelda Tears of the Kingdom maps. It's not too useful unless you're trying to make your way back to a specific location you've forgotten about in a distant region, but it's simple enough to unlock: you'll just need to have found 15 Shrines of Light so far. Depending upon how long you've been playing Zelda Tears of the Kingdom, though, you might be able to unlock this feature as soon as Robbie tells you about it.
Purah Pad upgrades: Sensor+
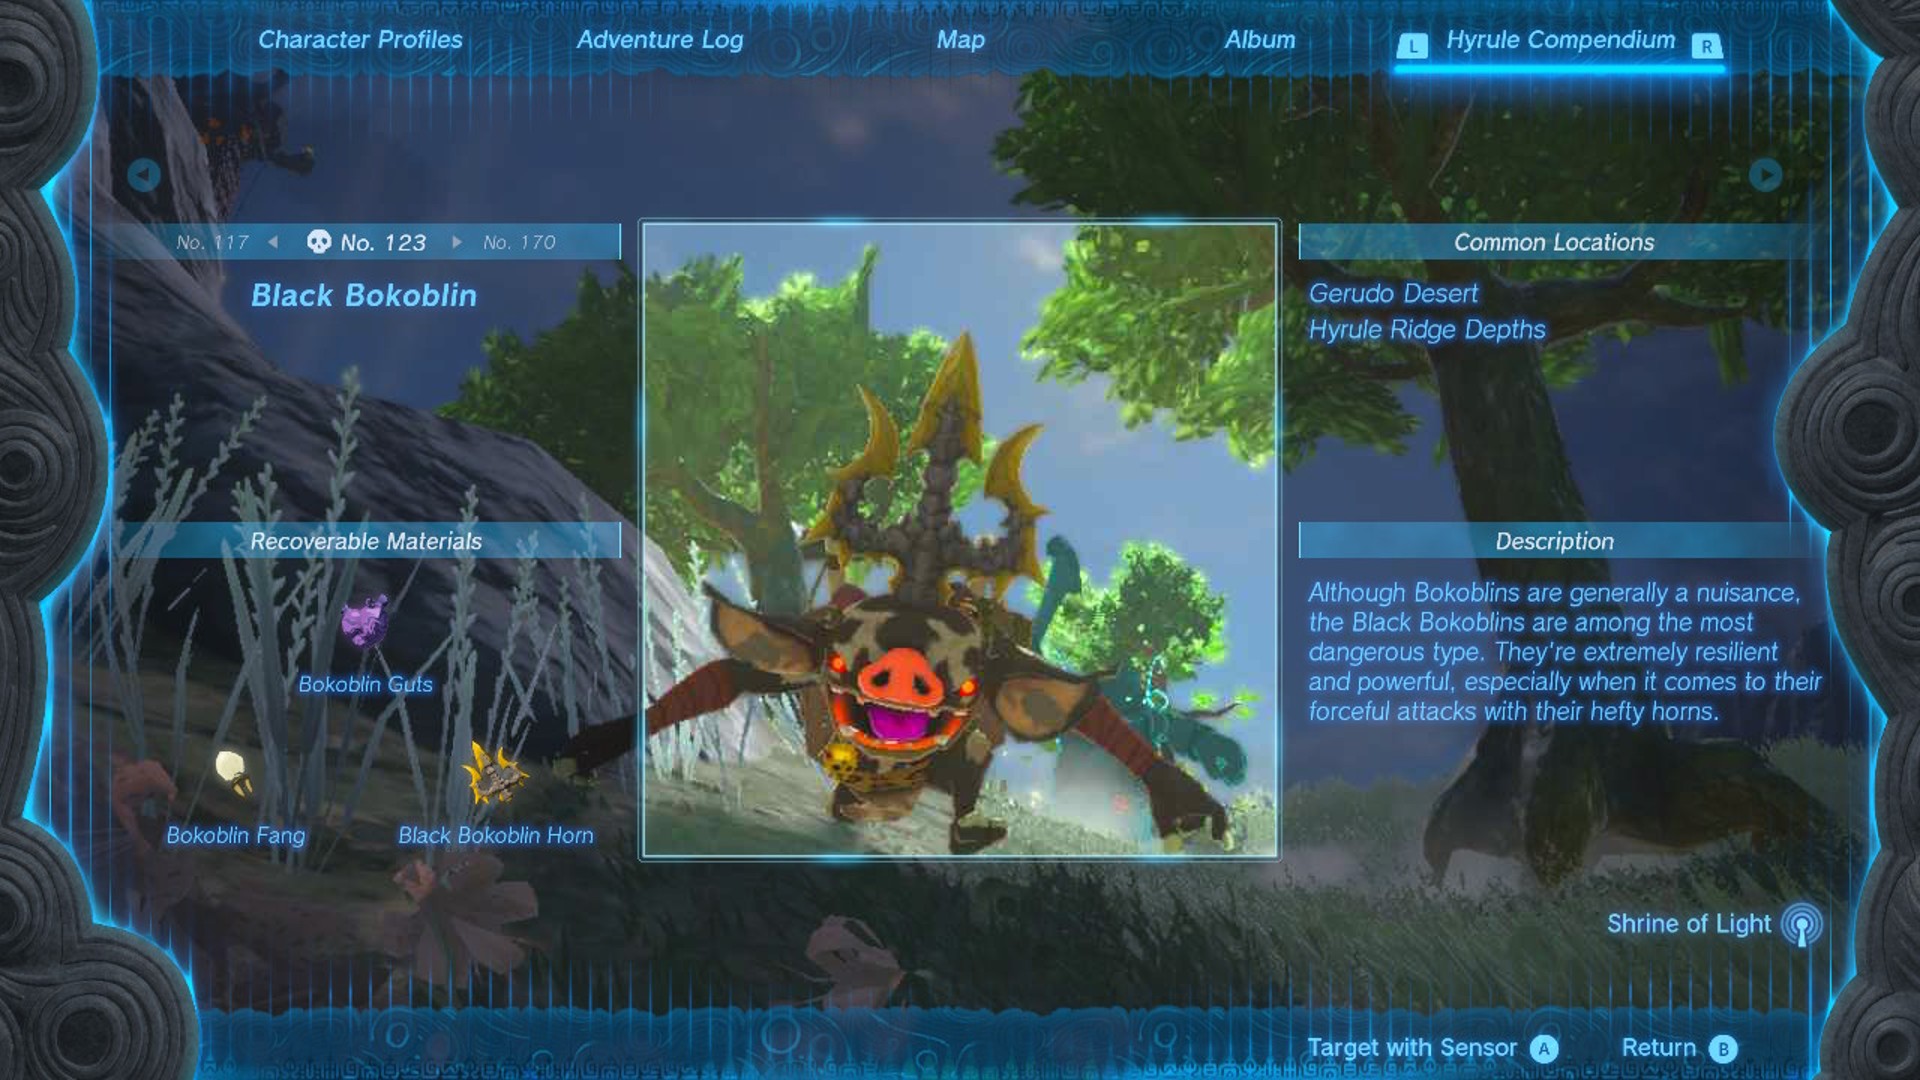
Sensor+ is a Purah Pad upgrade that lets you select an image from your Hyrule Compendium and track it via the sensor. It's useful for when you're searching for a certain herb, monster, or monster part, as long as you've got a photo of it snapped with the Zelda Tears of the Kingdom camera you'll have unlocked earlier on. In order to add Sensor+ to your Purah Pad, Robbie will ask you to photograph five different monsters and then return to him. Again, you might already have done this on your travels thus far, but if not it's just a matter of heading out beyond Hateno to find some monsters to photograph. When you return, Robbie will install the feature and encourage you to keep expanding the Hyrule Compendium, giving you more items to track with Sensor+.
To track a monster or item, just find its photo in your Compendium and press A. This will stop you from tracking Shrines and allow you to keep an eye and ear out for the targeted monster or item instead,
Purah Pad upgrade: The Traveller's Medallion
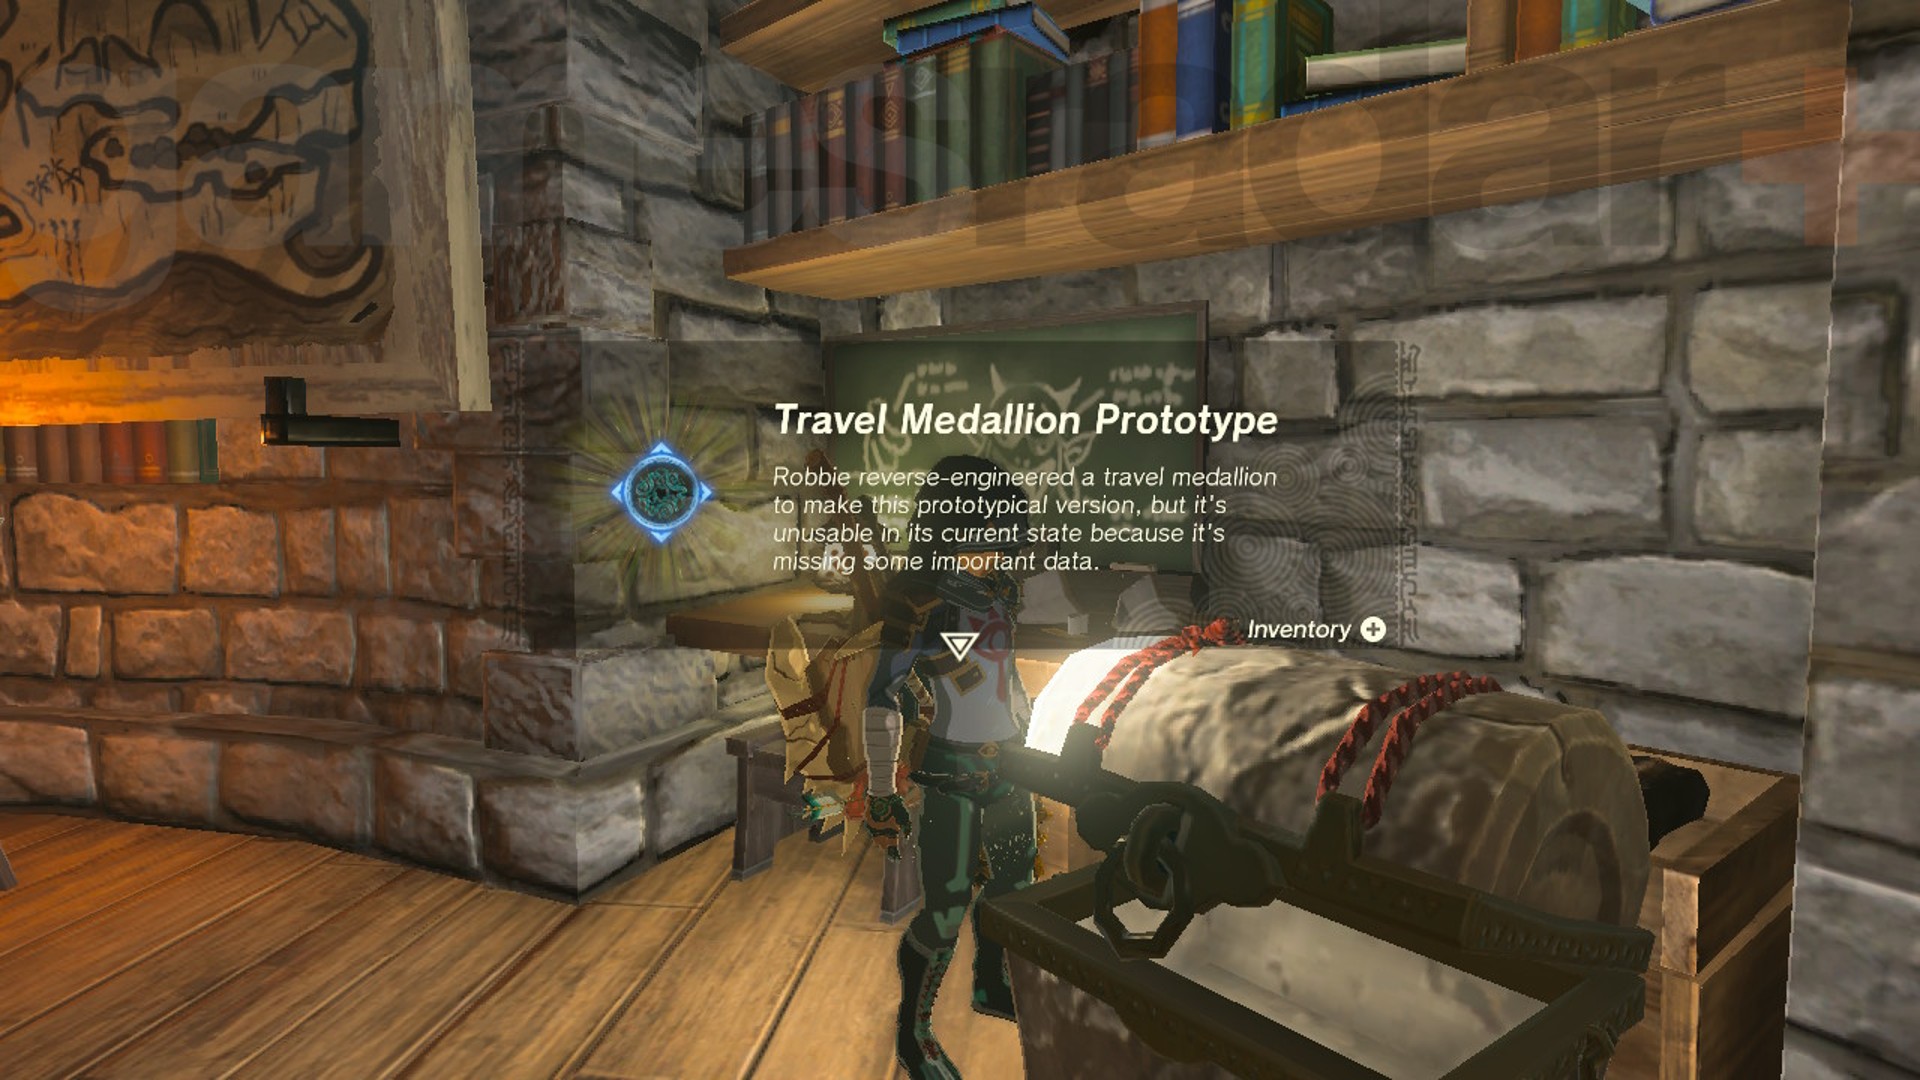
Perhaps the most useful Purah Pad upgrade, The Traveller's Medallion is also the most labor-intensive feature to unlock out of all four. You'll have to venture to the Ancient Tech Lab in Alakka, which is all the way across Hyrule in the northeast, to pick up the medallion prototype. Luckily, Robbie will mark its location on your map.
Once you arrive at the Lab in Alakka, you'll have to go head to head against two members of the Yiga clan. They've co-opted the Lab as their hideout, so you'll have to defeat both Yiga enemies to gain entry. Although their attacks can be a nuisance, since they can vanish and reappear elsewhere, you should be able to make quick work of them. After entering the Lab, an imprisoned tailor will give you a Yiga Clan tunic to thank you for rescuing him. Now you can investigate the large white chest on the other side of the room, and inside you'll find the Traveller's Medallion prototype to bring back to Robbie in the Hateno Tech Lab.
Once you return with it, Robbie will tell you that he has three Medallions to give you. For the other two, you'll need to have revealed 35 map regions total: 10 for the second Traveller's Medallion, and 15 for the third and final one. Now you can place these portals on the ground anywhere in Hyrule to allow you to fast travel back to that location without need for a shrine, Skyview Tower, or Lightroot.
© GamesRadar+. Not to be reproduced without permission
Weekly digests, tales from the communities you love, and more

Jasmine is a staff writer at GamesRadar+. Raised in Hong Kong and having graduated with an English Literature degree from Queen Mary, University of London in 2017, her passion for entertainment writing has taken her from reviewing underground concerts to blogging about the intersection between horror movies and browser games. Having made the career jump from TV broadcast operations to video games journalism during the pandemic, she cut her teeth as a freelance writer with TheGamer, Gamezo, and Tech Radar Gaming before accepting a full-time role here at GamesRadar. Whether Jasmine is researching the latest in gaming litigation for a news piece, writing how-to guides for The Sims 4, or extolling the necessity of a Resident Evil: CODE Veronica remake, you'll probably find her listening to metalcore at the same time.
