A full Star Wars Jedi Survivor walkthrough to help you battle the Empire
A complete guide on what to do and where to go in the Star Wars Jedi Survivor story
Exploring the Stone Spires on Koboh and the Shattered Moon has unearthed two High Republic-era devices that Cordova can research. However, in the meantime Imperial excavation forces are advancing on Pilgrim’s Sanctuary in Jedha, where a Hidden Path safehouse is located. Cal and Merrin agree to head over there to find Brother Armias, a fellow Hidden Path member.
Reach Pilgrim’s Sanctuary
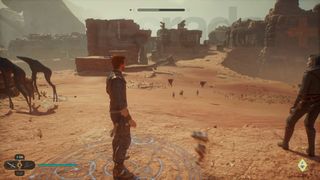
Start by following Merrin through the base, up the lift, and down the Desert Passages. Eventually you’ll get out into the desert and can get to the Arid Flats area, where you’ll immediately find the Anchorite Base Meditation Point. Mount up on a Spamel and head up the hill over to the ruins. You can quickly rest at the Arid Flats Meditation Point.
From this Meditation Point, head left along the cliff edge on your Spamel and then dismount to get up to the ledge on the right. From here, grapple over to the Imperial troopers on the cliff. Keep heading down the precarious path, then climb, grapple, and wall jump your way up to the ruins. Once you’re at the top, activate the zipline shortcut.
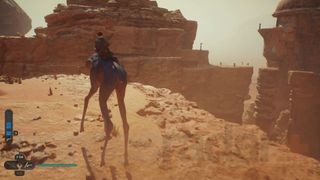
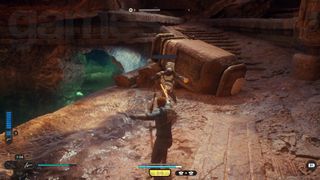
Go inside the ruins to reach a large room that has a massive rock wall chunk completely out of place. Force Push the chunk into place and you’ll see that it lines up with the track going around the rest of the wall. Just like in Cere’s base, you now need to Force Push the marble around the track so that the exit door at the opposite end opens. Once you’ve done that, Force Pull the wall chunk back out and jump across it to reach the exit door.
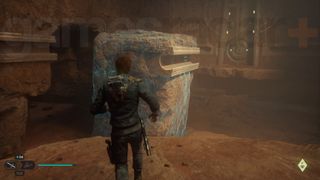
Follow the path as TIE Fighters fly past and you’ll soon reach a Skriton in its lair. Kill it, leave via the ledge, then grapple and wall run across to the next area. You can set up a zipline shortcut that leads back to the Meditation Point.
Next, use the zipline ahead and keep on the path. Merrin will split off from Cal when you reach an area called the Trailhead Pantheon. Follow the stepped path up and around to reach a tall, round building. Head inside but watch out for the Sutaban creature!
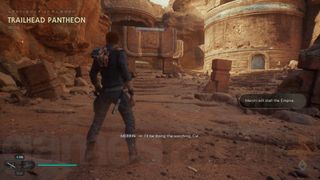
To get out of this room, begin by climbing onto the round podium in the middle and Force Pulling the wall panel up and to the left – this reveals a climbing grate and winch cable you can Force Pull to lift the gate at the end of this room, which is currently trapping a cube. Fully extend the cable then let go and quickly Force Pull the cube out before the gate shuts.
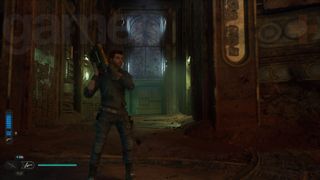
Position the cube under the climbing grate so that you reach the grate and get up to a dark corridor. Turn left as soon as you get to the corridor but immediately bear right and take the path downstairs to another room. The exit will be blocked by some rocks which can be Force Pushed out the way.
Head outside and set up the cable shortcut back to the main Trailhead Pantheon area. From here, head right and swing off the pole and rope to get on top of the stone arch below. Next, jump to the broken arch down the steps, then jump up to the damaged ridge on the building. Climb around to the right, then get inside and go up to reach the Whistling Drop.
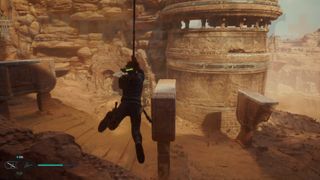
This is an incredibly windy area that forcibly moves Cal if he’s ever airborne. For this section, you need to block the wind rushing through the chasm so that Cal can safely jump across a gap. Climb the rock wall on the left to reach the upper level and walk towards the windy chasm, but instead of trying to jump the gap to the right, go forward then left into a little nook.
Squeeze through the gap, then Force Pull the metal block out of the wall to block the wind’s flow through the chasm. Now you can go back the way you came and jump the gap to reach the Whistling Drop Meditation Point.
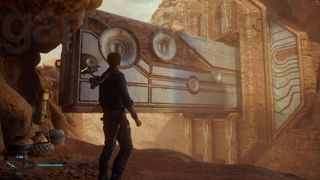
Go into the next area where some Imperial troops are waiting. Here you’ll see a banner spinning in the wind – you need to stop it so that you can safely reach a wall running wall on the other side.
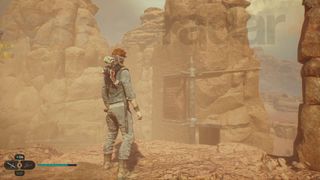
Head down the path on the right which leads to a series of climbing grates, bar, and walls. Traverse this area, making sure to compensate for the wind, until you eventually get up onto a rock ledge. Force Pull another metal block out to stop the wind, which also reveals a grapple point that leads onto a path back to the banner.
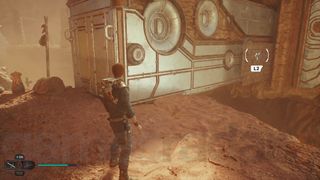
Now that the banner has stopped spinning, you can swing across to the wall running wall. Keep going and you’ll drop into an area with several Stormtroopers standing around. Grapple up to the scaffolding and follow the path around to the left. There’s a zipline shortcut you can activate along the way.
Fight the Imperial troopers and Skriton up ahead, then grapple to the metal bars on the rock spire to the right. Climb up to get to the upper level. Follow the path around and you’ll be back at the Trailhead Pantheon and can cut a cable to set up a shortcut.
From here, head immediately right through a small stone doorway and wall run through the building to reach the Crypt of Uhrma Meditation Point. Press on to reach an open hall area where you’ll face your first Sentry Droid – resilient Imperial droids with a variety of weapons.
Once you’ve dealt with all the enemies, scale the ruins by climbing the rocks and metal bars on the right. Wall run across the pillar, then grapple to the ceiling grating and cross to the other side of the hall. Drop down then wall run to the pole and swing to the top of hill, landing you in the Blustery Mesa.
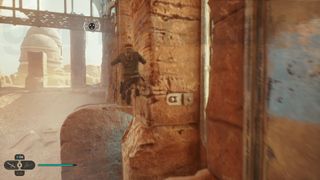
Follow the path then slide down the hill, but make sure you lean right and grapple to the wall running wall. After reaching the tunnel, keep following the path into the next area – there’s a locked door you can open to reveal a shortcut here.
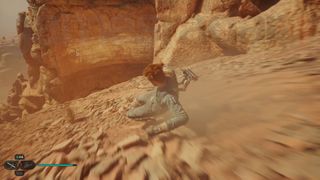
Jump down and clear out the troopers below, then Force Push the metal block into the rock wall. Now with increased wind blowing through the area, jump to the ledge on the right and you’ll get boosted across the gap.
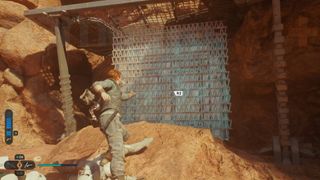
Keep following the path until you reach a cave with two paths – one to the left and one to the right that goes down. You need to take the left path and Force Pull another metal block to reveal a ceiling grate that you can climb on. However, head down the path on the right and you can also try and solve the Star Wars Jedi Survivor Crypt of Uhrma puzzle to get an extra Stim!
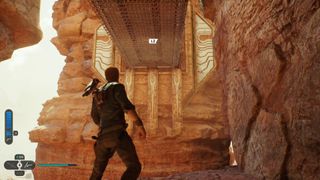
Back on the critical path, climb, wall run, and grapple your way around and up the cliffs. You’ll reach a small cave where you’ll meet a gardener called Pili. While not essential, have a chat with them and you can recruit them to tend the rooftop garden at Pyloon’s Saloon.
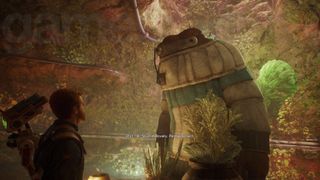
Next, activate the zipline and ride it up to the next area. Follow the path but go right and jump up to the ledge – the gusts of wind will lift Cal up there! On this upper level, you’ll find some troopers and a lift that takes you down to the Crypt of Uhrma.
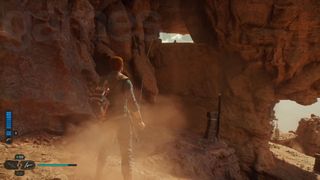
Instead, turn right and go to the climbing wall. Traverse the wall around and up to get to reach the upper level. You need to jump to the hole in the wall that’s quite far away, but since it’s so gusty up here, the wind will boost you all the way across. Once you’re through, you’ll be at the Timeworn Bridge and can rest at the Timeworn Bridge Meditation Point.
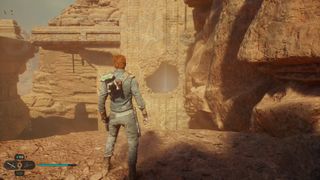
Force Push the metal cover to open the next path and head right. You’ll find Merrin up ahead and can squeeze through a gap next to her to get to the next area. Fight the Imperial forces, then get Merrin to fix the bridge archway to carry on. Make sure you set up the zipline shortcut here too.
Force Pull the metal block in the container to create an opening in the ruins to the right. As before, jump and the wind will carry you, leading into the Singing Ruins. Next, head right through a squeeze gap and follow the path down into a round chamber that’s incredibly windy.
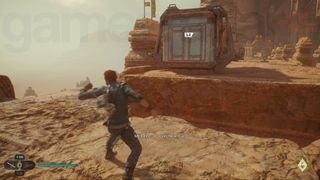
Start by Force Pulling a metal block out the wall to the right, then one to the left just beyond a wall running wall. Now you can wall run and jump up to the next metal block and pull that out too. This reveals a grapple point that you can reach by heading back the way you came.
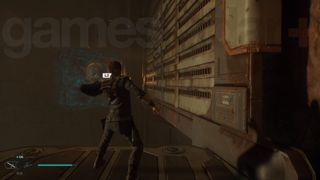
Grapple and wall run to the ceiling grate and climb along. Once you’re at the end, jump to the rope, swing to the central pillar, and slide down. Now Force Pull the metal doors open and try to jump towards them. This will trigger a cutscene, after which, Cal wakes up in a safer place having learned the Dash ability – press Circle/B while mid-air – allowing him to jump further and get through wind gusts.
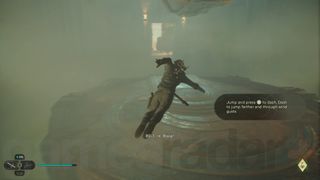
Follow the path back to the windy chamber but dash through to the other side to reach Merrin. Now just keep following her along the path, using your dash when needed. Unfortunately, a massive Imperial drilling droid arrives at the ruins, so Merrin leaves again to distract it.
To progress, dash to the swinging pole then climb up to get back to the Timeworn Bridge Meditation Point. Go out the same way you did before but make sure you turn left and use the zipline to get back up to the bridge. Now you can dash across the gap and carry on up the bridge.
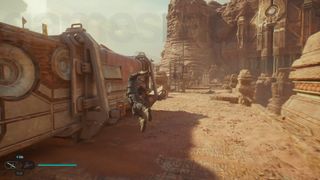
Next, jump down the hatch in the floor to reach a lower section of the bridge. Turn left, then wall run and dash your way around the back to the other side of the bridge. Keep climbing, wall running, and dashing along until you slide down a ramp, then jump and dash to the climbing grate.
Now you need to use your dash to jump between climbing grates until you eventually reach the far side of the bridge. You can also dash and climb to the previous section of the bridge to set up a zipline shortcut.
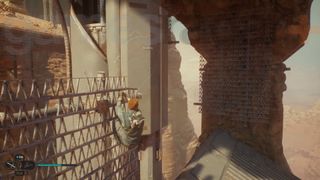
Continue climbing and dashing your way to the ruins entrance beyond the bridge and to the right. Head inside, then go through the squeeze gap in the collapsed rocks to finally reach Pilgrim’s Sanctuary.
Locate Brother Armias
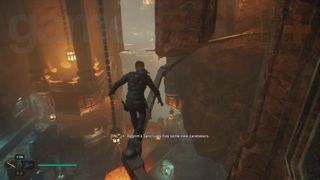
Firstly, move through the ruins to eventually reach the Sanctuary Temple Meditation Point. Press on into a large room then walk/hang from the bar ahead and wall run to reach a ledge at the top of a tower. Jump into the tower and slide down to reach the floor of the room. Be prepared for a big fight against the Imperial forces guarding the area. Remember this room too, as you will be coming back here later!
Once the area is clear, head over to the green forcefield barrier and go immediately right. Grapple to the climbing grate, then wall run and dash to the next. Keep climbing along the metal bars and grates, dashing as necessary. The drill droid will smash through the temple but keep going until you slide down a cave tunnel.
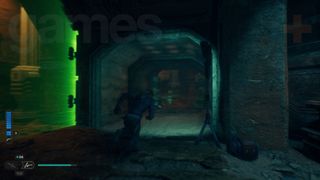
Soon after, you’ll get to a point where one of the droid’s legs is buried in the wall right next to you. Jump and wall run over it then dash across to the other side of the area.
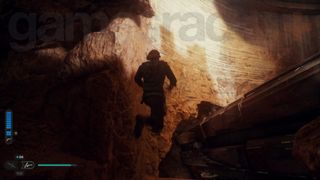
Carry on into the next room where you’ll see a collapsed statue over a pool of water. Head around to the other side of the pool and dive in, then head through the underwater tunnel. Just keep following the lights and don’t worry about drowning as Cal has a rebreather.
Pilgrim’s Sanctuary door puzzle
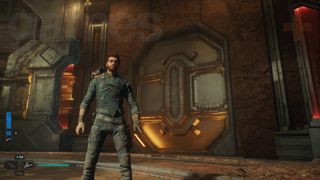
Eventually, you’ll emerge into a room with a large door that currently cannot be opened. To solve this puzzle, you need to move the two large metal panels – one on either side of the room – using the Force so that they line up with the door and open it. However, there are boxes that block the path of the panels, although they can be moved with winch cables on either side of the main door. Here’s what you do:
- Start by grabbing the left winch cable and slotting it into the locking device, raising the left box out the way.
- Force Pull the metal panel on the left. The panel will slightly overshoot its correct position.
- Unhook the winch cable to lower the left box, then use the Force to move the left panel again. It’ll get stopped in the correct position.
- For the metal panel on the right, Force Pull it to get it moving, then quickly grab the right winch cable and pull it as tight as possible – there’s nowhere to place it so you have to hold on.
- Provided the box is out the way in time, the panel will glide into place, completing the door.
- Force Push the door to open it.
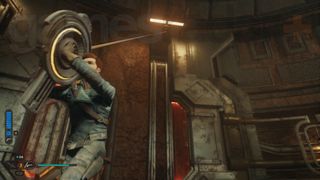
Proceed down the corridor and then go through a door and you’ll meet Brother Armias who gives Cal the codes.
Bring Contact Codes to Cere
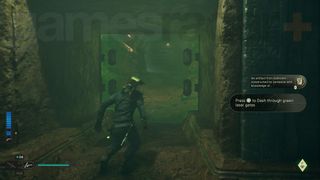
Merrin joins back up with Cal and gives him Merrin’s Magicked Charm – an upgrade for Cal’s dash that allows him to get past green laser barriers in Star Wars Jedi Survivor. Use this upgrade to get into the next corridor then go to the Buried Refuge Meditation Point.
Now, follow Merrin through the cave and along the path – the drill droid will be really trying to get you but just keep moving forward. For most of this next section, you will combine all your movement abilities and skills – jumping, wall running, grappling, dashing, wall jumping, swinging, etc – to manoeuvre around the drill droid. Remember that dashing through a green barrier refreshes your double jump and dash, allowing you to move incredibly far!
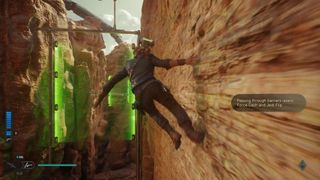
After running along a path, you must then slide down a hill and jump back to the Sanctuary Temple, avoiding the drill droid in the process. Head into the temple and activate the zipline shortcut to get you back to the large room with the green laser barrier that you were previously in.
Head to the green barrier and dash through it to reach Sepulcher Pass and the Sepulcher Pass Meditation Point. Next, head down the stairs and through the caves, battling all the Stormtroopers along the way until you make it outside.
This next section is a massive set-piece where you’ll try to bring down the drill droid, but it uses a lot of the same fast-paced platforming that you just did, requiring you to wall run, dash, and jump all over the place. The special mechanic here is that Merrin is creating green magick tunnels that, when dashed to, send Cal flying on a predetermined path. As you platform your way around the drill droid, always make sure you aim for the green portal!
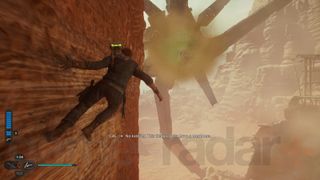
After wrecking the drill droid and making one last set of jumps, you’ll make it to the Trailhead Pantheon Meditation Point. Follow Merrin back the way you originally came through the area, then use the zipline shortcut you set up a while ago to get to the Arid Flats Meditation Point. From here, you can fast travel back to the Archive Meditation Point and hand Brother Armias’s codes to Cere.
Search for compass on Koboh
Cordova and Bode have discovered that the two devices Cal found are Abyss Compasses that can aid in getting to Tanalorr, although they are broken beyond repair. There might still be one out there, so it’s back to Koboh via the Mantis to try and find one. However, once you arrive, you’ll learn that Zee has been taken by the Bedlam Raiders and is being held in the derelict Lucrehulk battleship near the outpost.
© GamesRadar+. Not to be reproduced without permission.
Current page: Jedi Survivor Jedha walkthrough 2 – Reach Pilgrim’s Sanctuary
Prev Page Jedi Survivor Koboh walkthrough 4 – Research Tanalorr Next Page Jedi Survivor Koboh walkthrough 5 – Rescue ZeeSign up to the GamesRadar+ Newsletter
Weekly digests, tales from the communities you love, and more
Will Sawyer is a guides writer at GamesRadar+ who works with the rest of the guides team to give readers great information and advice on the best items, how to complete a particular challenge, or where to go in some of the biggest video games. Will joined the GameRadar+ team in August 2021 and has written about service titles, including Fortnite, Destiny 2, and Warzone, as well as some of the biggest releases like Halo Infinite, Elden Ring, and God of War Ragnarok.
- Leon HurleyManaging editor for guides

Oh, that's why the Stellar Blade devs were terrified by demo players: one fan's spent "about 60 hours" maxing Eve's skill tree before the action RPG is even out

A new Taylor Swift song mentions GTA, but some remember it mentioning Baldur's Gate 3, Final Fantasy 14, and more in hilarious Twitter trend