The full Star Wars Jedi Survivor walkthrough
The complete guide on what to do and where to go in Star Wars Jedi Survivor
Cal's old mentor Cere has joined a group called the Anchorites on Jedha, and Cal, Greez, and Bode are going to meet her to reveal their plan to find a way to Tanalorr.
Meet Cere on Jedha
Get aboard the Mantis and interact with the holotable, then select Jedha to start. Interact with the holotable again when prompted to start a cutscene which explains that Cal will be meeting a contact instead of Cere herself.
Rendezvous with Cere’s contact
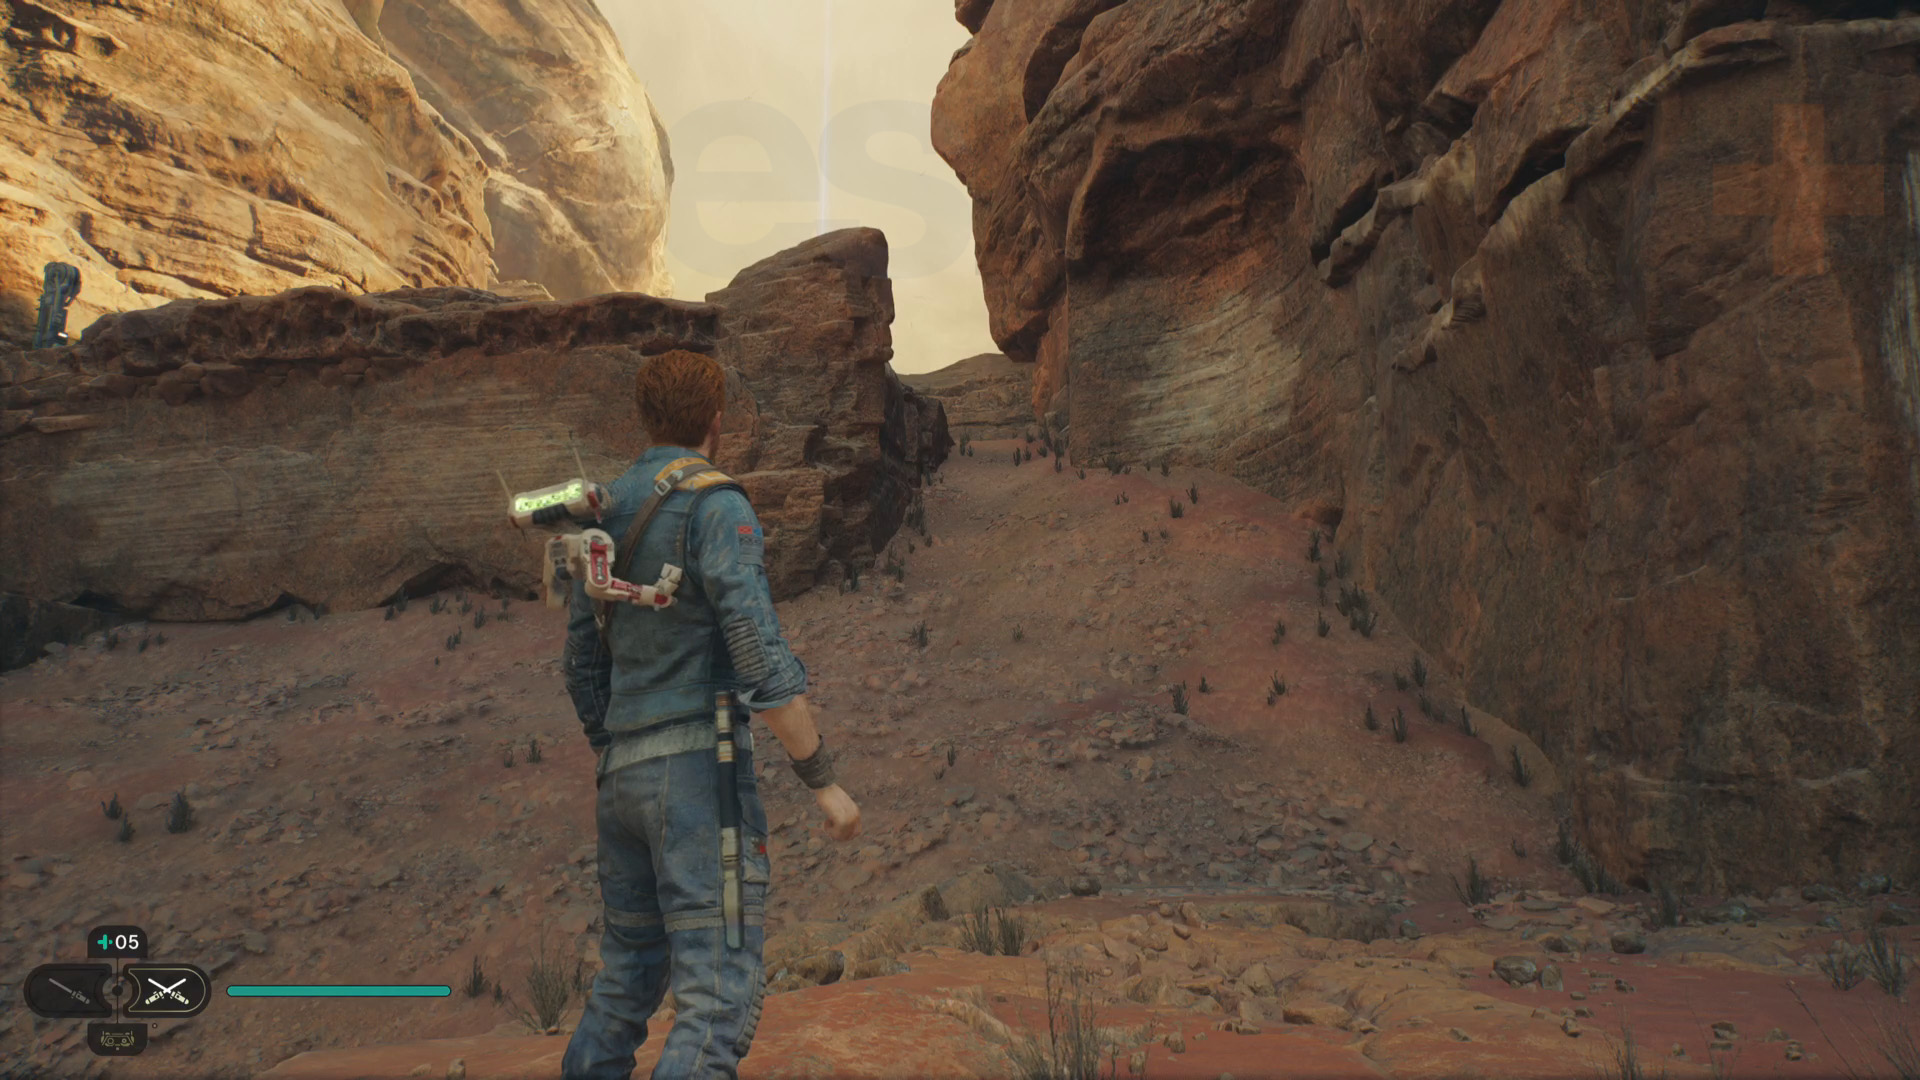
Reach the Ruins Landing Site and you can make your way to Cere’s contact. Start by jumping up the various rock platforms to avoid the loose ground. Once at the top, wall run all the way to the right, then slide down to the small clearing. Next, wall jump up the gap in the cliff, then navigate across to reach the upper level. Make sure to activate the zipline shortcut.
Head up the hill to reach the Monastery Walls Meditation Point. All you need to do here is get to the large gate on the opposite side of the area. Force Push it open and get through. However, you need to reach it by spending as little time as possible on the sand as Cal can get eaten by a lurking Skriton creature – stick to rocks or ruins.
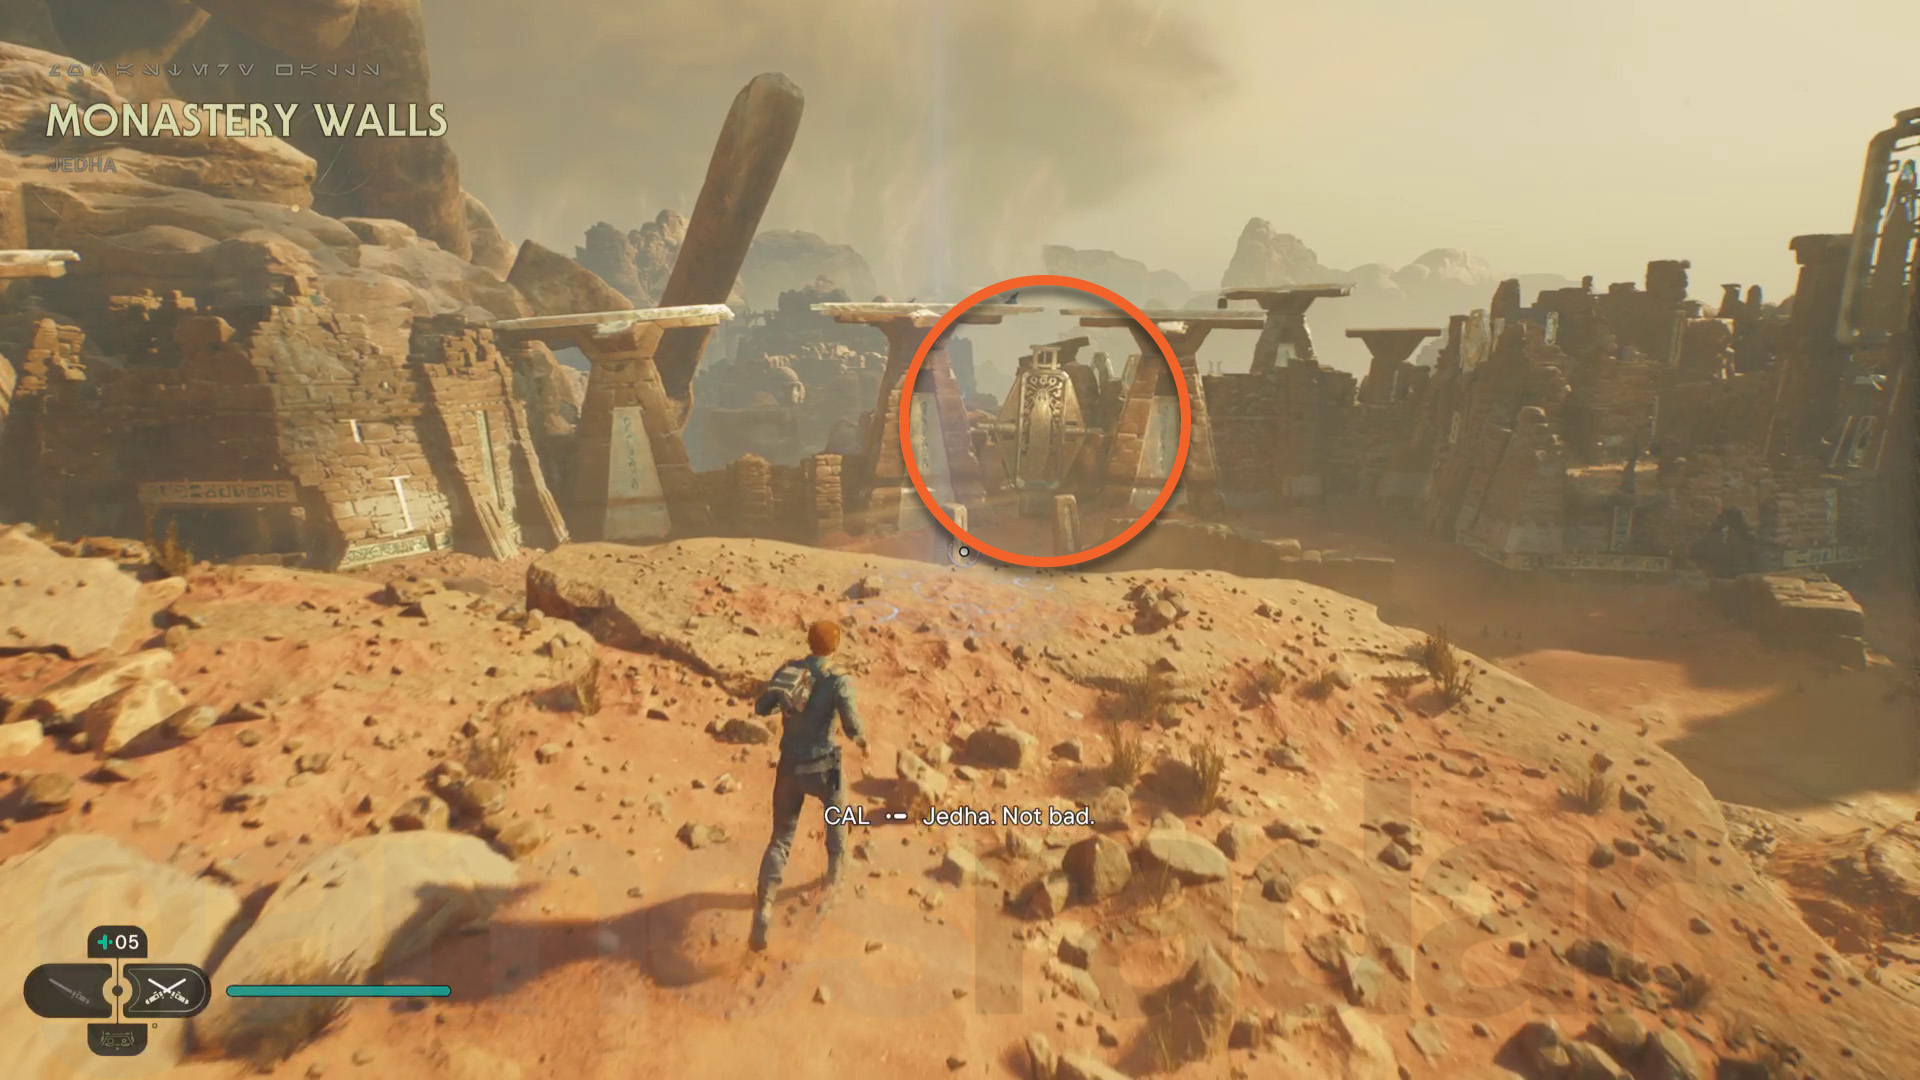
Once you’re through the gate, head up the steps on the right, then grapple and wall run to the next area. The floor will collapse, causing Cal to slide down towards the waiting Skriton, so jump over it.
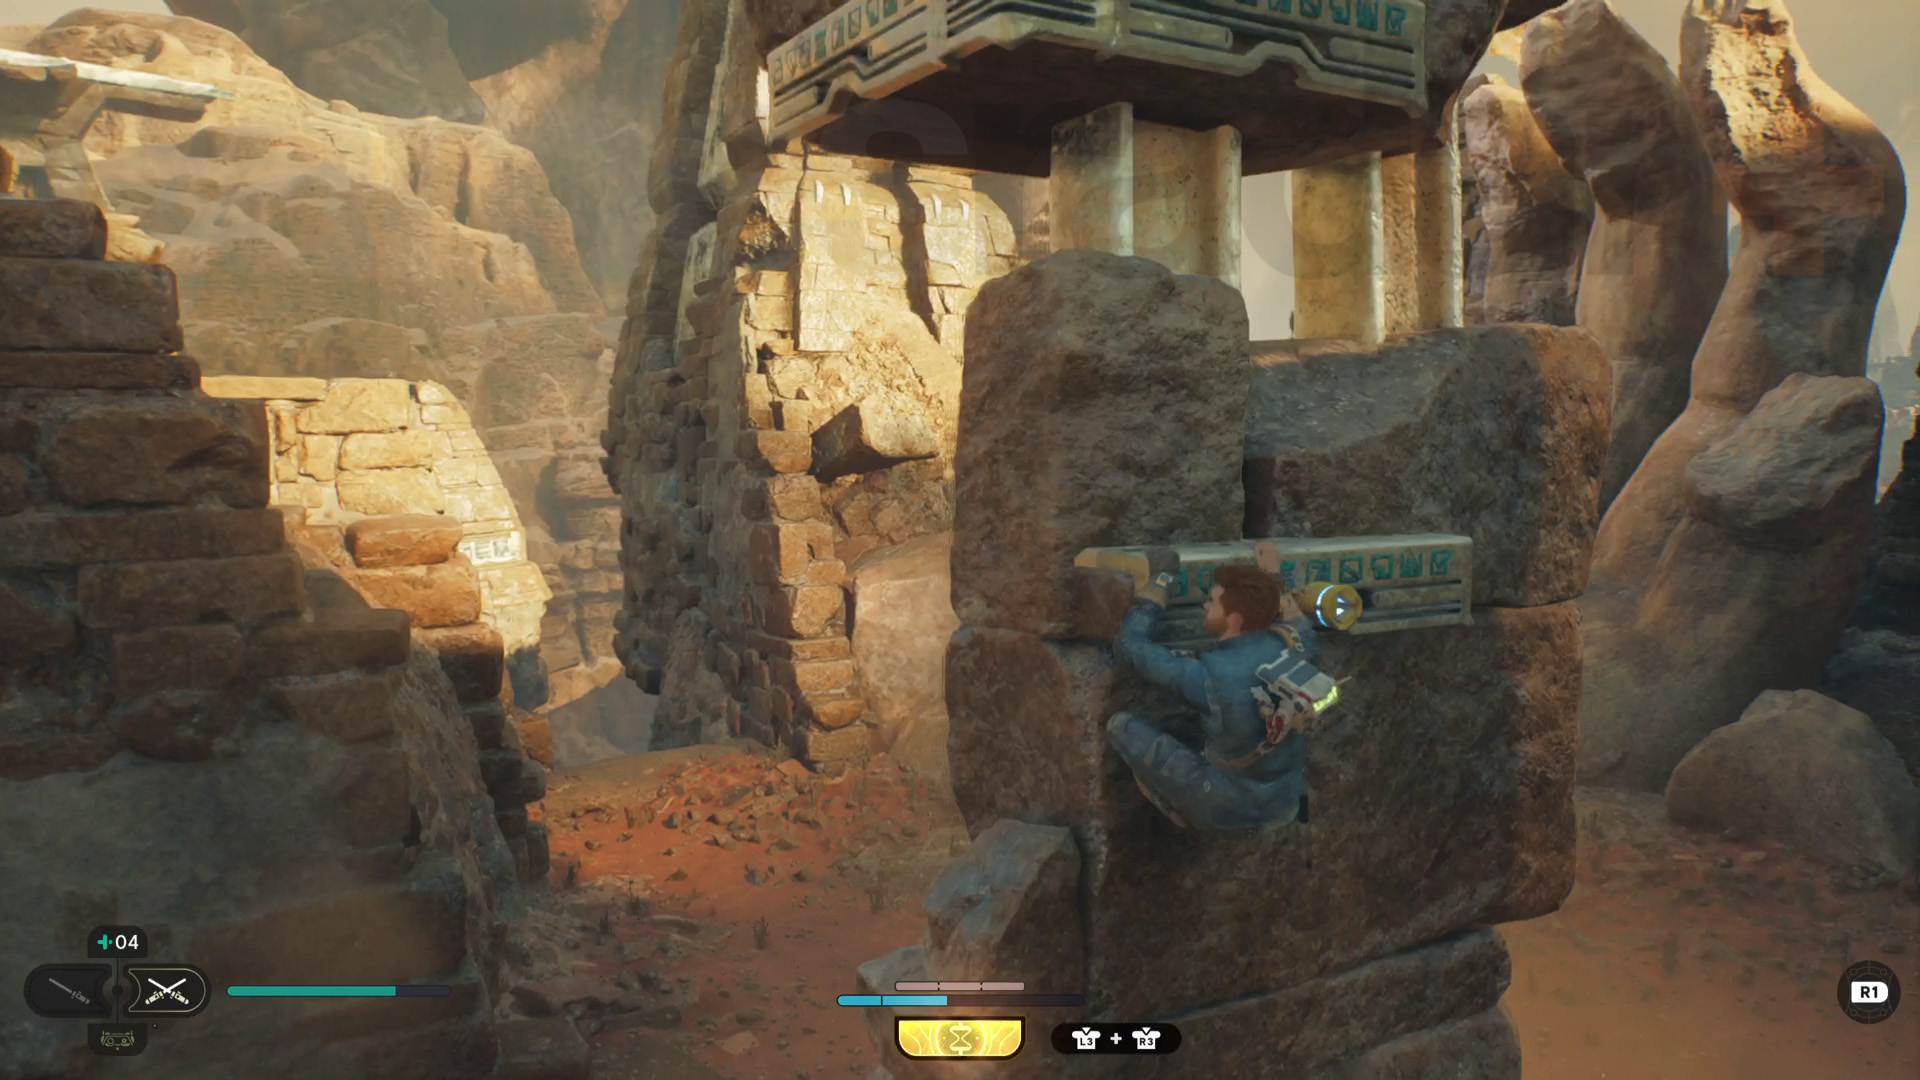
Next, quickly get to the far side of the damaged stone pillar that’s in the middle of the sand and grapple up. Climb up the pillar and then swing to the next area. From here, wall run on the right to reach the upper level – you can cut a cable for a shortcut here.
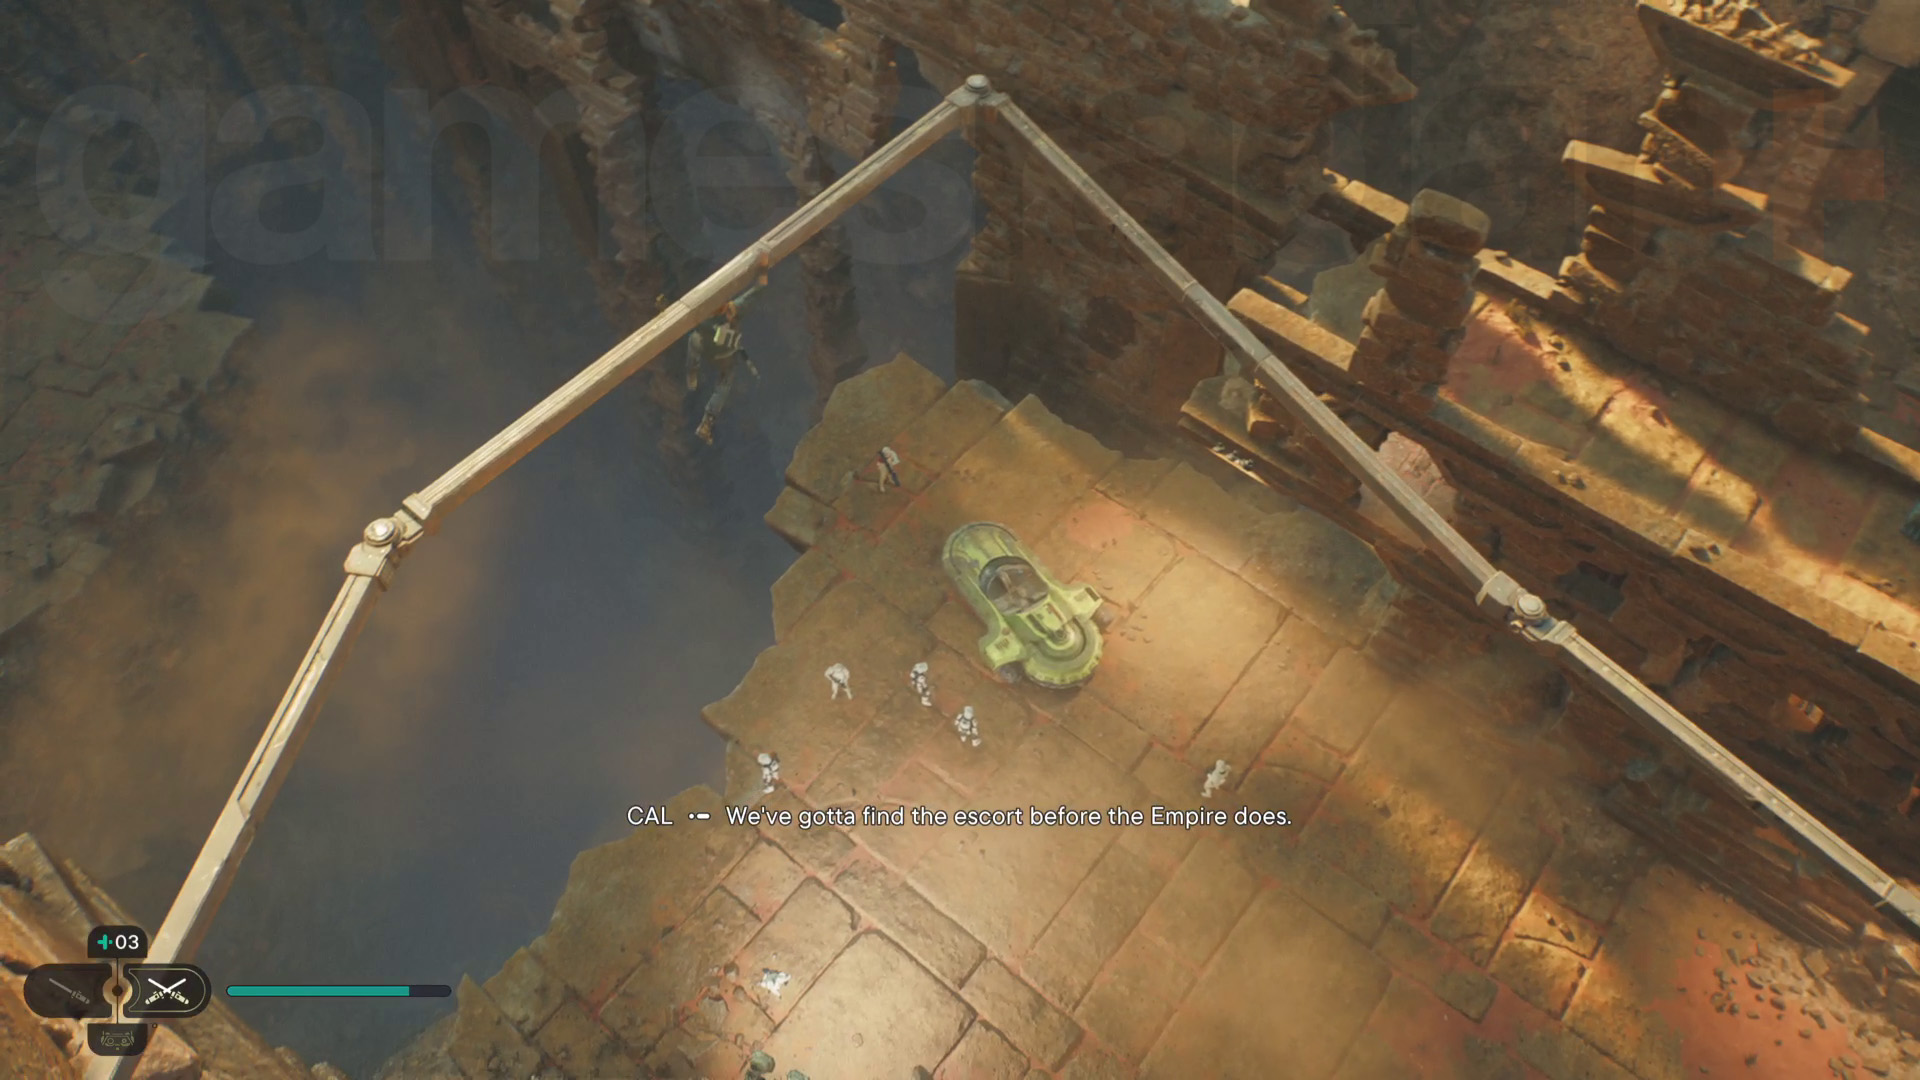
Go across the bridge and then keep going to reach the Penitent Chambers. You’ll spot a group of troopers below standing around an abandoned landspeeder. Get through here by jumping up and climbing along the metal beam which leads right to the Penitent Chambers Meditation Point.
Carry on through the corridors, jump to the metal mesh and climb along. Cal will get grabbed by a jetpack trooper, starting a quick time event to break the trooper’s hold. Cal ends up in an arena room and you’ll need to battle lots of Imperial troops, although later on, Merrin arrives and joins Cal as a companion – she can tangle enemies on the spot and set up grapple points for Cal.
Travel to Cere’s Base
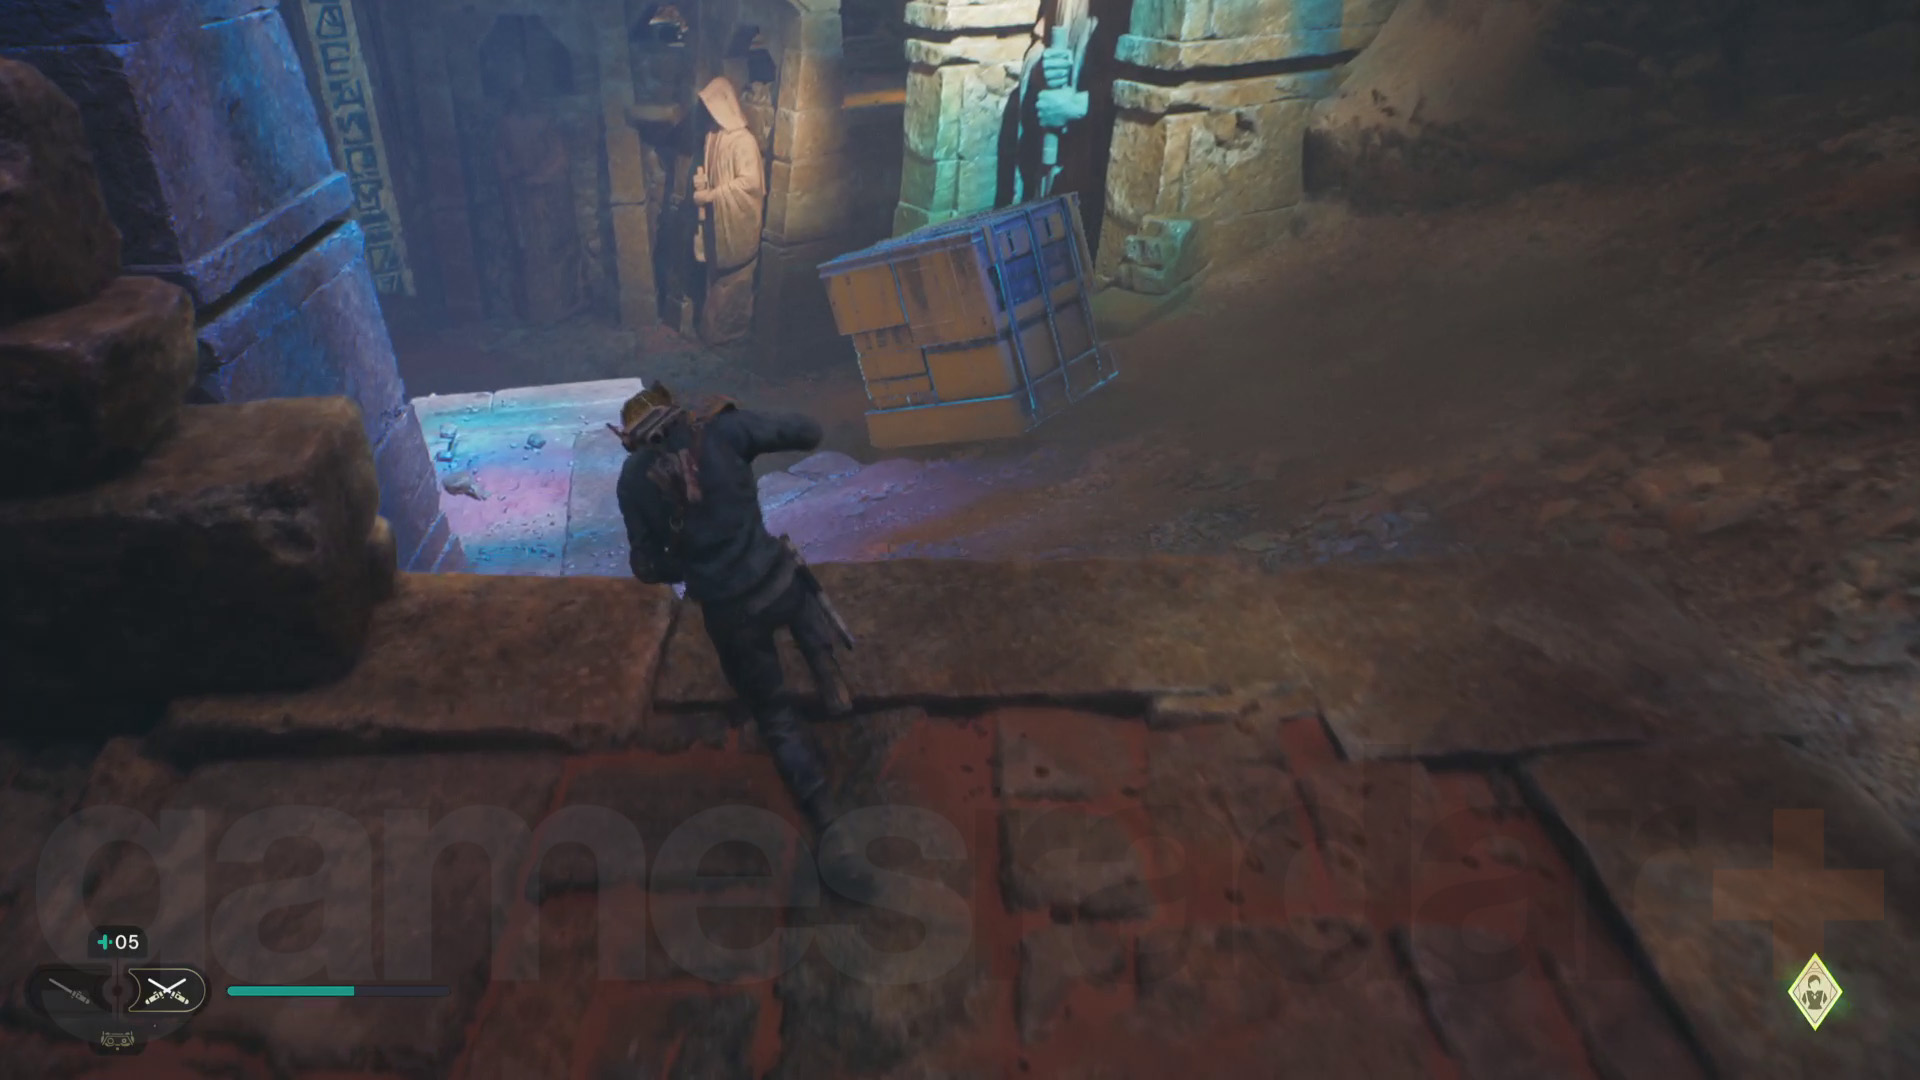
Once all the enemies are dead, get Merrin to set up a grapple point at the top of the arena wall. Follow Merrin around the wall and up to find a large cube object. Force Push the cube onto the sand slope, causing it to slide down. Position the cube between the two Jedi statues, then use it to climb out of the arena.
Follow Merrin through the ruins until you eventually reach the landspeeder from before. Jump down and fight the enemies head on, although the speeder will get destroyed, so you need to find another mode of transport.
Weekly digests, tales from the communities you love, and more
Reach the Spamels
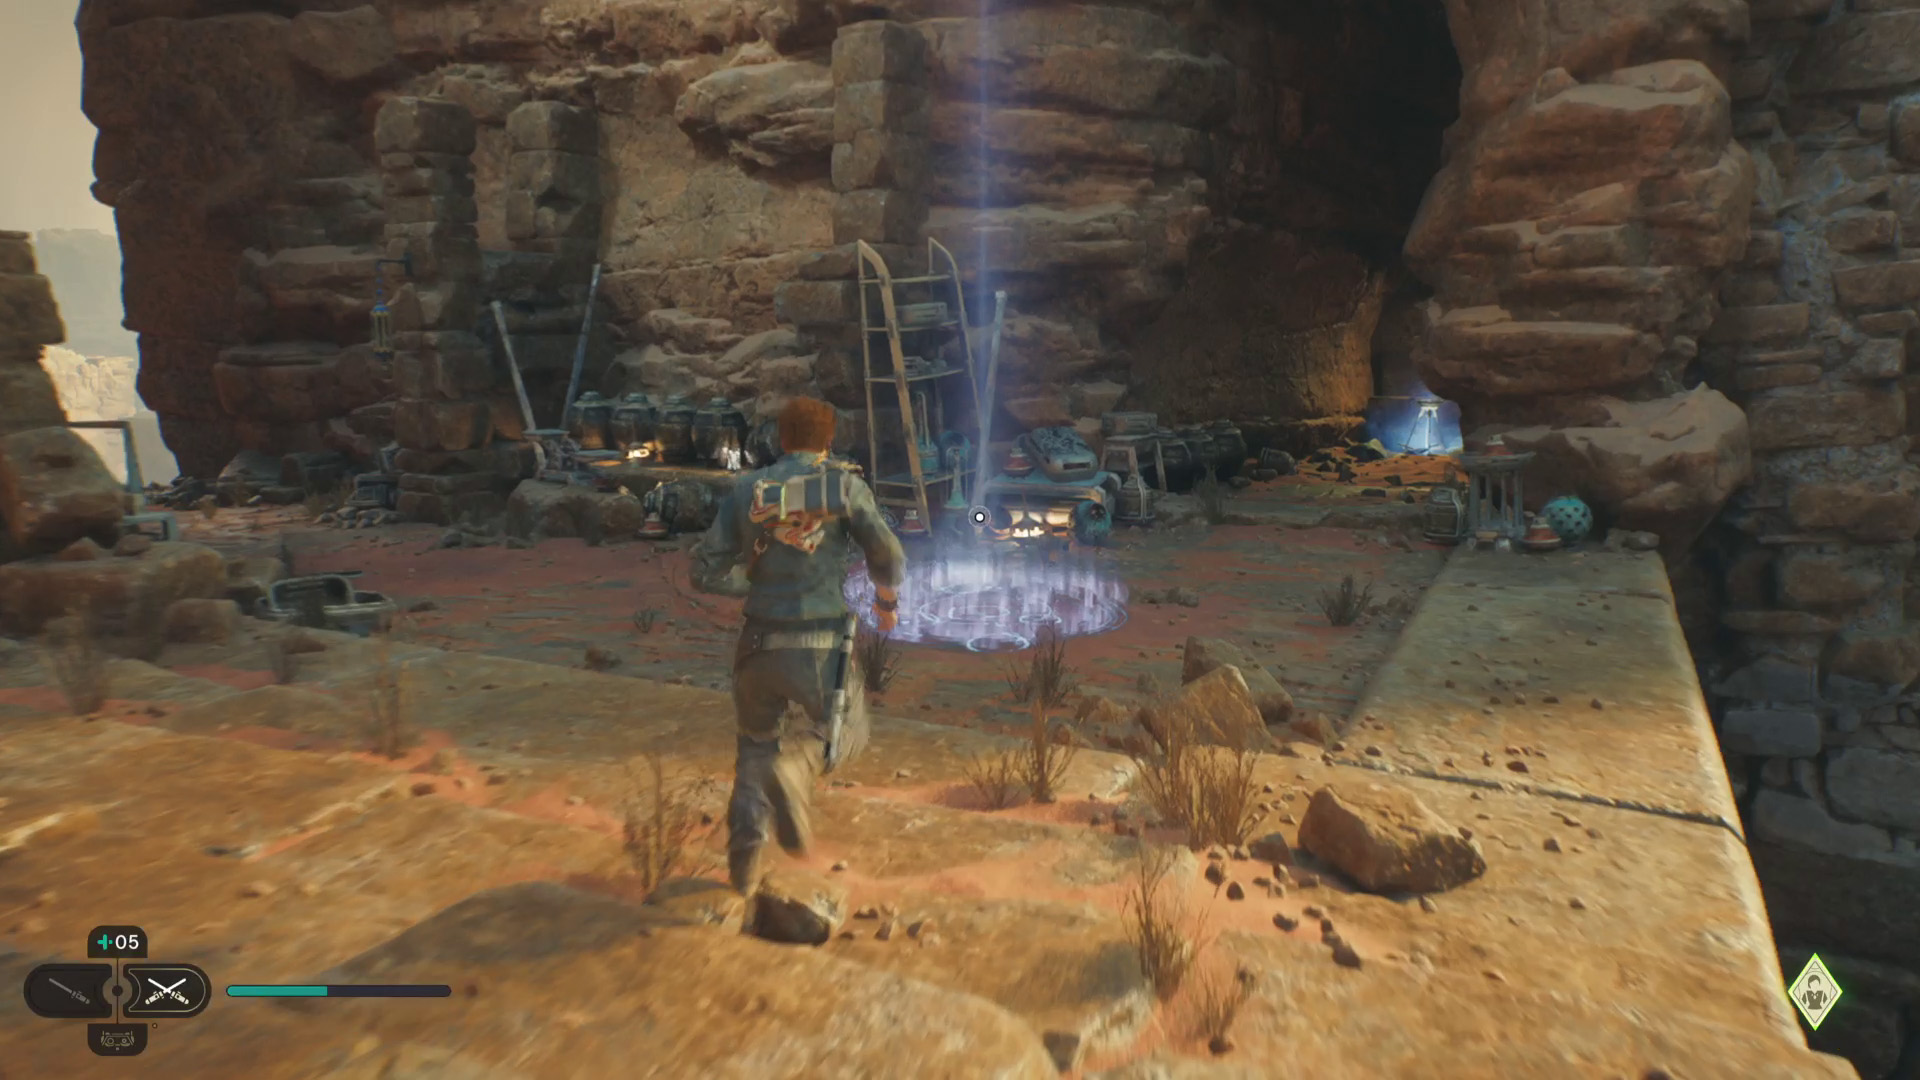
Tell Merrin to create a grapple point on the wall to the right, then grapple over and wall run across the area. You’ll eventually squeeze through a gap and need to Force Push a door apart. However, doing so causes the whole wall to collapse which Merrin can fix with her magick. Go through the doorway and head left to wall run then climb up and out to the Halls of Ranvell Meditation Point.
From there, head left to the Halls of Ranvell and drop down to the lower level to battle the Imperial troopers. Next, get Merrin to create a grapple point on the wall to the right. You can use this to reach a ceiling climbing grate which leads you further into the ruined halls. Wall run, climb, and grapple your way through this linear path until you reach a room with metal walkways and inclines leading up.
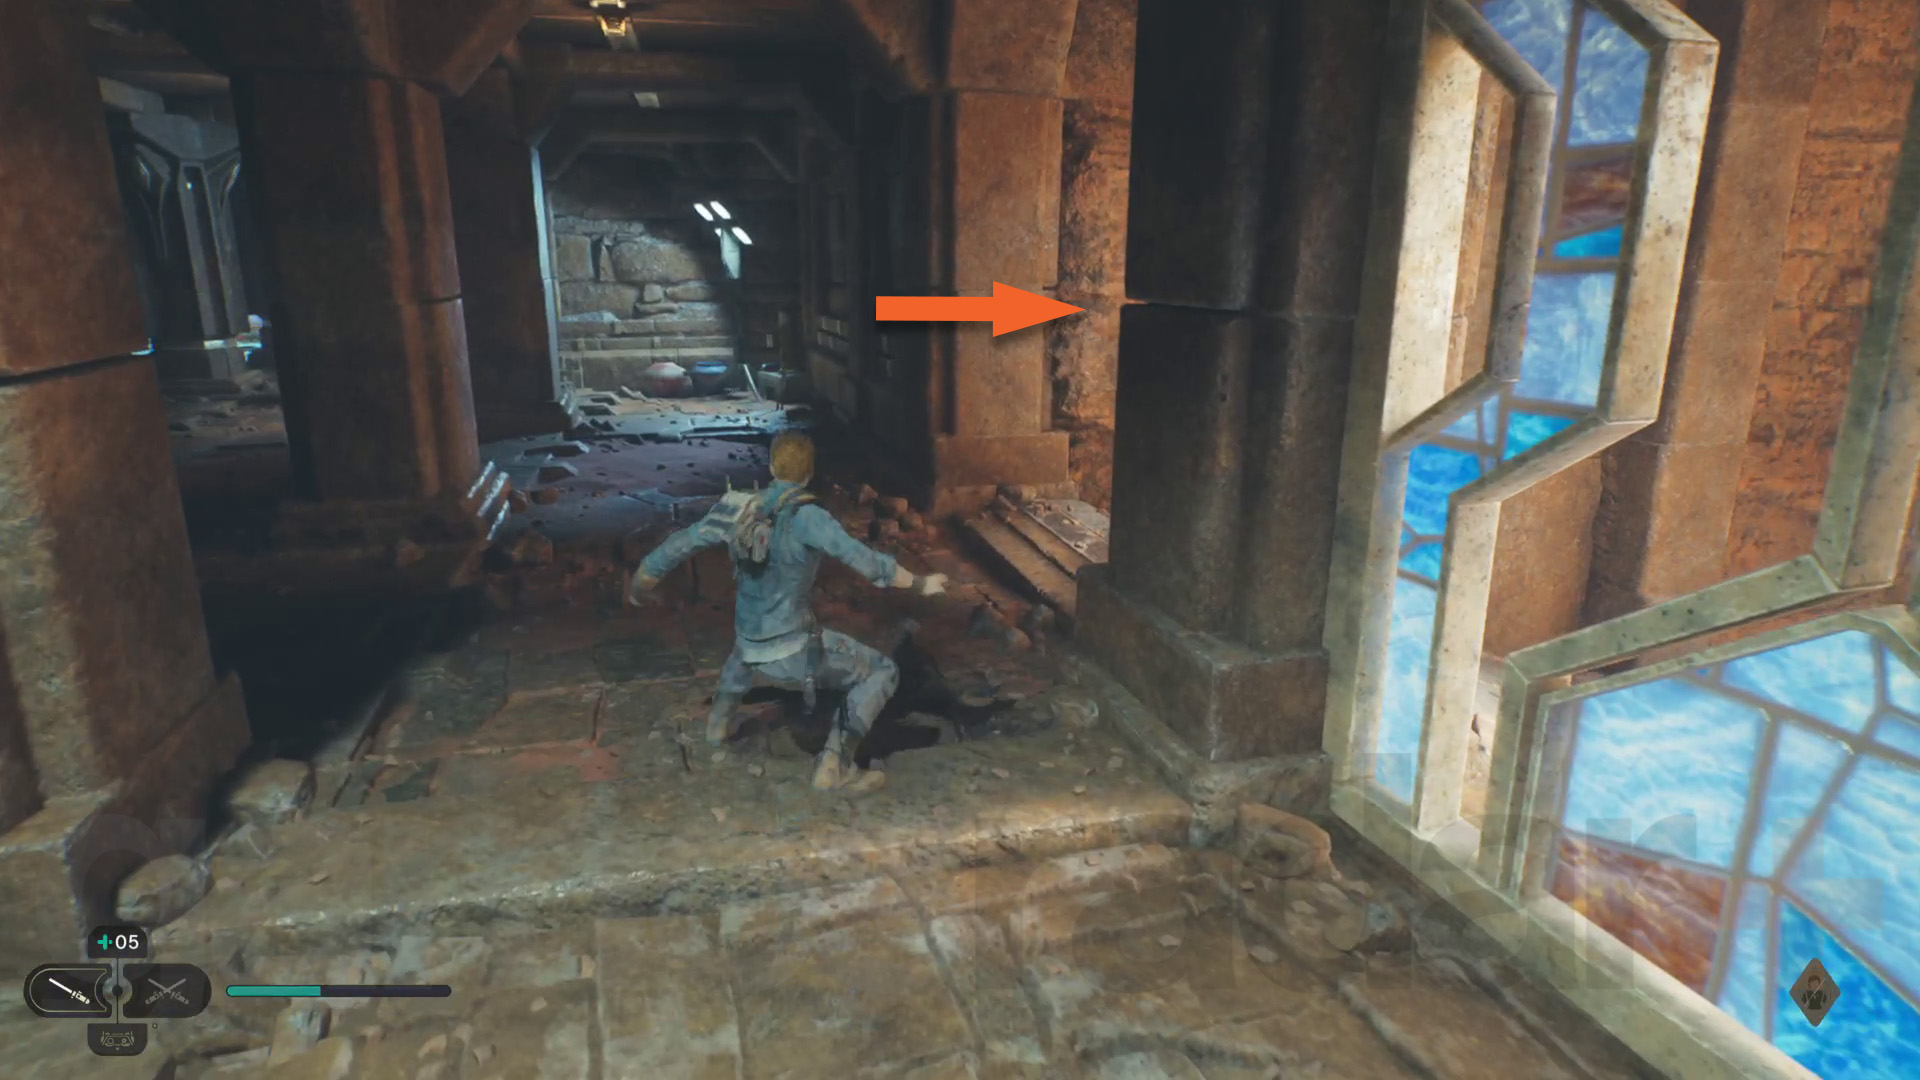
You need to wall run back and forth to ascend the room and reach the exit. This leads into another room with lots of stone pillars and some patrolling troopers, although you actually need to head immediately right and go along a metal walkway. Climb up the cliff then activate the zipline shortcut back to the Meditation Point.
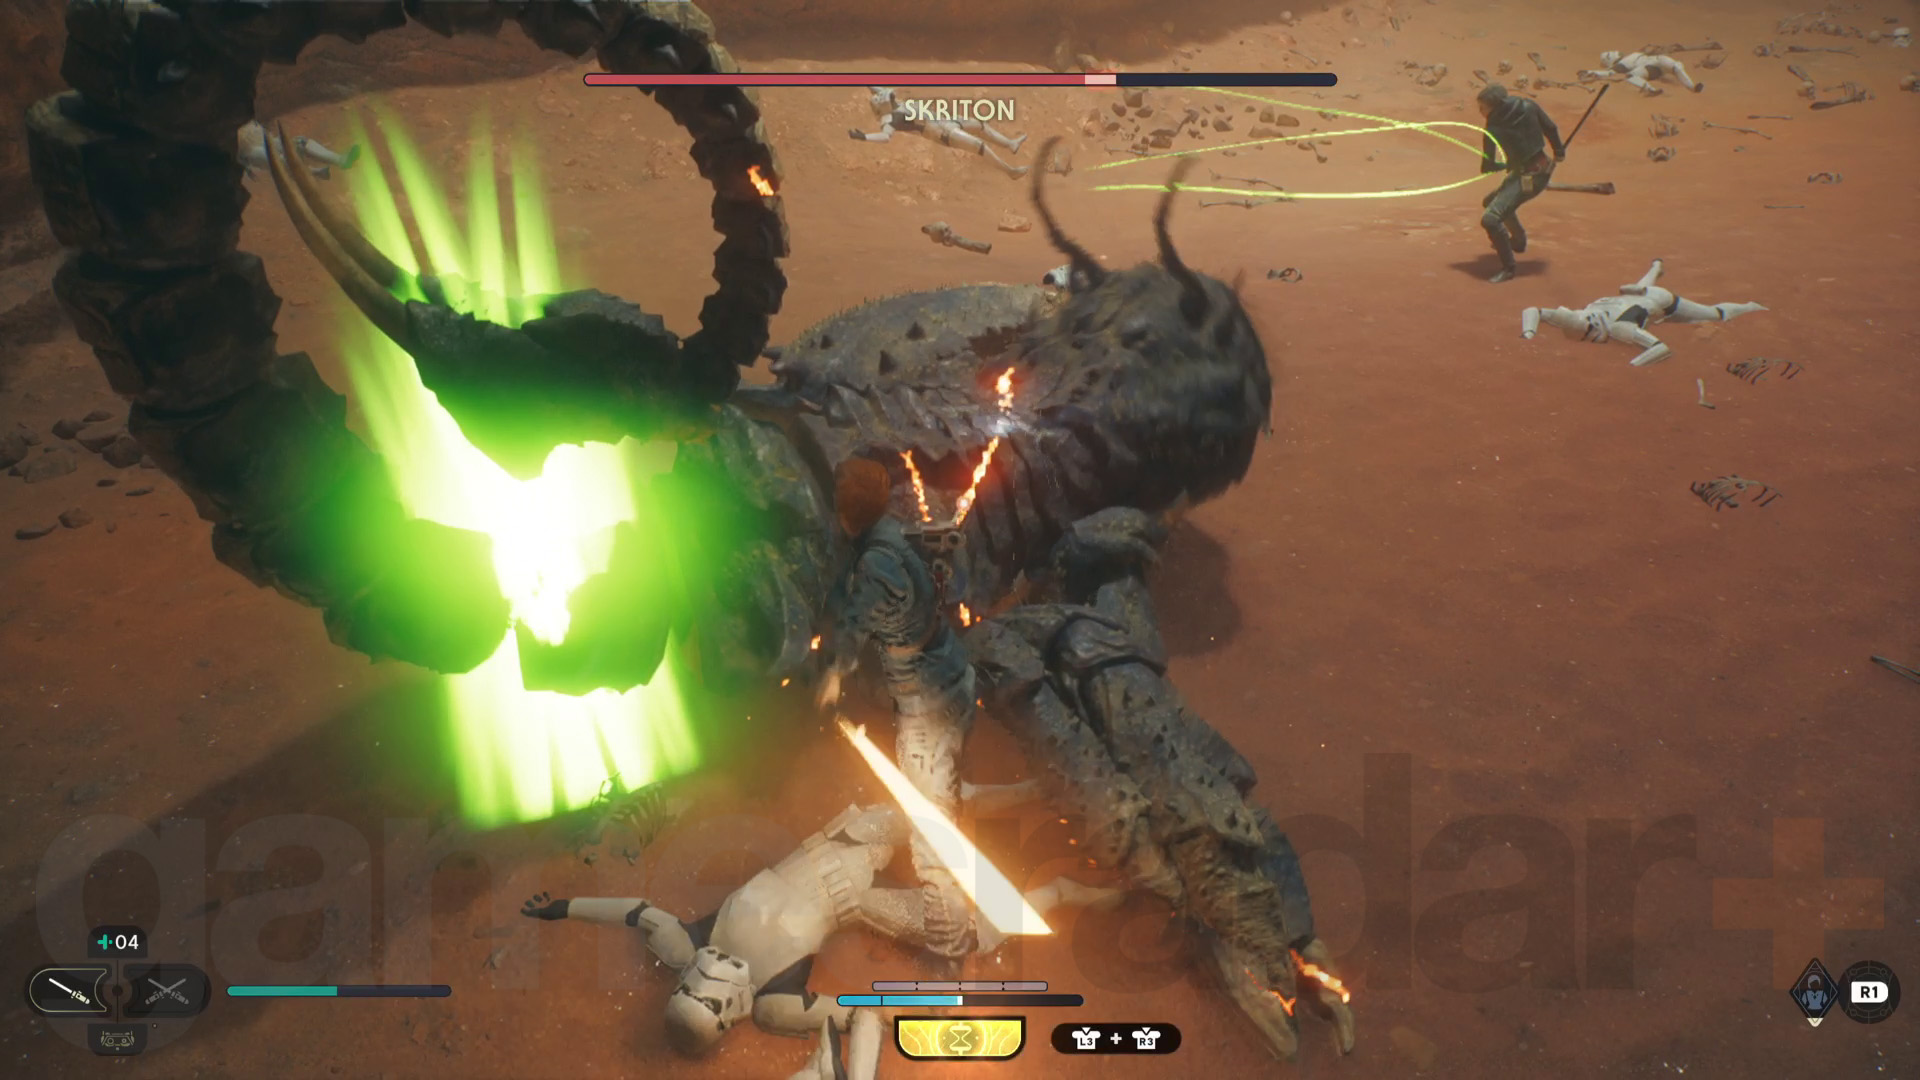
Next, wall run then slide down the cliff to drop into the Skriton’s lair and start a boss fight with the Skriton. Merrin’s trapping ability is very useful here as it allows you get in some easy damage. It'll also struggle to hit you if you keep circling it.
Once you’ve killed the Skriton, get Merrin to create a grapple point and use it to escape the lair. This’ll take you to the Divine Oasis where there are some Spamels! Follow the prompts to tame one to move on.
Travel to Cere’s base
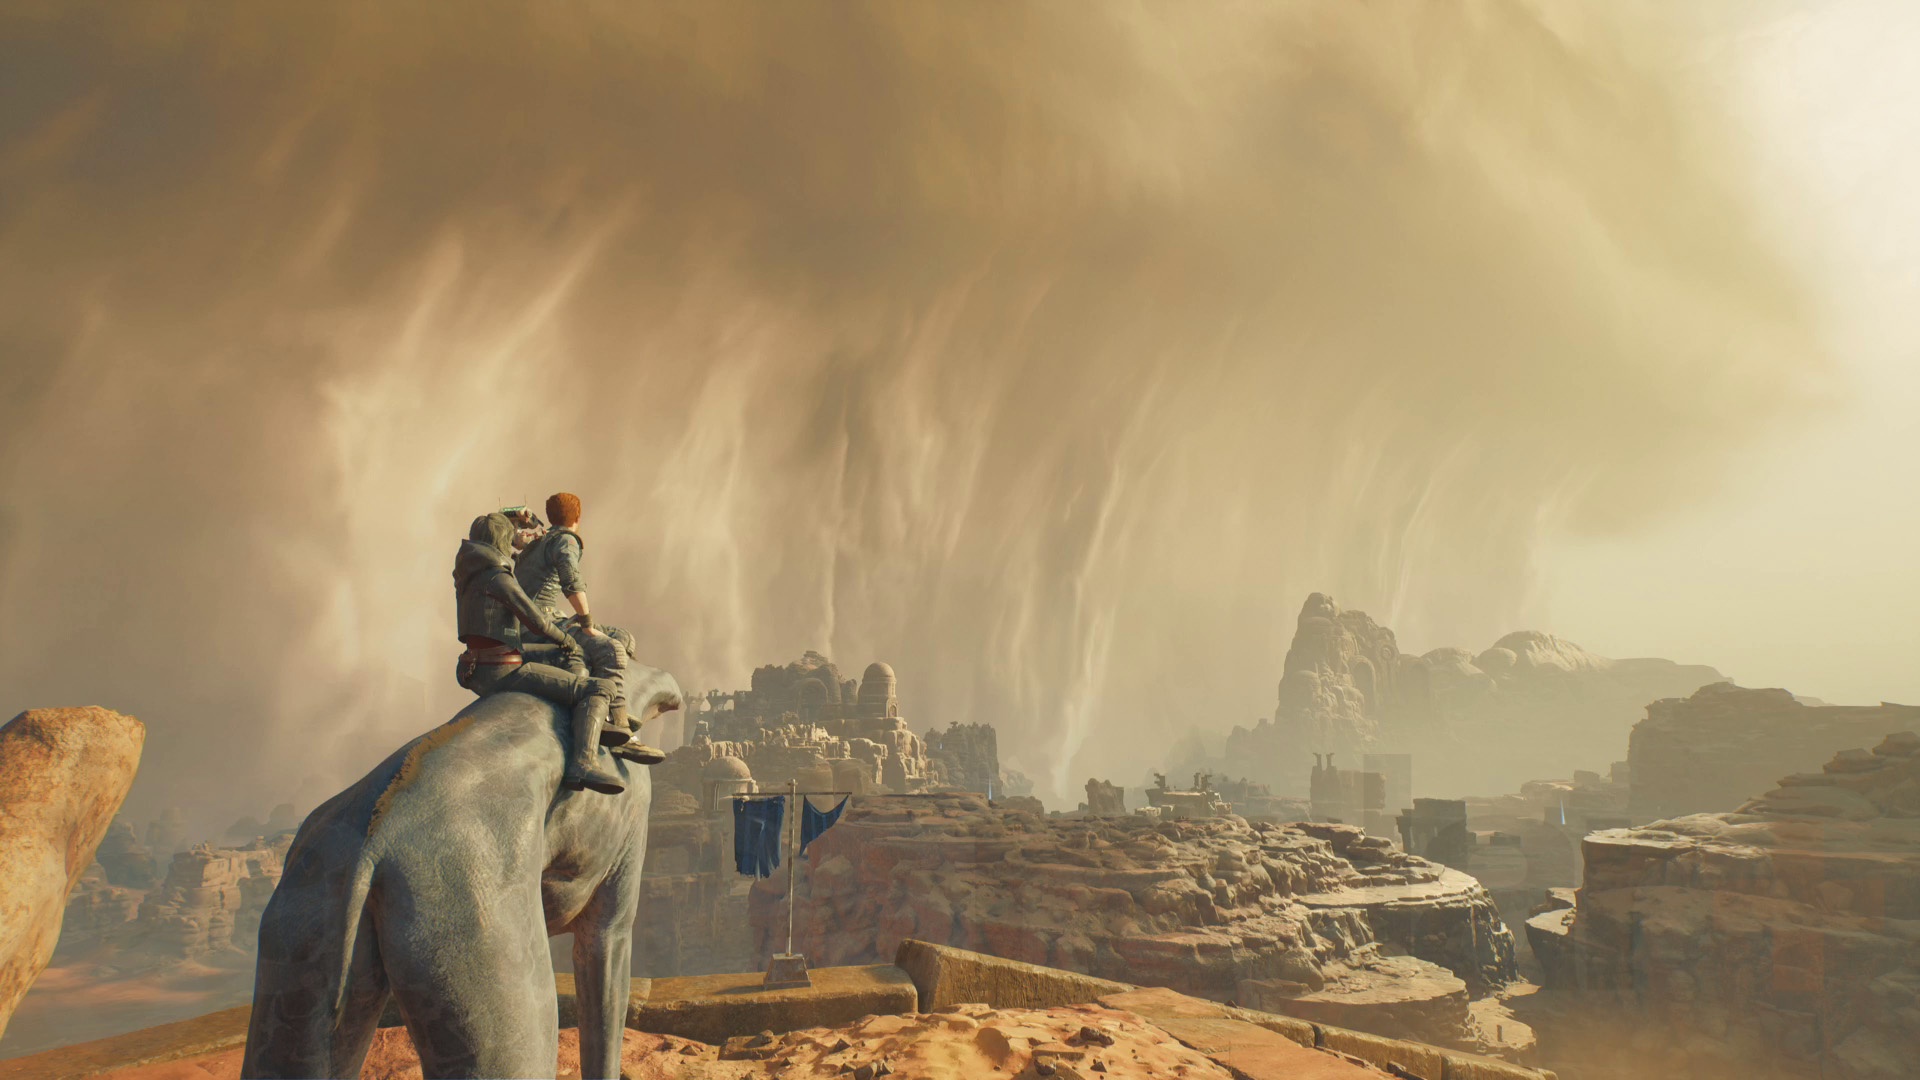
This next section is fairly linear as you just need to ride a Spamel through the desert to Cere’s base. Start by heading under the bridge and following the path back through the ruins. You’ll cross over a bridge to reach a stone pathway that leads further into the desert as a sandstorm approaches. Then, in a scripted moment, Cal will get thrown off the Spamel as another Skriton spooks it.
Now that you’re back on foot, walk straight forward through the sandstorm to reach some ruins – you’ll find Merrin slightly sheltered behind them. Get her to reconstruct the nearby bridge and start crossing it, although it will get destroyed. After that, just keep following Merrin. She’ll lead you to a slightly sheltered area with several Imperial troops, and an AT-ST boss fight.
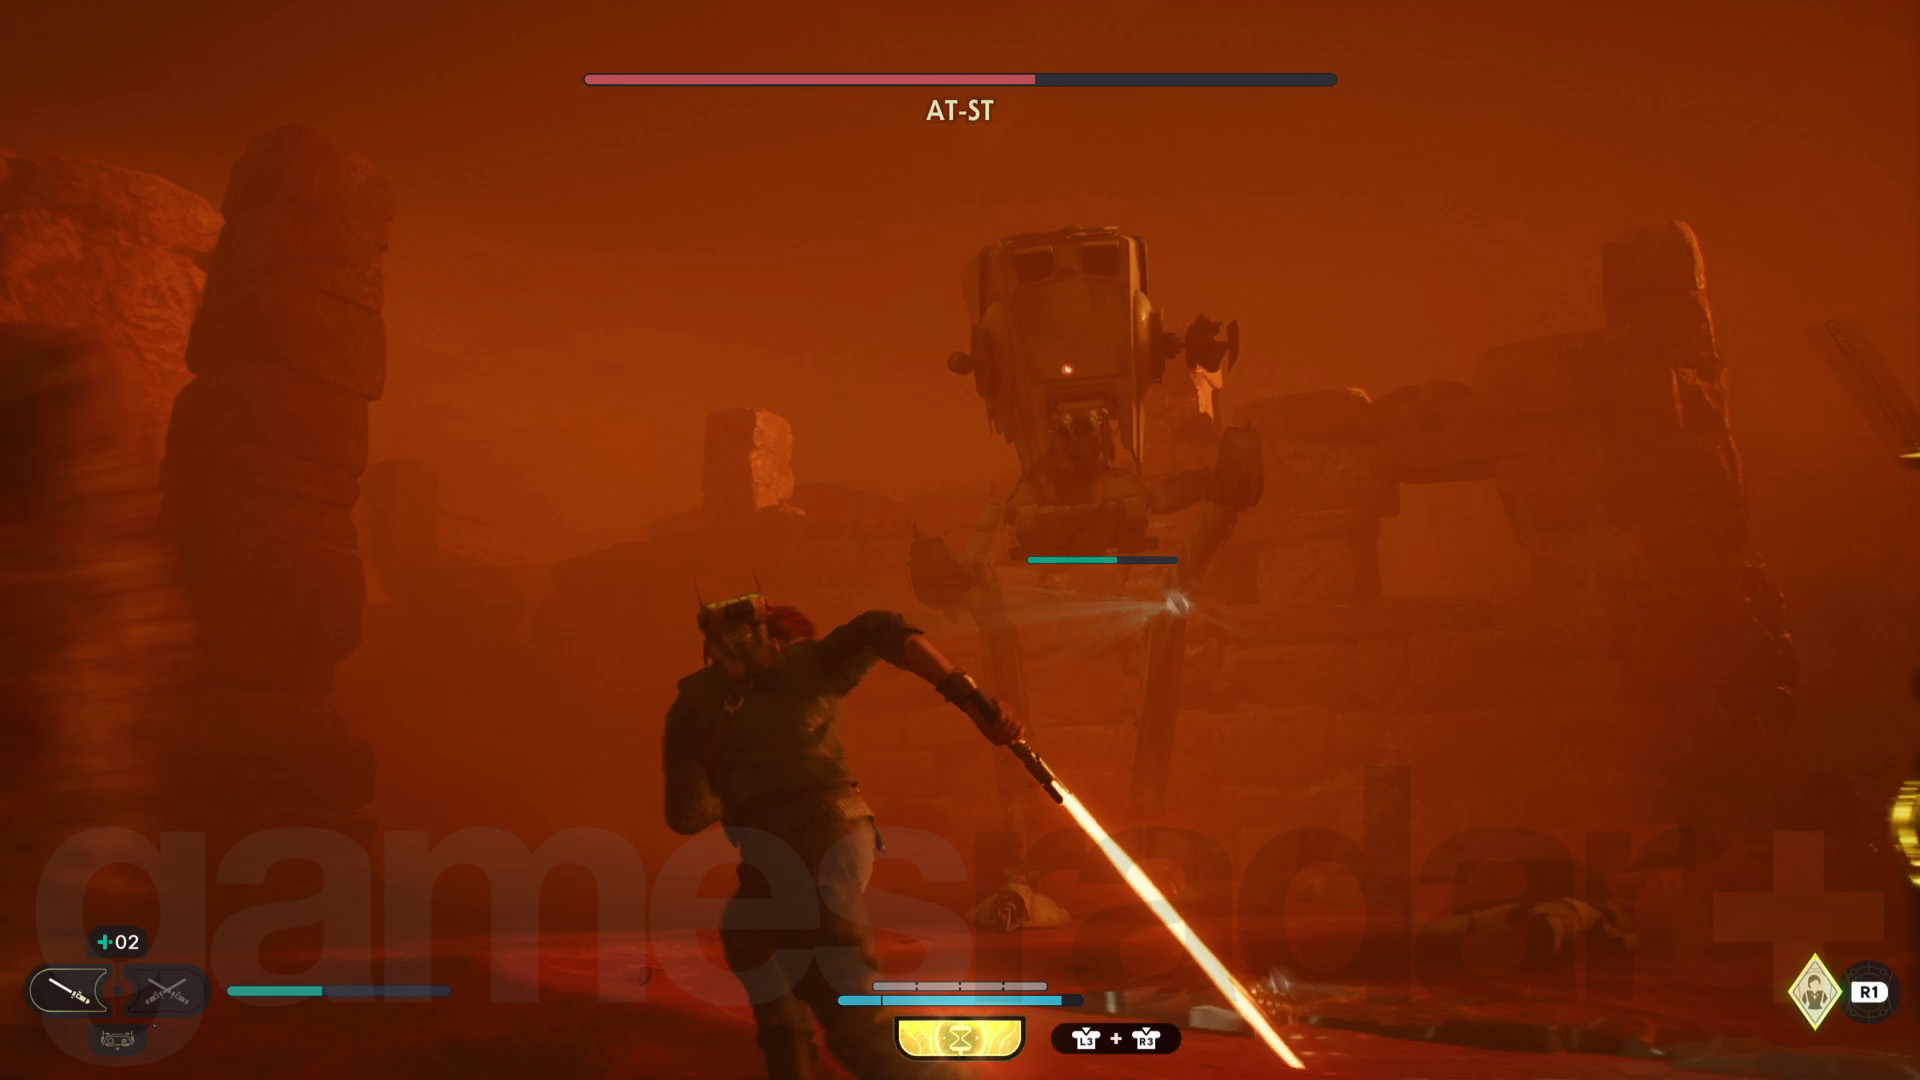
To beat the AT-ST, hack at its legs with your Lightsaber and avoid its grenades. Deflect any blaster fire, and Force Push the missiles it occasionally fires, back at to damage it. Once beaten, continue following Merrin to find some caves.
After a cutscene, keep up with Merrin, then reach her at the top of the slippery hill by grappling on the left and wall running. She’ll teleport up another hill again which you climb up by jumping over to a rock ledge and then climbing up a stone pillar. You’ll spot a large door in the cliff wall which you can Force Push open to trigger a cutscene.
Next, follow Eno Cordova through the base. He’ll take you to an area called the Veiled Hangar where the Mantis has landed. Head in the direction that the Mantis’ nose is pointing to go through a door and into a locked room. You need to Force Push a large marble on the left so that it goes around a track to the next door and unlocks it (you will have to do this a few times with this door and similar ones you'll discover later). Step into the Archive to trigger a cutscene and get reacquainted with Cere. Once it’s over, make sure you rest at the Archive Meditation Point.
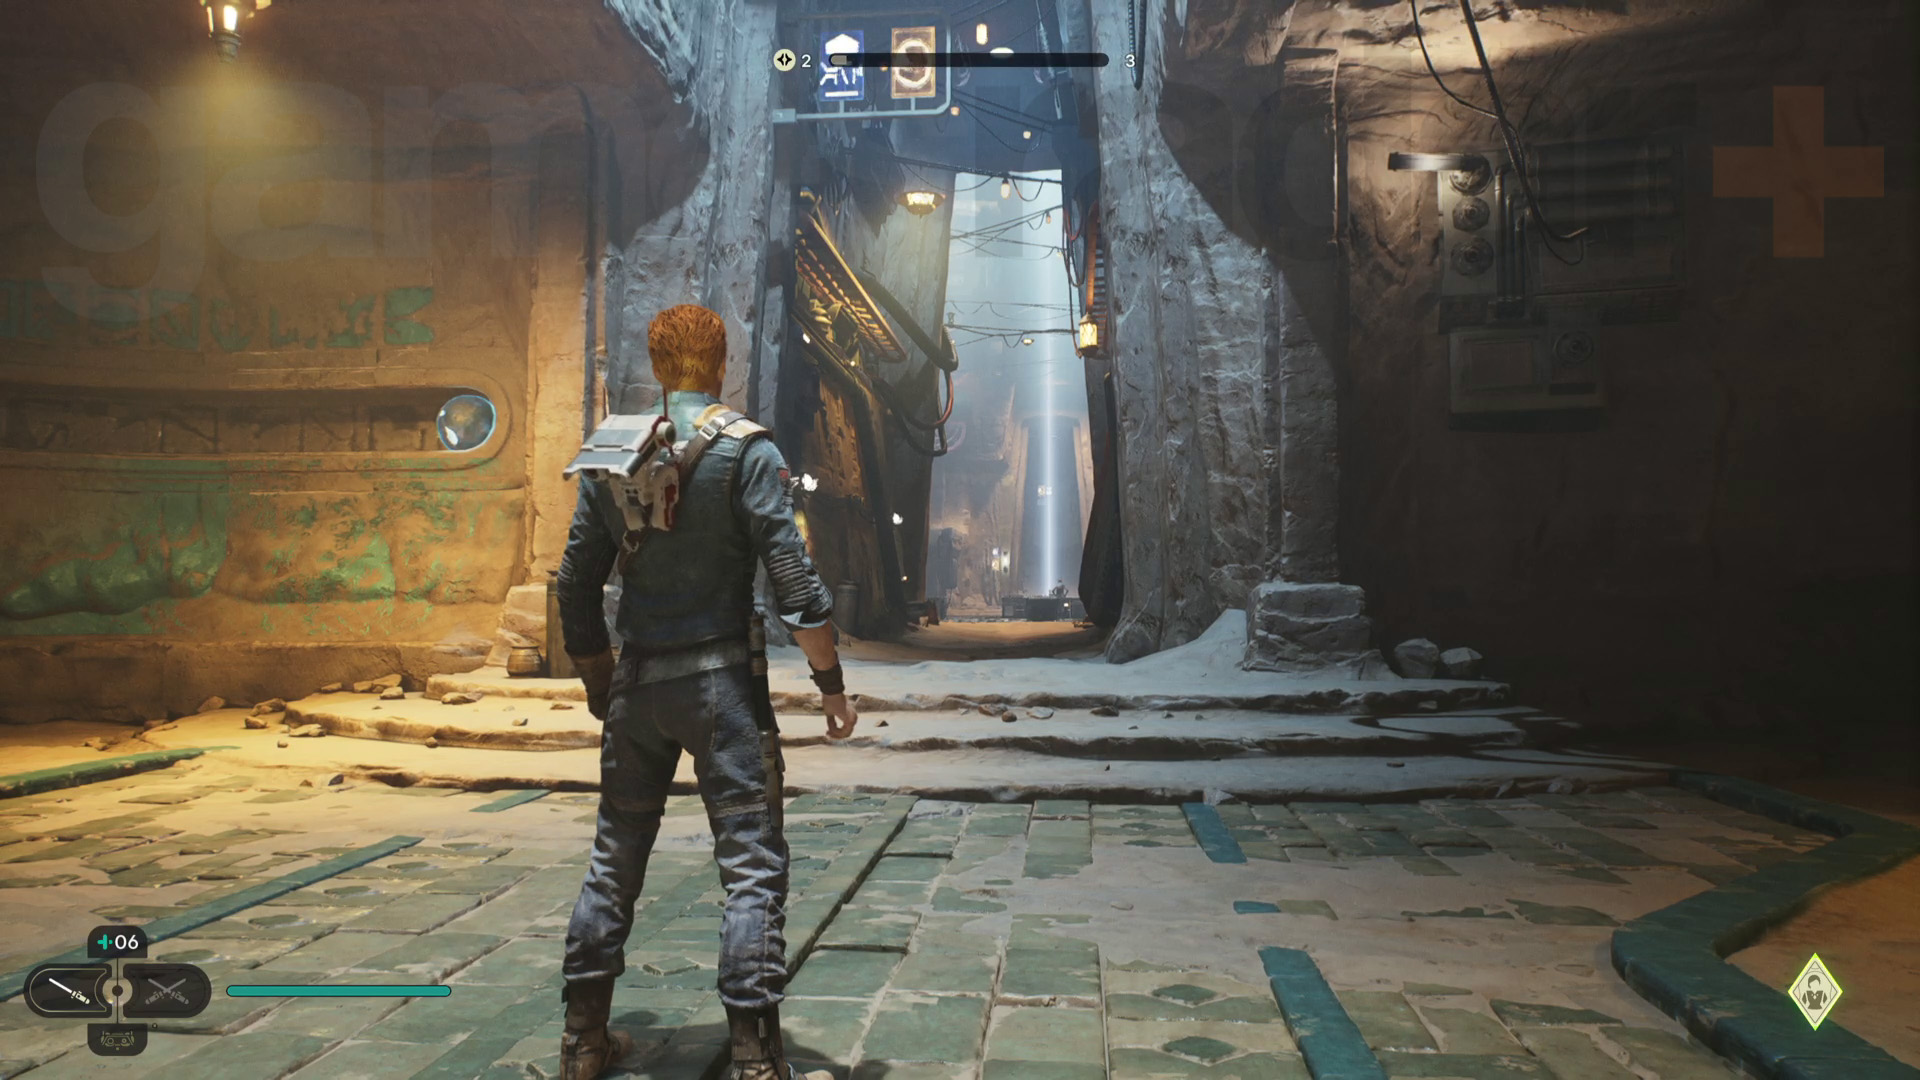
You’ll now have a new two-part objective to research Tanalorr, tasking you with going back to Koboh to its Stone Spires, and to its Shattered Moon. It does not matter which location you choose to visit first and it has no effect on the overall story – I’ve got a separate guide detailing the gameplay differences and whether you should go to the Shattered Moon or Koboh first in Jedi Survivor. For this walkthrough, I’ll explain how to get through the Shattered Moon next, followed by Koboh.
Whatever you choose you need to head back to the Veiled Hangar to get to the Mantis but Bode will also present you with one of his blasters, unlocking the new Blaster Stance for Cal. Nice!
© GamesRadar+. Not to be reproduced without permission.
Current page: Jedi Survivor Jedha walkthrough 1, Meet Cere on Jedha
Prev Page Jedi Survivor Koboh walkthrough 3, The Forest Array Next Page Jedi Survivor Shattered Moon walkthrough 1, Research Tanalorr
Will Sawyer is a Guides Editor at GamesRadar+ with over five years of experience in writing online guides, news, and features, and has a BA (Hons) in Journalism. Starting as a freelancer, Will contributed to startmenu and Game Rant before joining the GamesRadar+ team in August 2021. Since then, he has written hundreds of guides about a huge range of games, with shooters and action games being his areas of expertise. Outside of writing about games, Will hops between multiplayer shooters with friends, such as Darktide and Helldivers 2, and delves into whatever has been on his backlog for far too long. He also tries to get through his never-ending Warhammer pile of shame of grey Tyranids, Aeldari, and Chaos Space Marines.
- Leon HurleyManaging editor for guides

 Join The Community


