The full Star Wars Jedi Survivor walkthrough
The complete guide on what to do and where to go in Star Wars Jedi Survivor
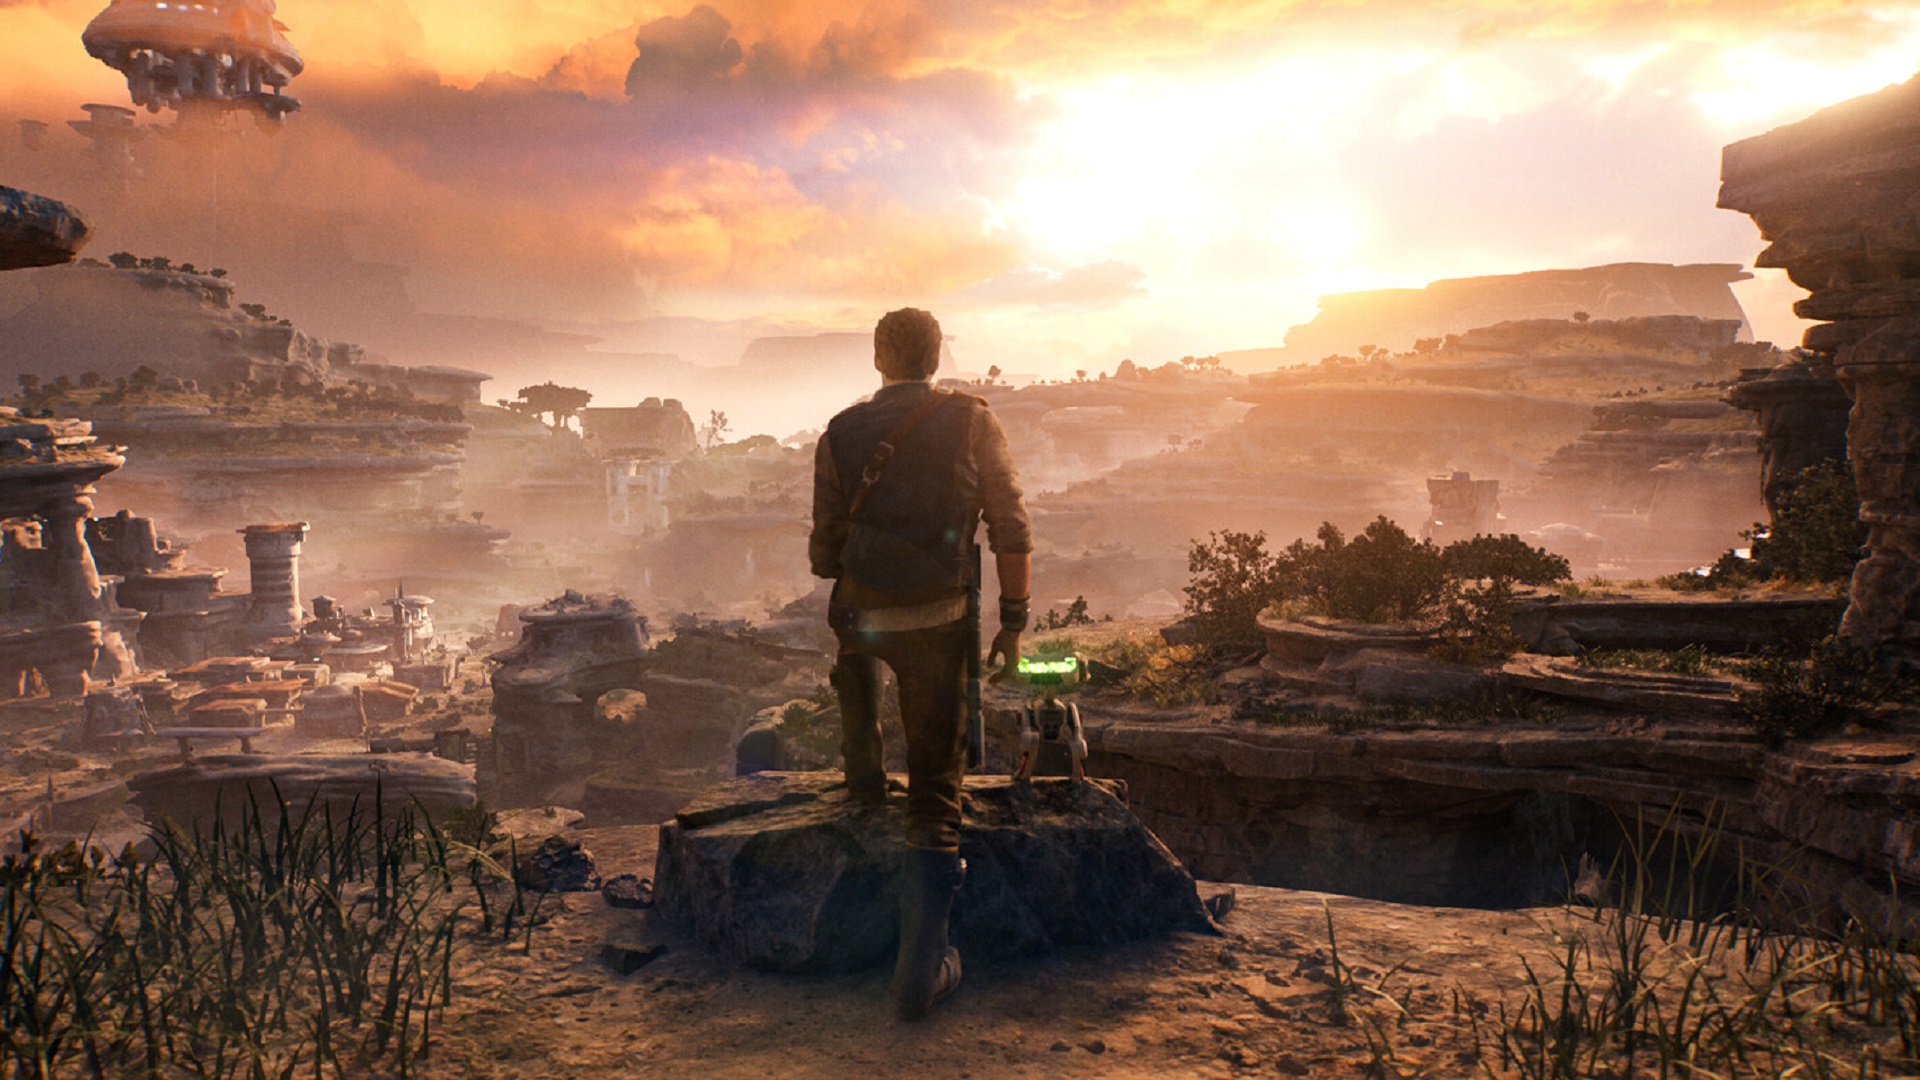
Our full Star Wars Jedi Survivor walkthrough will guide you through the story's critical path, from Cal's opening tussle on Coruscant to the grand finale. Over the campaign, you'll go to several destinations across the galaxy that are essential to Cal's mission, but since each one is packed with secret areas, NPCs in need of help, and side quests, it can be easy to get turned around as you hop between planets.
While we absolutely recommend doings some side activities to boost Cal's jedi capabilities, know that anything you miss can be returned to after you’ve completed the story. If you want to get through Cal's journey as easily as possible, this guide will show you exactly how to complete each level in Star Wars Jedi Survivor and the best order to visit each area. Be sure to use the walkthrough page options at the top of this guide to find whichever story quest you're on at the moment. Good luck and may the Force be with you!
Major spoilers ahead (obviously), although we have omitted big story details to preserve surprises wherever possible. Our walkthrough points you in the right direction but will sometimes leave you to discover what's ahead for yourself.
Follow CSF Captain
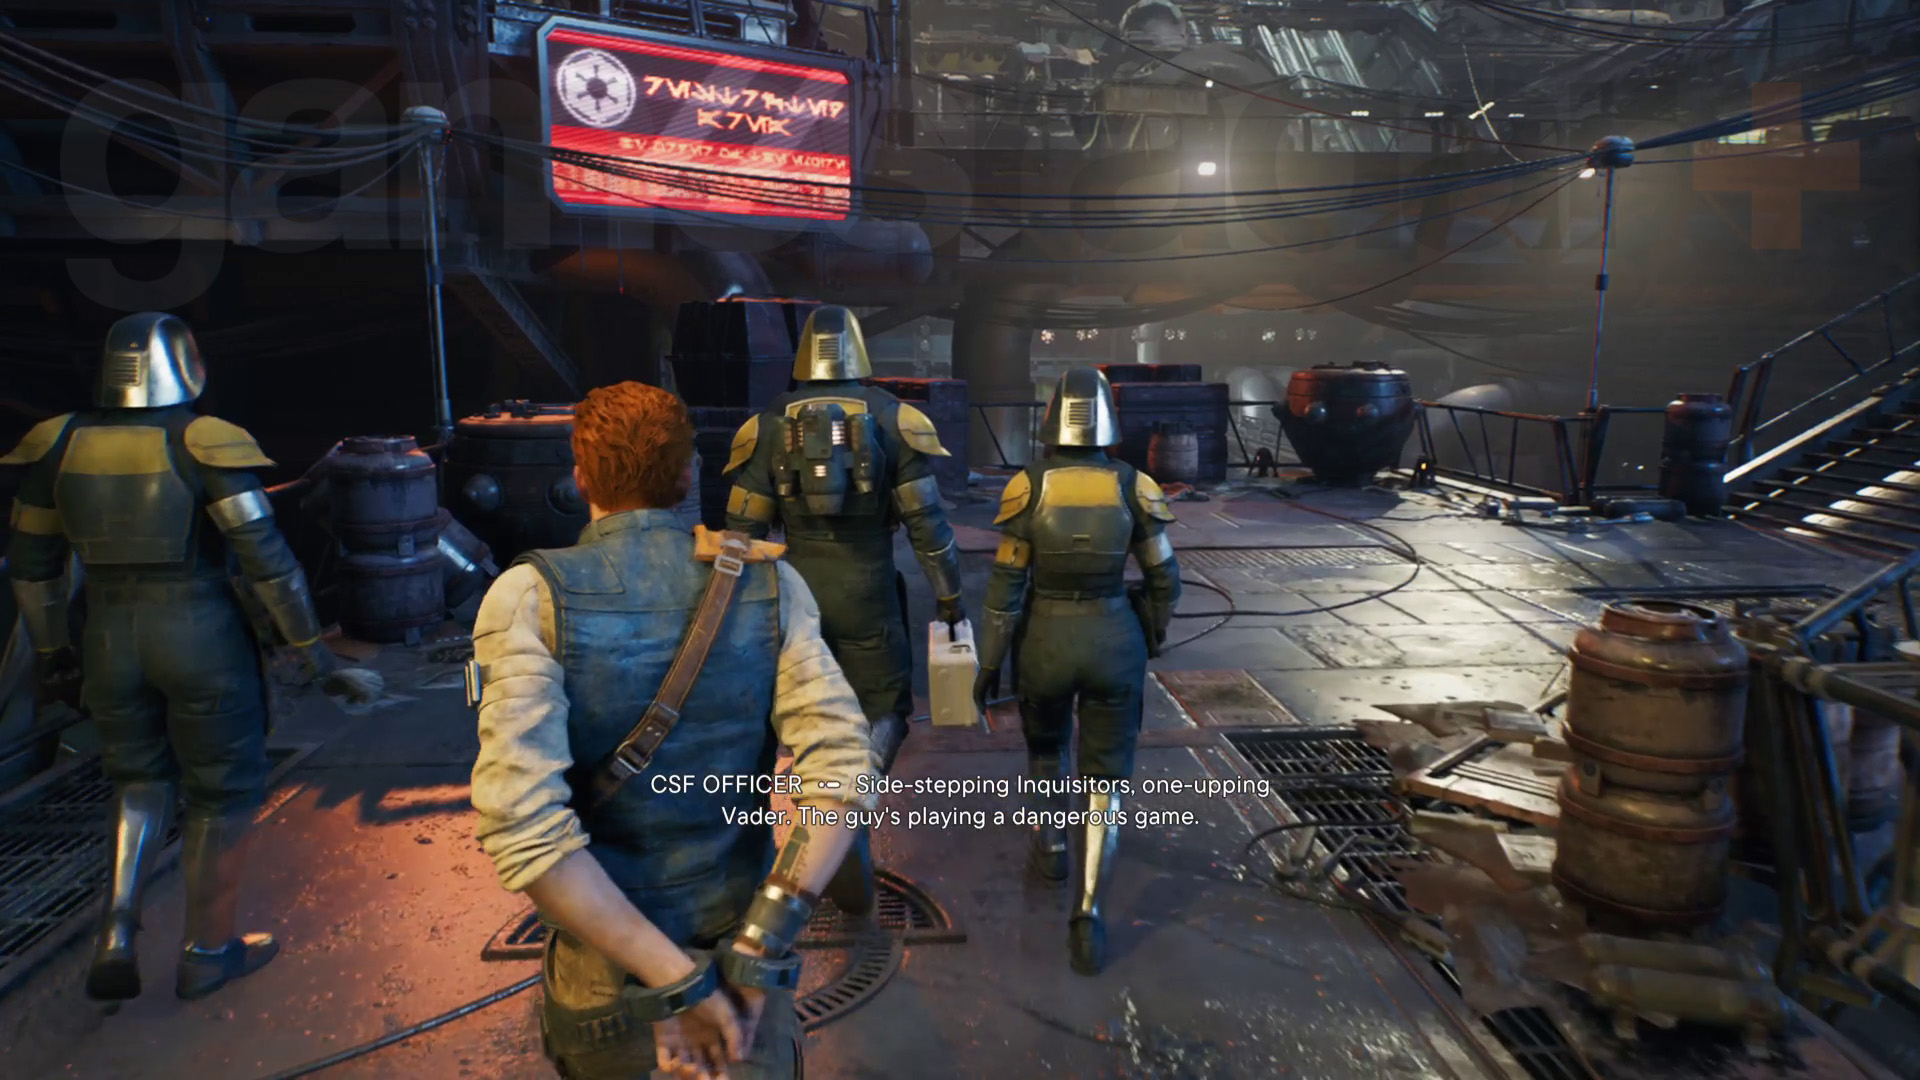
Star Wars Jedi Survivor begins with the cold open of hero Cal Kestis captured, and being taken to see an Imperial Senator by Corscant security forces, or the CSF.
All you can do to start with is walk with the security guards and follow the CSF Captain. This will lead you to the Docks where you’ll meet Senator Sejan. After a cutscene, you’ll have a short tutorial fight against some Imperial troopers, showing you the basics of lightsaber and Force combat.
Pursue the Senator’s yacht
Once the fight is done you need to climb to the left along the metal bar, up using a climbing wall, then to the right on another metal bar. Cal will fall off as part of the story so don't panic, reaching a new area – Rooftops.
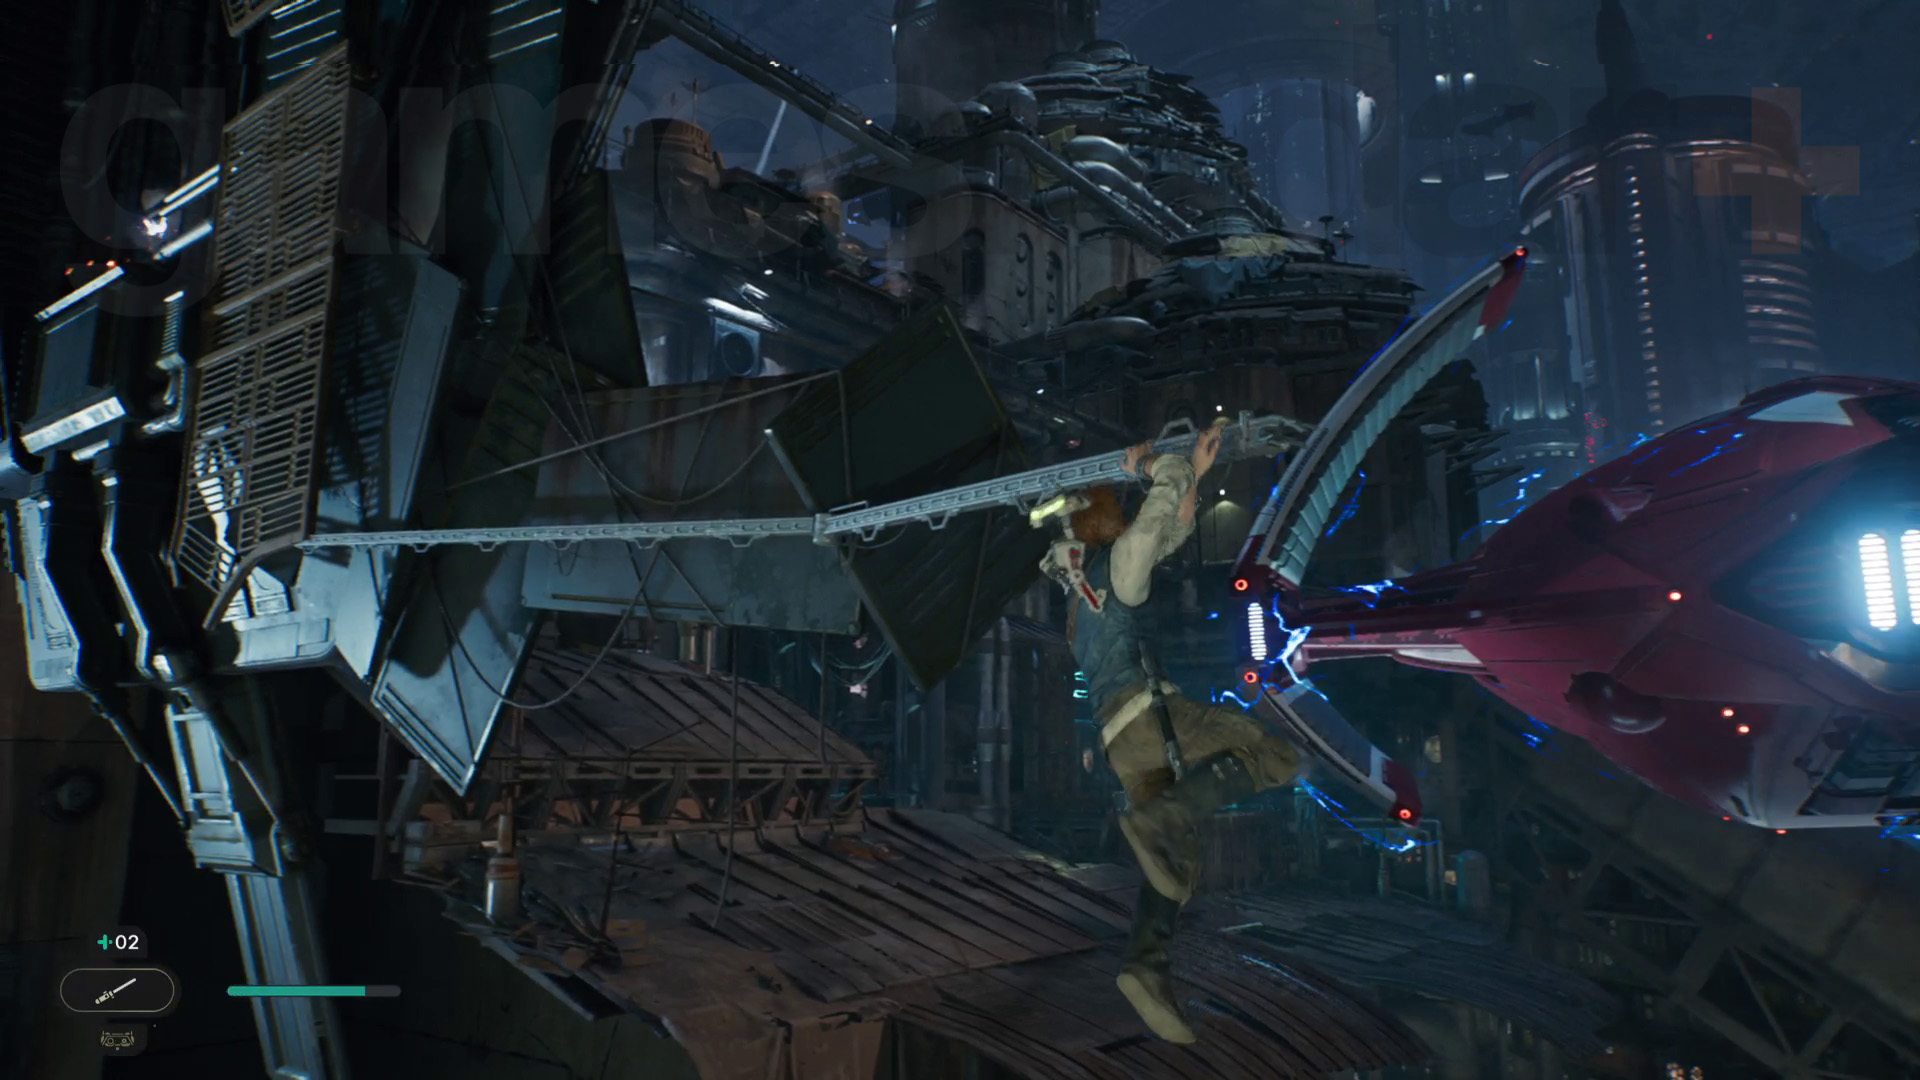
Force Push the metal wall panel, then turn right and go down the rooftops. Jump across the gap to the left then climb up the wall. To the left, there’s a grate you can climb up to reach another roof, and once you’re up there, look at the large pipes to the right and jump up to the climbing grate there. Carry on and you’ll reach the Rooftops Meditation Point. There's some Star Wars Jedi Survivor priorite near here to collect as well. You won't be able to do anything with it for a while but it's a useful resource for buying cosmetics later.
From where you climbed up, jump to the ledge on the right, then climb the grate up to the next level. Carry on through the rooftops, heading through a gap. Just after the gap, head left. You’ll eventually drop onto a rooftop with troopers on it. You need to head through another gap on the left to get to the next room.
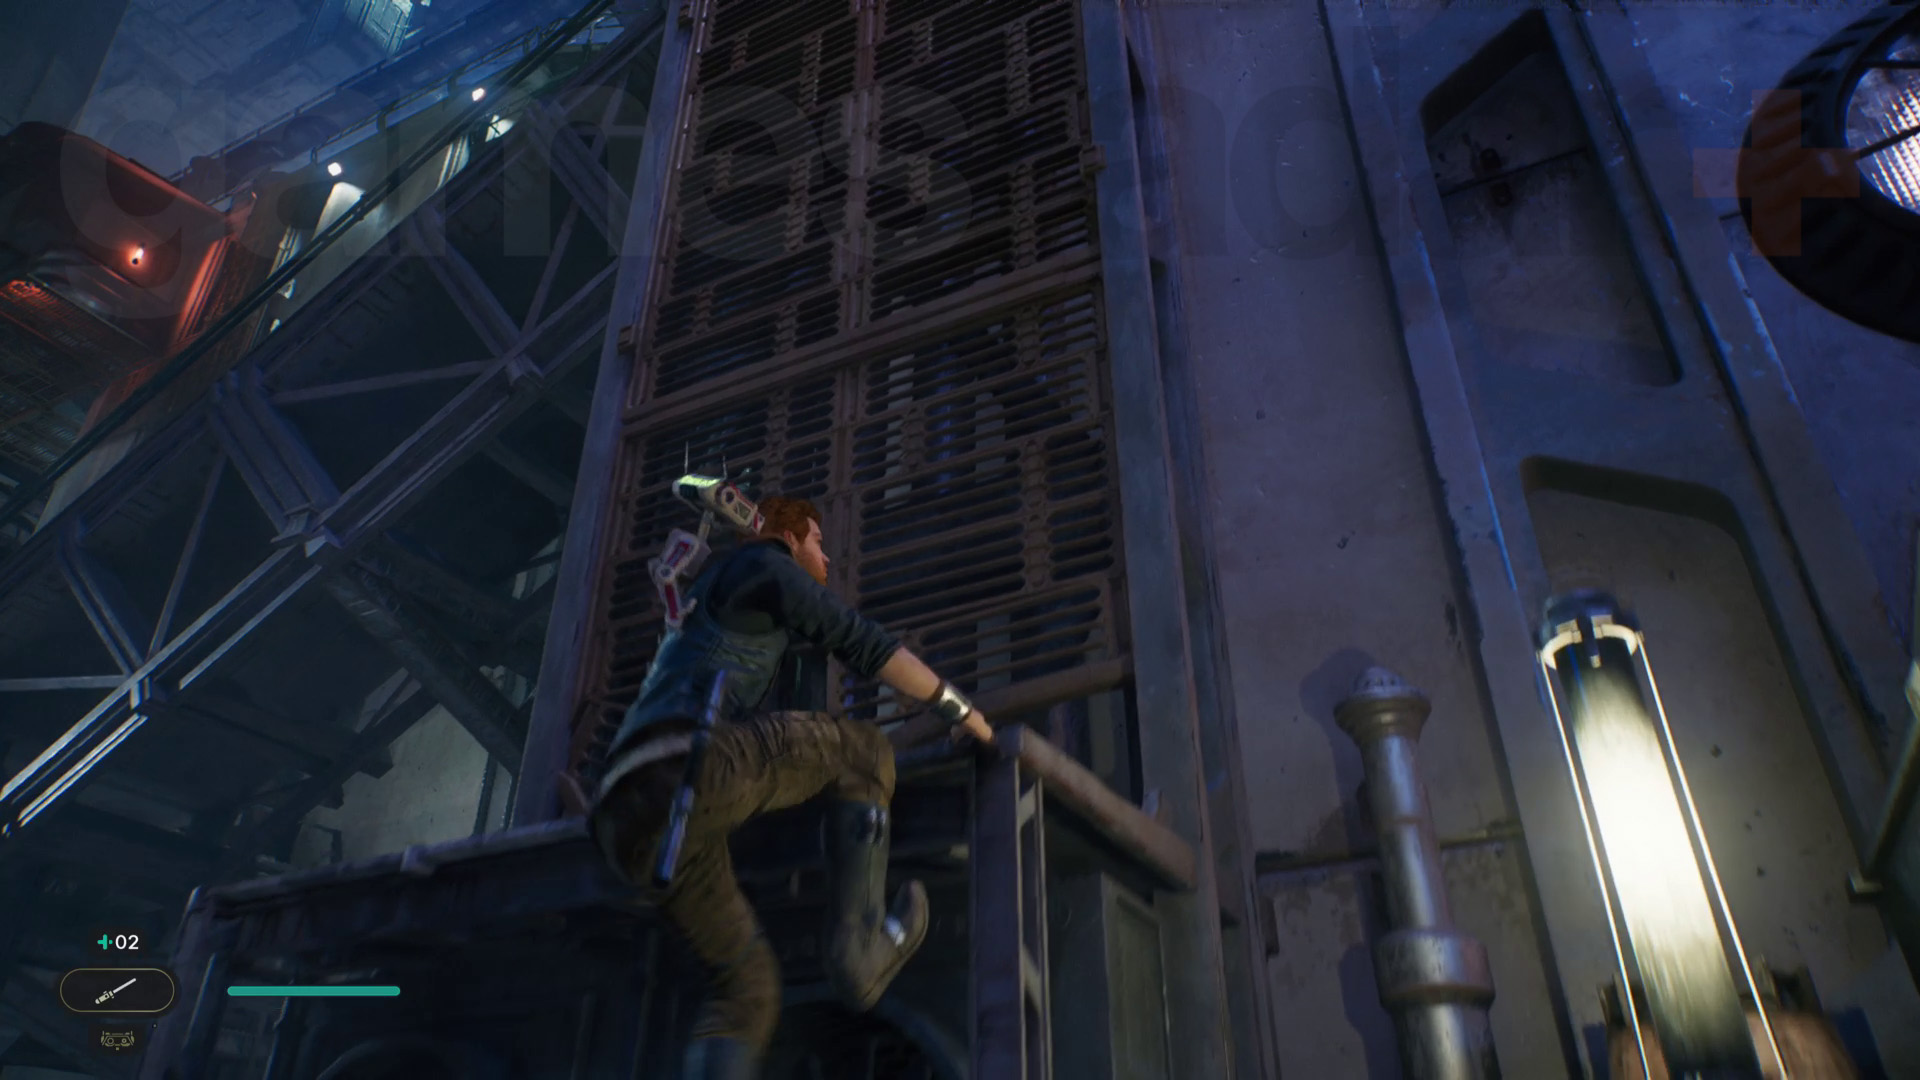
Deal with the troopers, unlocking the Double-Bladed Lightsaber – the first of many Star Wars Jedi Survivor Lightsaber Stances you'll get – then jump to the horizontal pole outside, swing across and climb all the way up to meet up with Bode.
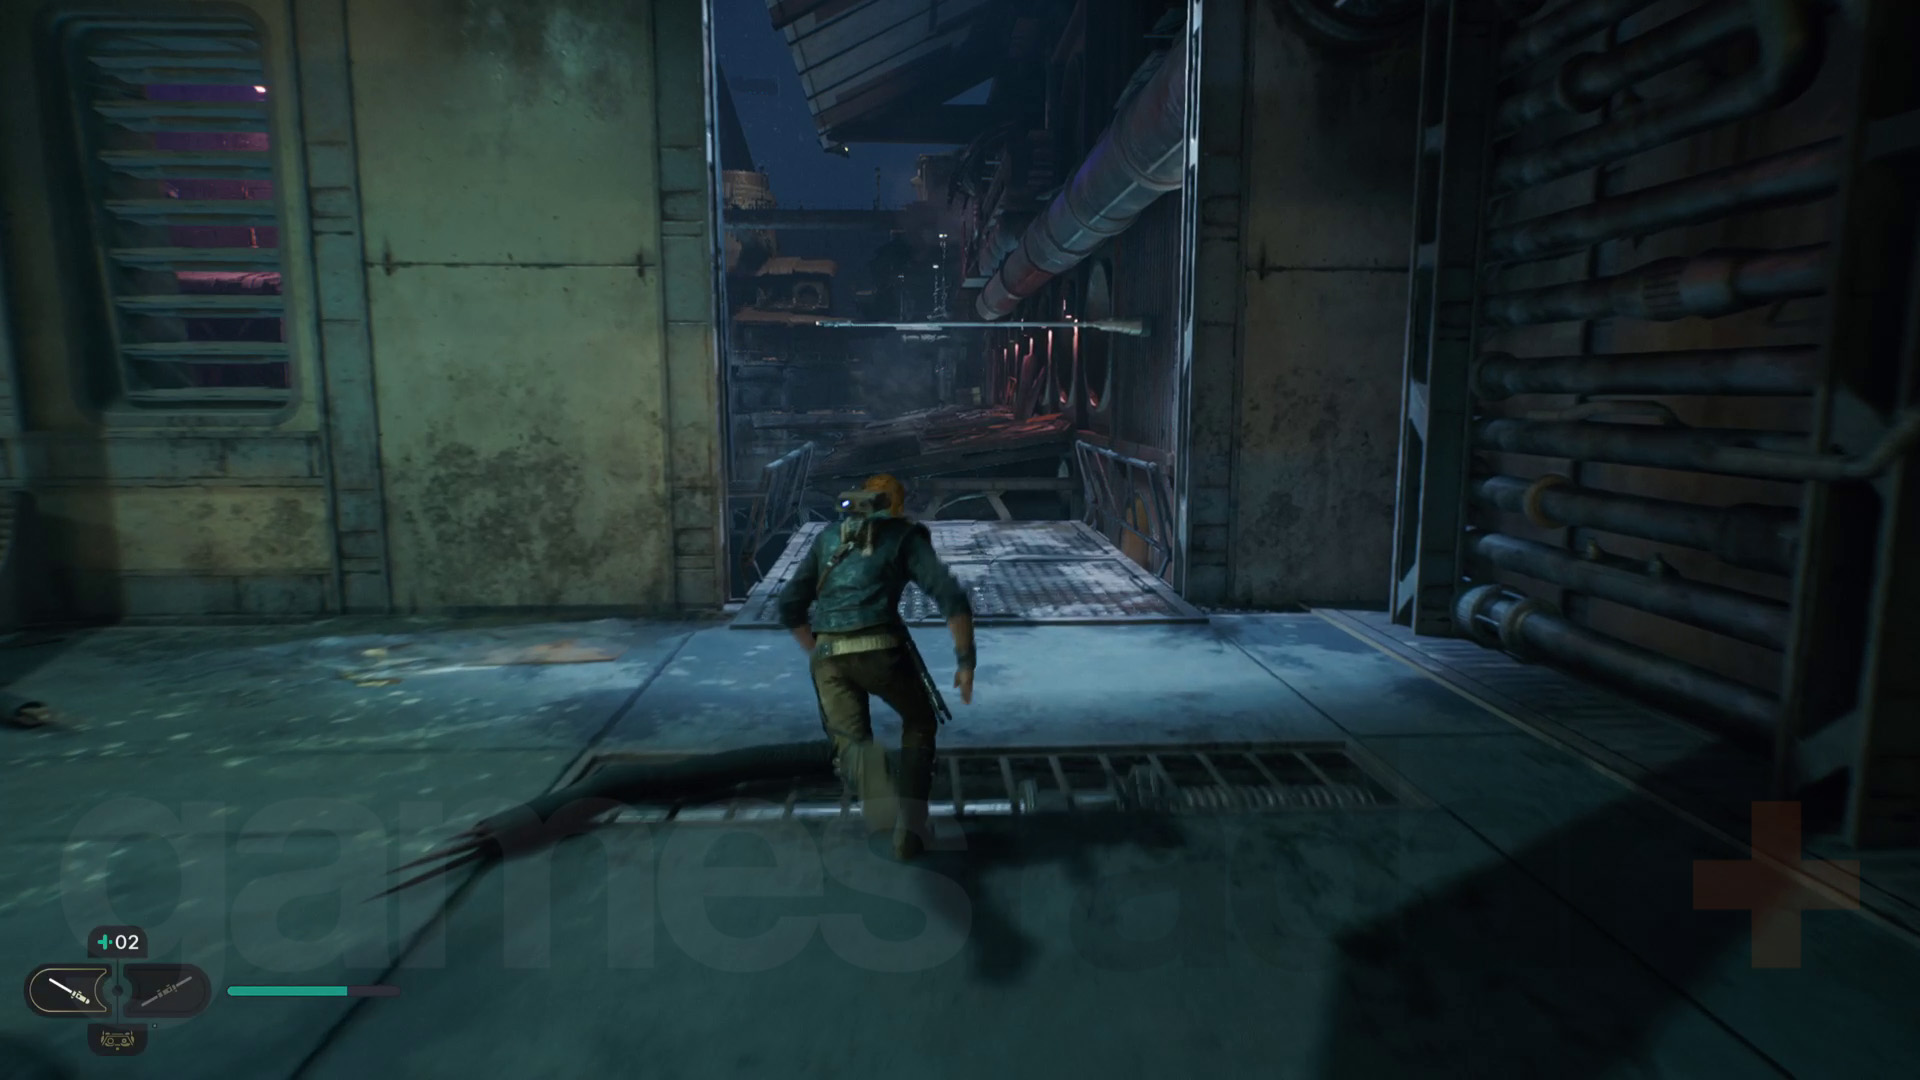
Join your crew at the yacht
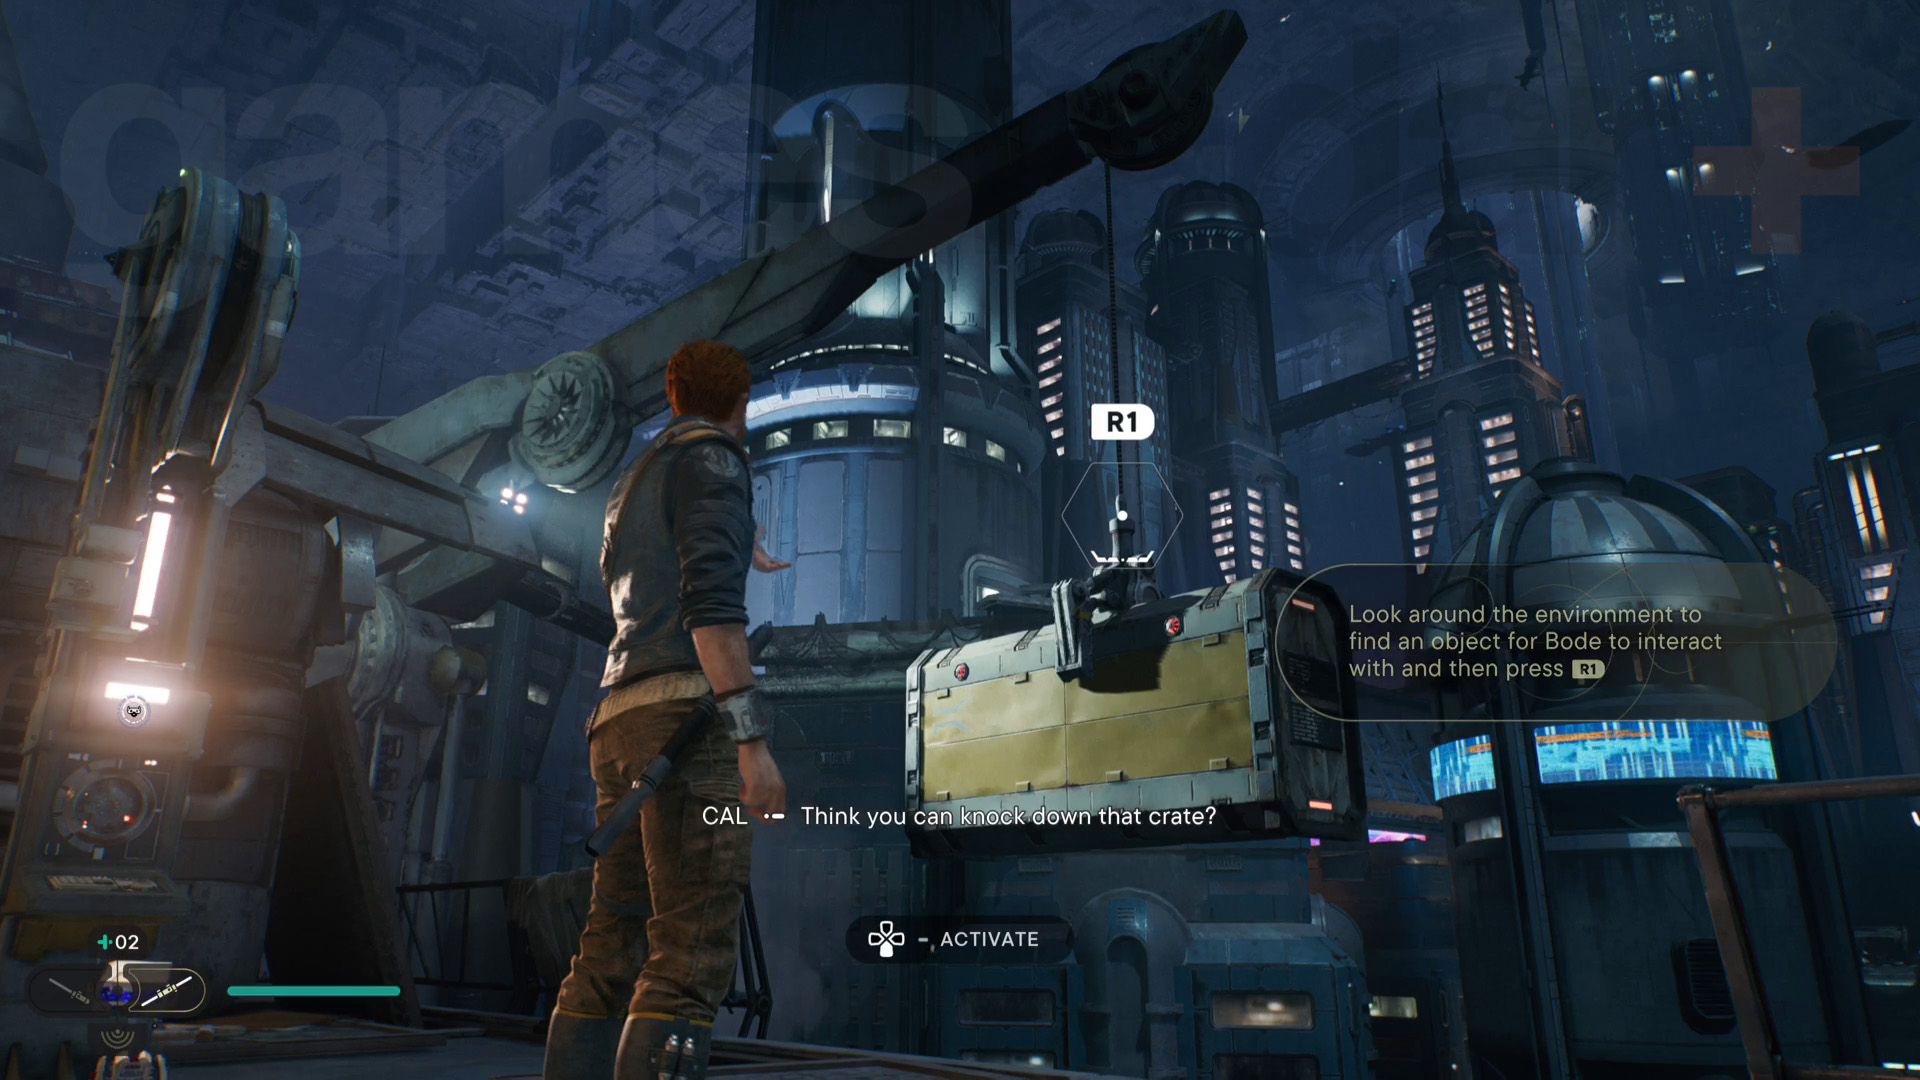
Walk with Bode through the Rooftops, where you can cut a cable to open a shortcut back to the Meditation Point, and catch up to the yacht. Get BD-1 to activate the zipline on the left and you'll find it blocked by a container. Ask Bode to remove the container and activate the zipline again to cross over to Renovation Site 4733 – hot tip: hold R2/RT while riding a zipline for a speed boost.
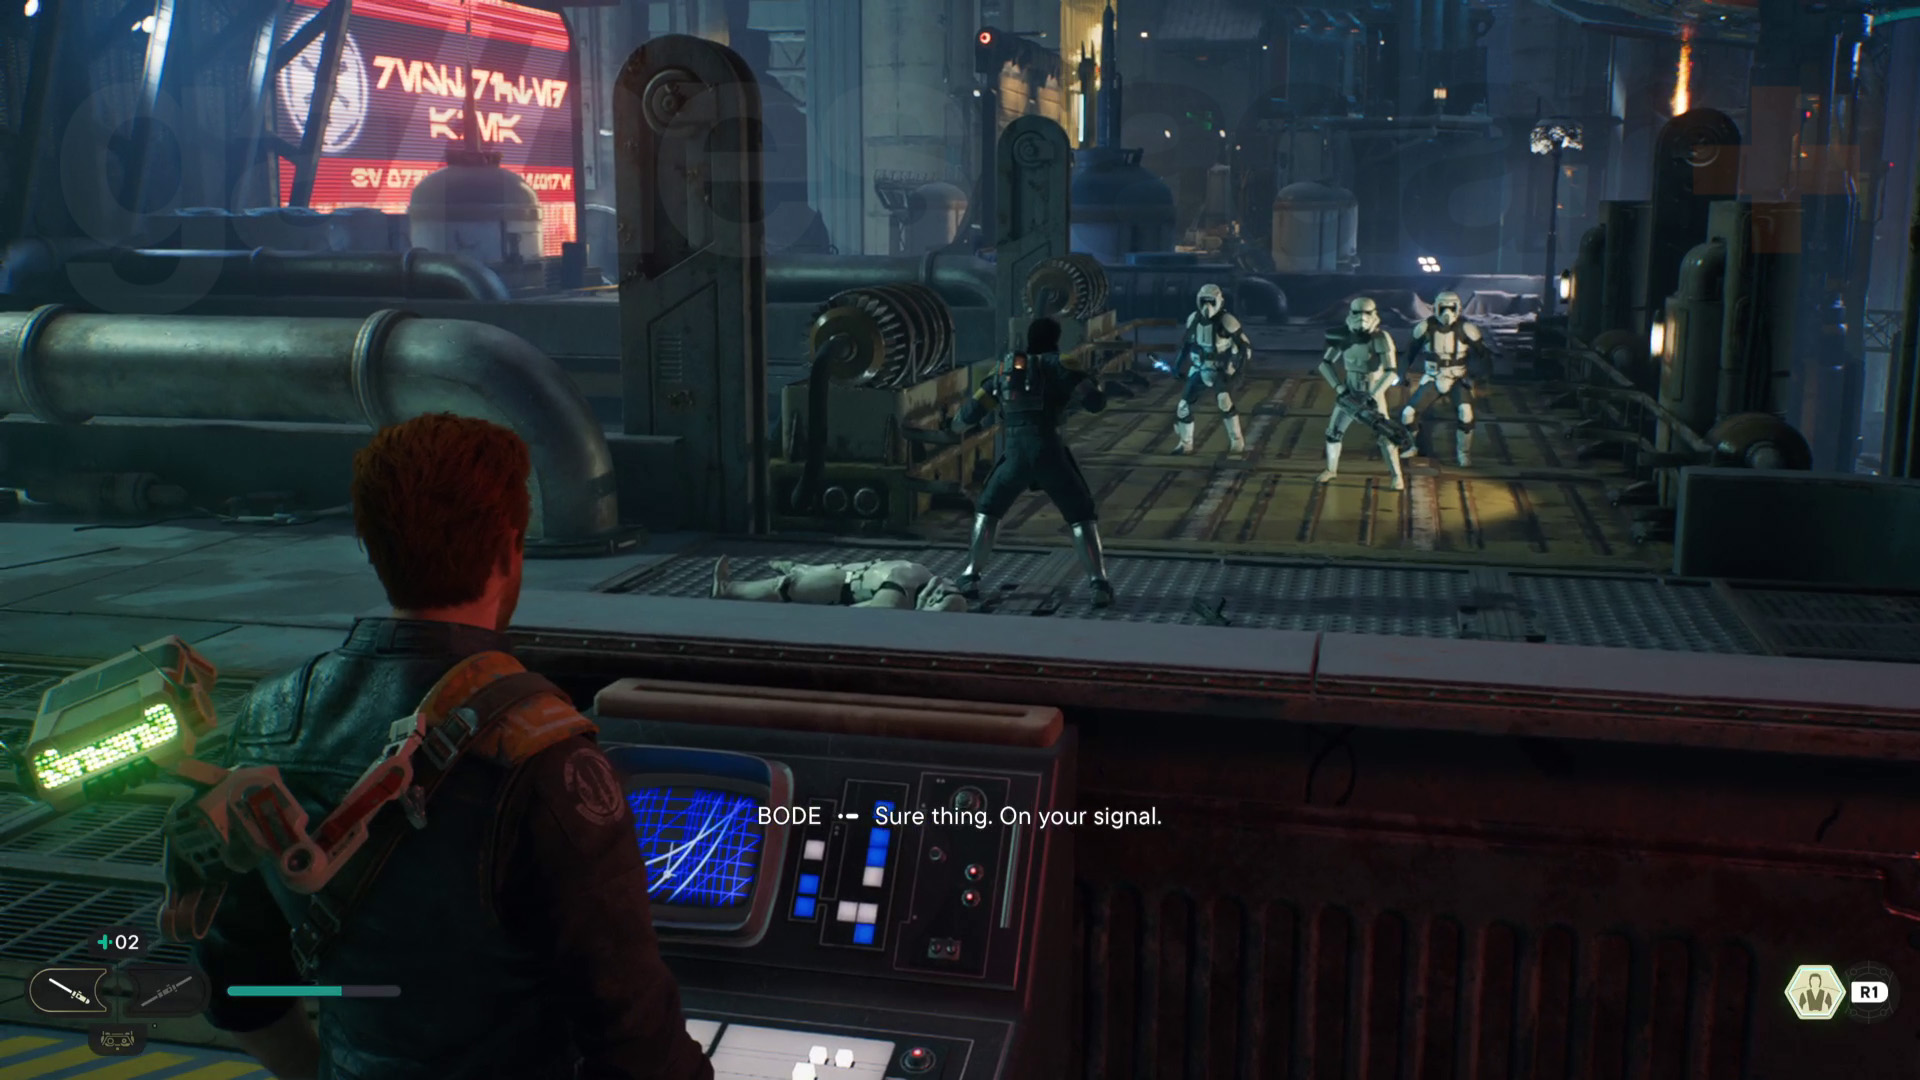
Wall run across the neon board to reach Bode and the next area. There’s a wet incline here you can’t walk up, so climb up on the right. Get Bode to lower the cable on the upper level, use that to get up, then follow him around to the right. Slide down the incline and jump down to the troopers at the bottom. Now, use the terminal to raise the bridge – there are more troopers coming, so be ready for a fight.
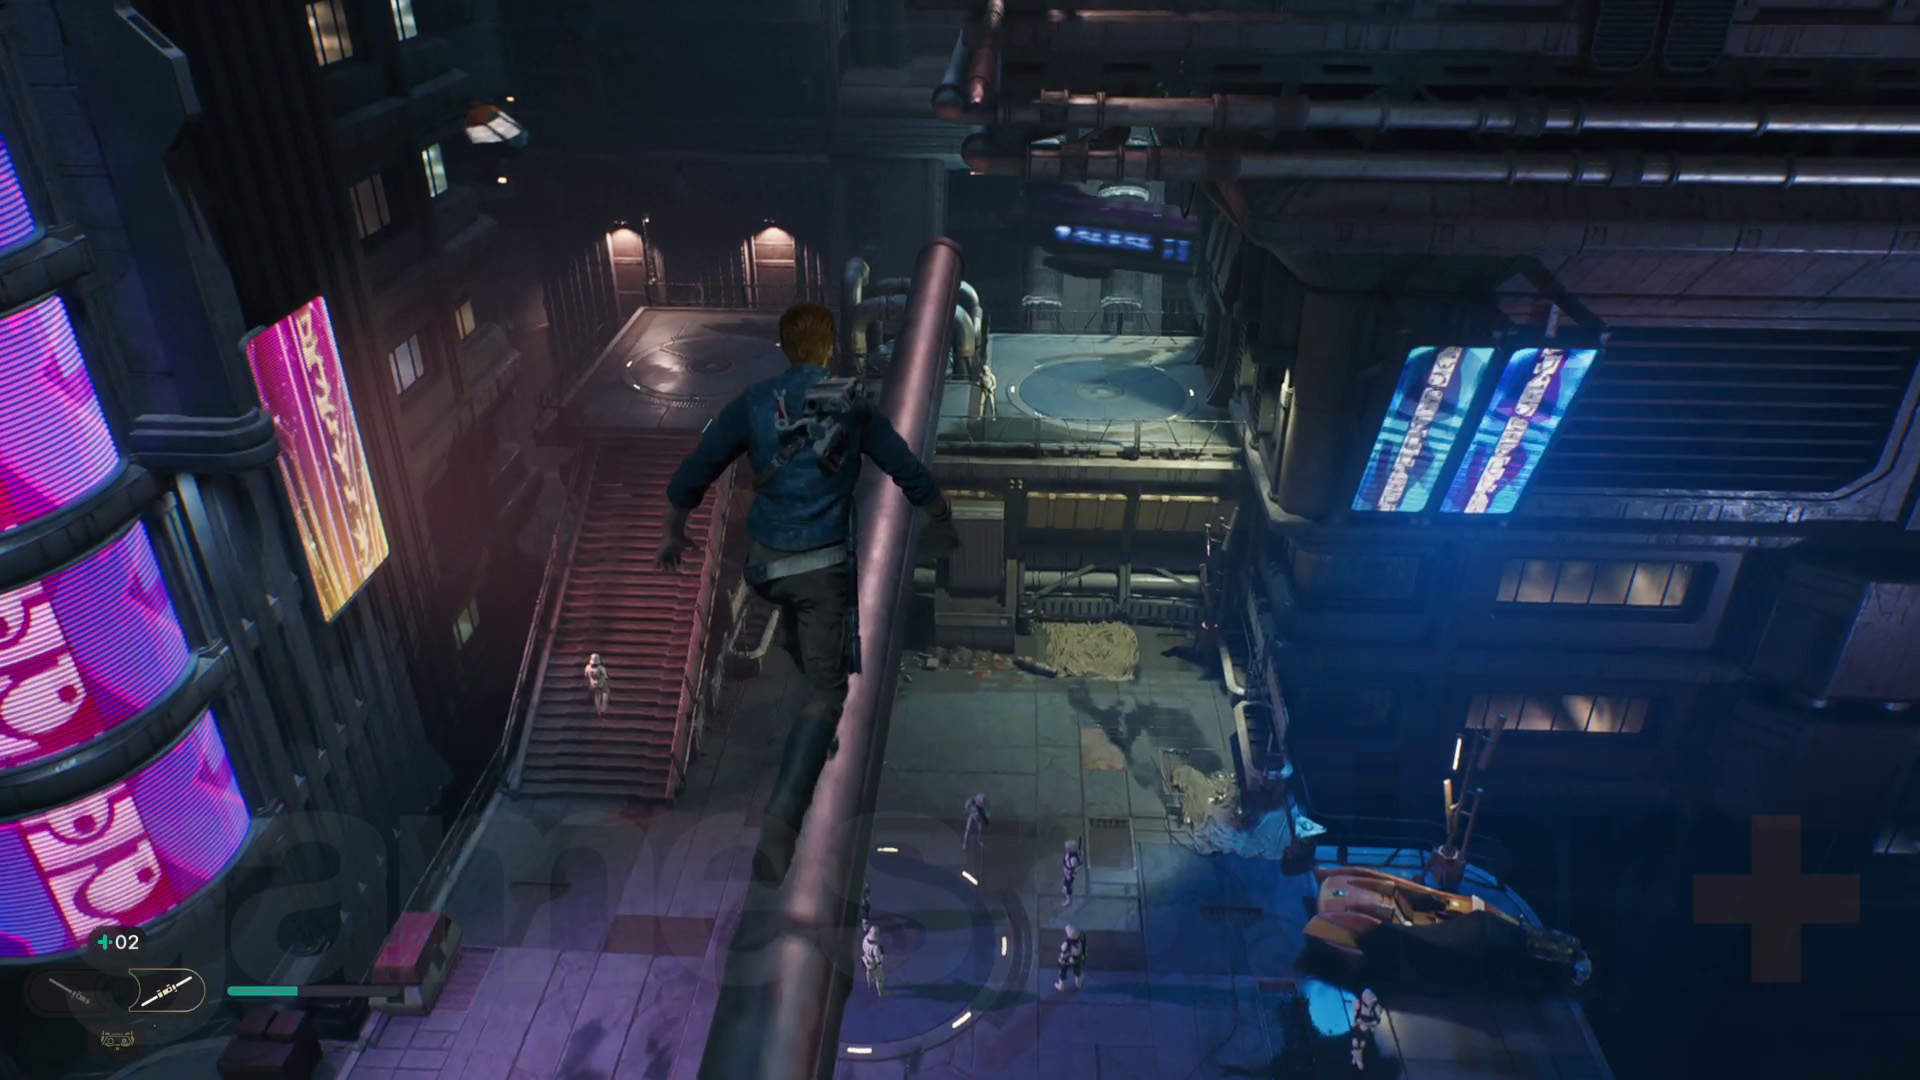
After the fight, cross over and tell Bode to move the red board, then run across to reach the Renovation Site 4733 Meditation Point. Head up the stairs and wall run across the neon board, then follow the walkway and go through the bar on the left. Swing on the poles to reach the other side, then walk along the pipe above the troopers to trigger a scripted fall, leading into a big fight.
When the fight's done head down towards the round yellow door. Ask Bode to lower the climbing panel on the upper-right ledge and use the Force to move the large cube object against this wall so that you can climb. Get up and wall run along until you reach a tied rope. Cut the rope and use it to swing across to the climbing wall. Climb up then press on up some steps to fight troopers (there’s a zipline shortcut you can activate on the right too).
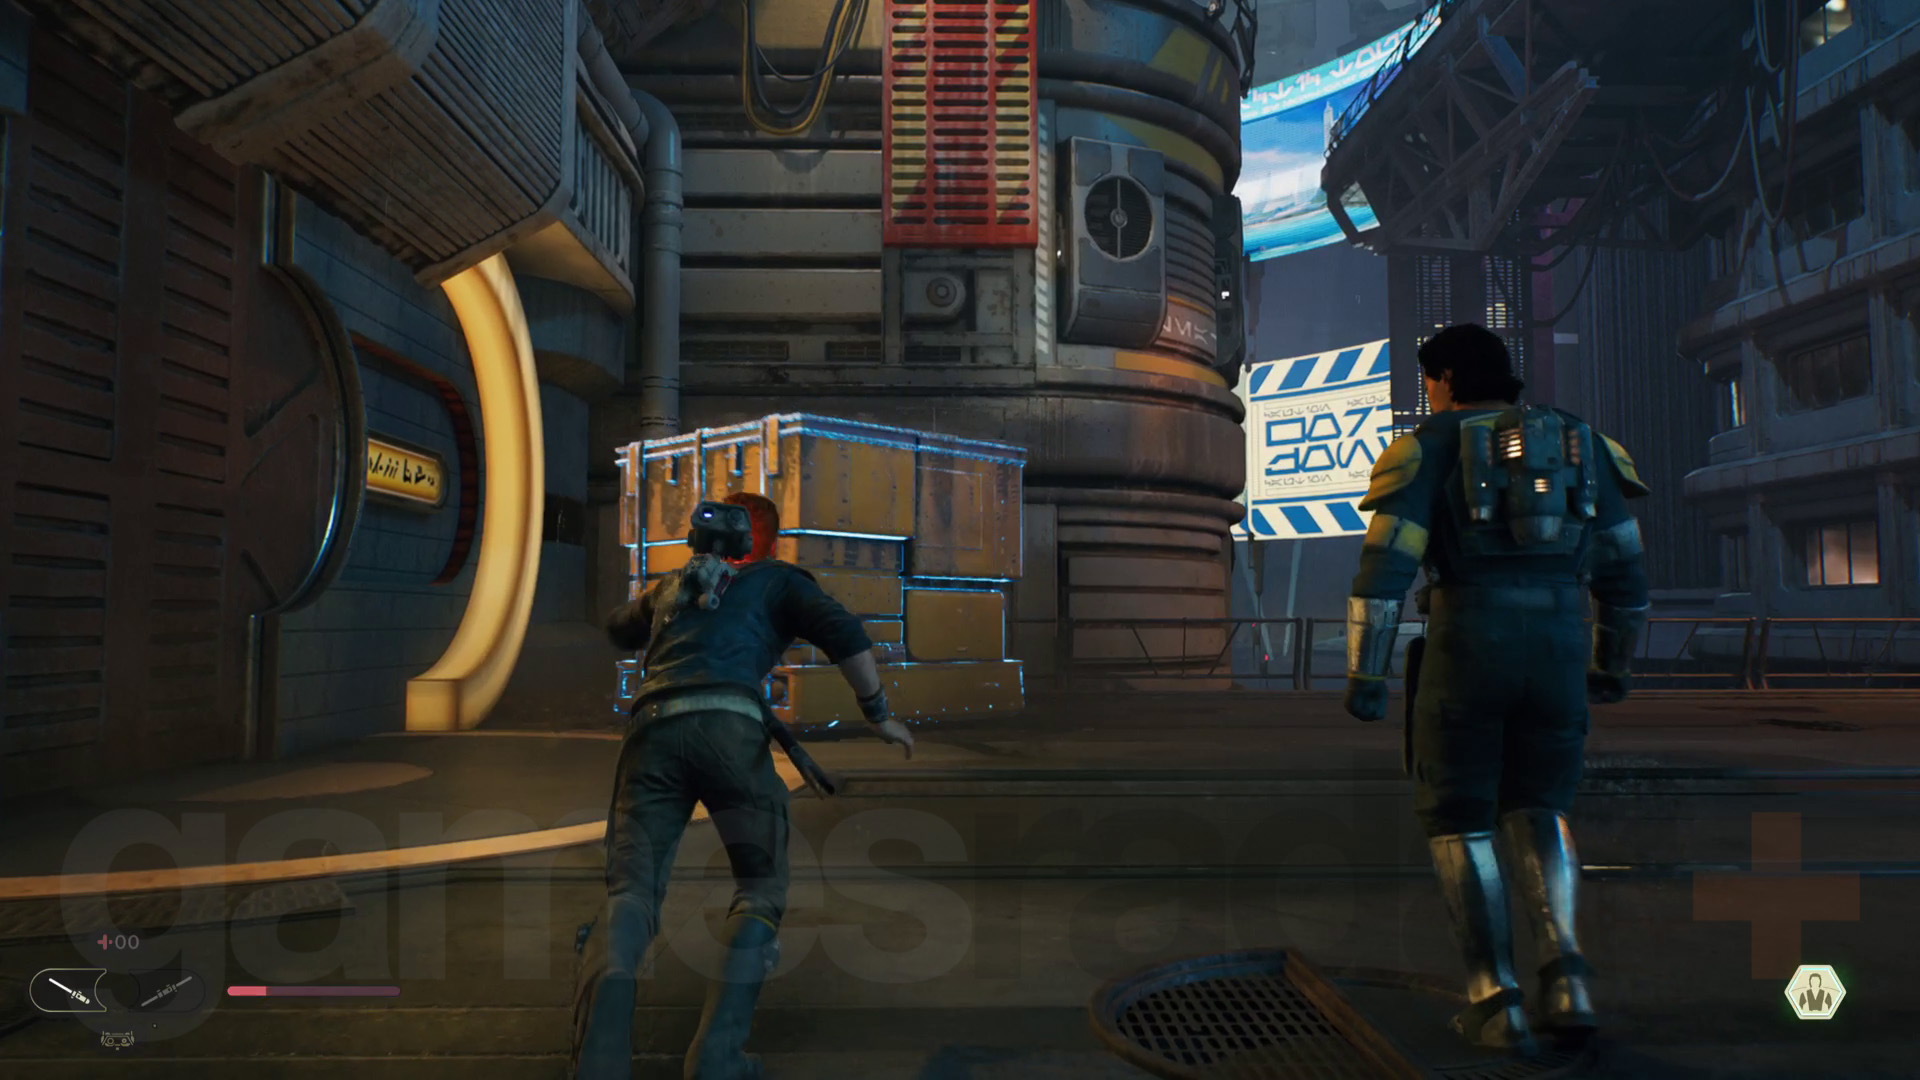
After going down some stairs and turning around, go through a gap on the left. This leads to a boss fight against a security droid called K-4O5. Don't worry to much as this is an easy fight thanks to some fairly slow and readable attacks.
Next, investigate the junk pile to get the Ascension Cable – a grappling hook ability and one of the first in a list of Star Wars Jedi Survivor abilities, Force powers and gear you can unlock. Use that to reach Bode’s position. Activate the terminal to rotate a machine into place then grapple over and climb down to reach the renovation site Meditation Point again.
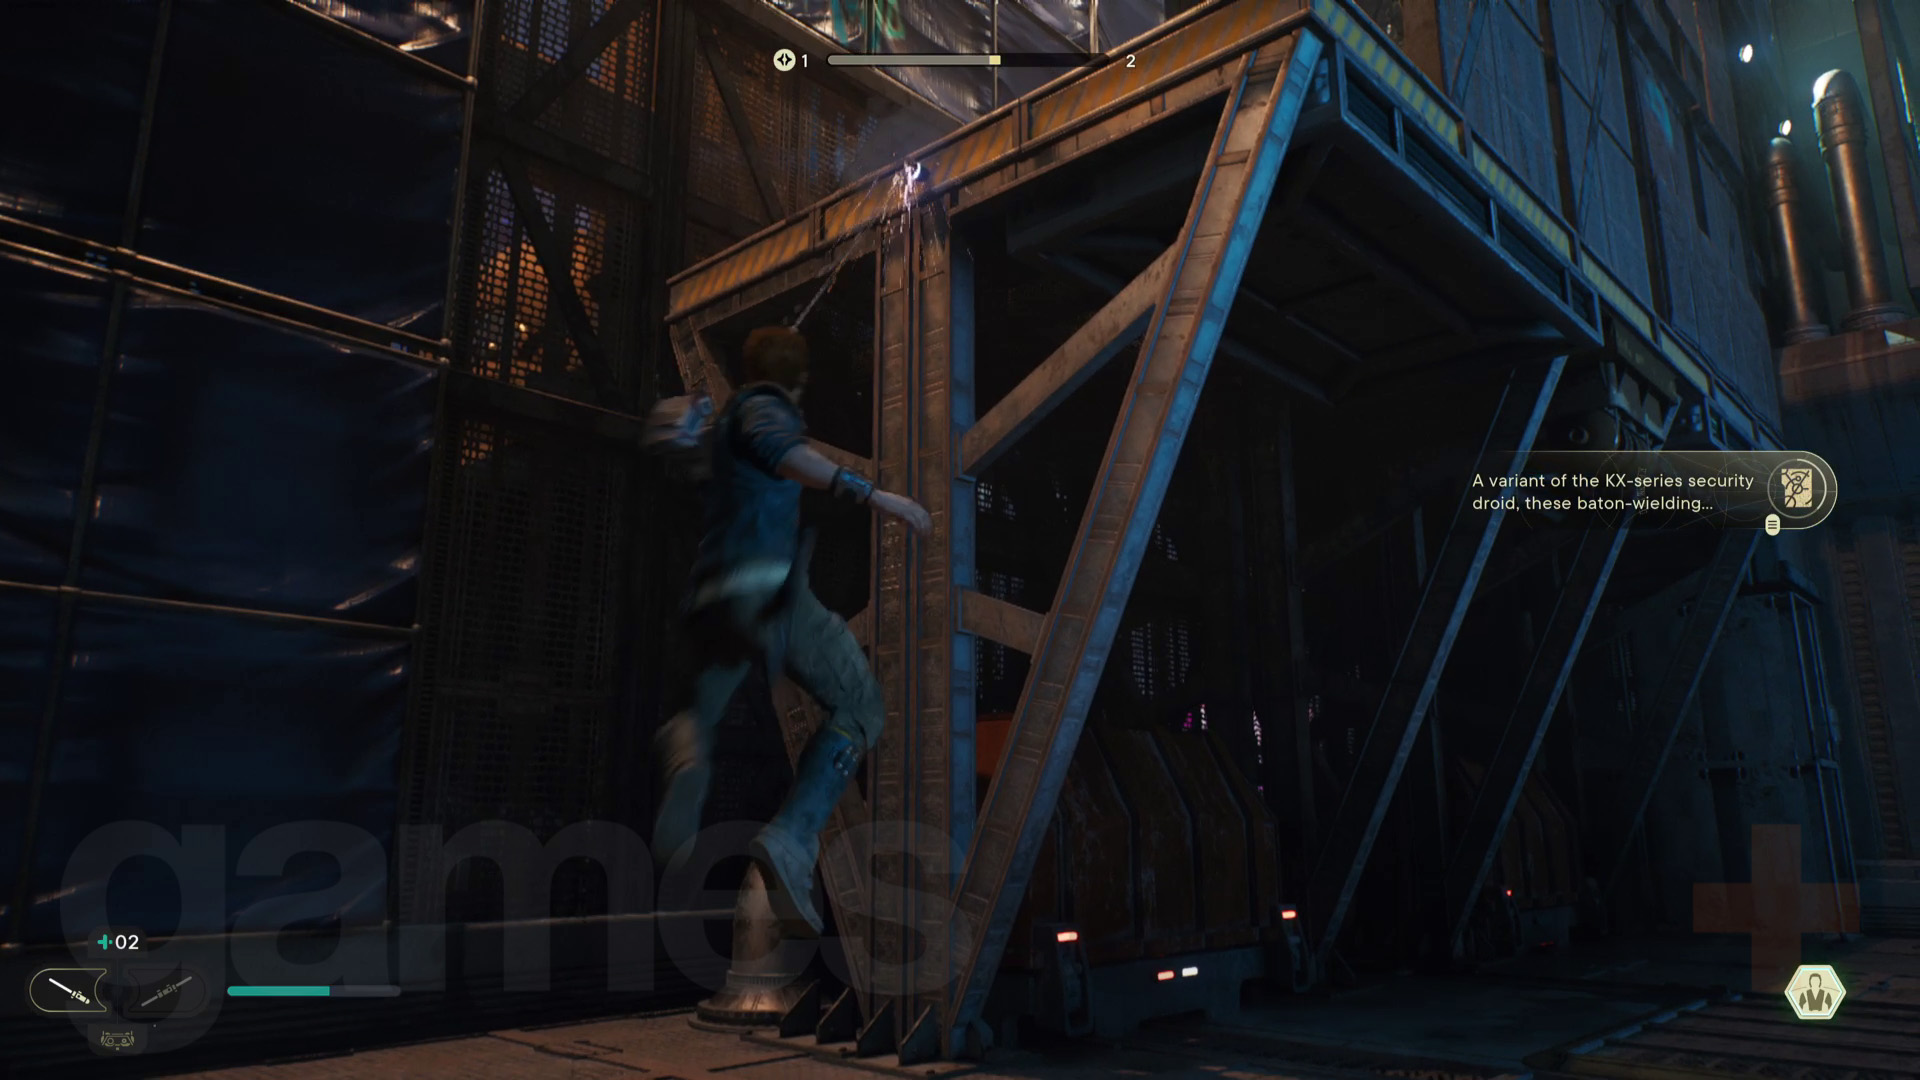
Now, head back to the bridge that you raised earlier as you can now grapple to the previously out-of-reach wall running panels. Continue on to meet up with your crew and enter the Industrial Stacks area.
Board the Senator’s yacht
Before going anywhere at this point immediately turn around and go up the steps to activate a zipline shortcut that leads back to the Meditation Point. To board the yacht, you need to move some pipes blocking the way. Go over to the twins – they’ll push a gate down, allowing you to grapple and climb to the first pipe and move it with the Force.
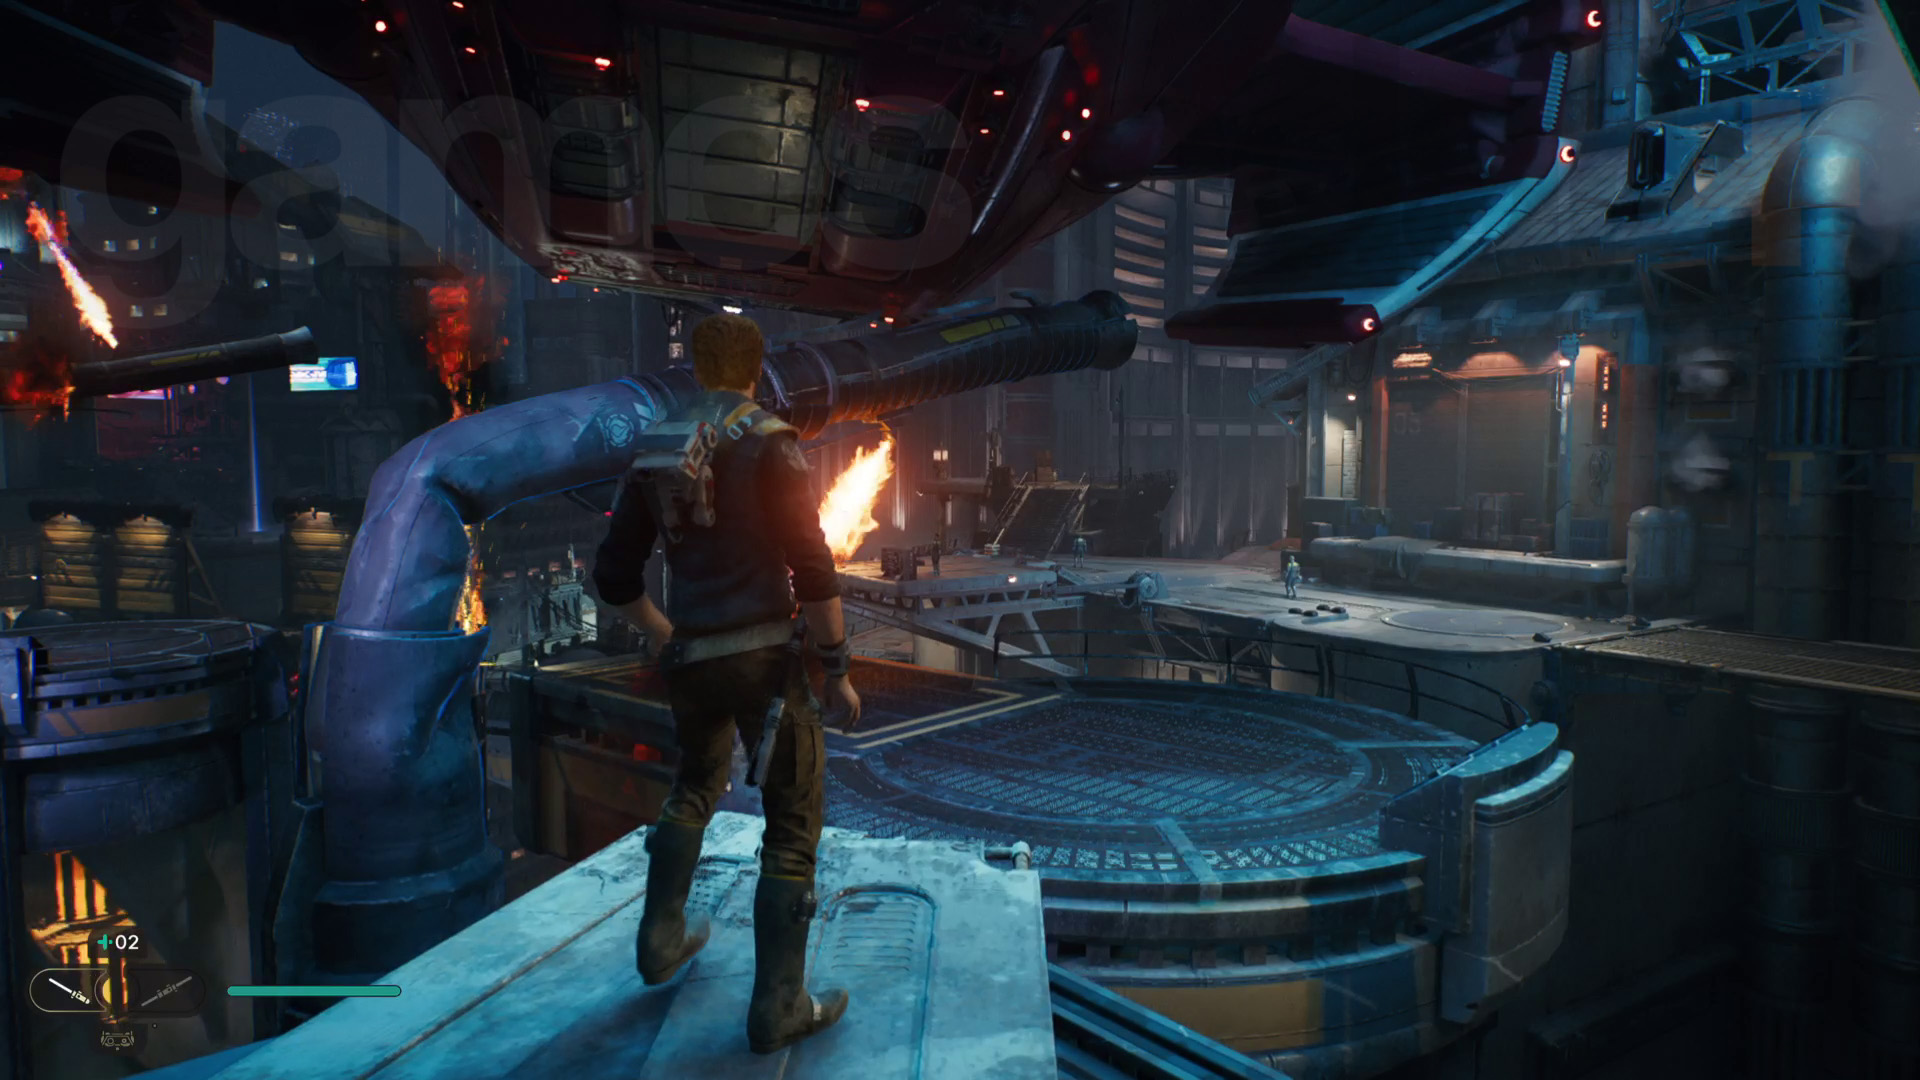
Climb on the underside of the yacht to reach the next pipe and move that too. Jump to the metal grates on the yacht and climb to the right, then up to get on deck. Get BD-1 to open the door and head inside.
Gain access to the Senator’s terminal
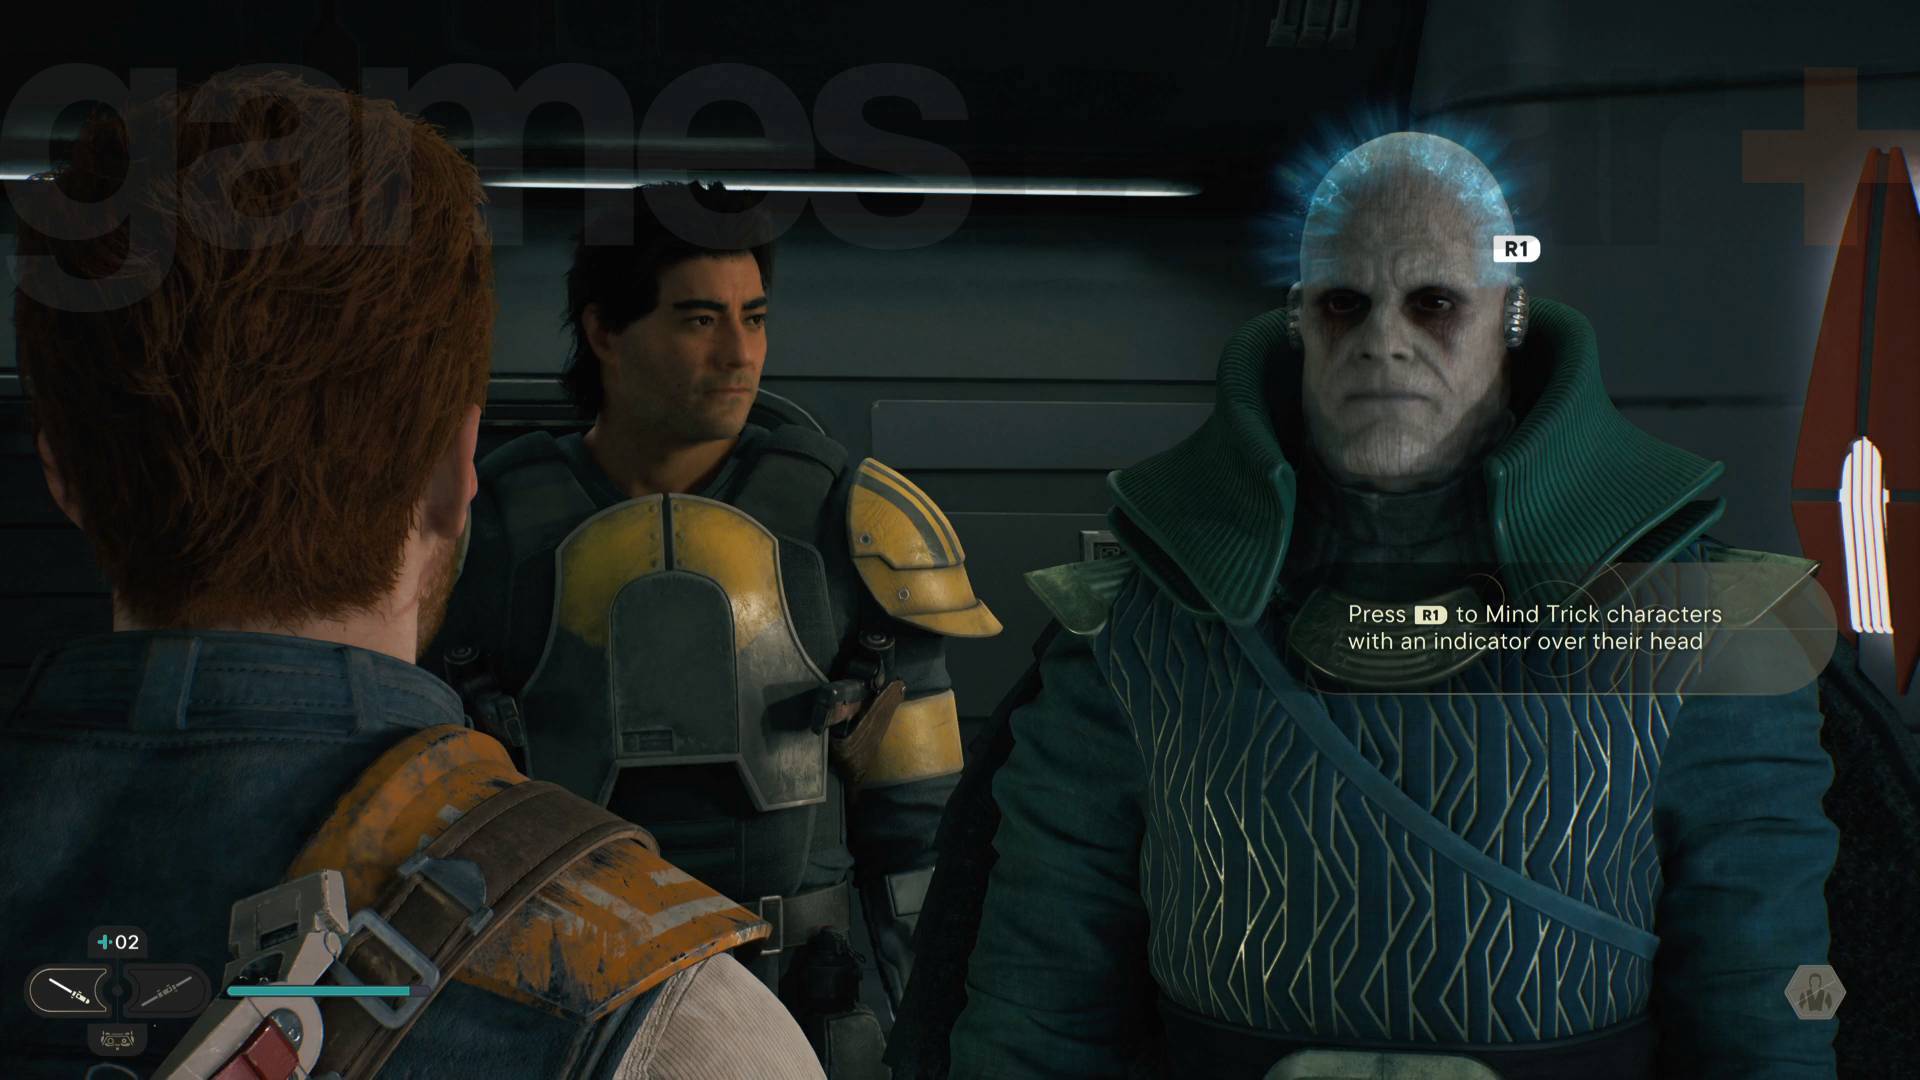
Move through the yacht and approach Senator Sejan to trigger the trust or reward Jedi Survivor mind trick, you can't actually fail here, so choose whatever option you like. Next, your objective is to extract the Senator, so just head back the way you came through the yacht. Unfortunately, an ambush from the Ninth Sister is waiting.
Escape Undercity Meats
Cal drops right into Coruscant’s meat production zone, so you'll need to escape this area before you can do anything else. Start by turning around on the conveyor belt and grappling to safety. Move through the area ahead then get up to the next level by wall jumping – repeatedly jump up this white wall with vertical lines to climb. At the top, you’ll reach the Undercity Meats Meditation Point. There’s also a Star Wars Jedi Survivor stim canister to grab nearby.
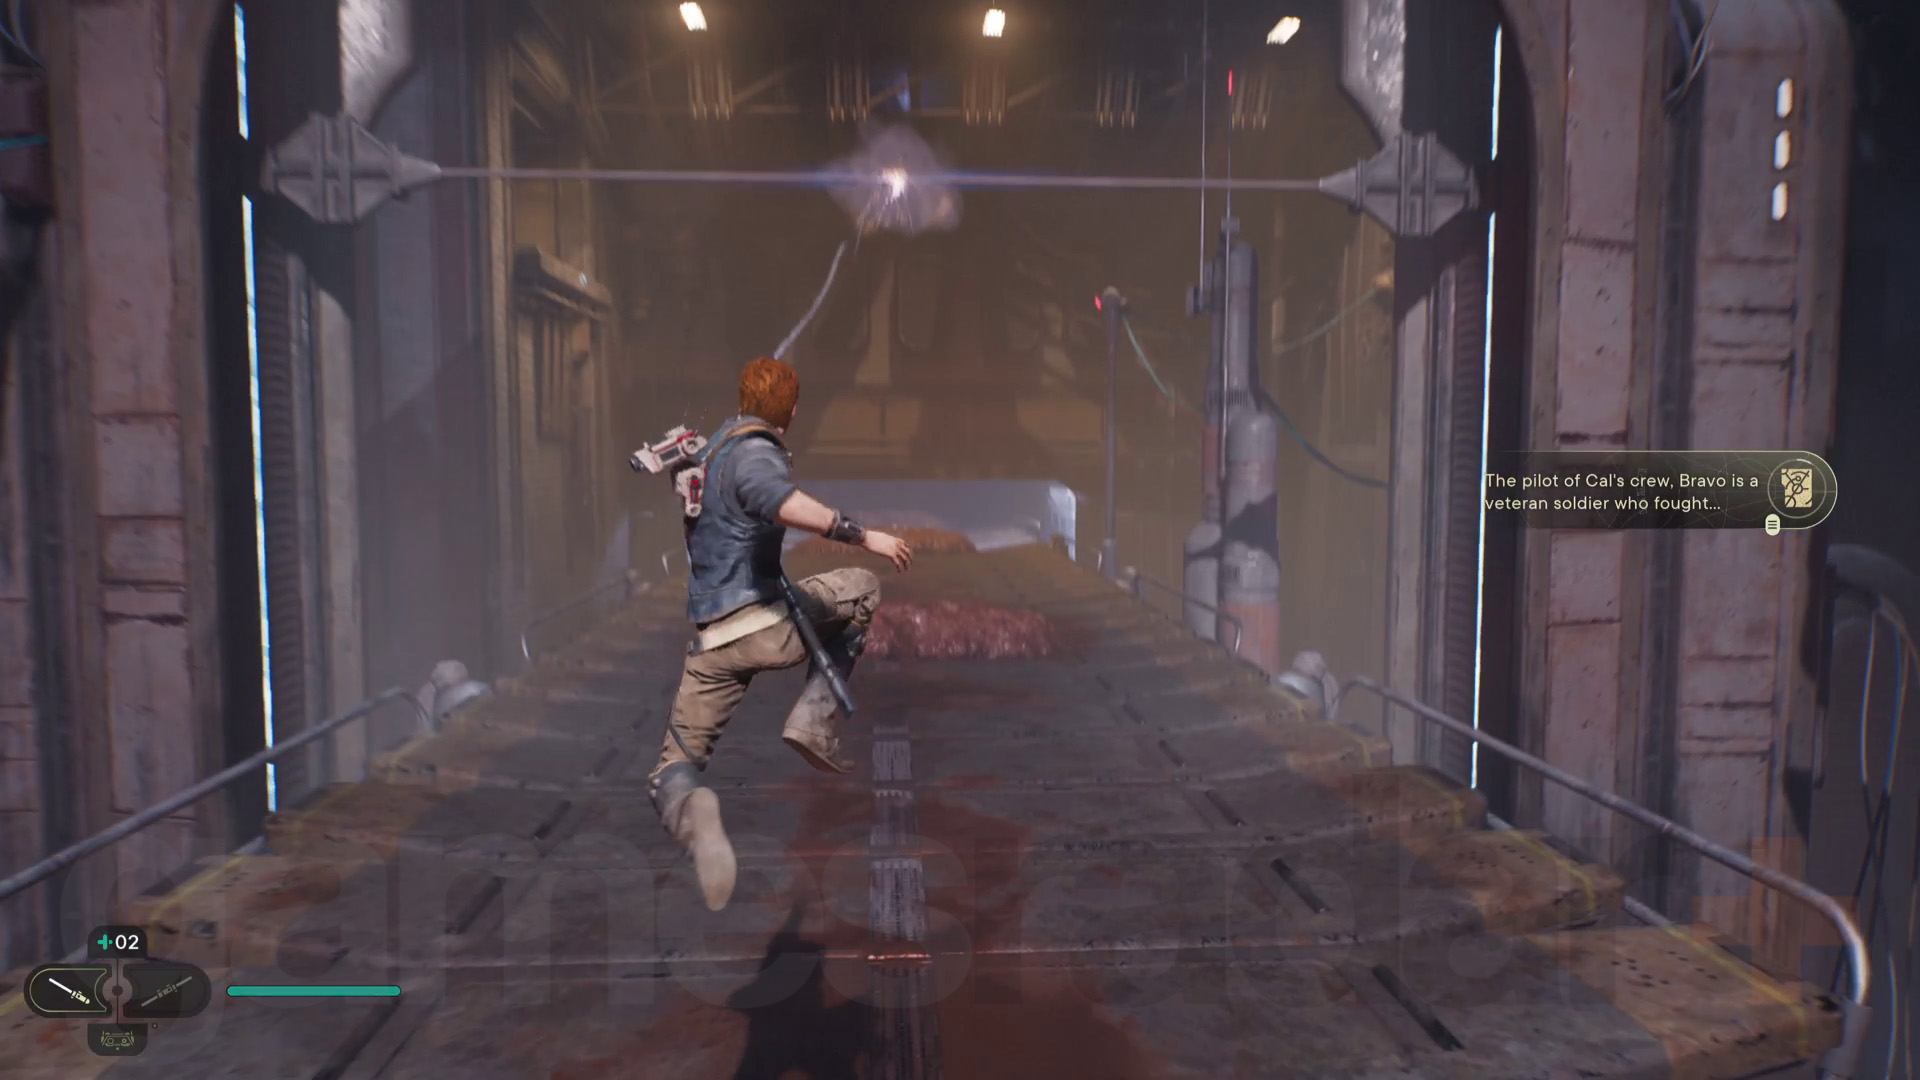
Keep going down the walkway where the large meat slabs are being transported along a rail. You’ll need to grapple up, then go inside a room to the left to fight a Purge Trooper. Once they’re dead walk through the dark room on the left and squeeze through the gap at the other end. In the next room you’ll learn the Confuse Force power, then reach the Freight Handling Depot.
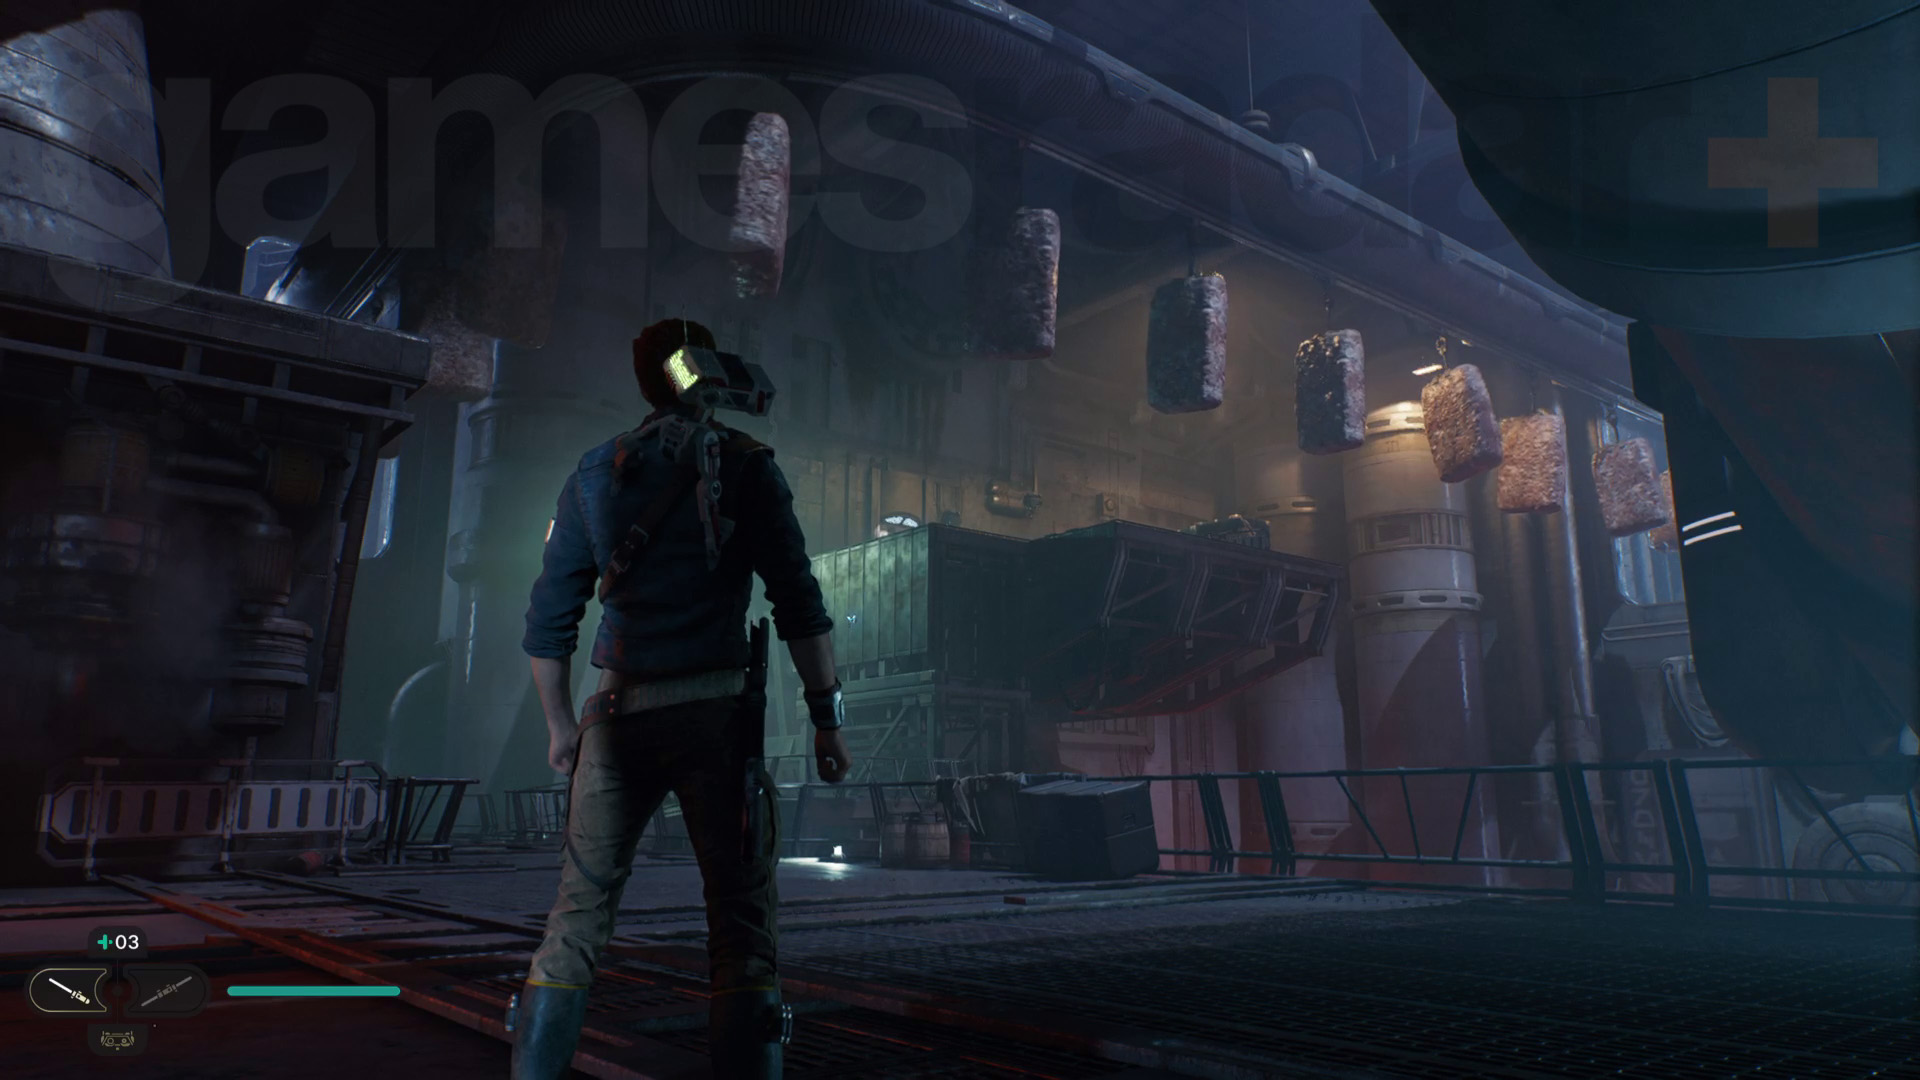
Grapple a moving meat box on the above rail and drop into the next zone to battle the stormtroopers. Slice the exit door with BD-1 and get up to the next area where you’ll find the Freight Handling Depot Meditation Point. Continue on to get back to the Mantis.
Take down the gunship and defeat the Ninth Sister
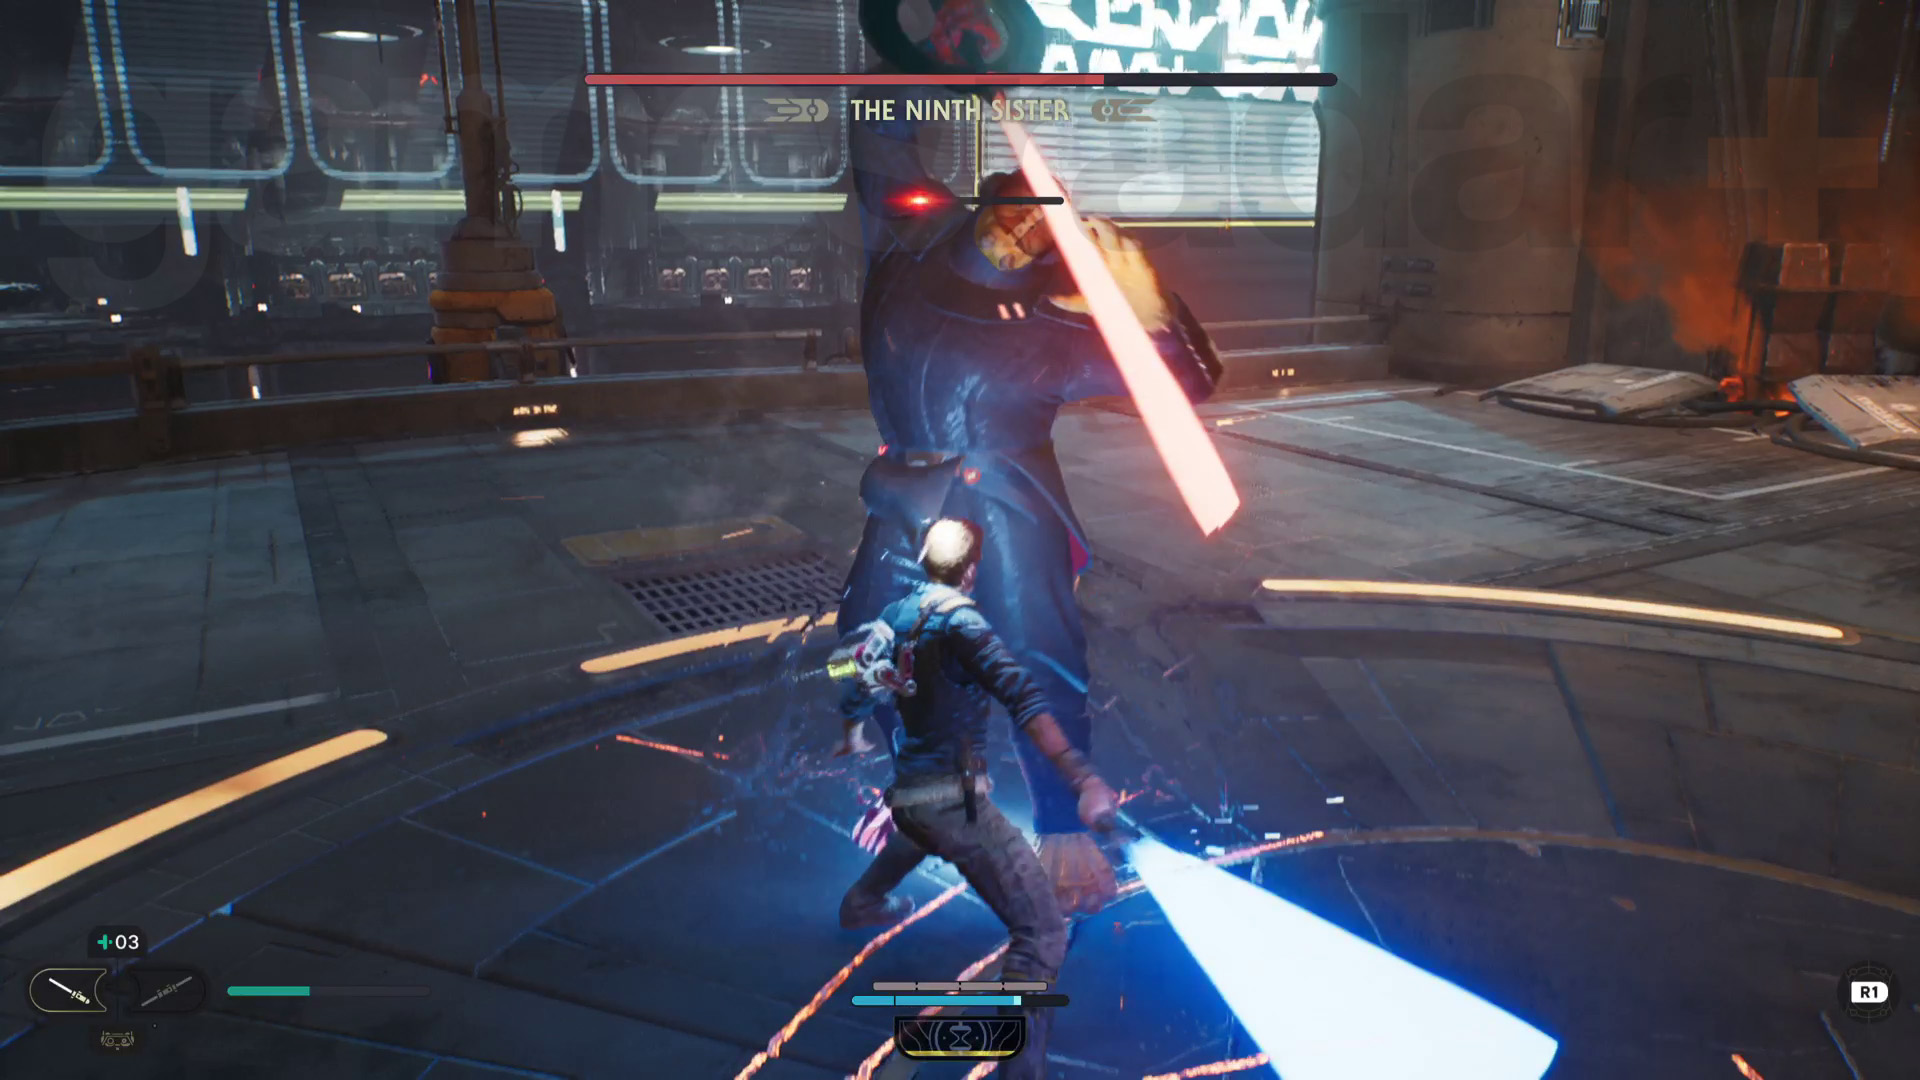
After a cutscene showing the yacht crashing, climb aboard and bring down the gunship. This is mostly a cutscene so you don’t need to do much. However, now it’s time to battle the Ninth Sister, returning from the last game. She has much the same moveset as before, with her heavy double-bladed spinning lightsaber. As with a lot of tougher enemies, the best approach is to master parrying her attacks to drain her block gauge and then strike back while she's vulnerable. Defeat her here and you'll unlock the Dual Wield Lightsaber Stance.
Get to the hangar
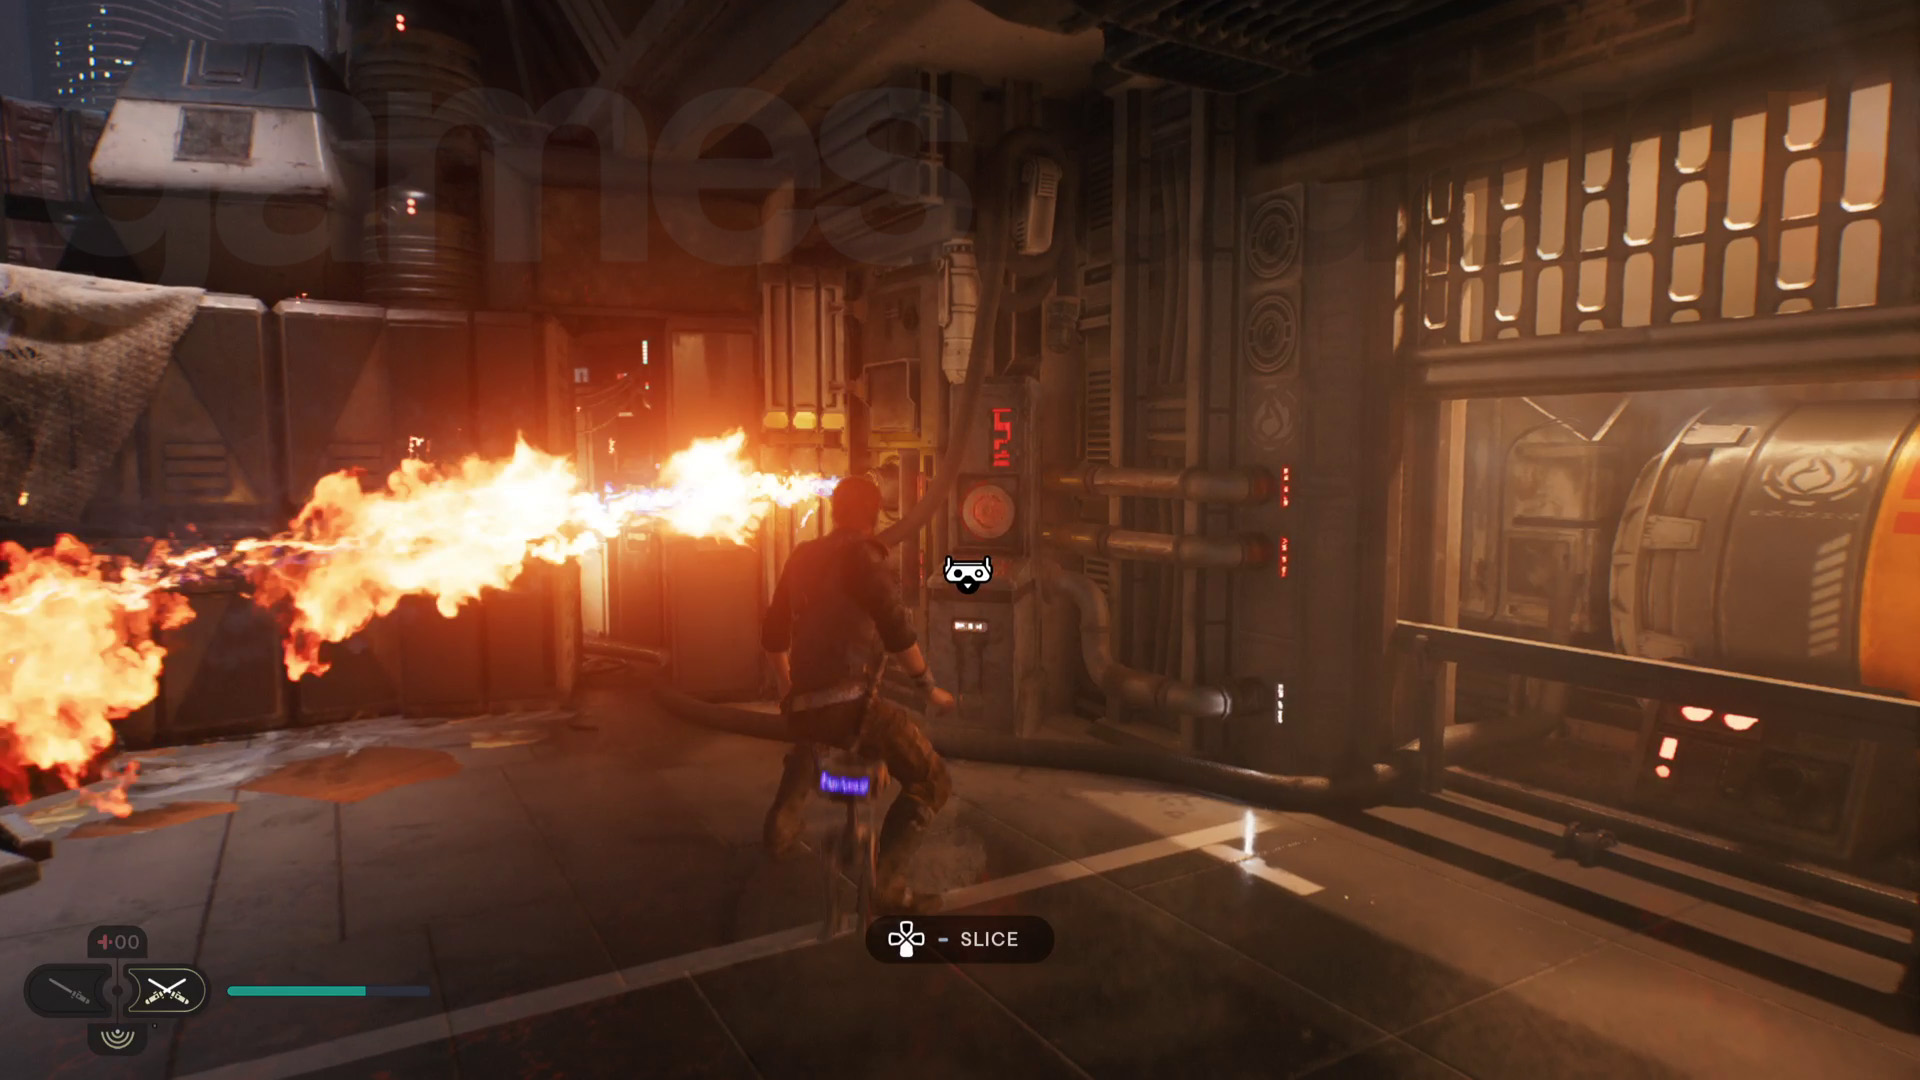
Get BD-1 to activate the terminal next to the flaming pipe on the right. This will extinguish the fire and allow you to squeeze through the gap. You’ll find the Skylane Regulation Station Meditation Point on the other side. Head down the stairs and take the lift down.
Head right, activate the zipline, and ride it up. Next, head up the steps, climb the cable, and get to the ziplines – these will take you to Hangar 2046-C. Go inside the building to meet Bode and Bravo.
Free the Mantis
Take the lift down to the Hangar 2046-C Meditation Point. Open the next set of doors and fight your way to the Mantis. Speak to Bode and Bravo to board the Mantis and make your escape.
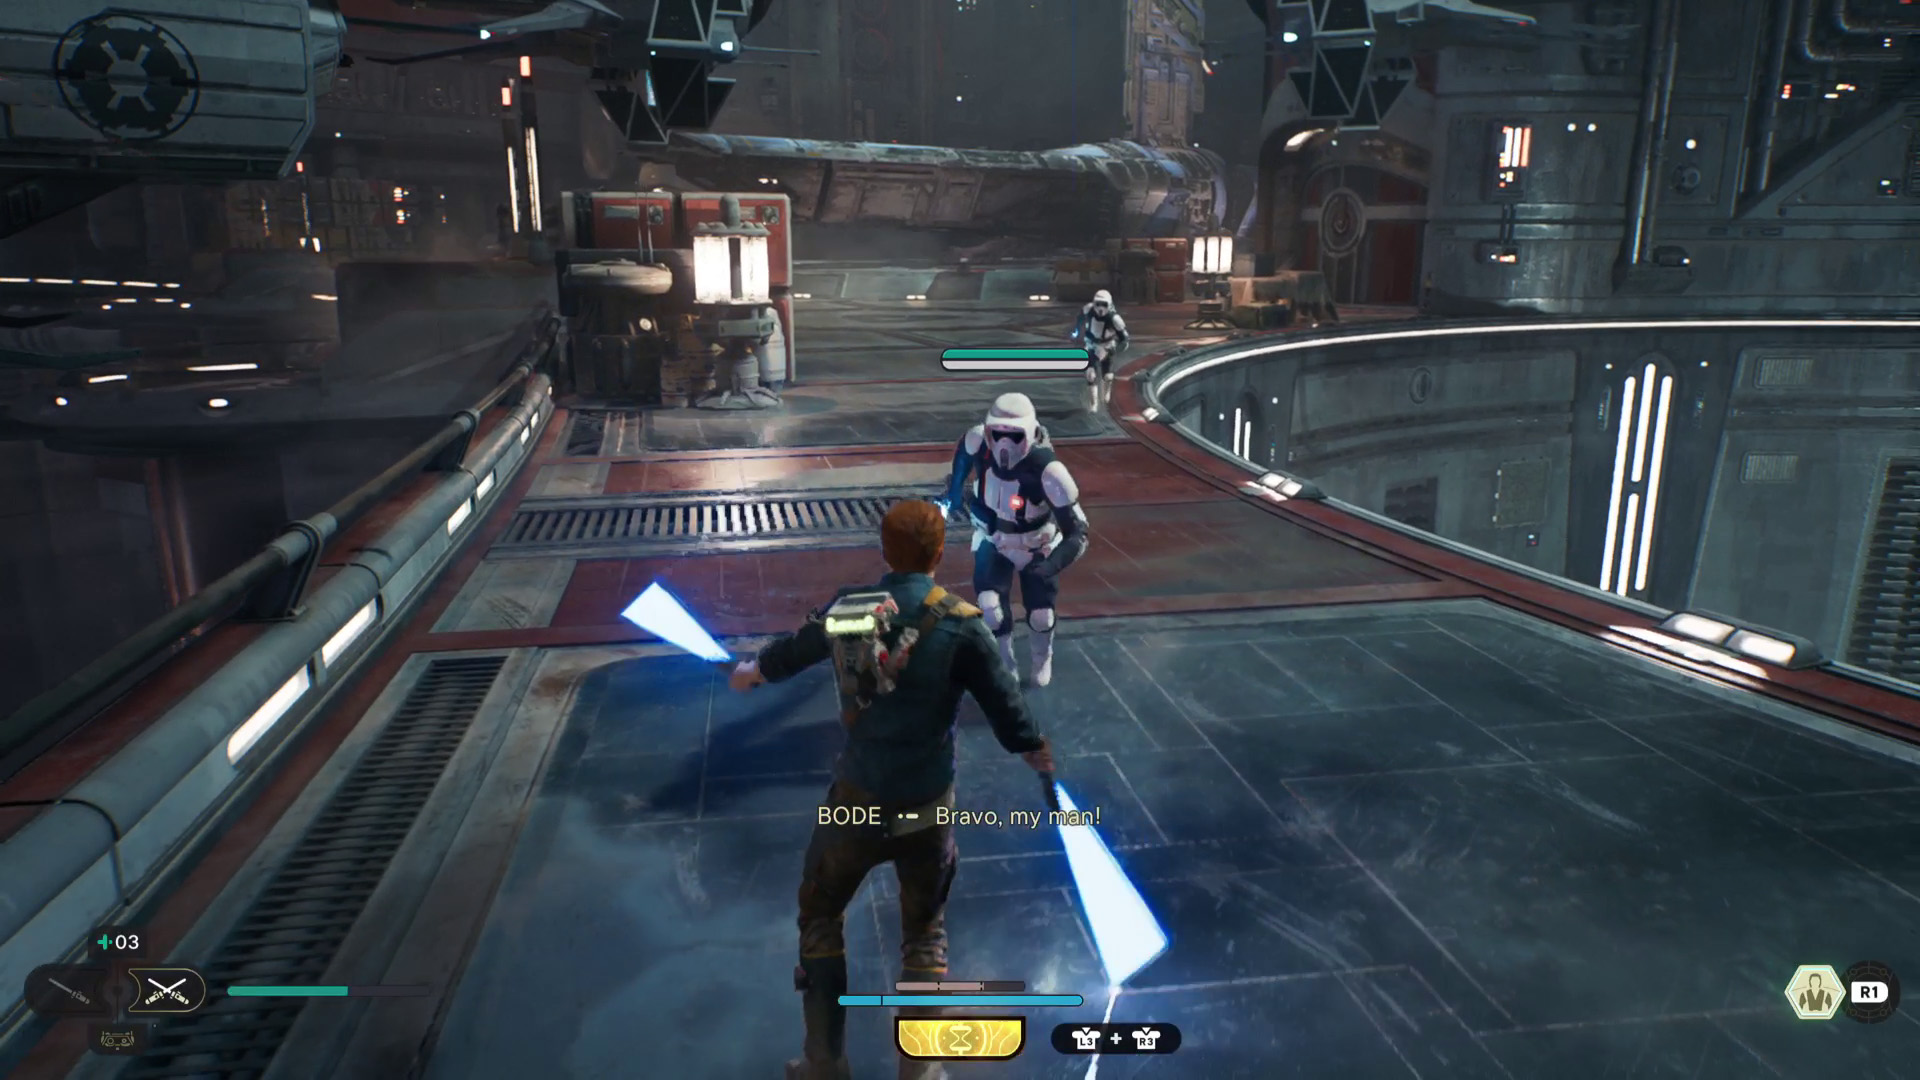
Once free on the Mantis you'll need to clean it by picking up some BD-1 parts from the kitchen table and using the Workbench. After that, go to the cockpit and jump in the pilot’s chair to travel to Koboh.
© GamesRadar+. Not to be reproduced without permission.
Current page: Jedi Survivor Coruscant walkthrough
Next Page Jedi Survivor Koboh walkthrough 1, Find GreezWeekly digests, tales from the communities you love, and more
Will Sawyer is a guides writer at GamesRadar+ who works with the rest of the guides team to give readers great information and advice on the best items, how to complete a particular challenge, or where to go in some of the biggest video games. Will joined the GameRadar+ team in August 2021 and has written about service titles, including Fortnite, Destiny 2, and Warzone, as well as some of the biggest releases like Halo Infinite, Elden Ring, and God of War Ragnarok.
- Leon HurleyManaging editor for guides


