The full Star Wars Jedi Survivor walkthrough
The complete guide on what to do and where to go in Star Wars Jedi Survivor
Zee is crucial in the search for Tanalorr so it’s imperative that she’s rescued from the raiders’ base. Cal and Bode team up to get her back from the Lucrehulk base before Dagan Gera can destroy her.
Rescue Zee from the Lucrehulk
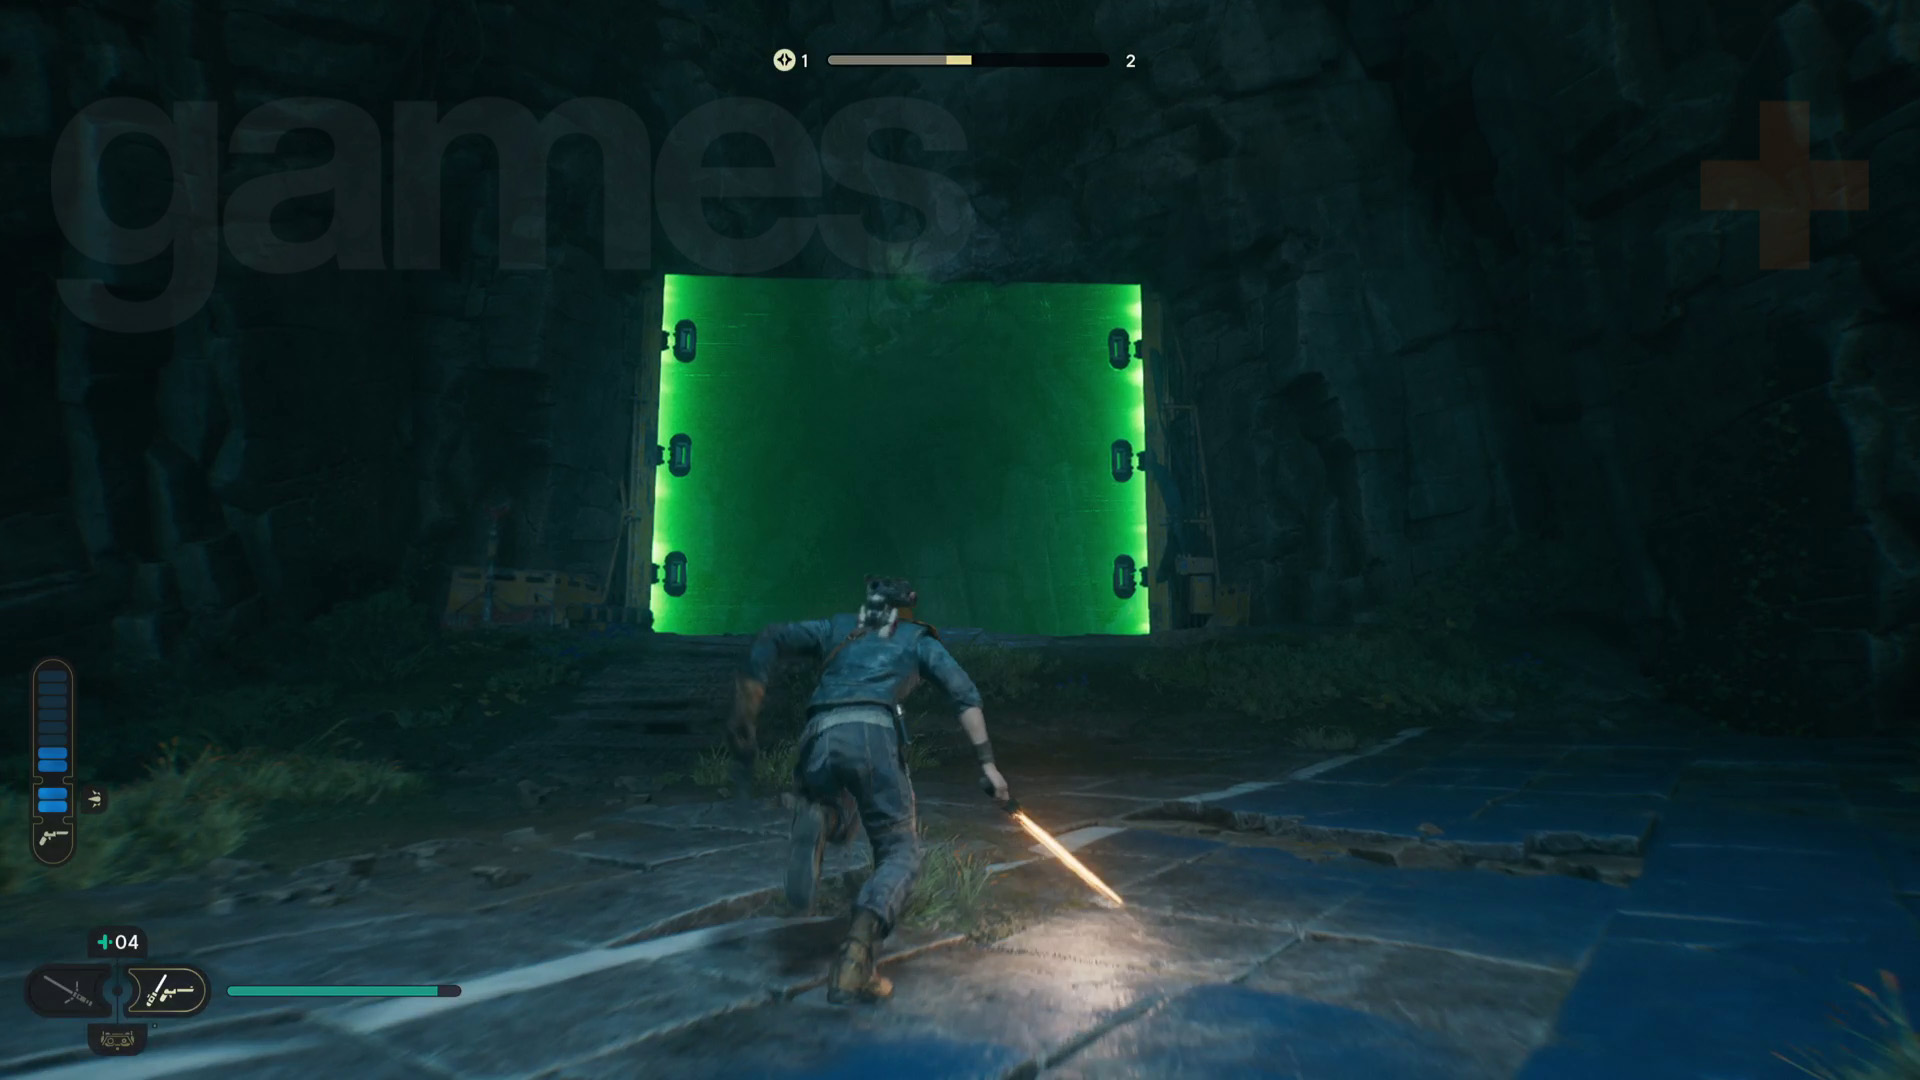
Start by heading to a Meditation Point and fast travelling to the Igneous Fissure Meditation Point. Now, head through this area just like before. When you get up to the large clearing, use your new dash ability to get through the large green laser barrier. Go through the cave and you’ll reach the swamp that the Lucrehulk is in.
Next, follow the path down to the left and use the Relter to glide down to a thermal vent. With the added altitude, you can glide further into the Viscid Bog area and reach a rock island with a hut on it.
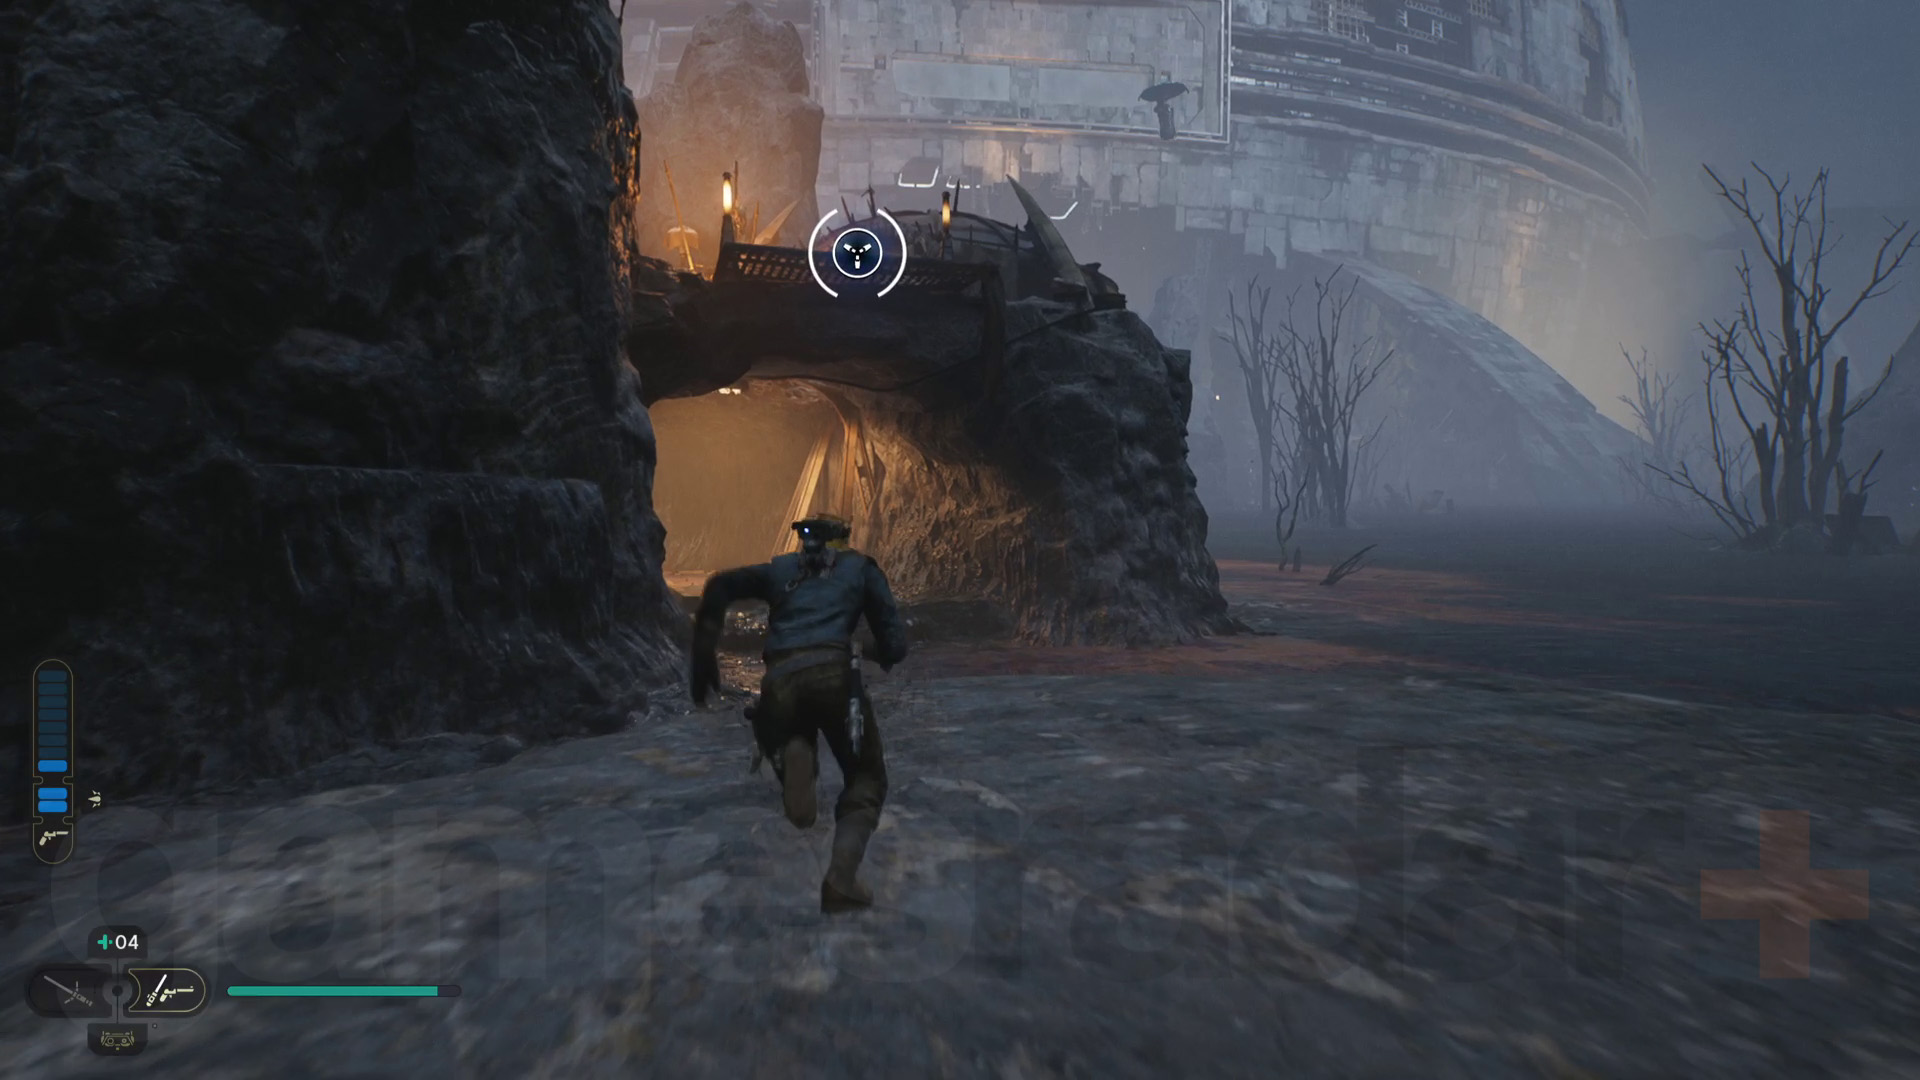
After you land on this island, head right and go beyond the hut. You’ll spot a rock platform in the bog below which you need to jump down to. After that, turn around and dash to the tunnel, then head through the tunnel, being careful not to spend too much time in the bog. Set up the zipline at the end of the tunnel and ride it to reach a huge chunk of Lucrehulk debris.
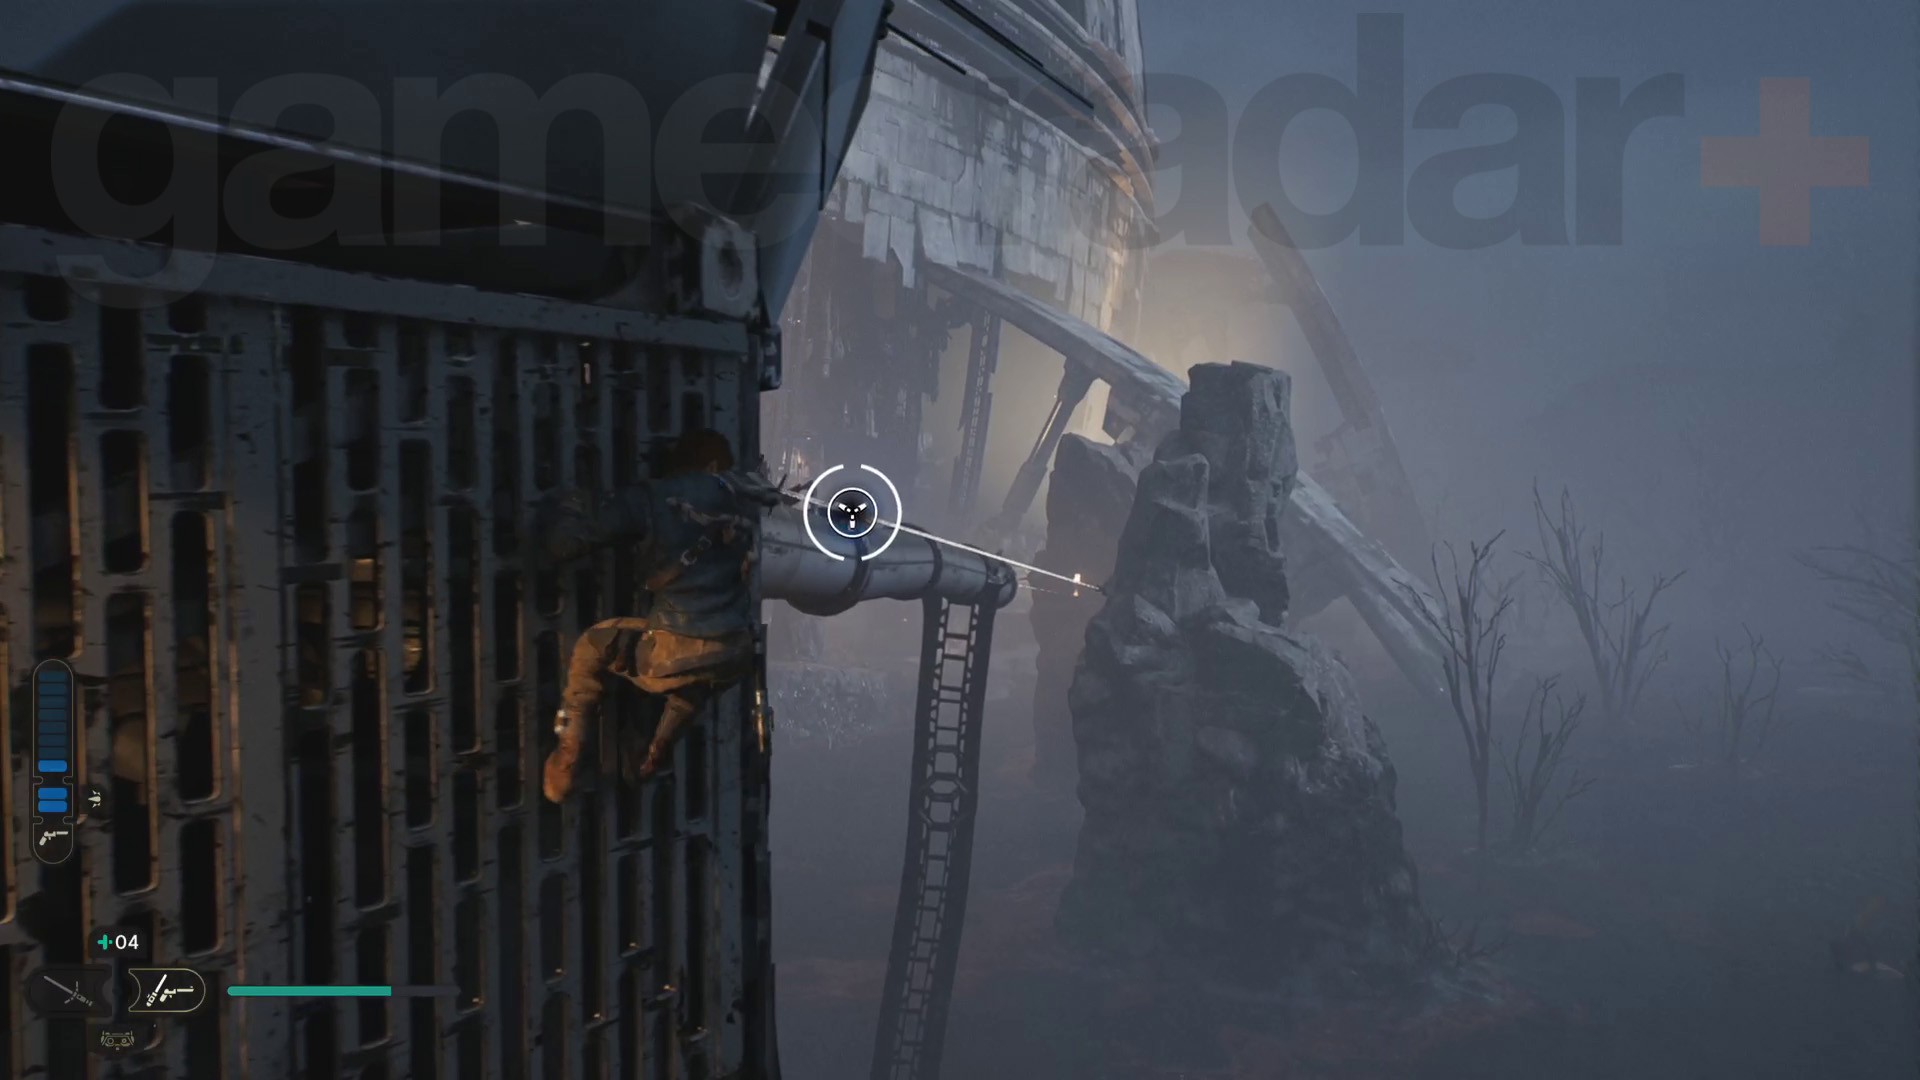
Climb around and up the debris piece to reach another zipline, then traverse the ziplines ahead to reach another island with some raider droids on it – there’s also a zipline shortcut to activate here that takes you back to the hut. Follow the path down to reach the Loading Gantry of the Lucrehulk, meet with Bode, and rest at the Loading Gantry Meditation Point.
Next, head through the squeeze gap in the door to get into a hangar with lots of droids and raiders inside. Head to the upper level of the room and get Bode to target the container hanging from the crane. Now head back down and jump across the container to reach the next area.
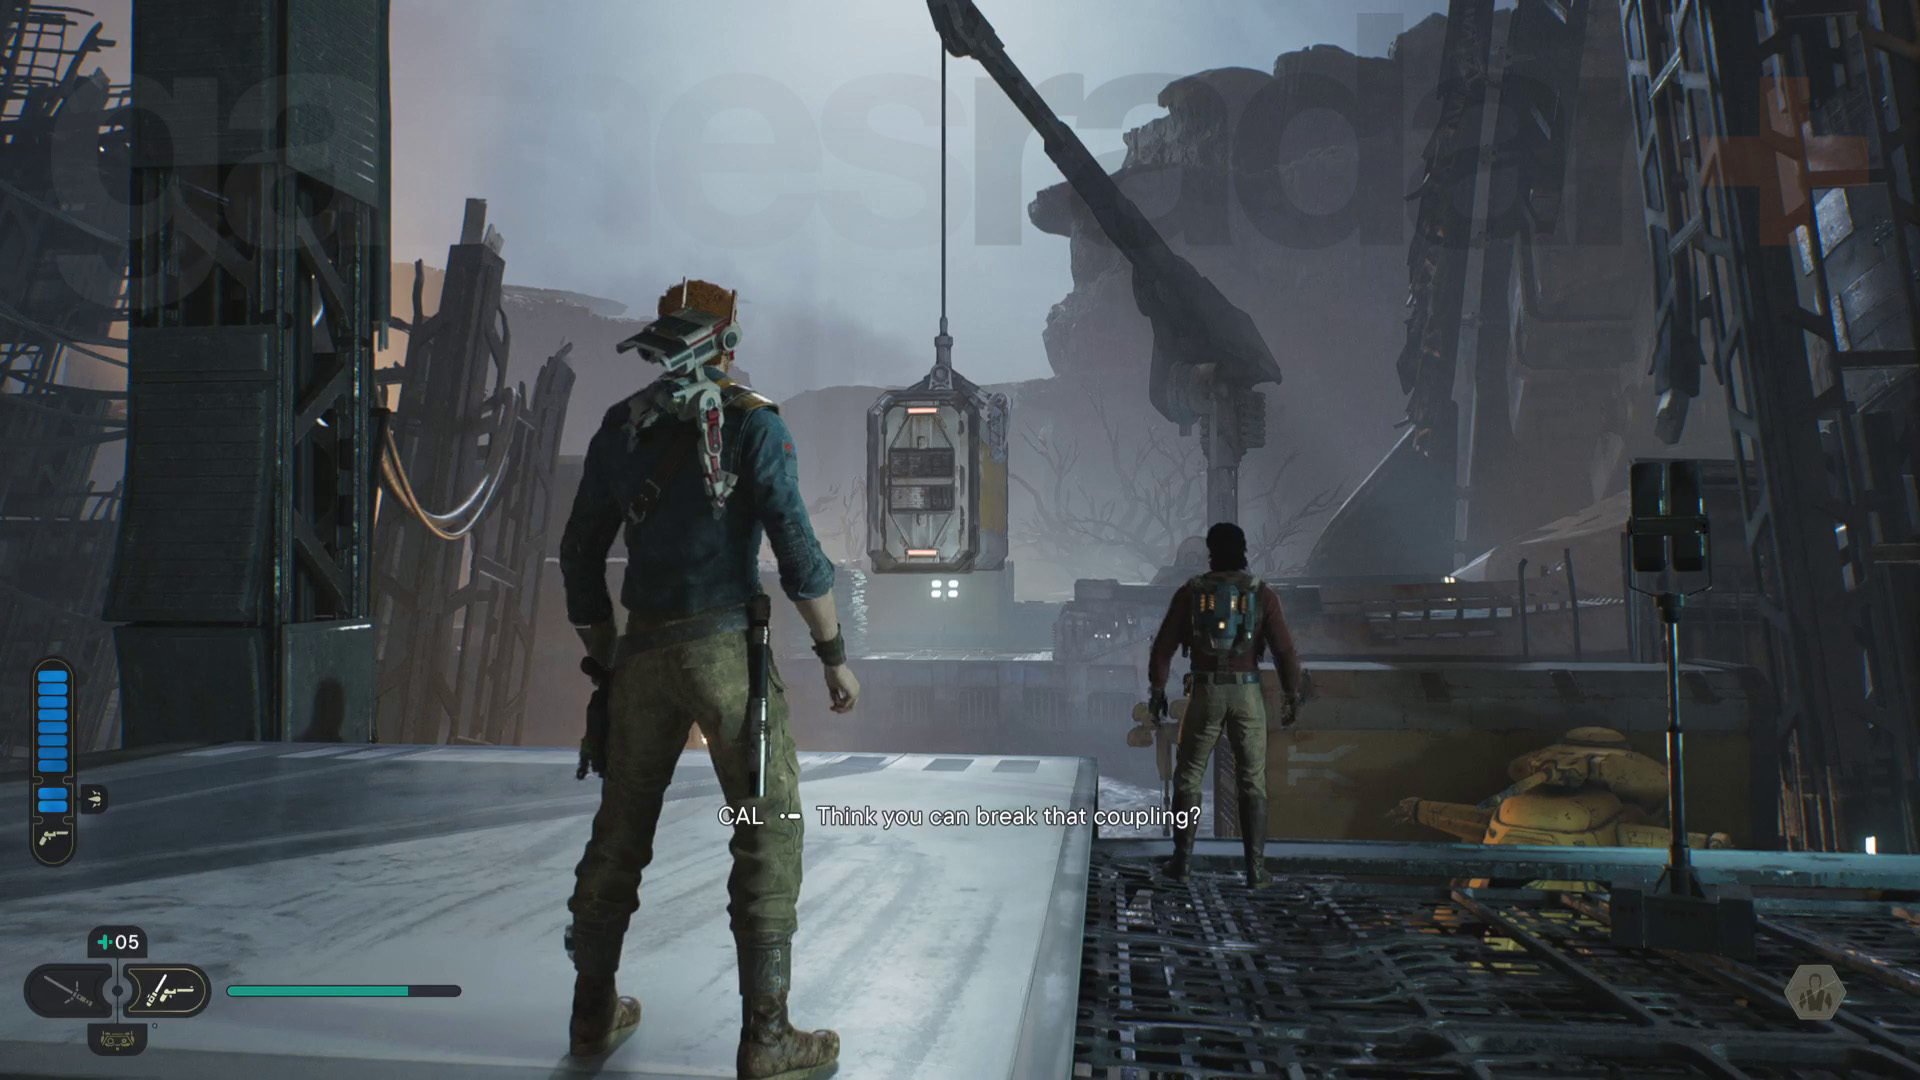
Go right, grapple to the climbing grate, then climb around and up to get on top of the debris. Then jump towards the Meditation Point ahead but grapple to the swinging pole to reach another climbing grate.
Climb all the way up – you’ll need Bode to clear an electrical trap for you at one point – then wall run to the next area. Carry on through the Lucrehulk, then wall run and grapple to a climbing grate. Climb along the ceiling to reach the Hangar Rafters and Hangar Rafters Meditation Point.
Head through the round door ahead and deal with the droids and raiders. With the area clear, you can Force Push a rafter so that a climbing grate hatch gets lowered. Grapple and climb up.
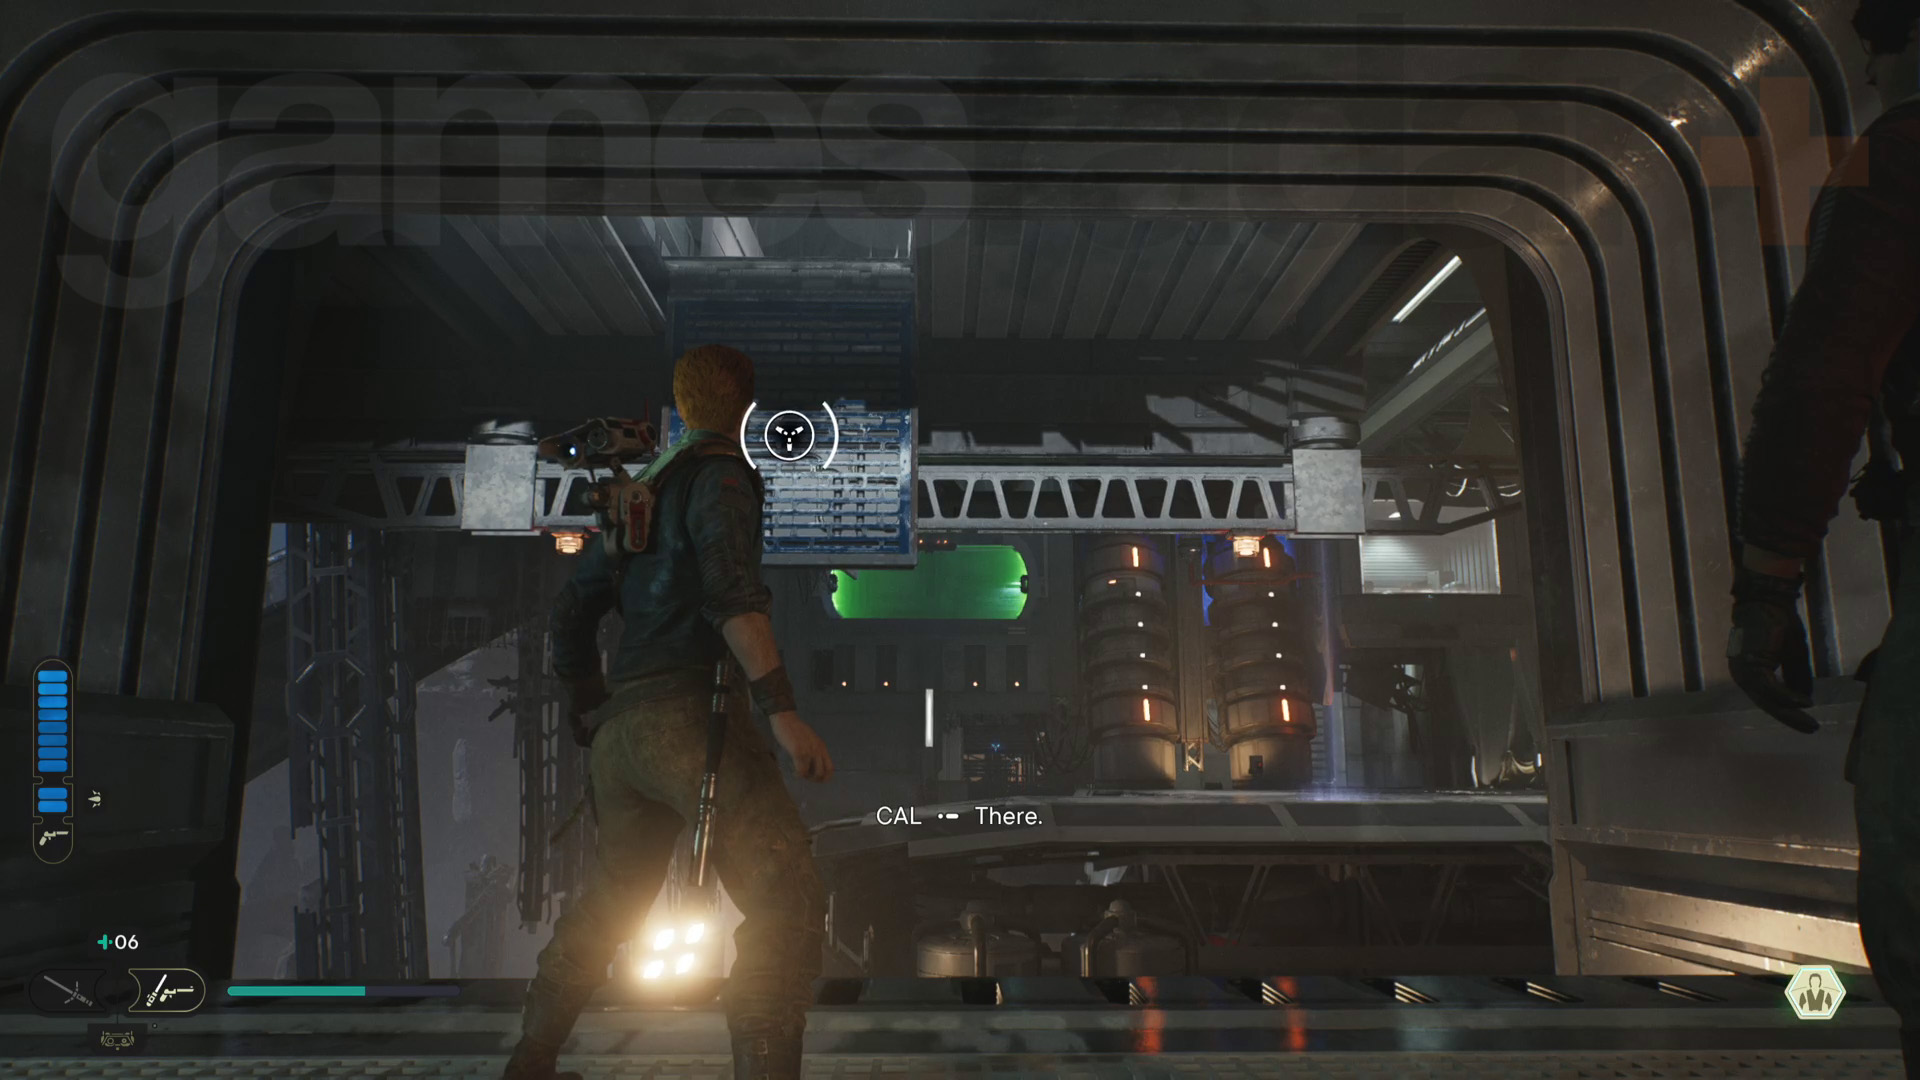
Bode will leave you to scout ahead, so carry on through the next two areas by wall running then dashing through a green laser barrier. Dash through the next barrier, then wall run to a climbing grate. Climb up to switch to the ceiling grate, then get to the end and leap to the grate ahead.

Cut the cable for a shortcut, then head to the next area and fight the MagnaGuard Droid. After that, Force Pull the metal panel to reveal a grapple point on a climbing grate.
Grapple over then climb to the right, jumping from grate to grate to eventually reach a platform held up by a yellow cable. Jump across to another set of climbing grates, then drop onto some more droids and raiders.
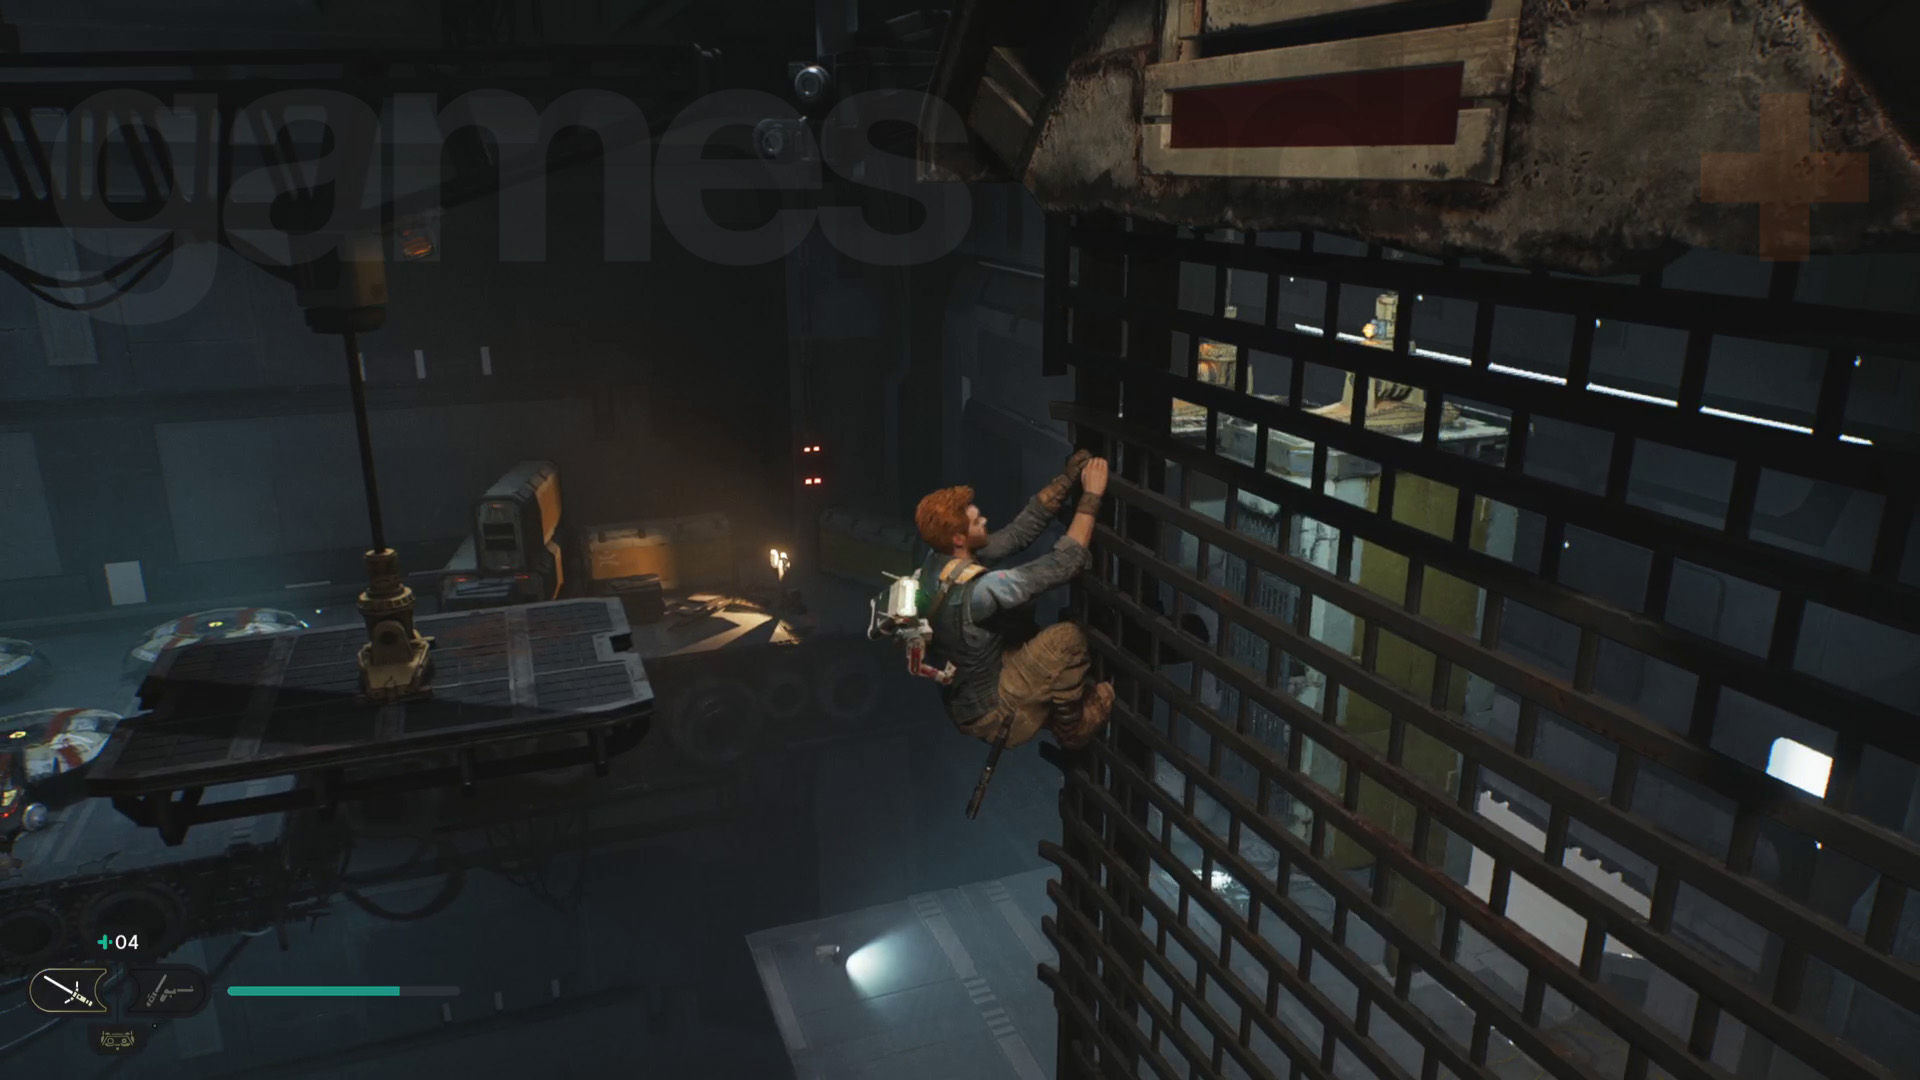
Head down to the right and jump through the large doorway – you can Force Push a panel here to open a path back to the Hangar Rafters Meditation Point. Cross over to the green barrier and dash through to fight some enemies. Once they’re dead, get BD to slice the door.
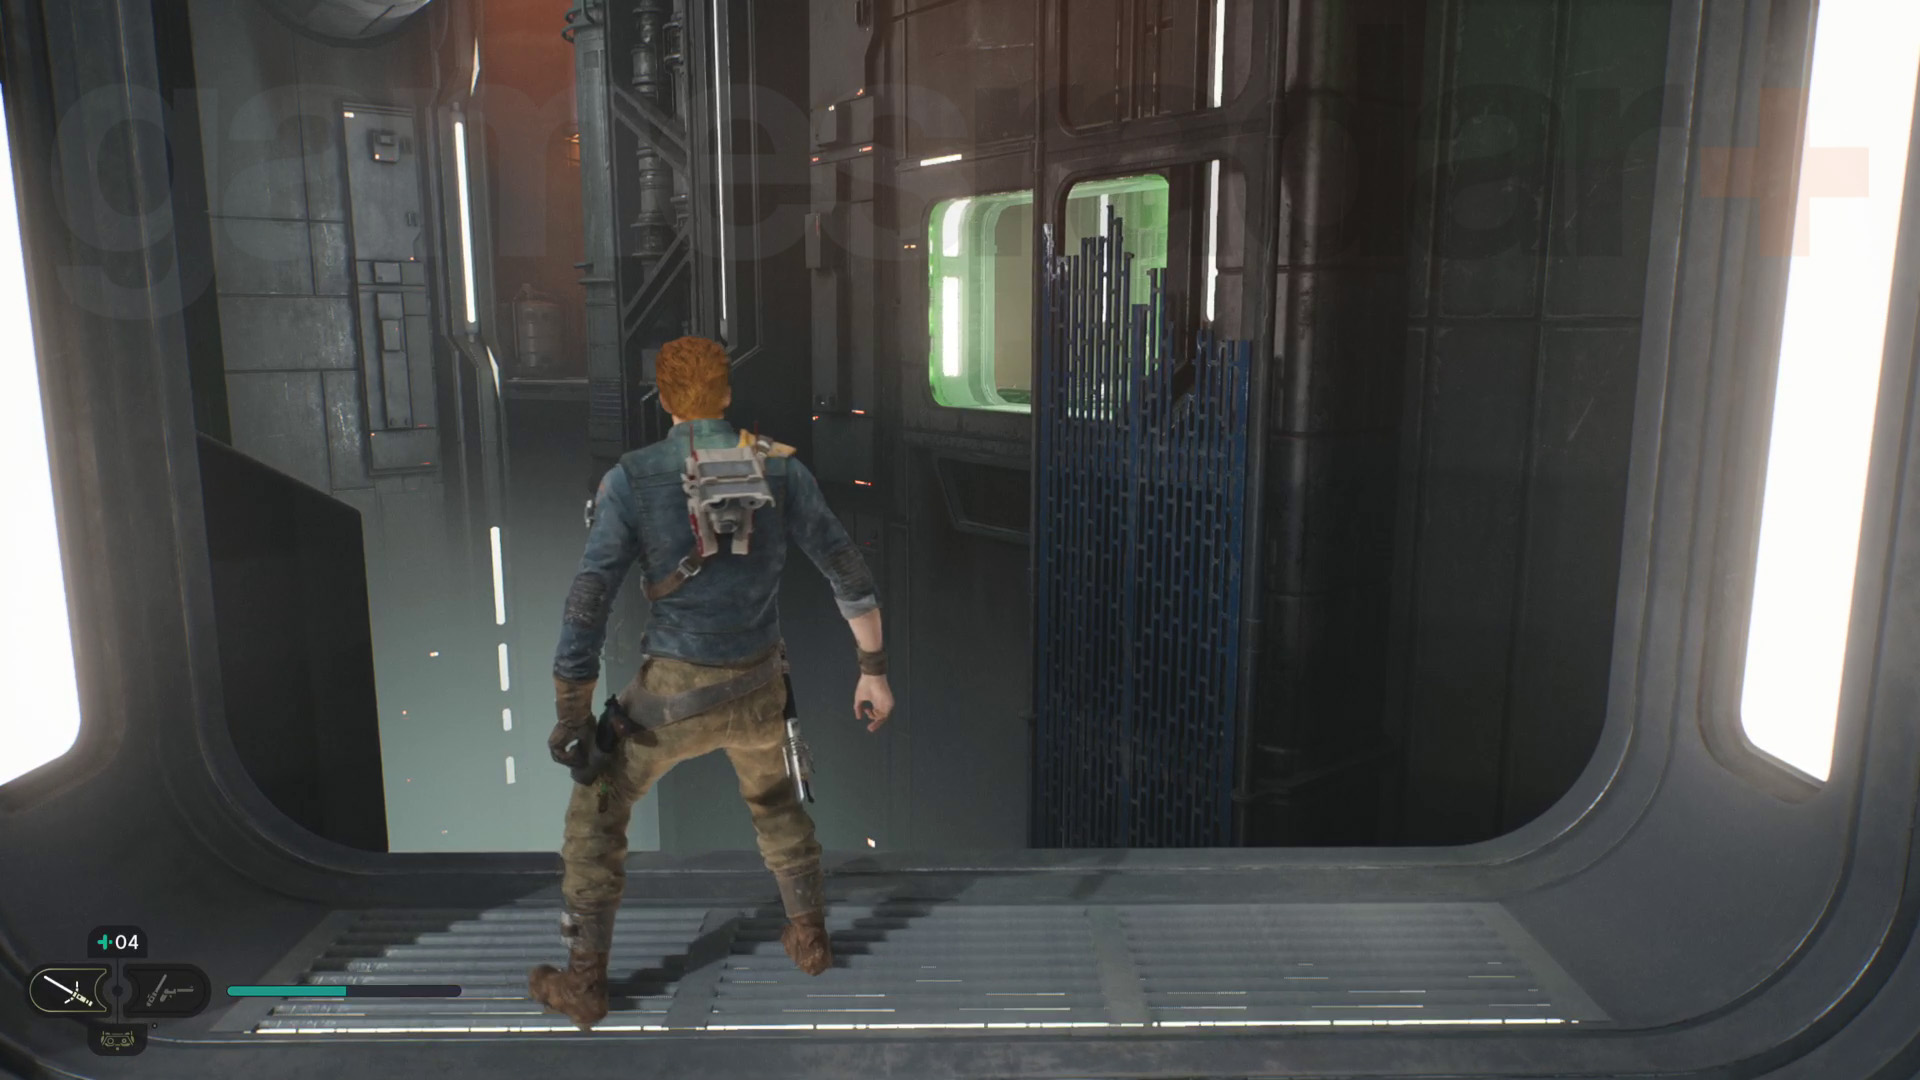
On the other side, you’ll find Bode again. Continue down the corridors of the Lucrehulk – along the way you’ll fight a few of droids, including Droidekas – then get BD-1 to open a door. Head through the squeeze gap to reach the Lucrehulk Core area and you’ll see Zee being taken away. Bode goes off again to create a distraction.
Carry on through the next door then go right to dash through several green barriers. Now, dash to one of the moving containers then drop off to land on some raiders and droids below. Head upstairs to the next room and take the lift down. This leads to the Lucrehulk Core Meditation Point.
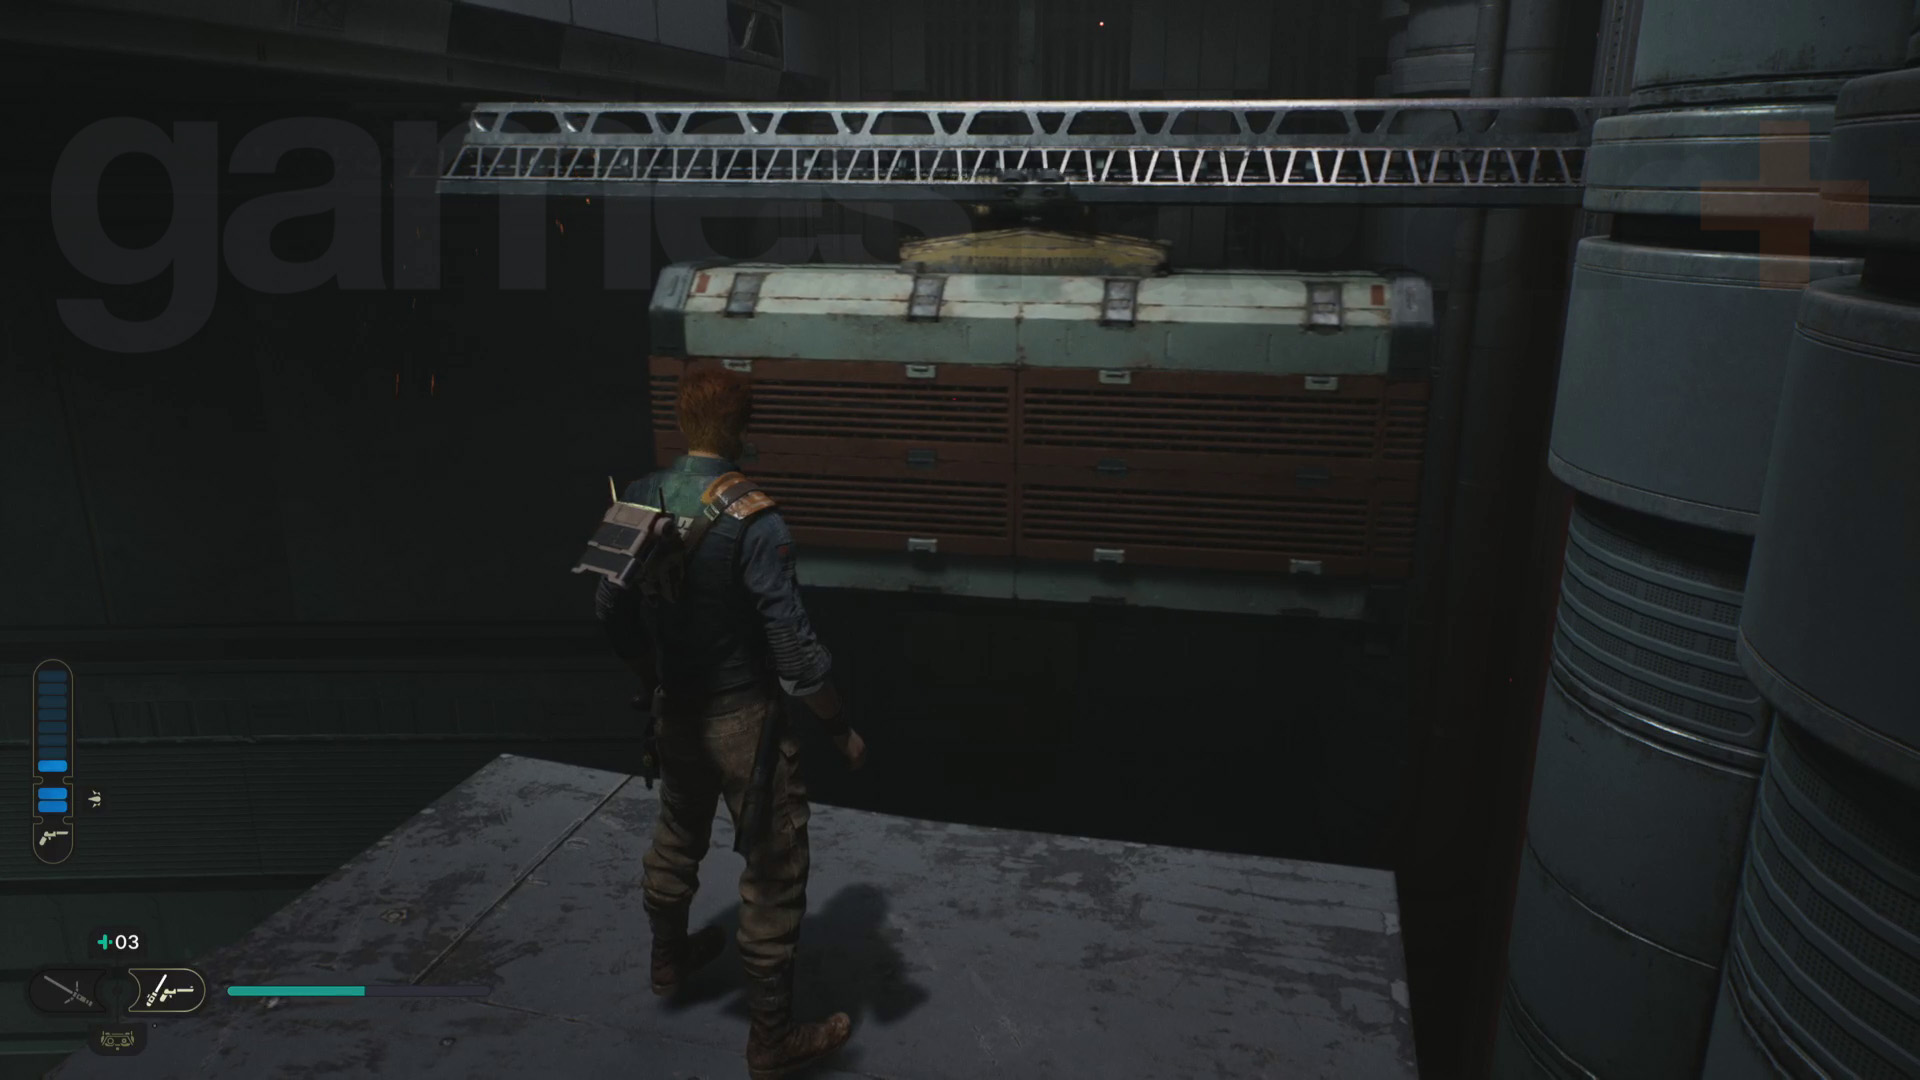
This is where Bode will create his distraction, but you just need to head down the walkway ahead and take the left path. Carry on through the rooms in this area, although watch out for the shielded defense turrets – they can’t be destroyed with any of Cal’s current abilities, but that’ll change soon. There's also some hidden raiders too!
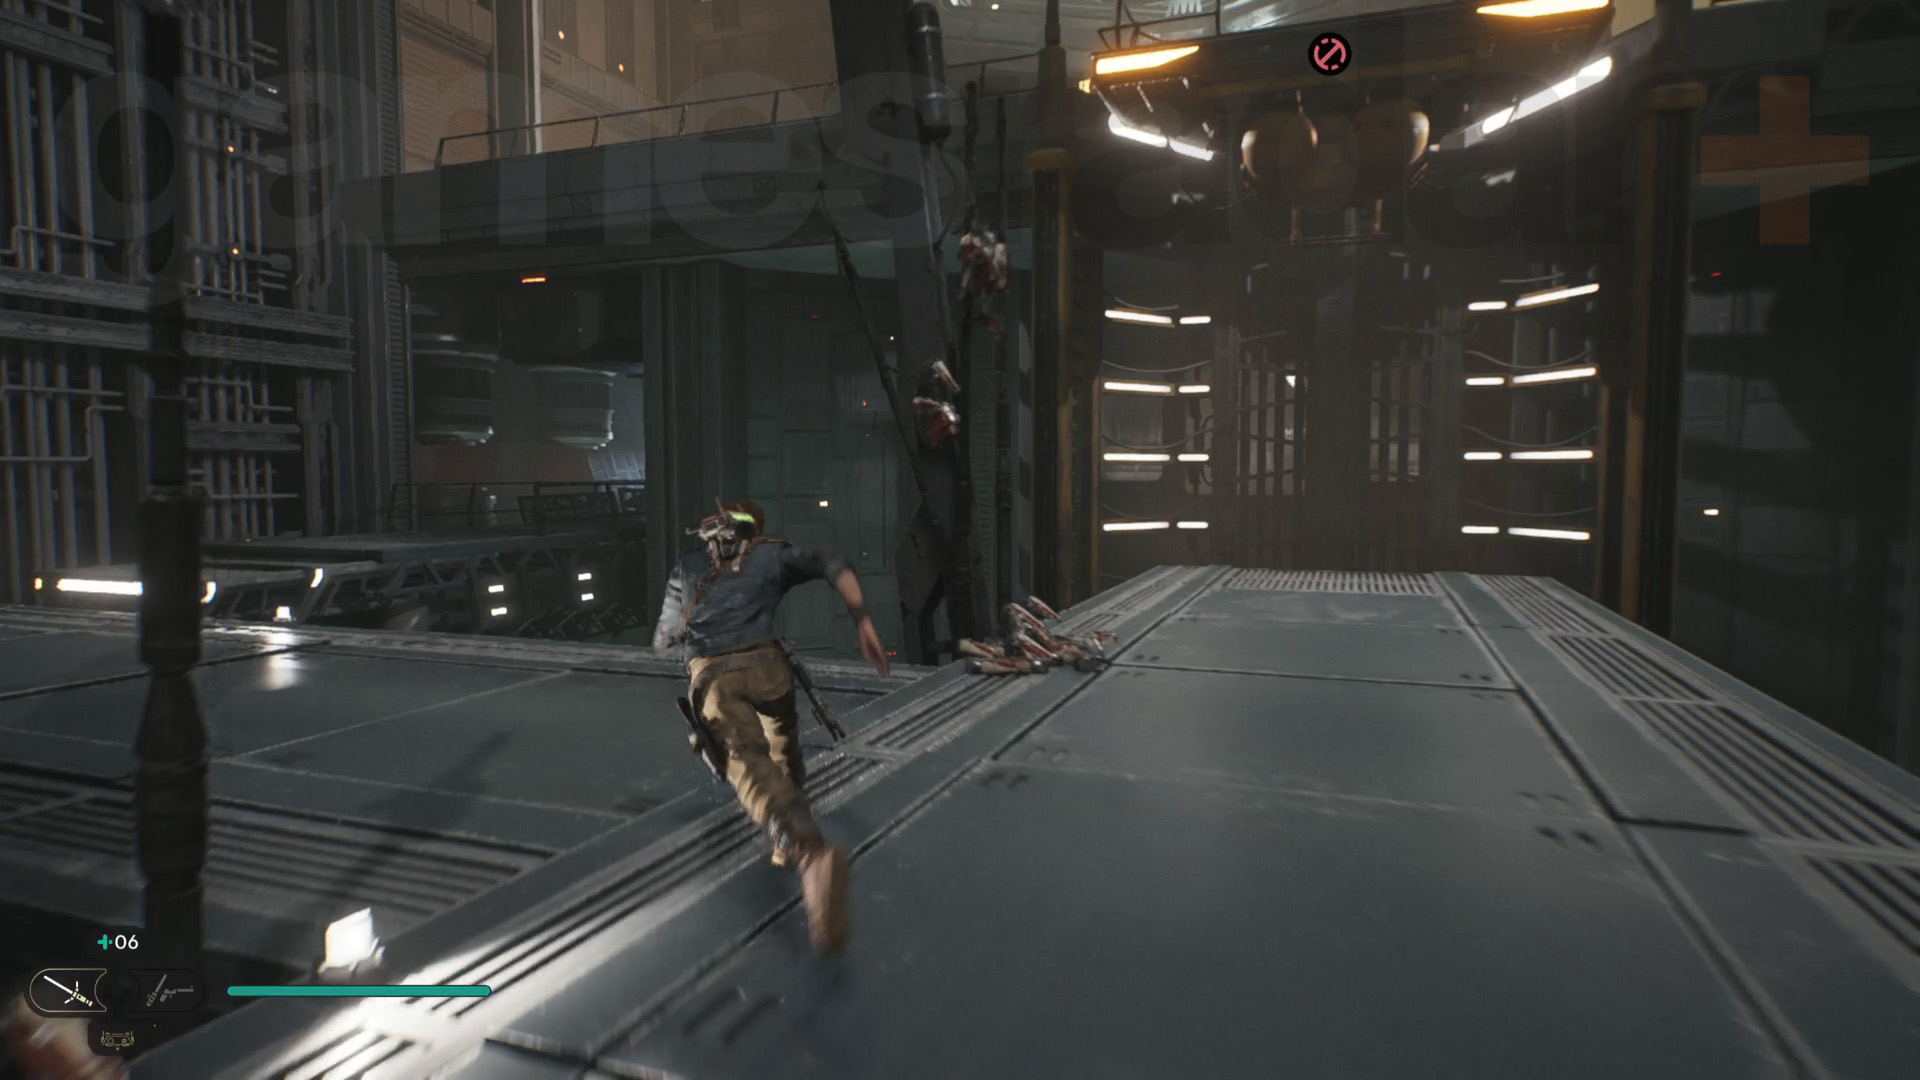
Keep going and you’ll eventually get to an area with more containers moving along a track. Use these containers as cover from the turrets, until you get to the end of the walkway, then go left and jump up to the ledge on the right. Make sure you open the locked door shortcut here before proceeding!
Press on and you’ll head into an arena to fight a hammer-wielding Bedlam Smasher enemy – they hit very hard with mostly unblockable attacks, but they’re also slow so you'll have plenty of opportunities to get hits in.
Once Bode re-joins Cal, get BD-1 to open the door. Ahead you’ll see more moving containers. To get across to the next area, you need to jump to one as it’s turning on the track. Wall run along it for as long as possible, then grapple to the platform on the left. Interact with the door terminal and Bode will lift the door open for you.
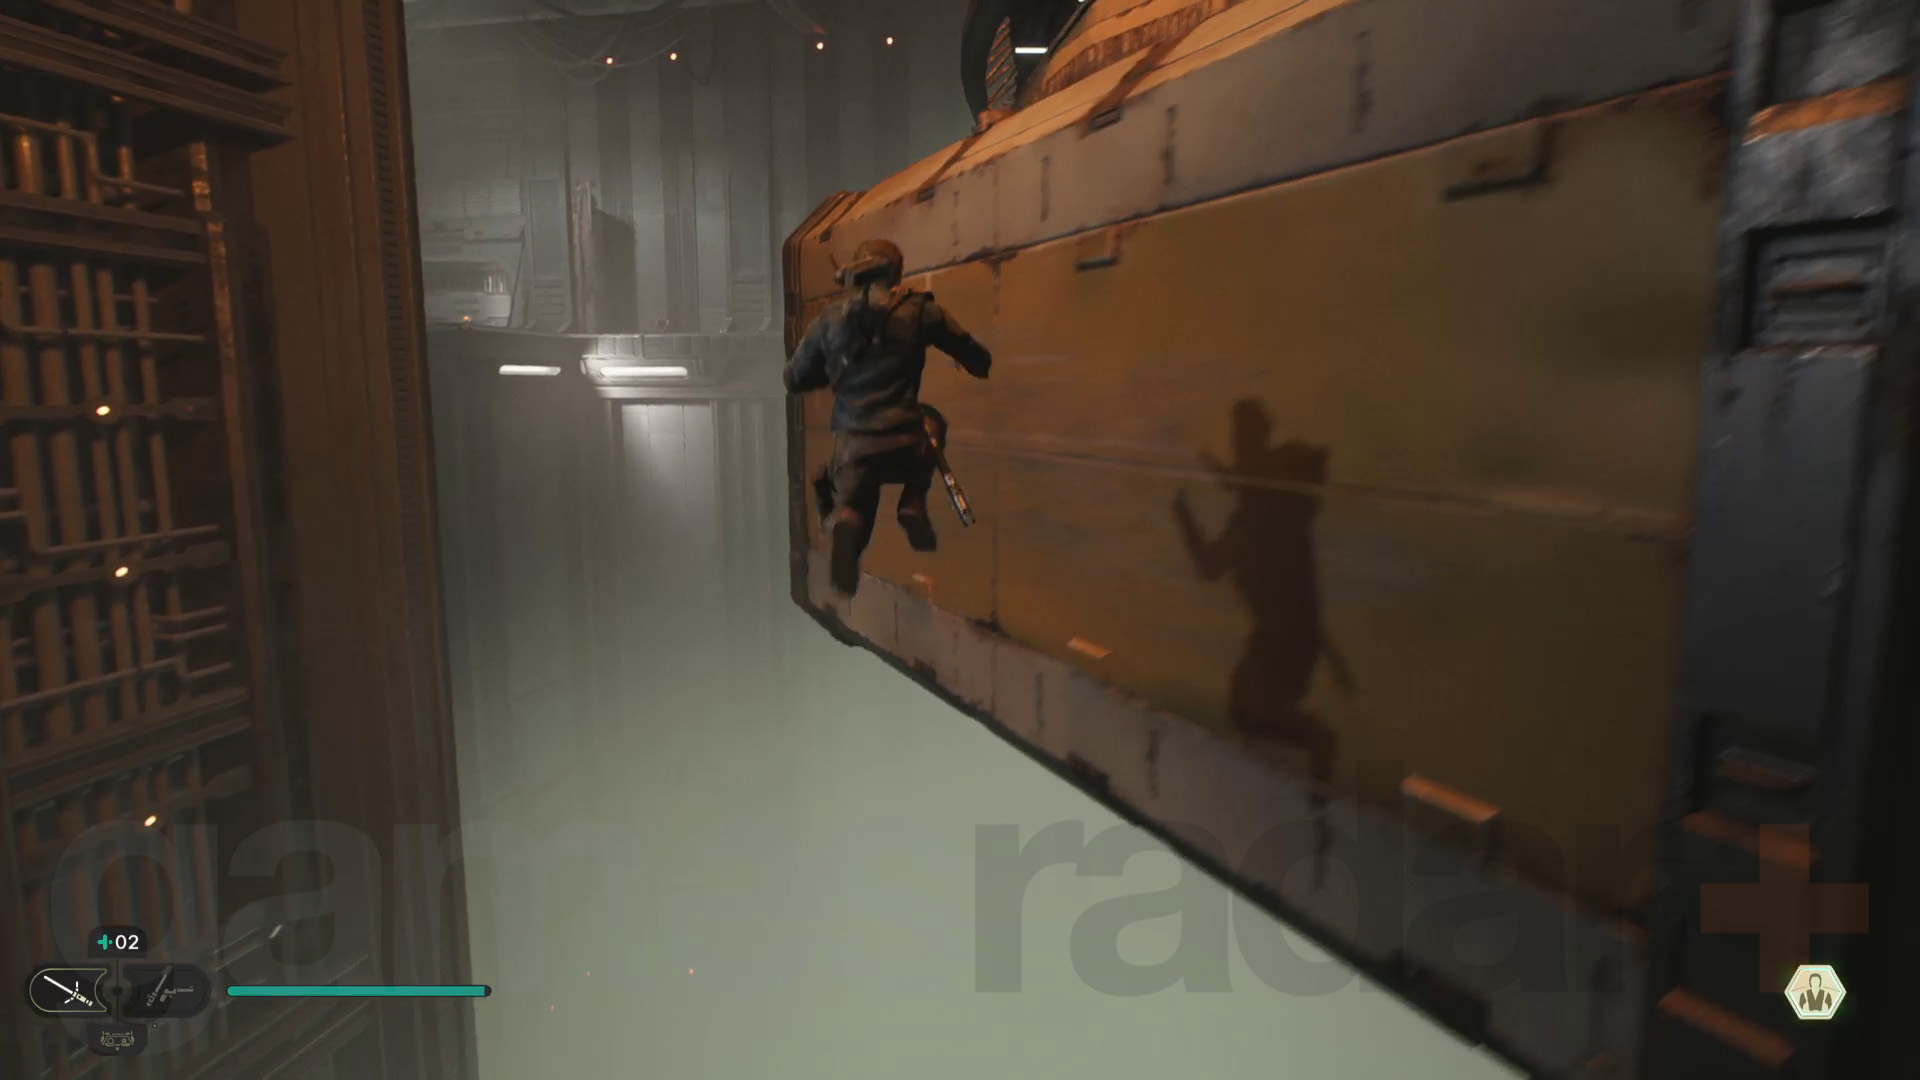
Head through the door and follow Bode to the left. As you head down the corridors, look for a locked door shortcut you can open – it leads back to the Lucrehulk Core Meditation Point.
You’ll eventually reach Yurt Barracks which are full of Bedlam Raiders and droids. Go through the first area bearing left, then jump down to the lower level of barracks.
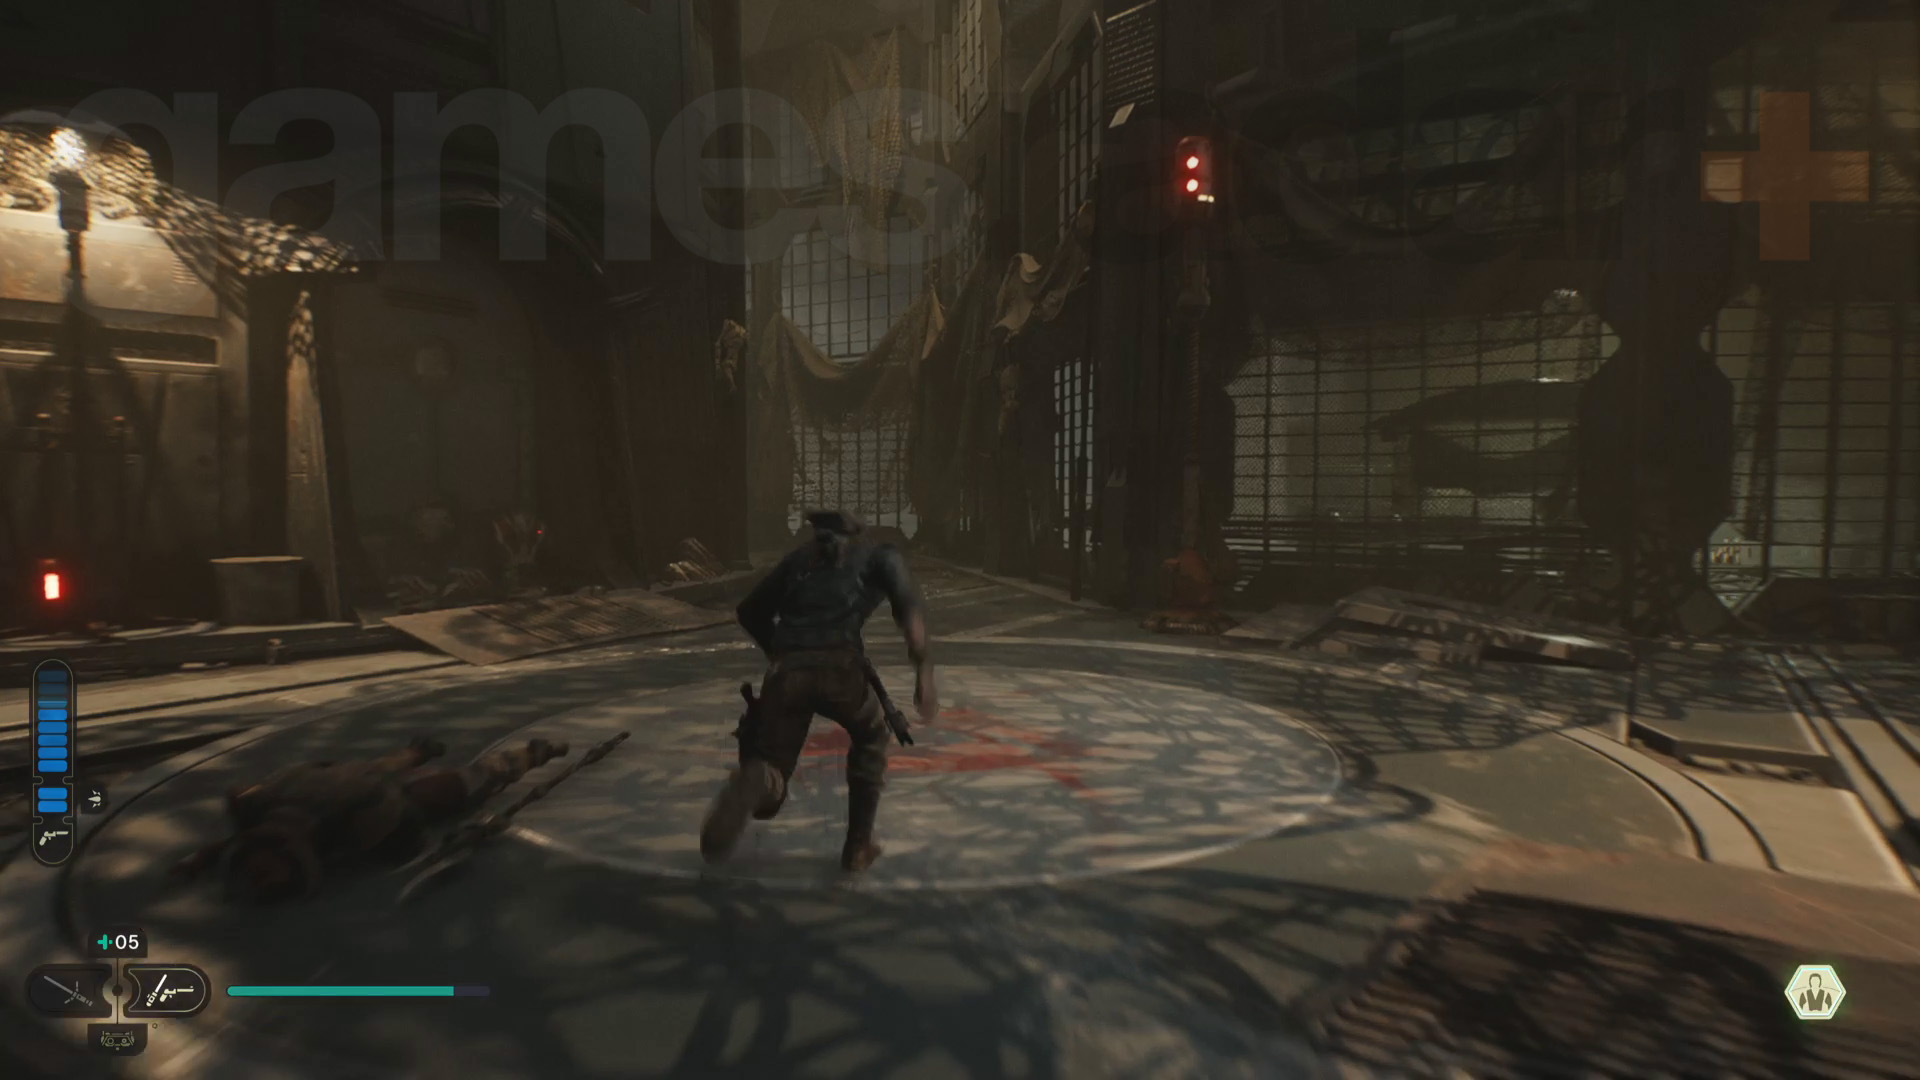
Head over to the central fire pit then head right. Get Bode to set up the cable shortcut then use it to reach the next area. Set up the zipline shortcut as soon as you get up.
This next section features a big fight against several waves of droids and another Bedlam Smasher. Defeat them all, then help Bode open the next door. Follow him along the walkways until you reach another door, although you’ll get put into a cutscene where Bode get cut off from Cal.
After that, press on along the walkway and go into the dark corridor, which has several squeeze gaps to get through. There’s a door that will shut as you approach, so jump to the corridor below and carry on.
When you spot a corridor covered in red light, head down it and go through the gap. In a cutscene, raider leader Rayvis grabs Cal and steals the Koboh Tuner, with Cal ending up falling deep into another part of the Lucrehulk.
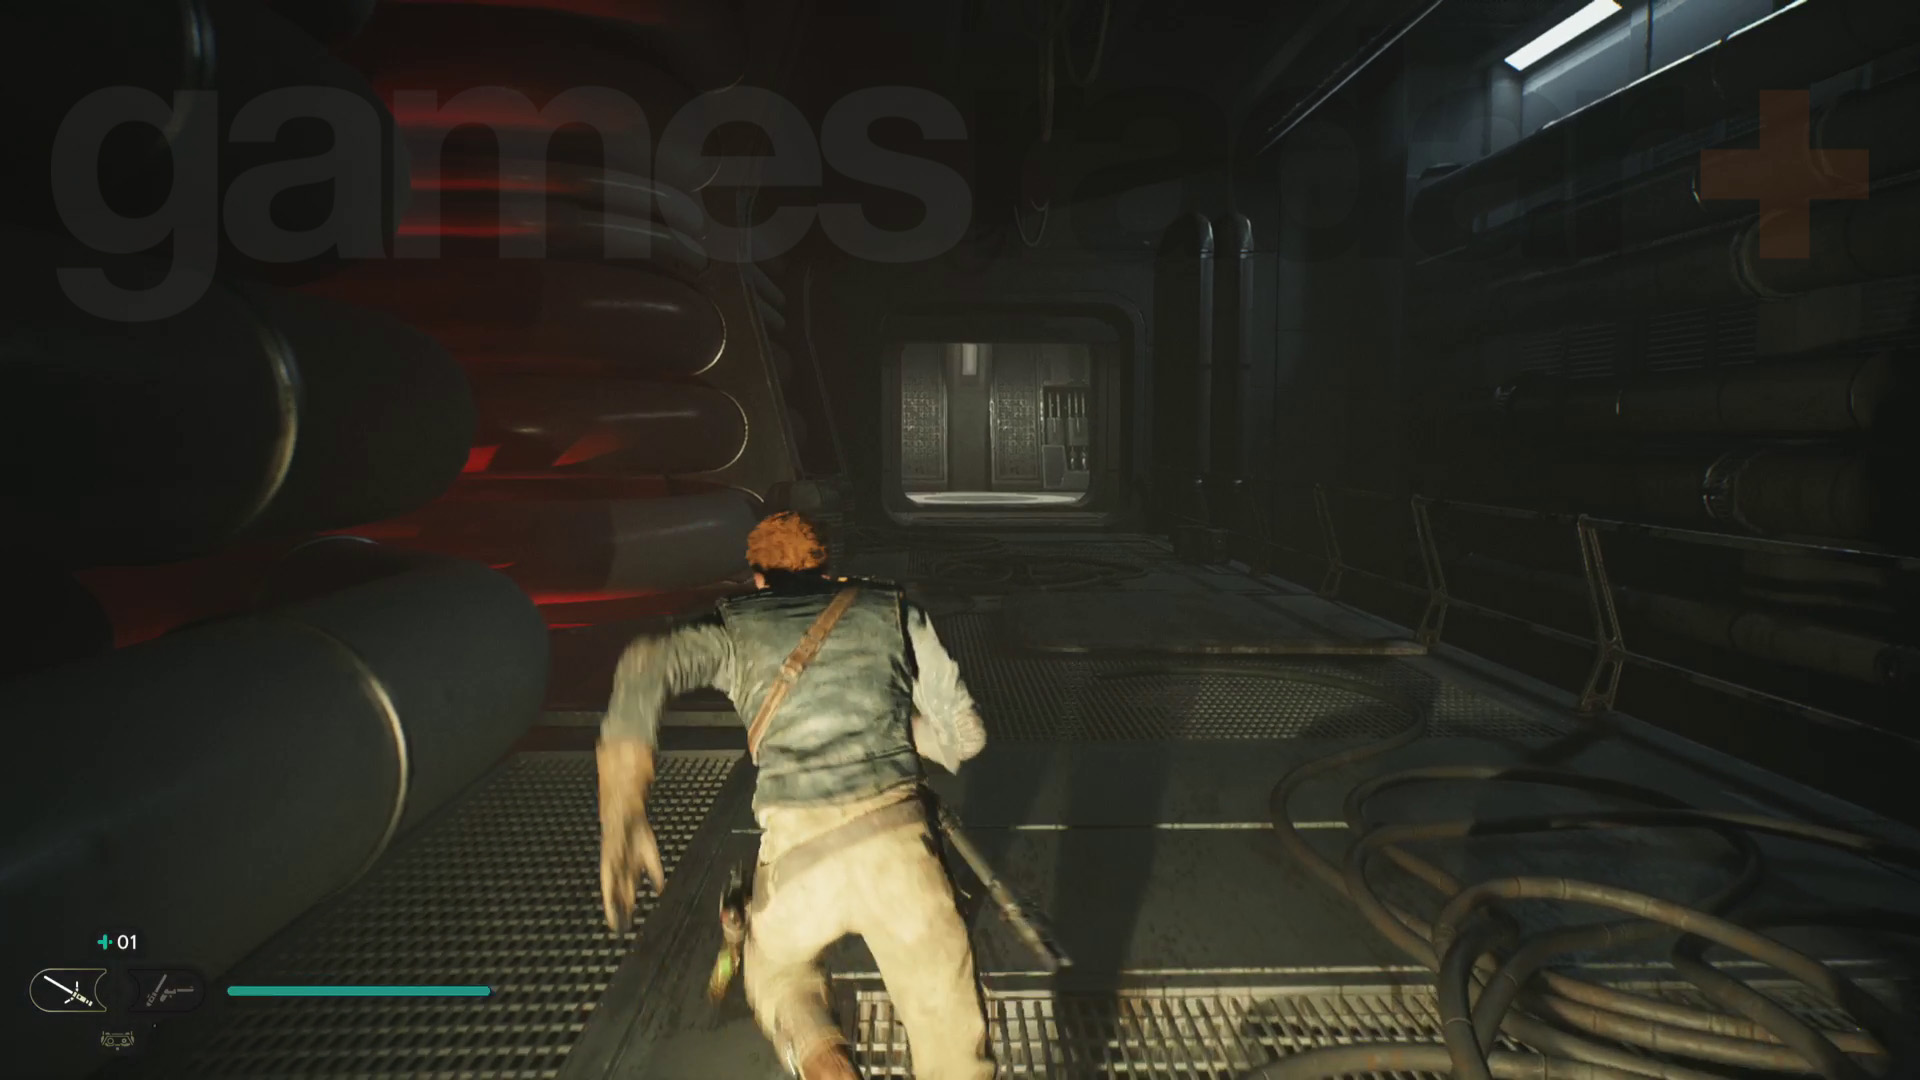
You’ll start in this area pinned down by two defense turrets, but after a cutscene, Cal learns the Force Lift (R1+Triangle/RB+Y) and Force Slam (R1+X/RB+A) abilities. Use Force Slam on the turrets to destroy them, then use Force Lift on the door to open it. Carry on and you’ll get to an area called the Generator Underbelly and can rest at the Generator Underbelly Meditation Point.
Use Force Lift to raise the metal platform out of the bog below, then jump across to the walkway and go to the end. Next, Force Lift the metal block in the floor so that you can jump up to the next ledge. Now Force Slam the grate ahead to lower it, then jump to it and climb up.
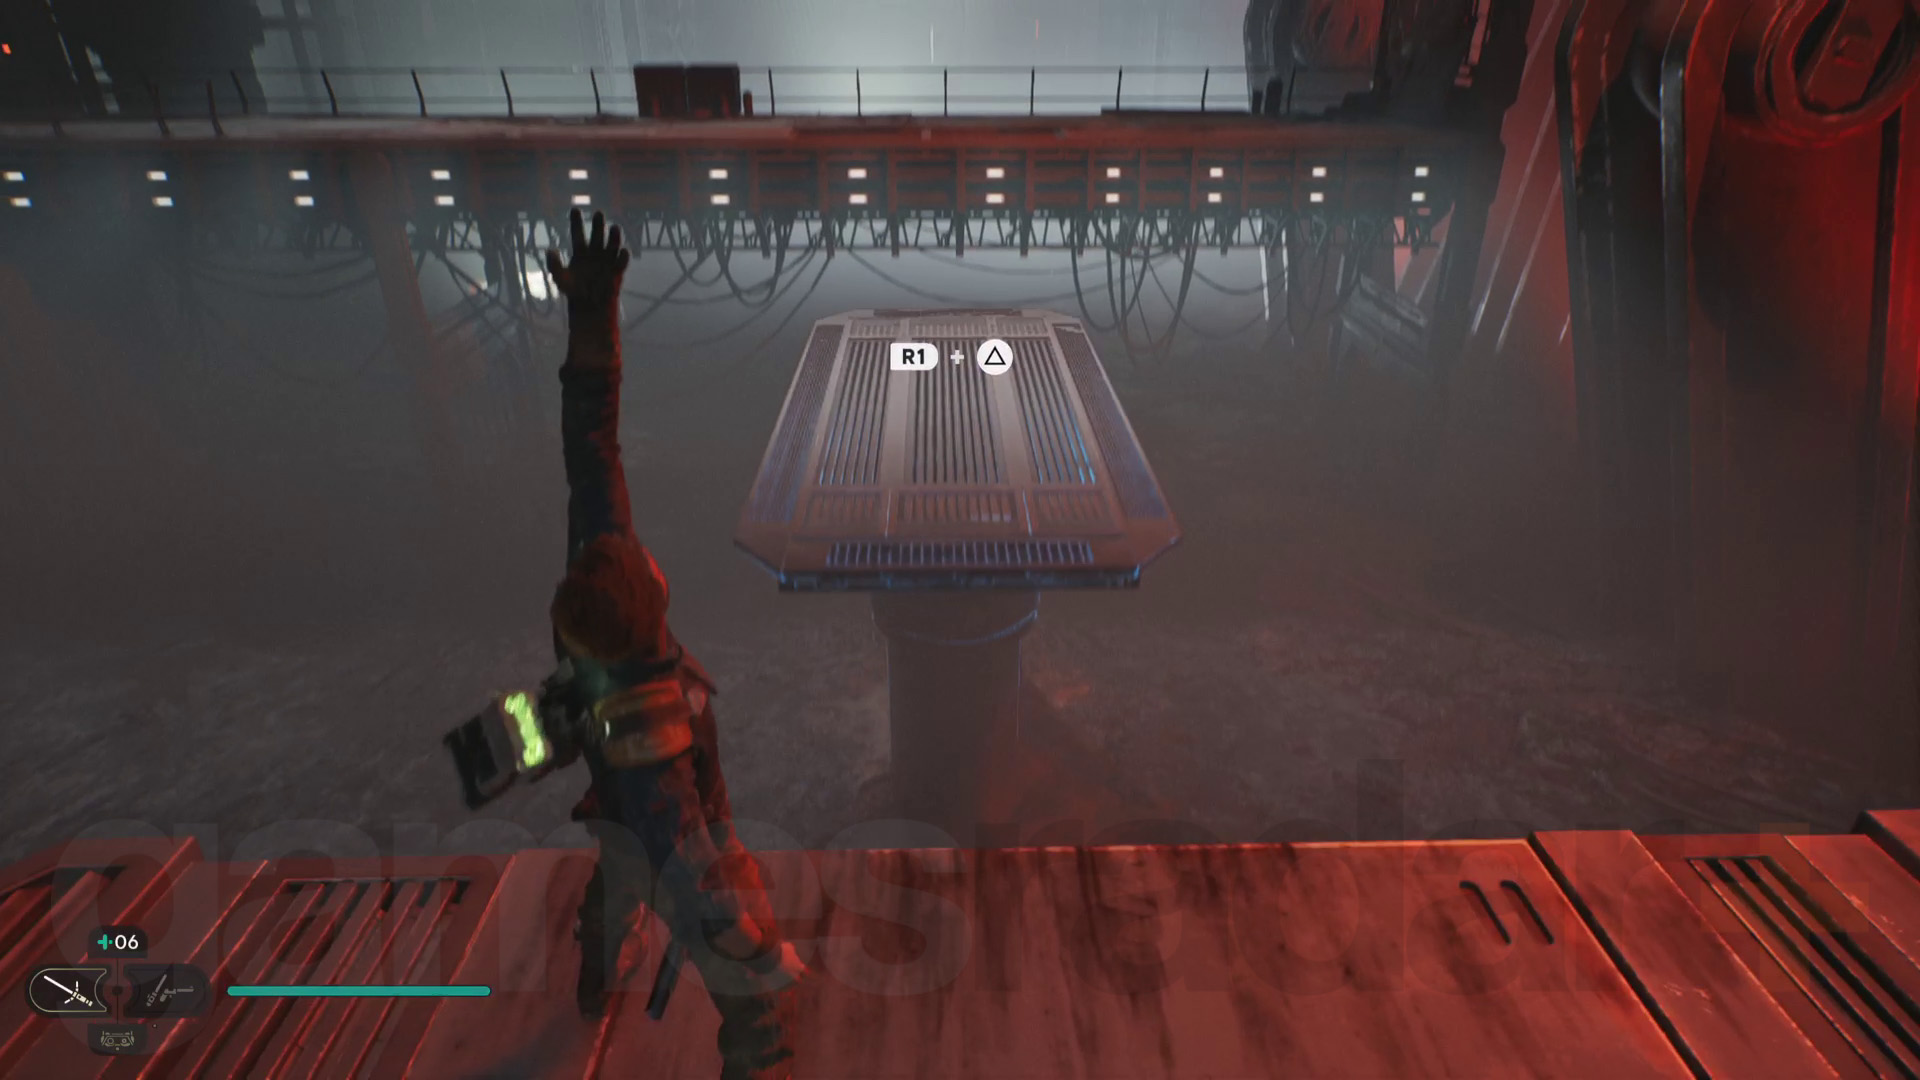
Force Lift the next climbing grate then quickly climb up before it falls. Carry on to the right and jump to the next platform. Force Slam the grate on the bridge above and use it to dash across the gap ahead. Here you can set up a zipline shortcut back to the Meditation Point.
Head over to the lift platform with raiders on it and Force Slam it down – this also kills all the raiders! Jump down the platform and Force Lift the lower climbing grate and Force Slam the upper grate. Now climb up and grapple to the next room.
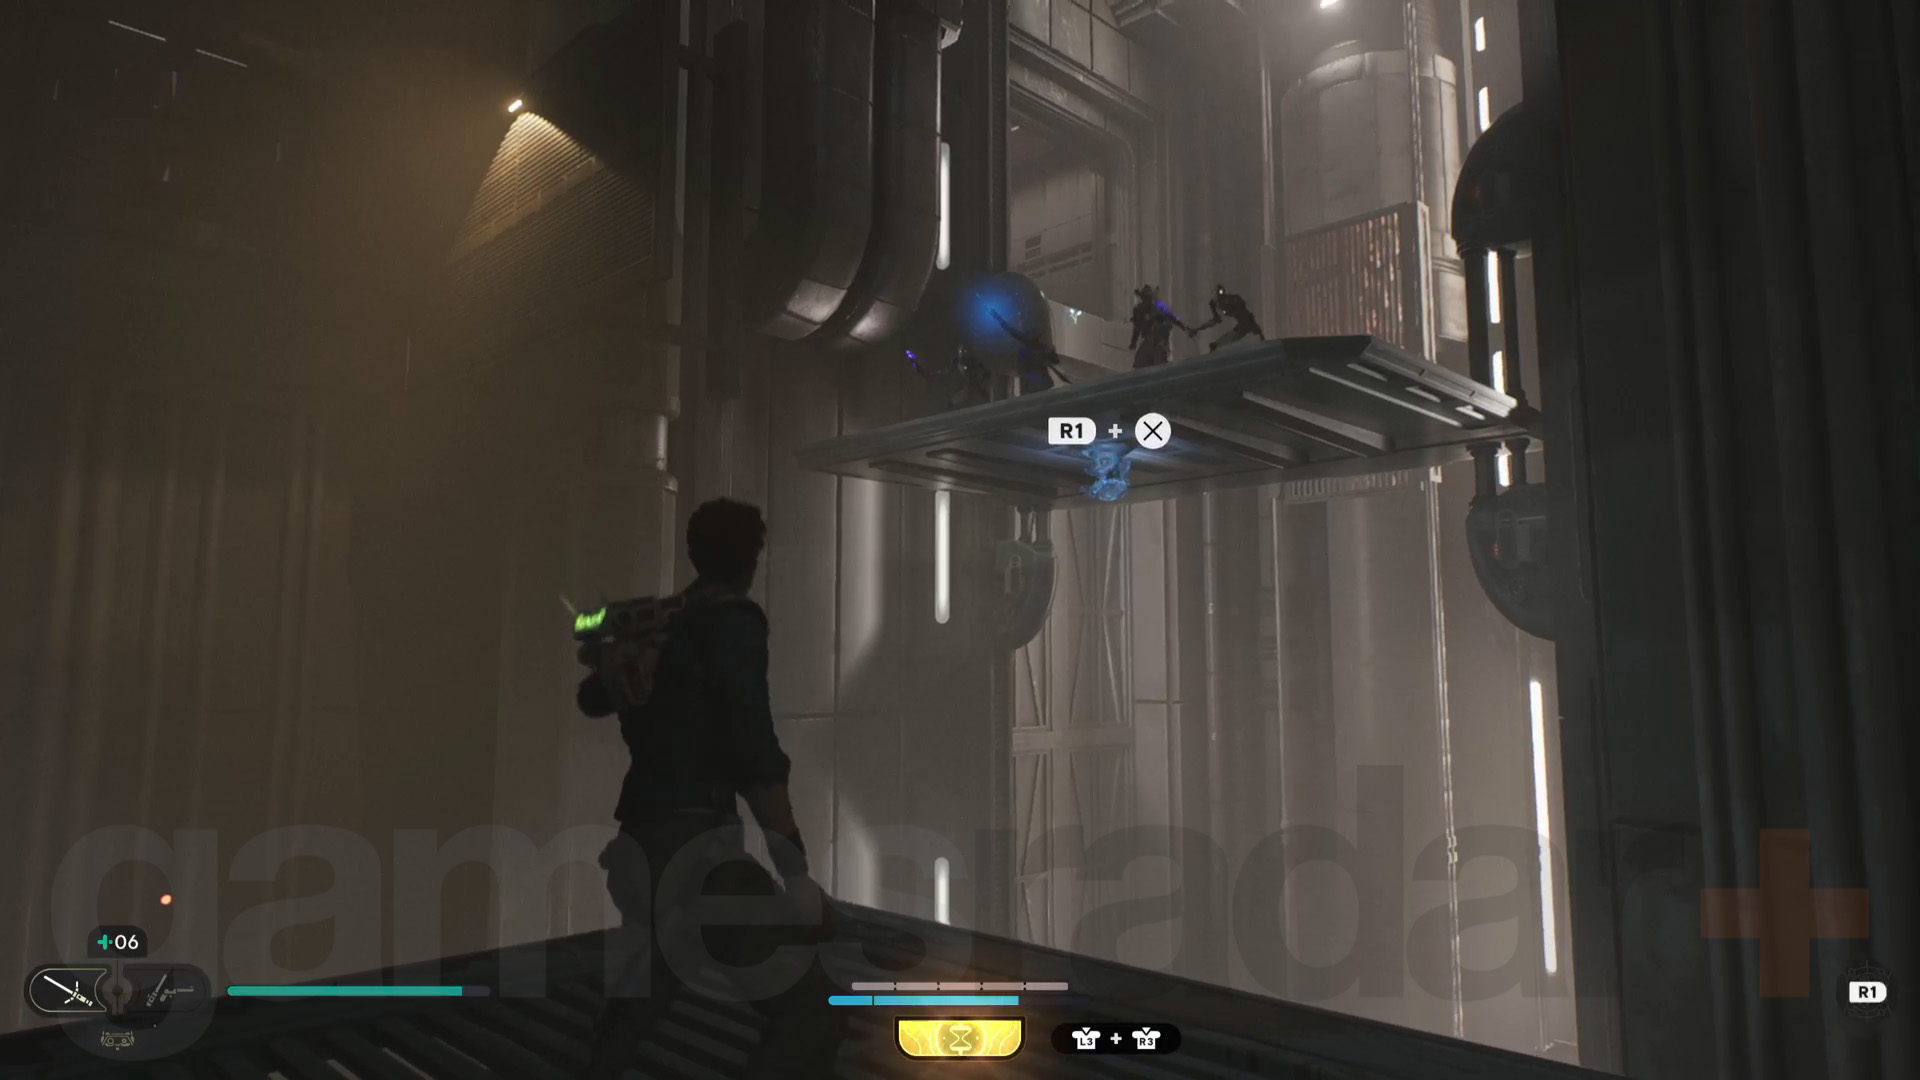
You'll find a lot of raiders in here, so you’ll be in for a fight. Once it’s clear, Force Slam the lift then get on and it’ll take you to the upper level. Keep going and you’ll reach another lift that takes you to more dark corridors. Force Lift any closed doors and you’ll eventually get back to the Lucrehulk Core Meditation Point.
With Cal’s new Force powers, you can Force Slam the lift directly ahead and get on it to take you up to a new area. Head right and grapple up high to a ledge, then go through the squeeze gap. This’ll lead you into a cutscene featuring Rayvis and Dagan Gera.
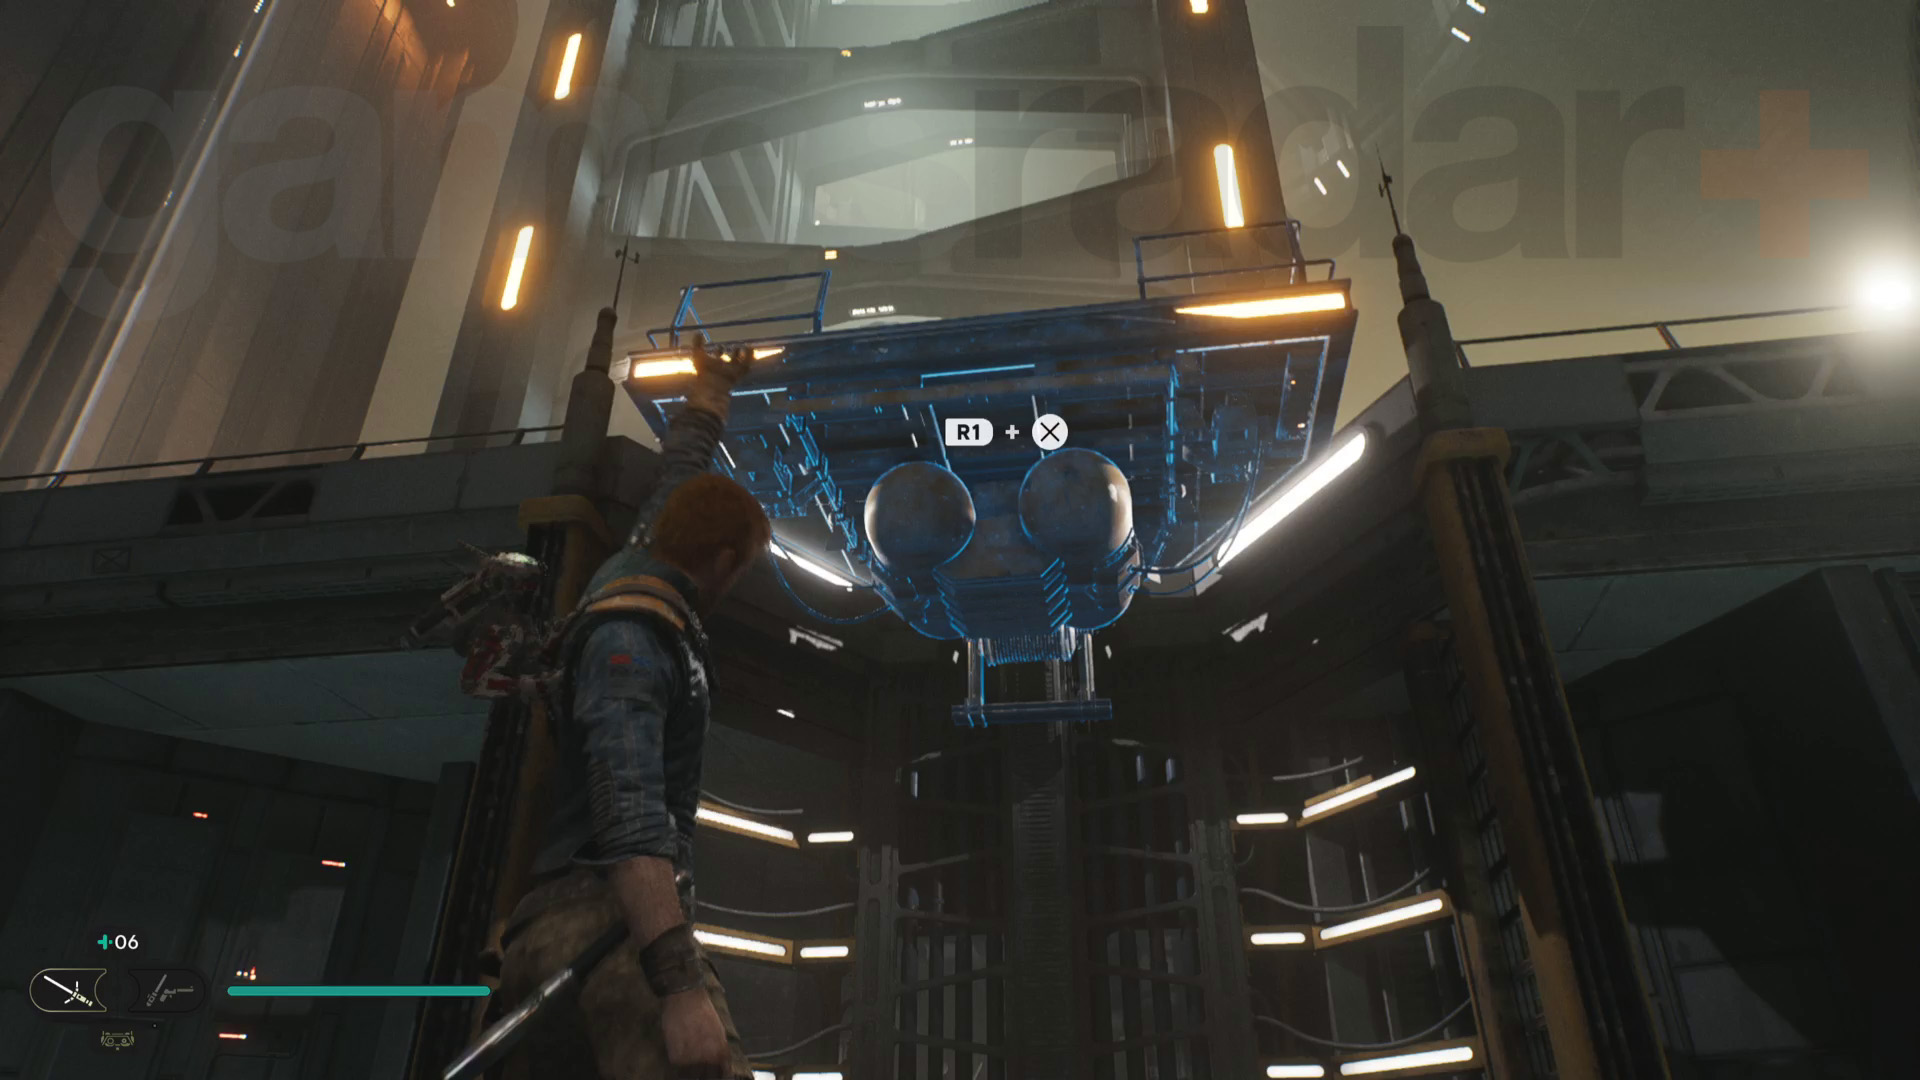
After this cutscene Force Lift the wall running panel then cross over to the next ledge. There’s another squeeze gap to get through. Force Lift the hatch, then drop down to reach the Forward Control Tower Meditation Point. Head left, then Force Lift the door to find Zee and Dagan Gera.
Dagan Gera boss fight
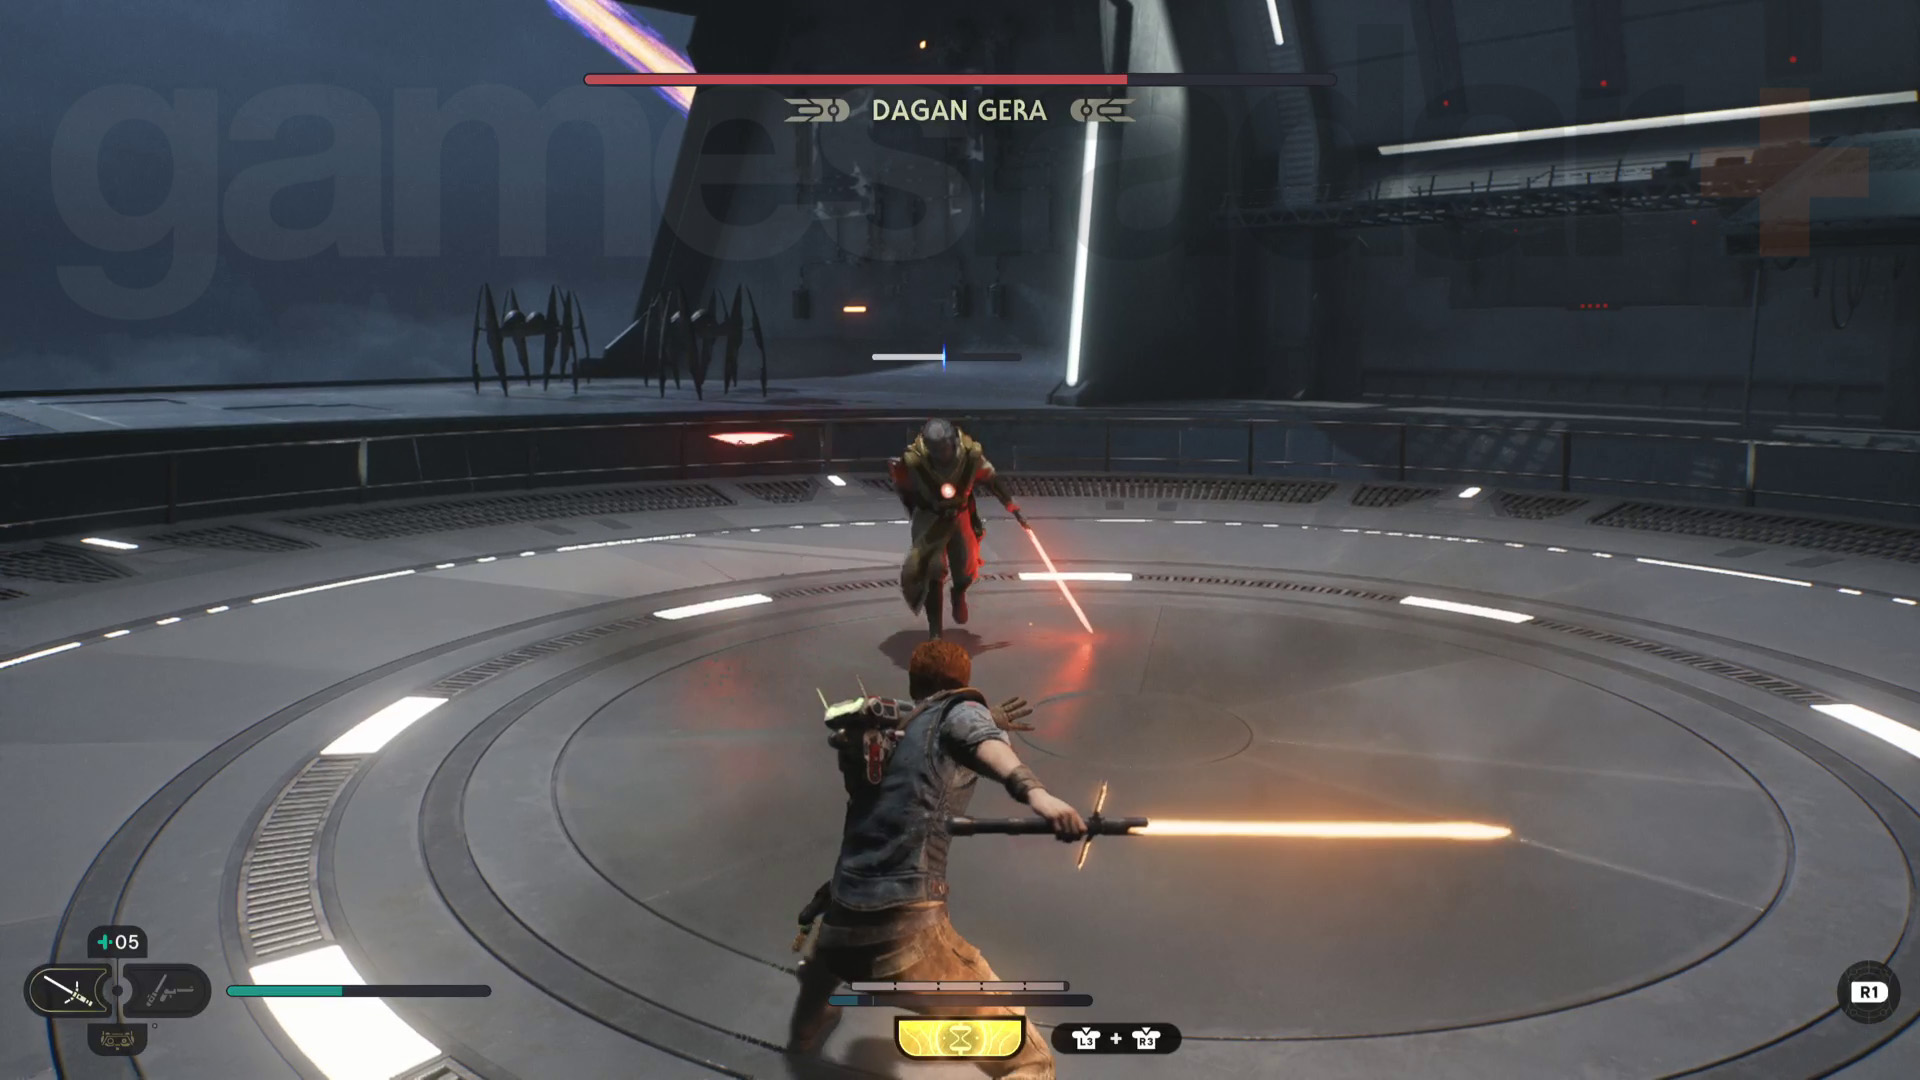
Dagan Gera is much more of a threat this time now that he’s regained more of his strength. He wields a double-bladed Lightsaber but can also switch to a dual wield stance for certain attacks. This means he can attack quickly and relentlessly, and he has more range than before. Parry his attacks as best as you can and try your new Force abilities on him to lower his guard.
However, like before, Dagan Gera escapes. On the bright side, Bode saves the day, Zee is intact and free, and Cal recovers the Koboh Tuner. Join Bode and Zee then follow them to the escape pod area. Cal will crash back in the Viscid Bog with a new objective.
Locate Rayvis on the Shattered Moon
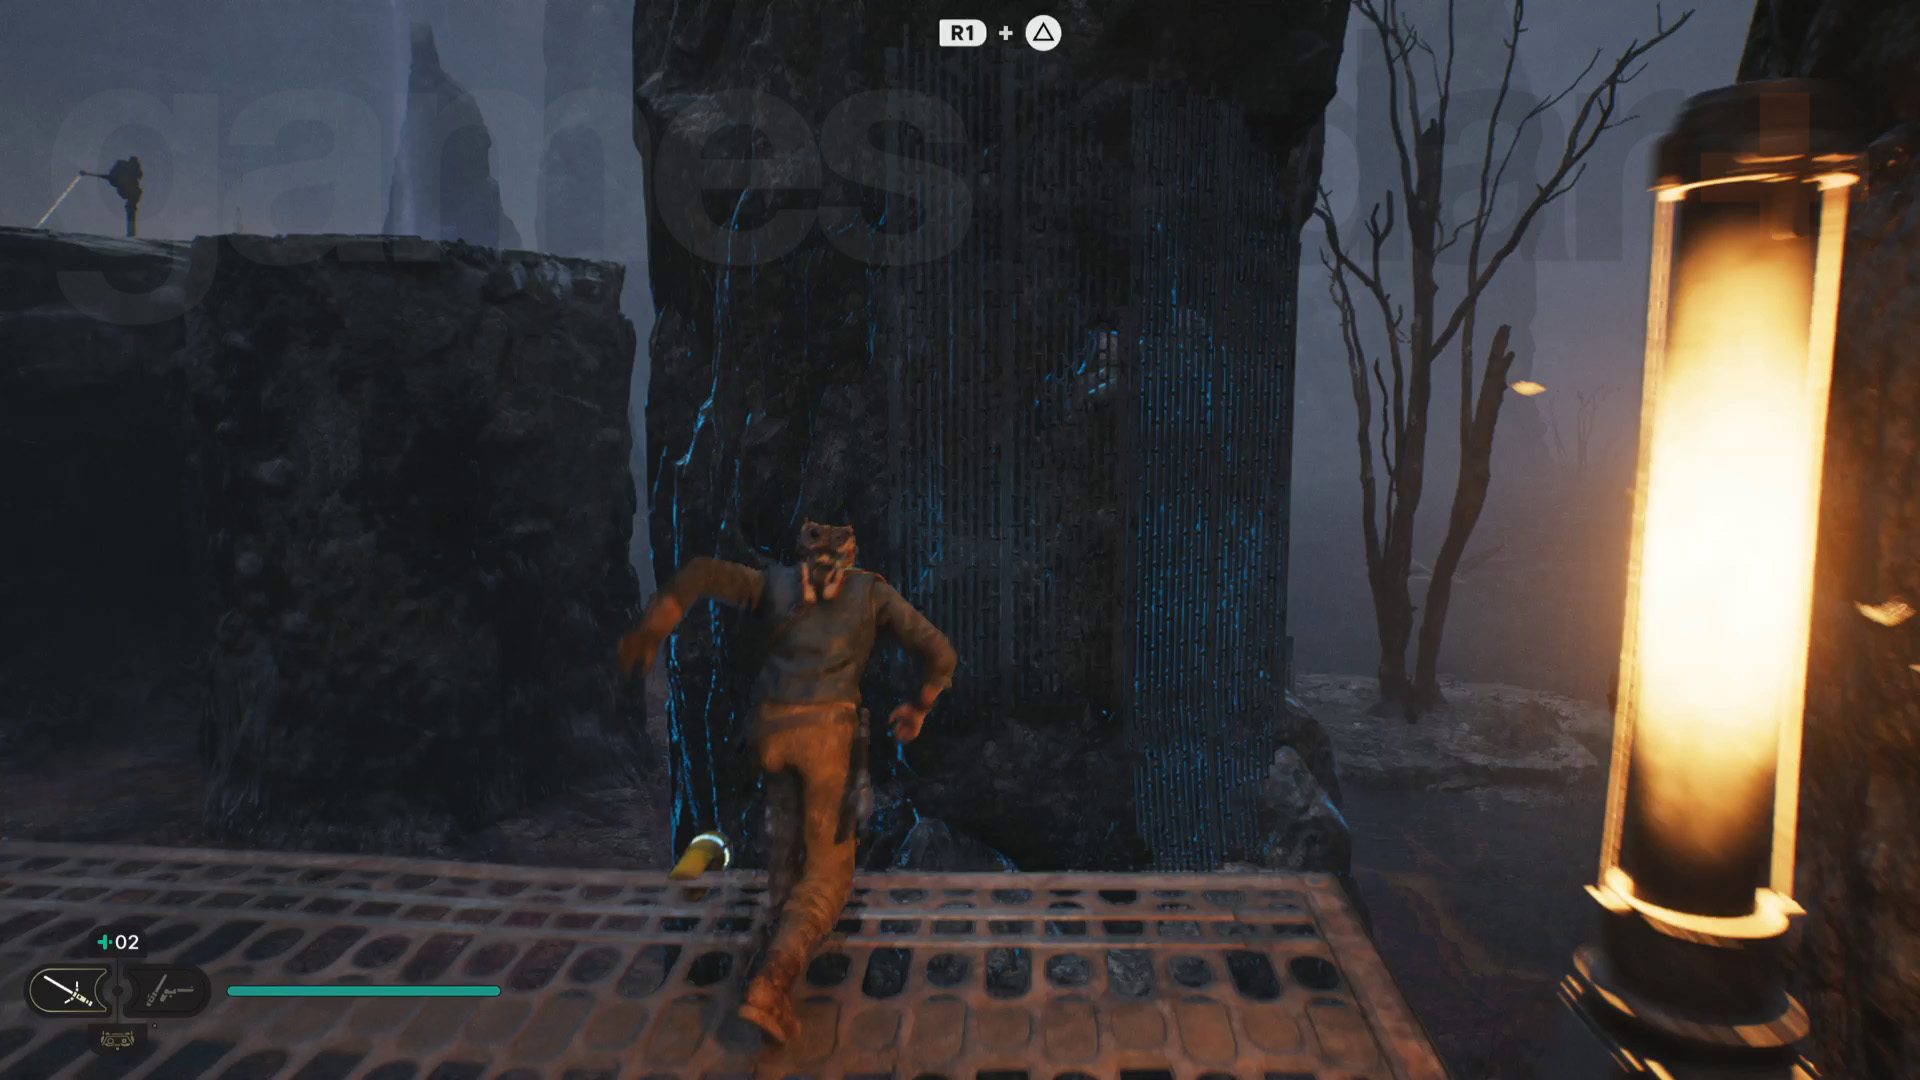
To get to the Shattered Moon, you first need to get out of the bog. Climb up the rock wall and you’ll be on the island with the hut from earlier. Head across to the rock platform and Force Lift it up. Use it to jump across to the next area and rest at the Viscid Bog Meditation Point. Fast travel to the Landing Pad and head back to the Shattered Moon via the Mantis.
© GamesRadar+. Not to be reproduced without permission.
Current page: Jedi Survivor Koboh walkthrough 5, Rescue Zee
Prev Page Jedi Survivor Jedha walkthrough 2, Reach Pilgrim’s Sanctuary Next Page Jedi Survivor Shattered Moon walkthrough 2, Pursue RayvisWeekly digests, tales from the communities you love, and more
Will Sawyer is a guides writer at GamesRadar+ who works with the rest of the guides team to give readers great information and advice on the best items, how to complete a particular challenge, or where to go in some of the biggest video games. Will joined the GameRadar+ team in August 2021 and has written about service titles, including Fortnite, Destiny 2, and Warzone, as well as some of the biggest releases like Halo Infinite, Elden Ring, and God of War Ragnarok.
- Leon HurleyManaging editor for guides
