Baldur's Gate 3 Gauntlet of Shar guide and umbral gem locations
A complete Gauntlet of Shar walkthrough for BG3 Act 2

The Baldur’s Gate 3 Gauntlet of Shar in Act 2 can be absolute hell to get through since it’s packed with tough enemies, tougher choices, and rage-inducing puzzles. It is, however, also key to the story of Baldur’s Gate 3 and not just Shadowheart’s quest.
For that reason, we’ve put together this hefty guide on the Gauntlet and the locations of the umbral gems to help you get through this challenging, dungeon-like location. Whether you’re struggling to find umbral gems, bashing your head against the Soft Step, Self Same, or Faith Step trials, or the Silent Library, here’s everything you need to know about the Gauntlet of Shar in Baldur’s Gate 3.
Baldur's Gate 3 Gauntlet of Shar trials and objectives
The Gauntlet of Shar can be broken up into the following sections and subsections after getting through the Thorm Mausoleum in Baldur's Gate 3:
Article continues below- Find Thorm's Relic
- Soft Step Trial (Umbral Gem)
- Self Same Trial (Umbral Gem)
- Faith Step Trial (Umbral Gem)
- Yurgir boss fight (Umbral Gem)
- Silent Library (Spear of Night) and Shadowfell
Find Thorm's relic
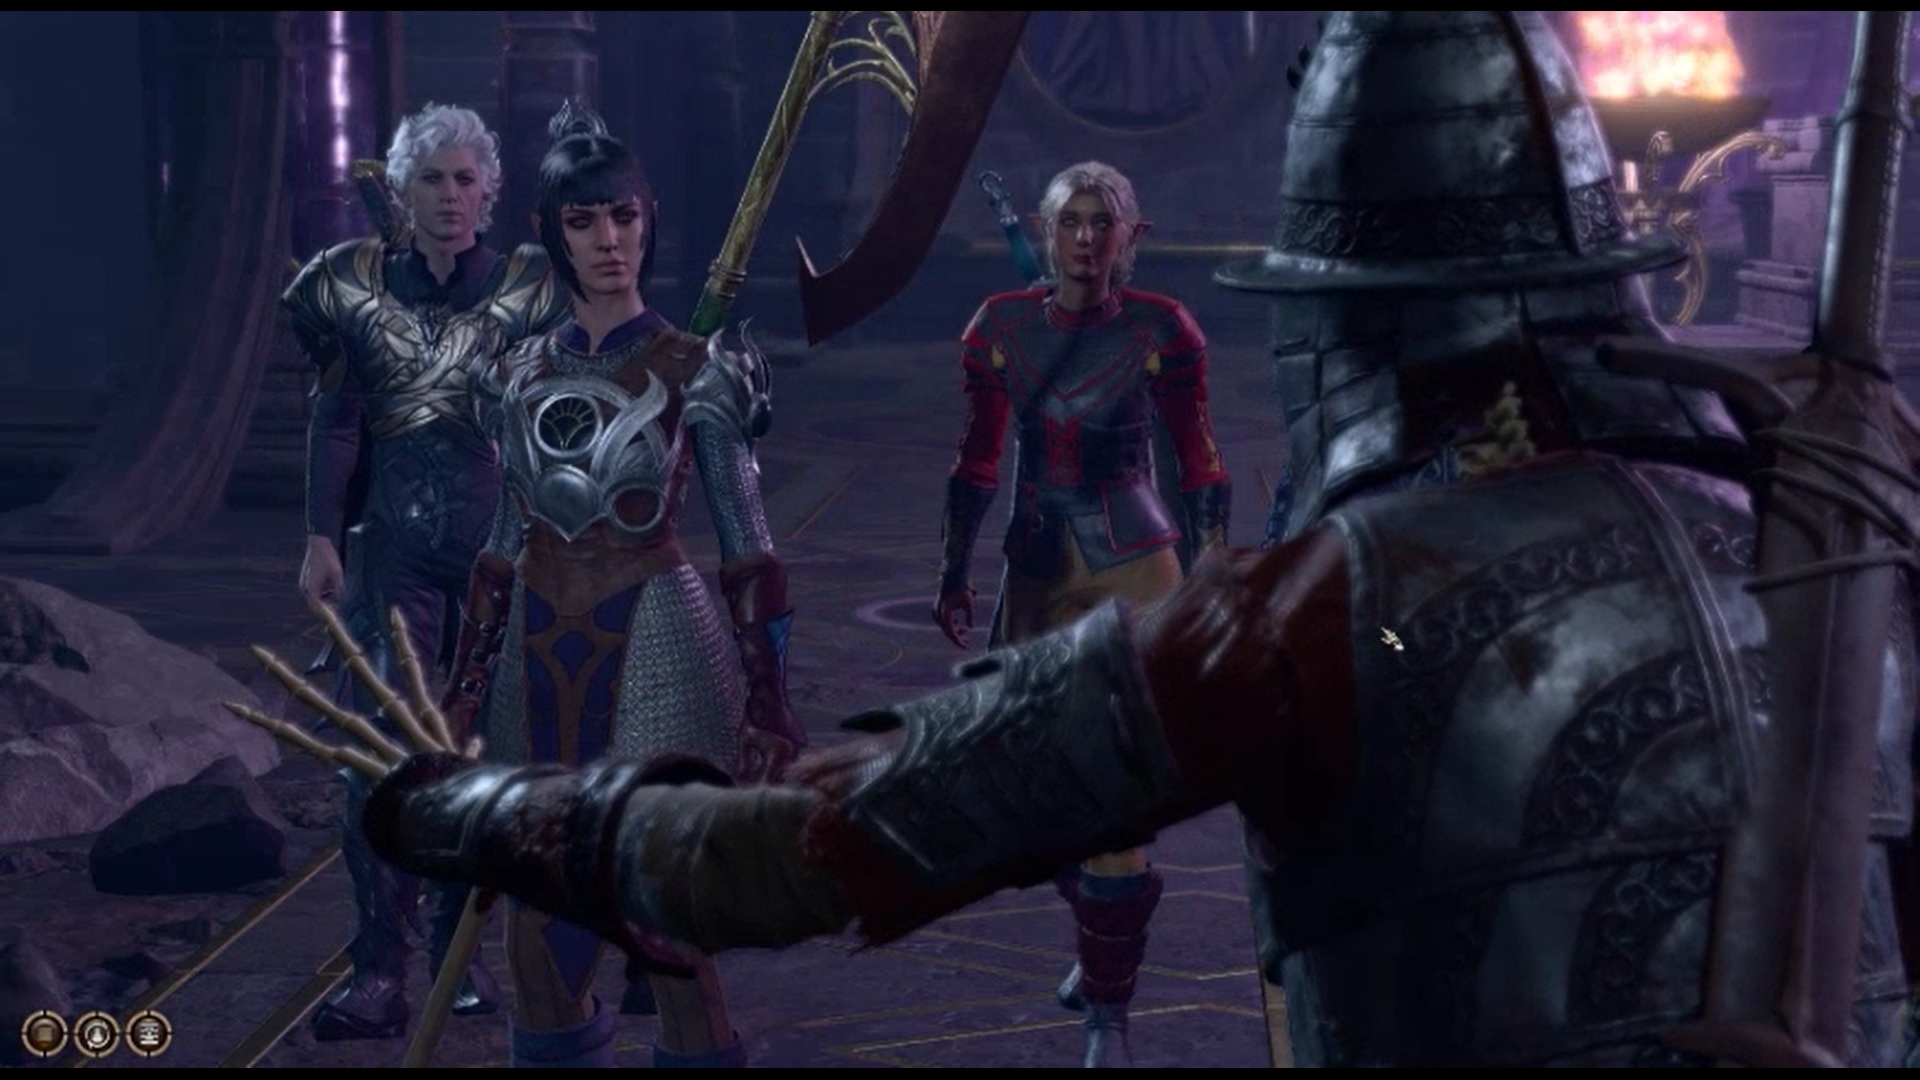
First thing's first: You need to find Balthazar in the southwest of the Gaunlet of Shar map, guarded by undead warriors. Disciple Z'rell's colleague and fellow Absolute cultist Balthazar will instruct you to find Thorm's relic somewhere in the Gauntlet. The good news is that the quest for the relic overlaps with Shadowheart's desire to become a Dark Justiciar, so all you have to do is embark on each of the three trials.
Each trial will give you one Umbral Gem, glowing orbs that can be placed in certain pedestals you'll find around the gauntlet. You'll need to collect four Umbral Gems, though, with the fourth being found in Yurgir's lair – but more on him later. Let's look at these three trials first.
Soft Step Trial
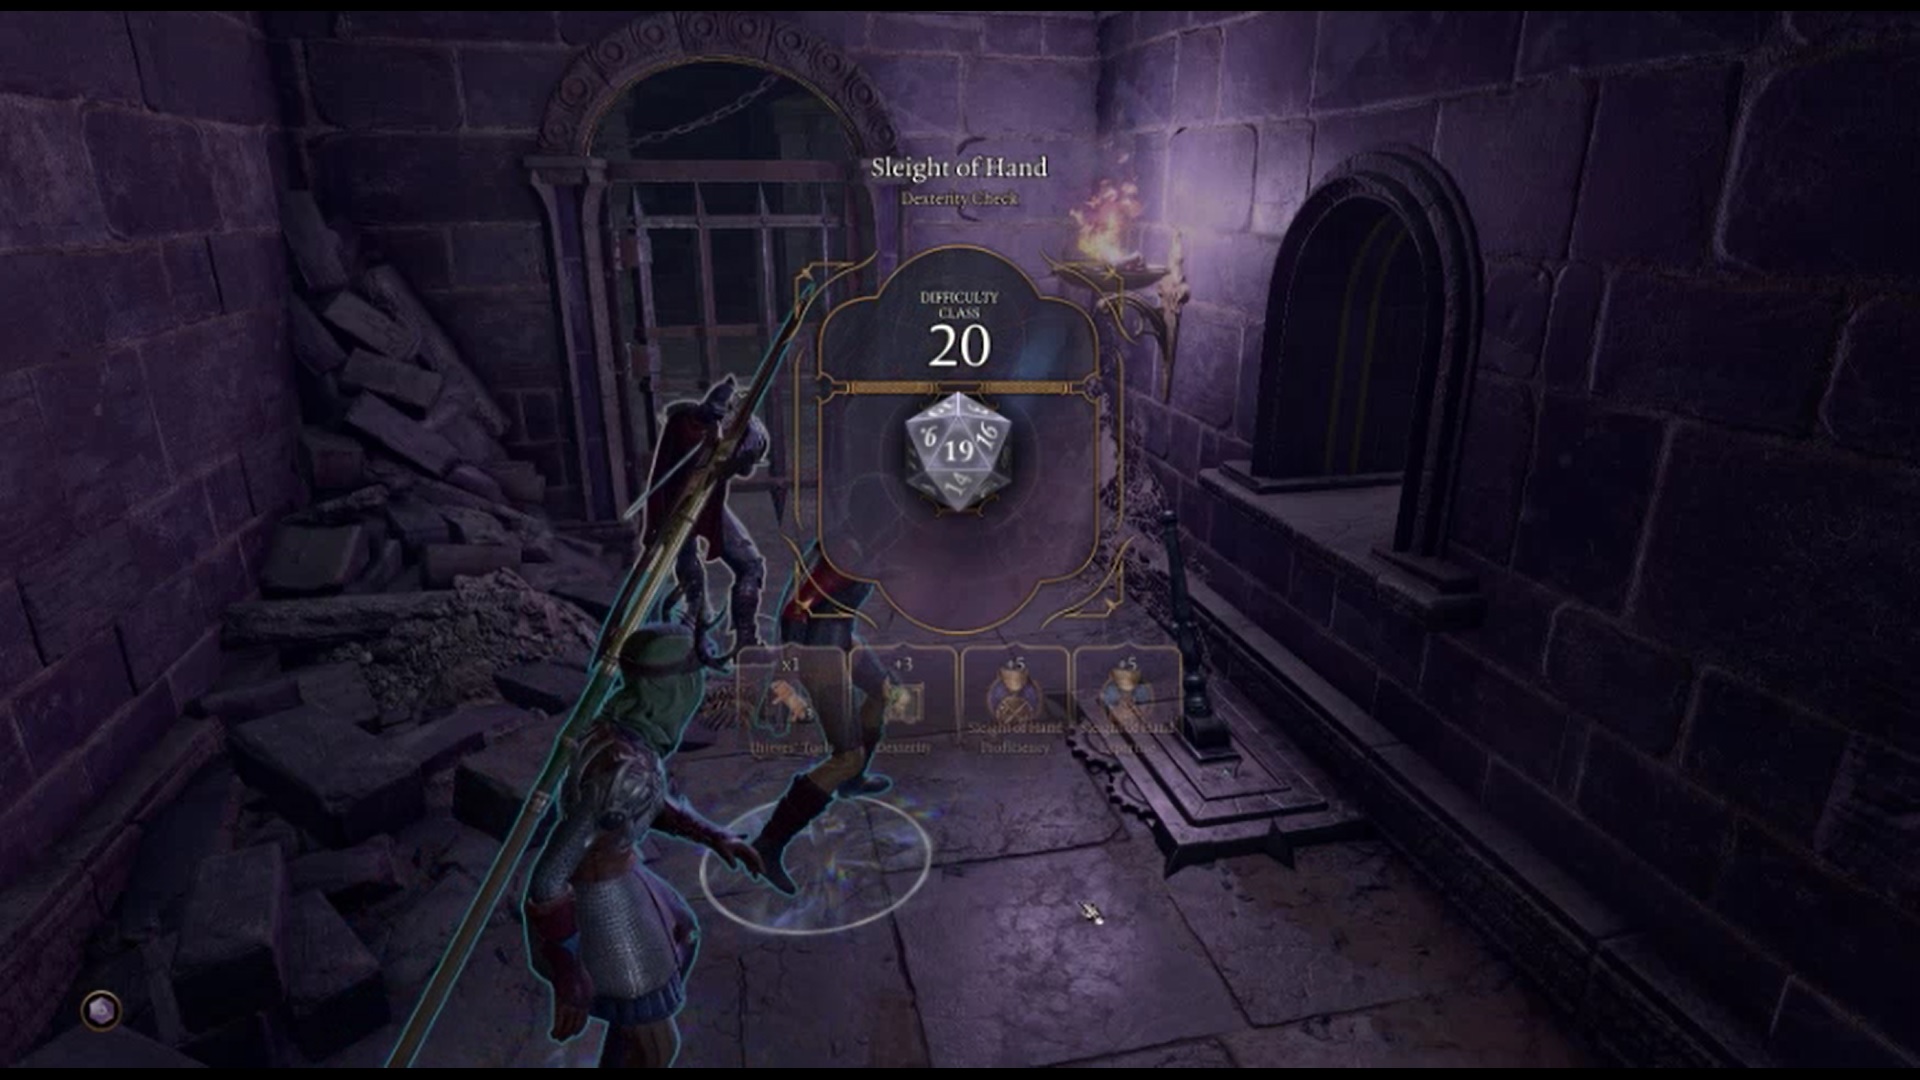
The easiest way to pass the BG3 Soft Step Trial is to go around the maze before you make the blood sacrifice, disarming all traps and unlocking all doors before the trial even begins. Once in front of the umbral gem through the locked doors at the very end, have Shadowheart activate the trial using the blood sacrifice dish. Swap back over to your party member who's already "completed" the trial, and they should be able to grab the gem and return to the start of the trial.
The Soft Step Trial in BG3 requires only one party member, preferably one well-versed in stealth checks and lockpicking. To reach the trial, leave Balthazar's quarters the same way you came until you reach the Gauntlet of Shar fast travel rune. Take the stairs leading down from it, just on your left if the fast travel point is on your right, and go through the first door.
Weekly digests, tales from the communities you love, and more
Self Same Trial
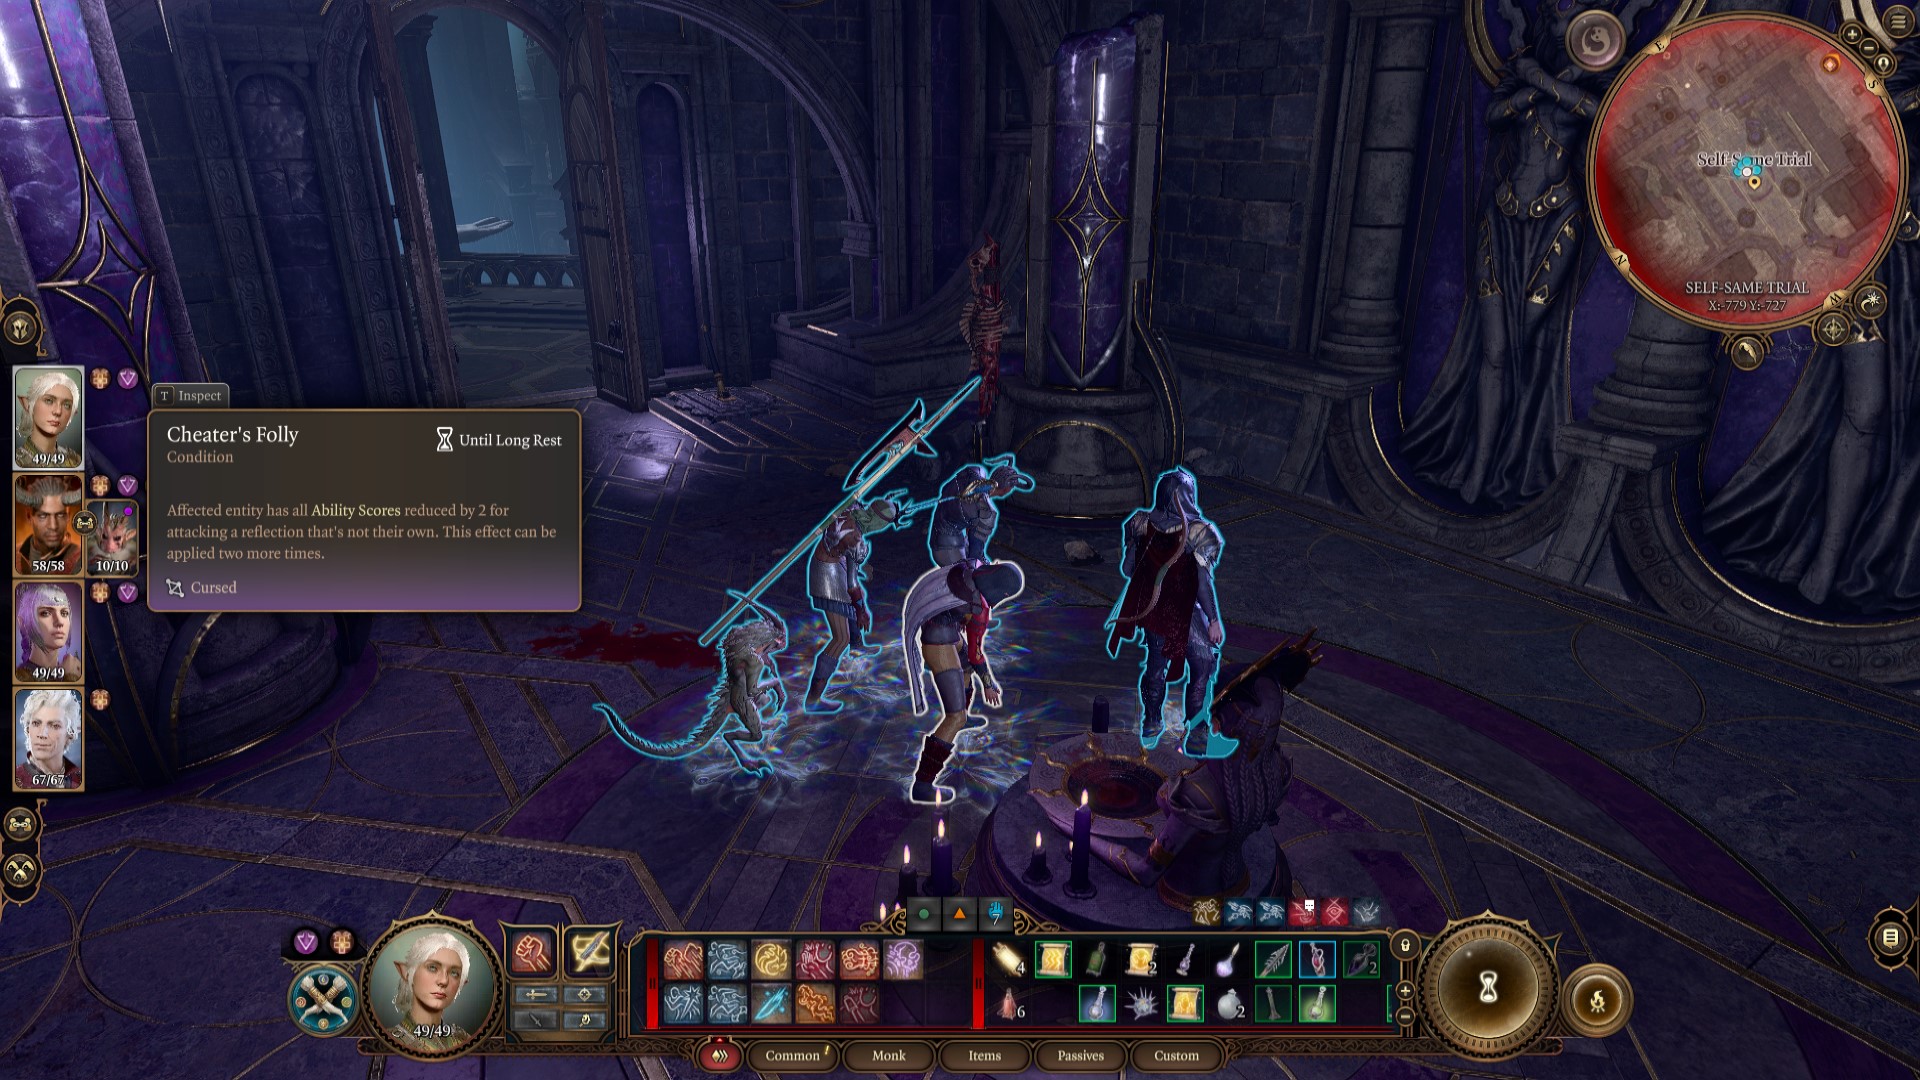
The second and trickiest Gauntlet of Shar trial is the Self Same Trial, one door down from the first one. Here, you'll be fighting the shadow form of yourself. The trick is to not attack any of your other party members' shadow selves, since doing so will inflict Cheater's Folly – a curse that reduces all abilities by one point, and can stack up to four times, as a payback for fighting someone else's mirror image. An easy way around this is to just ask all your Baldur's Gate 3 companions to go back to the camp, since now you'll only be fighting against yourself.
At the end of the battle, pick up the Umbral Gem from the ground near the back of the combat arena.
Faith Step Trial
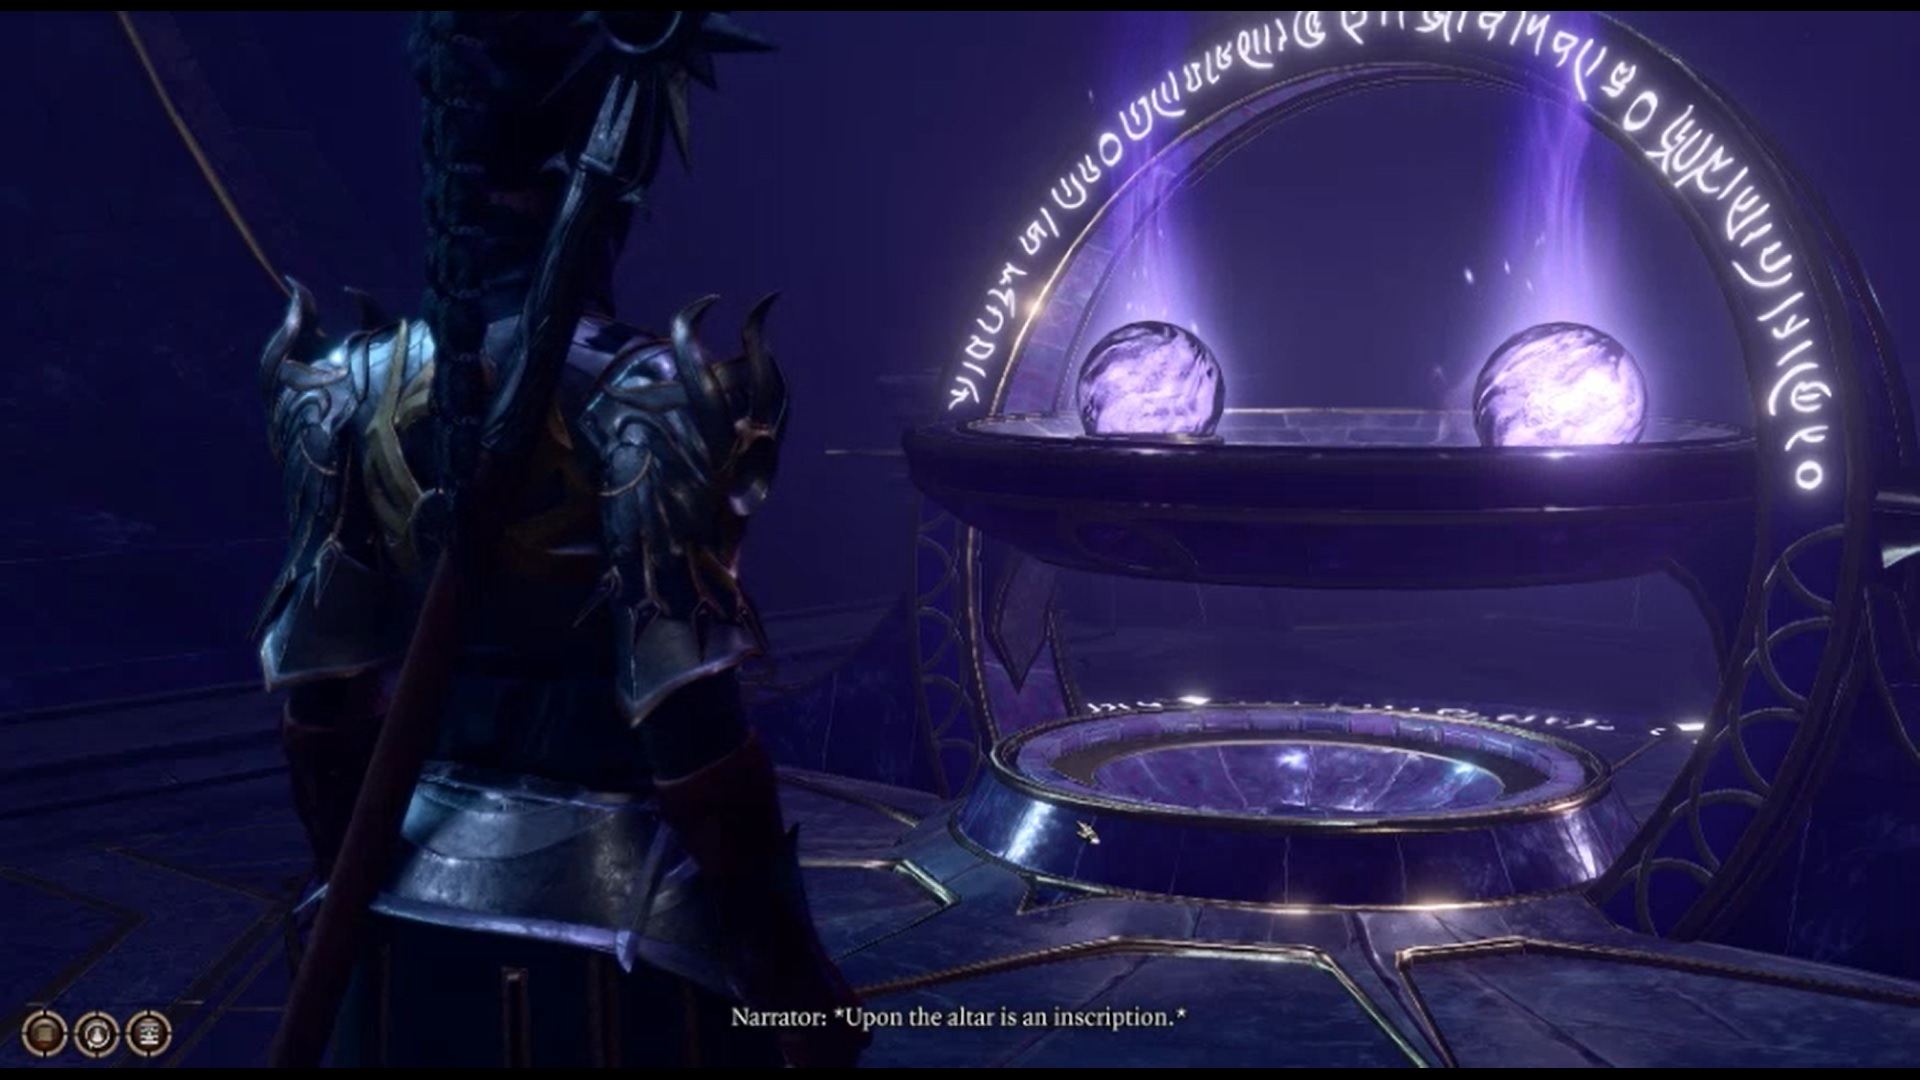
Finally, the last Gauntlet of Shar trial is the Faith Step Trial. Found behind the last door on the same long corridor as the other two, the Faith Step Trial tasks you with navigating a darkened room via a specific path, with yawning chasms on either side. Falling into the chasm will return you to the start of the trial or straight-up kill you if you do it more than twice. If you are playing in Honour Mode, you don’t get the two freebies, and falling once will kill you.
Unfortunately, most methods that made this easier, such as using Daylight, no longer work. As such, you will need to follow the path in our screenshot, which will make it significantly easier to complete. If you don’t want to follow the map, be aware that the path appears in darkness, not light, so make sure you don’t have any weapons equipped that emit light, and you’ll be able to make out the path.
Yurgir's Umbral Gem
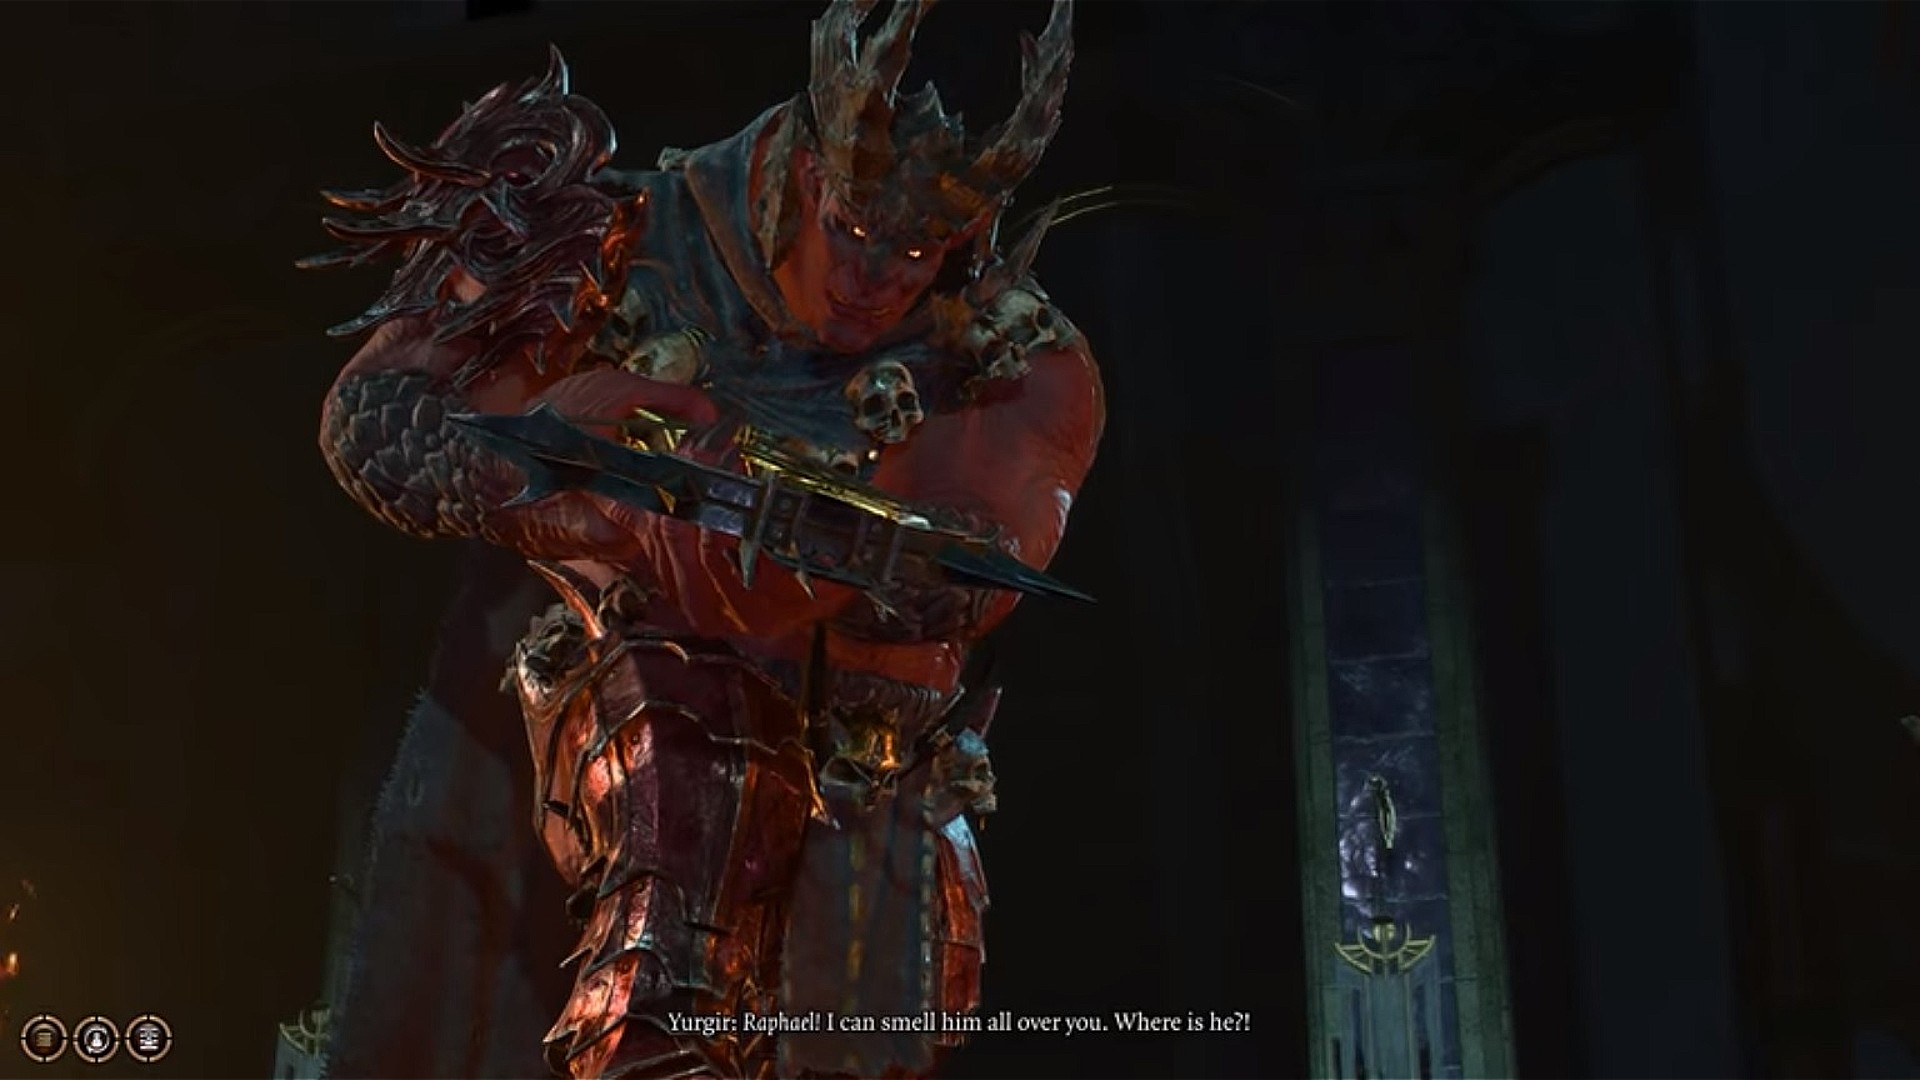
Yurgir, otherwise known as the devil Raphael's sworn enemy, is hoarding the fourth and last Umbral Gem needed to reach the Shadowfell in the Gauntlet of Shar. You can find him in the eastern wing of the Gauntlet, after turning right and going down the broken stairs once entering the main hall, instead of going left toward Balthazar.
Yurgir is a pretty scary looking boss, but it's his henchmen you'll find more of a pain if you instigate a fight. To beat Yurgir easily in Baldur's Gate 3, ask him to repeat his contract and then tell him there are loopholes. First, persuade him to ask his henchmen to kill themselves. Then, convince him to kill his right-hand pet – and finally, convince him to off himself.
Even if you win the first roll and fail the next two, getting his henchmen out the way will free you up from distractions and let you focus on bringing down Yurgir. Note that when he's on his last bit of health, he will toss out a host of timed blast mines that will go off either when touched or after a certain amount of time, so steer clear of Yurgir for the last round or two if possible! Once he's dead, you can scoop up the Umbral Gem lying amid the rubble directly opposite the chamber entrance.
If you would prefer not to kill Yurgir, it’s also possible to break his contract with Raphael by convincing him to stand down and learn the terms of his contract. It appears there is one Dark Justiciar left in the Gauntlet, and those rats have been awfully combative when you talk to them, haven’t they? To find the Dark Justiciar, you’ll need to traverse down to the base of the Statue of Shar and find the book called One Becomes Many before lighting the candles in the circle. A rat will appear and offer you treasure in exchange for you leaving them alone. Refuse the deal, fight the rats, and the Justiciar Lyrthindor will appear. Kill him, and return to Yurgir – after some interesting dialogue, you’ll be able to get the Umbral Gem.
Umbral Gems aren't the only thing you need from the Gauntlet, though. Part of Shadowheart's mission is to find a specific weapon and use it to kill a Selunite in the inner sanctum – and here's how to find it.
Silent Library and Nightsong puzzle
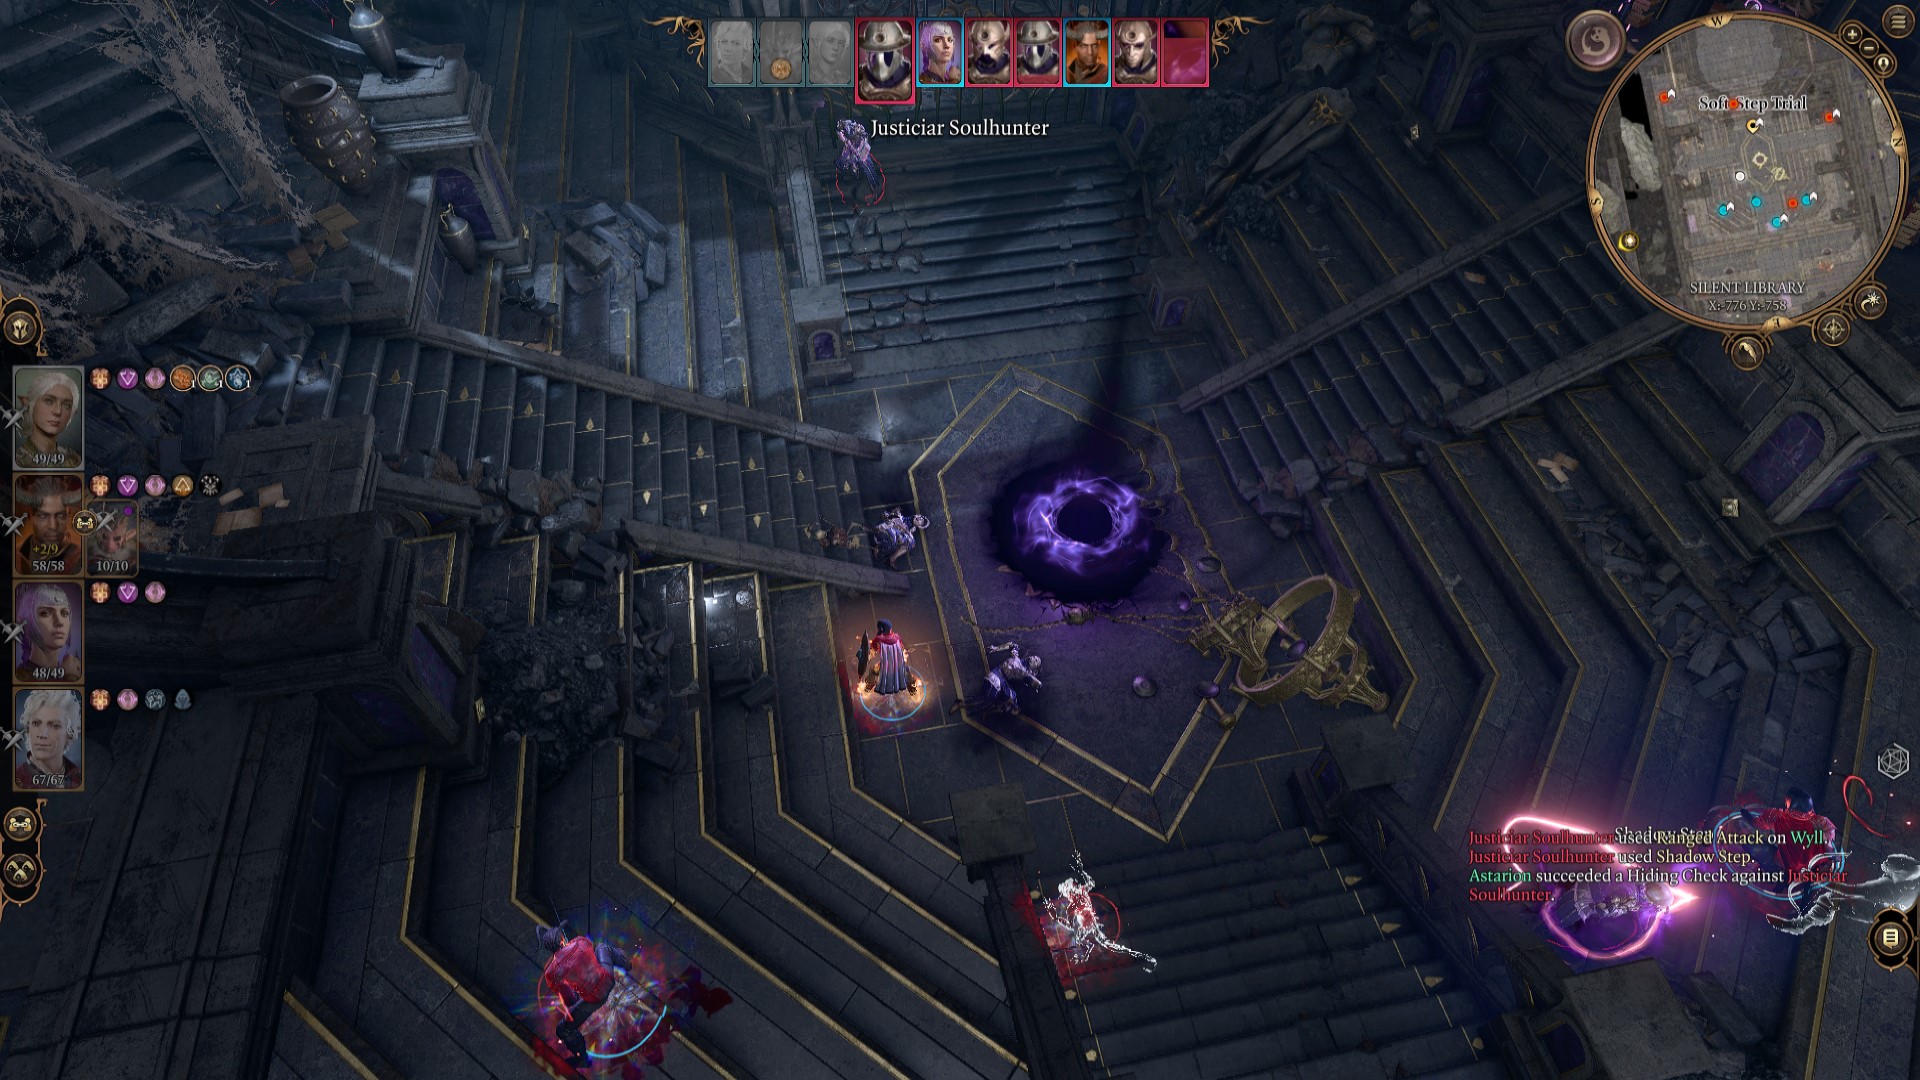
The Spear of Night in Baldur's Gate 3 is found in a locked room at the back of the Silent Library. To access it, you'll need to defeat some more undead justiciars before tackling a riddle and working out what can silence the Nightsong in Baldur's Gate 3. Our guide will explain all the details on how to go about that, but here's a hint: you need a specific book.
After collecting the Spear of Night, you can make your way back to the pedestal and insert one of the Umbral Gems, powering the lift. Hop aboard the platform, press the button on the right, and the lift will carry you down to yet another pedestal, this time needing three Gems to power it. Place all remaining Umbral Gem on the pedestal to open a secret door to the Inner Sanctum – a pool, leading to the Shadowfell. This is a point of no return, so be sure to save your game before proceeding, as you won't be able to return to Act 1 at all once you enter the Shadowfell!
© GamesRadar+. Not to be reproduced without permission.

Jasmine is a Senior Staff Writer at GamesRadar+. Raised in Hong Kong and having graduated with an English Literature degree from Queen Mary, University of London, she started her games journalism career as a freelancer with TheGamer and Tech Radar Gaming before joining GamesRadar+ full-time in 2023. As part of the Features team, her duties include attending game previews and key international conferences such as Gamescom and Digital Dragons in between regular interviews, opinion pieces, and the occasional news or guides stint. In her spare time, you'll likely find Jasmine thinking/talking about Resident Evil, purchasing another book she's unlikely to read, or complaining about the weather.
You must confirm your public display name before commenting
Please logout and then login again, you will then be prompted to enter your display name.

 Join The Community


