The full Star Wars Jedi Survivor walkthrough
The complete guide on what to do and where to go in Star Wars Jedi Survivor
Weekly digests, tales from the communities you love, and more
You are now subscribed
Your newsletter sign-up was successful
Want to add more newsletters?
Join the club
Get full access to premium articles, exclusive features and a growing list of member rewards.
With orders from Dagan Gera to help align the arrays and open the way to Tanalorr, it’s crucial that Rayvis is stopped on the Shattered Moon.
Pursue Rayvis
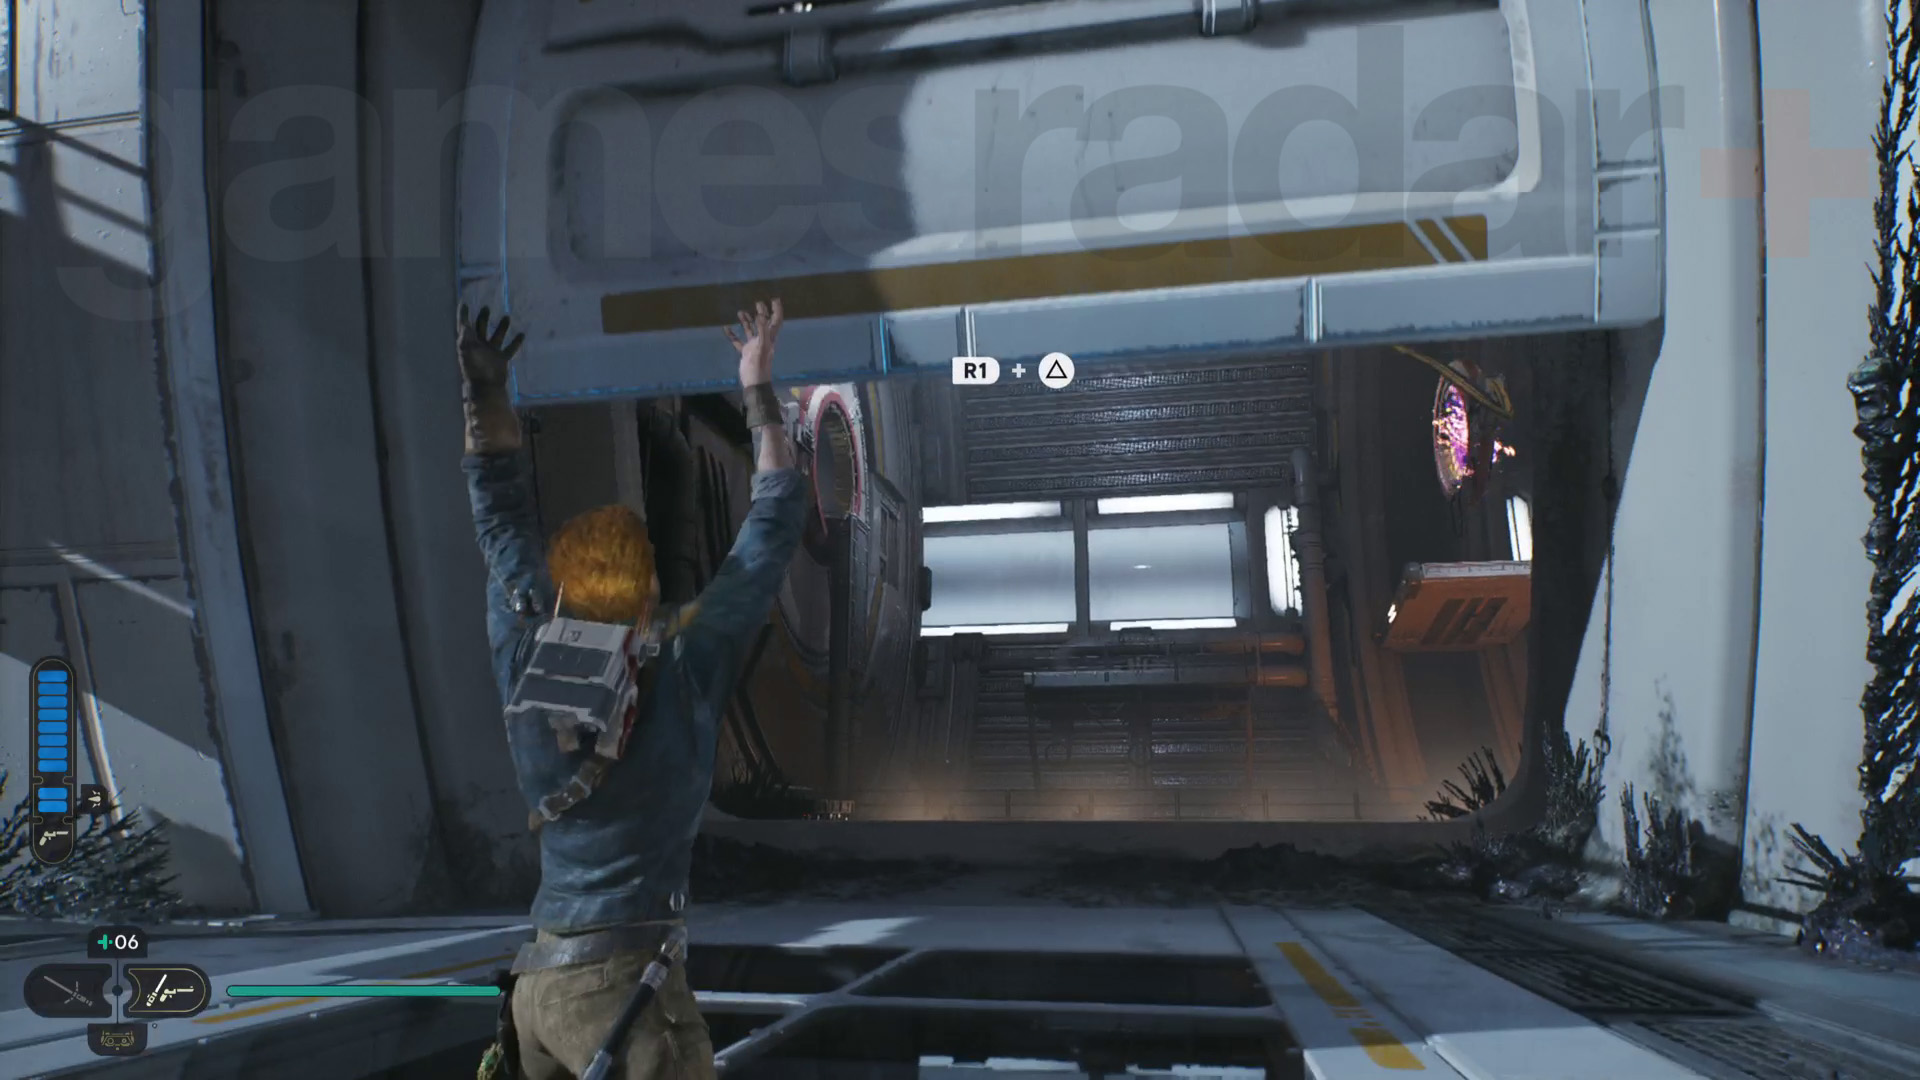
After landing back on the Shattered Moon, head straight down to the Automated Forge Meditation Point and fast travel to the Array Channel Meditation Point. Go back up to the large, white, curved door, open it using Force Lift, and head inside to the proper Array Channel area.
Clear out the enemies and grapple up to the ledge on the right, then dash across the gap to the other side of the channel when the beam is inactive. You’ll be doing a lot of this back-and-forth platforming around the beam as you progress through the channel. Jump across to the climbing grate under the beam’s firing tunnel, then climb in and run through the tunnel while the beam is inactive.
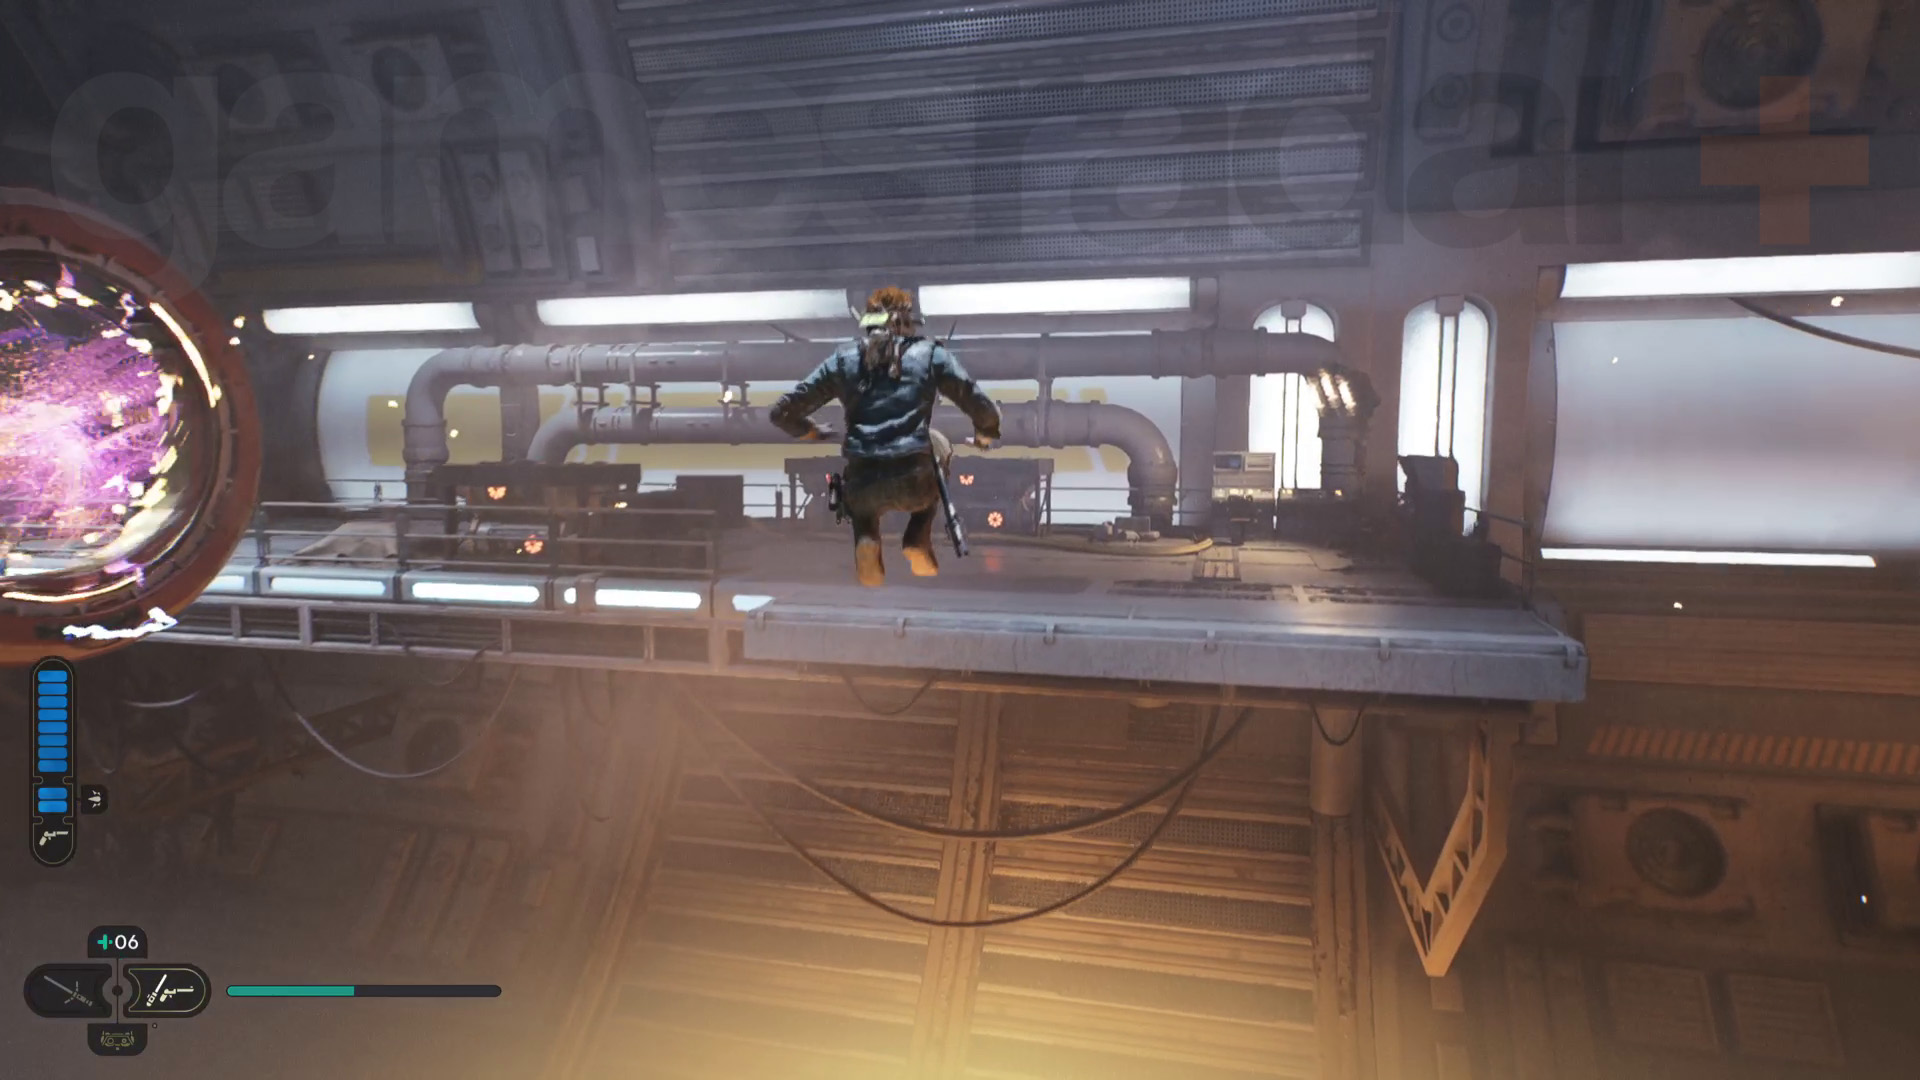
Next, grapple up to the hanging grate and climb across to the walkway. Force Lift the wall panel open, then jump over to the other side of the channel. Just outside, you can set up a zipline shortcut. Carry on along the outside of the Array Channel, then drop into the next area – there are lots of Bedlam Raiders in here, so be ready for a fight!
Article continues below 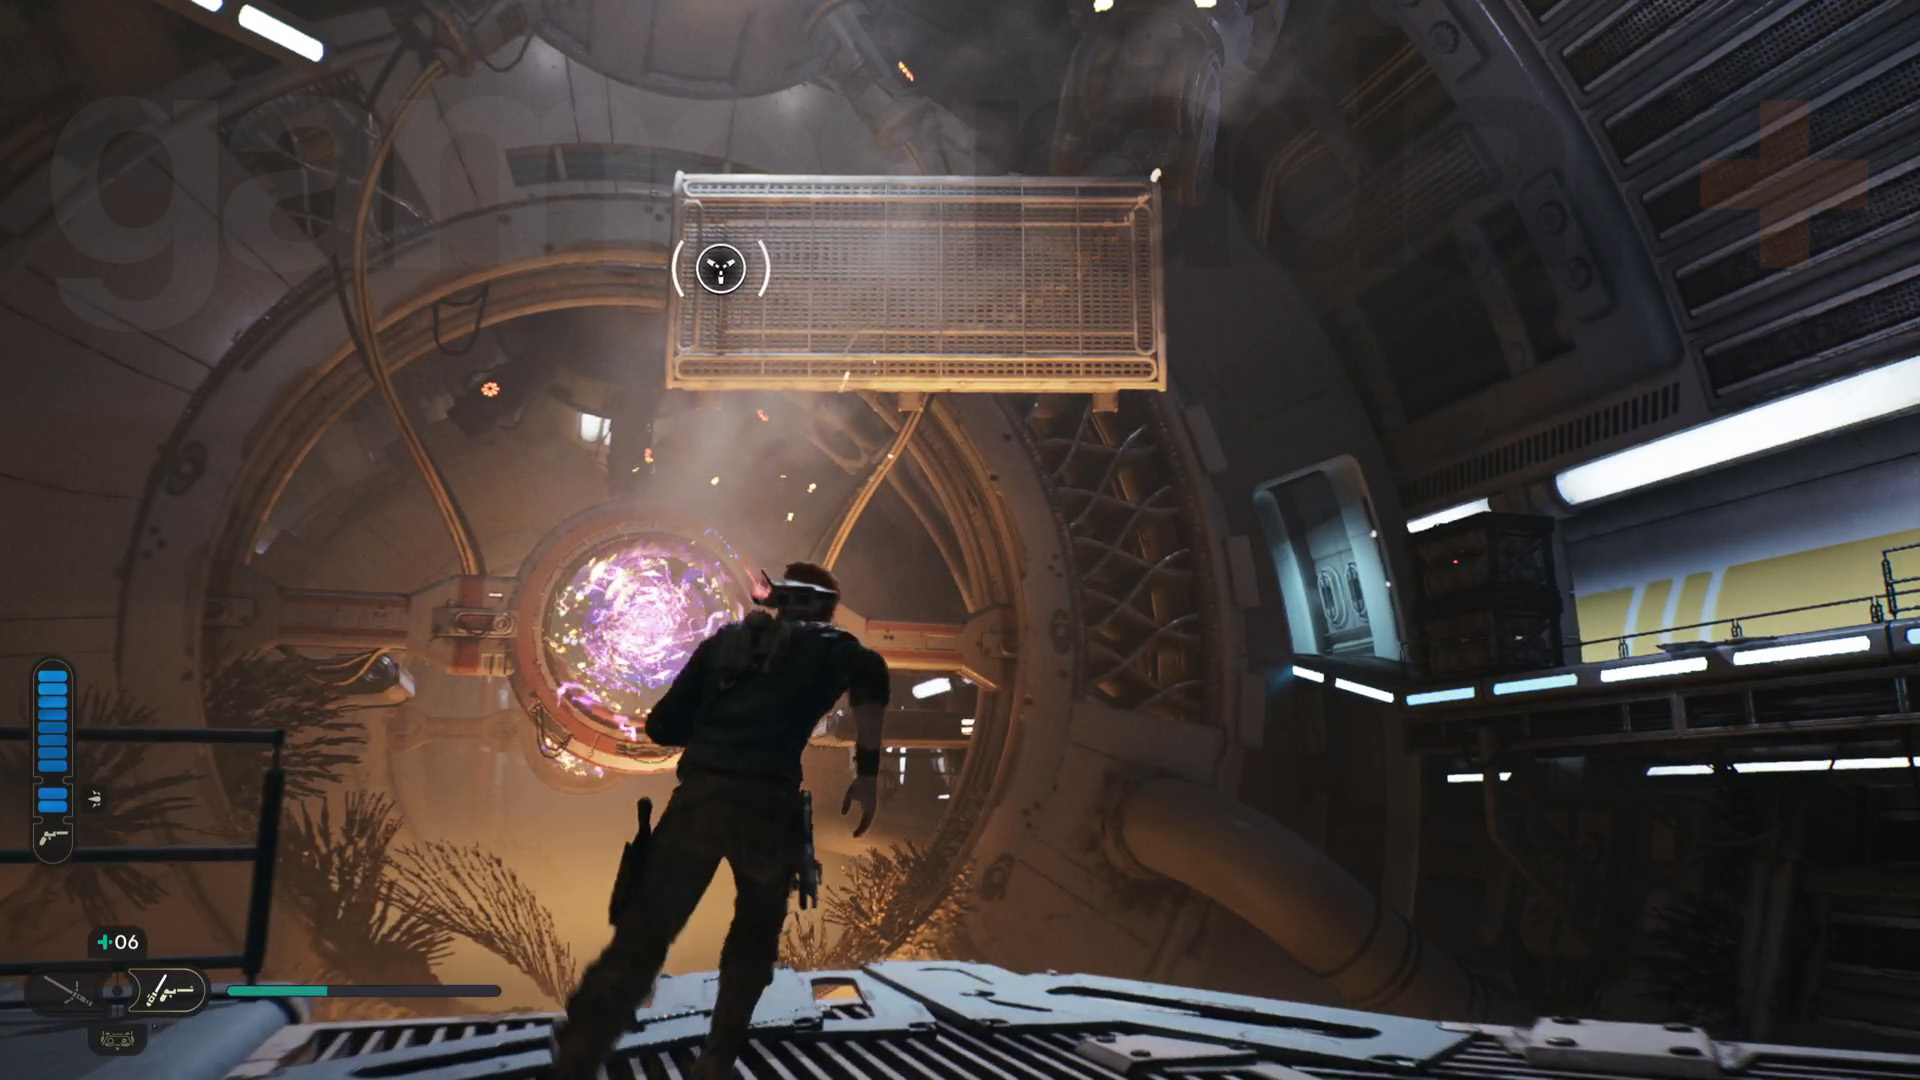
Get inside the control room on the other side of the beam, then climb up the grate to reach the upper level. Now climb, dash, and wall jump your way through this next section, avoiding the electricity traps as you go and you’ll end up on a metal platform just under the beam.
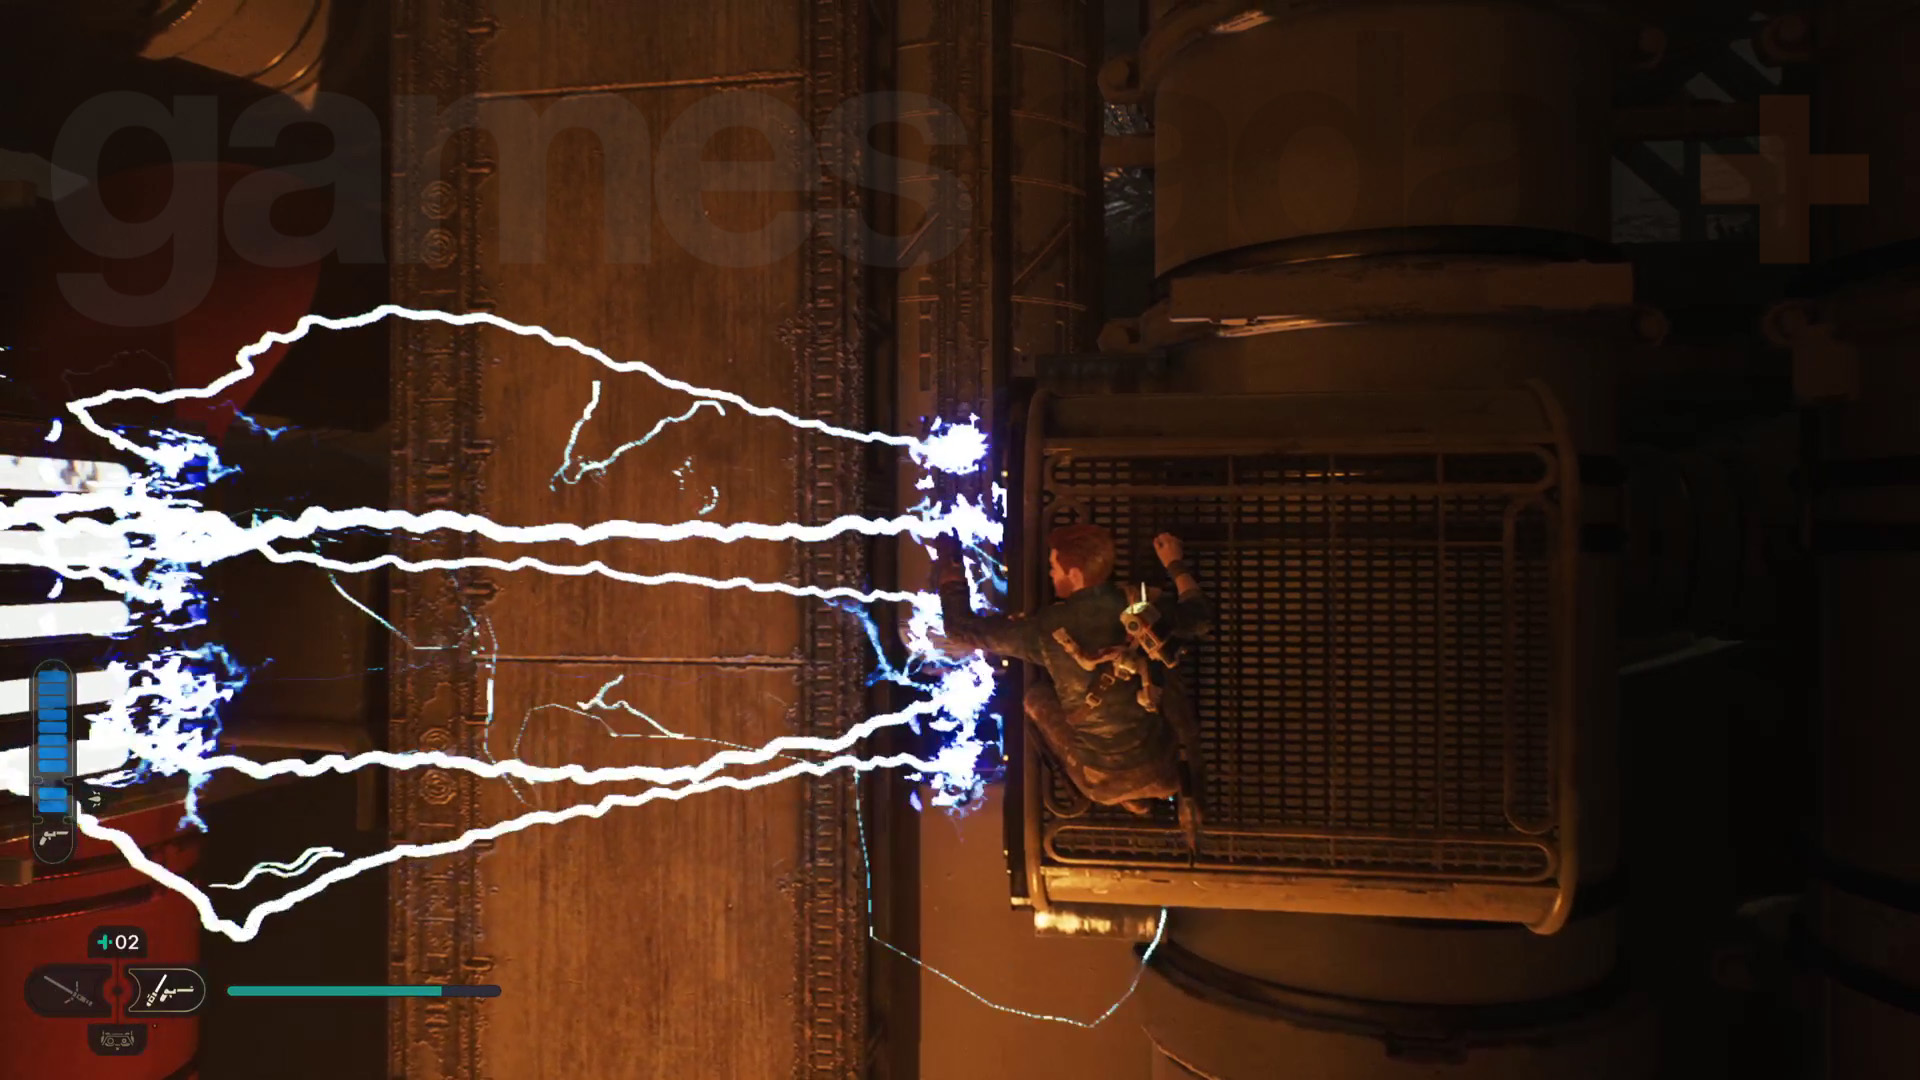
Climb up the next grate to reach an upper walkway, then dash across to the other side of the channel. Head outside and you can set up another zipline shortcut.
Go back inside and carry on further down the channel. You’ll now need to grapple and wall run your way around the beam several times before eventually grappling to a ceiling grate. Climb along to reach another tunnel for the beam.
Drop into the tunnel and run through, but dash through the green barrier on the right to avoid the beam. When it’s safe, dash back out and carry on running through the tunnel. You’ll need to dash through another barrier on the left to get out of the way this time.
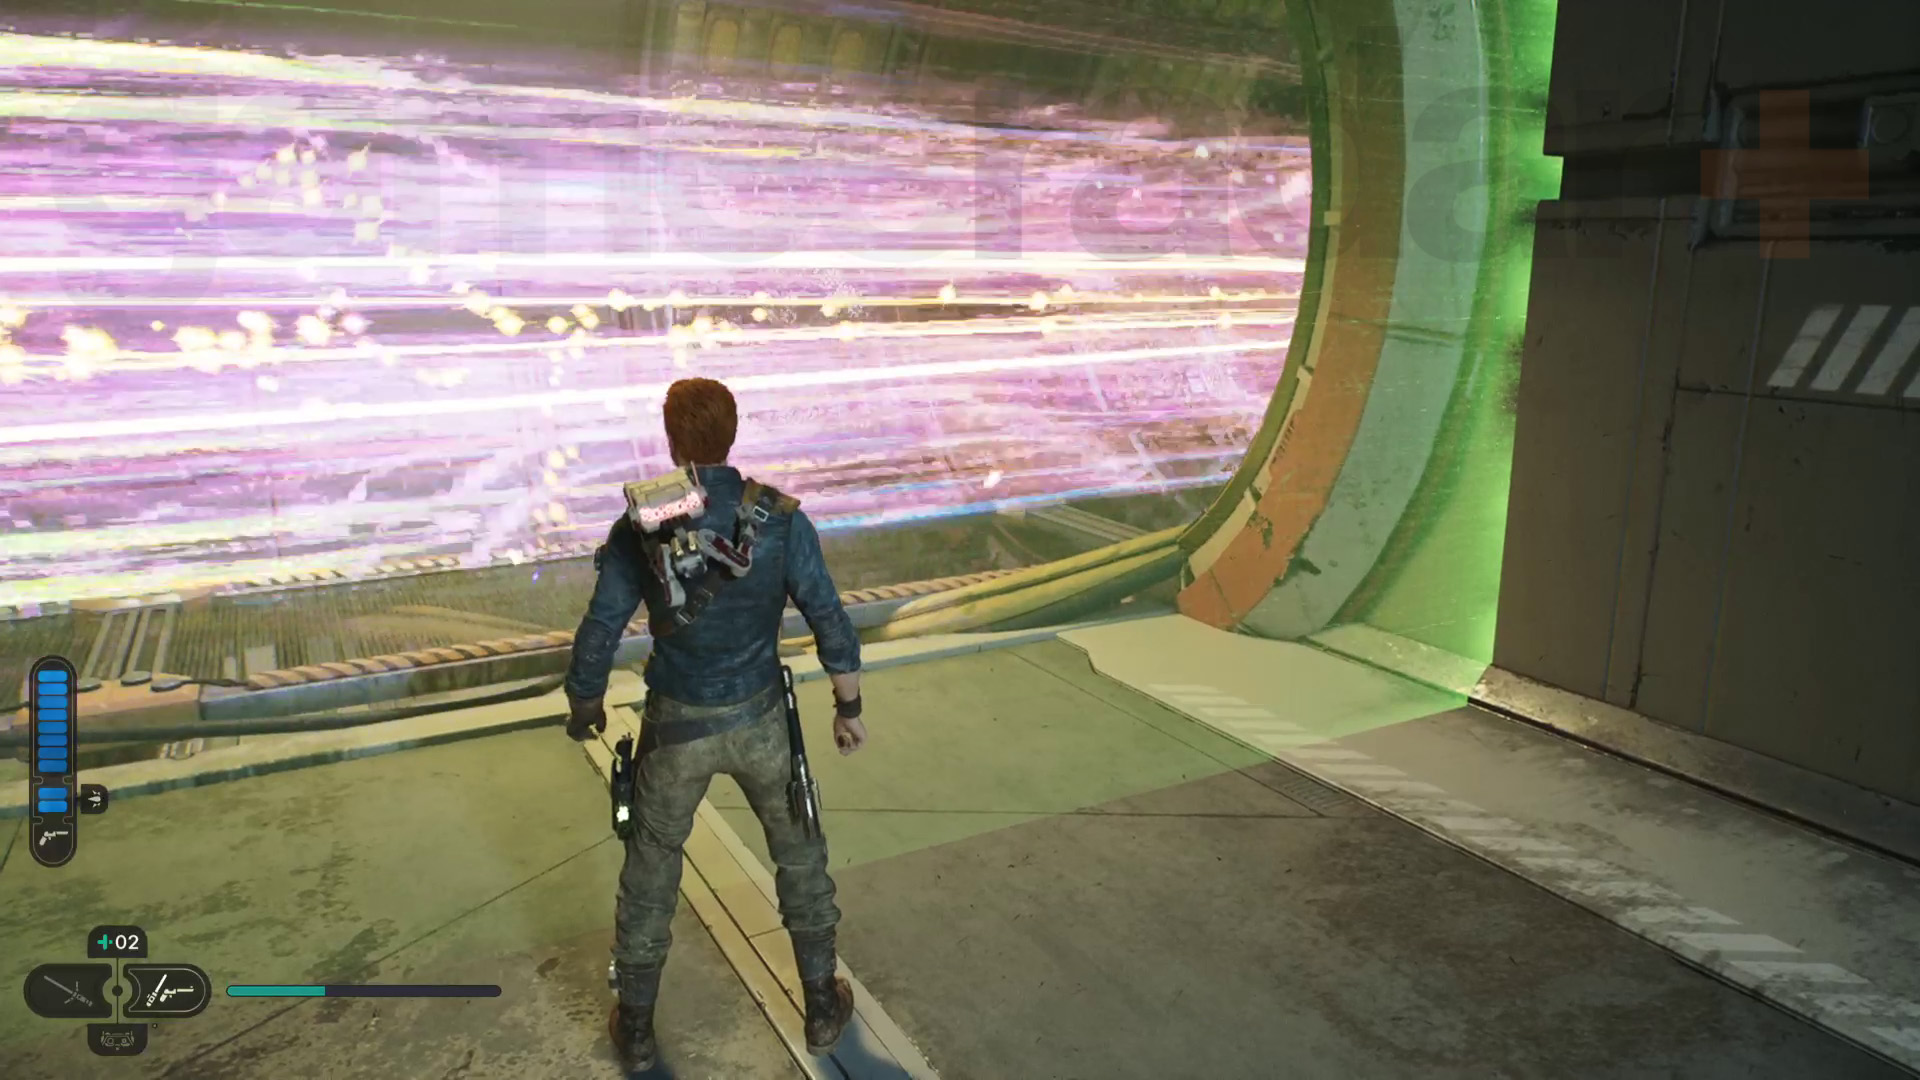
Force Pull the loose grill on the wall, then squeeze through the gap. Climb up and carry on through the Array Channel to eventually reach a lift. Ride it up to reach the Republic Research Laboratory Meditation Point.
Carry on through to the main facility area and activate the terminal ahead to move some balloons into position you’ll need later. Go down to the left to reach the next room – a lab with a broken window and a coupler.
Weekly digests, tales from the communities you love, and more
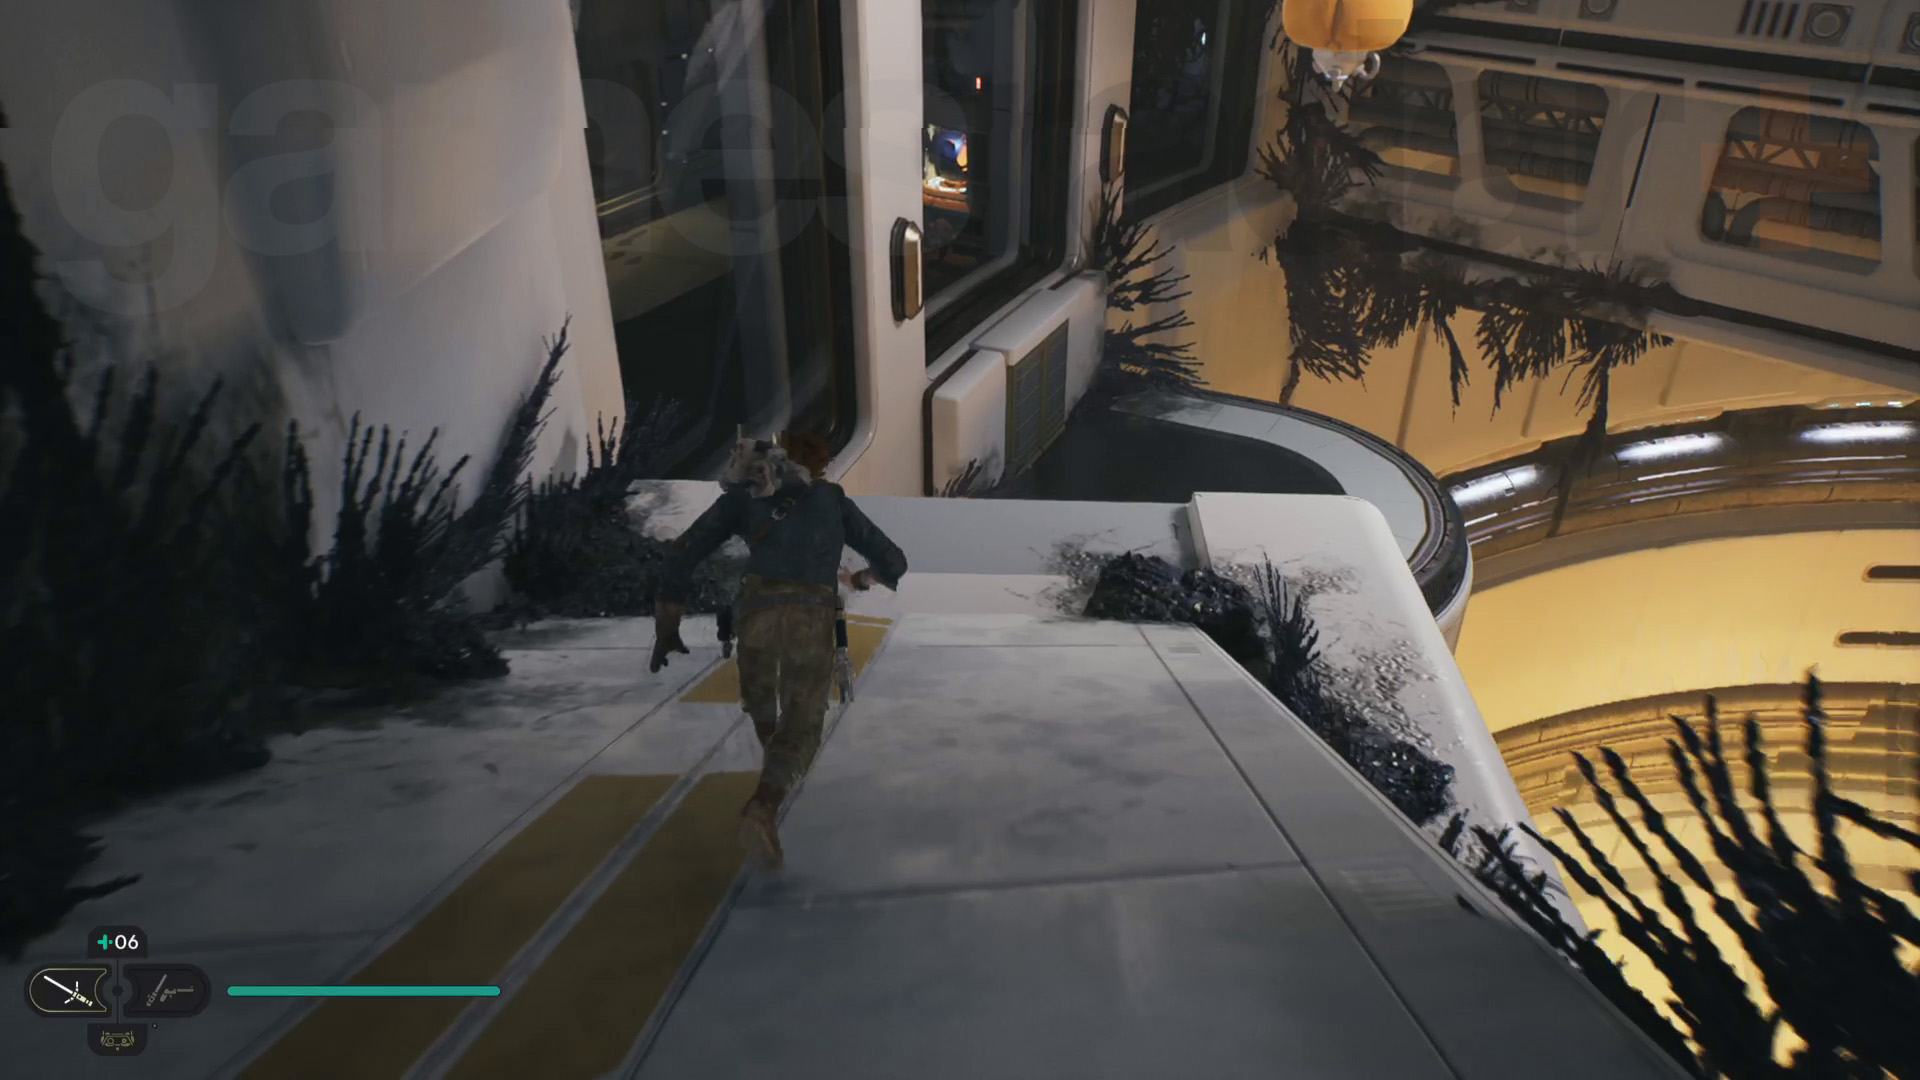
You’ll notice that there’s an orb spot for the coupler on the other side of the window, but you can’t Force Pull the orb through the window. Instead, get BD-1 to open the large door to the right which leads to a ramp. Next, Force Pull the orb and throw it to the ramp, then quickly run through the door on the right and grab the orb again as it rolls down the ramp.
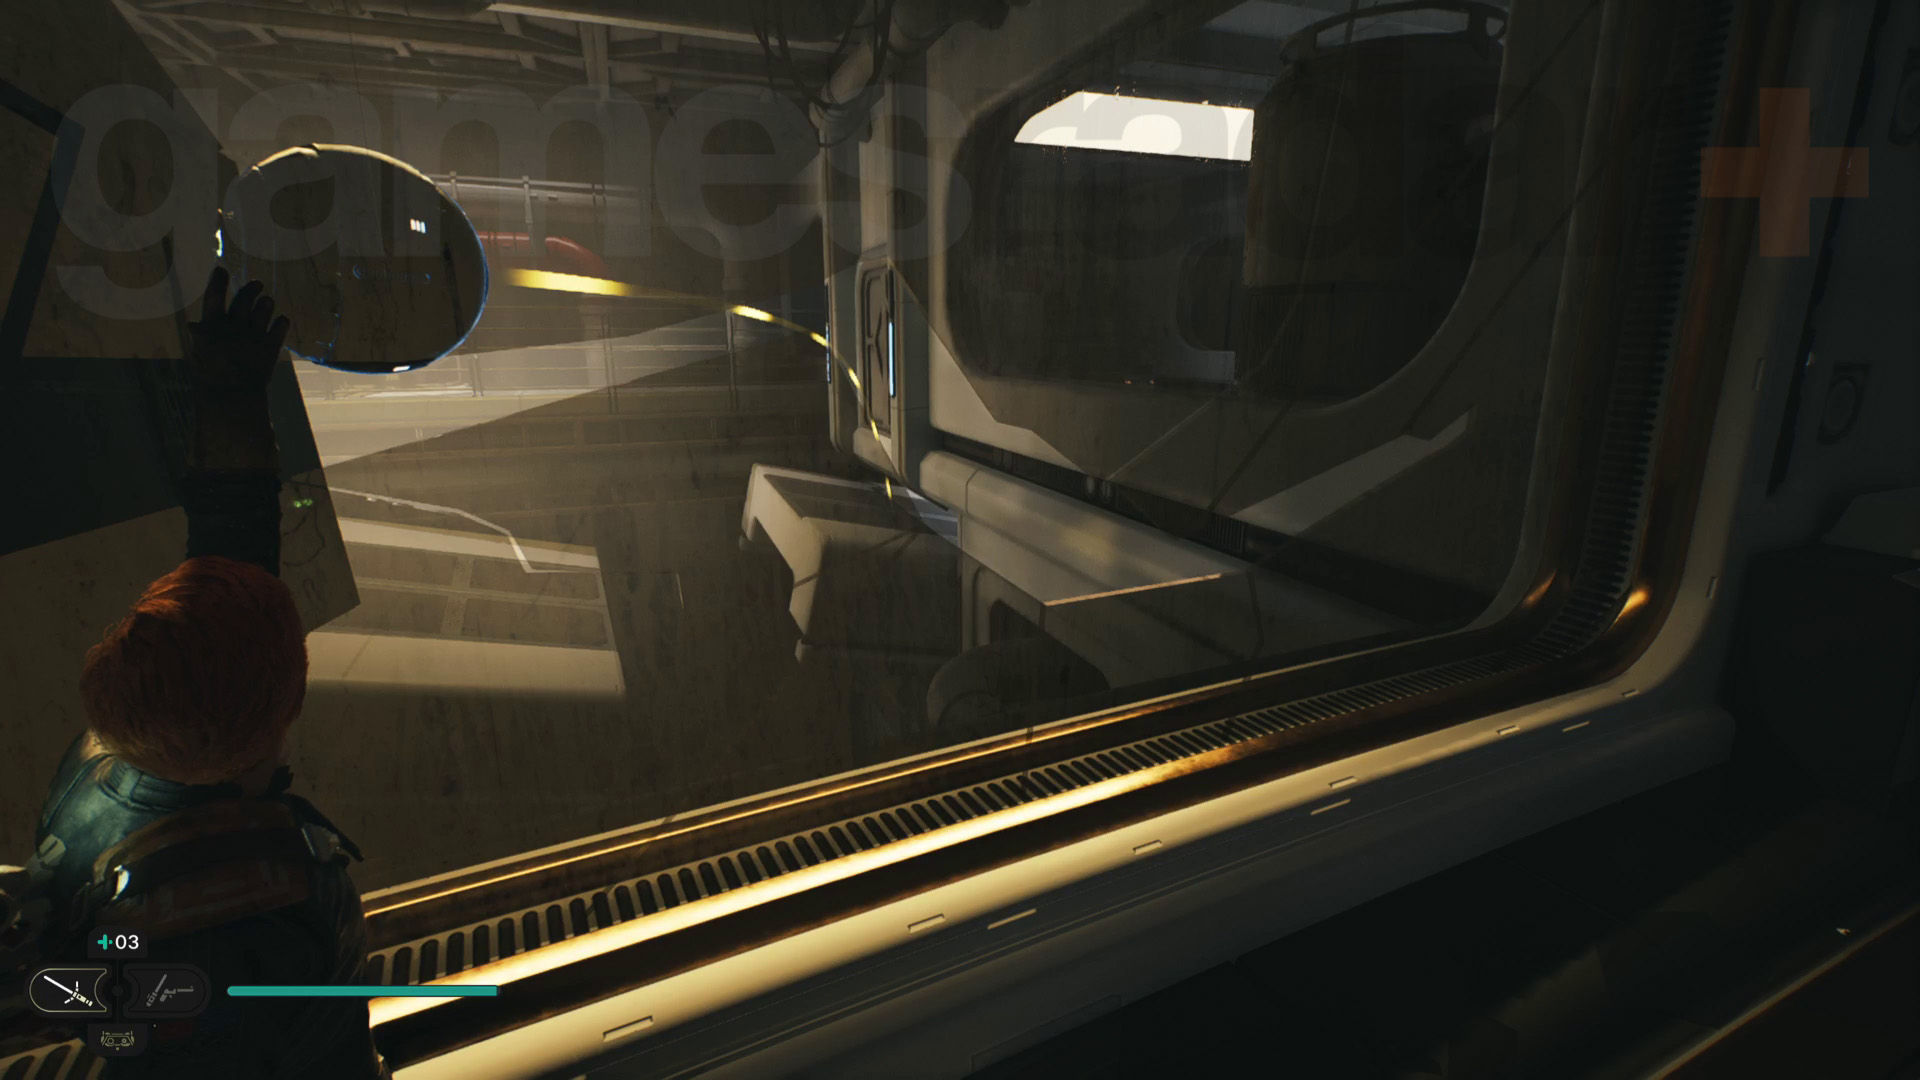
Now you can slot the orb into the coupler, creating a beam which you can then use to destroy the Koboh matter blocking the path with BD-1’s Koboh Grinder. Use the climbing grates to get down to the next area, then head inside the lab and interact with the workbench.
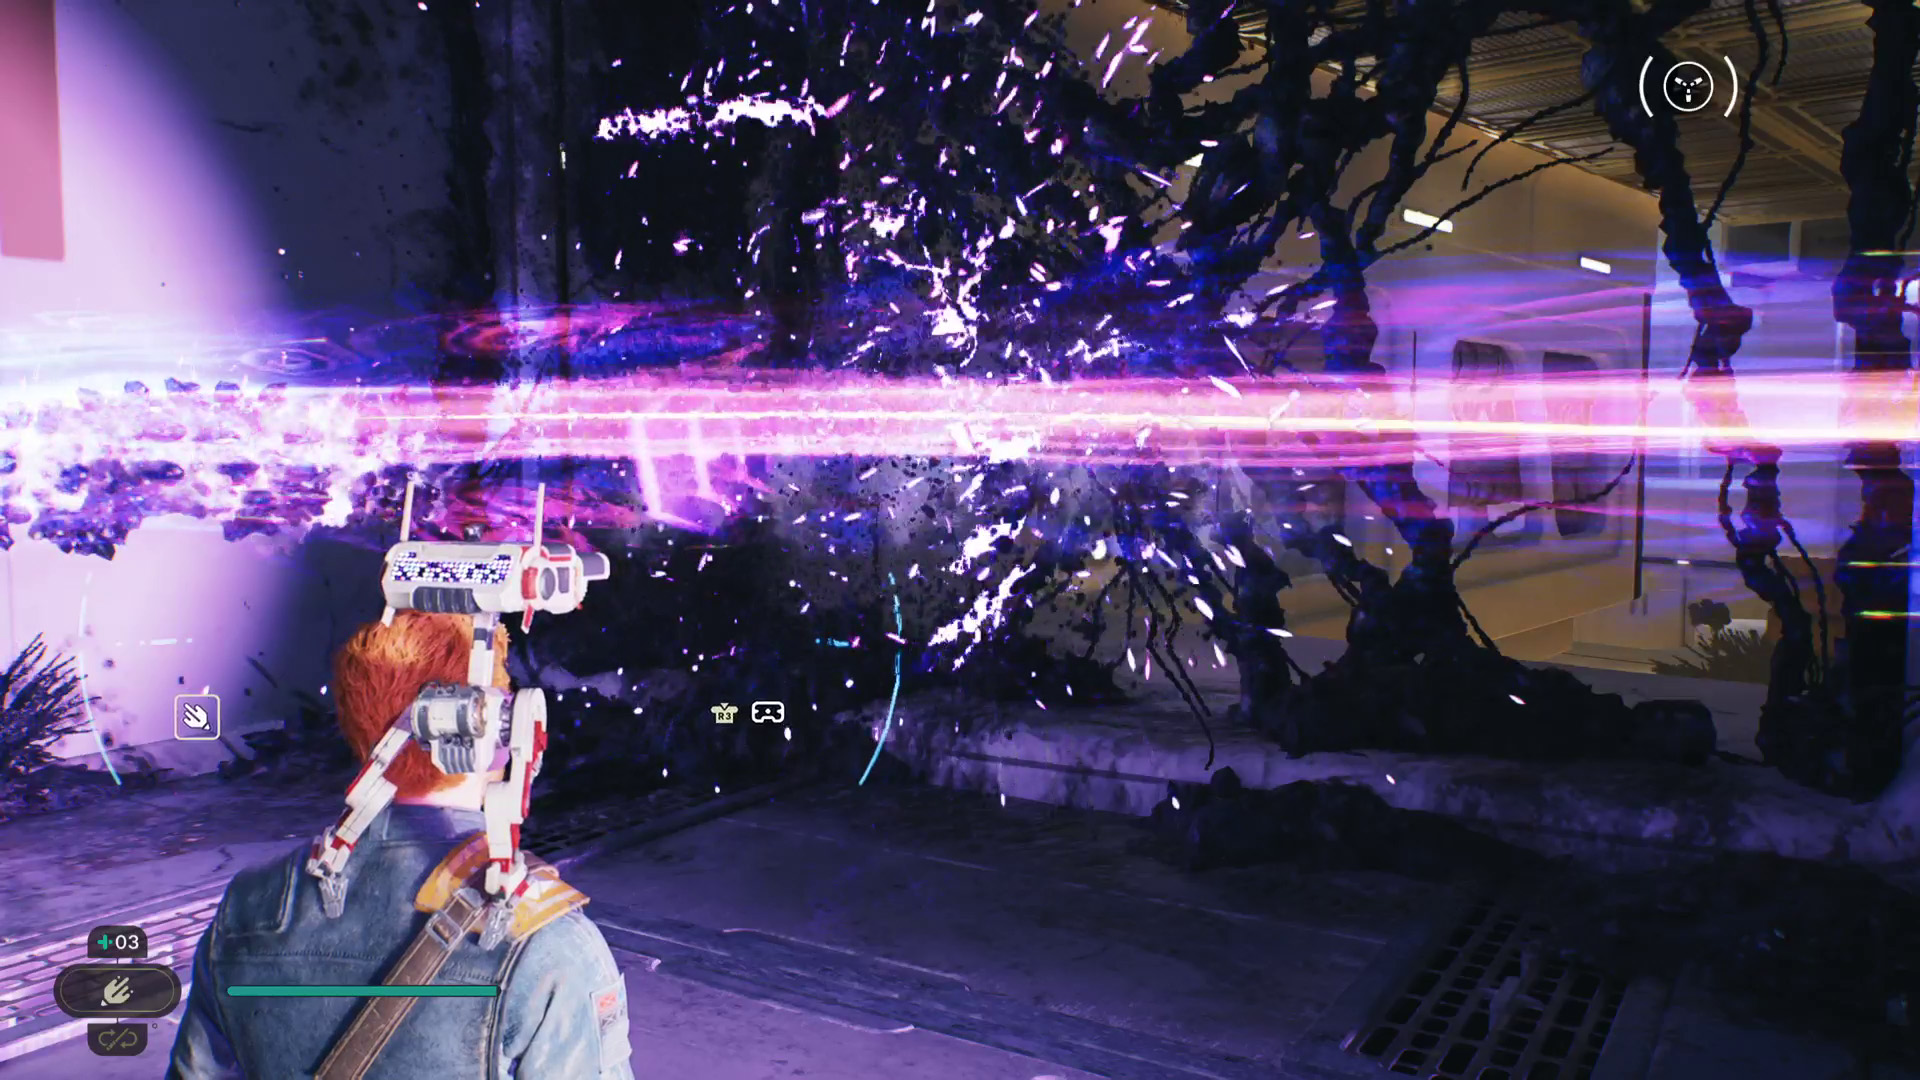
After the cutscene, Cal will fit an upgrade for his Ascension Cable, allowing him to grapple to the balloons you've been seeing around. Use these balloons and your other climbing techniques to reach the top of the laboratory area and meet up with Rayvis.
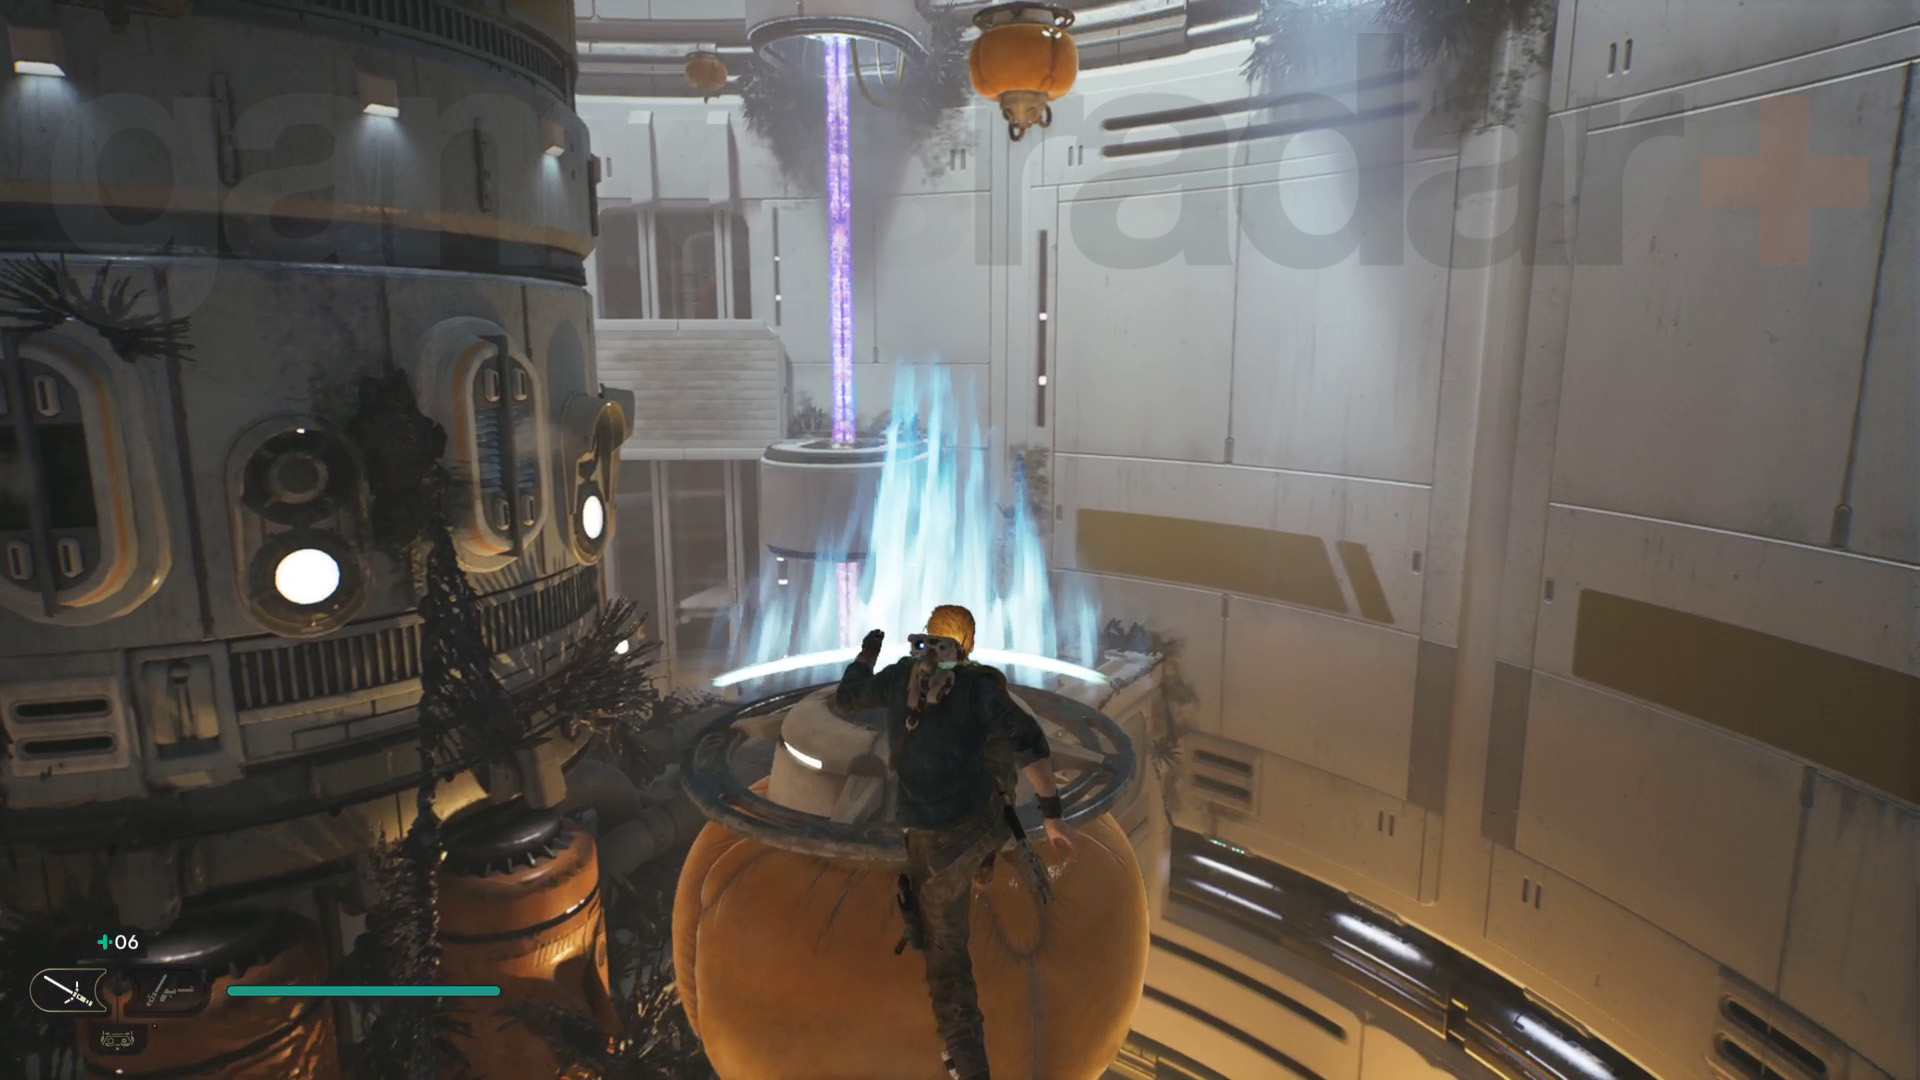
Rayvis boss fight
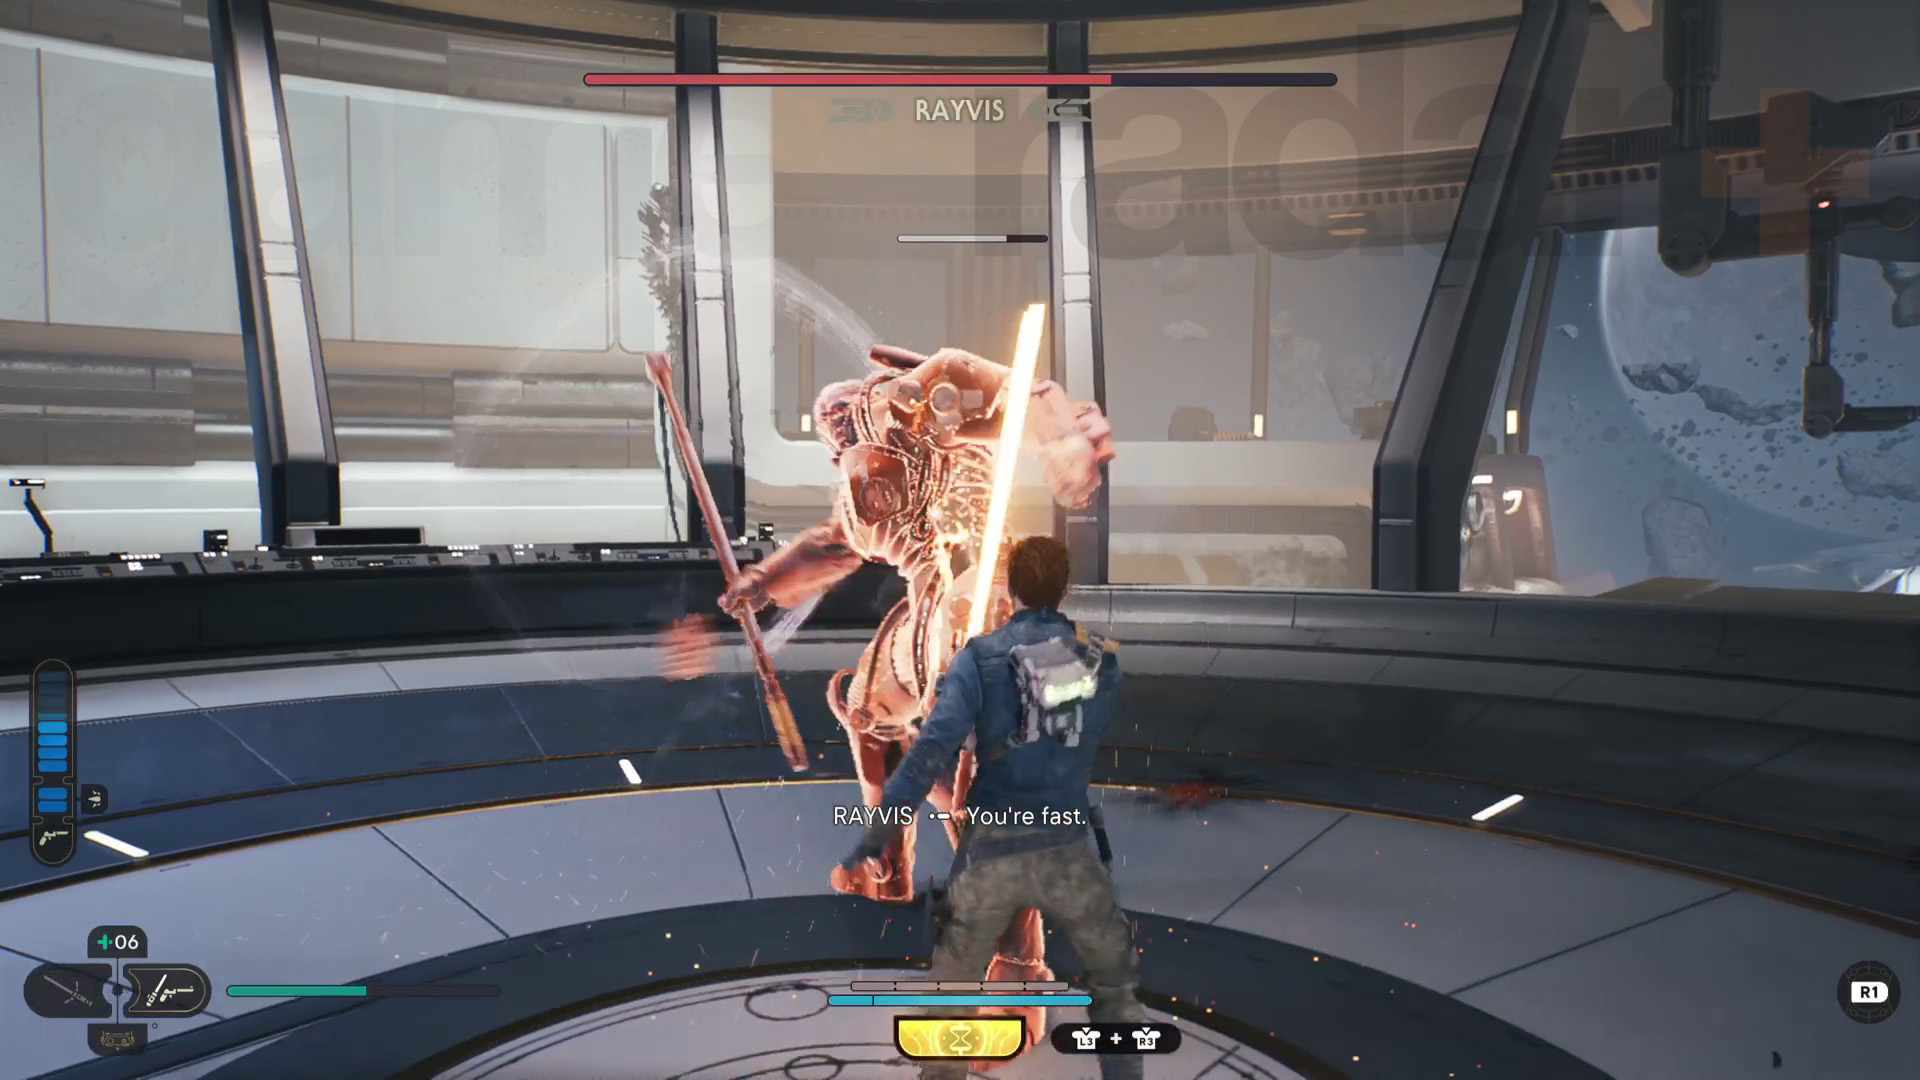
Rayvis is one of the tougher bosses in Star Wars Jedi Survivor, and not only because it takes place over two phases so be careful not to burn through your Stims straight away! Using his mace weapon, Rayvis can hit hard and attack surprisingly quickly. The mace also doubles up as a flail, providing extra range in melee combat, plus he occasionally pulls out a blaster and has a missile swarm attack that covers a wide area.
Despite the speed of his attacks, some have long windups, giving you good opportunities to get in some damage – faster Lightsaber Stances, such as the Blaster Stance, work well for this fight! Constant dodging and dashing in and out of range to land some damage works especially well. A lot of Rayvis’s attacks are also unblockable, so generally focus more on dodging than parrying.
Defeated, Rayvis tells Cal that an Abyss Compass is at Santari Khri’s observatory on Koboh, although Dagan Gera is headed there now that Rayvis has opened the way for him via the lab on the Shattered Moon. That means it’s back to Koboh to get inside this observatory and face off with Dagan Gera. Traverse your way out of the laboratory via the zipline, followed by grappling balloons and wall running, to get back to the Array Channel Meditation Point. Next, fast travel back to the Mantis and fly to Koboh.
© GamesRadar+. Not to be reproduced without permission.
Current page: Jedi Survivor Shattered Moon walkthrough 2, Pursue Rayvis
Prev Page Jedi Survivor Koboh walkthrough 5, Rescue Zee Next Page Jedi Survivor Koboh walkthrough 6, Koboh Observatory
Will Sawyer is a Guides Editor at GamesRadar+ with over five years of experience in writing online guides, news, and features, and has a BA (Hons) in Journalism. Starting as a freelancer, Will contributed to startmenu and Game Rant before joining the GamesRadar+ team in August 2021. Since then, he has written hundreds of guides about a huge range of games, with shooters and action games being his areas of expertise. Outside of writing about games, Will hops between multiplayer shooters with friends, such as Darktide and Helldivers 2, and delves into whatever has been on his backlog for far too long. He also tries to get through his never-ending Warhammer pile of shame of grey Tyranids, Aeldari, and Chaos Space Marines.
- Leon HurleyManaging editor for guides
 Join The Community


