Red Dead Redemption New Austin walkthrough
Let us be your guide through the New Austin chapter that kicks off Red Dead Redemption
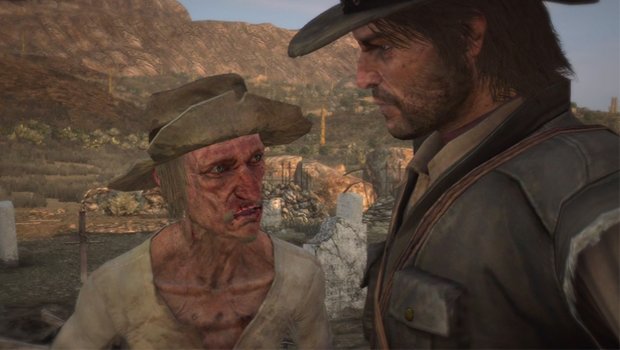
A Gentle Drive with Friends
Seth has returned to the cemetery outside of Armadillo, and is busy loading up a wagon with caskets when Marston arrives. Apparently the map he was looking for wasn’t with Moses at all, but is in one of the exhumed bodies on the wagon. While Seth searches through the bodies for some evidence, he asks Marston to drive to Tumbleweed.
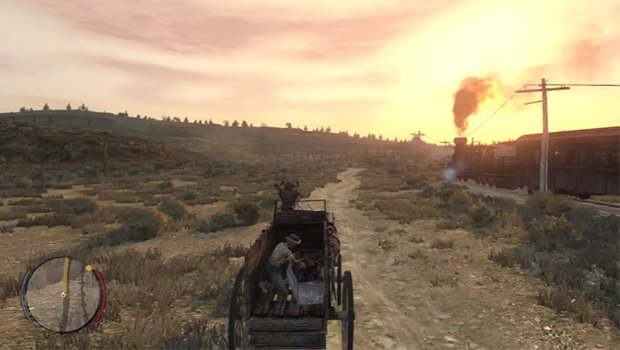
Just follow the yellow path on the mini-map to get to a secluded spot near Tumbleweed. Beware though, once you get close to Two Crows, a small batch of treasure hunters will ride up and attack. Try as you might, you won’t be able to just outrun the assailants. While you’re under attack and driving, the horses will drive themselves when you need to shoot. They’ll stay on the road for the most part, but it’s never going to be as accurate as your own driving.
With the horses able to hold their own, you can focus your attention on taking out the treasure hunters before they kill you or Seth. After this first wave is taken care of, you’ll have a bit of a respite until you get nearer Benedict Pass. That’s when another batch of treasure hunters surface, eager to get their hands on Seth’s map. These guys have some flaming spirits to throw at the wagon, so it’s best to use Dead Eye to take them out quickly.
Article continues below 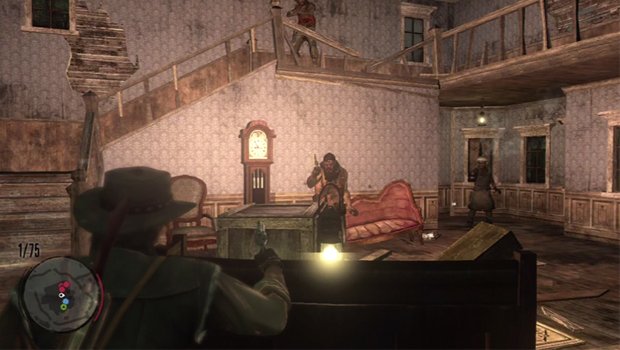
After they’re dead, you’ll find yourself just on the outskirts of Tumbleweed. Drop Seth off, and he runs away to find the next clue to putting his map together. That clue happens to be in the graveyard behind the church in Tumbleweed, so approach Seth here to get the next mission rolling immediately.
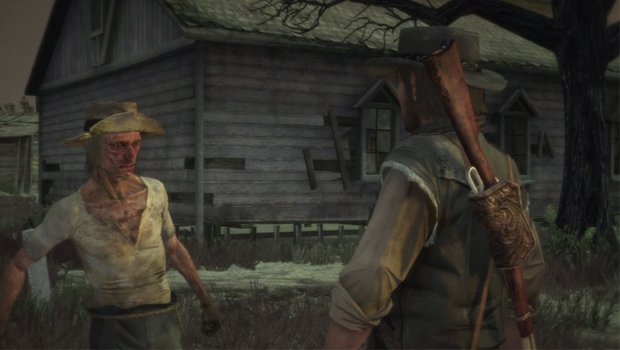
Let the Dead Bury Their Dead
Seth has found the map he was looking for on the body of someone buried in Tumbleweed’s graveyard. Though he’s reluctant to tell Marston, he eventually caves, and leads John to the mansion just on the other side of town. Seth doesn’t know what kind of treasure is there, but he knows there’s something very valuable hidden in that house.
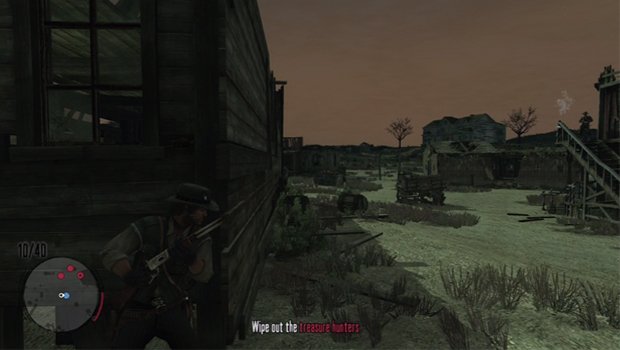
Almost as soon as Seth and Marston make their way into the town, a group of treasure hunters with bad intentions appear. Jump behind cover the first chance you get, and then sight the hunters with your rifle to make quick work of them. Once you kill the first set, a second wave appears in the next row of buildings. Duck behind cover again, and shoot down any enemy that gets in your way.
The third wave attacks once you get closer to the mansion. These hunters start running down towards you, and can be picked off with Dead Eye if you’re quick enough. If not, just keep calm, keep behind cover, and take them down one by one. There’s still one more gunman just on the inside of the stone wall surrounding the mansion. Once you shoot him, it’s time to head into the mansion.
Weekly digests, tales from the communities you love, and more
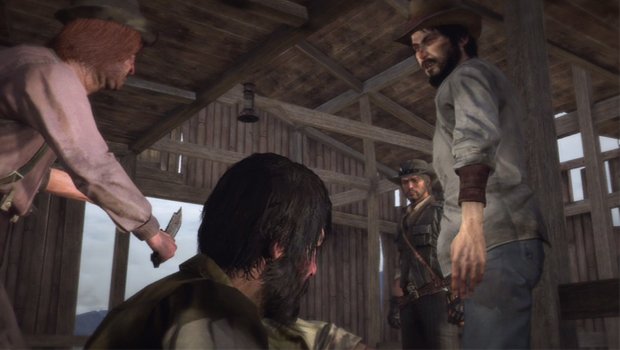
The front door is locked, so you’ll have to head around back to enter through the cellar. Two hunters will be waiting for you down there, but there’s plenty of cover to keep yourself from getting shot. Head up the stairs to the first floor, and you’ll be greeted by three more hunters in the main room. After dispatching them, head upstairs towards the green dot on your mini-map.
Two more hunters wait on the second floor. Shoot them, and continue on. There’s a final hunter guarding the treasure, but just hit Dead Eye and blast him before he can shoot to finish the job. Even though it’s not quite what he was hoping for, Seth finally gets his treasure. With all his chores done, Seth is now ready for the attack on Fort Mercer. All that’s left is to meet with Irish about getting some weaponry.

 Join The Community


