Red Dead Redemption New Austin walkthrough
Let us be your guide through the New Austin chapter that kicks off Red Dead Redemption
Political Realities in Armadillo
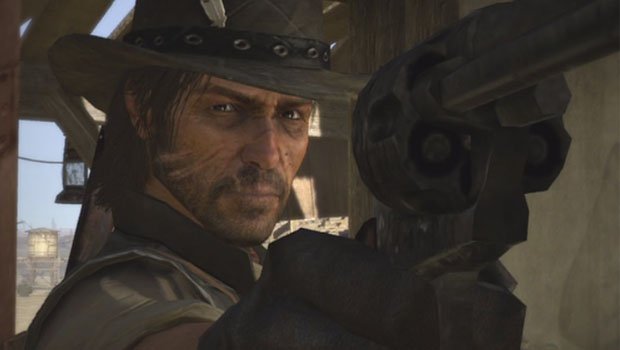
You should see a large M now appears on the mini-map indicating the Marshal. If you’ve been following our guide, you should be left in the middle of the main street in Armadillo. The Marshal’s office is at the top of the road, just ahead of where you visited the doctor in “This is Armadillo, USA.” Head over to the yellow X in front of the Marshal’s door to start the mission.
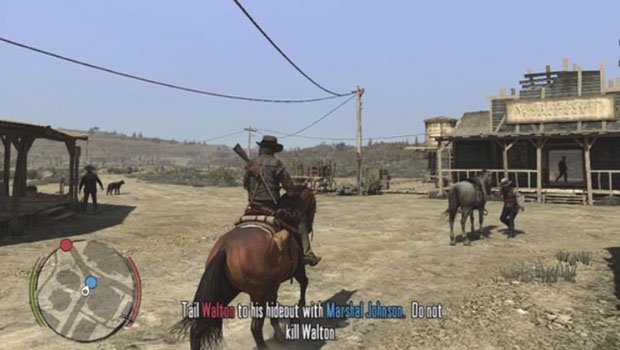
After a bit of a misunderstanding with one of the deputies, John speaks with Marshal Johnson about assisting in the capture of Bill Williamson. Johnson explains he’s got plenty of his own problems to worry about, but Marston is able to convince the Marshal to help by offering assistance in some local matters. The Marshal agrees, and both he and John set off to the saloon to speak with deal with some miscreants.
Once you get to the saloon, the Marshal sees the man you’re looking for is hopping on a horse out of town. Whistle for your horse by hitting Up on the d-pad, and join the Marshal in pursuit. You’ll be tracking Walton to his hideout, so don’t get too close, and don’t shoot at him. You need him alive to make it through the rest of the mission.
Article continues below 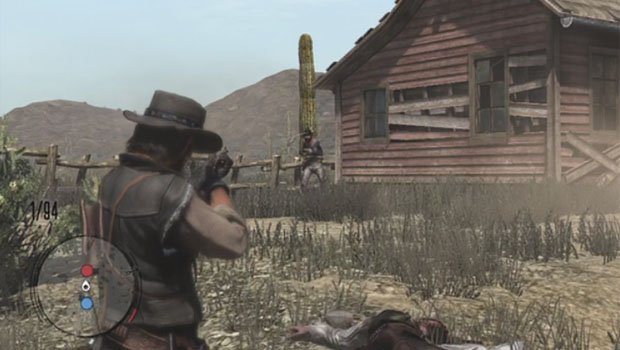
Walton arrives at a small shack just outside of Armadillo, and despite John’s and the Marshal’s best efforts to remain hidden, the rest of his gang spot them on their approach. This is the first mission to teach you about the cover system, so follow the game’s prompts to move from cover to cover. As you move, a new enemy will appear to take some shots at you. There are four gang members in total. One behind the crate, one behind the outhouse, and two hiding on either side of the shack. Take them all out, and that will draw Walton out of hiding.
Walton has a bounty on him, so you can either kill him and get no reward, or wound him in the leg to capture him alive and make some money. Once Walton pops out of the front door of the shack, simply enter into Dead Eye, sight his knee, and fire. He’ll go down without much fuss, and you’ll pocket your first bit of cash. Marshal Johnson will thank you for your help, and leave you to your own devices in the wild. Now’s a good time to loot the bodies of the fallen gang members for some more cash, and a little bit of ammo.
After you finish up out at the shack, call for your horse and head back to MacFarlane Ranch.
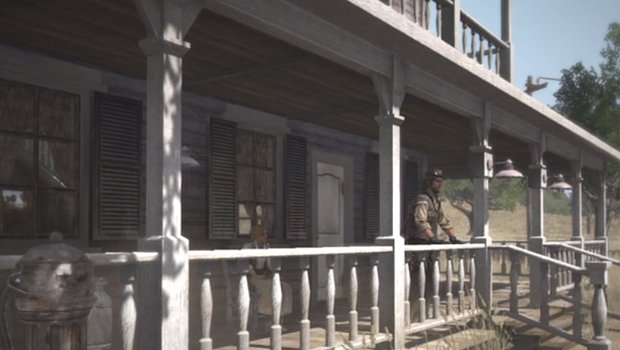
Women and Cattle
Once you head back to MacFarlane Ranch, once again head over to the main house to get your next mission from Bonnie. John shares a few intimate details about his life to Bonnie, and after hearing all the sordid details, she asks John to help herd the cattle out to pasture. Head over to the horses across the road, and accompany Bonnie over to the pen.
Weekly digests, tales from the communities you love, and more
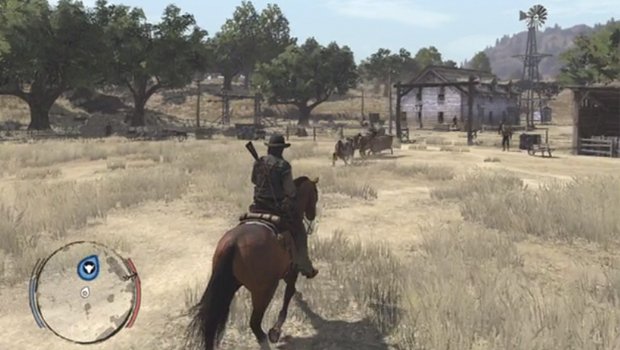
A yellow X will appear where you’re supposed to move into position at the rear of the herd. Once you’re in the right spot, a big blue icon with a bull’s head will appear on your mini-map. That’s the herd. Stay behind them to steer them ahead. You can move to the left or the right to direct them more accurately, and heading in front of the herd will draw them to a stop.
Cattle herding is one of the least glamorous, as well as one of most annoying, mission Red Dead has to offer, but there aren’t that many in the game thankfully. Once you lead this small herd out to the rest (indicated by the yellow dot on your map), Bonnie will ask you to move the larger pack of cattle out to the far pasture. Again, move behind the herd to get them going in the right direction.
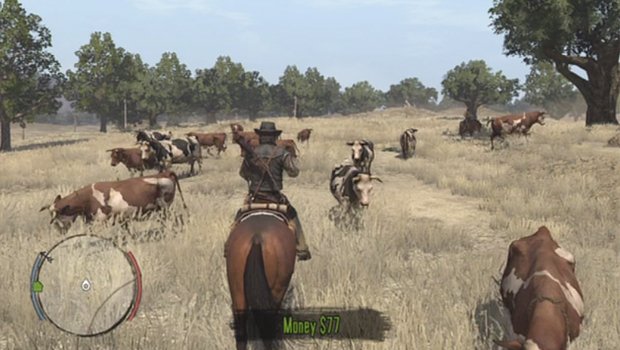
Once in charge of the larger herd, you can now shout at the cattle to get them moving. Press Up on the d-pad, and John will encourage the herd to get moving. Direct the big herd over to the yellow dot by the old oak tree. You’ll have two other ranch hands along with Bonnie helping you out, so there isn’t a whole lot of challenge involved in completing this part of the mission.
After you get the cattle out to the tree, Bonnie thanks you for your help, pays you a bit of cash, and heads home. Now you can head back to her house to start up the next mission.

 Join The Community


