Red Dead Redemption New Austin walkthrough
Let us be your guide through the New Austin chapter that kicks off Red Dead Redemption
On Shaky’s Ground
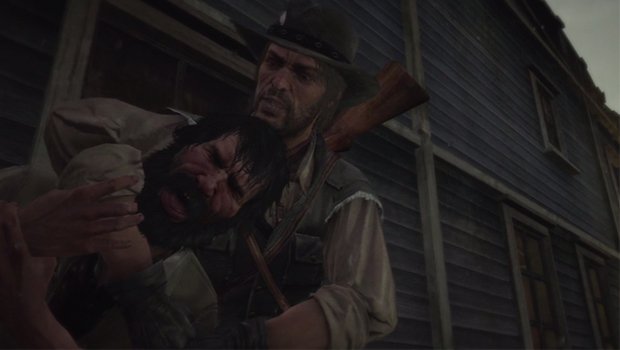
With nothing left to do but track down Irish once again, it’s time to head to Thieves’ Landing to see what kind of trouble he’s gotten into, and why the gatling gun Marston stole isn’t working. When you find Irish, he’s in the process of trying to rob two nuns. Marston shows up just in time, and Irish suddenly remembers that he owes you a favor or two. Irish says he has a bead on another gun, and leads Marston to the shipping yard on the edge of town.
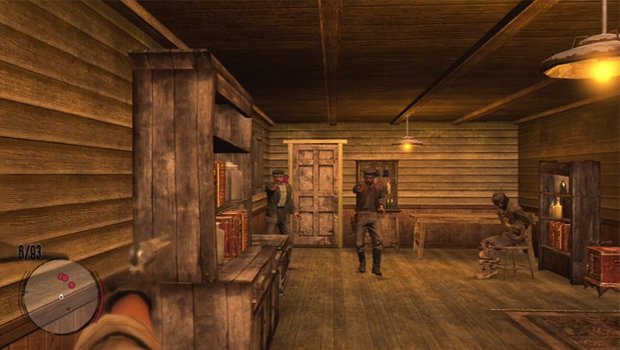
Of course, the front gate is locked, so Marston and Irish have to sneak around back to find another way in to the yard. Just keep following Irish until you get to the steps at the back of the main building. Inside you can hear Irish’s inside man, Shaky, being interrogated by local thugs. Before something happens to Shaky, you’ll have to rescue him, and escape with the gun.
Climb the ladders to reach the roof. Remain crouched so you don’t make as much noise. If you’re too loud sneaking into the building, the thugs will hear you and off Shaky before you can reach him. Slide down the roof, and enter the open window. Slowly creep across the loft area, and shoot the guard before you drop down. Enter the door to the room Shaky’s being held in, quickly activate Dead Eye, and shoot all three of the bandits before they know what hit them.
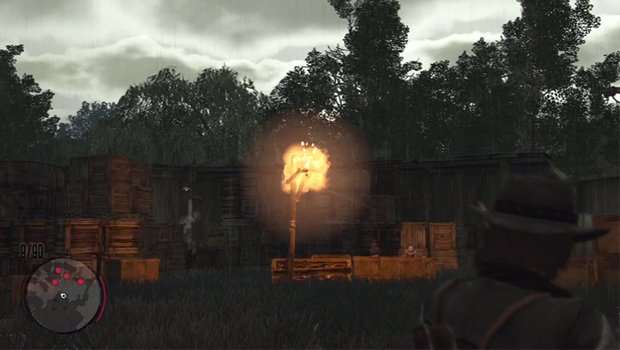
Once you cut Shaky loose, reinforcements appear in the room below. Two of the shooters are all the way across the building, but there’s a big crate of dynamite you can shoot to take care of them rather easily. The rest of the bandits will keep popping in and out of cover, so just time your shots accordingly. After clearing the room, drop down to the first floor, and follow Shaky out of the building.
More reinforcements lie in wait outside, so immediately get behind cover once you exit the building. You aren’t vastly outnumbered, so take your time, and line up your shots. Once you kill the first wave, you’ve got to move through the crates stored on the far side of the clearing. More bandits will try to attack in the narrow corridors, but you should have Dead Eye saved up from that last batch of kills to eliminate these guys easily.
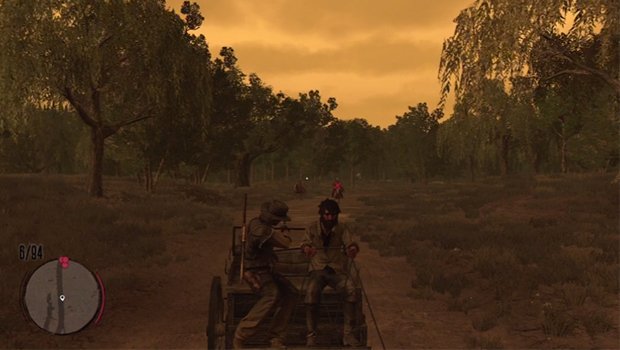
After all is said and done, Shaky gives you the equipment you need for the gun. Irish loads it on the back of a wagon. Just outside of Thieves’ Landing, more bandits give chase. Since Irish is driving, this segment should prove to be much easier than other wagon escapes. Three waves of riders will come after you, and there will be a sniper on a bridge above you not long after the second wave is taken out.
When it’s all clear, you and Irish wind up back at MacFarlane Ranch. It’s time to save up and prepare for the assault on Fort Mercer.
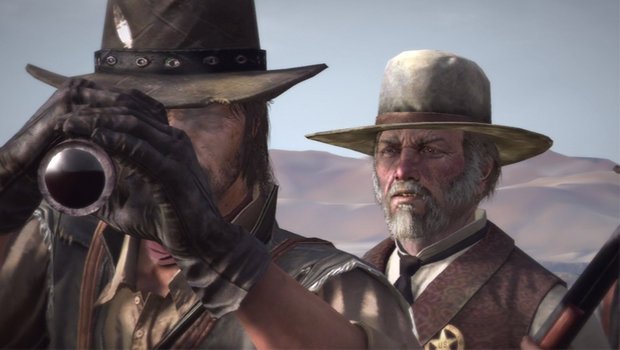
The Assault on Fort Mercer
Marshal Johnson is waiting for your out by Fort Mercer. Meet up with him, and Dickens, Seth, and Irish will soon join you. The plan is to sneak into the fort by way of Trojan Horse. With the gatling gun mounted inside Dickens’ carriage, Seth will open the gate to let the traveling salesman into Fort Mercer. With the bandits caught unaware, John will spring out, and mow every single last gang member down.
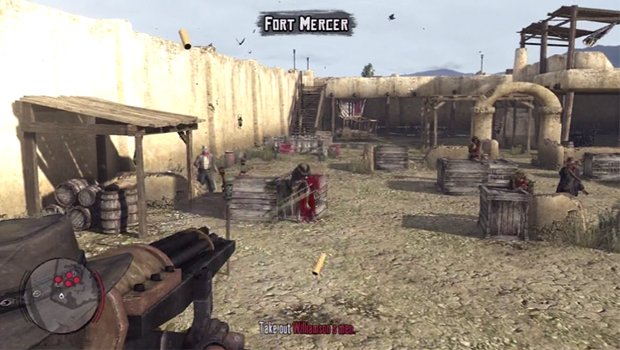
Once the trap is sprung, it’s just a matter of hitting all the bandits with the high-powered machine gun. There’s no limit to the amount of ammo you have, so keep your finger on the trigger until every single last one of Williamson’s men is gunned down. Several waves of bandits will come at you, but they are supremely outmatched compared to the gatling gun.
After you’ve managed to take out a large percentage of the bandits, the Marshal and his men arrive. You and the deputies will have to clear the fort of any remaining bandits while searching for Williamson. Follow the Marshal up the steps, and engage the last remnants of bandit forces from the rooftops. Continue towards the front gate, and follow the Marshal back down to the ground.
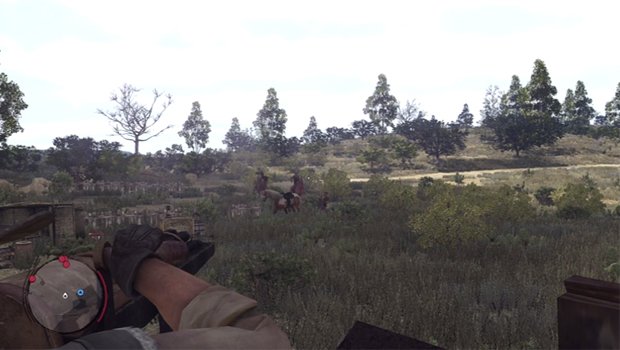
More bandits will come out of hiding once you hit the ground. Keep yourself to cover, as the bandits fire at you from all angles. You’ve still got the sure-handed Marshal and his deputies to help, but most of the dirty work will have to be completed by you at this point. After the dust settles inside, it’s clear Williamson escaped before you could catch him.
The battle isn’t quite over yet though. Dickens returns to warn of more bandit forces approaching the fort. Luckily, you can hop right back into the carriage to use the gatling gun. Four waves of bandits, including one wave with their own high-powered gun wagons will attack. With unlimited ammo though, not many foes stand a chance against Marston behind that gatling gun.
Almost every last one of Williamson’s men has perished, but the Marshal finds one last survivor to interrogate. It seems the man John’s been hunting has fled to Mexico. It’s a good thing Irish can get you there.
Weekly digests, tales from the communities you love, and more


