Monster Hunter World starter guide: everything you need to know to get hunting
Sheathe your weapon to use health potions
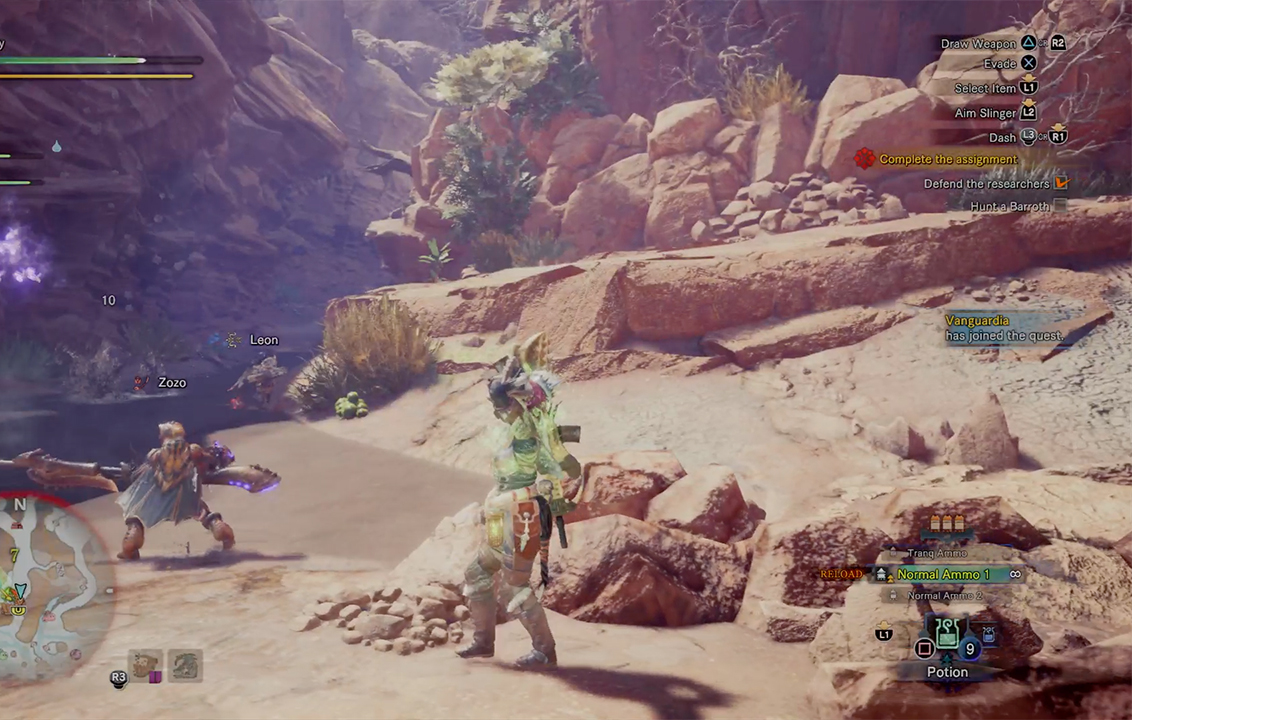
You’re in the middle of battle, your health is dangerously low, but no matter how many times you hammer square your Hunter refuses to gulp down a health potion. That’s probably because your weapons aren’t sheathed. Hunters aren’t particularly good at multi-tasking, evidently, as you have to press R1 to sheathe your weapon before you can gulp down that sweet, green restorative liquid.
Orange numbers = weak spot
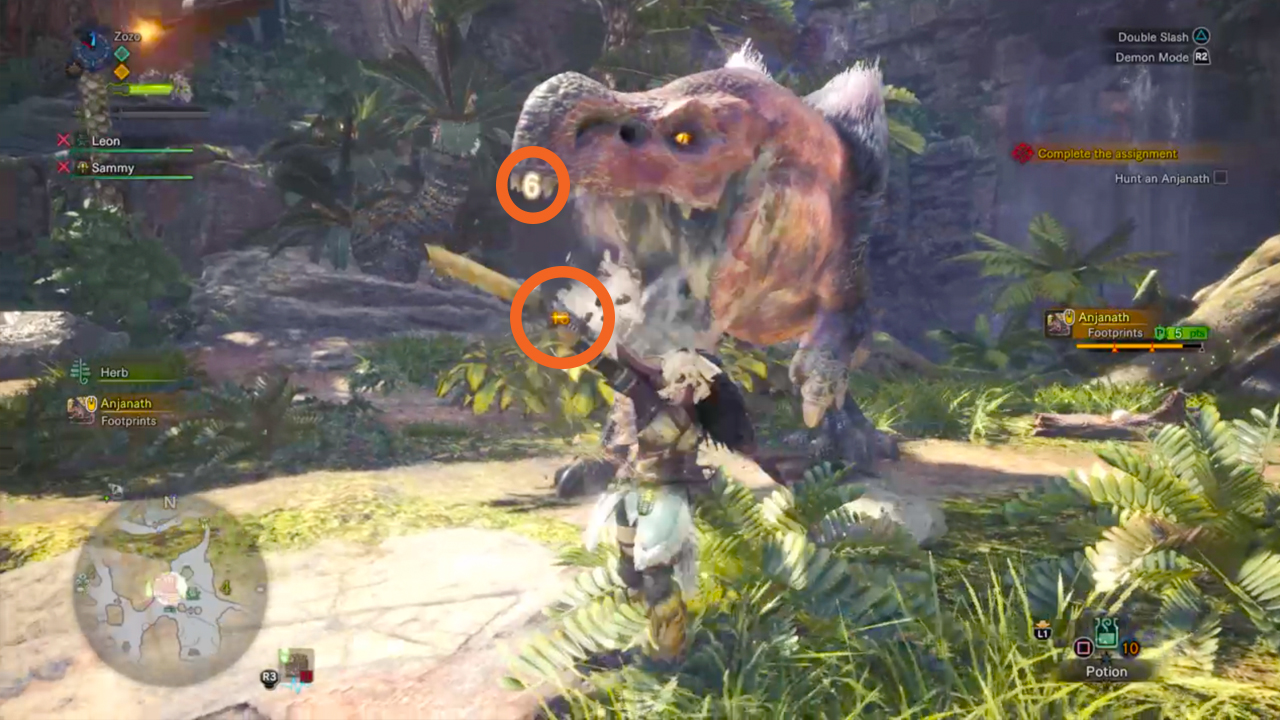
This one is simple: if you start to notice orange numbers popping up when you're attacking some poor (or deadly) creature, it means you've found their weak spot. You're going to want to concentrate your efforts around that area. Every monster has a different one, so be prepared to experiment when you're out on the hunt.
Lock on to your target
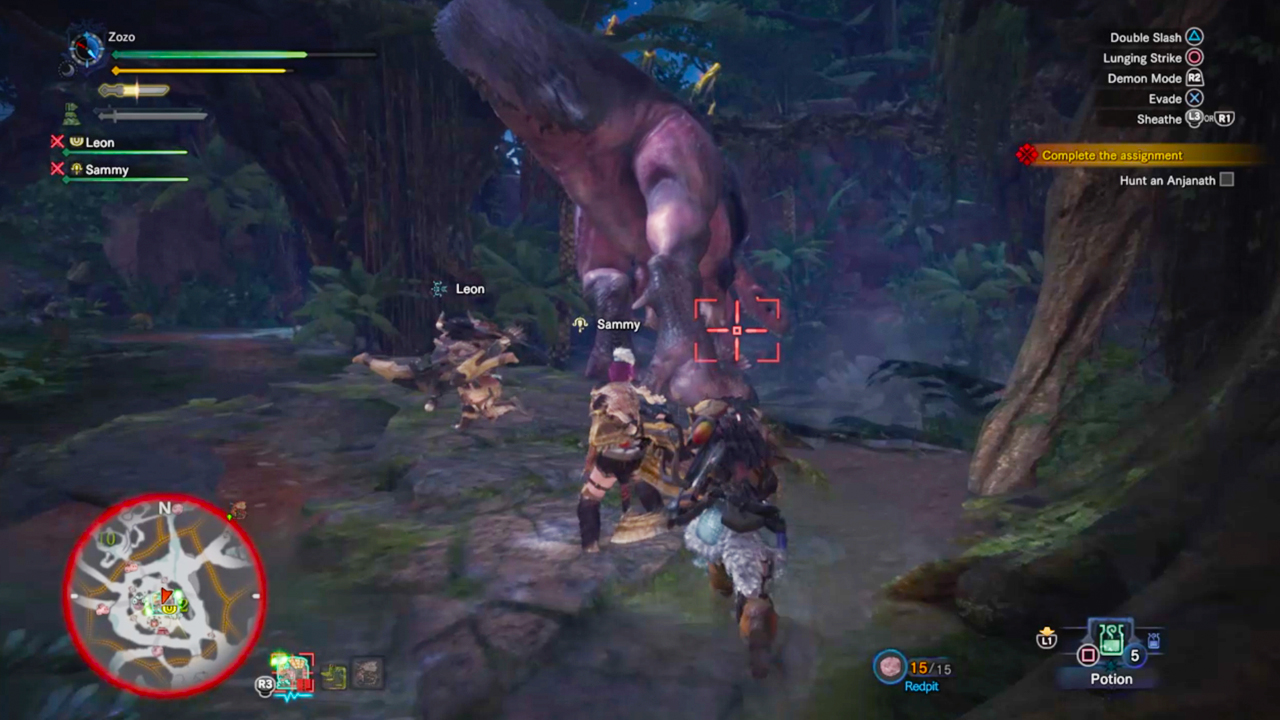
More times than not you'll be fighting a monster that'll jump, leap, charge, run, crouch, and fly all around you. It's an understatement to say it's hard to keep track of where you're attacking when your quarry is so active. Use the lock-on mechanic to make sure that you're always facing the right way. Simply tap R3 and red crosshairs will appear on your target, and the camera will always face their way so you don't lose sight of them.
Article continues belowDon’t forget about your Slinger
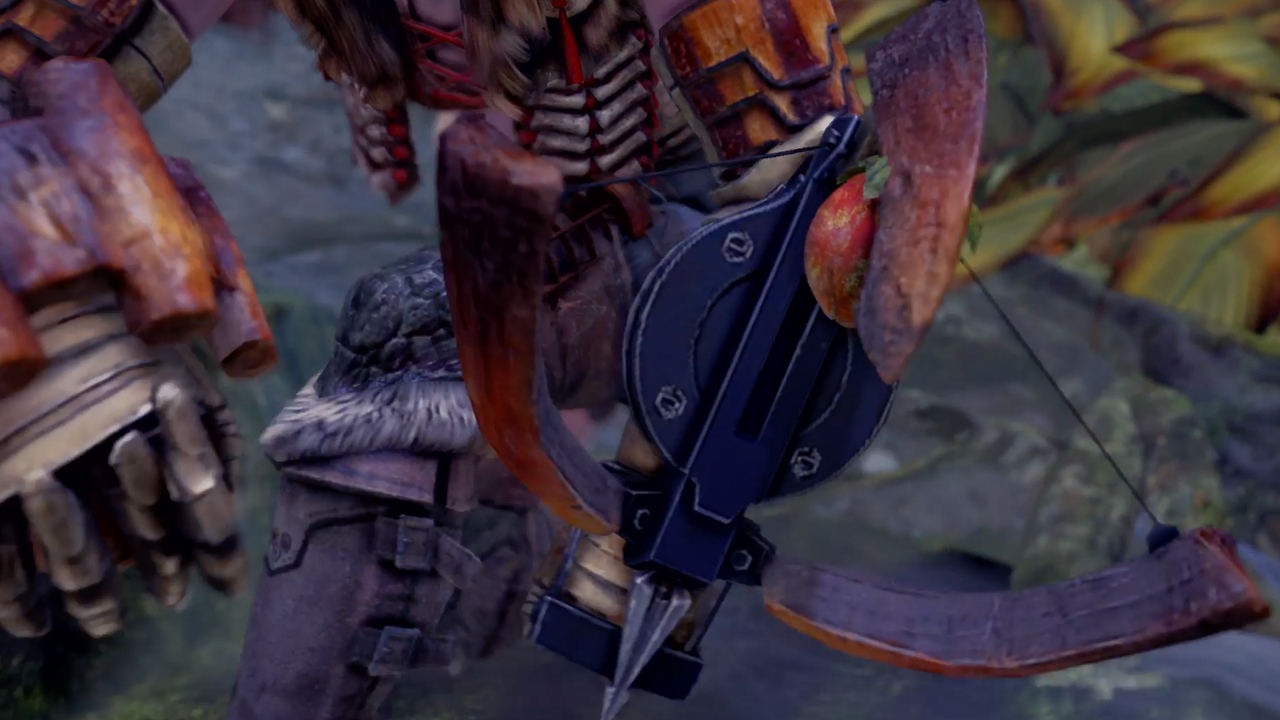
This gadget is easy to overlook, which is surprising considering it’s a giant boney thing attached to your Hunter’s arm. Consider it a slingshot, but not in the David and Goliath sense. Useful mainly for throwing explosive ammo, it’s also a great way to aggro enemies to draw them closer to you, or to distract them from attacking your ranged friend who does a lot of damage at a distance, but is very squishy. Once your weapon is sheathed, press L2 to aim your Slinger and R2 to fire.
Sharpen your blade
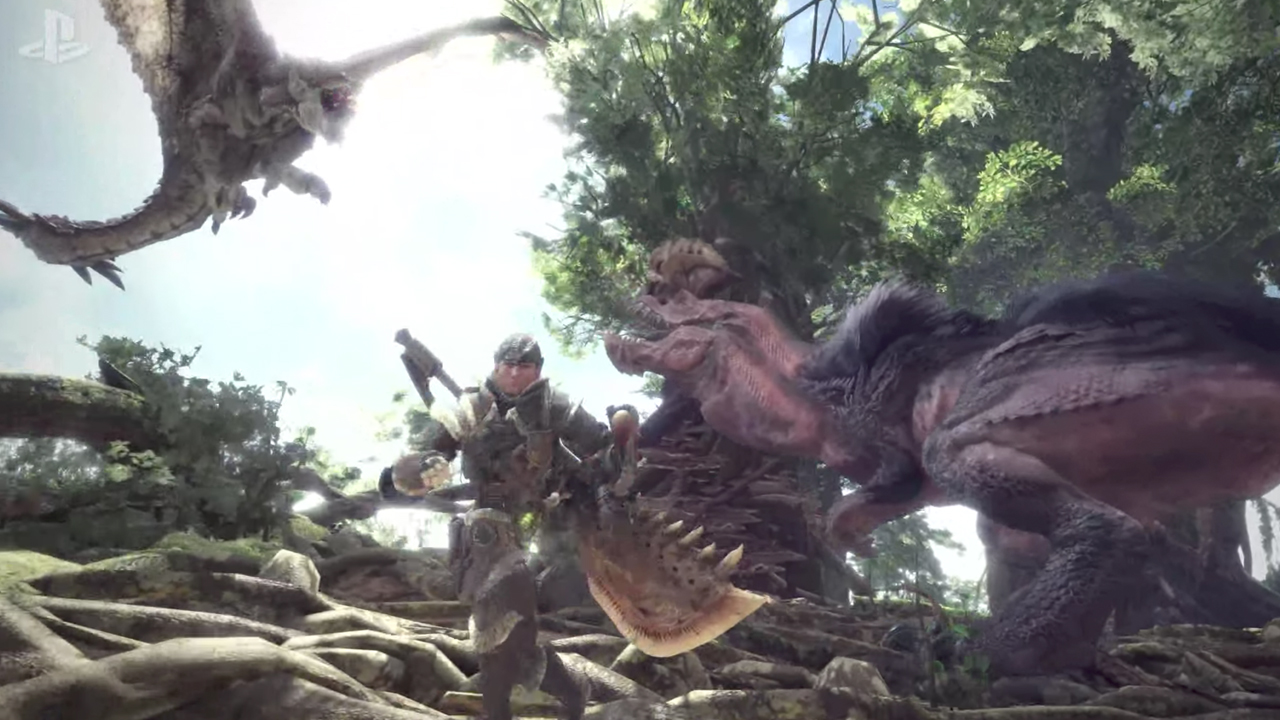
Mid-way through a duel to the death with some sort of monster and you’ll probably begin to notice that you’re not doing as much damage as you were before. Cast your eyes up to the sword in the top left-hand corner. If the yellow bar is low, then your weapon of choice is blunt so its damage will be akin to hitting an enemy with a rolling pin. To fix this, first make sure that you’re out of range of your enemy or at least are far enough away to spare a couple of seconds. Press L1, then on the radial menu select the option which looks like a yellow sword and a rectangle with a small plus above them. That’s a whetstone, and using it on your weapon will sharpen it again and restore the amount of damage it does to max. If you’re using a ranged weapon, the good news is that you don’t have to sharpen it. You do have to reload, though.
Skulls mean your fight is almost over
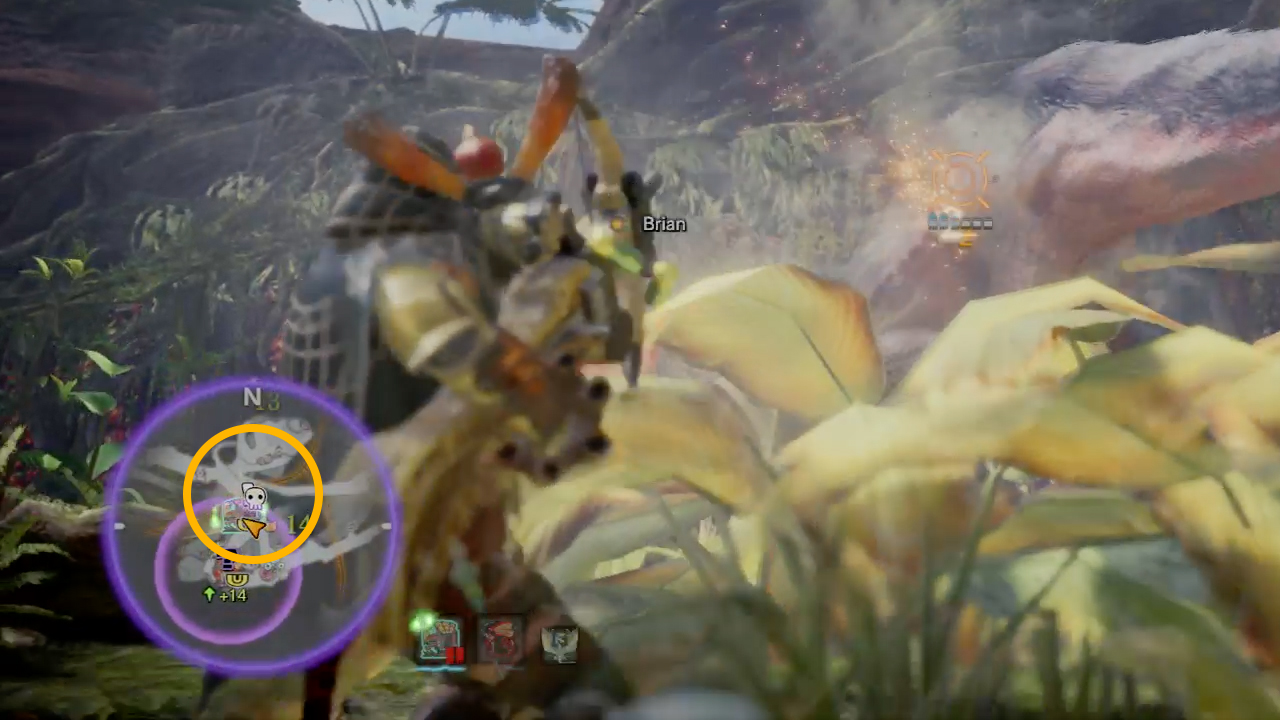
Battles can sometimes feel like they last forever. As there’s no health bar hovering above the monster you’re fighting, it’s difficult to know just how close you are to seeing its death throes. But persevere, and eventually you’ll see a skull appear on the map next to the monster’s icon. Unsurprisingly, this means that the creature is almost dead. If you don’t want to keep opening the map mid-fight to check if it’s almost there yet, just keep an eye on the mini-map in the bottom left-hand corner. It’ll show you the area around where you are with an arrow, along with - unless you’ve devised some kind of way to hit the monster from the other side of the map - also show the monster’s icon when it’s near you.
Don’t be afraid to send out an SOS flare
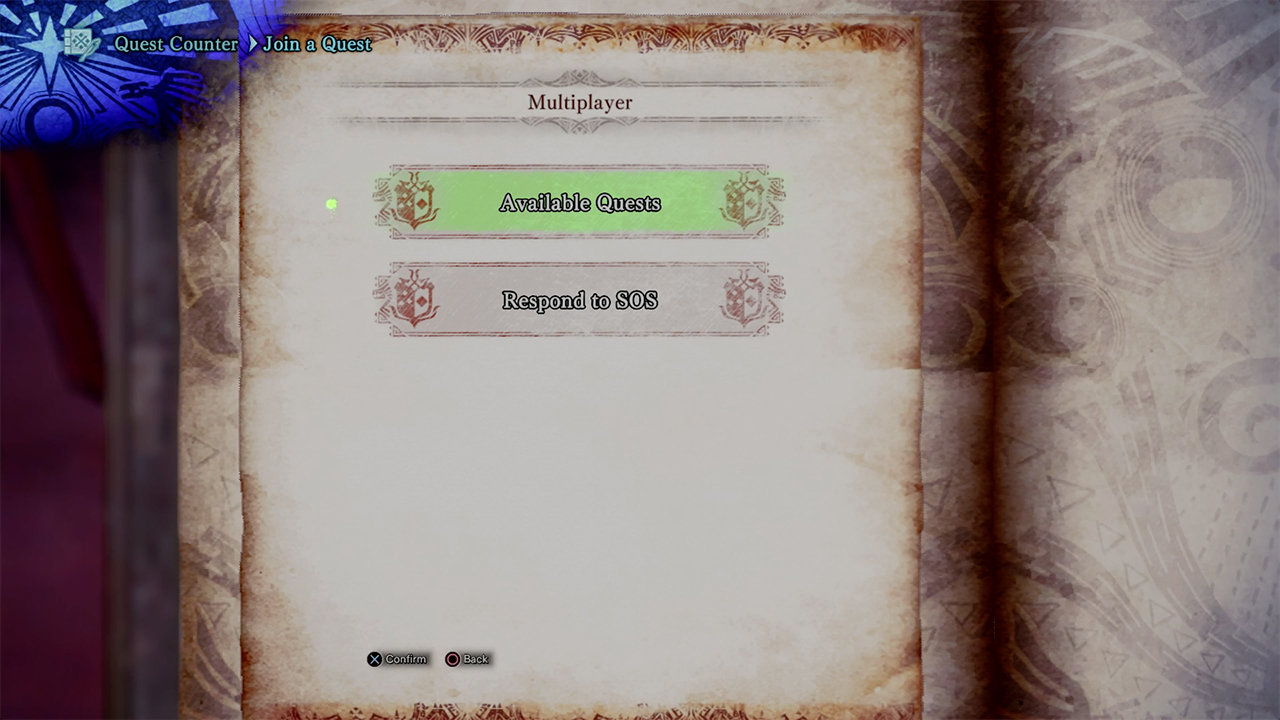
The monsters in Monster Hunter World really don’t hold back. When your health is low and you’re getting pummelled, there’s absolutely no shame in sending out an SOS flare. It’ll alert online players to your dire circumstances, and they can come and help you fight the beast. Send out a flare by getting your menu up, then go to Quest, and then to Fire a SOS flare. In no time you’ll have some charitable souls fighting by your side. Now isn’t that wholesome?
Weekly digests, tales from the communities you love, and more
Attack from above whenever you can
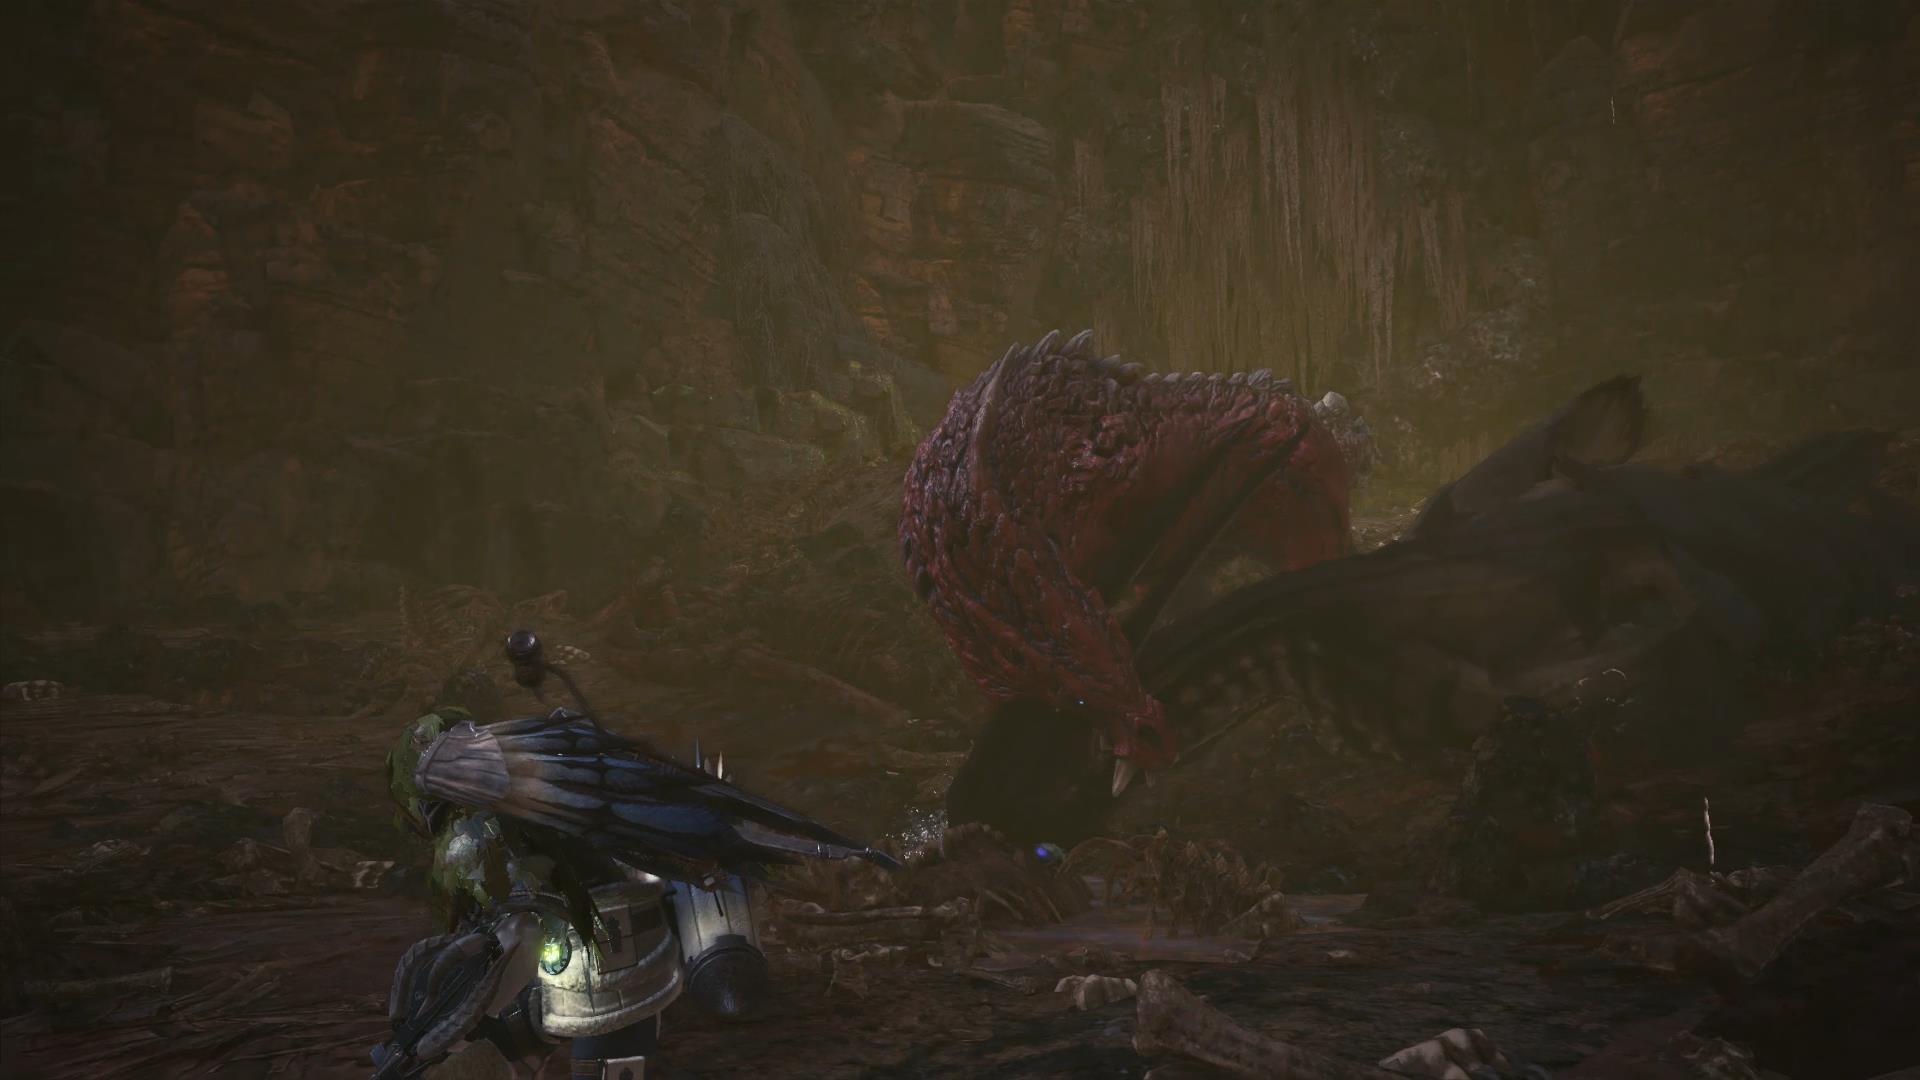
Monsters, despite their general bulk, leap up and down slopes with surprising ease. When they’re below you - like when they’ve just jumped down off a ledge, or when you’re making your way down a steep slope to get to them - make sure your weapons are unsheathed, then jump. You’ll have a chance of mounting the monster, which will begin a quick minigame where you’ll have to try to hold on tight, and then intermittently attack it from above. At first you’ll get button prompts (often involving mashing circle and triangle). However, after the first handful of times you mount a beast these prompts will disappear, leaving you to read the monster’s behaviour to decide when you should cling on for dear life and when you should attack.
Check your Hunter Notes to learn more about creature weak spots and weaknesses
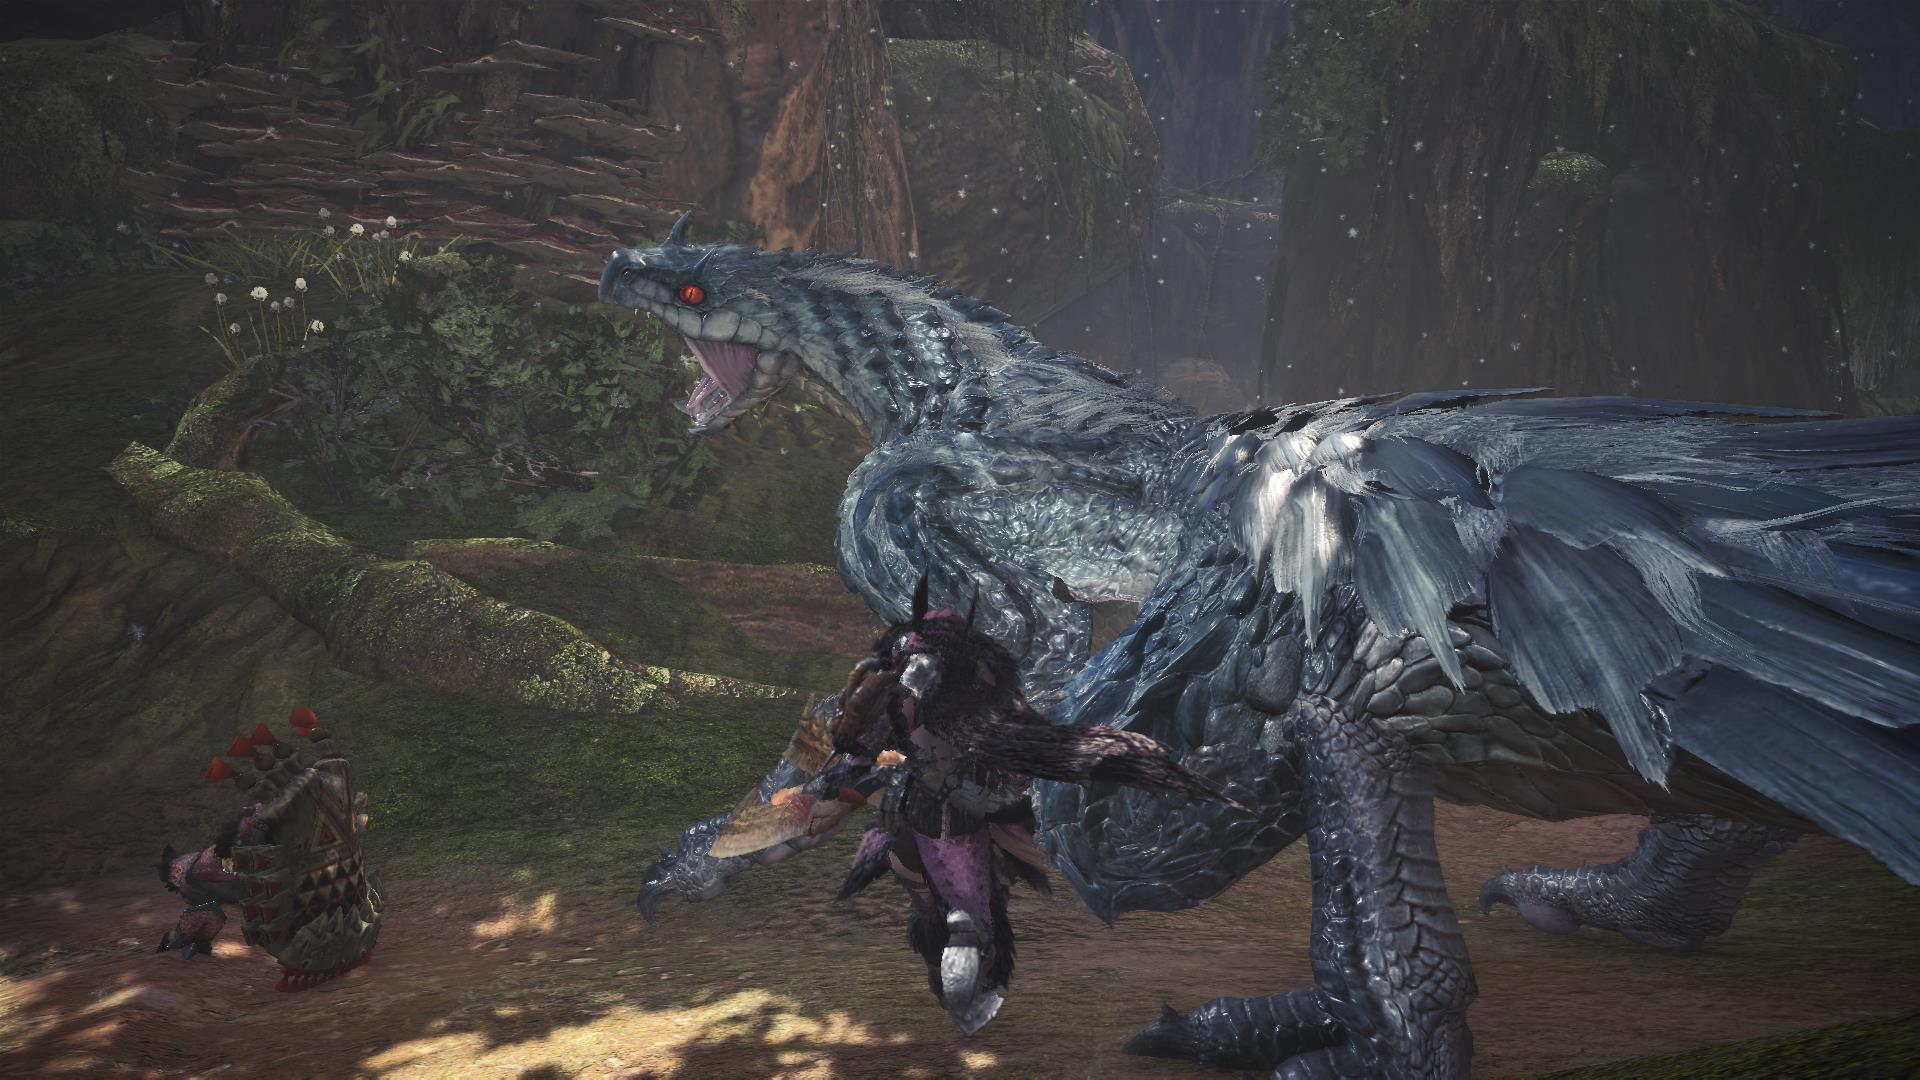
You know all those tracks you’ve sniffed, the feathers you’ve grabbed out of the mud and the mucus you’ve scraped from branches? Well that’s not just a load of stuff you’ve got rattling around in your hunter pockets - if you even have them - it’s in fact all contributing towards your research level for each monster, and it’s all updating your Hunter Notes when you get back to base. This is basically your Monster Bible, and the more research you do, the more information you’ll get about each one, including the best places to poke them with your sword, elemental weaknesses and more. You can access your Hunter Notes by going to your pause menu and it’s in the Info tab.

While here at GamesRadar, Zoe was a features writer and video presenter for us. She's since flown the coop and gone on to work at Eurogamer where she's a video producer, and also runs her own Twitch and YouTube channels. She specialises in huge open-world games, true crime, and lore deep-dives.

 Join The Community


