Monster Hunter World starter guide: everything you need to know to get hunting
While the latest game might be the the best way to get into the series yet, a Monster Hunter World starter guide is still handy if you're new to the series on PC, PS4, and Xbox One. While a lot of the series' complexity has been streamlined to make for a better experience in general, you’re still going to need a hand getting to grips with some of the hunting essentials. Which is where we come in.
As such, if you're a series newcomer - and particularly if you're playing solo, without a hunting squad to bounce ideas off - you're likely to find things a bit intimidating once you're past the barnstorming cinematic opening and into the game proper. Monster Hunter's combat is a deep, richly nuanced, and immensely gratifying affair, full of secrets, details, and evolutions to discover and master tens of hours into the game. Weapon classes, upgrade trees, items, and abilities offer unfathomable strategy for months on end. And all of it is couched within menu upon menu of dense, glorious stats. You'll live and breath this stuff before long, but at first it's all going to feel a little impenetrable.
So let us get you over that initial hump. By the time you're taking on the wonders and horrors of High Rank play, decked out in resplendent dino-skeleton armour and rocking a super-specialised heavy gunner build, you'll look back at these naive days and laugh. But right now, you really need this Monster Hunter World starter guide. Trust me. And if you're already looking for something more advanced, check out our big bounty of higher-level Monster Hunter World tips designed for the experienced hunter.
- Monster Hunter World weapons guide
- Monster Hunter World guide
- How to play online with your friends in Monster Hunter World
Monster Hunter World starter weapons
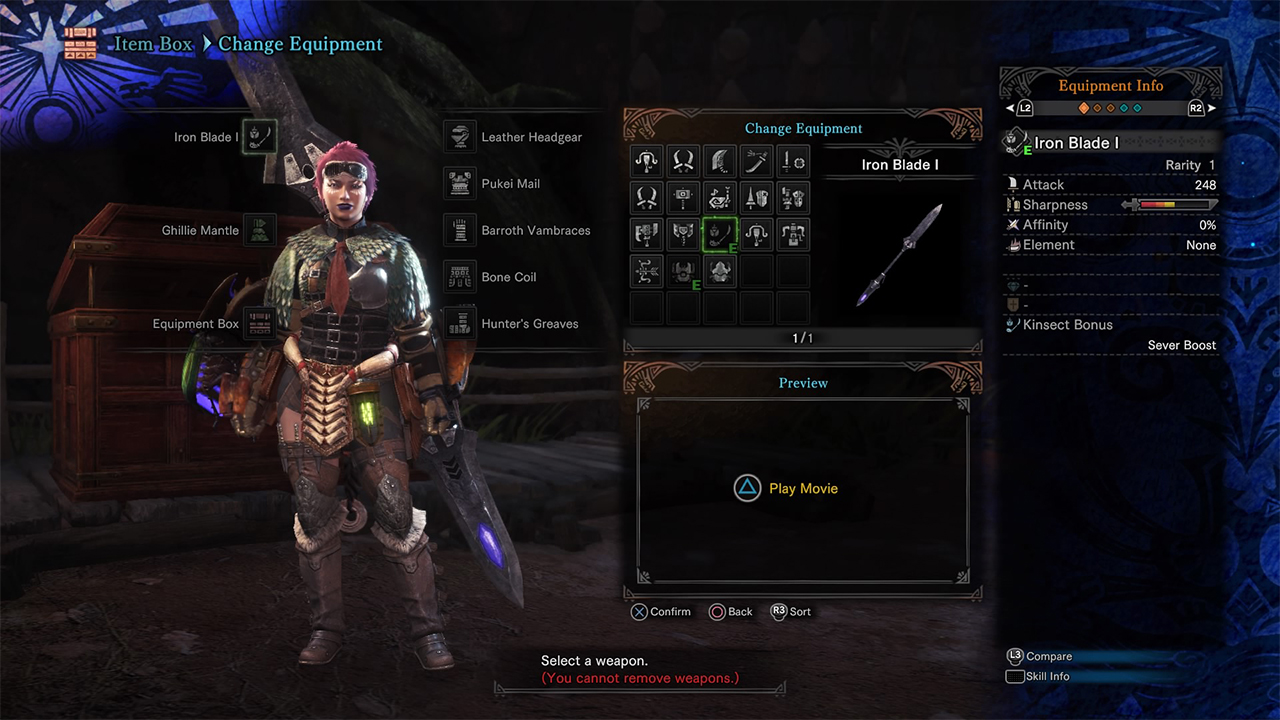
When you start off in Monster Hunter World, the choice of weapons is slightly overwhelming. No surprise considering there’s a grand total of 14 weapons to choose from. But instead of picking the one that looks like it’d make a monster cry at the mere sight of it, there are only a few that are suited to beginners. First off, the Dual Blades are probably your best bet if you’ve never played a Monster Hunter before. Quick, with a respectable amount of damage, they let you get in and out of fights incredibly fast and let you go into demon mode if you press R2. Once the sword in the top left is charged up, hit R2 to unleash it, which’ll boost your damage, change your dodge to a dash and help you resist knockback.
Getting up close and personal isn’t for everyone though. For those that prefer to hunt from afar (while your adorable Palico takes all the aggro), try the Light Bowgun. You aim it just like a gun with L2, and fire with R2. Remember to vary your ammo though, which you do by tapping up or down on the D-pad. Each one has special effects suited for all the different fights you’ll go on; a couple on offer are piercing for monsters with an especially tough hide, sticky that stick (duh) onto their target and then explode, plus there’s even a healing ammo that you can fire at allies to boost their health. Press circle to stick an mine-like flare in the ground that either you or allies can shoot to make it explode, dealing a ton of damage to whichever unlucky creature happens to be nearby.
Hovering perfectly between the two is the Insect Glaive. It does take a bit of practise to master, but even when you pick it up for the first time you’ll still be able to use its terrific buffs and dash in and out of combat thanks to its phenomenally quick melee. Basically it’s a vaulting pole with a blade on one end, and lets you send out an insect (called a Kinsect) to help you out. Aiming with L2 and firing with R2 sends out your Kinsect which’ll extract resources from the monster you’re attacking and return to give you either healing, attack, defence, or movement speed bonuses. Combo up R2 and X and you’ll be jumping around with your aerial attacks, which occasionally let you mount a monster and attack from above (more on that below).
The Monster Hunter World weapon tree is easier than it looks
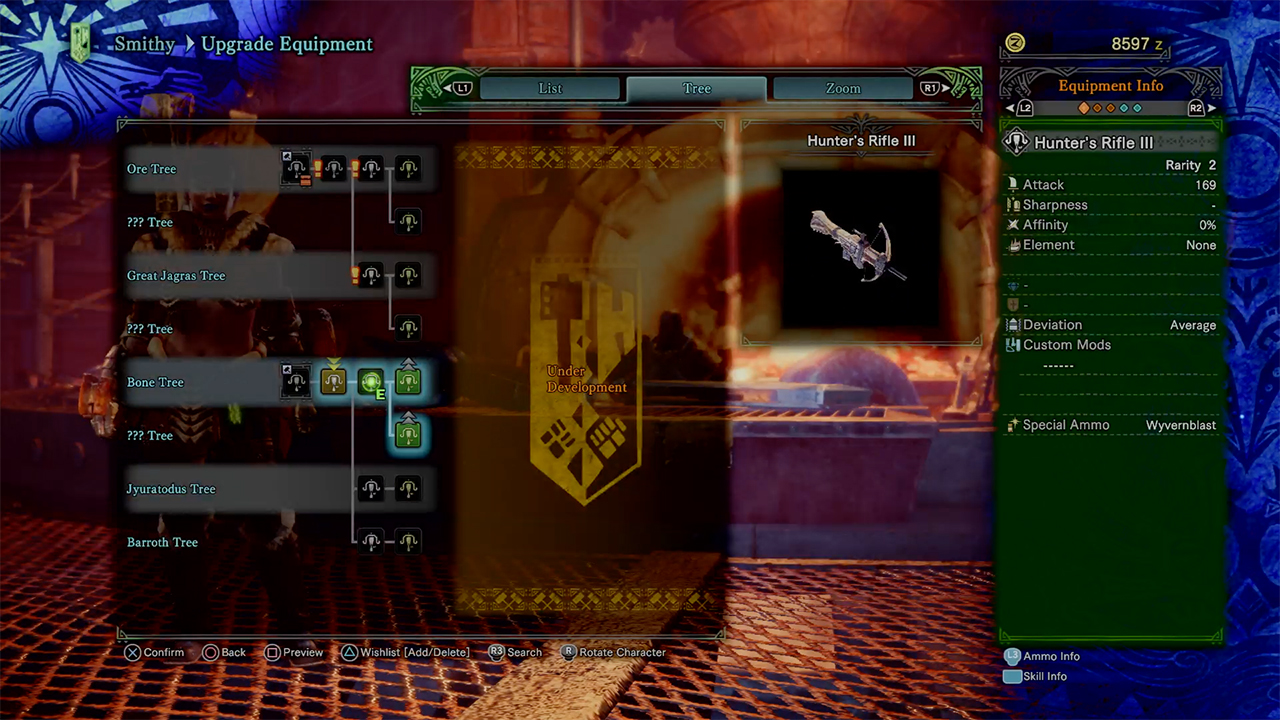
So, you’ve chosen your weapon. You’ve decided you like it. Now you want to make sure it’s the best version of itself it can possibly be (much like something a motivational speaker would say). Time to look at the weapon tree. Make sure when you’re out and about you collect everything - and I mean everything - in sight. You’ll need bone, ores, crystals, and all kinds of resources to upgrade your weapons. Once you’re back from a hunt, it’s a simple case of going to the Workshop and seeing which potential upgrades are highlighted, or making a note of the resources you need to reach the next tier.
The two classes of weapon materials that you’ll get to know soonest are Ore and Bone. As you’ll start off with metal weapons, the Ore weapons will be the one you’re upgrading first. You can upgrade these by mining the outcroppings of blue ore that you’ll see on your travels. It’s only after you’ve hunted your first Great Jagras (and harvested its bones) that you’ll be able to craft bone weapons and access that part of the upgrade tree. The bigger monsters you fight, the more types of Bone weapons you’ll be able to craft, which will do more damage so you can fight the bigger monsters, which’ll give you more bones to craft better weapons...you get the idea.
Which armor is best for beginners?
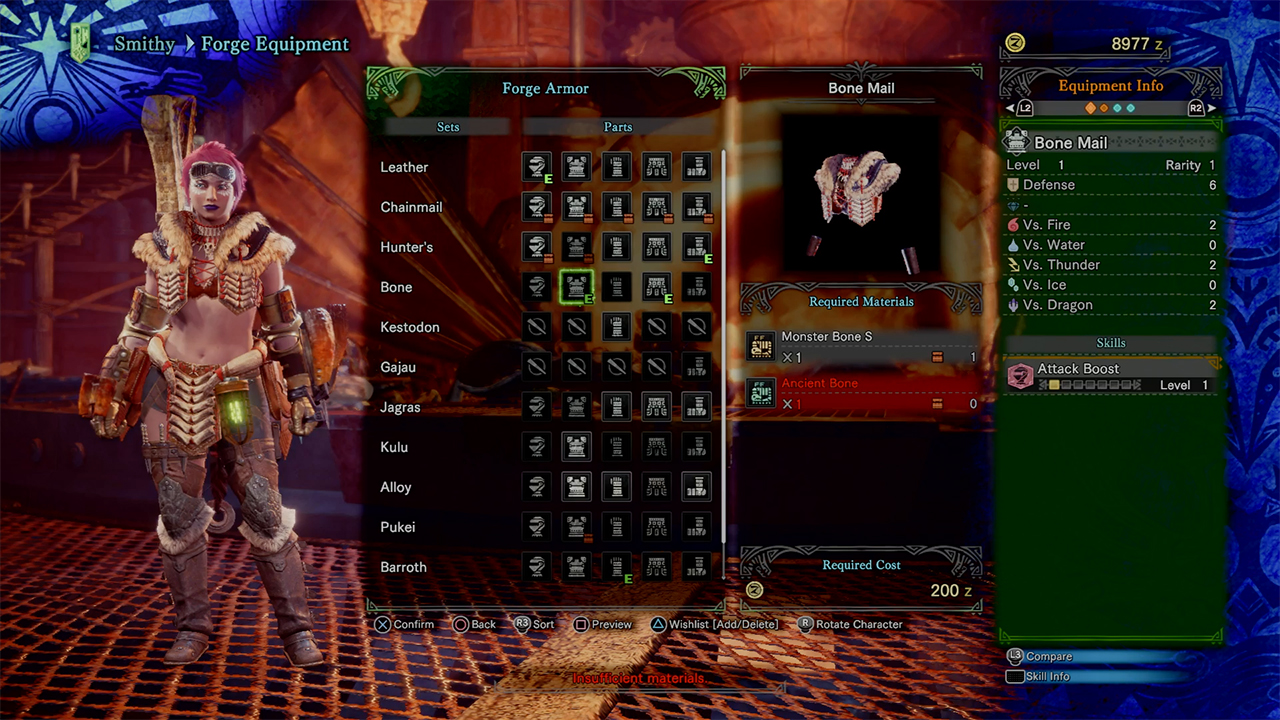
When you first create your character, you’ll have to choose between leather or chainmail armor. Rather than being traditionally light and heavy armor, they’re actually defined by the type of elemental resistance they offer. Leather will reduce the amount of damage you take from fire, and chainmail will do the same for water. If you’re having trouble beating a specific monster, it’s also worth checking that the armour you’re wearing isn’t susceptible to its type of elemental damage.
You’ll want to upgrade any armour you have when you have the chance, as you’ll hang onto them for a while. Switching up which one you’re wearing depending on who you’re fighting is a must. Bone is a good all-rounder, which you’ll be able to craft quickly if you find enough bone piles on your travels. Slay the same beasts time and time again and you’ll build up a pile of their materials, which lets you craft entire specialised armor sets. You’ll want them not only for their increasing stats, but also for the fact that they look like they’ve come off an avant-garde catwalk.
- Monster Hunter World armor skills explained
- How to quickly understand Monster Hunter World (especially if you’re a Destiny player)
- Monster Hunter World monsters guide
Use the training room to test out your weapons
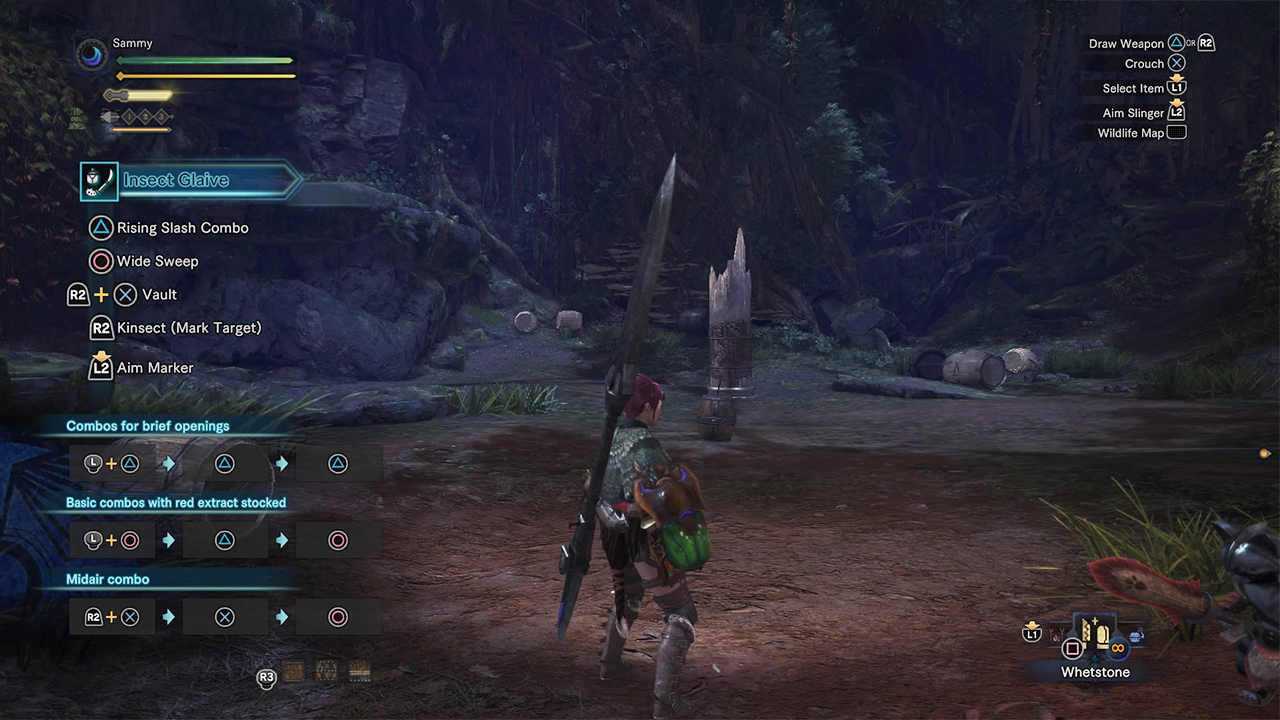
Like I said above, there’s so many weapons to choose from, and ideally you don’t want to find out that you’re not too fond of one halfway through a fight with a really angry Anganath. Make sure to head into the Training Area (it’s in your room, overseen by the Palico Housekeeper). There you can practise with your weapon of choice, using it to attack the central wooden tower and the various barrels to decide whether it’s for you.
Master those combat controls
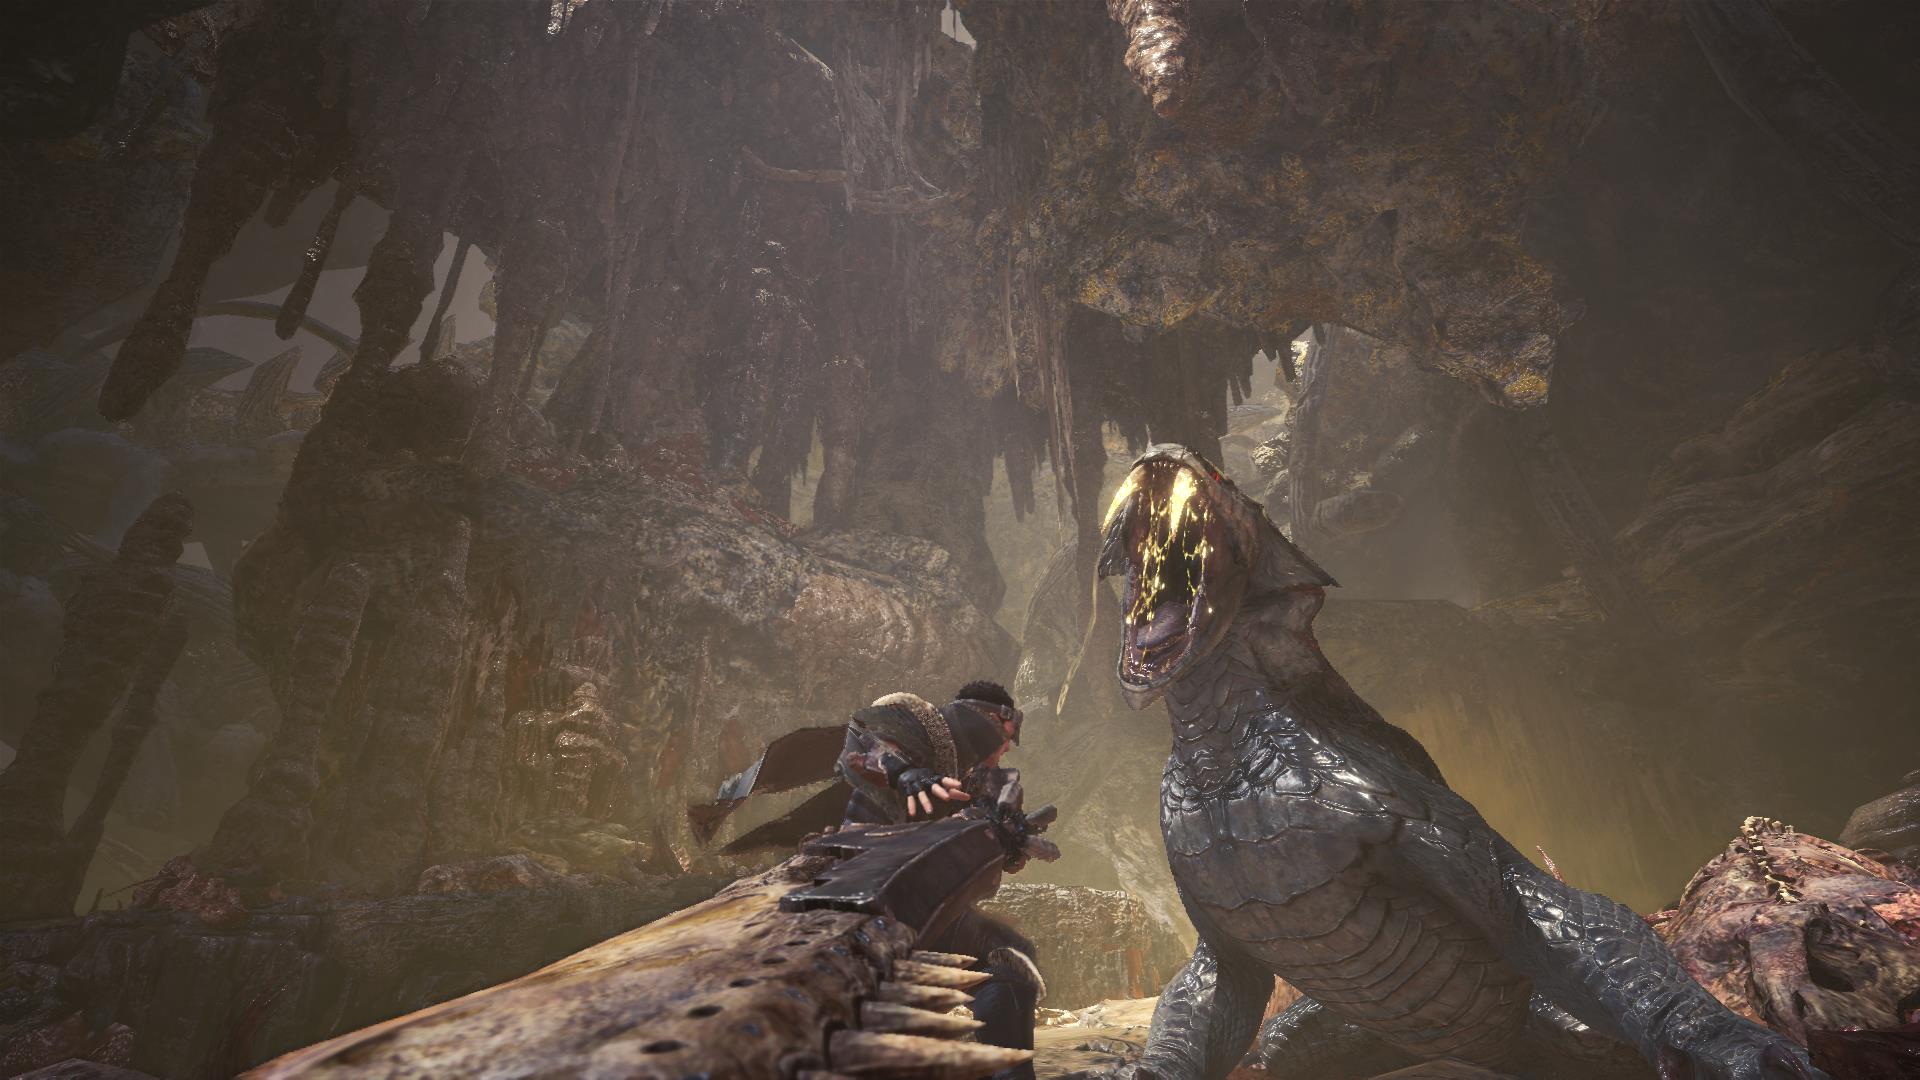
Helpfully, you don’t explicitly get told which buttons to smash during combat (was the sarcasm heavy enough there?). So, R2 is generally your special attack for whichever weapon you’re wielding. You’ll want to hold down R2 and simultaneously press X, circle, or triangle to perform those special attacks. When you’re just fighting normally you should stick to circle (strong attack) and triangle (standard attack), and mix up the order in which you press the buttons to execute hard-hitting combos. Careful, though: R1 sheathes your weapon, so you don’t want to press it accidentally during combat.
Current page: Monster Hunter World starter weapons and armor
Next Page Preparing for the huntWeekly digests, tales from the communities you love, and more
While here at GamesRadar, Zoe was a features writer and video presenter for us. She's since flown the coop and gone on to work at Eurogamer where she's a video producer, and also runs her own Twitch and YouTube channels. She specialises in huge open-world games, true crime, and lore deep-dives.


