
 Join The Community


The Grounded Upper Yard marks the beginning of the game's second act and the beginning of a new layer of challenge, where players will have access to the deadlier threats and greater resources - as well as whole new chapters of the narrative to contend with. There's two official ways to make it up to the Upper Yard, and a third option for the more industrious player - all of which we've laid out below in our guide on how to get to the Upper Yard in Grounded!
All Grounded Upper Yard routes and how to use them
With two official routes into the Upper Yard - one literally called the Upper Yard Ascent on the map - and a third option for cunning players, we'll lay out how to reach them below.
- Upper Yard Ascent (West). This option requires explosives - there's a root-filled gap in the wall to the West of the Frankenline Toy and North of the Garden Gnome that can be climbed up. From there, you go through the toppled barbecue, past the Wolf Spiders, towards the shed.
- Past the Hedge (East). On the Eastern wall of the map, North of the Hedge, is a small lab-tunnel that allows you to reach the higher step - one crawling with Orb Weaver Spiders. If you're lucky and careful, you can grass-parkour (as outlined in our Grounded tips), and up onto the next step. Then you just head North towards the toy castle.
- Build your own route (anywhere). Considering the Upper Yard is blocked off by a high wall, players can always go constructive, and build stairs, ladders or trampolines anywhere along it to scale the wall. It's worth doing - you might have to be going up and down a lot.
Before moving on, why not consider getting the Grounded Minotaur Maze Key?
Below I'll cover each of these options in more details - each one can be more than a little dangerous if not handled correctly - but whichever one you do, armour up. The Upper Yard is the official Late-Game area, full of spiders, fire ants, beetles, ladybirds, tiger mosquitos, termites, ticks and far more besides, not to mention some lethal boss fights. Make sure you're protected and have Grounded weapons of at least tier 2 (as well as making preparations for tier 3 once you're there).

You might also want to consider bringing the basics for building a new base - if you can find one of the few safe areas, setting up a second home might be a good idea. In a way, it's a lot like when you were considering what to do after the Grounded Hedge Lab - take a moment to stop and evaluate your situation before pressing on to even harder areas.
Of course, if you're looking for places to build a base there, we recommend near the Grounded MIXR Modules and Javamatic, the pipes with glowing purple sections in the center-north of the map, East of the shed. It's relatively safe, there's lots of resources - and you'll have to put a lot of your focus here later for the related quest.
Grounded Upper Yard Ascent location and West route


Want some cute Grounded pets, like Aphids, Gnats and Weevils? Check how to get them here!
The West route to the Upper Yard - the Upper Yard Ascent - is marked on the map above, and an explosive will clear the rock that blocks the gap permanently. But there's still a little further to go before you're in the Upper Yard proper.
Once up the ascent, you need to head West and through the ashy wasteland left by the toppled barbecue, but be careful! This area is full of prowling Wolf Spiders, not to mention the leftover coals create a heat effect that can damage players. Antlion Armor and the Quesadillantlion meal will reduce this effect substantially, and allow you to gather some of the charcoal, used for both weapons, tools and structures (though you'll need a tier 2 busting tool to crack them). Either way, climb up the spilt ash and you'll be in the Upper Yard, South of the shed.
Grounded East Hedge Route to the Upper Yard

The East Route to the Upper Yard is shorter, but less reliable - and barely safer. Head from the Northern hedge to the wall blocking you off, and there'll be a lab door set into it. That'll open and reveal a tunnel going upwards to take you to the next level. Head forwards and there'll be a grassy area full of Orb Weaver Spiders until you reach the wall ahead.
This is where things get tricky - the grass that grows here can grow in such a way that you can jump up and across it onto the next step, but you're ultimately relying on the good fortune of the game engine here - plus it might take you a few attempts, and each time you fall you risk getting mauled by spiders.
However, if you do make it, basically just keep going North, hugging the lefthand wall past the Grounded Castle Moldorc Playset toy. You're technically in the Upper Yard already, so be careful - this is a dangerous area and there's going to be Tiger Mosquitos, Ticks and even a prowling Black Widow and her spiderlings around, if you go under the rocks near the garden fence.
How to build a path to the Upper Yard in Grounded

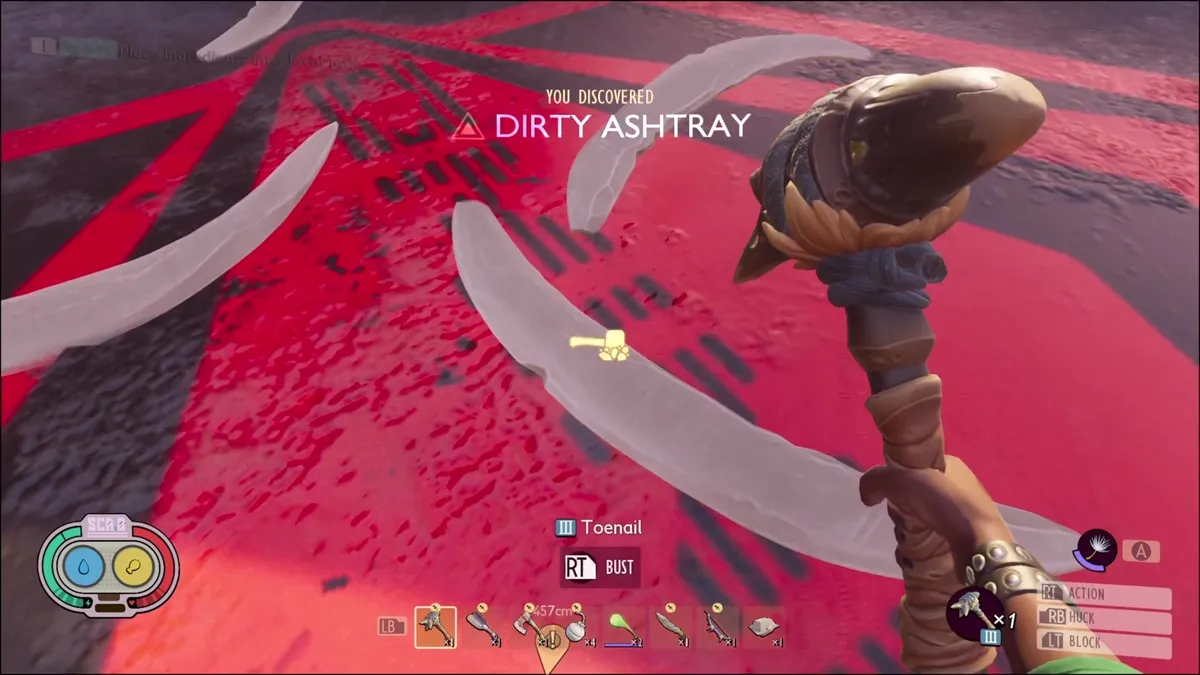
Gross as they are, there's a lot of value to Grounded toenails - check out where to find them here!
If you're building your own path, you can basically do it anywhere but I recommend somewhere with as few enemies as possible, and close to any existing bases you have for an easy commute. There's a few villainous bugs around, but try the Northwest corner of the Pond as a starting point. You'll need grass and materials to build, so you can't go too remote.
From there, work on stairs, trampolines, ladders and whatever else you have unlocked. Getting up is all that matters (getting down is easy if you have a dandelion tuft), so build yourself a reasonably structurally-sound path and make sure to prod it with a Repair Tool every now and again to make sure it holds up. Having some friends aid you in Grounded multiplayer mode will make it even more efficient as a process.
At this point you have the Upper Yard to conquer. For help with the quests, check out how to find how to find Wendell Tully's SCAB in Grounded here, or find out the Grounded Shed Lab location here! If you're progressing with the campaign, you'll need to know both.
© GamesRadar+. Not to be reproduced without permission

