Grounded MIXR modules and Javamatic defense guide
How to defend the MIX.R modules and pipes from the ORC insects in Grounded's final mission, "Troubles Brewin'"
Weekly digests, tales from the communities you love, and more
You are now subscribed
Your newsletter sign-up was successful
Want to add more newsletters?
Join the club
Get full access to premium articles, exclusive features and a growing list of member rewards.
The Grounded MIXR Modules on the Javamatic have to be defended during the game's finale, Trouble Brewin', with dozens of ORC bugs coming in to ruin them - and with them, your only chance of escape. You'll have to defend those modules and yourself, using a mixture of firepower, construction and clever thinking, or else have to repeat the whole process from scratch. If you're finding it difficult - and quite frankly, why wouldn't you - we can explain how to defend the MIXR modules in Grounded and stop the ORC insects from breaking the Javamatic.
How to defend the MIX.R modules in Grounded
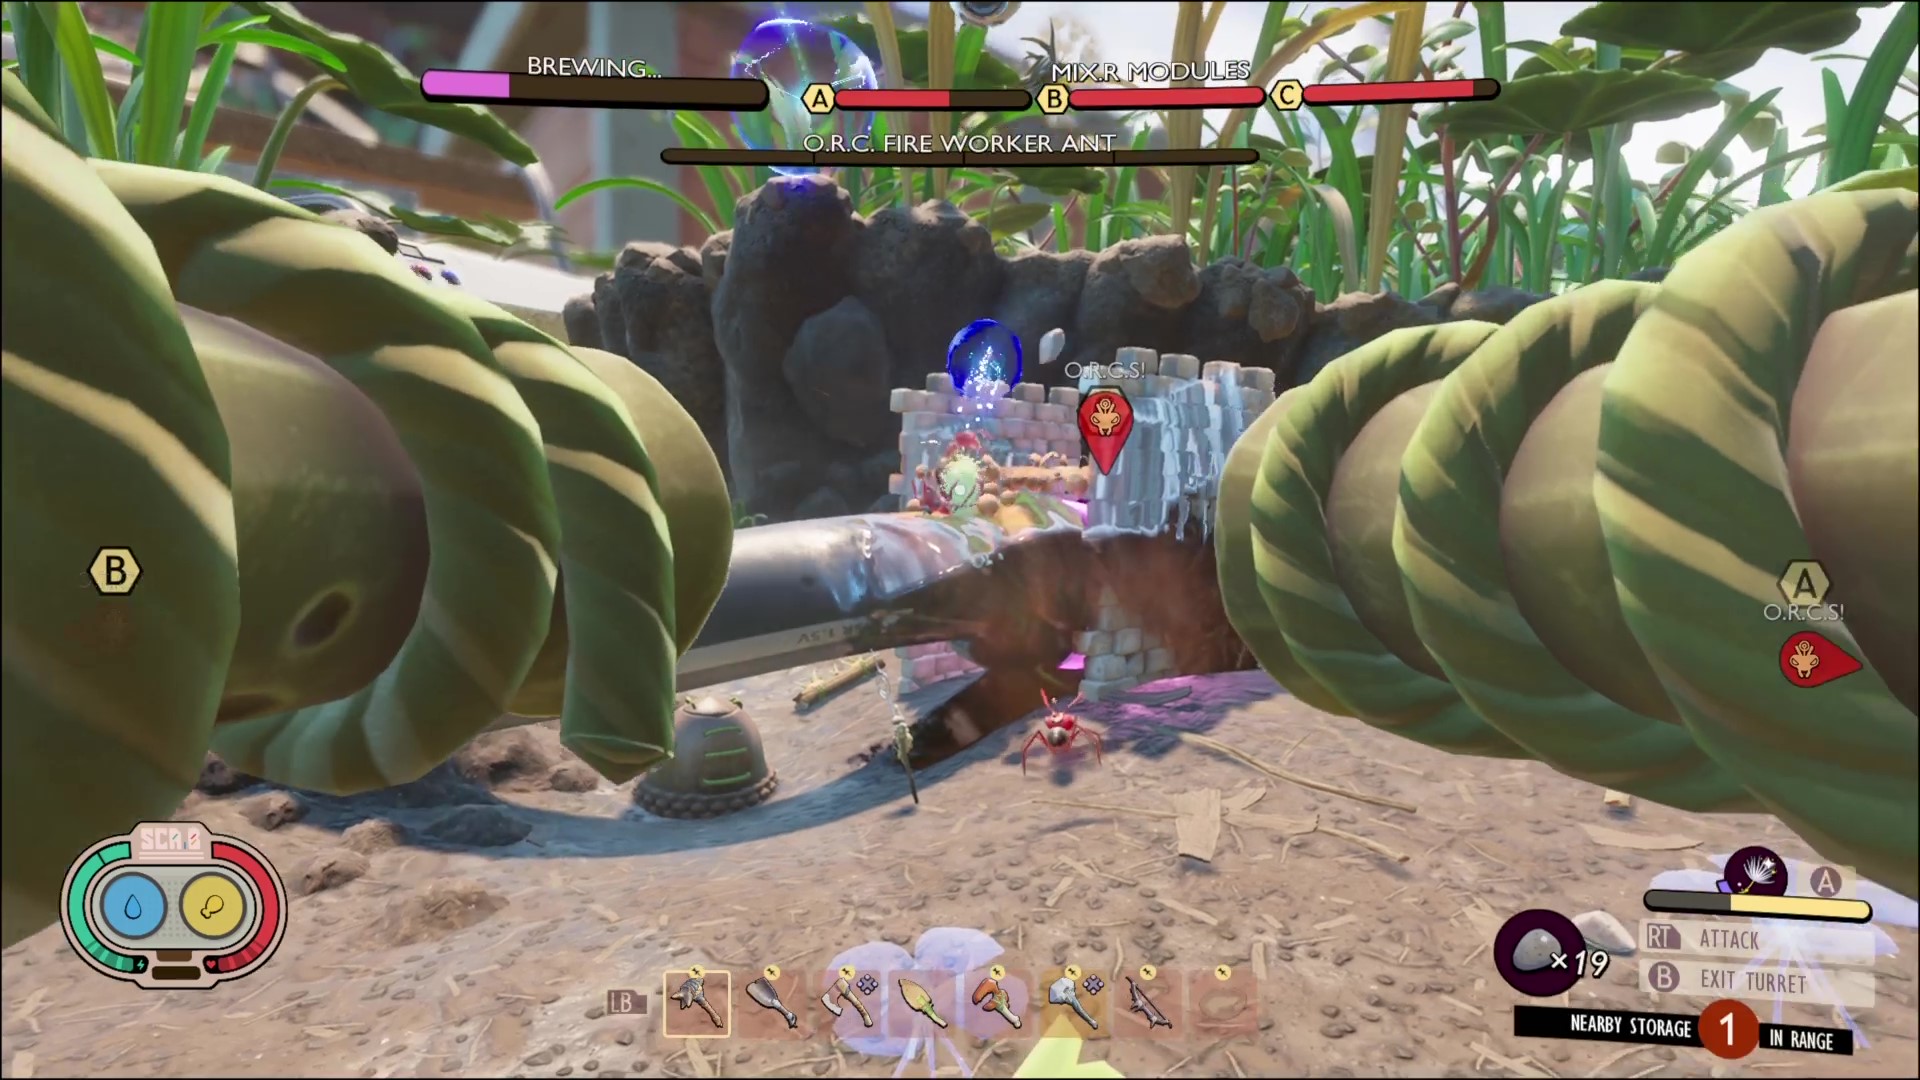
To successfully defend the MIXR modules on the Javamatic from the ORCs in Grounded, players need to both prepare substantially, and fight back the horde while the mission is active - doing only one or the other won't be enough to allow the Javamatic to successfully make the Embiggening Cocktail, so we'll explain both elements below. In fact, we've broken up everything you can do to help boost your chances of success into the following list.
- Fully repair the MIXR modules each time
- Build defenses around the MIXR modules, including both means of attack and protection
- Find and loot the Javamatic Storage Facility, where Tully keeps his resources
- Find the Ominent secret Lab where the ORCs are coming from
- Use careful tactics and optimal weaponry during the actual defense of the modules
You can click on any of these elements to find out more about them, or scroll down. There are two things to remember here - first of all, don't just keep trying, as the ORC bugs will destroy your defences each time and you'll have to rebuild from scratch - not easy anywhere, and especially in the perils of the Grounded Upper Yard. Secondly, this is one of those missions that's fairly weighted in favour of teams and Grounded multiplayer, so players going through the game solo will have to work twice as hard to even the odds. Still, let's go through the basics, because you can do it, even on your own.
Article continues belowHow to repair the MIXR modules in Grounded
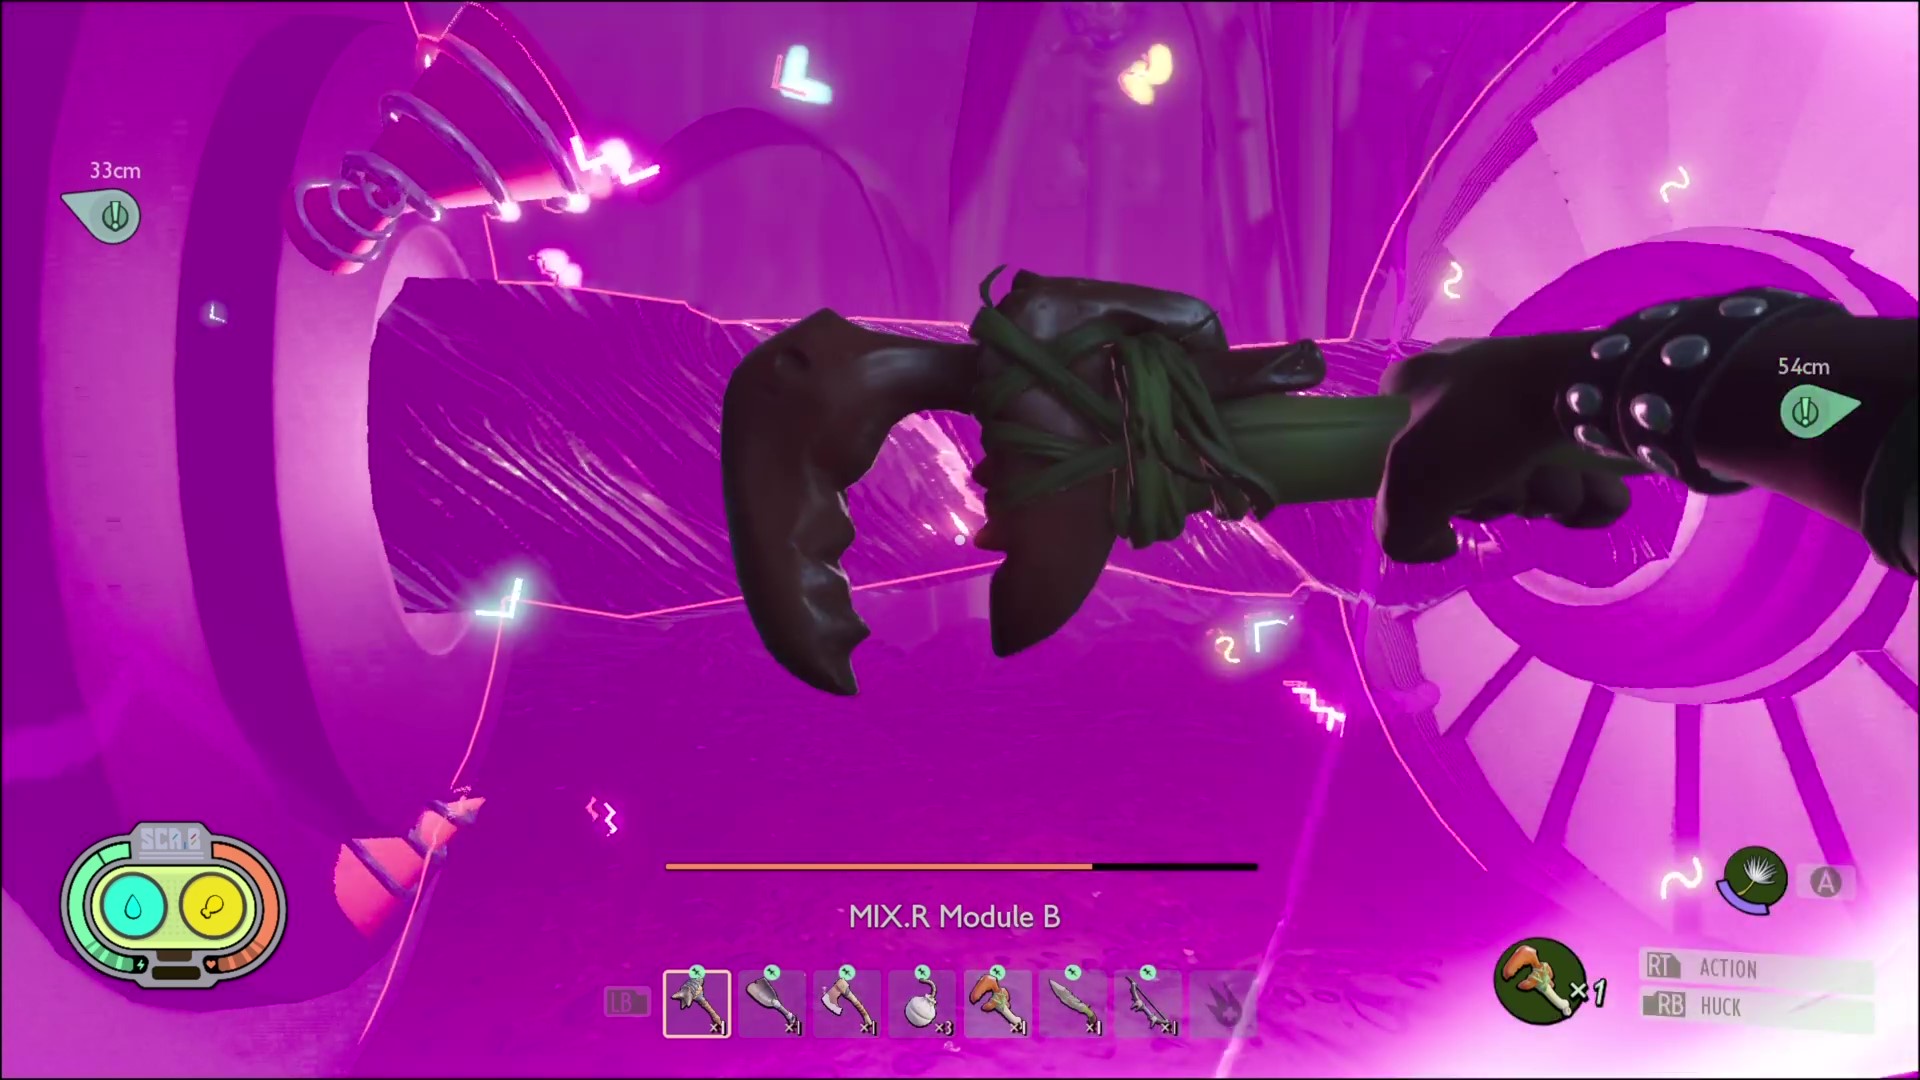
The MIXR modules to the East of Wendell's SCAB location in Grounded actually start broken, sabotaged by ORC ants in a cutscene when you first try to use the Javamatic, and will need to be repaired after every failed attempt. The game doesn't tell you how to do this, but it's not really a riddle - you just need a Repair Tool and you can fix the MIXR modules easily enough. If you've been into base building you likely already have one, but otherwise you can unlock them by analyzing Clay, and build one in your crafting menu with the following:
- Crude Rope x3
- Red Ant Part x2
- Clay x4
From there, simply head to a module with the Repair Tool equipped and use it on the module to restore its health. Remember to repair them fully! There's no benefit in defending them at half health beyond making things tougher for yourself.
Best defenses for protecting the MIXR modules
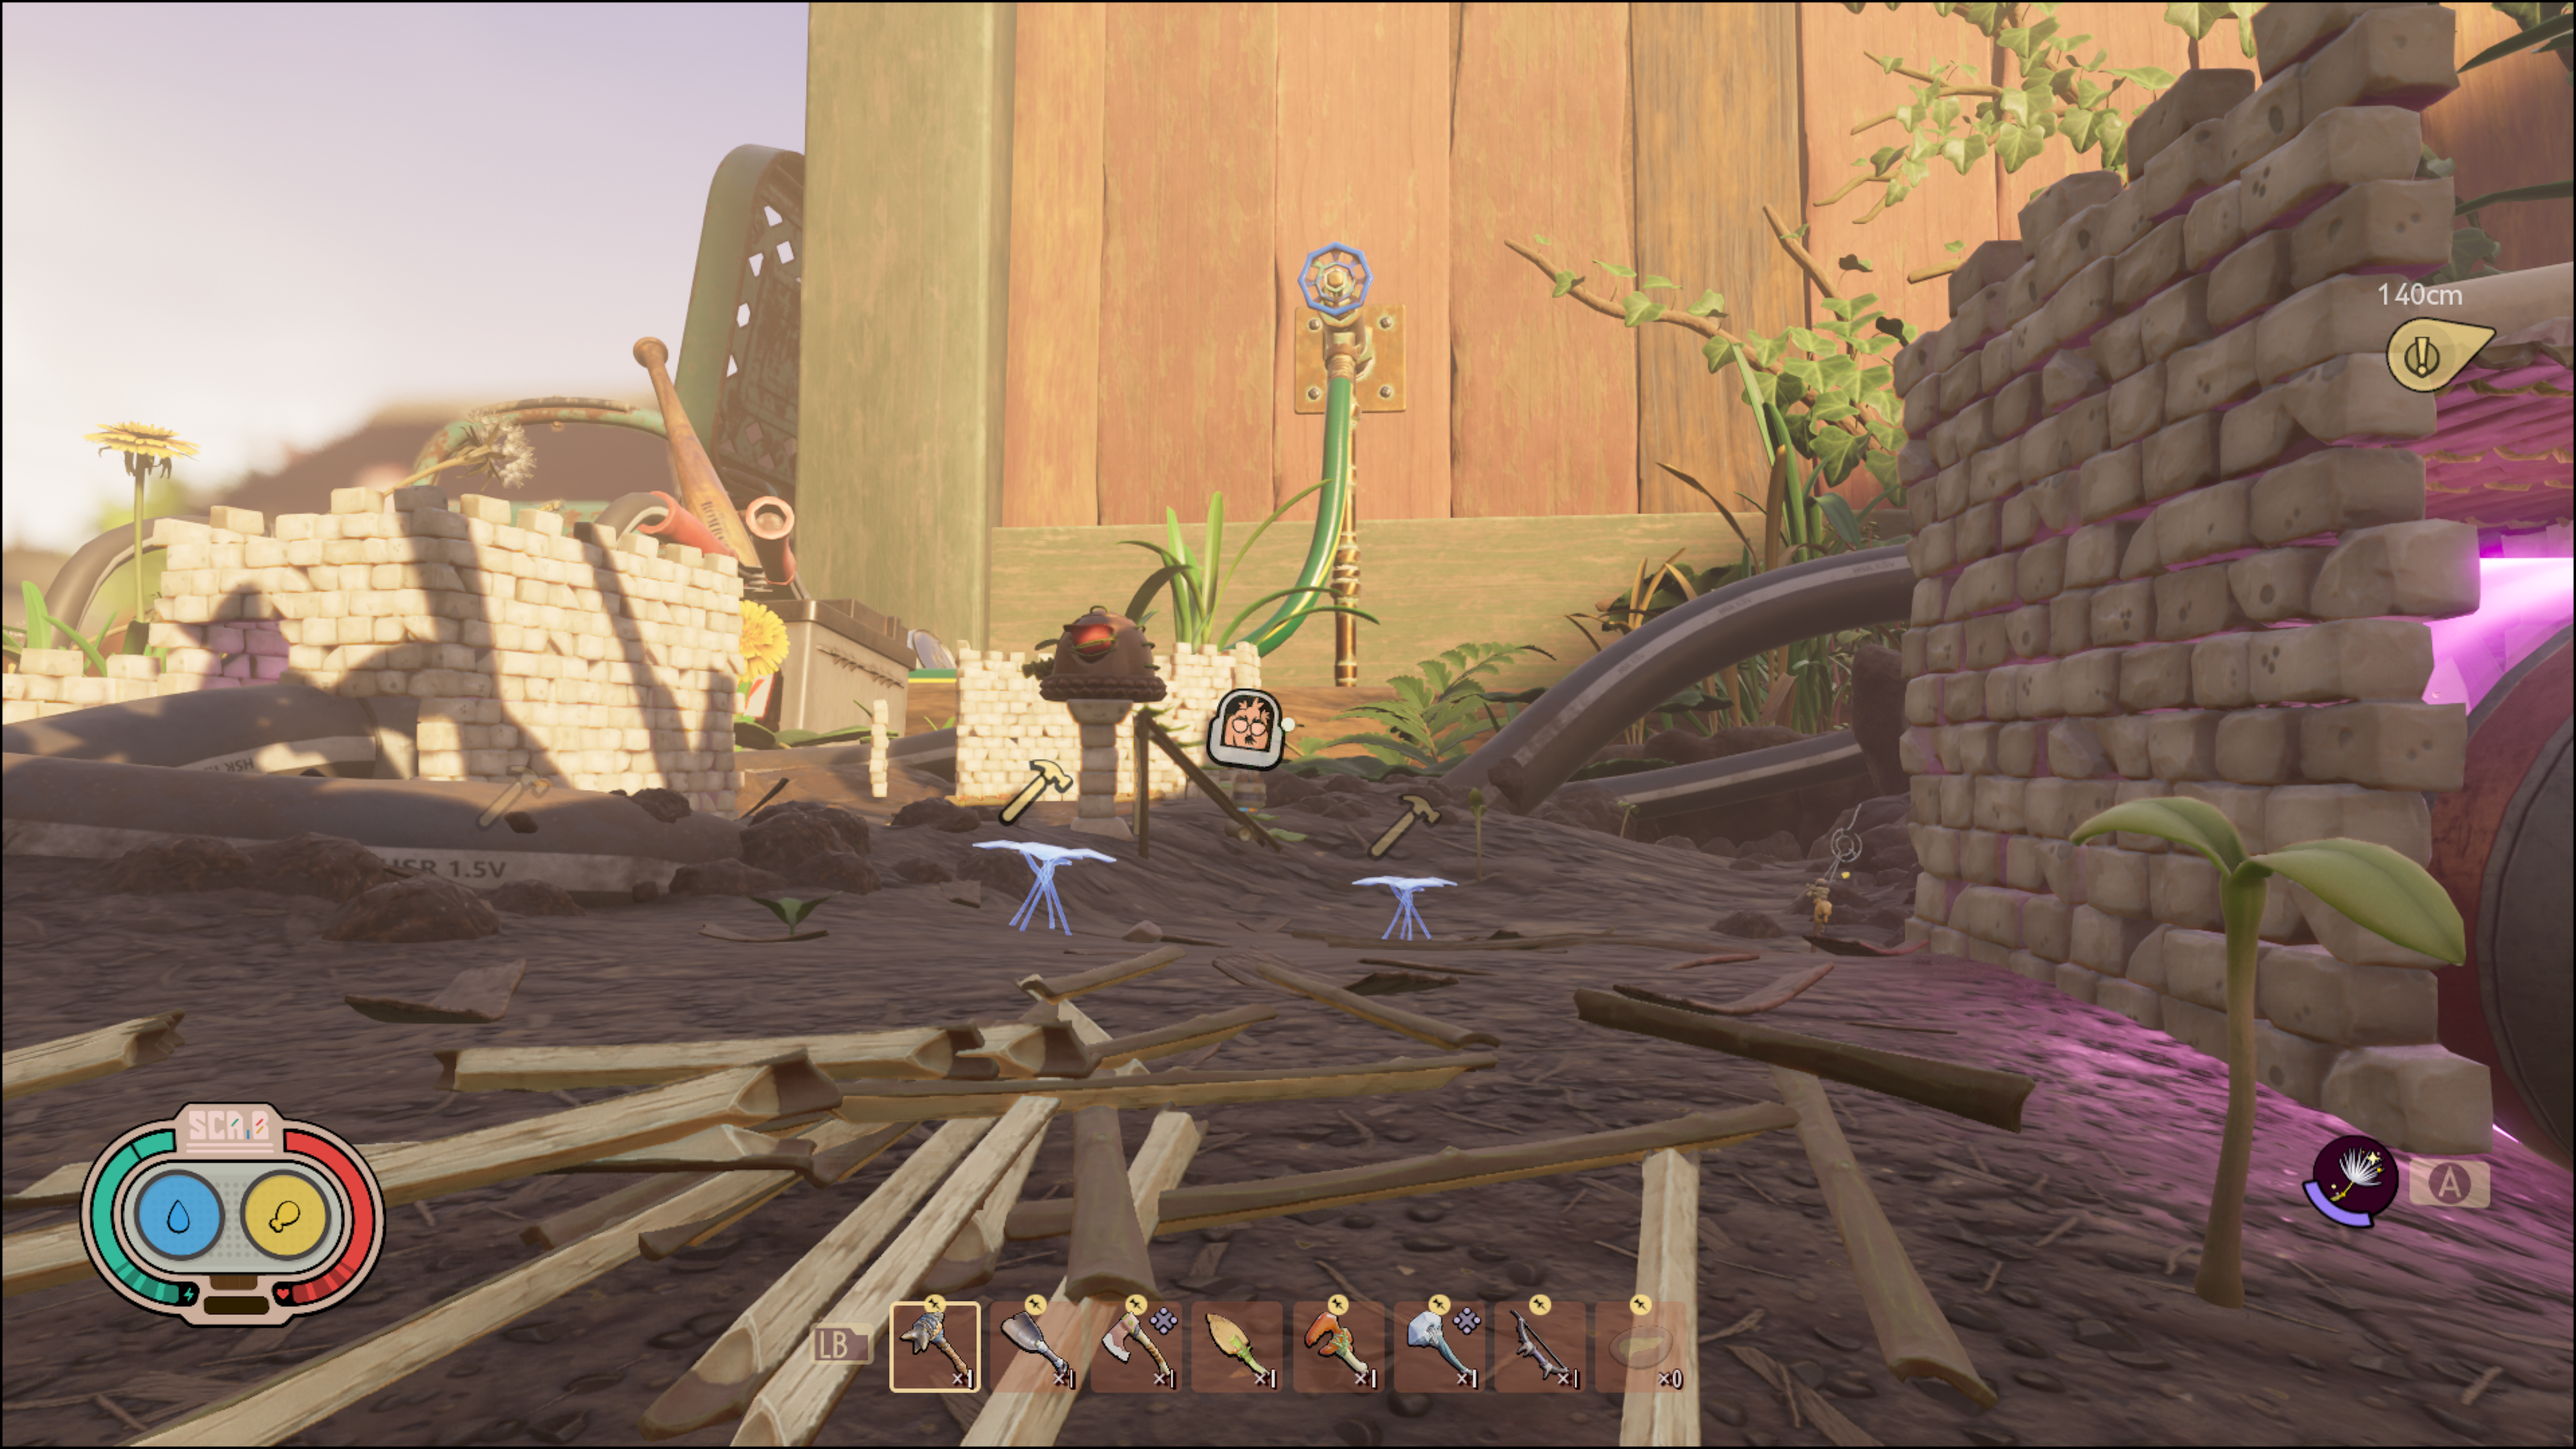
At this point you'll basically have to build a new base by the modules, as you'll need at least the following to work from and probably don't want to have to keep commuting from other bases.
- Workbench
- Grinder
- Oven
- Storage
- Lean-to/Bed
While the Upper Yard is usually lethal, the area around the Modules is surprisingly tame (at least until you trigger the Javamatic and begin the mission). Try building your base nearby, such as on the North cliff tops overlooking them. From there, the goal is to start building robust defenses that'll hold off the ORCs at the modules you're not currently dealing with. Here are some essentials you should have.
Weekly digests, tales from the communities you love, and more
- Mushroom walls around the modules. The toughest structures currently in the game, this is what your Grinder and Oven are used for. Grind down toadstools and mushrooms (some grow just to the West of the modules, and more are stored in the Javamatic Storage Facility), then cook the slurry in the Oven into bricks. These make the toughest walls, and will buy you the most time. Make sure the modules are guarded on both sides! In fact, building two layers of walls will serve to really keep them safe.
- Bur or Stem Floors over the modules. Despite being "floors", these will actually serve as rooftops - so when you have a mushroom brick wall on either side of the module, link them with a Bur or Stem Floor to cover the top. This'll keep it protected from any flying ORC insects, and there'll be a few.
- Turrets spaced out. Build a few of these - at least three - so you can leap between them and fire on any enemy in the area. It's even better to put them on top of pillars, so you don't get blocked by the local geography. However, don't put them on the walls defending the modules - it's hard to aim at enemies just below you, and it gives insects even more incentives to attack that area. Space them out as their own structures for maximum coverage.
- Spike strips at chokepoints. Admittedly these won't do much damage on late-game bugs, but they're so easy and cheap to make at this point in the game, you might as well start throwing them down. Place them around the modules, outside the defensive walls - so while the ORCs are trying to break through, they'll be standing on the strips.
- ORC Disruption Bombs by each module. You can only get the ORC Disruption Bomb by finding the secret Ominent lab, which we'll explain below, but be warned - it's a little underwhelming, though not unuseful. The ORC Disruption Bomb is a defense you build and activate - destroying itself in the process, so it's just one use. The bomb basically temporarily stuns all ORCs near it, though the range isn't great, despite the description saying it has a large radius. Put one or two by each module, and you can use them if you're overwhelmed to buy yourself time at that module.
- Walls at area entrances and chokeholds. The area around the modules is fairly open, and while there's no shortage of ways for ORC bugs to wander in, there are a few obvious tunnels and paths - such as the one to the North - that can be blocked off. This will either impede ORCs spawning over there, or even actually cause the game to just spawn them at a different location, meaning you have more control over where they attack from.
- Explosive Bur Traps at choke points, far from modules. These powerful, single-use explosives can do huge damage, but will hurt your defenses - and modules - if they're caught in the blast. Build them in the chokeholds mentioned above and trigger them strategically when a new wave of ORCs is all around them, though keep in mind that they can only be triggered by other explosives or Spicy damage - so make sure you have Splatburst or Spicy Arrows to set them off from a distance.
- Lure Traps dotted around and protected. Lure Traps were a bit hit-and-miss for us, especially considering that when a bug got to one, it obliterated the lure instantly - and they self-destruct after a while anyway. But while the Lure Traps don't damage ORCs and didn't work on many of them, it did hold the attention of a few, so right as the mission starts, build three or four, and surround them with Mushroom walls - so the bugs take far longer to reach them. It might be what makes the difference, especially if you put them in range of the Bur bombs and Turrets.
If you've done it right, the environment should look pretty different at this point, with each MIXR module becoming its own fort for you to protect, encased in walls and surrounded by defensive measures. Of course, there's more you can do for a fighting chance.
Javamatic Storage Facility location
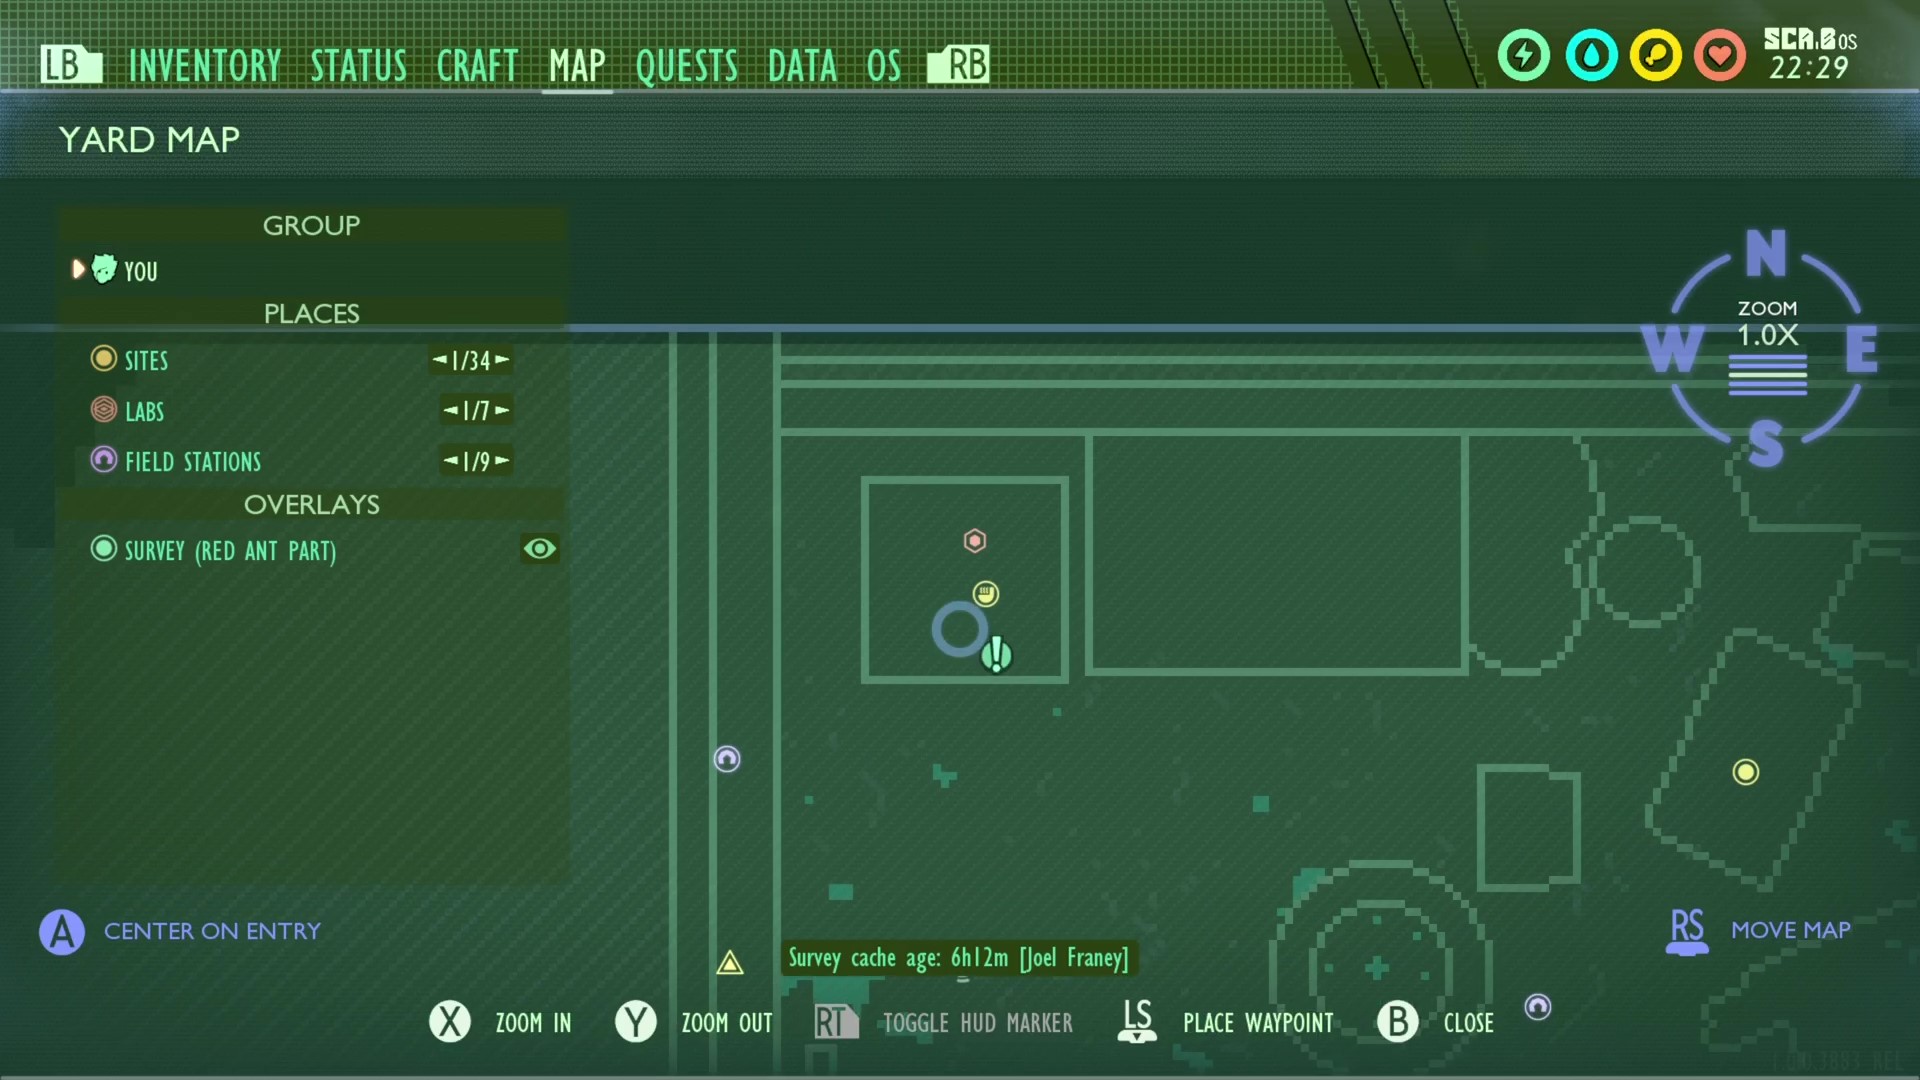
Wendell Tully mentions that you can use his storage facility, though he neglects to mention where it is - and the map is huge enough that finding that icon isn't the easiest thing. In fact, it's literally directly underneath the Javamatic itself, under the table that the machine is resting on. From the MIXR modules, simply head North and you'll see a lab door set into the ground, underneath the table.
Inside are all manner of tools, weapons, building resources and more. Loot it to your hearts' content - there's probably nothing new, but there is a LOT for you to use, especially if you use it to upgrade the Grounded weapons in your inventory.
Ominent Secret Lab rewards

We actually detailed how to find the Grounded ORC secret lab and Ominent in the guide linked, but we'll add that clearing it isn't going to be the monumental advantage you think it will be. Tully seems to suggest that you could cut off the ORC insects at their source, but that's not an option. Instead, clearing it unlocks several new crafting recipes, all of which can admittedly help in the battle and in the game generally.
- ORC Disruptor Bomb (mentioned above, specialized defense trap)
- Sour Battle-ax (high level two-handed melee weapon)
- Supreme Whetstone (upgrade material)
- Supreme Plating (upgrade material)
While the Disruptor Bomb is a bit weedy as discussed above, the rest of it is pretty solid, especially having the option to craft endgame upgrade materials for both your armor and weapons. Not to mention that the Sour Battle-ax is one of the best melee weapons in the game, on par with the Mint Mace.
Defending the MIXR modules for the Javamatic
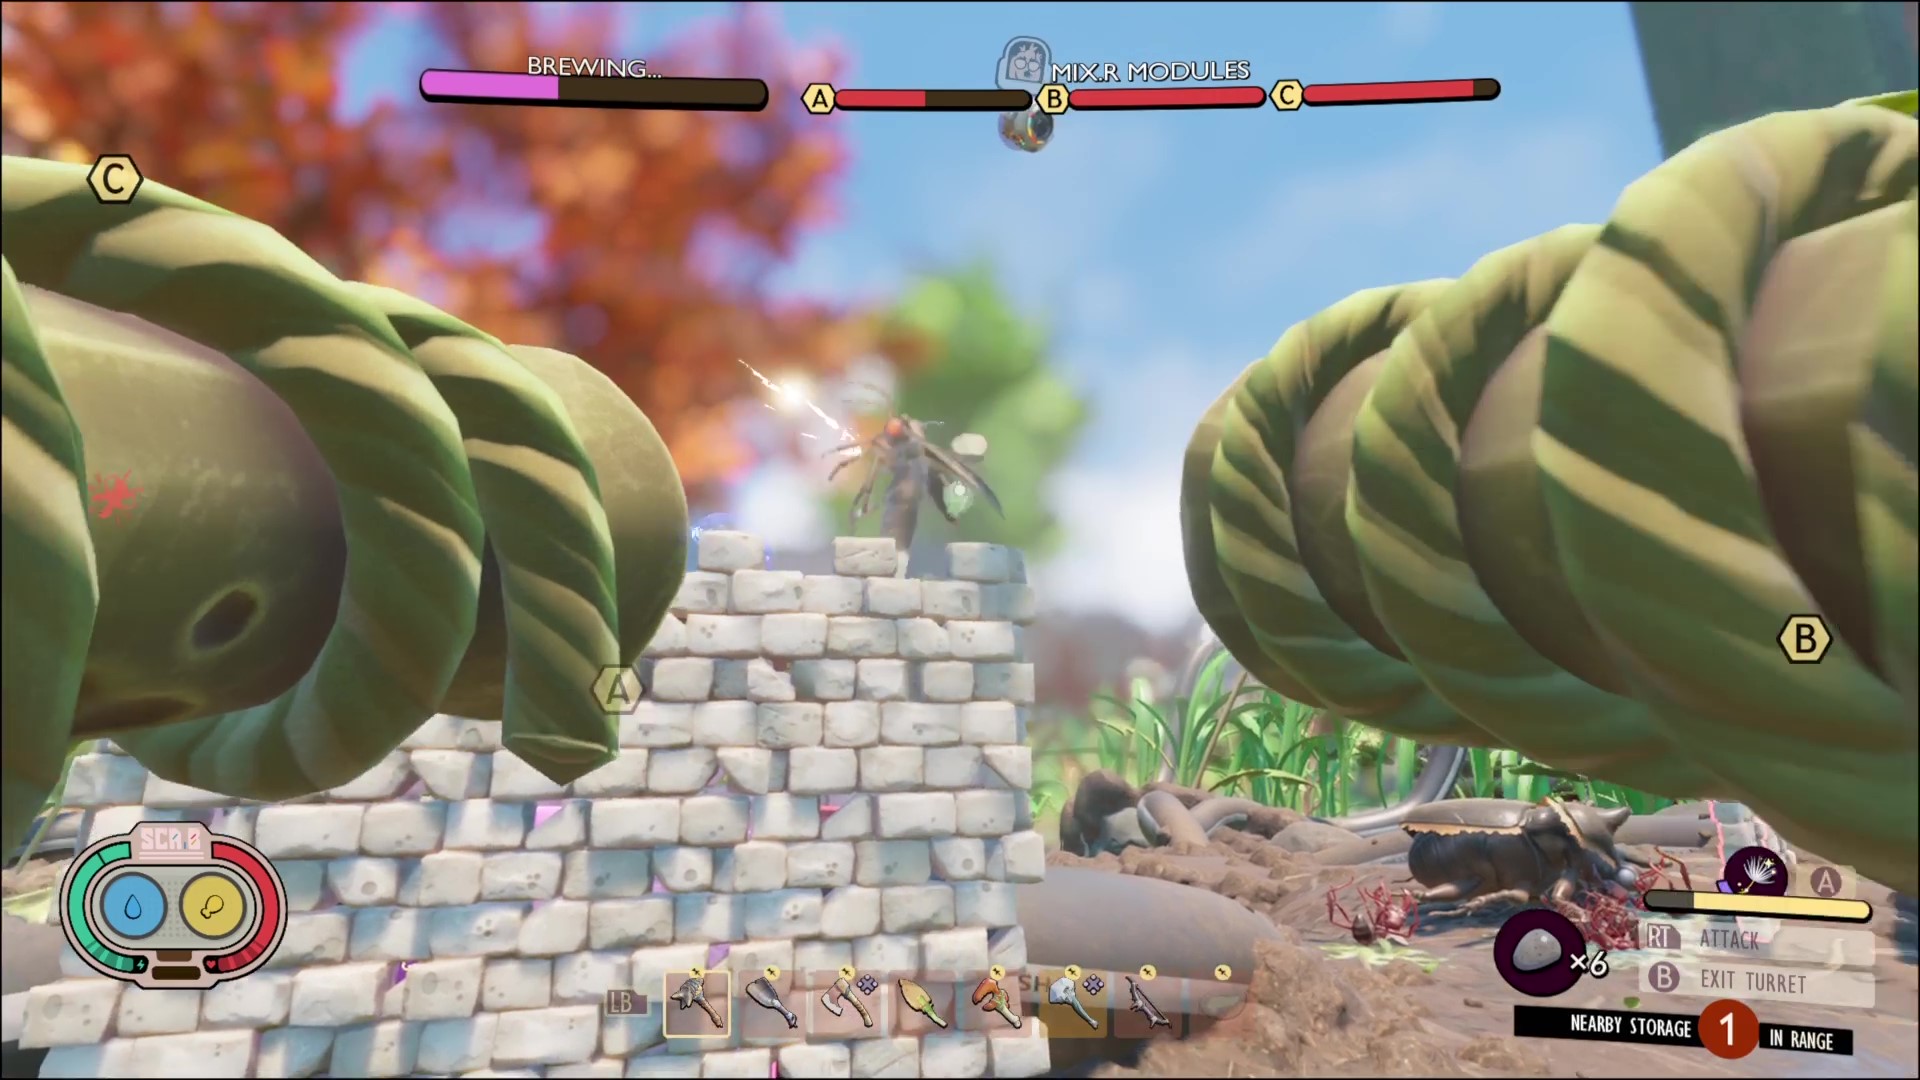
Now that you've got your defenses set up, it's nearly time to defend. Before triggering the event, do the following:
- Upgrade your best weapons and Grounded armor at a Smithing Station
- Equip combat-ready mutations (we heartily recommend the Mant-sterious you got for killing the Mant in Grounded Shed Lab location)
- Set your spawn nearby.
- Save the game! If this goes badly you don't want to rebuild from scratch.
- Make sure you're carrying lots of Pebblets or Pollen for the Turrets.
- Go over all your structures and touch them up with the Repair Tool if they need it.
- If you're setting up Lure Traps, build them last, or even as the event starts.
- Drink smoothies to boost speed and damage.
With that, run up to the Javamatic and hit the button. You can use the zipline or the Dandelion Tuft to drift back down to the modules. Here's some basic advice for this final assault.
- Pebblet Turrets do huge damage, but their ammo depletes fast. If you're running low, save their shots for the biggest bugs, like Black Ox Beetles.
- Use the red indicators to find the offending bugs, and watch the health indicators of the modules - if one suddenly goes down, that's your first priority.
- Try attacking bugs from behind, so their attacks on the walls/modules don't hit you too.
- Tully will help you, but it's pretty limited. The bugs won't attack him and his electric orb attacks do low damage - but it's better than nothing.
- Bugs will also attack your defences, even those defences that aren't in the way of modules. Keep an eye on them.
- Focus on smaller bugs first as a rule if there are multiple kinds attacking the same area. You want to thin numbers as much as possible and as fast as possible.
- Be wary of damaging the modules yourself - friendly fire does exist, and a misplaced Pebblet shot can cost you greatly.
- Use the Disruptor Bombs to buy yourself breathing space. If you just need a moment, trigger one and use the time to do whatever needs urgently doing - just be ready for them all to come out of stun soon.
- Around halfway there'll be a lull. Use this chance to heal, restock, and even run around with the Repair Tool to fix certain defenses. Heck, you could even build some more if you have the materials on you.
- It's over if any of the Modules are destroyed, even if the others are at full health. By our reckoning, A and B tend to get attacked a lot more than module C, but that may vary - and you shouldn't take your eye off any of them.
Survive until the end and you'll have finally beaten it - even if the bugs destroy the modules, it doesn't matter if the Javamatic finishes brewing the Embiggening Cocktail. Head up to grab it, and have a chat with Tully. Congratulations, you're on the verge of finishing the game!
© GamesRadar+. Not to be reproduced without permission

Joel Franey is a writer, journalist, podcaster and Very Tired Man with a BA from Brunel University, a Masters from Sussex University and a decade working in games journalism, often focused on guides coverage but also in reviews, features and news. His love of games is strongest when it comes to groundbreaking narratives like Disco Elysium, UnderTale and Baldur's Gate 3, as well as innovative or refined gameplay experiences like XCOM, Sifu, Arkham Asylum or Slay the Spire. He is a firm believer that the vast majority of games would be improved by adding a grappling hook, and if they already have one, they should probably add another just to be safe. You can find old work of his at Eurogamer, Gfinity, USgamer, SFX Magazine, RPS, Dicebreaker, VG247, and more.
 Join The Community


