Where Winds Meet An Unholy Prophecy walkthrough guide
A step-by-step walkthrough on how to navigate this confusing quest.
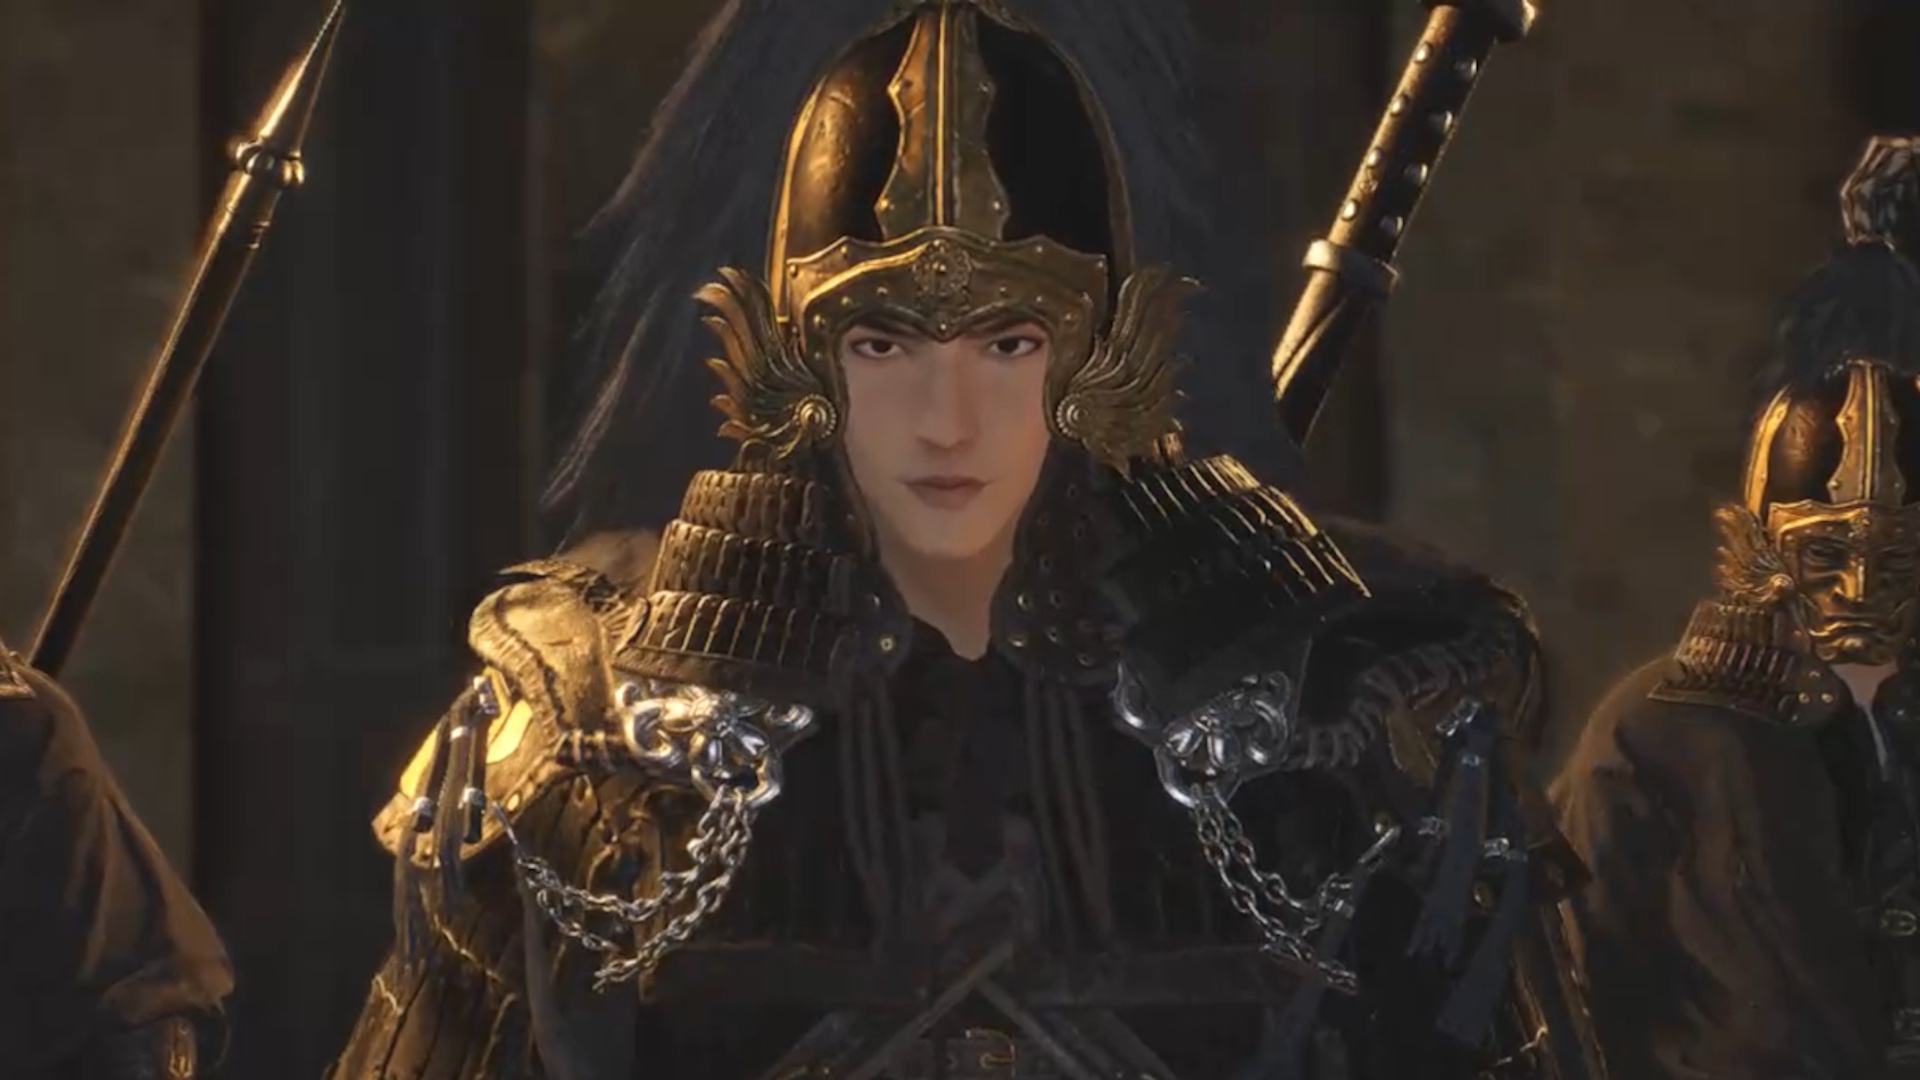
Where Winds Meet An Unholy Prophecy is a quest in Kaifeng and might be one of the game's most intriguing Legacy Quests. These are some of the more mysterious stories in the game and, unfortunately, this also one of its most frustrating, as the steps are incredibly vague, and the spike traps you encounter during it can be deadly.
Like the How to solve the Where Winds Meet wall puzzle this isn't a clear process, so this An Unholy Prophecy guide for Where Winds Meet can make things easier every step of the way. From how to unlock it, to searching to traces of the God of Killing, to how to find the Armored Sentinel.
How to unlock An Unholy Prophecy in Where Winds Meet
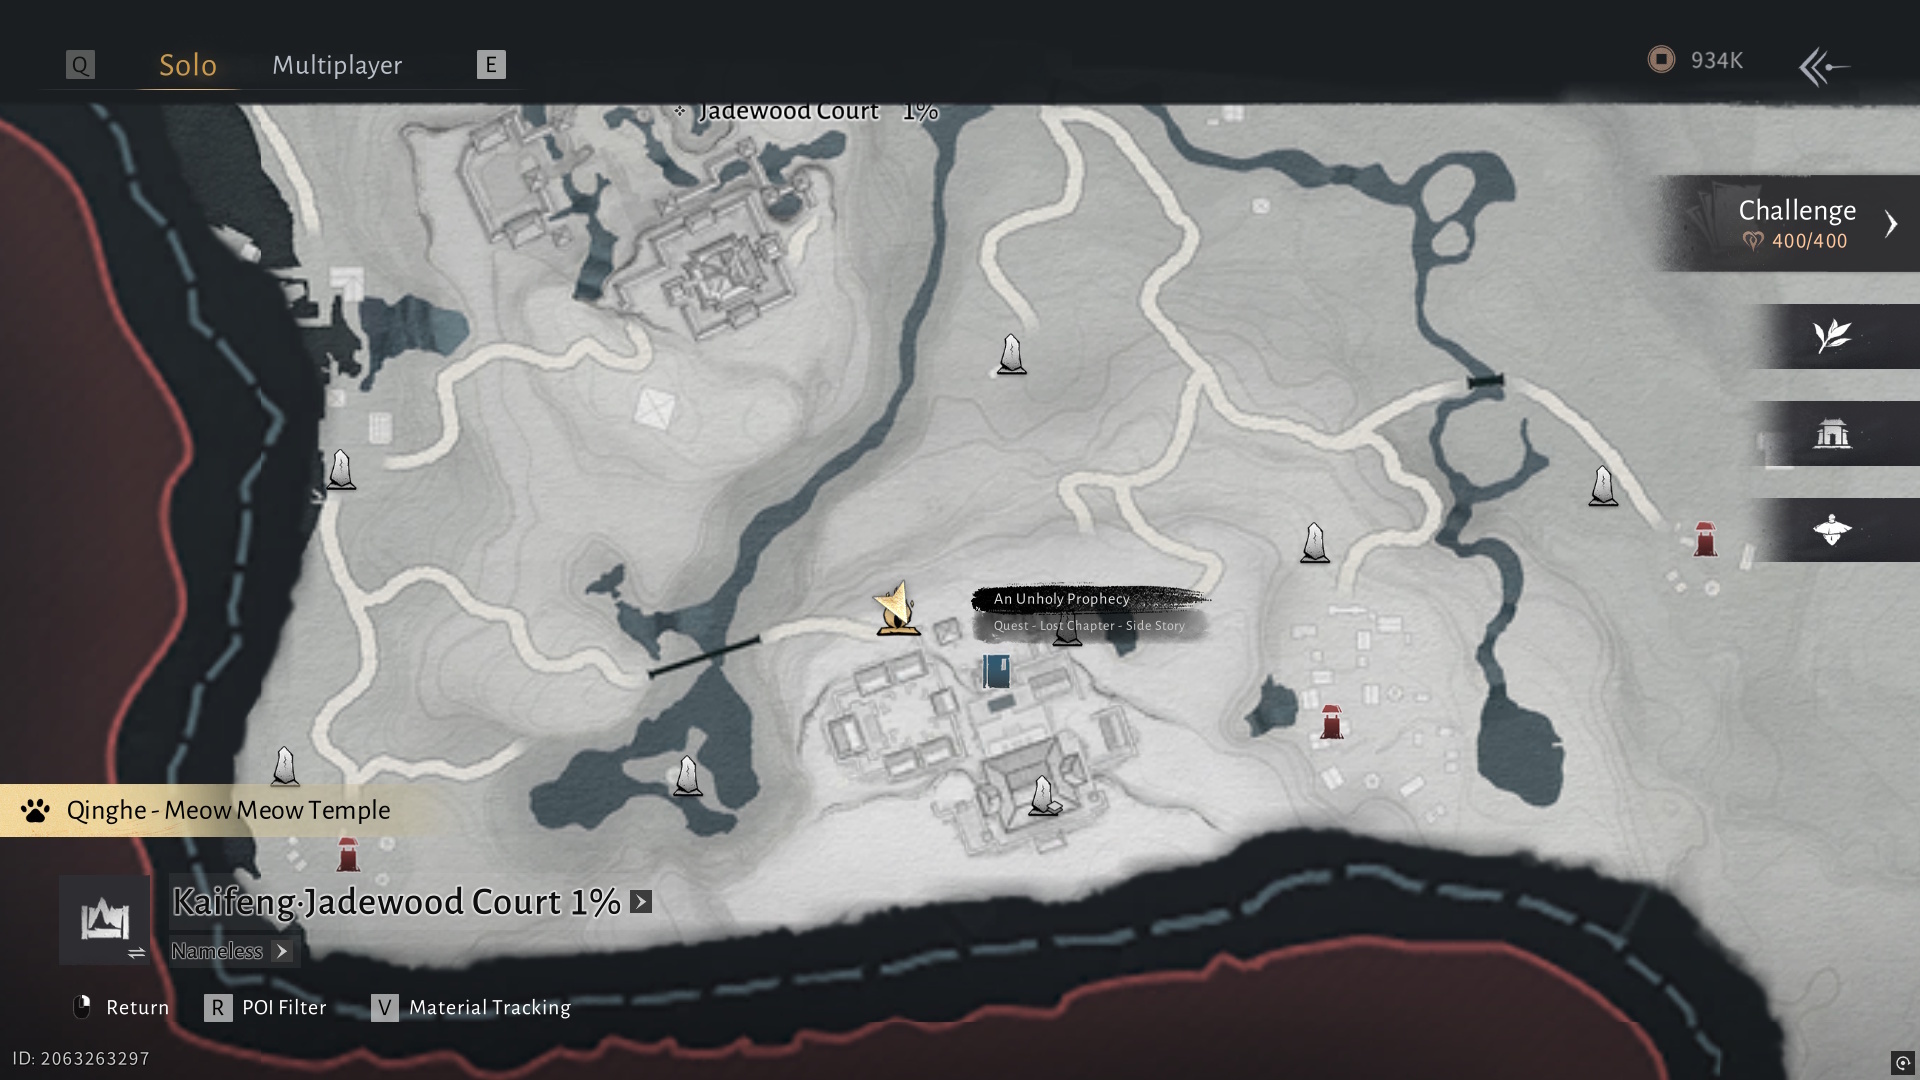
An Unholy Prophecy is a Kaifeng Legacy quest, which means you need to have unlocked the Kaifeng area by progressing the main story to start it. Then, once you reach Kaifeng, head southwest and speak to the Wayfarer at the campsite in Jadewood Court.
Once you do that - Congrats! You can now track the quest in your journal to speak to the 'Mysterious Painter' and start your journey into a very Tomb Raider-esque dungeon underneath the Martial Hall.
How to search for traces of the God of Killing in Where Winds Meet
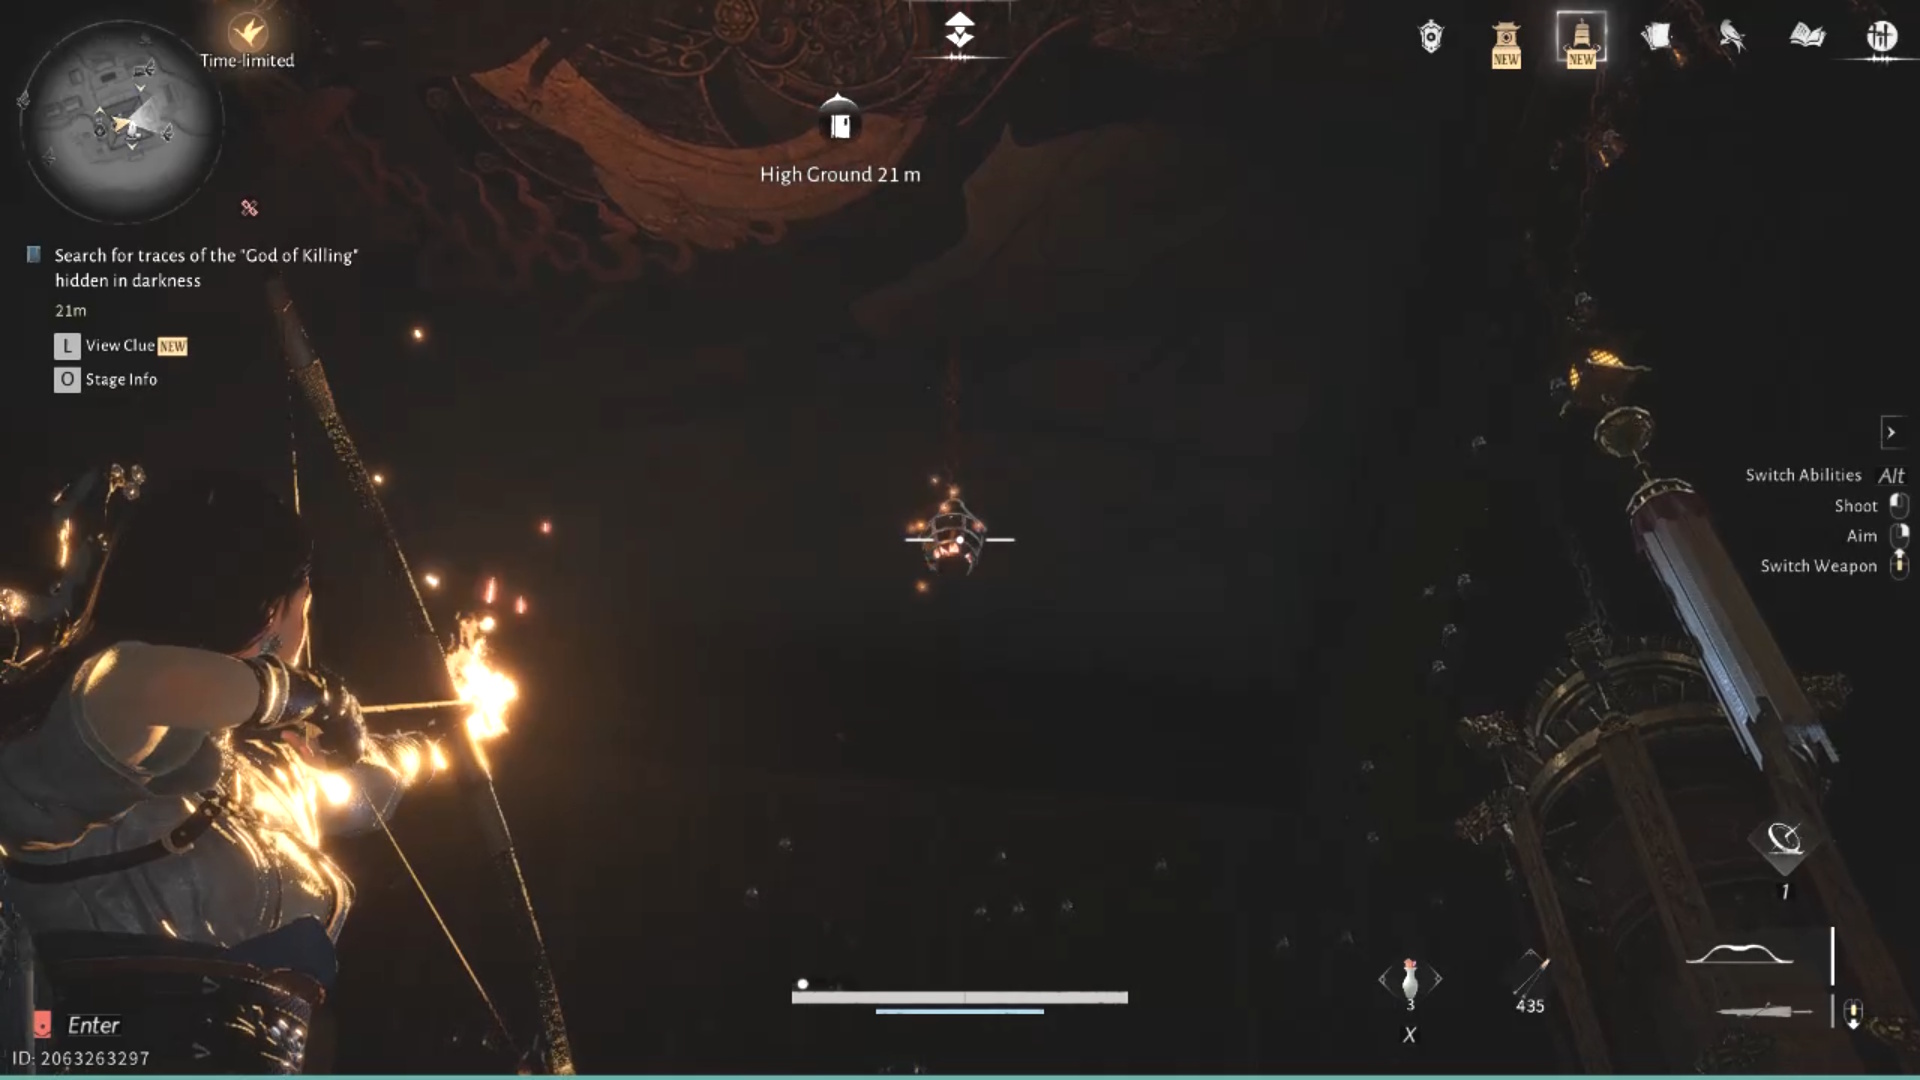
After sneaking inside via the rooftops and speaking with the Mysterious Painter again, the first real challenge on the An Unholy Prophecy quest begins when it asks you to "Search for traces of the 'God of Killing' hidden in Darkness."
To do this, you have to equip your fire arrows and shoot at the three braziers hanging from the very top of the ceiling (not the braziers above the statues). Yeah, not exactly an intuitive mission step, but you might want to get used to that, as this quest is full of confusing steps.
How to return the God of Killing in Where Winds Meet
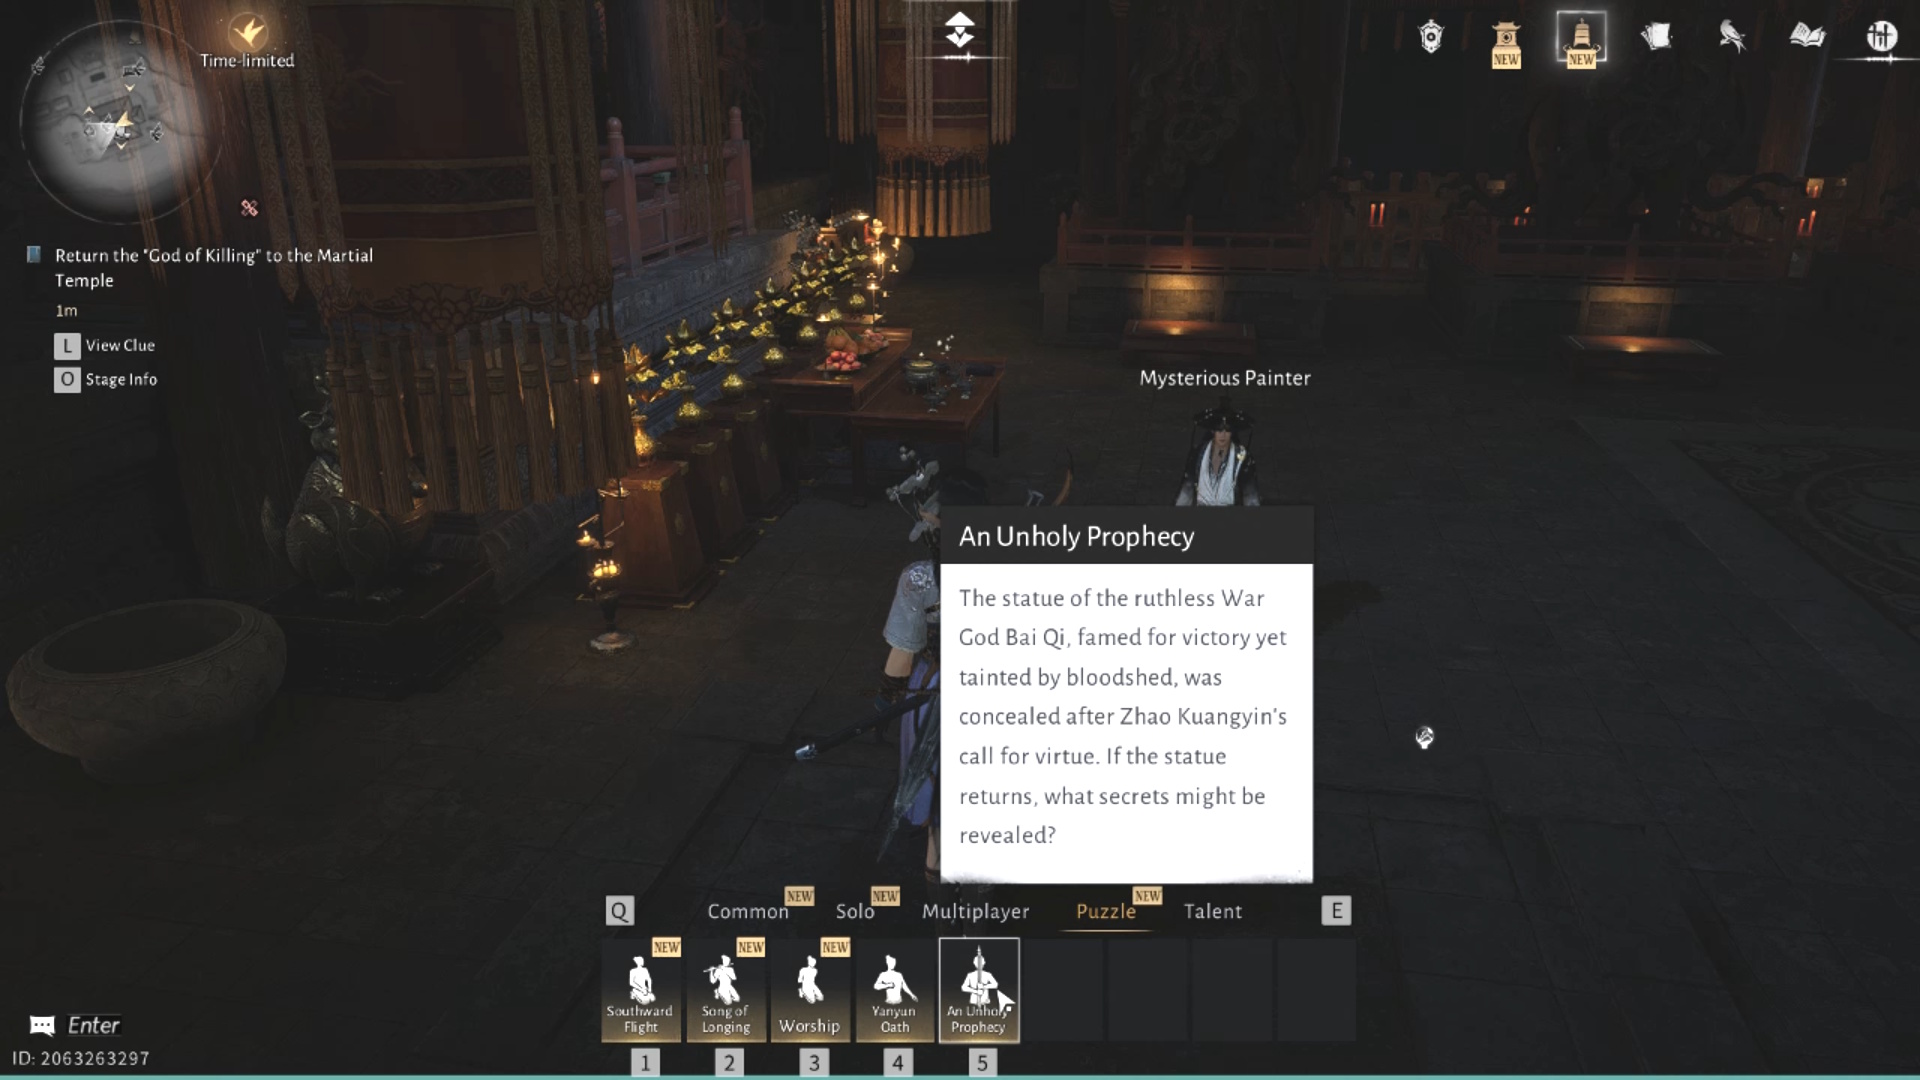
With your new An Unholy Prophecy emote unlocked, all you have to do is use it on the platform beside the Mysterious Painter to descend into the depths of the Martial Hall. Don't worry if the marker is still showing as above you, as this will fix itself when you reach the bottom of the elevator.
Weekly digests, tales from the communities you love, and more
Explore deeper in Where Winds Meet
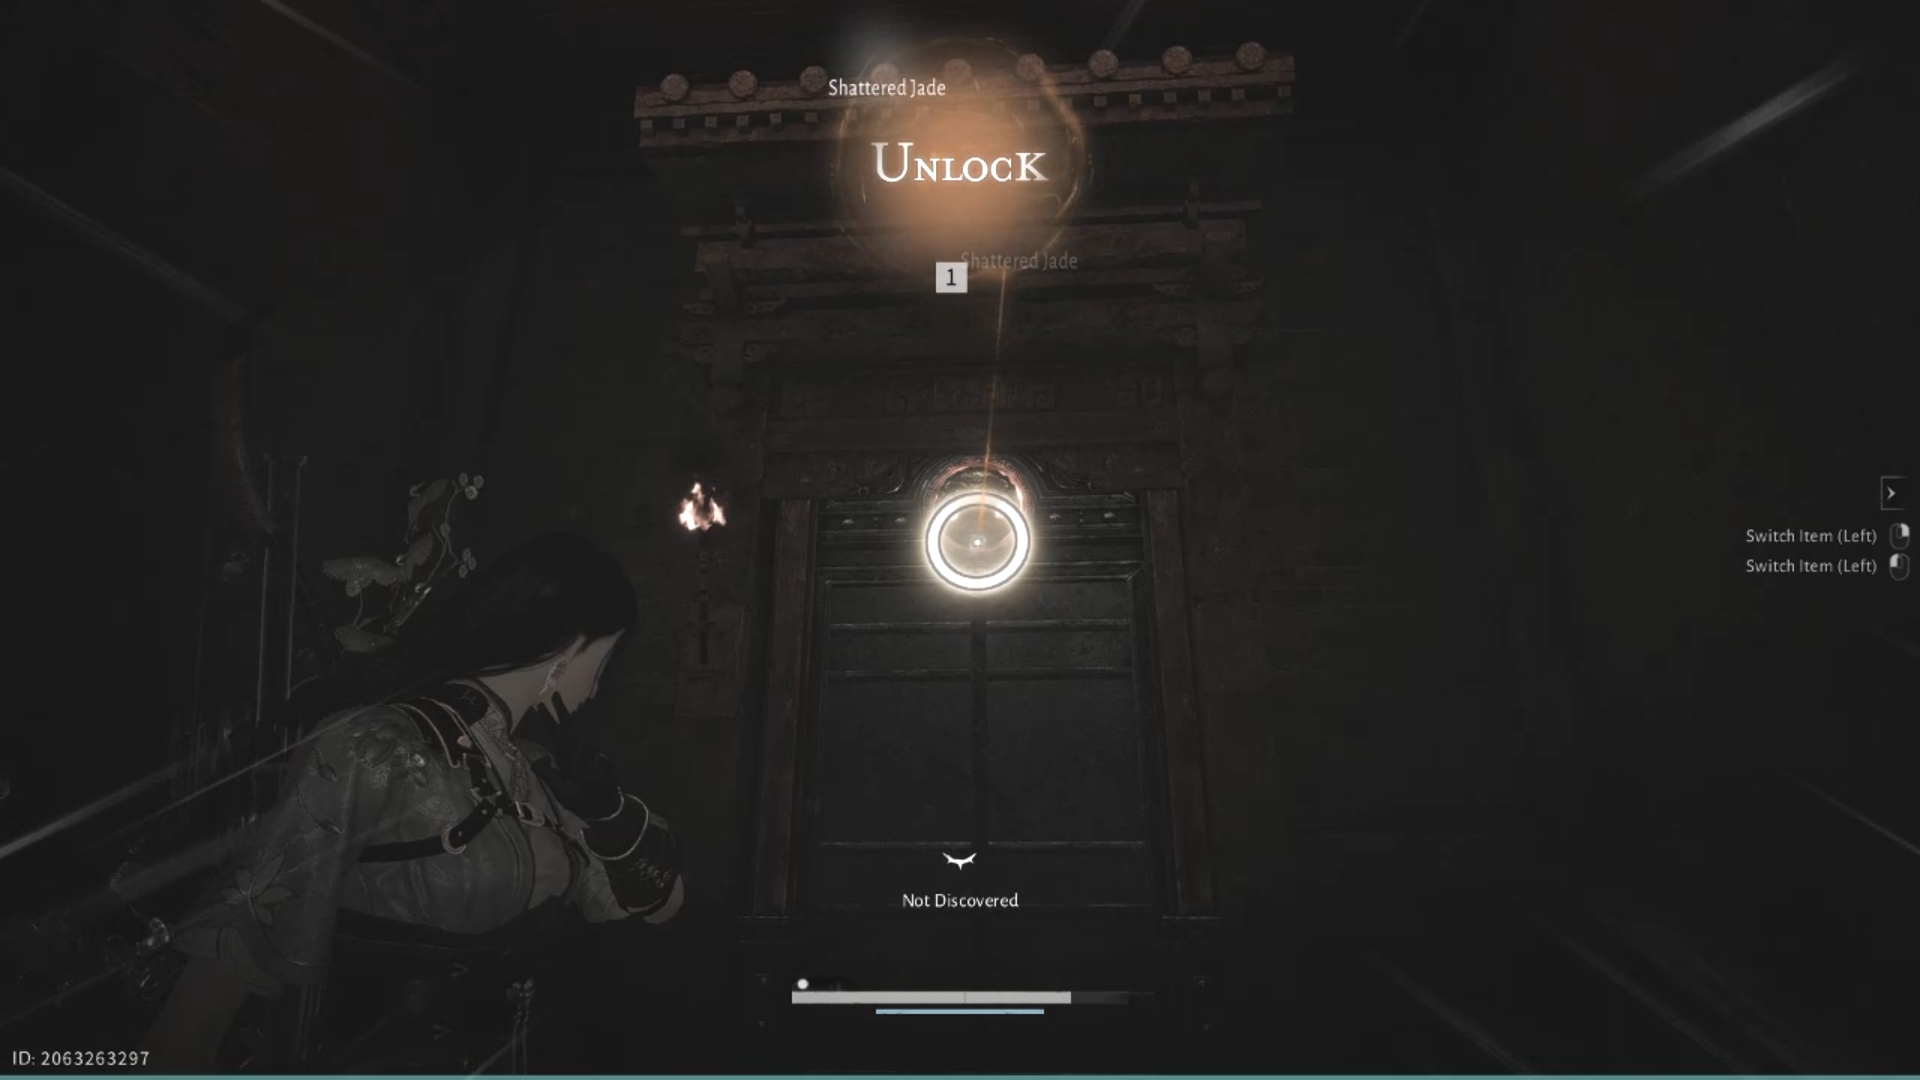
At the bottom of the elevator, follow the path forward, eliminate a few enemies, then strike the bell and quickly use the Meridian's Touch mystic art skill to shatter the circular lock above the door beside the bell. Remember this bell method, as you'll be using it a lot in this dungeon.
Keep going forward into the Secret Edit Chamber, but don't forget about the chest and Boundary Stone on your way. A few enemies will greet you inside the chamber, but they shouldn't cause much trouble if you take out their healer first.
With the enemies out of the way, investigate the armor to get properly started with this quest.
How to find the Armored Sentinel to open the Arsenal entrance

This is a really confusing quest step but, in short, you have to acquire six weapons from the two hallways in the Secret Edit Chamber to find the Armored Sentinel and open the Arsenal entrance in Where Winds Meet. These weapons all go in the short and long slots of the armor you investigated, and that opens the Arsenal entrance.
I advise starting with the left hallway first to get used to the spike trap timing while it's easier, as the right hallway has nastier versions.
Left hallway
Take out the enemies at the start of the left hallway and go down the stairs, where you'll find your first spike trap. You can apparently use the rafters above to avoid the spikes entirely, but I found it easy enough just to dash through when the spikes retracted back into the wall.
At the other side of the spike trap, pull the lever to stop it, but beware of the enemies that spawn when you do this. A quick pull of the lever again will squish them in no time, though.
Now hit the bell and use Meridian's Touch to proceed into the room containing the first weapon you have to collect. There's only one un-shielded enemy in here, thankfully.
Next, push the next door open and follow the path to a spike chasm. To avoid a prickly death, grapple the platforms above you and jump down into the next room at the top. This room contains the second weapon you need to collect.
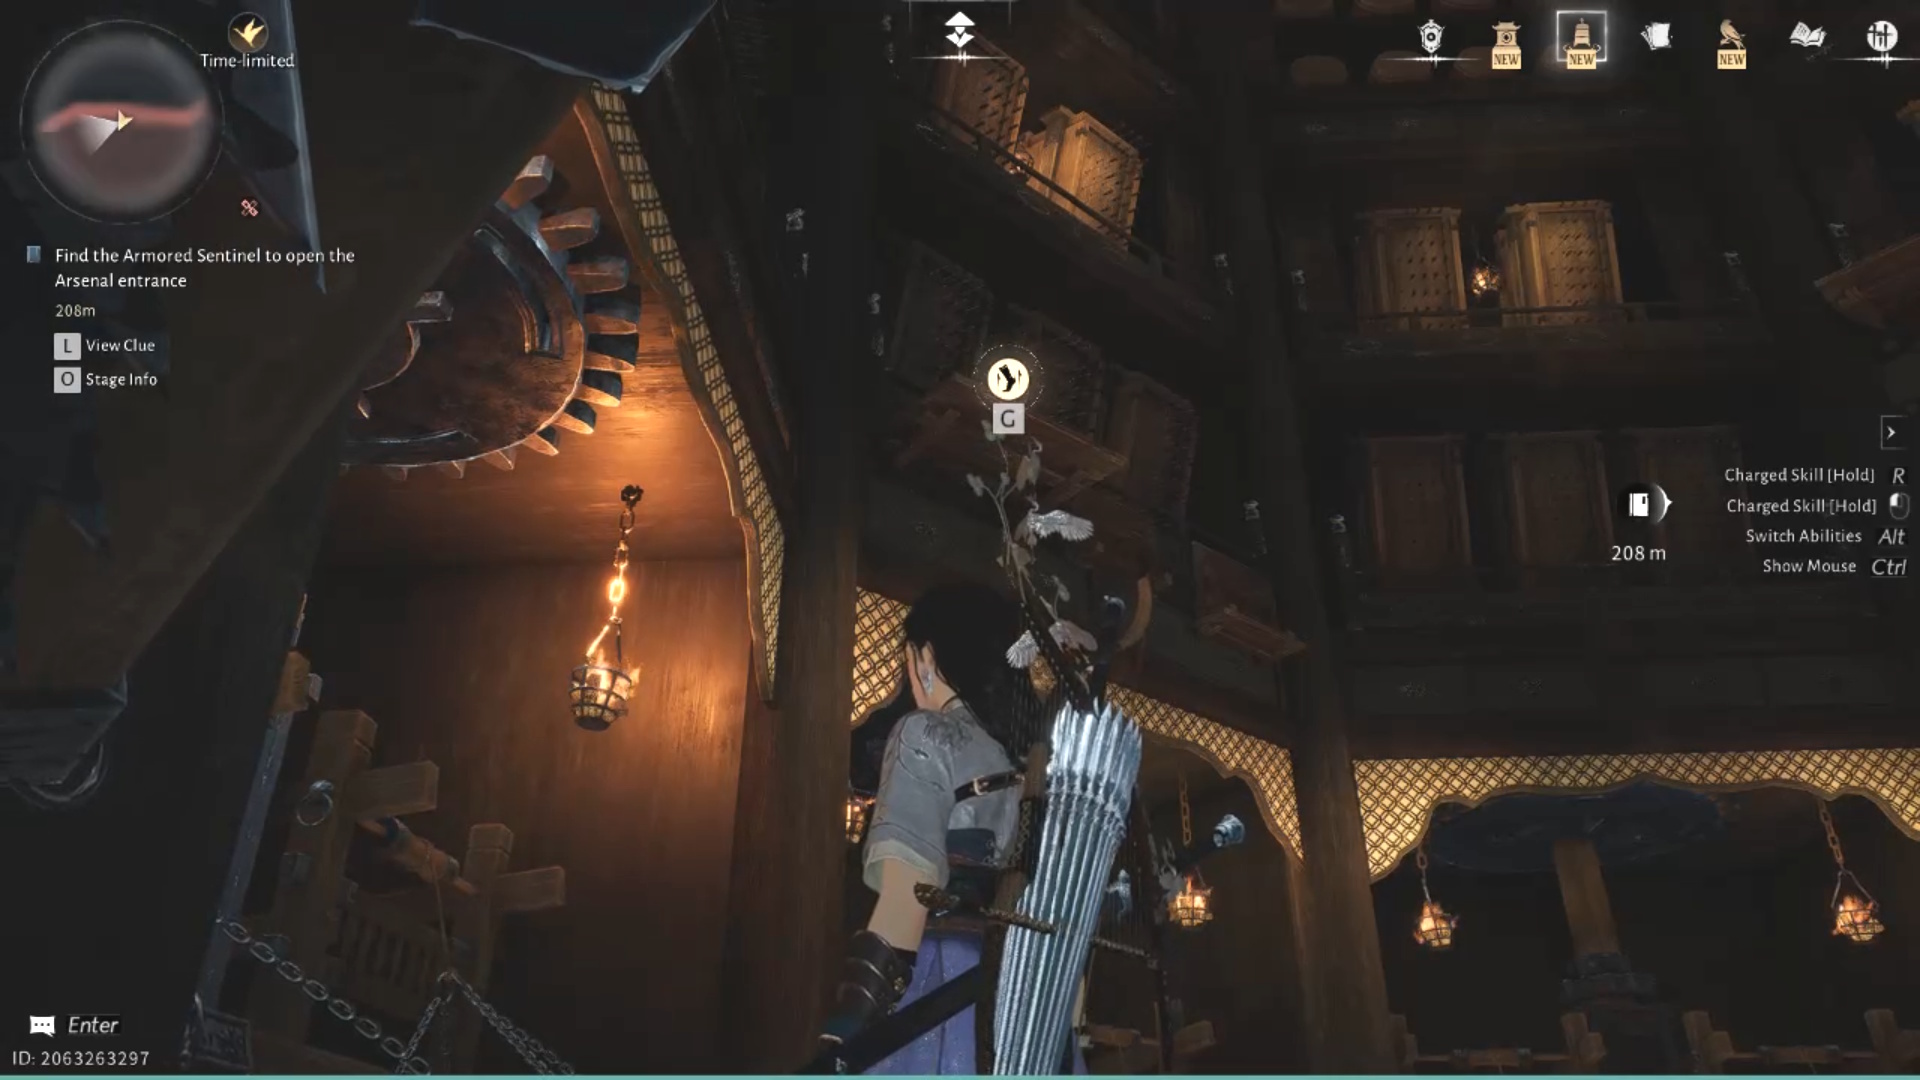
More wall spike traps await ahead, but it's the same method as before: time your dashes past both traps. Alternately, you can take refuge and find a chest in the nook to the left, but if you drop down the hole in the floor, enemies will ambush you.
Whatever method you use, pull the lever to stop the traps when you get to the end of them, then hit the bell and use Meridian's Touch on the seal above the door again, opening up the entrance to the third weapon you have to collect.
The way forward from here leads back to the Secret Edit Chamber, but watch out for the group of enemies at the end of the path.
Right hallway
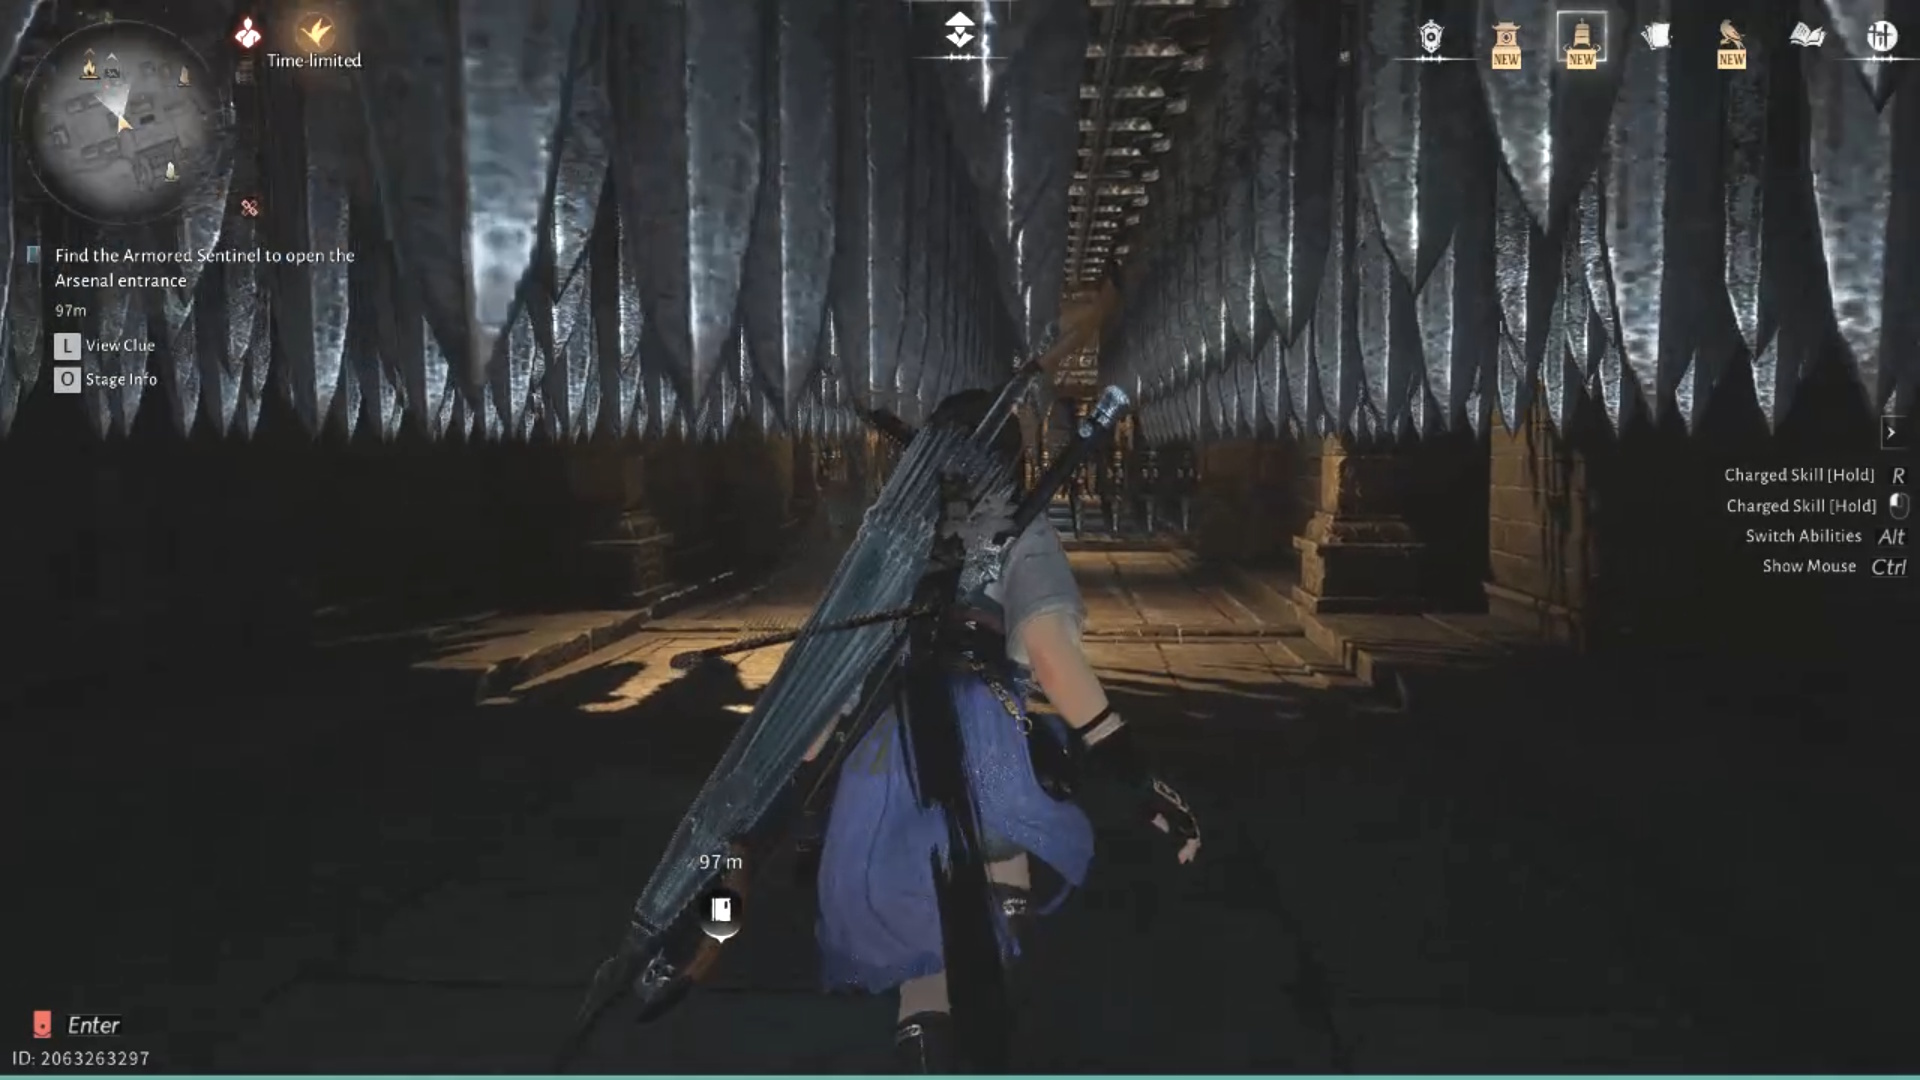
Sorry, it's time for the tricky stuff. First, take out the solo enemy at the start of the path down the right hallway, then descend the stairs to reach the next spike trap. It may look scary, but all you have to do is crouch across the first trap coming from the ceiling (don't worry, the spikes won't touch you), then time your walk across the next trap.
It's another lever, bell, and Meridian's Touch lock waiting for you at the end of the spikes, with the next room containing the fourth weapon and a shielded enemy. Kill the enemy, take the weapon, and move forward to the edge of another spike chasm.
Where Winds Meet best weapons tier list - Get tooled up
Where winds Meet builds - Be who you want to be
Where Winds Meet codes - Get free rewards!
How to leave a guild in Where Winds Meet - it's not you
Where Winds Meet multiplayer - play with friends
You have to grapple up platforms at the side of the chasm to reach the top and jump down into the next room, just like the last chasm. Pick up the fifth weapon in this room, and continue onto the corridor with the final spike traps of this dungeon.
These are the hardest traps to get past, so we recommend watching the timing of them first, then just making a dash for it. You can crouch to avoid the middle spikes if you want, I just found spamming the dash button was easier for me.
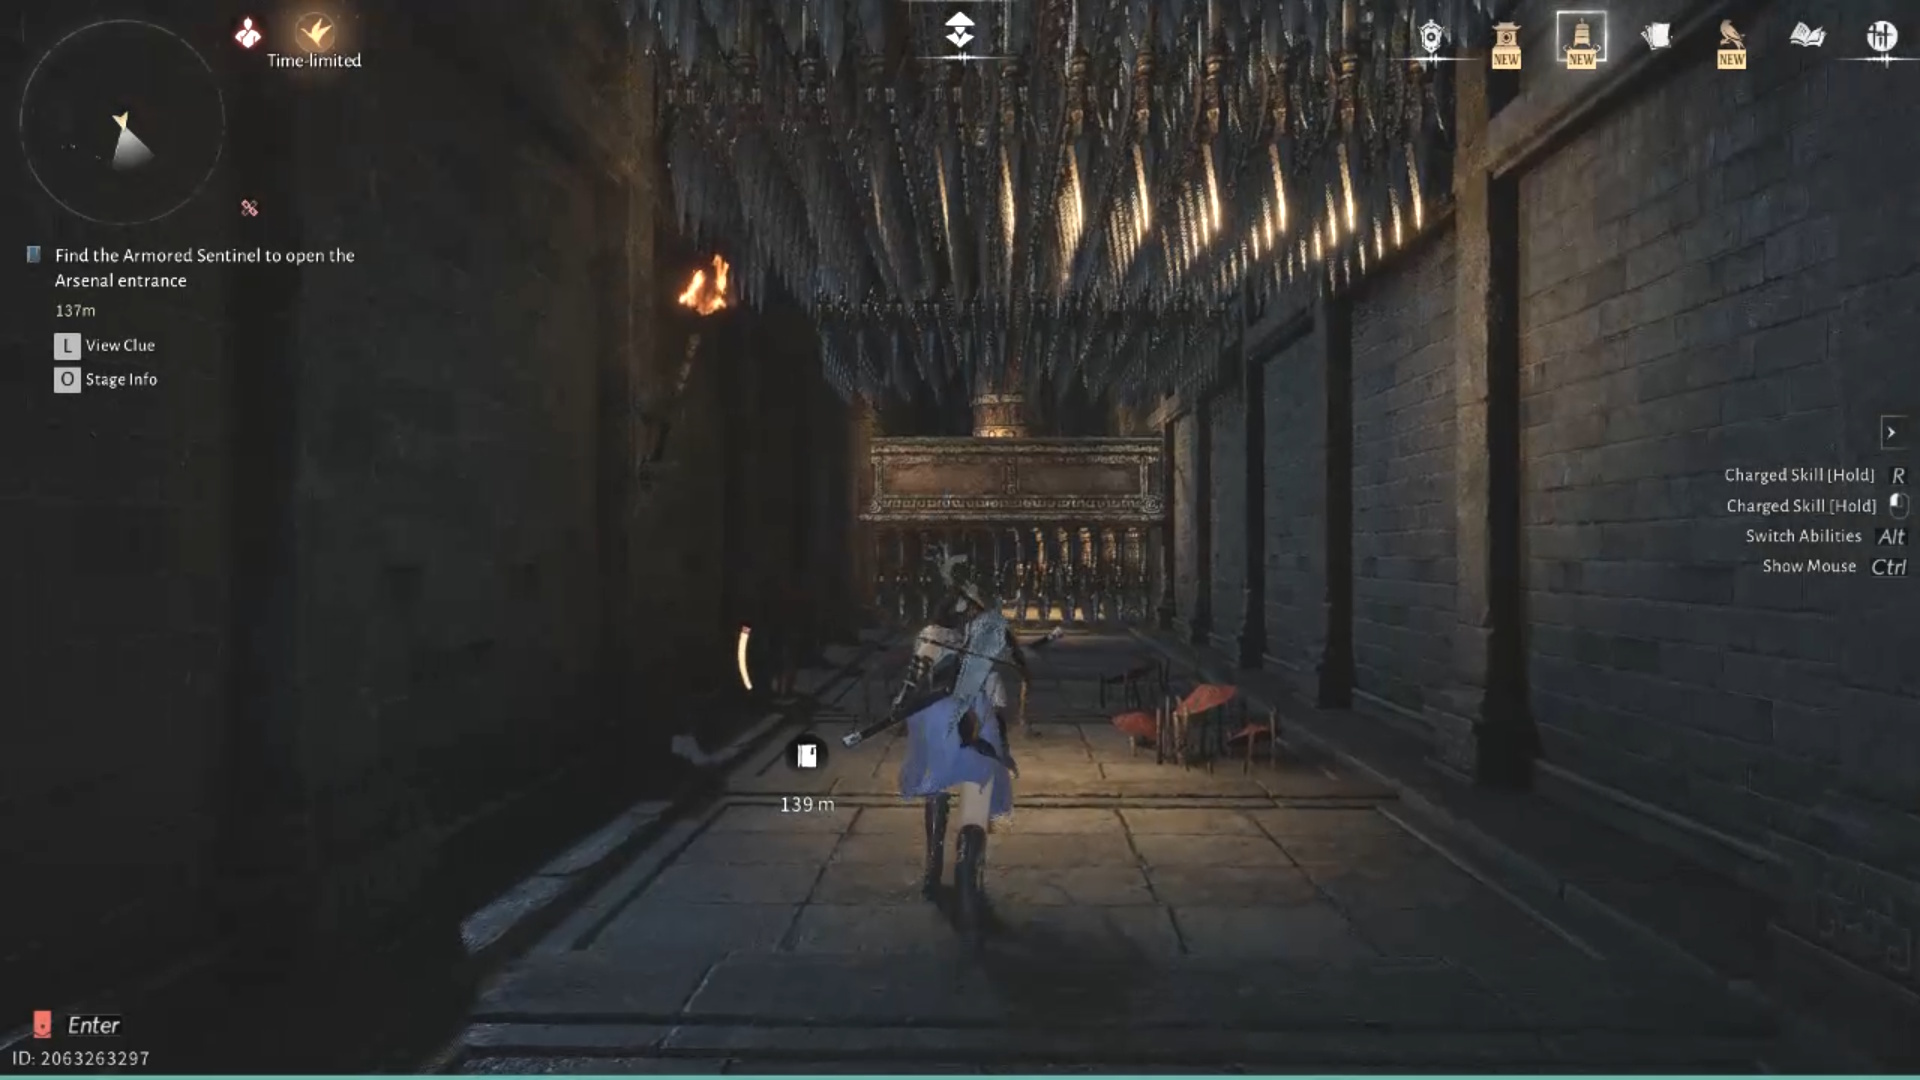
After dodging the traps, pull the lever, hit the bell, Meridian's Touch the door lock, and pick up the sixth and final weapon in the room behind. There are no enemies in this room, but there is a group waiting for you at the end of the path leading back to the Secret Edit Chamber.
After taking these enemies out, go back to the armor you investigated in the Secret Edit Chamber and select the options to return the long weapon and short weapon. Once you've done this, the secret Arsenal entrance is finally open, and you can go inside to follow the path to the end, where a treasure chest and mini-boss fight with Shi-Zen and his minions are awaiting you.
The Unholy Prophecy quest is now technically complete, but you have to leave through the hidden passage and speak to the Mysterious Painter once you're outside to properly finish it. But don't forget to check out the chest and breakable Dushan Jade found in the hidden passage before you leave.
© GamesRadar+. Not to be reproduced without permission.
Jessica has been writing about video games since 2021, and she has a penchant for games that might take up her entire life, or potentially end it. She'd rather not tell you how many hours she's spent in Genshin Impact, but she will admit to screaming like the next target in a slasher film while playing Resident Evil 7. Jessica also has bylines at Eurogamer, IGN, PCGamesN, and Game Rant.
You must confirm your public display name before commenting
Please logout and then login again, you will then be prompted to enter your display name.
