
 Join The Community


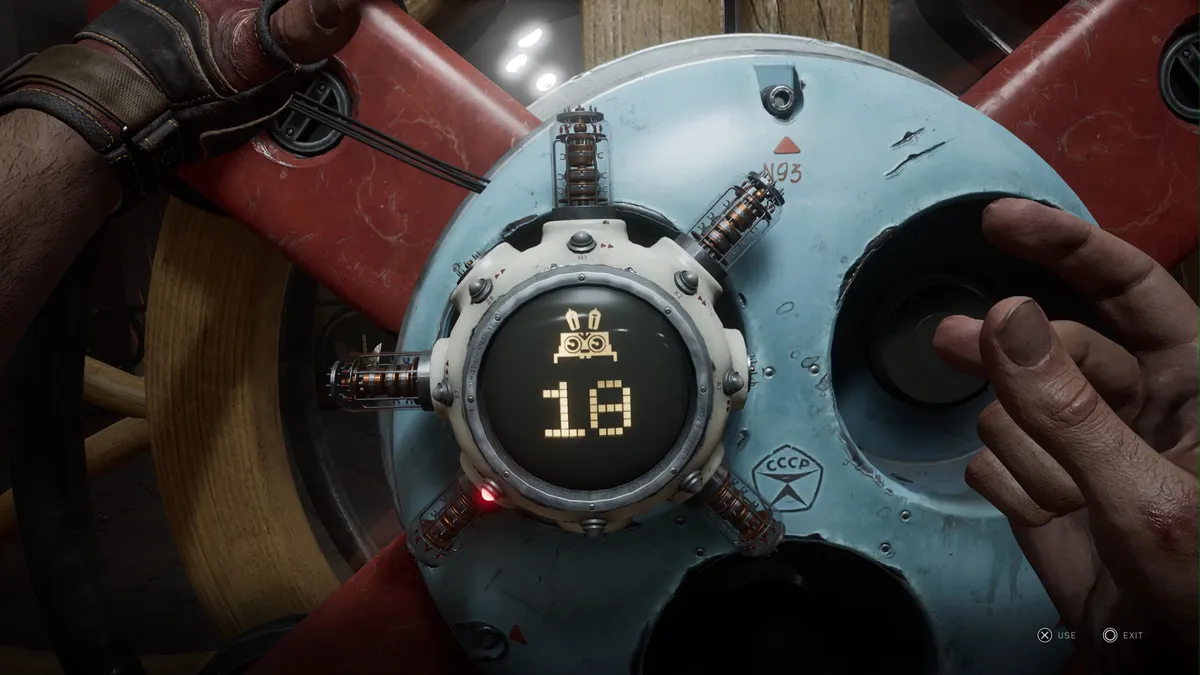
Solving Atomic Heart laser puzzles - known as Passive Security Relays - requires you match the positions of the red and blue lasers to the lights. These laser puzzles feature a lot in the various bunkers of Facility 3826, and they must be solved to power up mission-critical equipment, such as the elevator in the “Not So Fast, Major” mission. The tutorial for these contraptions simply says you've got to put the “magnetic fluxes in order” which isn't especially useful. In practice, this just means you need to manipulate rotating laser nodes to alter the positions of some red and blue lasers so that they match the red and blue lights. All of the laser puzzles we’ve found have been story-critical to Atomic Heart, so they must be solved to progress. Here’s what you need to know about Passive Security Relay laser puzzles in Atomic Heart so that you solve them all with ease.
How to complete Atomic Heart laser puzzles
The Atomic Heart Passive Security Relay laser puzzles are a bit confusing, but your main goal is to make sure that the positions of the red and blue laser beams match the positions of the red and blue lights at the end of the puzzle. For example, if the lights are, from top to bottom, red, red, blue, that means the lasers must also be red, red, blue at the end.

There are plenty of puzzles to solve throughout the game, including the different types of Atomic Heart lockpicking puzzles
To manipulate the lasers and change their colors, you’ll need to interact with the large discs that hold the laser nodes, swapping their positions and potentially changing the order of the laser colors. Rotating the rightmost discs where the lasers are fired from is a good way to swap the colors of the whole laser beam, and this will be all you need to do to solve some of the early Passive Security Relay puzzles in Atomic Heart. For example, solving the laser puzzle early in the Vavilov Complex allows you to reach the cable car station and the Atomic Heart station master lock puzzle.
However, things get more complicated later on when diverging laser nodes are introduced, causing beams to fork and affect the color of other lasers as multiple beams meet at the same node and combine into a single red or blue beam. This mechanic isn’t explained very well at all, so let me break it down for you:

- If a red laser and a red laser meet, they’ll combine into a red laser.
- If a red laser and a blue laser meet, they’ll combine into a blue laser.
- If a blue laser and a blue laser meet, they’ll combine into a red laser.

For puzzles that involve these diverging nodes, you’ll generally need to reposition those nodes as well as, or instead of, the starting nodes. You’ll start seeing these puzzles as you get further into the Vavilov Complex, where you’ll also have to complete the Atomic Heart animal tank puzzle and power up the Birchtree. Further on, you'll need to solve several to gain access to the VDNH, where you'll eventually be able to find the Atomic Heart VDNH door code.

