Luigi's Mansion: Dark Moon gem and boo locations guide
How to find every gem and boo
OLD CLOCKWORKS C-4
Welcome to Old Clockworks C-4, Play Catch. If you've been following our guide, there will be 3 Gem Stones that we recommend grabbing here that you haven't already found, as well as one Boo to track down.
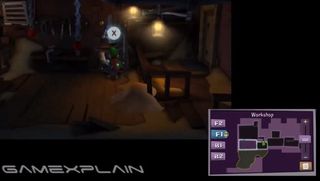
In this mission, Polterpup has the clock hand you need, so you'll have to have to use your Dark Light to follow him throughout the mansion, which reveals his footprints and entry points into rooms. But you actually probably won't need to use it much since you're using our guide. So because the Polterpup is currently hiding in the Workshop, you'll want to head there by way of the Warehouse. But you'll first have to take down a new type of ghost in the warehouse who's protected by a shield, which makes him immune to attack. To destroy the shield and make him vulnerable, you'll need to deliver a Level 2 charged vacuum attack. Once you have, take him down like normal. Afterward, continue through the door on the right into the Workshop. Inside, check the drawers on the right, by the handrail to reveal the pesky pup, who will then dart off to the Drafting Office directly above. Although there are a couple of ways there, we recommend heading east as there's a Boo you can grab along the way.
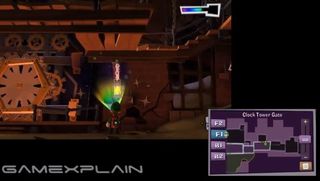
So exit out the right into the Clock Tower Gate room. Use your Dark Light just right of the giant clock to reveal a lantern and expose this mission's Boo.
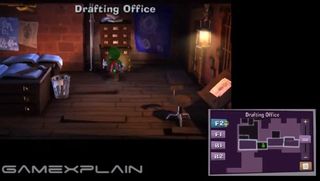
Afterward, exit out the right into the Cargo room, then climb the stairs leading to the upper floor of the Clock Tower Gate and cross the walkway to the reach the drafting office. Now check the file cabinet along the northern wall to find the puppy once more, though he'll of course run off again, this time to the Clockmaker’s Chambers.
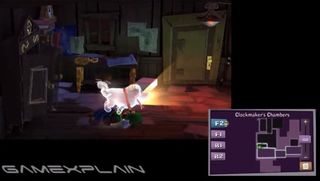
Follow him by using your vacuum on the ceiling fan to push the wall back revealing the secret area and continue through the door there back into the Warehouse. Now you'll have to take down another shielded ghost here before you can continue through the northern door, into the Clockmaker's Chambers. Interact with the wardrobe on the left to expose the Polterpup once again, who'll dart off into the Roundhouse--follow him through the northern door. As you cross the beams, he'll head off into the Finishing Room. Follow him there via the Transportation Hall, then through the door on the left.
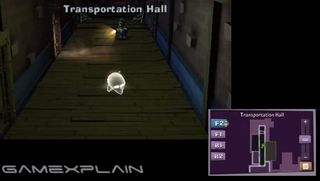
Once there, Polterpup will head back into the Transportation hall, just a little farther up. But you'll have to take down some ghosts first before you can follow him--just make sure to exit via the northern door. He'll then retreat into the Container Yard, though when you follow him via the closest door on the right, he'll return to the hall. But because the hall's moving walkway prevents you from getting close enough, you'll need to traverse this room to pop out farther up. And as you might remember, that involves weighing down the platform with robots to lower the first section of walkway, then after crossing, flashing those same robots to detonate them, lowering the second half, allowing access to the door. After stepping back into the hall, you'll find yourself just behind Polterpup. Now you need to slowly sneak up behind him to avoid scaring him off before unleashing a charged strobe light to stun and capture him. Though if you do end up scaring him off, he'll retreat to the Finishing Room. Look for him in the furnace. And if you still can't finish the job, he'll cycle between these three rooms until you do. But once you do capture him, you'll be awarded the second clock hand, completing your mission
Sign up to the GamesRadar+ Newsletter
Weekly digests, tales from the communities you love, and more
