Luigi's Mansion: Dark Moon gem and boo locations guide
How to find every gem and boo
OLD CLOCKWORKS C-3
Welcome to Old Clockworks C-3, Roundouse Brawl. If you've been following our guide, there will be 3 Gem Stones that we recommend grabbing here that you haven't already found, as well as one Boo to track down.
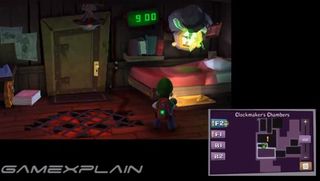
Because your first objective is to visit the Roundhouse, you might think it's fastest to go through the first-floor door. But if you do, you'll soon find your path blocked and you'd have to come back here anyway, so it's better to just catch a ride on the lift here instead--step on the pressure plate inside to expose the valve and use your vacuum on it to raise the lift. When you reach the level above, you'll find some debris blocking access to the door. Simply flash your light at the robot just behind it to have him explode, clearing the way into the Clockmaker's Chambers. Here you'll find a gem behind held by a sleeping ghost, but you can't get to it until you wake him up. To do so, use your vacuum to suck up the rug, revealing some machinery. Now use your vacuum on it to set the digital clock to match the alarm clock, which is 9am. And remember, if you got too far, simply use your Blow function to reverse it. If you set it right, the alarm clock will go off, waking the ghost. Now just wait for him to take the bucket off so you can stun and capture him, allowing you to collect the mansion's 7th gem. Now exit via the northern door into the Roundhouse.
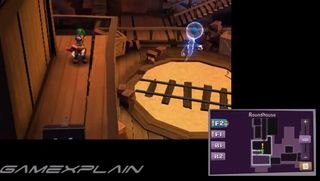
Carefully cross to the other side by following and jumping between the beams here. Now there's a gem nearby that you can go for. To get to it, cross over the adjacent set of beams to reach a walkway. Follow that to the right, then down to find a toolbox containing the mansion's 8th gem.
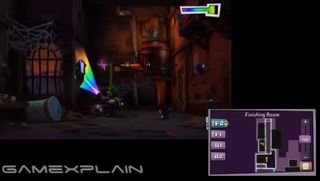
Cross back over to the previous walkway and go through the door on the right leading into the Transporation Hall. Because the door on the right is locked, and you can't reach the doors ahead due to a moving walkway, head through the one on the left. Now you'll have to clear the room of ghosts in order to leave, but where are they? Did you notice the welders mask by the stairs following your every move? Shine your Dark Light on it to reveal Ghost #1. And he'll soon be joined by two others. Once clear, exit out the northeast door back into the Transportation Hall.
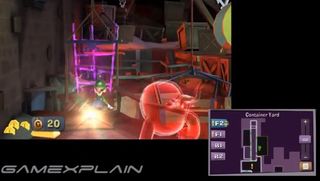
Now head across it to the door on the right leading into the Container Yard. In order to lower the raised section of walkway on the left to continue, you'll have to weigh down the attached platform. Luckily, the machine in the center will drop a robot onto that platform each time you pull the chain. So pull it until there are three robots on the platform, which should then weigh enough to lower the walkway portion. The only catch is that you'll be ambushed by a couple of Slammers before you can actually make use of it.
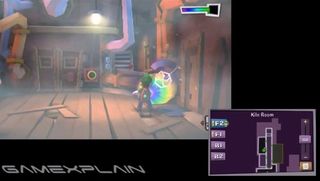
Once it's clear, head on across, though you'll find that same weighted platform has caused the final section of the walkway to rise out of reach. But the solution's simple--just flash the 3 robots with your strobe light to cause them to explode, reducing the platforms weight and returning the final piece of walkway to its normal level. Now exit through the door back into the Transportation Hall. This time, cross the hall and head through the door on the left that's slightly south, leading into the Kiln room. In order to activate the Light Sensor ahead, you'll have to first get rid of the thick fog emitting from a pair of pipes. Start off by using the blow function of your vacuum on the valve to the left to disable one of them. Now the pipe on the other side of the room seems to have no valve at all...sounds like a job for your Dark Light, which will reveal the missing piece, then turn it off in the same way. But even with both pipes turned off, the fog will still linger. Well, all you need to do is run your vacuum for a few seconds to clear the air. Once the room's fog free, flash the light sensor ahead to open the double doors, where you'll find a pair of ghosts waiting for you. After you take them down, this mission's Boo will also make an appearance. Man, if only all of them were this easy to find! After all of that, go through the double doors, turn right, and exit out the door to the northeast, leading back into the Transportation Hall.
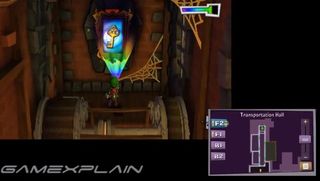
You finally made it all the way across! To celebrate, rip off the nearby sheet revealing a spring you can bounce off of to reach the platform across the machine. Now use your Dark Light on the painting of the key to reveal an actual key; cross over the turning wheels of the machine to reach it. Now head back down the hall and use that key to unlock the south-easternmost door. It leads back into the Roundhouse.
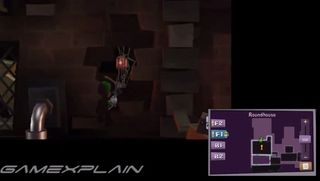
After climbing down the stairs, head straight ahead to find a hidden area containing the mansion's 9th gem trapped in a web, which you can pull down with your vacuum. Now follow the walkway to meet up with the ancient Poltergeist, who'll you then have to battle to reclaim one of the missing clock hands.

So this guy's gimmick is that he can create tornadoes on the turntable that both can suck you in if you're too close, as well as toss bombs your way. It's best to stick to the perimeter of the the arena, away from the turn table, and keep on the move to dodge the bombs. Oh, and you'll have to deal with a few other random ghosts throughout the battle. But whenever the turntable stops spinning is when the poltergeist is vulnerable, though he'll be invisible most of the time. Keep an eye out for moving objects or trails in the sand that reveal his location, then strobe light and vacuum him. Just keep it up to make him go down for the count revealing the Clock Hand. Now use the vacuum to give the nearby chain a tug to lower the raised walkway, allowing you to reach the clockhand and complete your mission.
Sign up to the GamesRadar+ Newsletter
Weekly digests, tales from the communities you love, and more
