Zelda Tears of the Kingdom Marakuguc Shrine guide
How to beat the Wheeled Wonders puzzle inside Marakuguc Shrine in Tears of the Kingdom.
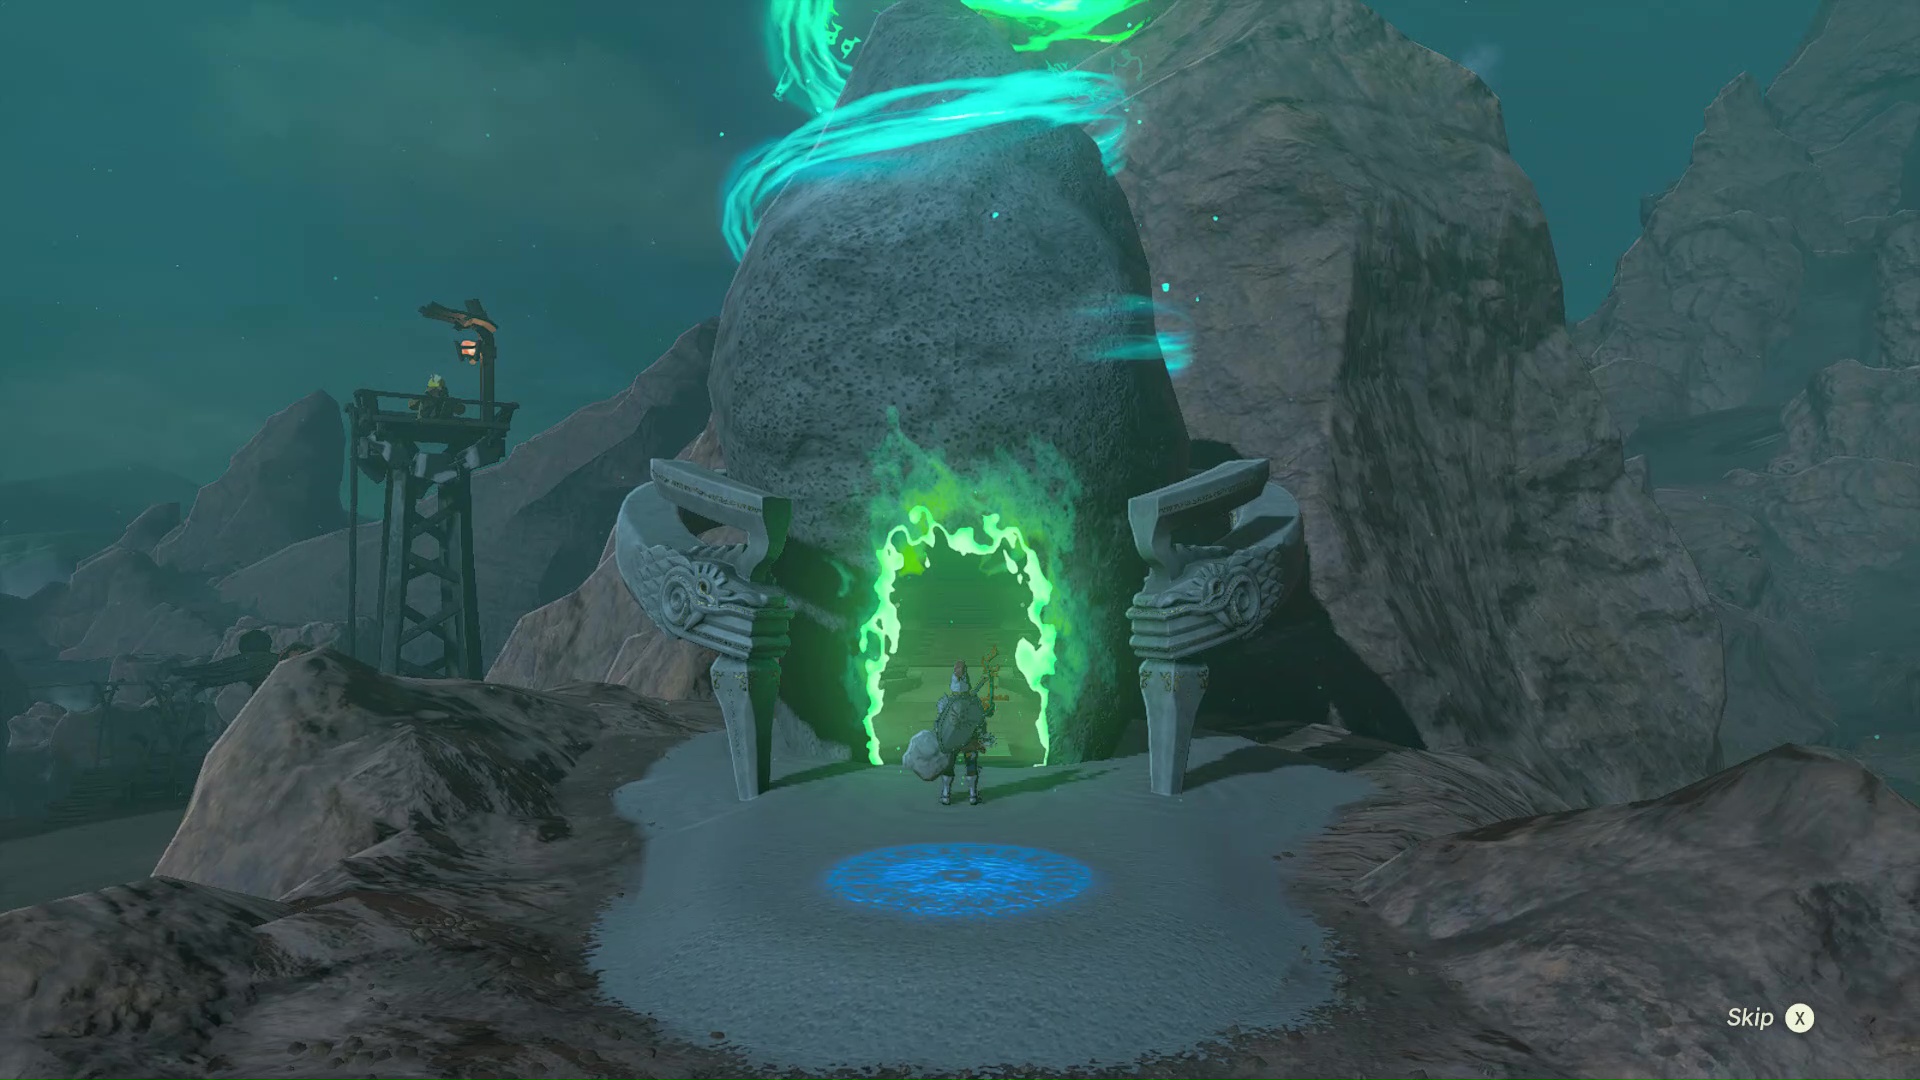
The Zelda Tears of the Kingdom Marakuguc Shrine puzzle is solved by creating vehicles - the "Wheeled Wonders" the Shrine is named after, used to cross lava and make it safely to the other side. Completed in various stages, we'll explain how to beat Marakuguc Shrine here, as well as how to get to the secret treasure chest in one of the hardest shrines in all of Zelda Tears of the Kingdom.
Marakuguc shrine guide in Zelda Tears of the Kingdom
The Marakuguc Shrine puzzle in Zelda Tears of the Kingdom is solved by taking these steps:
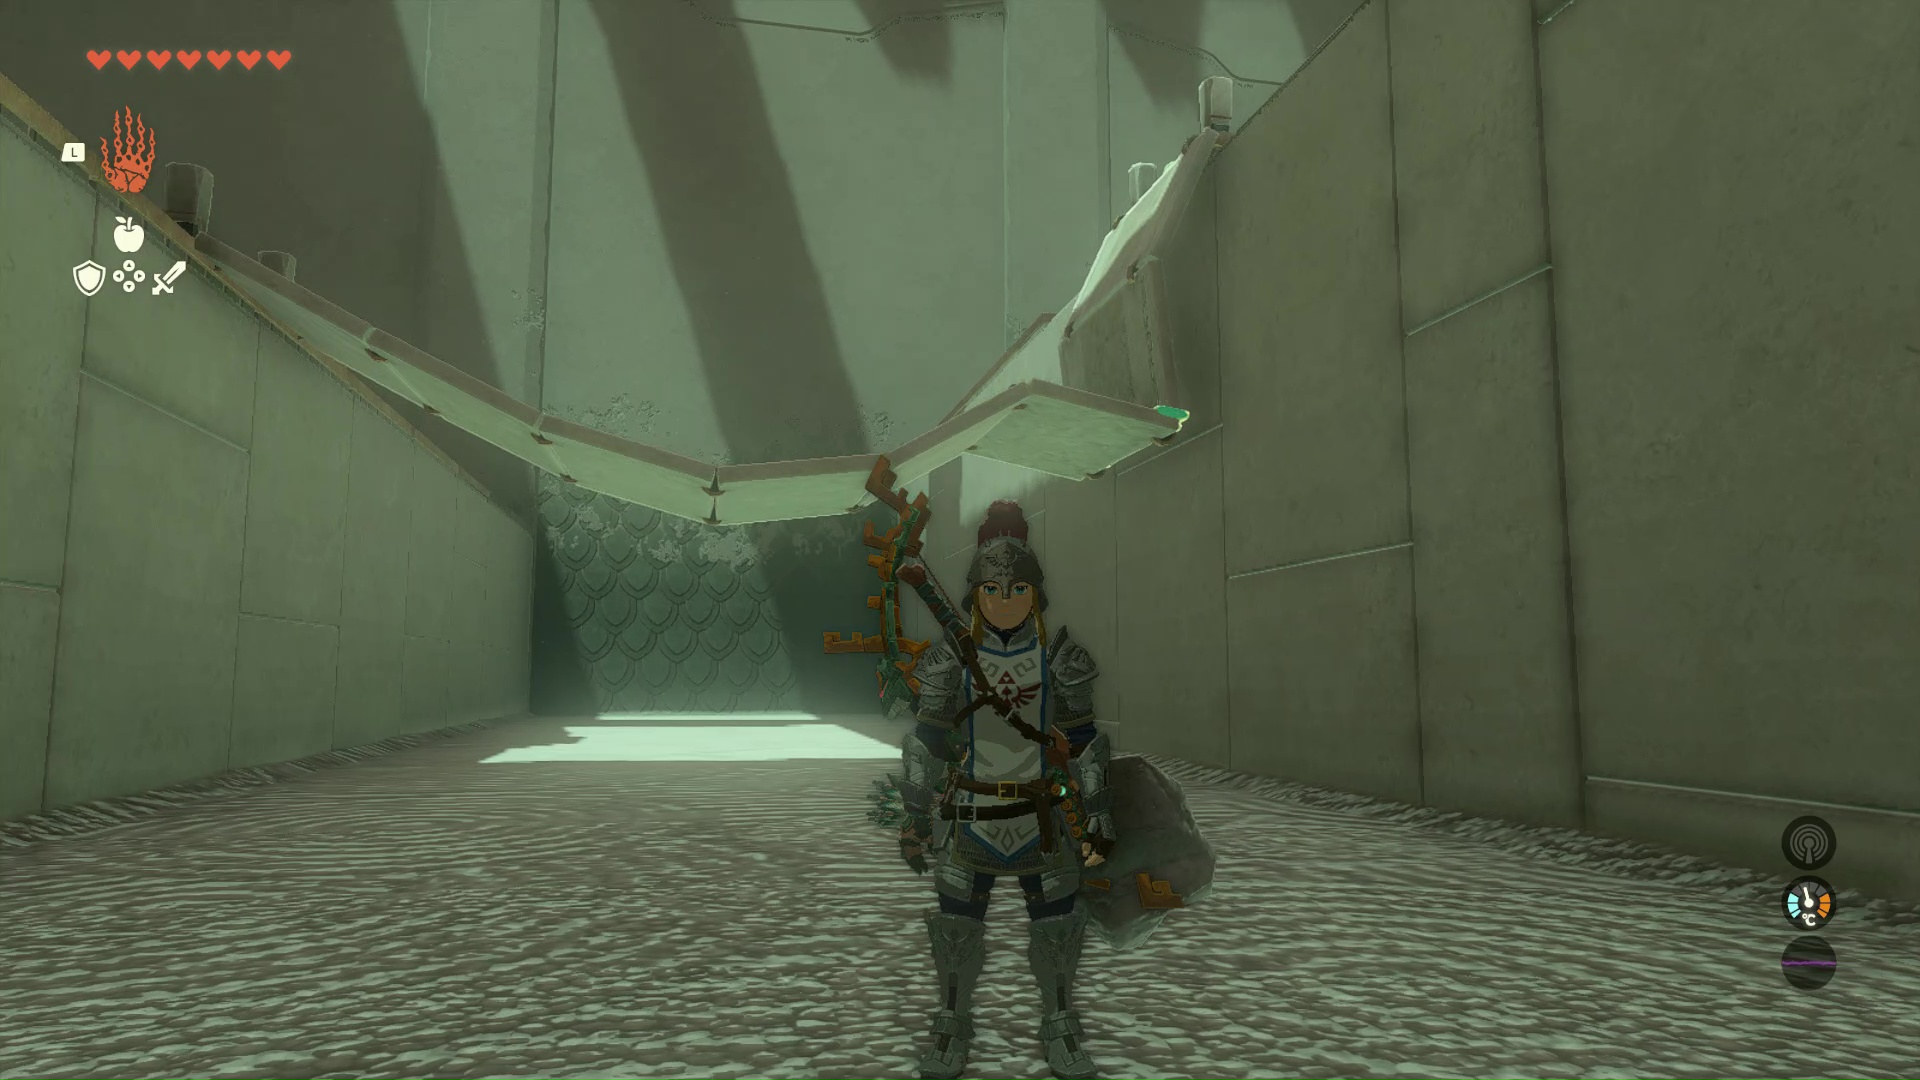
- On entering the Shrine, there'll be a gap ahead. Use Ultrahand to fuse the loose stone planks on your side to the planks on the other side, creating a bridge you can cross. There's a little too much slack when done normally, so attach your side higher up, or fold it as shown above.
- Cross the bridge you made. Ahead is a two-wheeled vehicle and a string of stone planks. Ultrahand-stick the planks to the back of the vehicle and set it driving over the lava ahead, so it drags the planks behind it.
- On this side are three two-wheeled vehicles, with one sitting in the lava ahead. Ultrahand them together into one to make a four or six-wheeled vehicle. Riding it will enable you to cross the lava and obstacles ahead.
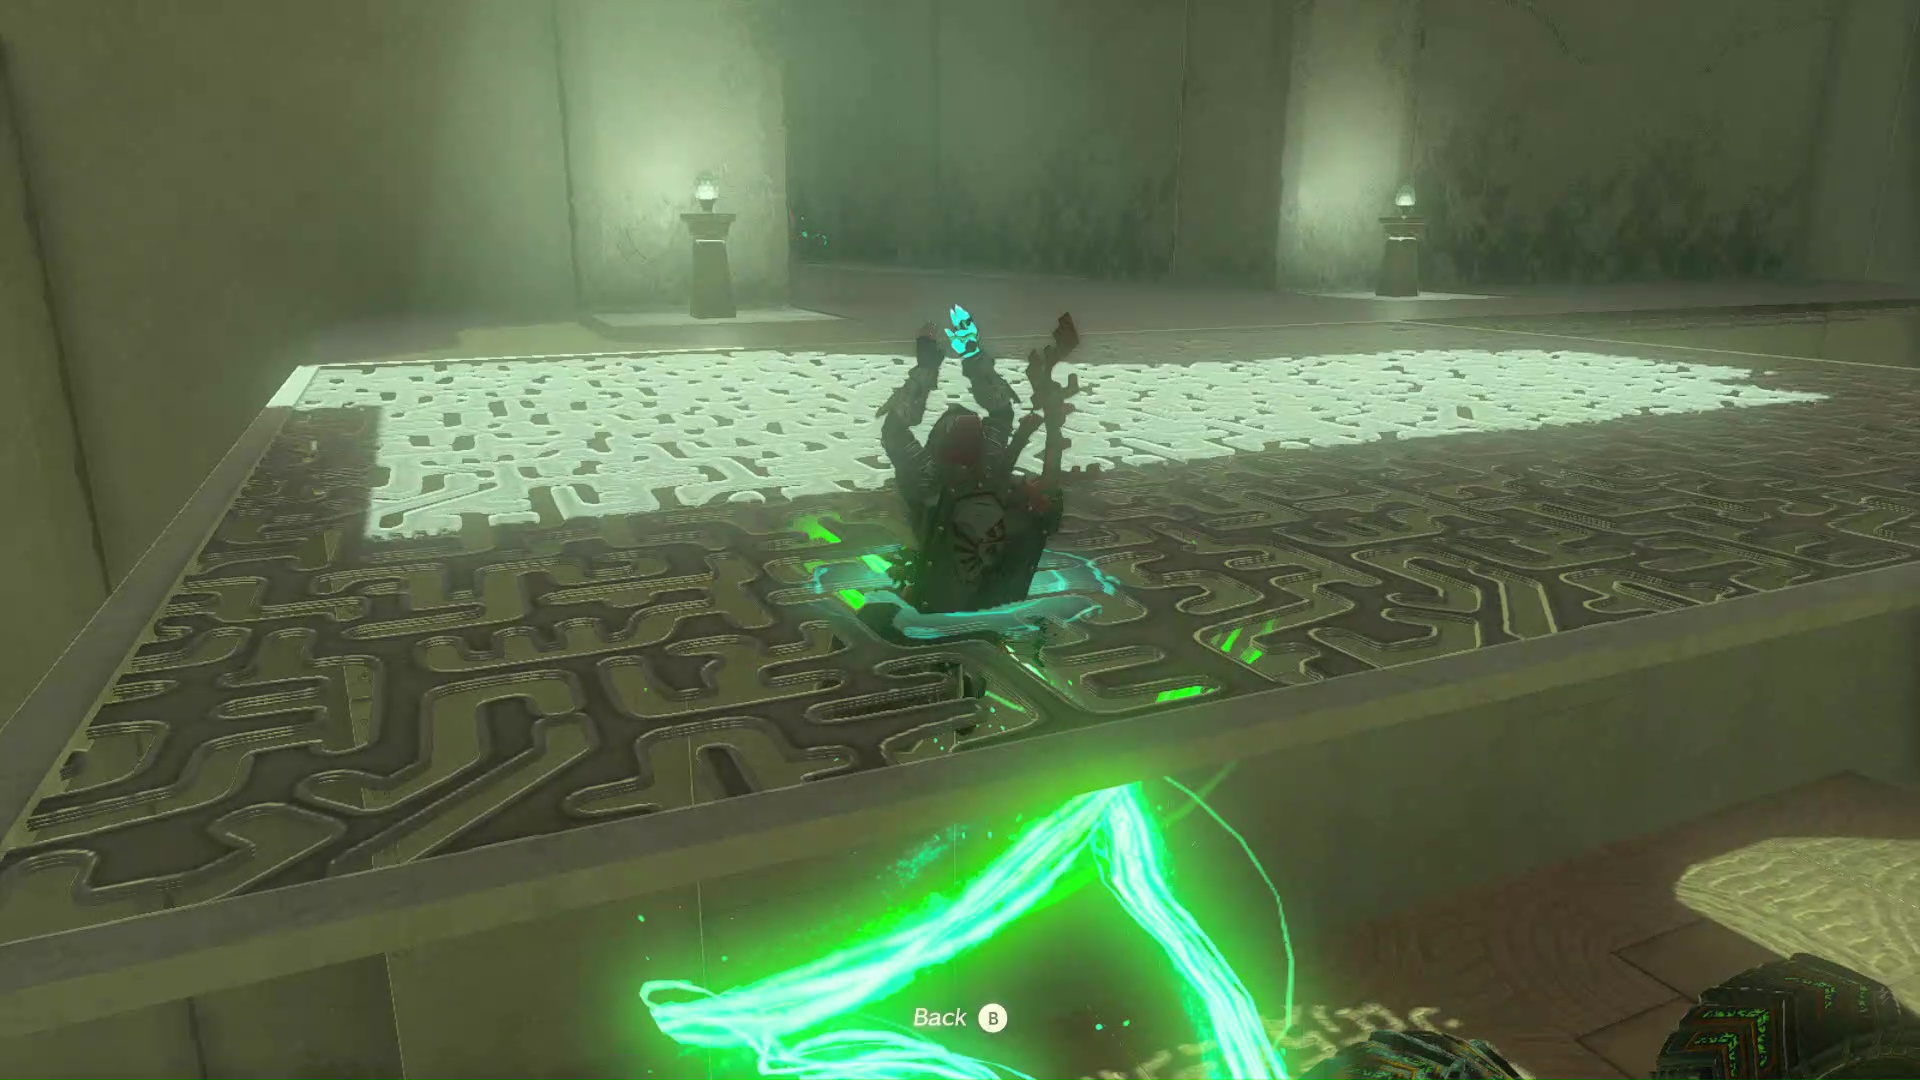
- On the other side is a platform you need to reach. Lift the vehicle you made onto it, then Ascend up through the bottom so both you and your car are up there.
- Ahead of you is a Construct you need to kill. Deal with it however you want, you can even squash it with the vehicle you lifted if you do it carefully.
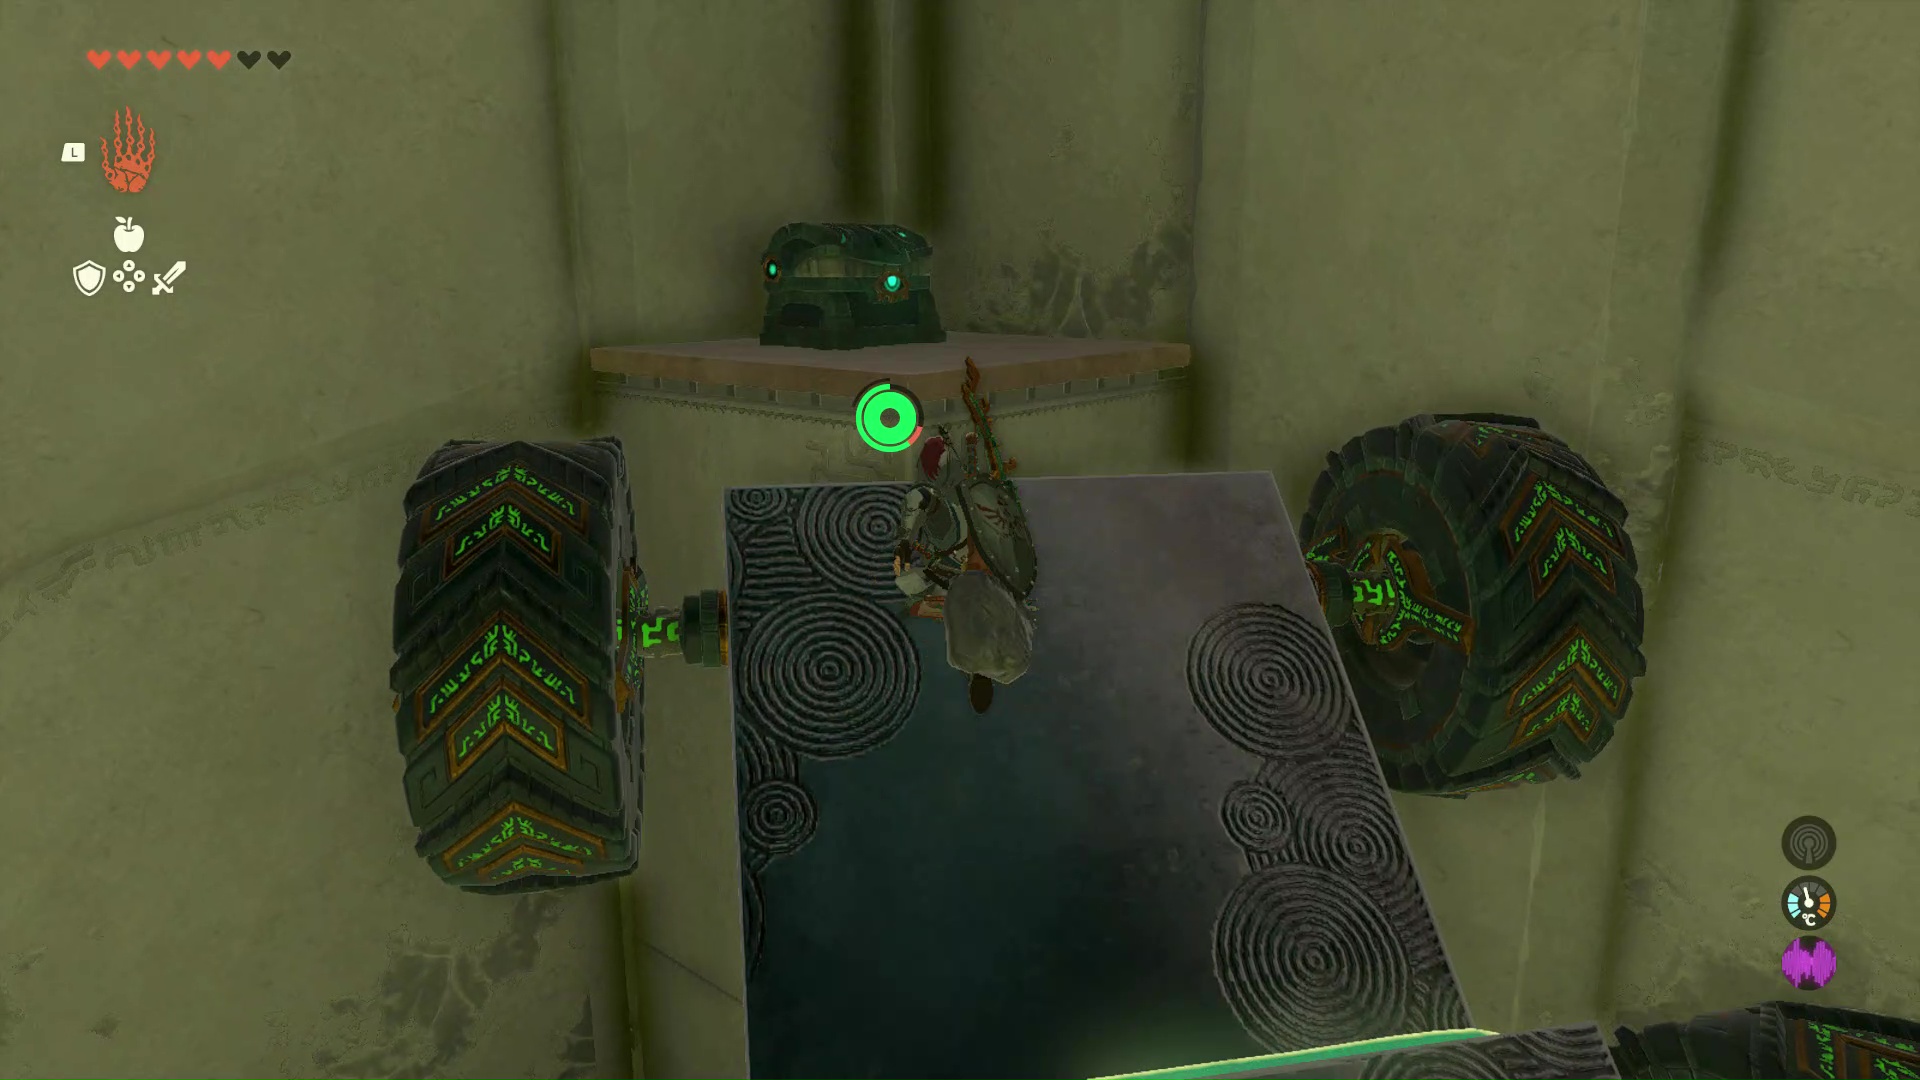
- In the same room as the Construct is a treasure chest on a pillar. Stacking your vehicle against the pillar will create an angled ramp you can run up, collecting the Strong Construct Bow inside.
- Back at ground level is a new vehicle and a series of metal balls. You need to push all the balls in one go onto the pressure plate on the other side - attach the curved piece to the front of the vehicle and set it rolling so it scoops and pushes them all forward.
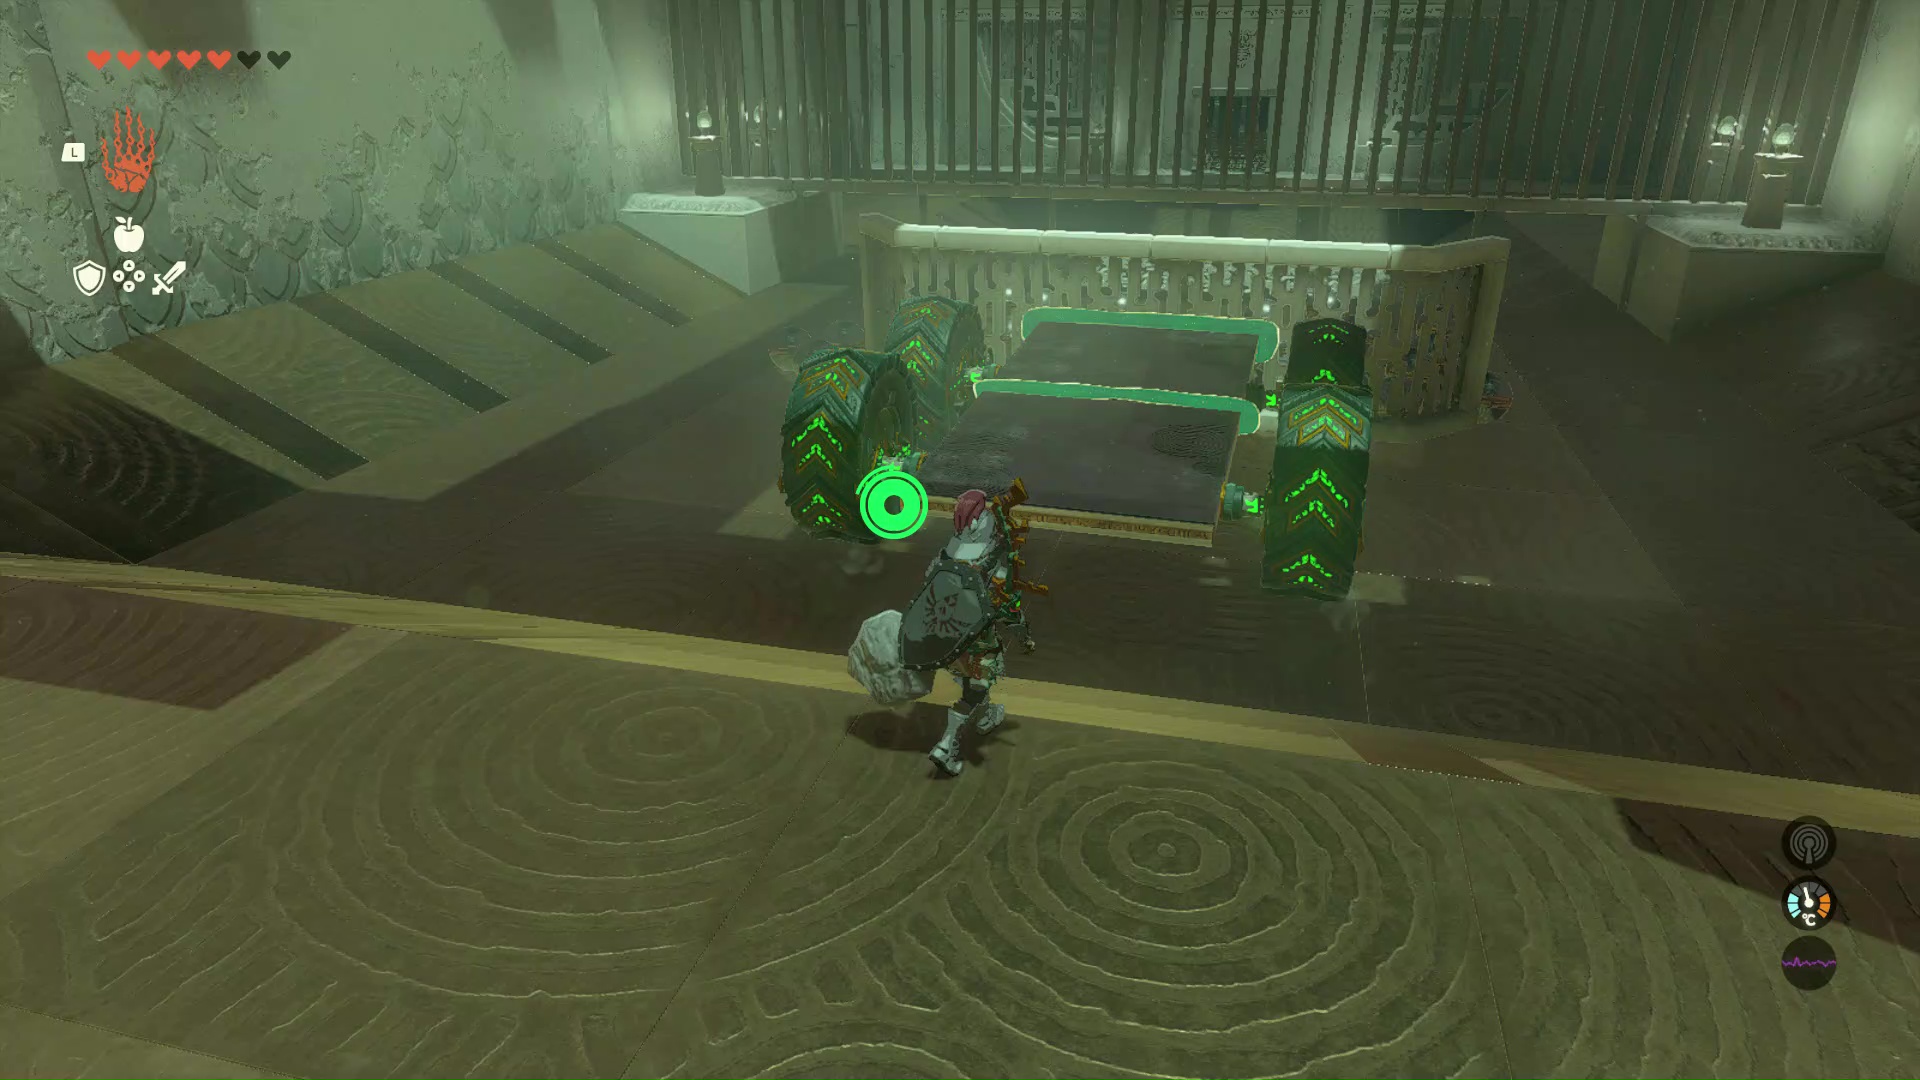
- With the balls weighing down the plate, the shrine should be complete - head forward past the pressure plate and through the door to get your Blessing and finish the puzzle.
That's one of the harder Shrines out there, but by no means the only one that'll push steam out of Link's pointy ears. For players who want to crack all the most difficult Shrines in the game, we've collated walkthroughs for them all at the side - or if you want to know how many there are to complete total and what the rewards are, we've answered the question: How many Shrines in Zelda Tears of the Kingdom? And more importantly, is it even worth doing them all?
© GamesRadar+. Not to be reproduced without permission
Weekly digests, tales from the communities you love, and more

Joel Franey is a writer, journalist, podcaster and raconteur with a Masters from Sussex University, none of which has actually equipped him for anything in real life. As a result he chooses to spend most of his time playing video games, reading old books and ingesting chemically-risky levels of caffeine. He is a firm believer that the vast majority of games would be improved by adding a grappling hook, and if they already have one, they should probably add another just to be safe. You can find old work of his at USgamer, Gfinity, Eurogamer and more besides.
