Yoshi’s Crafted World: How to find every red coin
Find all the Yoshi Red Coins with our helpful guide
Exploring the Animal Kingdom
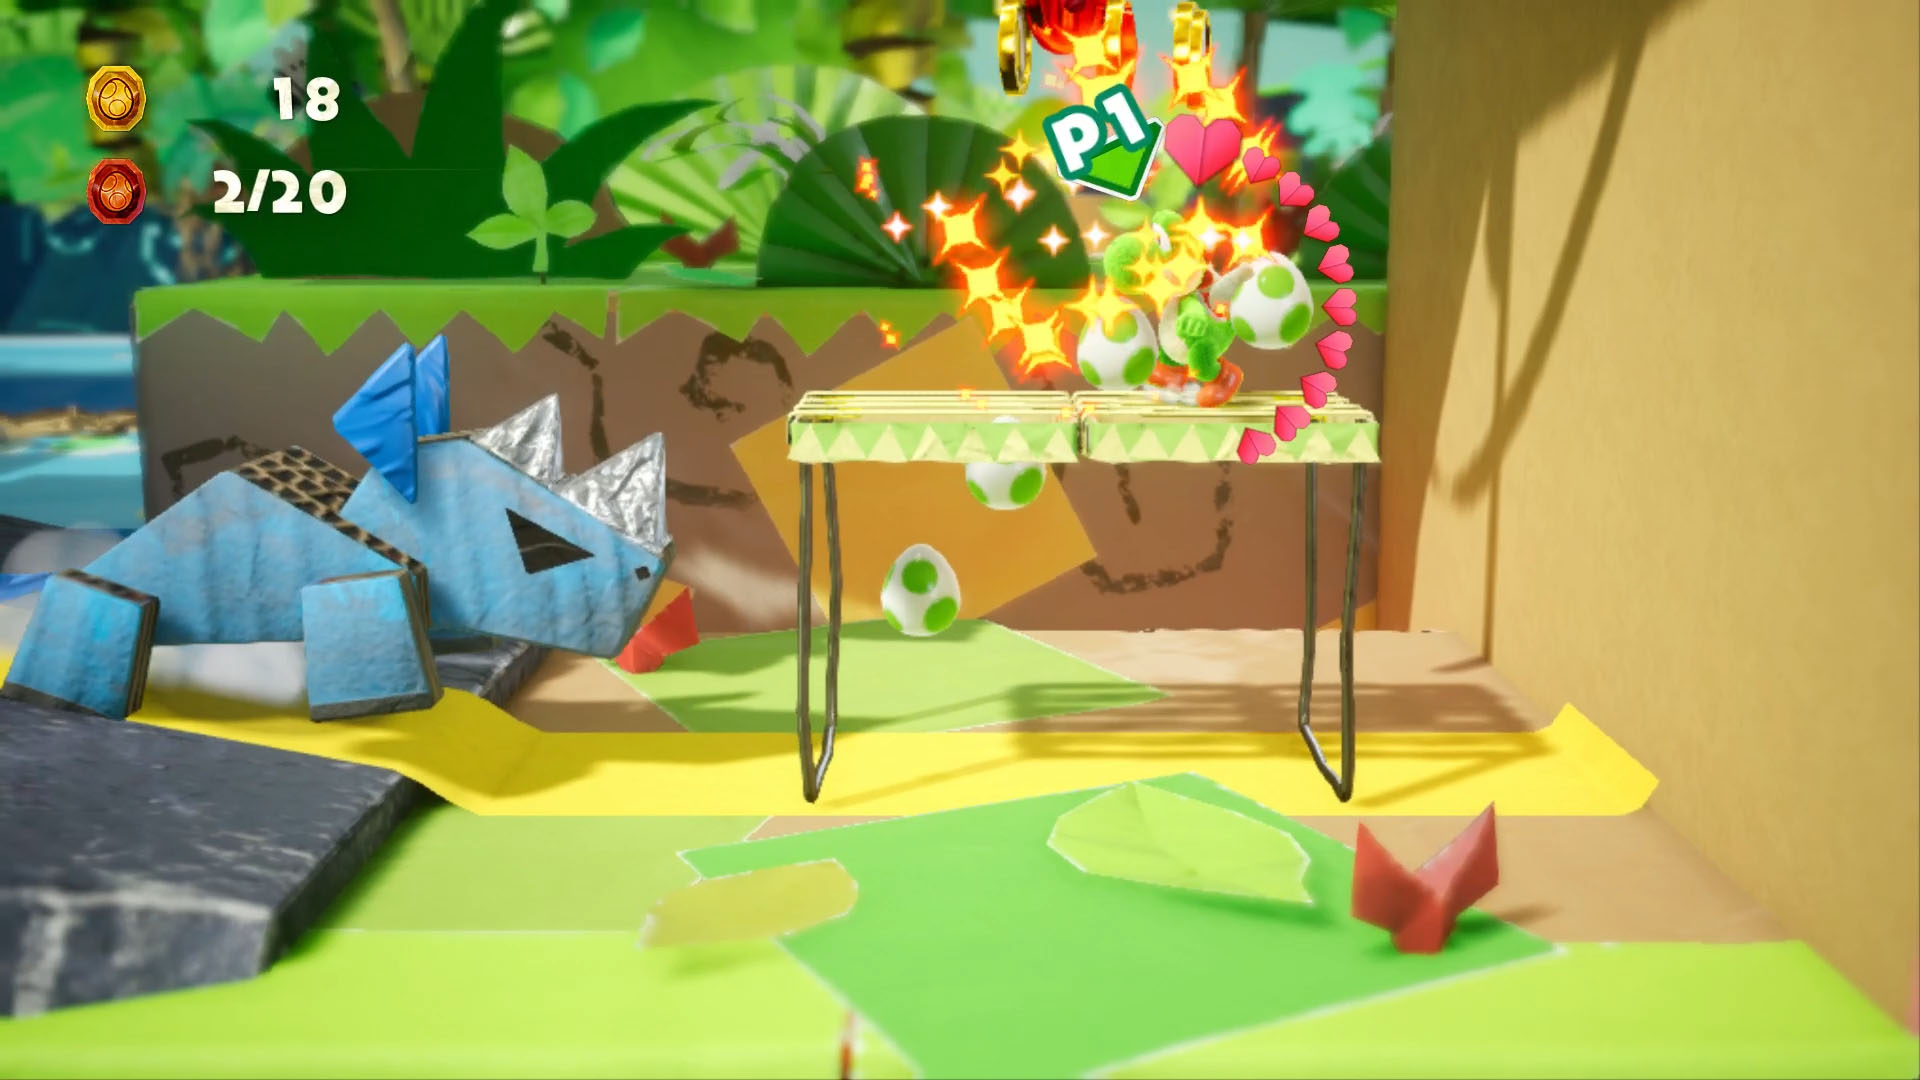
Red Coin 1: Ah yes, tranquility. Wait, is that a rhino? Run away until you see some shy guys looking peaceful on a bridge. Hop above them and the middle one from the arc is your first red coin.
Red Coins 2-5: Keep running for your life until the rhino chases you to a corner on the right. Pop the cloud under the platform for four coins.
Red Coin 6: Surpass the first checkpoint and you’ll see a car made out of toilet tubes with a long neck. Use its head to get up and left for a red coin.
Red Coin 7: Drop down the giraffe’s neck and… oh no, the rhino is back! Keep running until you see a gift box on a stump in the distance. Egg it for a coin.
Red Coins 8-9: Straight after there’s a cloud up top. Hit it for an arc with two more red coins.
Red Coin 10: Straight after that, there’s a coin under some paper boxes. Let the rhino wipe them out and claim it.
Red Coins 11-16: Keep it moving right to the bitter end of this path under the red vine. Pop the cloud for six red coins.
Red Coins 17-20: In the basin to your right after you head towards the foreground to find the three parts of the bridge, kill the left piranha plant for a cloud that drops the last four coins.
Hoppin’ Higher
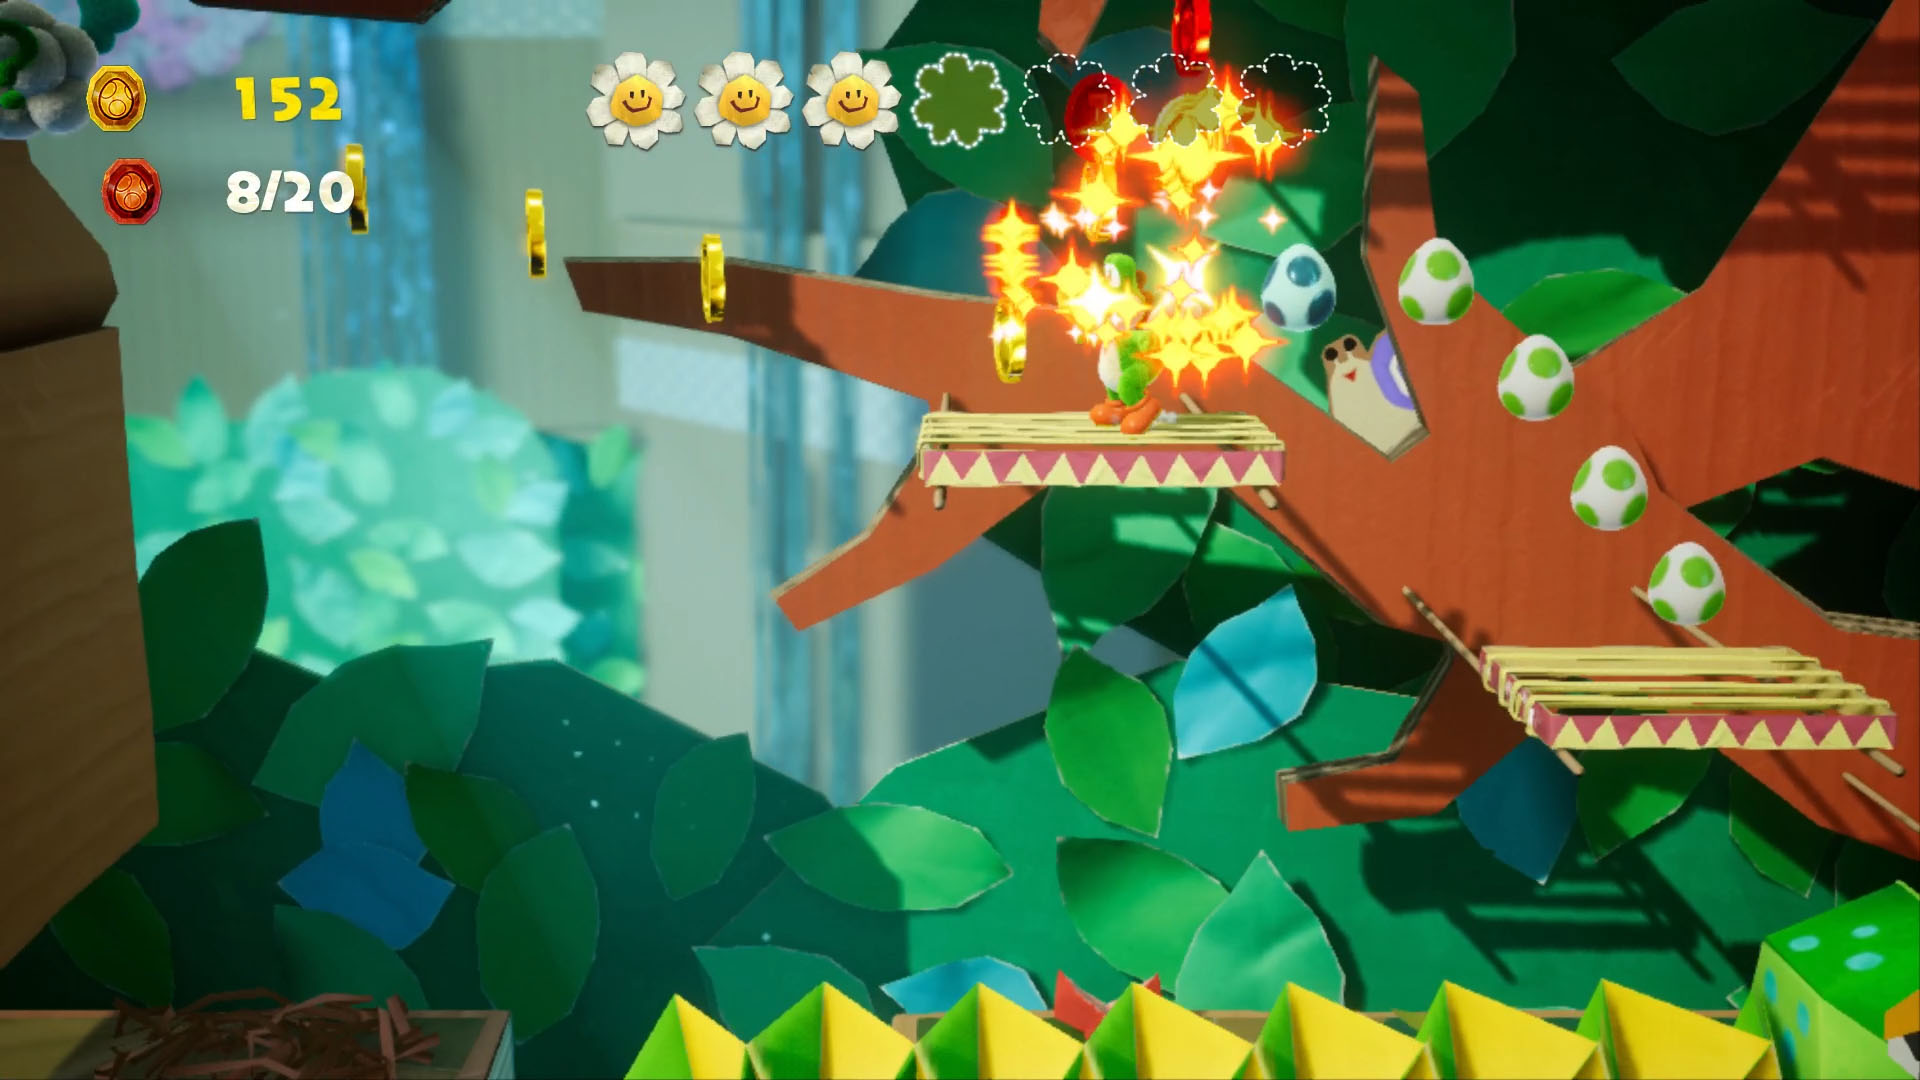
Red Coins 1-2: Push the snake all the way back with eggs and pop the cloud at the hole he came out of to spawn a coin set with two reds in it.
Red Coins 3-4: When you see the origami frogs, hop the visible arc between them for two more red coins.
Red Coins 5-8: When the second terrible snake appears, ride his head up top where you’lll find a lone hopping frog. Use it to get up to the next platform, and pop the moving cloud for four red coins in a set
Red Coins 9-11: Keep moving until the next terrible snake will appear, pop the cloud in the two-platform section and follow them up for three more coins.
Red Coin 12: After the snake clears a path through the boxes, use the egg flower and pop the gift he reveals in the background.
Red Coins 13-15: After the checkpoint let the frog near the shy guy tube lift you up to three more coins in the air.
Red Coin 16: Directly after this, hop the arc between the frogs for another coin.
Red Coins 17-20: Keep rolling until you see the ending star arrow sign. Just before it, pop all the boxes above you for four final coins.
Jungle Tour Challenge
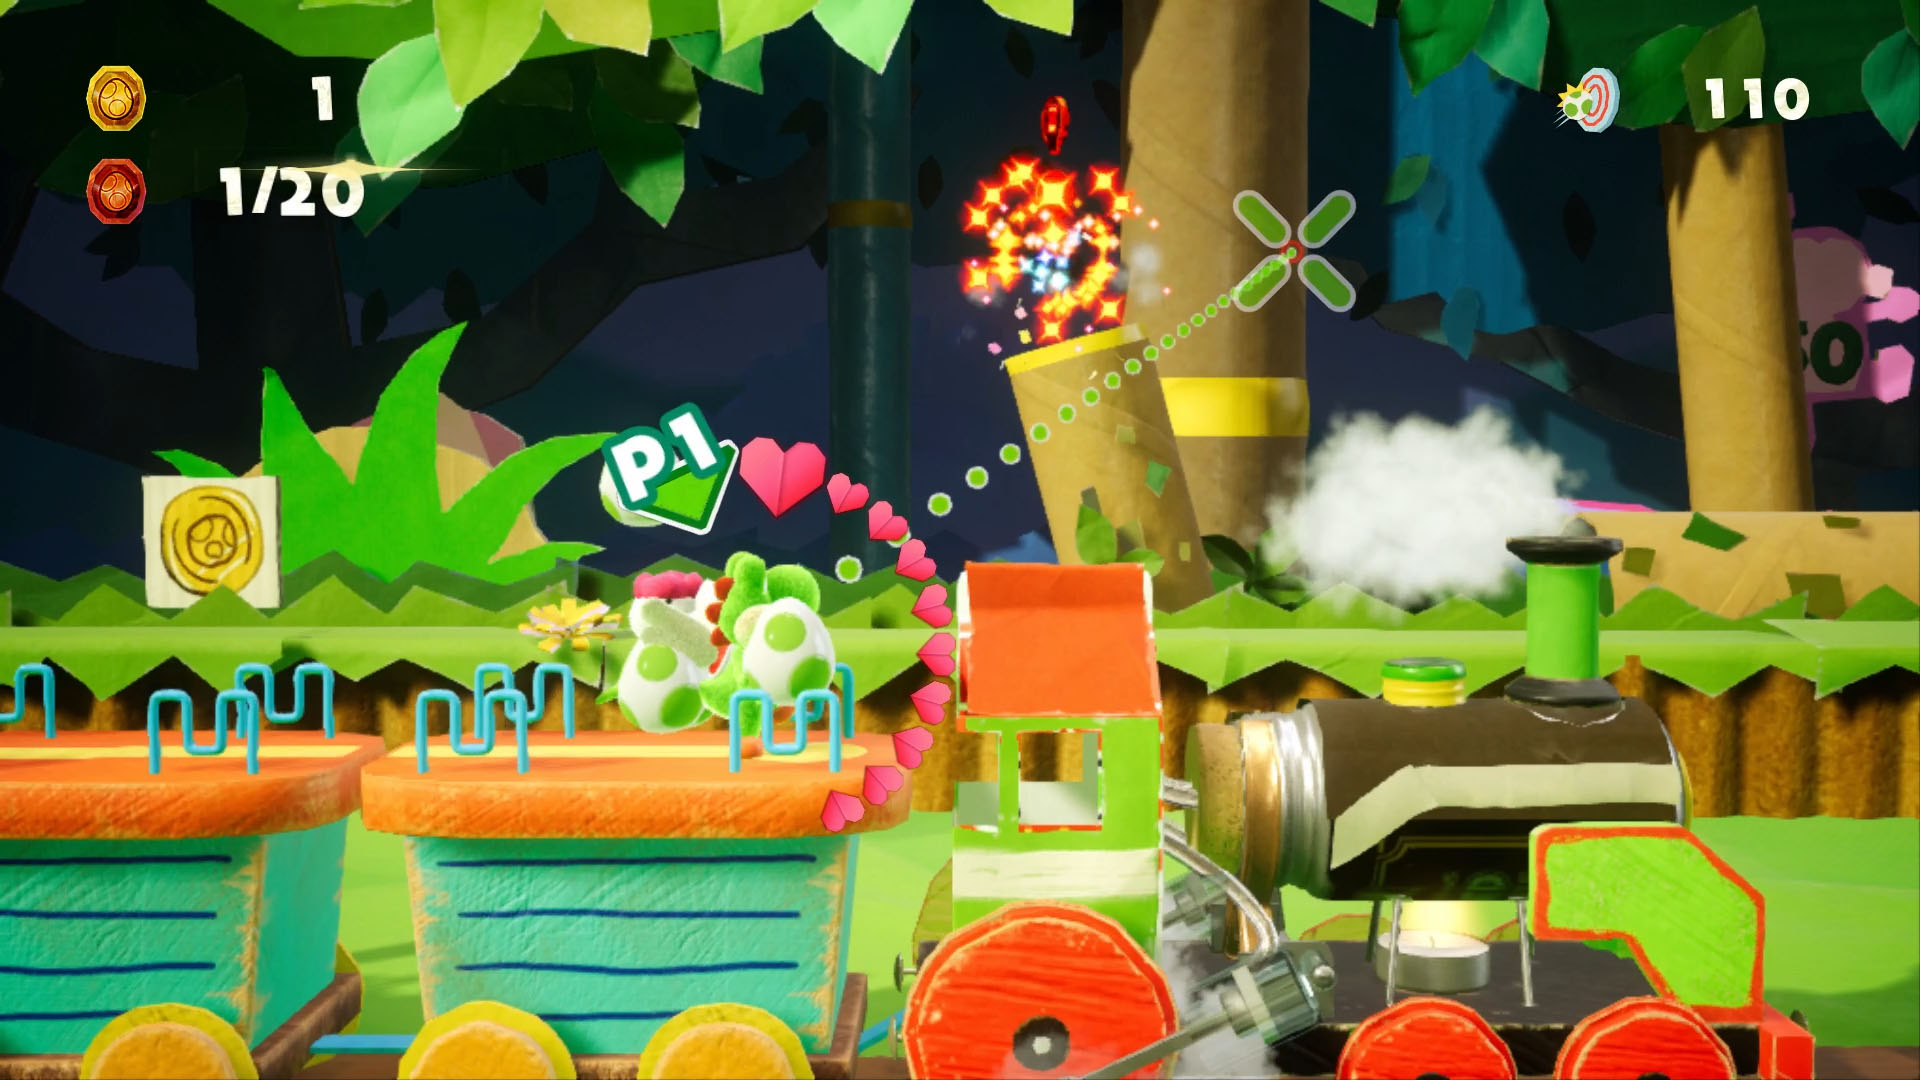
Red Coins 1-4: Hard to miss, a big red coin box on a toilet tube next to a ‘20’ score elephant. Right near the start.
Red Coins 5-8: As the train heads to the background of the scene, there are some animals in the far right. In the grass, a red box is next to them which you can egg for more coins.
Red Coins 9-11: After the waterfall segment hit the red coin box to the left on the rocks.
Red Coin 12: Hit the present just after the coin box above. Hard to miss.
Red Coins 13-15: As the train heads towards the foreground once more, watch your left side for rhinos and the next three coins.
Red Coins 15-20: When you start moving around the log-filled zone, find this coin on the right just out of shot. Wait to get the best angle and pop it.
Stitched Together
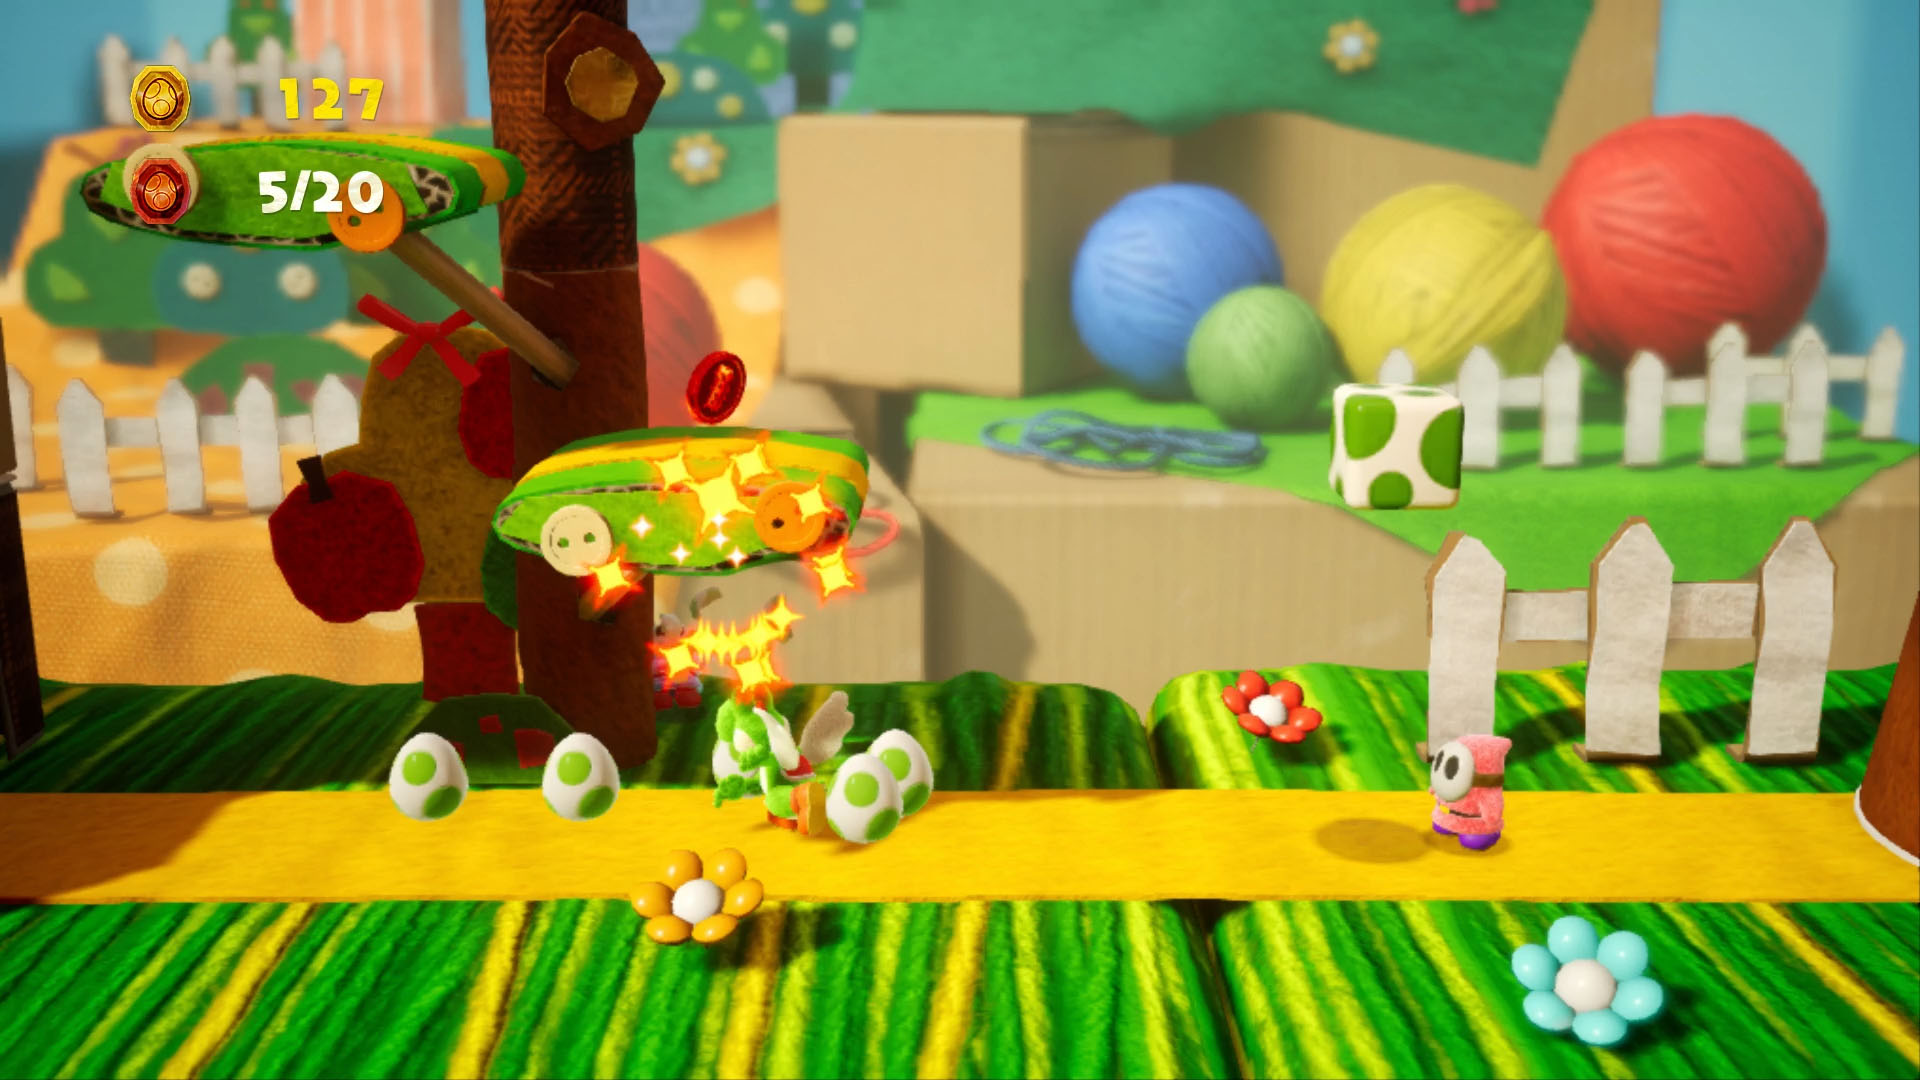
Red Coin 1: Do not adjust your headset, but we’re taking a detour into Wooly World. When you see the rainbow and cloud blocks held up, get up to the right and hop back onto them and hit the question cloud in the middle for a ring of coins with a red one in the middle.
Red Coin 2: You’ll see a windmill and an accompanying question cloud. Egg it for coin two.
Red Coin 3: Head all the way to the right and you will see a shy guy in the foreground holding a coin. Egg him!
Red Coins 4-5: Move the seesaw to pop the left cloud under the cloud block, which will spawn 3 more coins.
Red Coins 6-7: After the first checkpoint, hop down and to the left push a white fabric block all the way and jump up. You’ll be in a new nook with two red coins.
Red Coin 8: Move right and when you reach the egg box, you should see a shy guy sneak out from a cubby with a coin. Egg him!
Red Coin 9: When a red arrow points down to a basin with a sun and moon fabric. Drop to the bottom and head left, then egg the gift in the background for another red coin.
Red Coins 10-11: Hop across two windmills then drop low and head left (kill the piranha plant) for the next two coins in the log hole.
Red Coins 12-14: Keep moving through the level until you are jumping across fabric clouds. You’ll see a windmill with a question cloud in the middle. Pop it for three more.
Red Coins 15-17: After the star arrow keep moving until you are on a platform with a piranha plant. Drop below on the left to the fabric sun and hit the cloud for three more coins.
Red Coins 18-20: After the above, get past it and double back to get on top of the bar that is suspending the platform. You’ll see three shy guys and a cloud. Pop the cloud for three more coins.
Poochy’s Sweet Run
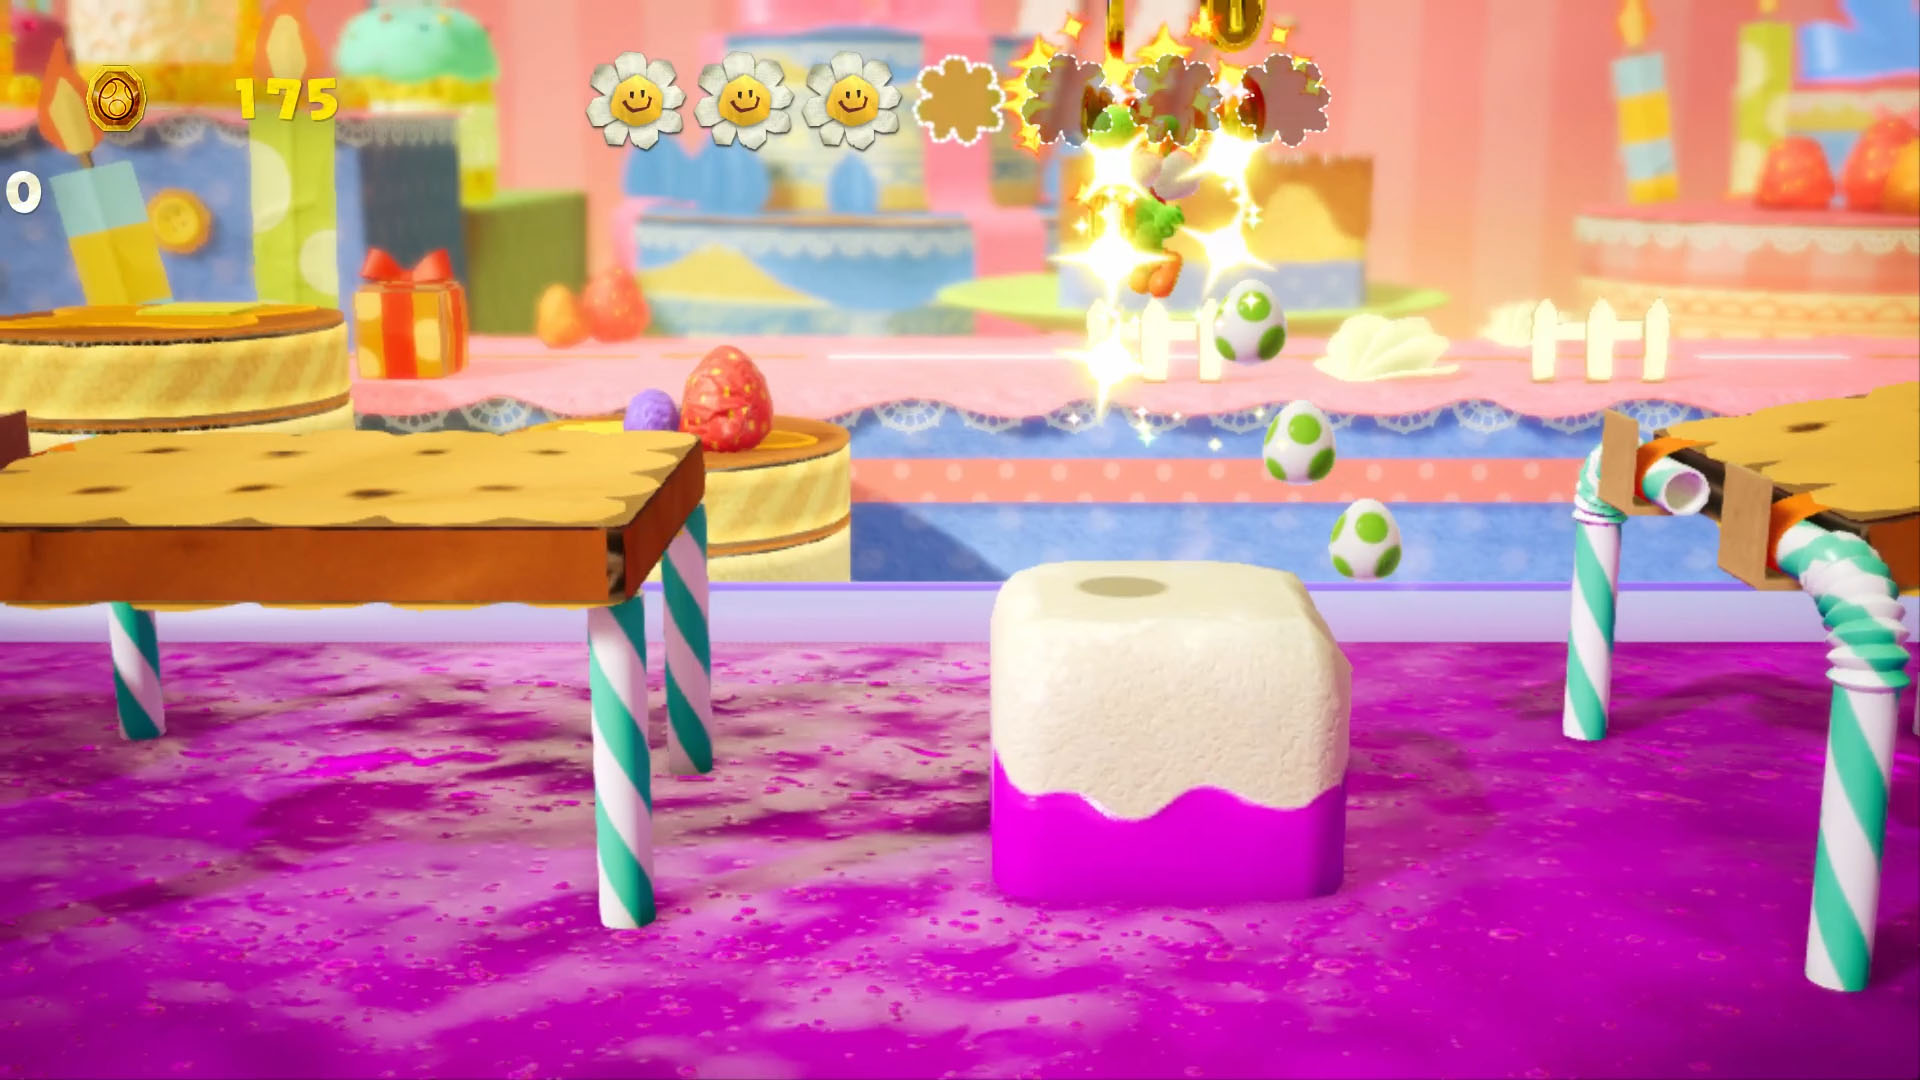
Red Coin 1: Drop the Smore dominoes until you see a green shy guy carrying a coin in the background. Egg him!
Red Coins 2-3: Three stacks of toffee treats will appear. Have them shift right so you can get into the crawlspace they’re obscuring on the left for two more coins.
Red Coins 4-6: Jump and wiggle from the tallest aforementioned treat stack to get the next three coins that are up above.
Red Coins 7-9: Poochy’s back! Ride the pup into the definitely dangerous purple goo and hop on the platform with the big coin. Egg the cloud and ride right in the goo with Poochy for three coins.
Red Coins 10: Drop the next Smore after you leave Poochy and egg the gift box in the back for a coin (you’ll see it when you can see pancakes in the background.)
Red Coins 11-12: On the next platform after the above, egg the cloud underneath the Smore for two coins to appear behind you.
Red Coins 13-16: Yoshi will be in a lane towards the foreground of the map. Drop down after this and climb the sweet treats, hopping into the leftmost platform. Enter the hollow area on the left and drop for four coins.
Red Coins 17-20: After Poochy makes his triumphant return, head to the end and just before the star arrow, hop off and climb the cupcakes, popping the cloud for the last four coins.
Yoshi Pulls Some Strings
Red Coin 1: Get ready to ride some vines. When you latch on to your first set, drop and move through the second set to grab the last one, which is red.
Red Coins 2-3: After you land, drop down to where the yellow vine is and hop back up to a platform that lets you crawl into a cubbyhole with two more red coins.
Red Coins 4-7: Once you land on the yellow platform, move past the red vine and pop the cloud for four more coins.
Red Coins 8-9: After you ride another vine, climb up the red vine and pull the platform down, then keep going until you see a blue shy guy covering some boxes. Smash through and head left for the next two.
Red Coins 10-13: Keep climbing the vines up and to the left until you reach a platform with a couple rows of coins. There will be three red ones here.
Red Coin 14: Head back down and to the right where another red vine is. Check to the left to find a gift box you can pop
Red Coin 15: After the next checkpoint, take the spring up and ride the vine, being careful to get each coin. The last one is red.
Red Coins 16-17: When you’re tasked with pulling on a yellow vine to unlock a platform, do so then drop down to where the platform landed. Pop the balloon above for two more coins.
Red Coins 18-19: After the star arrow, hit the springs all the way up until the golden one, then shoot the two clouds and use it to get the next two right at the top.
Red Coin 20: During the last vine ride section, be careful to get the last set of coins, as the final one will be red.
Spinwheel Shuffle
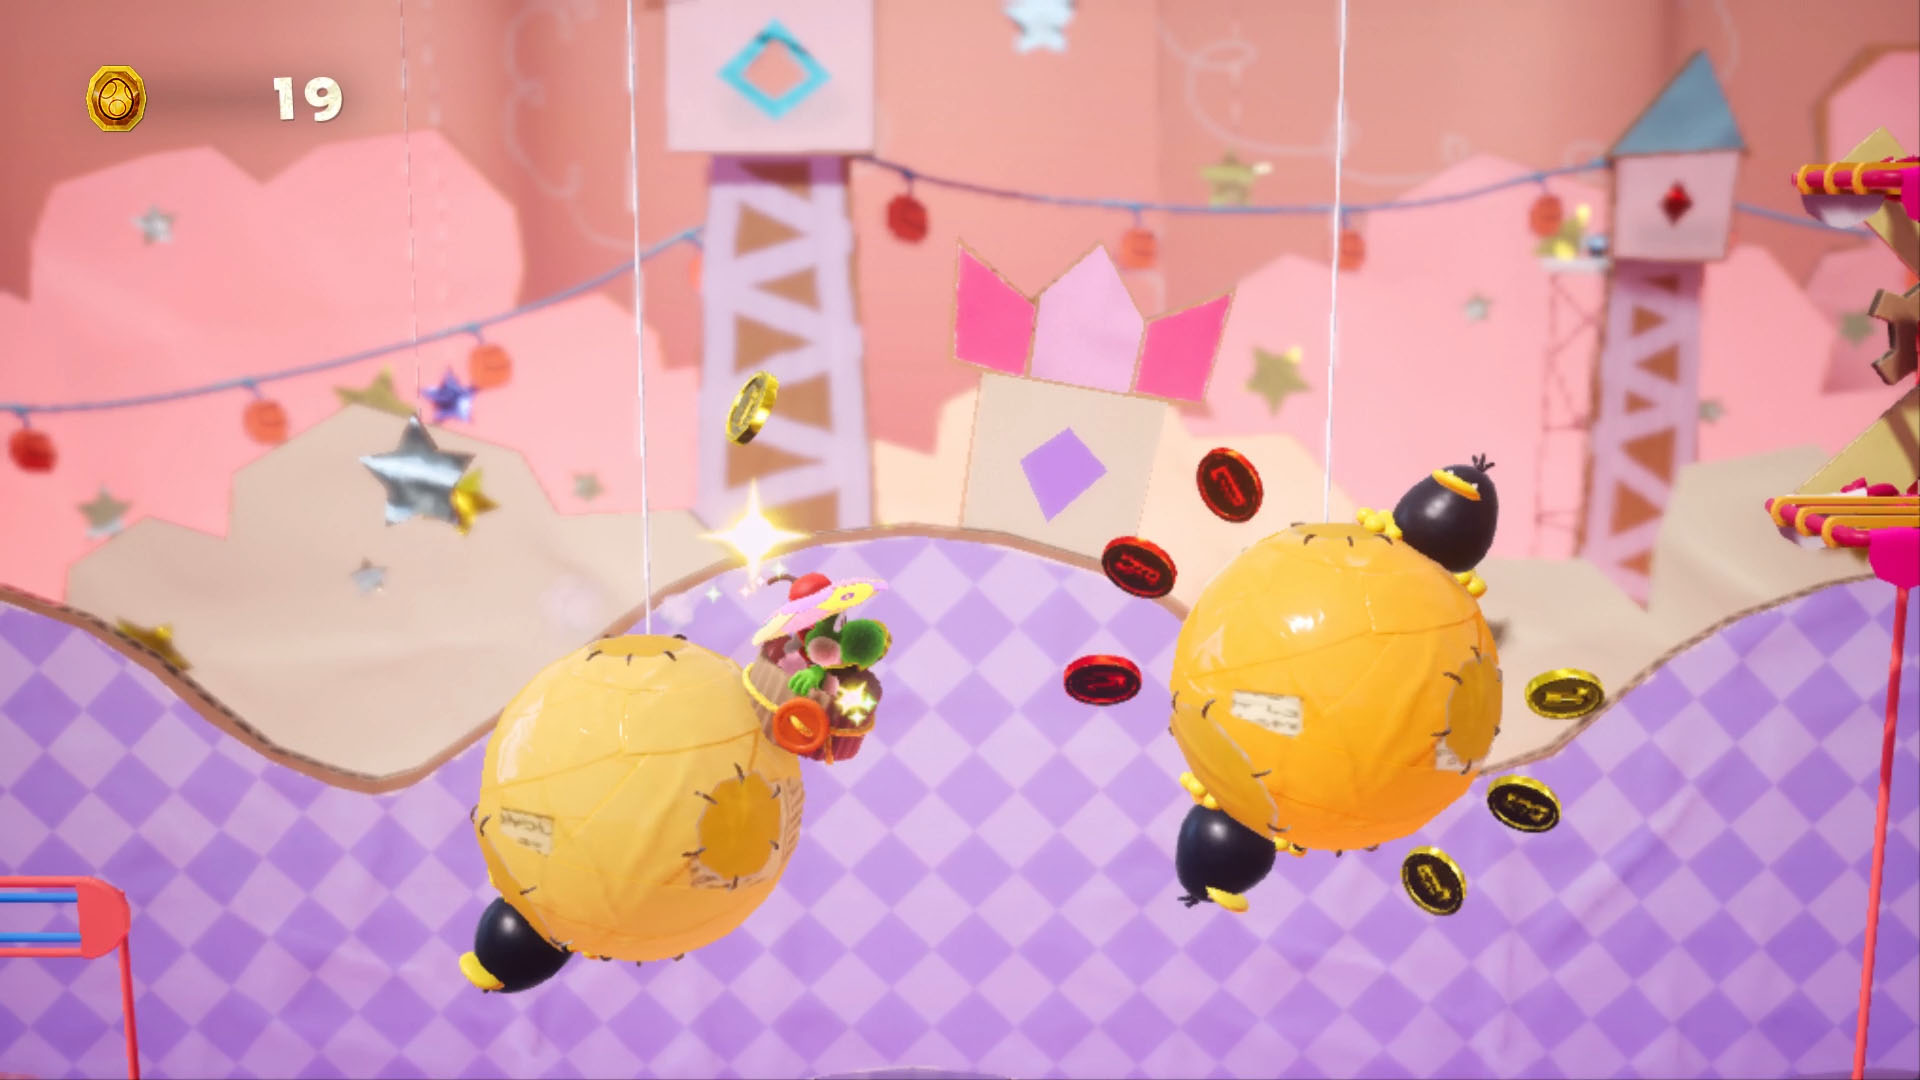
Red Coins 1-3: When you see the black ducks on the yellow globes, wipe them all out and collect the three red coins on the second yellow globe.
Red Coin 4: There will be a set of two adjacent identical globes with black ducks on. Get the coins above the first one for a red one.
Red Coins 5-8: Pop the cloud in the middle of these globes and then ride the podium to get them all for four more red coins along the way.
Red Coins 9-12: When you’re using momentum to push the spinwheel up, hit the cloud coming from the bullet bill hole and collect every coin for the next lot.
Red Coins 13 -18: When you’re descending the bullet bill canyon on the spinwheel, collect the left and right hand coin clusters for this next set
Red Coins 19-20: At the end you should be shifting the spinwheel to the right. Pop the cloud and collect every coin for the final two red ones.
Haunted Maker Mansion
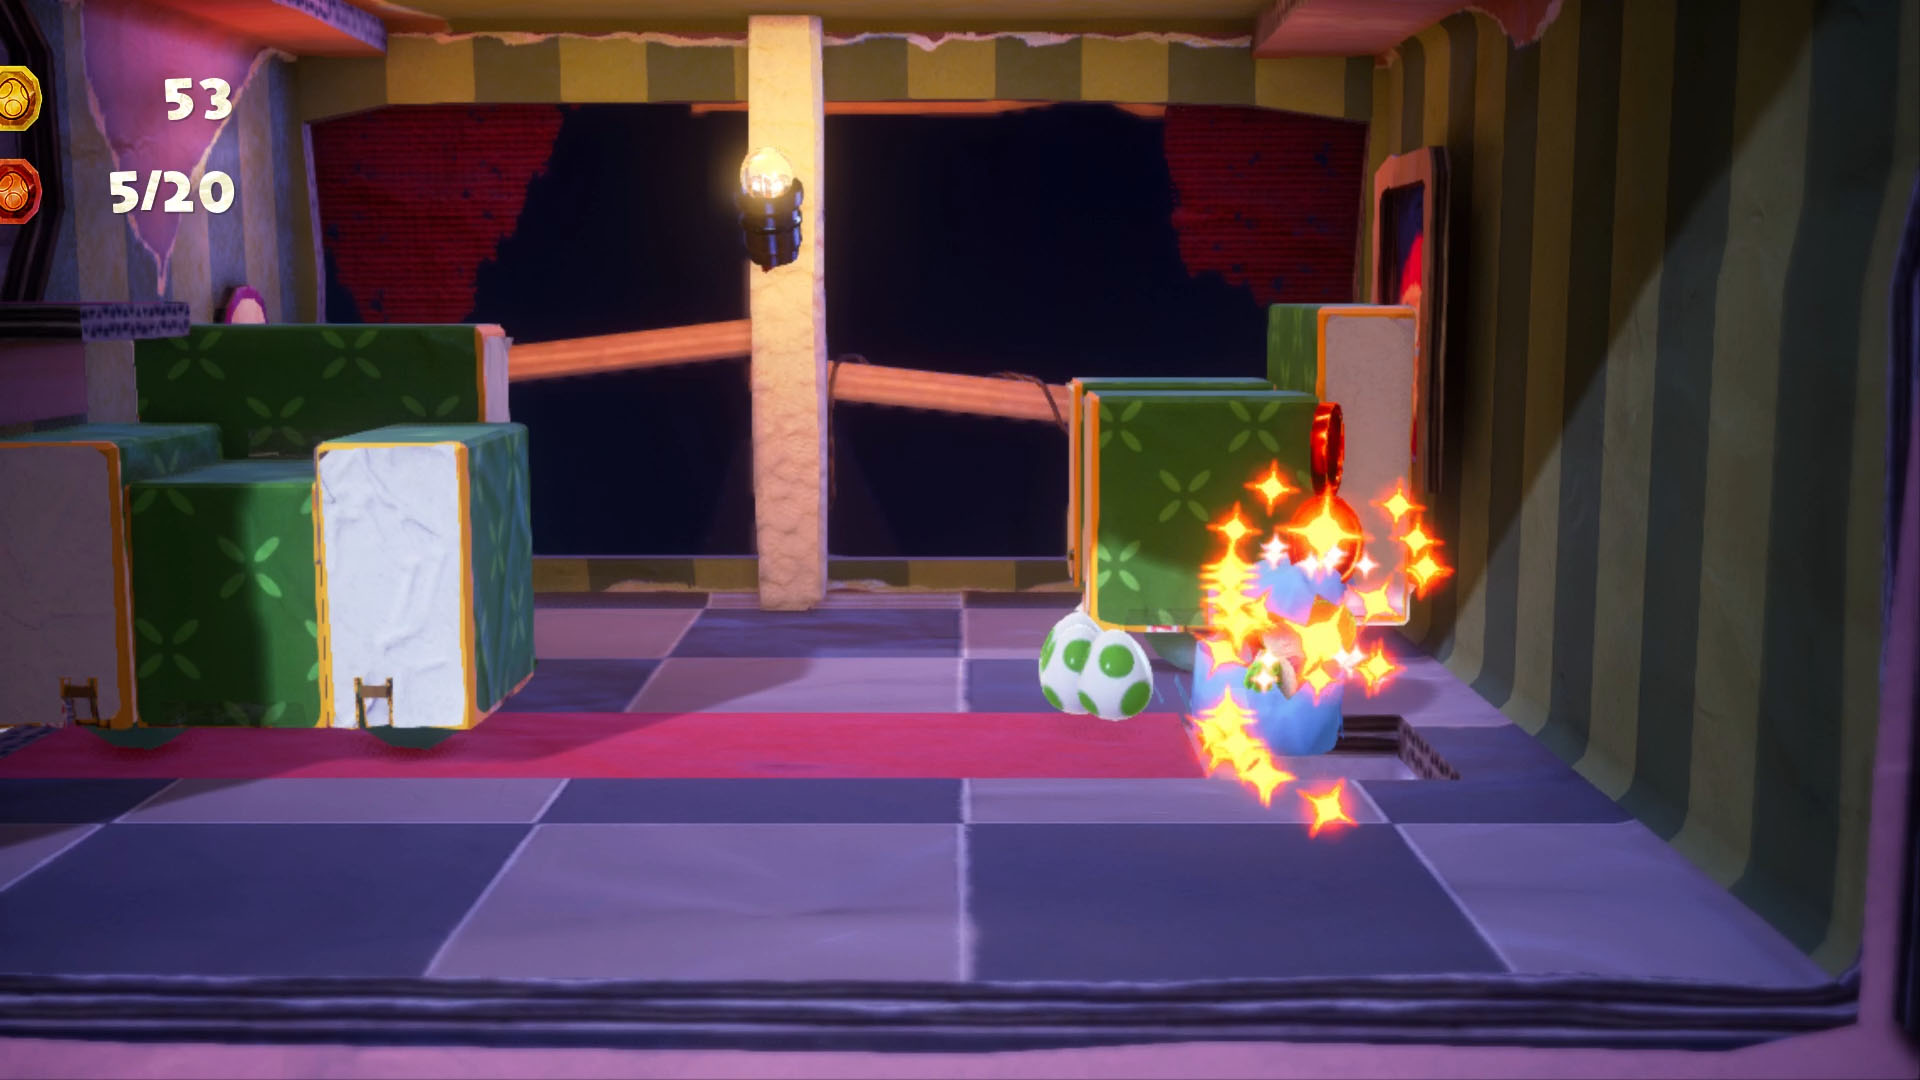
Red Coins 1-2: When you enter the mansion keep going until the chandelier drops. Ride it up top then head left into the top left alcove. Collect all coins then pop the cloud for two clusters with the first two red coins.
Red Coins 3-5: Leave this room and head right but crawl under the table to get three red coins before leaving.
Red Coin 6: Hit the spooky ghost in the background behind the table with an egg for another cheeky coin.
Red Coins 7-9: In the next room to the right, wait for the far chair to move towards the background, then egg the cloud and drop through the floor for three more red coins.
Red Coin 10: In this scary room, hit each floating signs for another coin.
Red Coin 11: Head outside after you unlock the door and watch for the gift box in the background nestled between some trees. Slap it with an egg for a coin.
Red Coins 12-13: When the scythe-toting Shy Guy starts chasing you, grab the full set of coins and the final row will be red.
Red Coins 14-16: When you open up the attic in the room with the chandelier platforming, move the chair on the right and drop down where you’ll find a chest to open for three red coins.
Red Coins 17: On your way back down, drop onto the right chandelier then hop to the chest, pop it open and hit the ghost sign that drops for coin seventeen.
Red Coins 18-20: After you unlock the door and see the star arrow, drop and go backwards to the left to find a chest in a cave you can pop for the final three.
Hoop Jump Hop
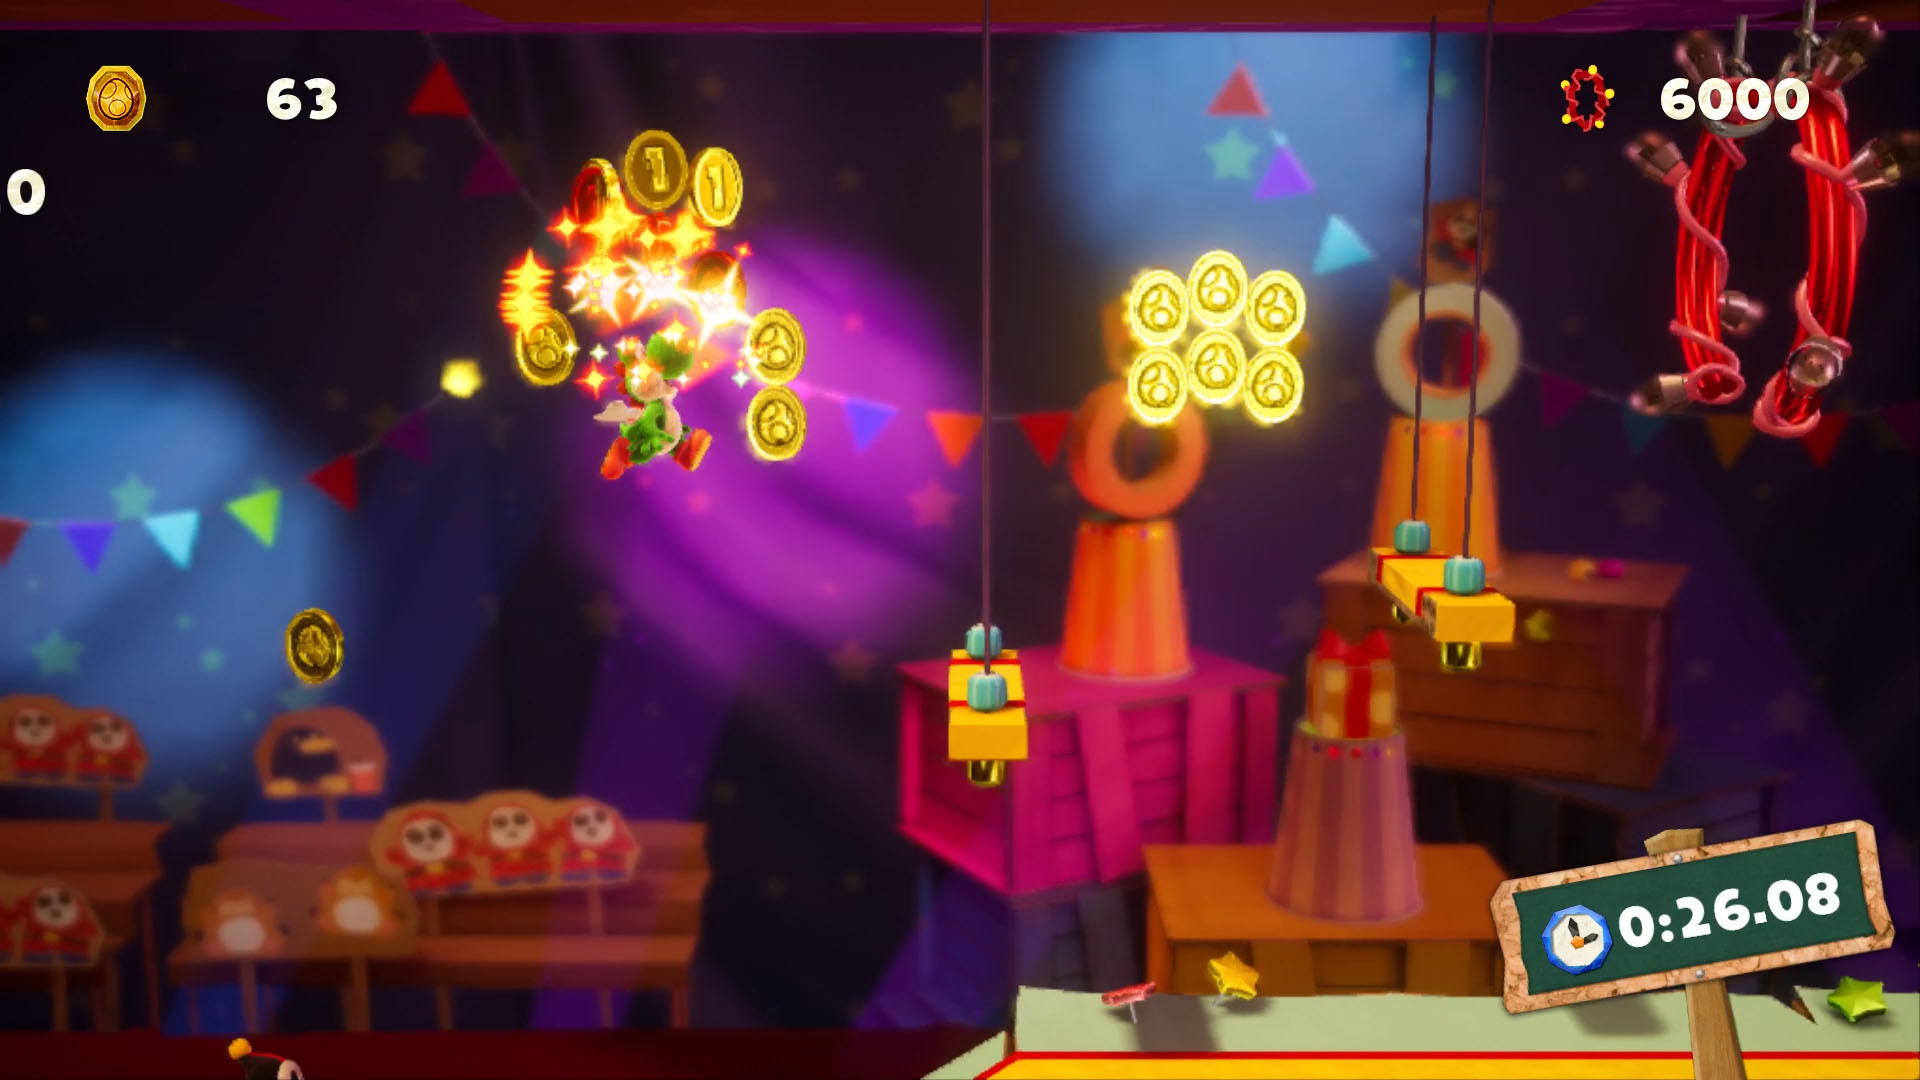
Red Coins 1-4: Move through the level until you see a swinging vine. Go backwards on it to an upper platform that has four red coins waiting.
Red Coins 5-7: Directly after this, drop to a platform in between two red hoops, then drop down once more to three red coins below a timer consumable.
Red Coins 8-10: When you get to the trampoline section, use the third purple bouncy flooring to leap up to the trapeze platform. Collect the set of coins on the way for your next three.
Red Coin 11: When you see two tape rolls with shy guys on top of them and three green balloons close by, pop the gift box in the middle for another coin.
Red Coins 12-13: Keep going until you see two hoops and a row of coins on a platform below them. Collect all coins and a new cluster should spawn below the two hoops. Pick these up for the next two.
Red Coins 14-17: Climb until you see another vine, and swing back the way you came onto a wooden platform which houses three more coins.
Red Coins 18-20: Before the second swinging vine, double back and go under the wooden platform to get the last two coins.
Bombs away on Pirate Island
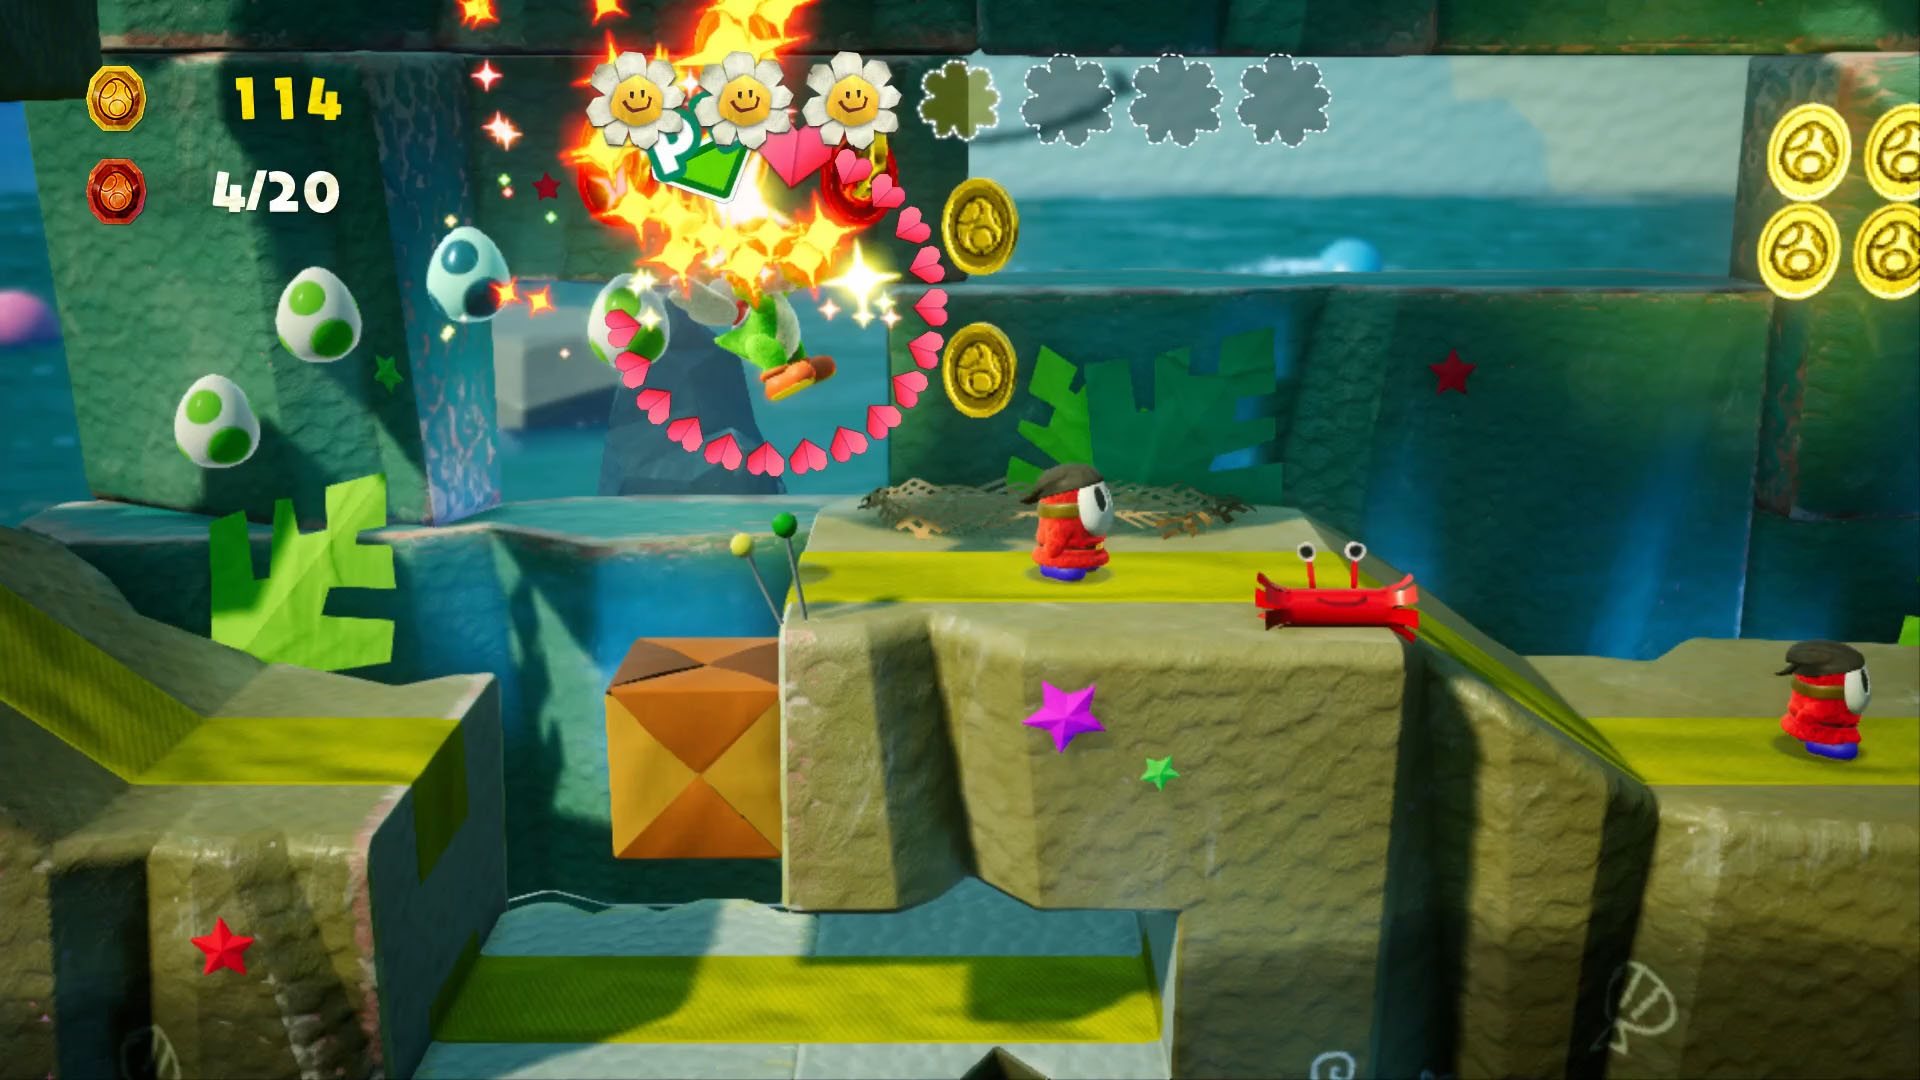
Red Coins 1-3: Keep going until you see a monkey dropping bombs from a vine. Get the cloud next to him popped for three red coins.
Red Coin 4: There’s a shy guy on a stone plinth you can see as soon as you hop on the ship. Blast him with an egg.
Red Coin 5: Hard to miss, this red coin is under some paper boxes after the smiley flower and crab combo.
Red Coins 6-7: Crack through a set of boxes and then another set even further below (there’s a crab inside) for the next two coins.
Red Coins 8-11: Clear out the bottom row of paper boxes in the next section for a whopping four coins.
Red Coin 12: Keep moving until you see a palm tree and a bomb monkey. In the background is a red cup with a gift box on top. Egg it.
Red Coins 13-15: Move right of the ship after you start looking for parts and pop the three clouds for three more coins.
Red Coins 16-18: Keep going right, move towards the screen then right some more and you should see boxes above where you get the cannon. Pop them open for two more red coins.
Red Coins 19-20: After you fix the ship, blow up every foreground and background ship on the way with the cannons for the two final coins.
Current page: Yoshi's Crafted World red coins, page 3
Prev Page Yoshi's Crafted World red coins, page 2 Next Page Yoshi's Crafted World red coins, page 4Weekly digests, tales from the communities you love, and more
Jordan Oloman has hundreds of bylines across outlets like GamesRadar+, PC Gamer, USA Today, The Guardian, The Verge, The Washington Post, and more. Jordan is an experienced freelance writer who can not only dive deep into the biggest video games out there but explore the way they intersect with culture too. Jordan can also be found working behind-the-scenes here at Future Plc, contributing to the organization and execution of the Future Games Show.


