
 Join The Community


The Last Of Us Part 1 keycard and hotel basement generator can be found down the corridor, and right from the locked door if you go through the laundry room. The keycard is in the security room and the generator in the flooded basement. However, there's a Bloater and some stealthy Stalker enemies waiting for you. The whole area is a bit of a maze, with a boss fight if you're not careful. Don't worry though - we'll show you where to find the keycard location in The Last of Us Part 1 below, as well as the generator location and how to deal with the bloater hunting you as well.
How to find the Keycard in The Last of Us Part 1

The Hotel Keycard in the Last of Us is in a basement security and CCTV room that's easy to miss if you don't know where to look. Assuming you're at the locked door you need the keycard for, here's the route to take:
1. From the doorway, look down the corridor you came up to get here.
2. Head down to the very end and turn right through the open doors, then immediately left into the laundry room.
3. Follow the room around to the right into a corridor.
4. Follow the red cables on the ground into a room with a large hole in the floor.
5. Ignore the hole and instead take the right-hand doorway.
6. Ahead should be a doorway (if you've turned on the generator, light will be flickering through it). That's the security room - go inside.
7. On the desk directly ahead of you is the Hotel Keycard to open the basement door.
Now you have that, you can retrace your steps back to the door - assuming you've turned on the generator in The Last of Us Part 1. If you haven't, read on.
How to find the hotel generator in The Last of Us Part 1

Want all The Last of Us Part 1 safe codes? Check out their locations and combinations here!
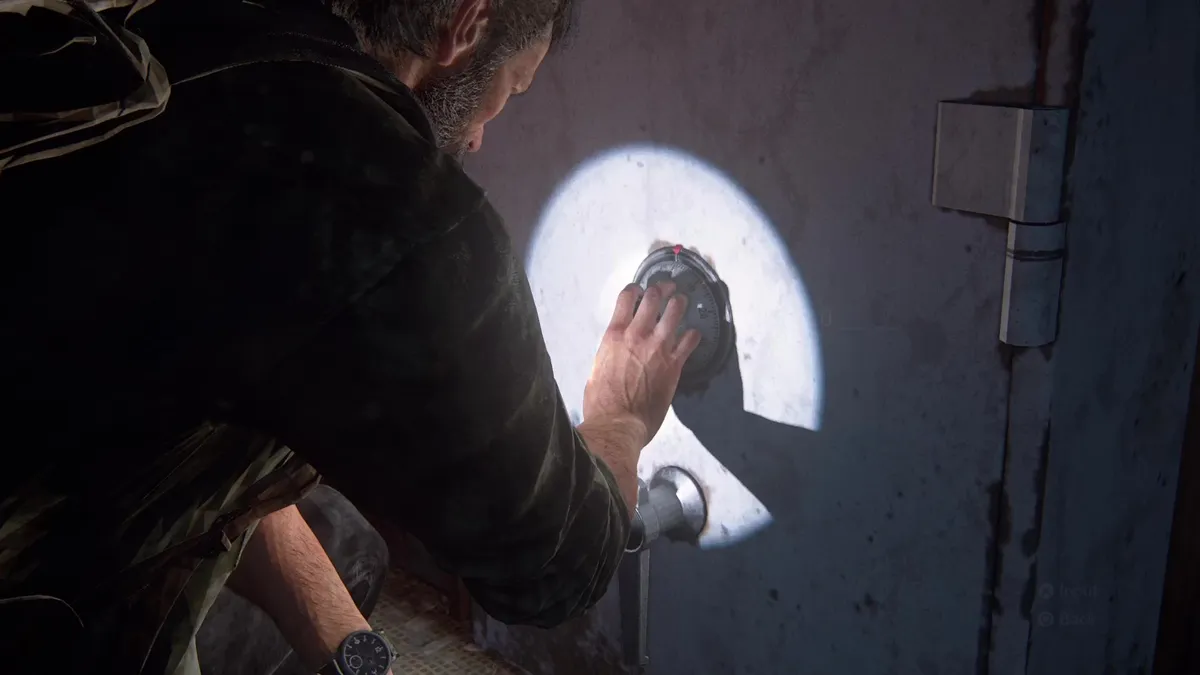
Finding the keycard will only get you so far though as you'll need power to open the door. So, if you haven't found the generator yet, simply follow the steps above all the way to number 4 and then do drop down through the hole into a dark, waterlogged area.
Immediately look behind you where you'll see the generator;on a raised platform against the back wall. It requires the same timed button prompt minigame as the other generator you found, but be careful - triggering the generator will summon several Stalkers and a Bloater to attack you so be ready for combat, and use the tips beneath to win out.

How to beat the Bloater and Hotel Stalkers in The Last of Us Part 1

If you're fast you can activate the generator and then run to the door without having to fight too much. You might have to batter a few things to clear the way but it's possible to get the hell out of dodge without facing much more than that
However, let's assume you're trapped and fighting, and check out some tips than can make the battle easier:
- Always make sure you're equipped for the fight. Reload your guns (focus on short and medium range when choosing between all The Last of Us Remake weapons), stock up on health and shivs, and craft at least one Molotov - we'll explain why momentarily.
- Try to deal with the Stalkers first. Stay moving and use the shotgun to eliminate them as they come. Use the tight and twisting corridors to avoid the Bloater for now; he's slow but tough enough that you want to fight him one-on-one.
- When possible, keep your back to a wall. The Stalkers are fast and like to get you from angles you're not watching; make sure you can't back up into one by accident.
- Once the Stalkers are dead, switch to longer range weapons and use your focused hearing to track the Bloater. Start by throwing a molotov at him - it does huge damage and he can't do anything to avoid it. More molotovs will help, but even if you're trying to conserve them, one alone will give you a big advantage.
- For the rest of the fight, use corners to avoid his projectiles and keep backing away. The Bloater is a close-range juggernaut who can kill you instantly if he grabs you, so keep your distance and make use of how cumbersome he is. If his explosives wear you down, simply run to the other side of the basement and use the time it takes for him to catch you to heal or craft.
- Don't use the Shotgun if you can help it. As tempting and satisfying as it is, the close-range on this weapon means the Bloater can charge suddenly and grab you. Stick to the Hunting Rifle and Revolver, even the Pistol, until ammo depletion forces you to change to something less ranged. Having the scope, one of the better weapon upgrades in The Last of Us Part 1, will help with accurate headshots on the rifle.
- Always aim for the head. It might be a slow process, but waiting at a corner, taking one shot at the Bloater's skull, then fleeing before the spore bomb lands and taking position again further back is a very valid and safe strategy. If you've got any of The Last of Us supplements left, maybe put them into upgrading weapon sway.
Once you're out of the basement, it's not long before you'll be close to one of The Last of Us Training Manuals, and there's also a set of The Last of Us Tools somewhere in Pittsburgh, so check the links to find exactly where to look!

