Syndicate business card and propaganda locations guide
Find all of Syndicate’s collectibles with our video guide
Weekly digests, tales from the communities you love, and more
You are now subscribed
Your newsletter sign-up was successful
Want to add more newsletters?
Join the club
Get full access to premium articles, exclusive features and a growing list of member rewards.
Milestone 8: Cayman Global (1 card, 3 propaganda)
Above: All collectibles from Milestone 8
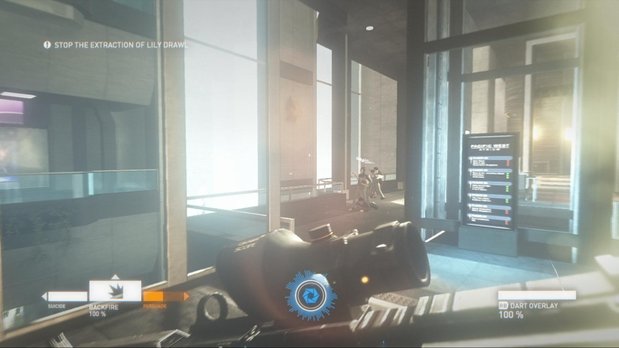
Propaganda 1: Pass through the very first door of the level. Inside the next room, you’ll be ambushed by a lot of enemies. You can run to the left wall and use your overlay on the EuroCorp symbol before the battle, or wait until things quiet down and do it afterwards.
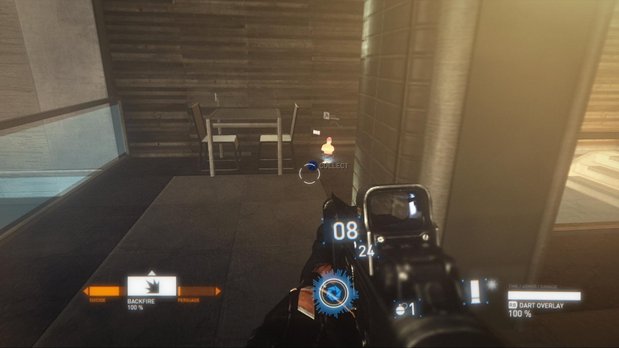
Card 1: From the first propaganda, head right and look for a business card on the ground near one of the small tables. If you imagine where you entered the room as being the south end, this card is in the northwest corner.
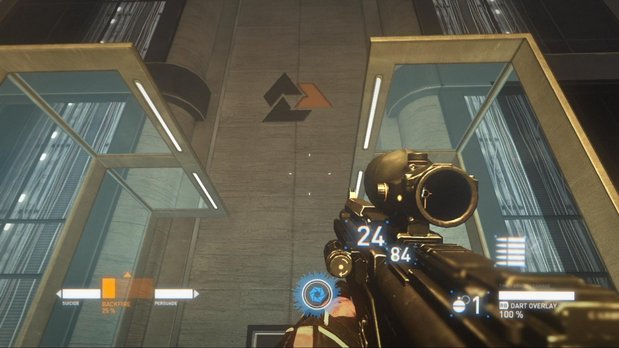
Propaganda 2: From where you may have used the elevator to chop an enemy in half, head up the stairs to your right and through the door labeled “staff only.” Immediately turn around and look up to find another EuroCorp logo. If you’ve entered the art gallery, you’ve gone too far.
Weekly digests, tales from the communities you love, and more
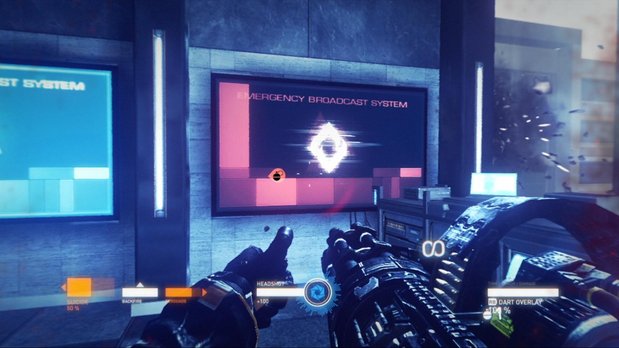
Propaganda 3: After grabbing the minigun, you’ll have to ride in an elevator. Upon exitin, look to your immediate left. Use your overlay on the tv screen against the wall. You may want to clear the area of enemies first.
Milestone 9: The Floating City (1 card, 4 propaganda)
Above: All collectibles from Milestone 9
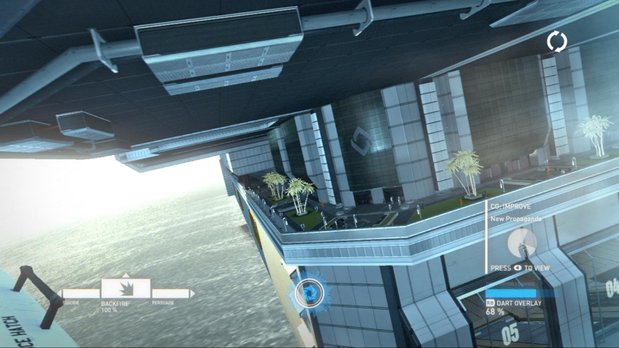
Propaganda 1: Stay sharp as you’re coming in for a landing because there is a Cayman Global logo just above one of the buildings’ main entrances, to your right. Turn on your overlay so that you don’t miss your chance.
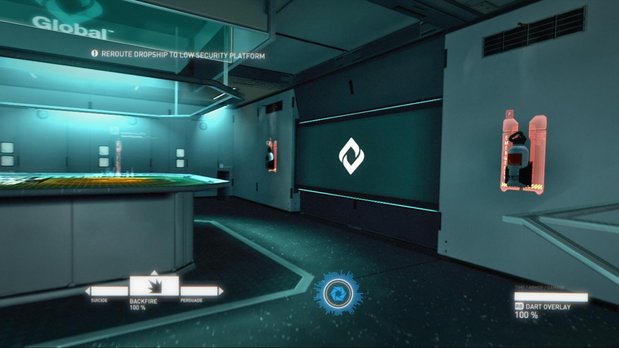
Propaganda 2: Just after leaping through the window from the dropship, walk forward a bit up the short staircase and look at the wall on your right. There’s a Cayman Global logo.
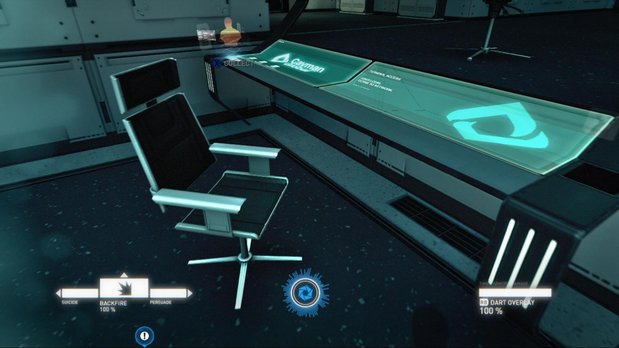
Card 1: There’s an air traffic controller standing in the same room as propaganda 2. From just behind him, do a 180 and look to your left. There’s a card sitting on the desk.
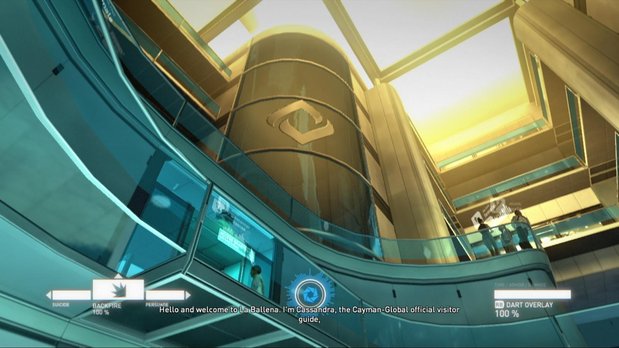
Propaganda 3: As soon as you enter the main lobby, look up and to the left at the glass elevator shaft. Use overlay on the Cayman Global logo to reveal propaganda.
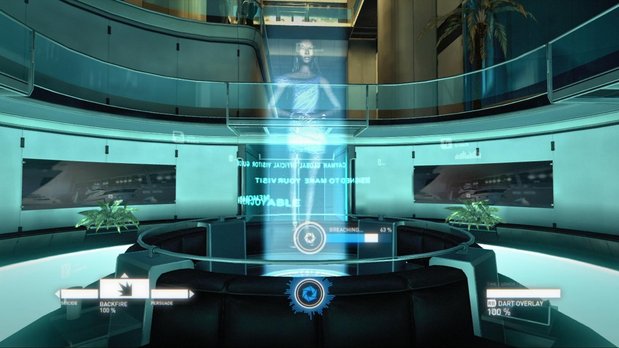
Propaganda 4: Revealing this propaganda requires you to repeatedly breach the hologram in the main lobby until it disappears. Every time you breach it, you will have to listen to the recording until the hologram returns to normal (blue). Eventually, breaching the hologram will cause it to turn off. Turn on your overlay to find some propaganda.
Milestone 10: Behind the Scenes (2 card, 3 propaganda)
Above: All collectibles from Milestone 10
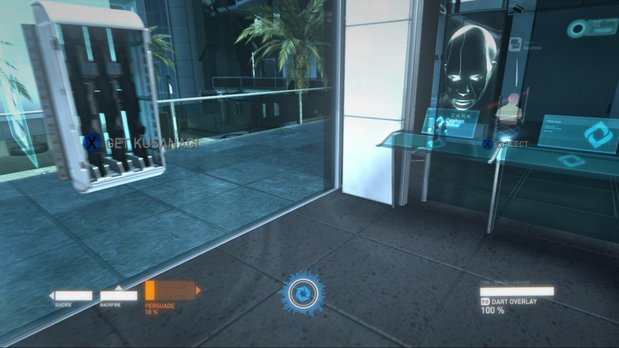
Card 1: As soon as the level begins, take out the two enemies then look for a card on the desk to the right. It’s next to the rifle rack.
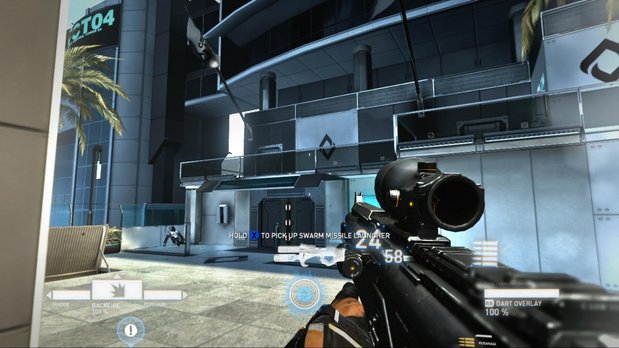
Propaganda 1: After your encounter with the enemy who wields a missile launcher, look just above the door through which he entered the area. Use your overlay on the Cayman Global logo.
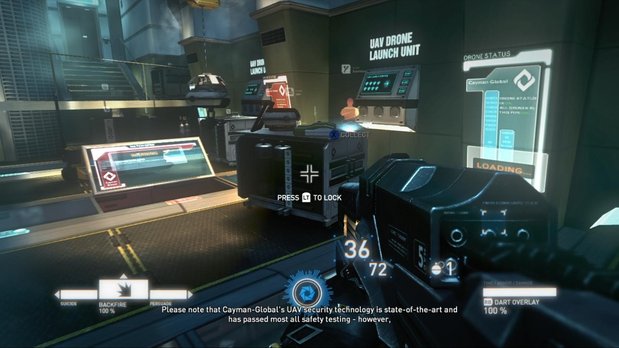
Card 2: Soon after destroying the locks on the door and entering the building, you’ll walk down some stairs. In the next room, the card is right in front of you, near a UAV control panel.
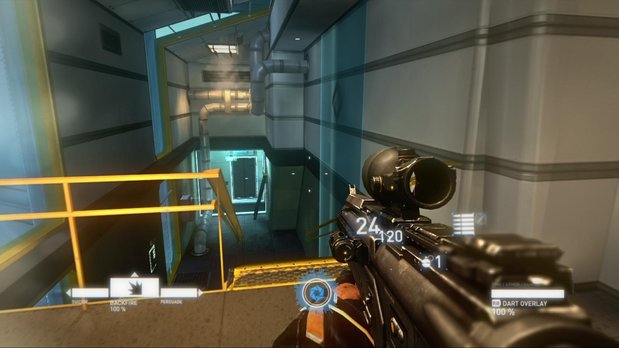
Propaganda 2: You’ll reach a point where you have to turn in your Swarm weapon in order to proceed. Soon after, look for a Cayman Global logo on the wall to your right as you descend a staircase.
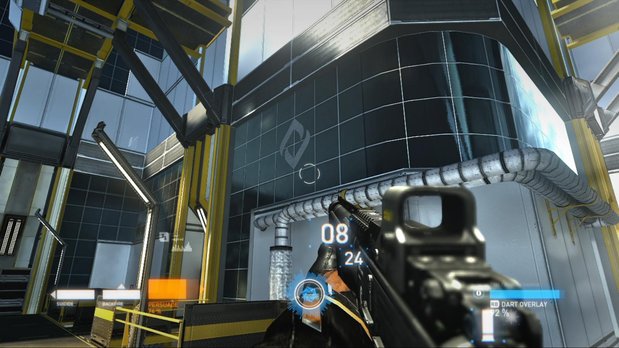
Propaganda 3: After using the landing platform to proceed, go around the left side of the building you’re facing and check the wall for a Cayman Global logo.
Milestone 11: Ramon (2 cards, 2 propaganda)
Above: All collectibles from Milestone 11
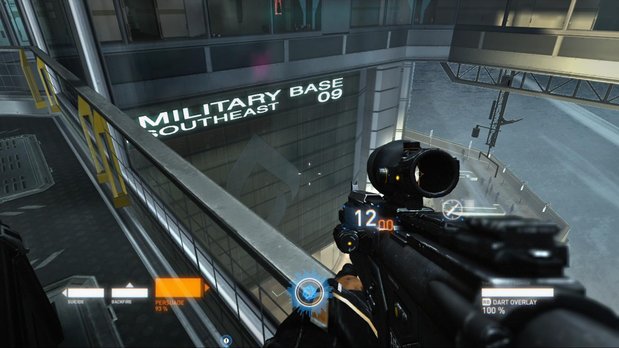
Propaganda 1: After stepping off the elevator at the beginning of the level walk straight ahead and up to the window. Turn to your left and look down a bit to find a Cayman Global logo on the side of the building. You will first have to take out the nearby enemy since he carries a jammer.
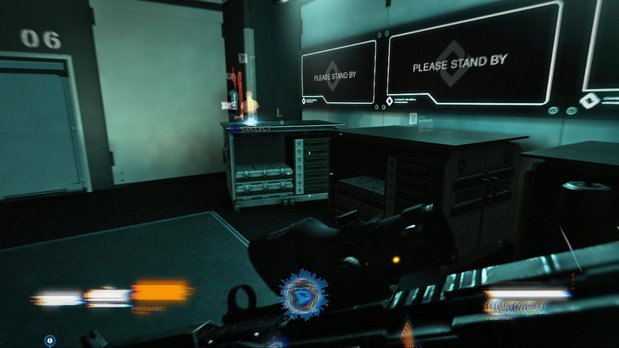
Card 1: This card can be found at the bottom of this winding set of staircases, in the same area as the standalone jammer.
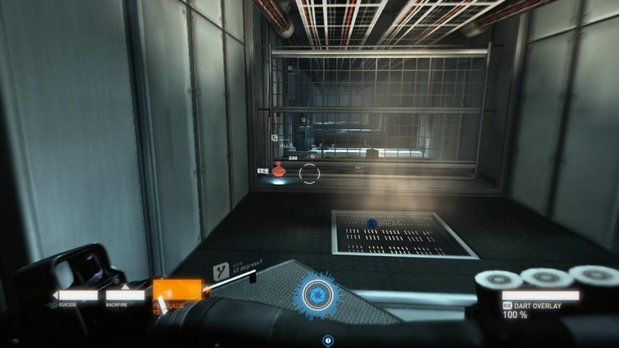
Card 2: After hopping off the ladder, head down the corridor. At the end, near the hatch, you’ll see a card.
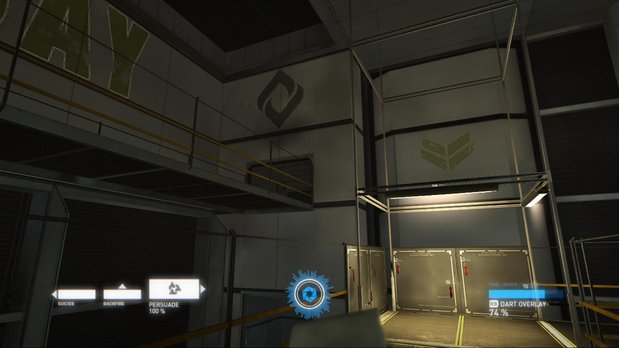
Propaganda 2: Once you’ve kicked through the hatch and dropped onto the catwalk, immediately look up and to your left. The Cayman Global logo is another piece of propaganda.
 Join The Community


