Dark Souls Remastered full walkthrough guide: every area, boss, secret and more
Survival tips for Dark Souls Remastered - how to beat the game from start to finish
Weekly digests, tales from the communities you love, and more
You are now subscribed
Your newsletter sign-up was successful
Want to add more newsletters?
Dark Souls Remastered full walkthrough: ANOR LONDO PART 1
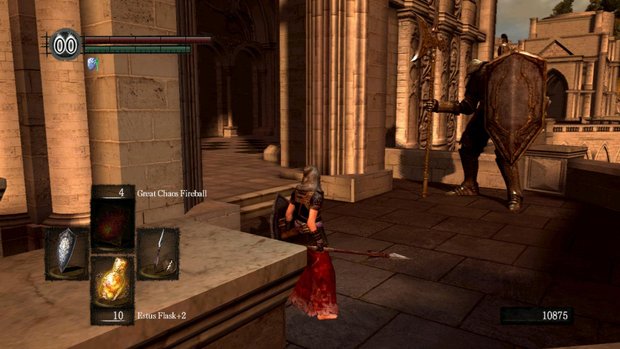
Descend the staircase. You’ll encounter a Giant Knight just before entering the building. The best way to defeat this type of enemy is to stay close and circle strafe around his left side until he smashes his impenetrable shield on the ground- then attack. But fighting this particular knight (and most of the others here) is not necessary. Since you are likely worn out from the recent boss fight, you may want to proceed to the bonfire ASAP.
If you turn left upon entering the building and defeat the two giant knights, you’ll gain access to a chest containing Demon Titanite.
Upon exiting this building, enter the door to your left and light the bonfire. The nearby NPC is the Lady of Darkling, who is also this bonfire’s Fire Keeper. Do not attack her, or this presently much-needed bonfire will go out permanently.
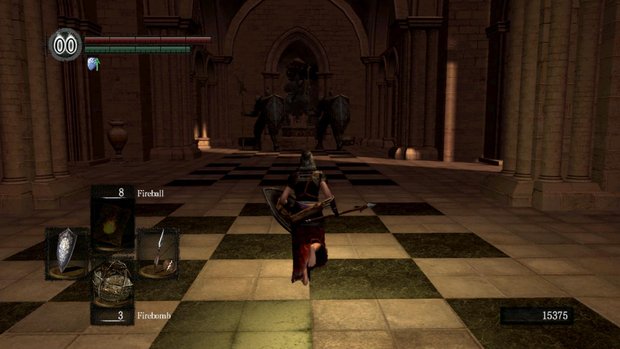
If you leave this building and turn left, you’ll find another building with two Giant Knights inside. They’re guarding one chest each. The chest on the left contains Twinkling Titanite and the chest of the right is a Mimic (so attack instead of trying to open) who drops a Crystal Halbred. Always try to draw out only one knight at a time. Fighting two simultaneously is extremely dangerous.
OPTIONAL: These giant knights, if lured out and fought one at a time, can be easy kills. Each gives up 1500 souls, and since there’s a bonfire nearby, this first section of Anor Londo is a decent place to grind out a level or three.
Go back outside and to the tower directly across from the bonfire room. Step on the circular platform, which is actually an elevator, to descend to the level below. Here you’ll find a Gargoyle. This one is extremely similar to the Belfry Gargoyles, only it spits lightning and is thus not weak to said element. If you did not obtain a Gargoyle Tail Axe from the belfry boss fight, now is your chance. Sever the tail to claim the weapon, then finish the job.
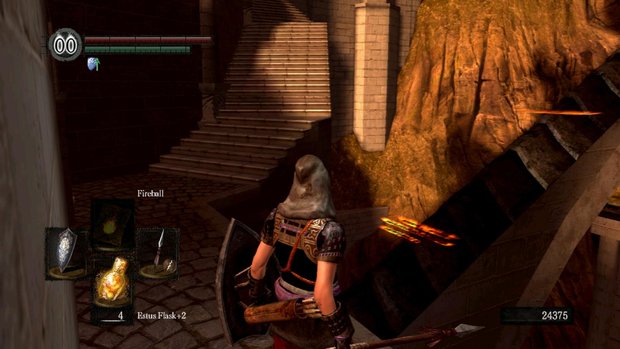
After the fight, turn around and drop of the ledge to the left of the staircase. Follow this path to some Demon Titanite. Now head in the other direction and look for a dark buttress connecting to the adjacent building (seen above). There will likely be orange messages lining it if you’re playing online. Carefully walk up this narrow buttress and into the next building. (Note: Once you drop off the buttress onto the building’s balcony, you cannot backtrack to the bonfire for at least 10 dangerous minutes.)
Weekly digests, tales from the communities you love, and more
Enter through the broken window. A Painting Guardian (a white-clad, humanoid assassin) will drop from above and to your left while another rushes you from the front. Quickly take out the one that drops, then focus the other. Climb the nearby ladder.
It’s time to cross the narrow rafters. Once you get close enough to a Painting Guardian, he will rush you or start throwing knives. If you have a bow, you can dispatch all three guardians easily. Otherwise, wait for them to get close and keep your shield raised, waiting for the right moment to attack. Great Chaos Fireball works wonders.
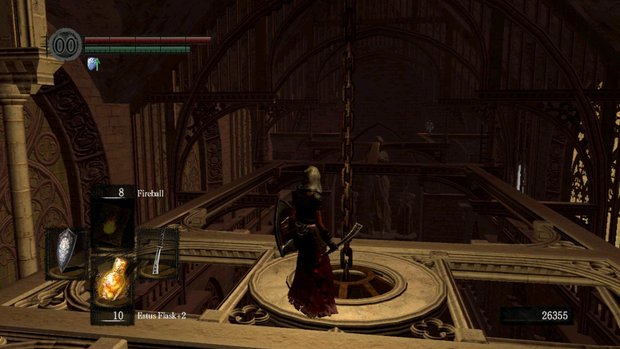
Make sure that once you reach the central point of this high area to cut the chain holding the chandelier. It will drop to the floor far below so you can claim the item it holds later.
Before entering the fog door, stand near the ladder and look down near the trio of statues. Hop down to this area, run across, then hop down and through the pillars on the other side of the room. Take the stairs up to a chest containing a Diving Blessing. Run back across the statues’ platform and jump through the columns to get back up to the fog door and proceed through.
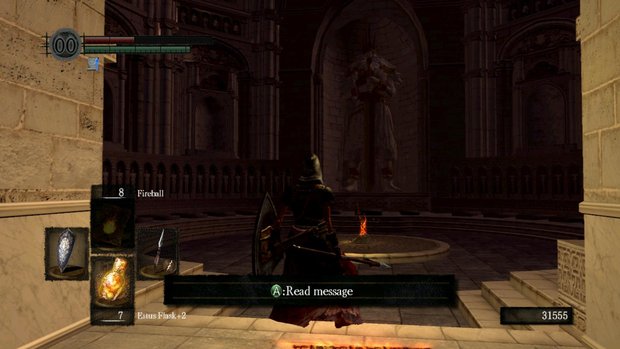
The tower in front of you has a lever at its center. Push it to lower the entire tower down one level (you may have to fight another Garagoyle at this point). Push it once more to lower it again, then descend the stairs to find another bonfire.
If you want to proceed with the level (across the bridge on which the Gargoyle was waiting), then put the platform at the second level. If you want to enter an optional area now, move the tower back to the second level and go down the stairs (or just head across from the lever when the platform is at its lowest level). You’ll be at the ground level of the room over which you were walking earlier. This place is filled with Painting Guardians, so try coaxing them out one at a time.
If you dropped the chandelier, you can claim the Great Magic Weapon spell. In the far left corner of the room, you will find the Black Iron Armor Set.
Jump to Section
- Firelink Shrine
- Undead Burg part 1
- Undead Burg part 2
- Undead Parish part 1
- Undead Parish part 2 (First Bell)
- (OP) Grinding for Souls & Finding Goodies in Darkroot Garden
- Lower Undead Burg
- (OP) Returning to the Undead Asylum
- The Depths
- Blighttown
- (OP) Exploring Blighttown's Swamp
- (OP) Undead Dragon & Valley of the Drakes
- Quelaag's Domain (Second Bell)
- (OP) Moonlight Butterfly & the Divine Ember
- (OP) Darkroot Basin, the Hydra, and Dusk
- Sen's Fortress part 1
- Sen's Fortress part 2
- (OP) Painted World of Ariamis part 1
- (OP) Painted World of Ariamis part 2
- Anor Londo part 2
- Return to Firelink Shrine & Placing the Lordvessel
- Sif and the Darkroot Garden
- New Londo Ruins
- The Catacombs
- Tomb of the Giants part 1
- Tomb of the Giants part 2
- (OP) Dark Sun Gwyndolin & the Blade of the Darkmoon Covenant
- Duke's Archives
- Crystal Cave
- Demon Ruins part 1
- Demon Ruins part 2
- (OP) Great Hollow & Ash Lake
- Lost Izalith
- (OP) Sanctuary Garden (New Content)
- (OP) Oolacile Sanctuary & Royal Wood (New Content)
- (OP) Oolacile Township (New Content)
- (OP) Chasm of the Abyss (New Content)
- (OP) Black Dragon Kalameet (New Content)
- Kiln of the First Flame & Gwyn, Lord of Cinder
Current page: Dark Souls: Anor Londo Part 1
Prev Page Dark Souls: Sen's Fortress Part 2 Next Page Dark Souls: Painted World of Ariamis Part 1 (Optional)
